
Launching a new website? That’s great, but have you made sure it works well when live? You’re probably making the first impression on your future customers, and you don’t want them to judge you just because your website didn’t load well or isn’t optimized for mobile.
It’s easy to overlook a few things when rushing to go live. A missing favicon, a broken form, or a noindex tag can quietly mess things up. To ensure that nothing is overlooked, we’ve compiled a website launch checklist covering everything, from design and speed to SEO and security. Bookmark this post so you’ll never guess what’s missing again.
-
1
Website Pre-Launch Checklist
- 1.1 1. Do A Final Design Review
- 1.2 2. Check Cross-Browser Compatibility
- 1.3 3. Optimize Your Site For Performance Metrics
- 1.4 4. Check Mobile Speed As Well
- 1.5 5. Make Your Site Optimized for SEO
- 1.6 6. Set Up Your Tracking And Analytics Properly
- 1.7 7. Check For Broken Links
- 1.8 8. Create A 404 Page + Set Up Redirects
- 1.9 9. Create Legal Pages
- 1.10 10. Verify Your Email Marketing Setup Is Integrated Properly
- 1.11 11. Set Up Your Website Backup System
- 1.12 12. Tighten Your Website Security
- 1.13 13. Check Your Favicon & Browser Title
- 1.14 14. Test Your Contact Forms
- 1.15 15. Optimize Your Site For Web Accessibility Standards
- 2 Website Post-Launch Checklist
- 3 The Divi Framework Simplifies Website Launch
- 4 Tools Recommended To Launch Your Website Effectively
Website Pre-Launch Checklist
We’ve divided the list into two categories: pre-launch and post-launch tasks, so it’s easier to plan accordingly. Start with the pre-launch checklist to ensure your website is ready to go live.
1. Do A Final Design Review
Before going live, review your entire website design one last time. A few common things to look out for:
- Are your brand colors, logos, and fonts consistent across every page? (To ensure consistency going forward, it would be a great idea to create a brand identity kit and share it with team members.)
- Do images load quickly and display properly without stretching or pixelation? (You should optimize your images to ensure they’re lightweight and load quickly.)
- Are your buttons, menus, and CTAs easy to identify and interact with?
- Have you removed any placeholder content or dummy images?
These small details shape how trustworthy and professional your site feels to new visitors. Once all’s checked, optimize your entire website for responsiveness. Your website might look great on a laptop, but how does it look on a phone or tablet?
Some website builders, like Divi, automatically optimize your site for responsiveness, but with others, you might have to do it manually for each web page. This can easily become tiring because a website has many pages. So, choose your website builder correctly, which simplifies your work.
For example, if you’re using Divi 5, testing and tweaking responsiveness is easy. Inside the builder, you can toggle between mobile, tablet, and desktop views and make layout changes for each screen size directly. It lets you view your website in different breakpoints based on various screen sizes.
2. Check Cross-Browser Compatibility
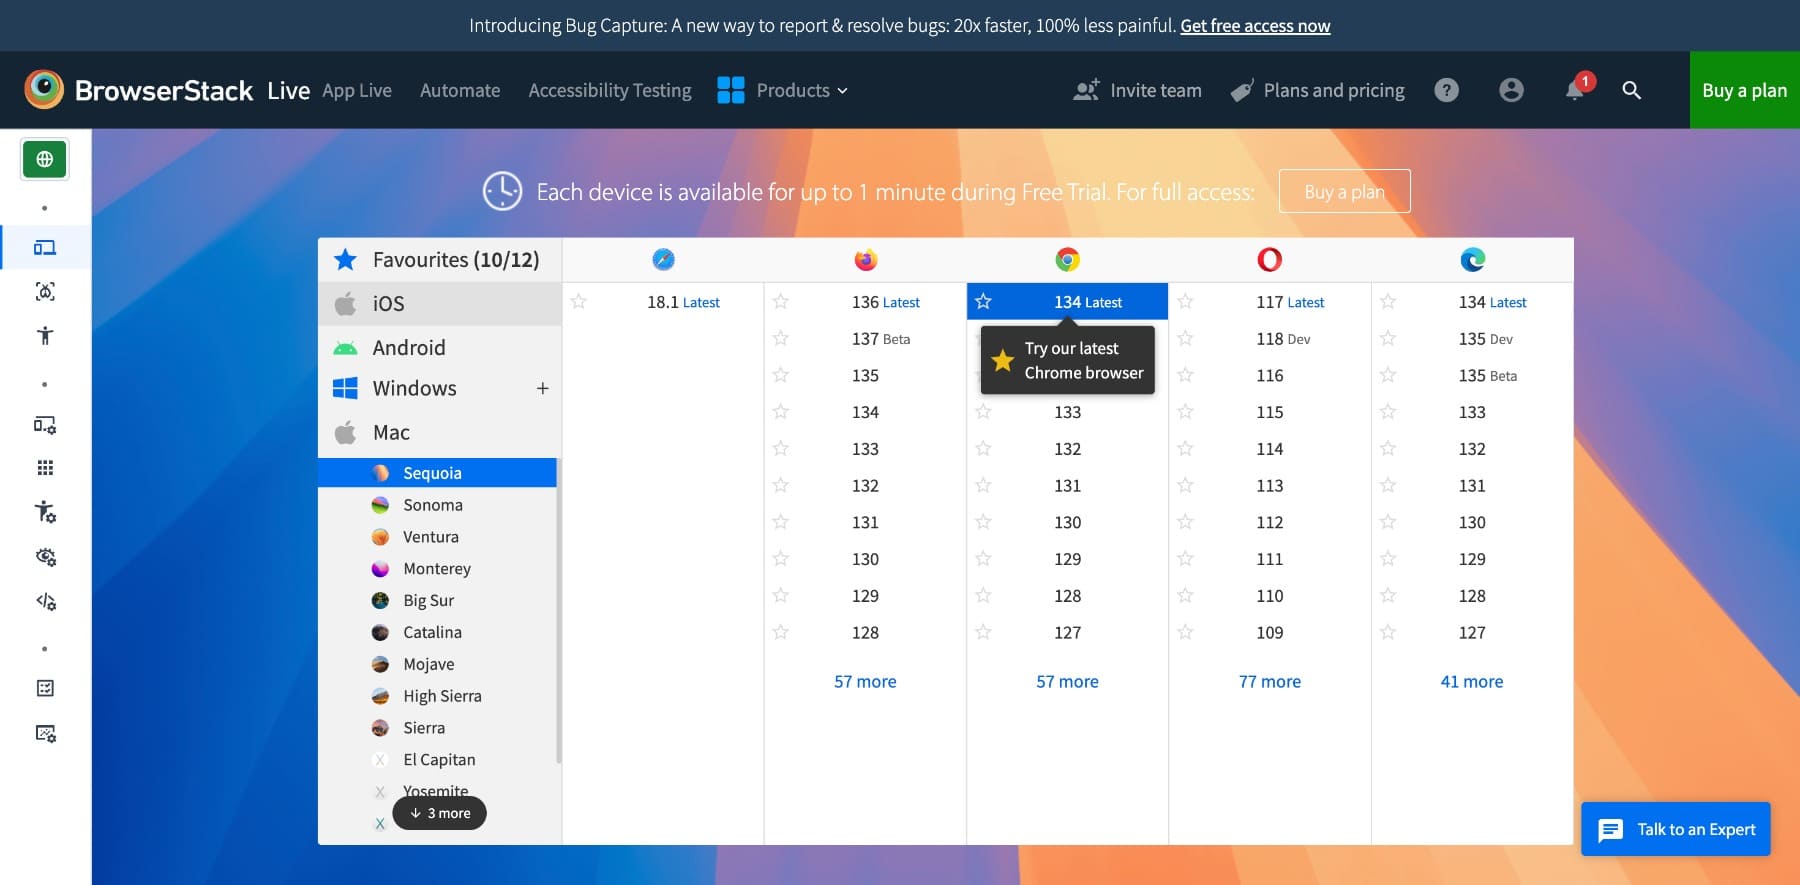
A website that works perfectly in Chrome might break in Firefox or look strange in Safari. Before launching, test your site across all major browsers, such as Chrome, Firefox, Safari, and Edge, both on desktop and mobile. Pay special attention to:
- Fonts rendering differently
- Spacing and alignment shifts
- Button hover states
- Form field styling and validation behavior
- Sticky headers or animations behaving inconsistently
You might be tempted to just test the homepage. However, pay close attention to key conversion pages like product pages, checkout, or contact forms. To make this process easier, use tools like BrowserStack or LambdaTest to preview your site in multiple browsers and devices on one screen without needing to install them locally.
Clear your browser cache before each test, or use incognito mode to see the latest version of your site without stored files interfering.
Even small glitches can cause frustration or loss of trust, especially if your website visitors are trying to complete an action. So, although this isn’t as fun as designing your site, take a few minutes to test your website for design and functionality to save hours of support and lost leads later.
3. Optimize Your Site For Performance Metrics
Before you launch, ensure your site loads fast because a slow website can frustrate users, increase bounce rates, and even hurt your SEO rankings. Here’s what to check and fix:
- Compress all images before uploading them. Tools like TinyPNG or ShortPixel help reduce file sizes without losing quality.
- Convert images into WebP format. It’s lighter than JPG/PNG and supported by most browsers.
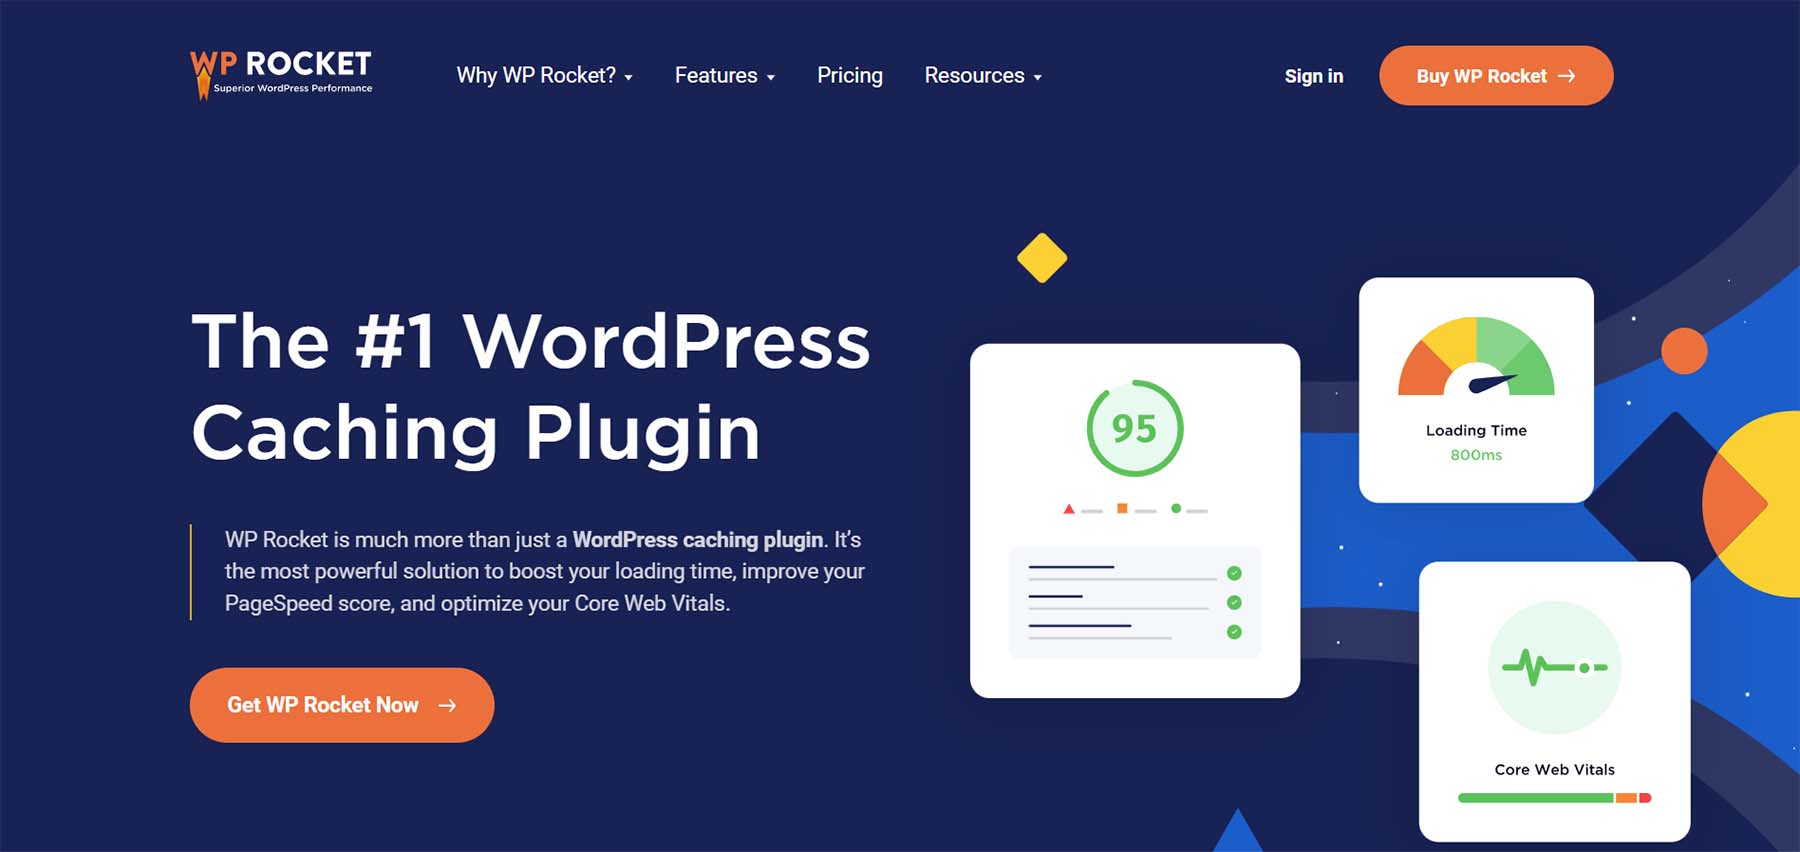
- Minify CSS, JavaScript, and HTML to reduce page load times. Tools like WP Rocket handle this automatically.
- Use caching (browser, page, and object caching) to speed up repeat visits. WP Rocket can help.
- Lazy-load images and videos, so only visible content loads first. Here are the best image optimization plugins.
- Remove unused plugins, themes, and third-party scripts that slow down performance.
- Host fonts locally to avoid delays from third-party font delivery networks.
- Avoid heavy animations or autoplay videos above the fold. They slow down perceived performance.
- Use asynchronous loading for scripts and tracking codes.
- Test your Core Web Vitals using PageSpeed Insights, and fix any failing metrics.
The right solution can improve your website’s performance and speed. For example, top website speed optimization plugins like WP Rocket and WP Optimize are all-in-one solutions, so you don’t need to install many plugins and bloat your site.
Bonus tip: Run your site through GTmetrix or PageSpeed Insights after each change to track improvements. Even a one-second improvement can make a noticeable difference.
4. Check Mobile Speed As Well
You should also confirm that your site loads fast on mobile devices. Here’s our guide on how to do a full website speed test that covers mobile-friendly speed optimization in detail. Follow the tips effectively to load your mobile site fast.
5. Make Your Site Optimized for SEO
Search engines need clear signals to understand your site. Making a few key SEO updates now can improve visibility and drive long-term traffic:
- Add unique title tags and meta descriptions for every page. These show up in search results and influence click-through rates.
- Use clean, SEO-friendly URLs that reflect your content. For example, /services/web-design helps search bots (as well as readers) understand the post much better than /page?id=23).
- Write alt text for every image so search engines can interpret visual content and users with screen readers can navigate your site.
- Link to other relevant pages within your site. Internal linking helps search engines crawl your site better and keeps visitors engaged.
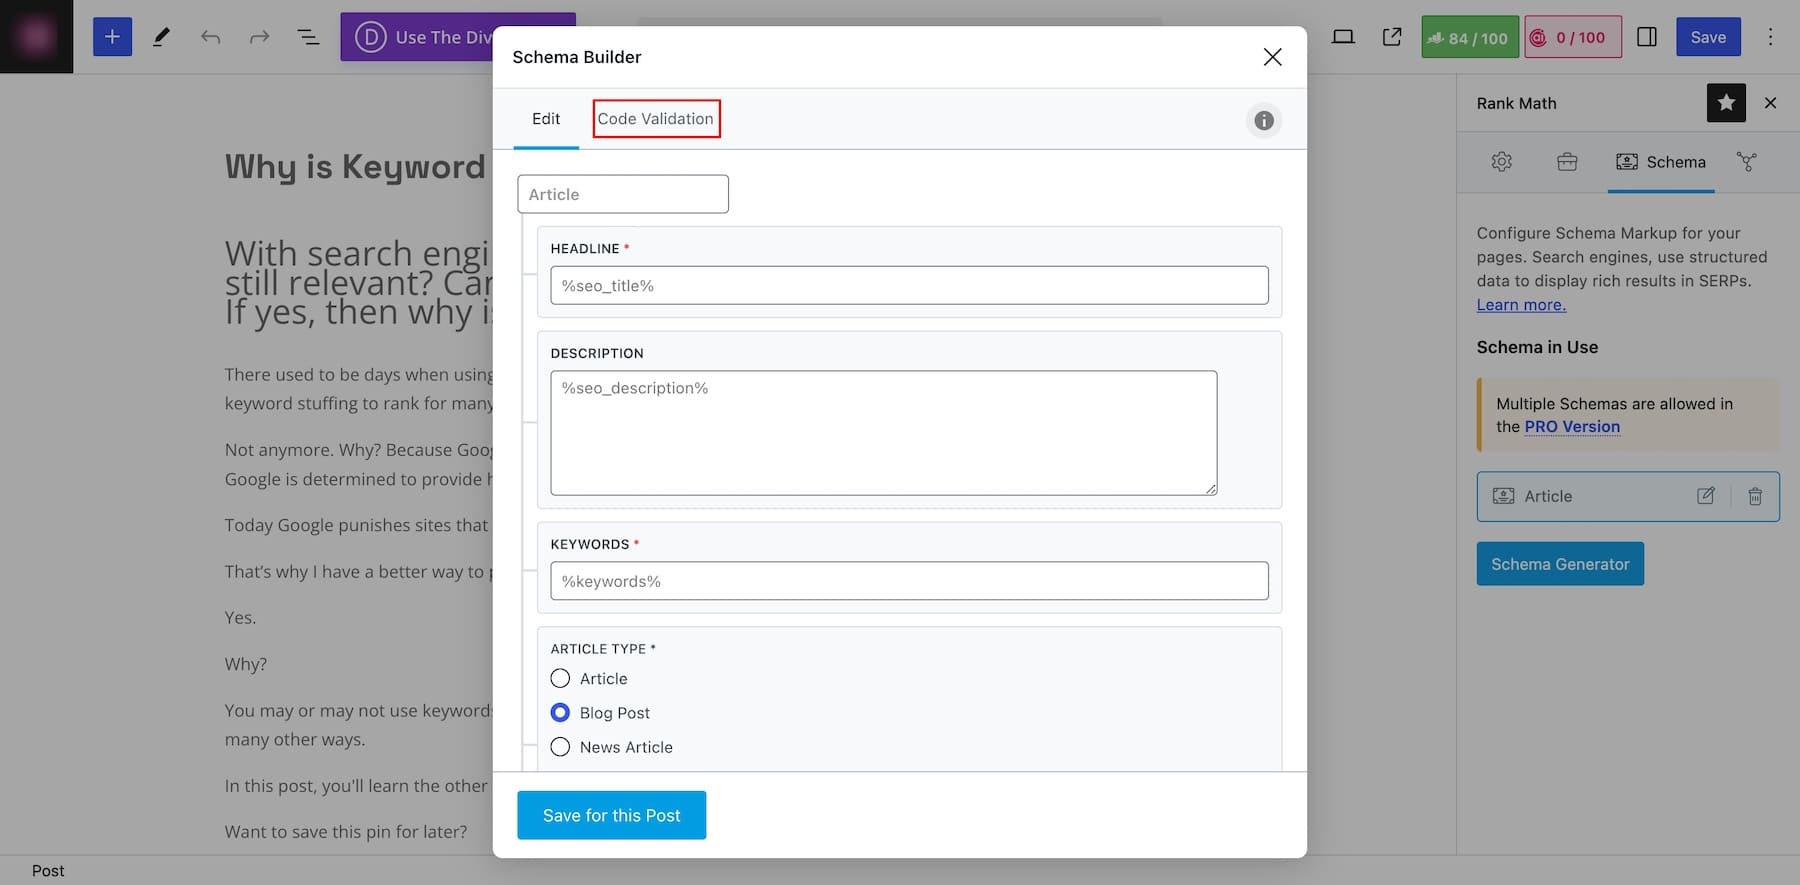
WordPress SEO plugins like Rank Math or Yoast SEO offer real-time SEO suggestions, schema markup, and on-page audits, all within your WordPress dashboard. So if you’re writing a blog post, you can optimize all on-page SEO parameters within the page.
We’ve also written a complete guide on WordPress SEO that covers everything you need to do to optimize your website. And if you’re using Divi, you can optimize your entire website for SEO easily.
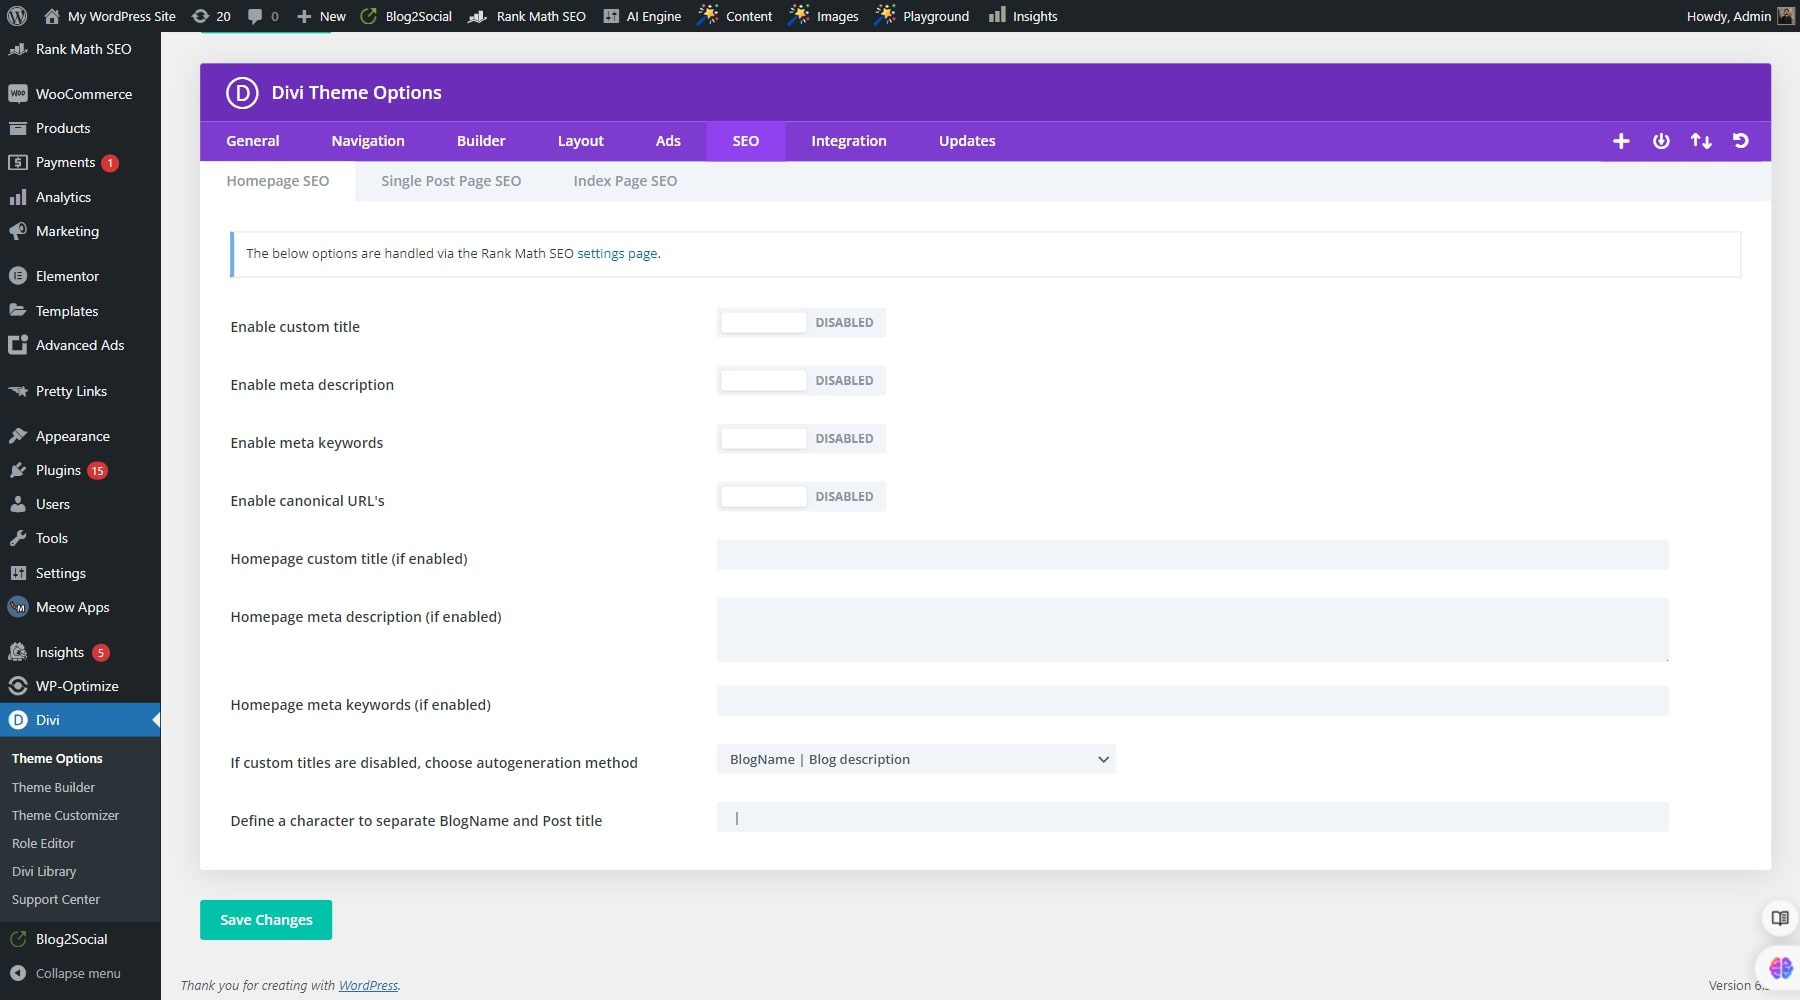
You can also add SEO titles and meta descriptions for each page directly inside the builder, so you don’t have to jump between tools while optimizing your site.
6. Set Up Your Tracking And Analytics Properly
You don’t want to launch your site and later realize you’ve missed tracking your first visitors. Setting up the right tools from day one ensures you can see what’s working and where people are dropping off.
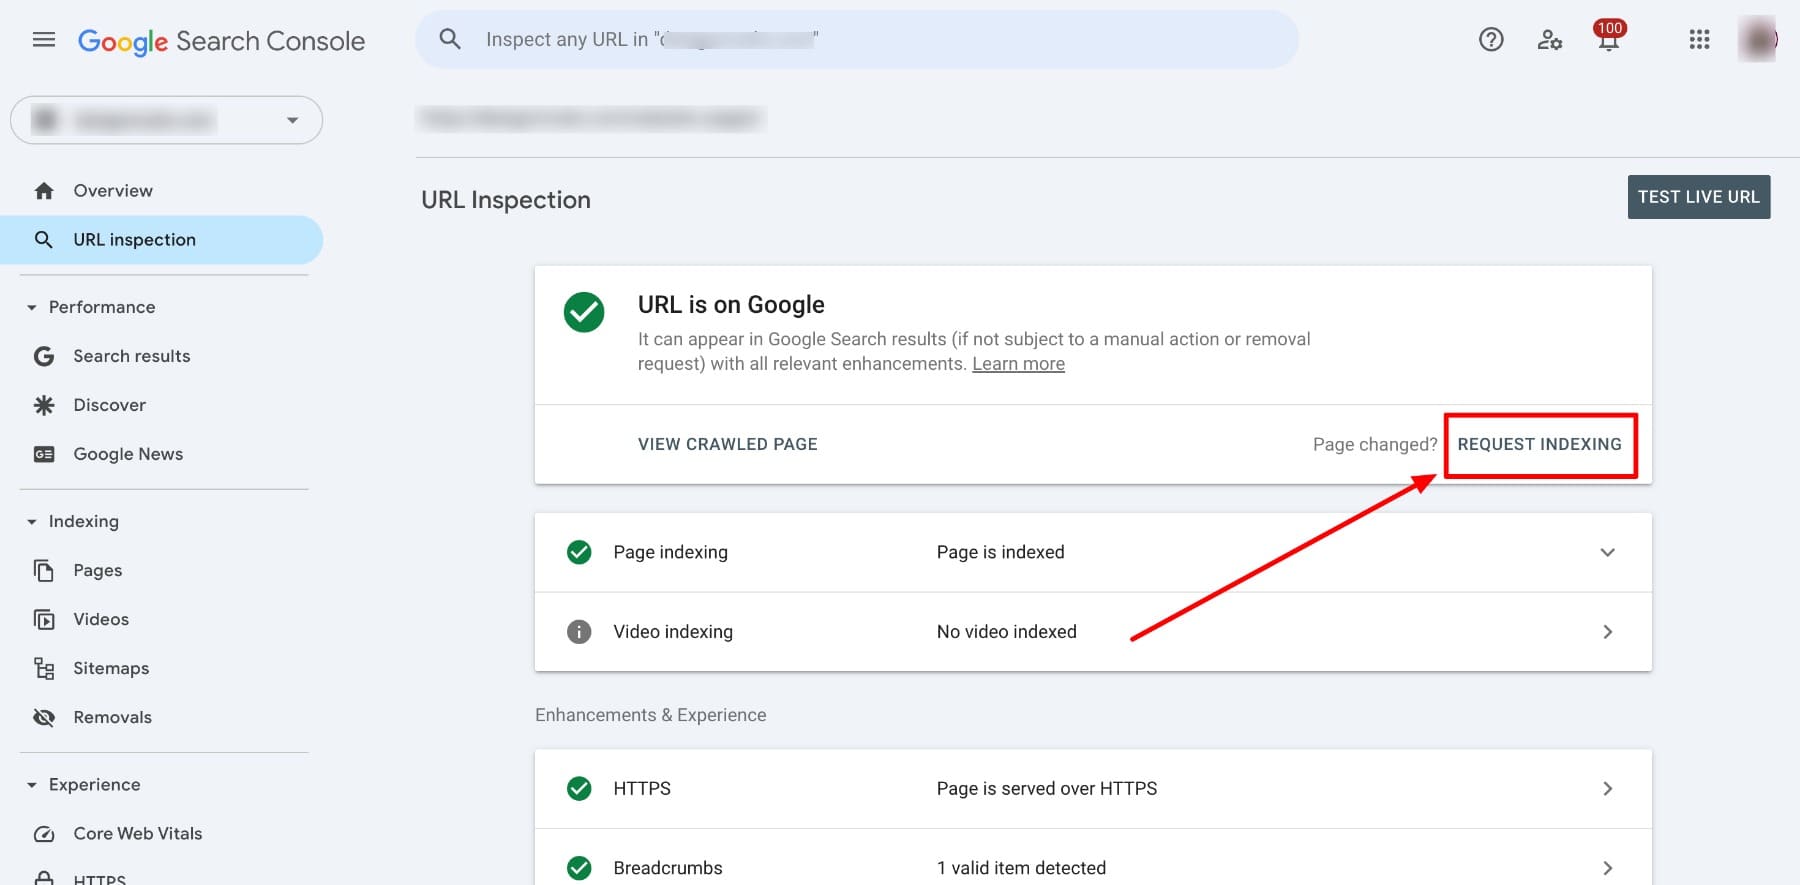
Start with Google Analytics 4 (GA4) to track user behavior, conversions, and engagement across devices. Pair it with Google Search Console to monitor your site’s performance in search results and catch indexing or mobile usability issues early. You can also use it to submit your new URLs for indexing every time a new post goes live, so search bots also know about them.
If you’re looking for something simpler, especially for basic site stats and uptime monitoring, Jetpack can give you quick insights without needing to configure everything manually. It won’t replace GA4 or Search Console, but it’s a helpful addition, especially for solo site owners or beginners.
7. Check For Broken Links
Before your site goes live, it’s worth scanning for broken links, even if it’s still in staging. Broken links are easy to miss if you’ve migrated pages, reused templates, or copied links between environments. Catching them early helps you clean up your internal linking, fix missing URLs, and ensure that nothing important points to a dead end. Look for:
- Internal links that lead to unpublished or deleted pages
- External links pointing to outdated or broken resources
- Buttons or CTAs without working URLs
- Navigation menu items that don’t go anywhere
You can use tools like the Broken Link Checker plugin to scan draft content.
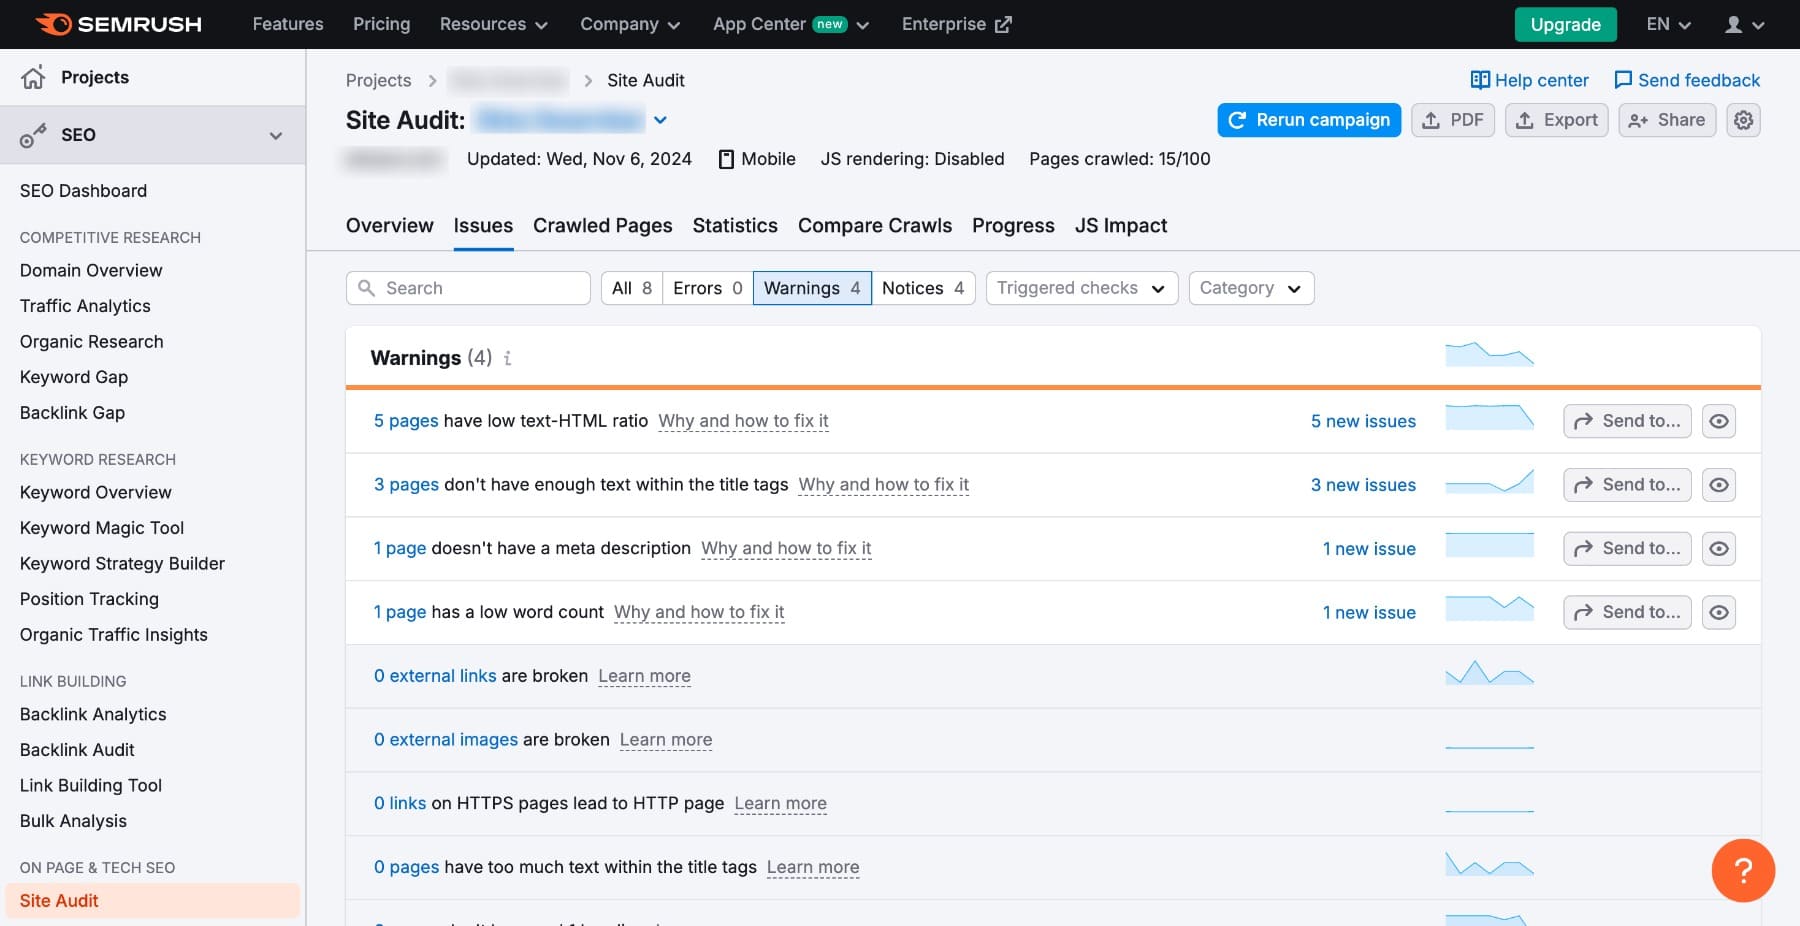
Tip: After your website launches, do a second scan using tools like Semrush or Ahrefs so they can crawl your live site and catch issues that weren’t visible in staging.
8. Create A 404 Page + Set Up Redirects
Even if you’ve fixed every broken link you can find, visitors may still land on outdated URLs, especially if you’ve moved content, redesigned the site, or others have linked to old pages.
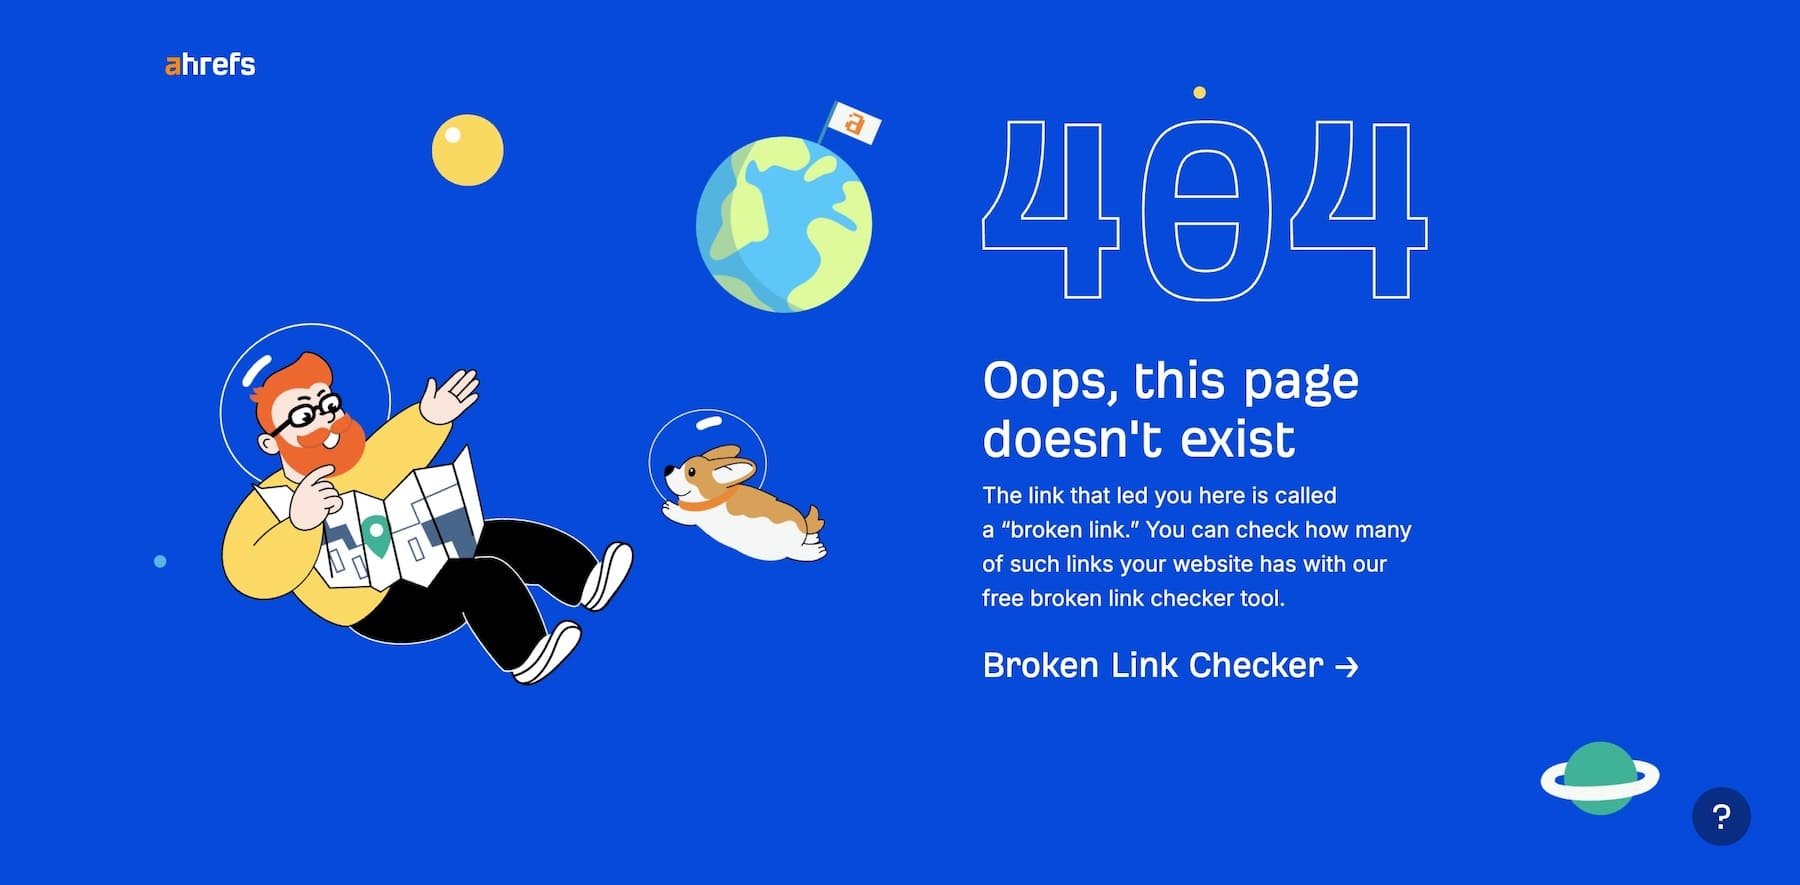
That’s where a helpful 404 page comes in. Instead of showing a generic error, create a branded 404 page that reassures users and guides them to useful content. Add links to your homepage, popular pages, or a search bar to keep people engaged. 404 pages usually annoy readers, but you can follow a smart approach like Ahrefs to send them to a different page.
Additionally, set up 301 redirects for any URLs you’ve changed during development. Rank Math makes it easy to map old links to new ones without touching your code.
9. Create Legal Pages
It’s easy to get caught up in design and forget the legal basics, but they matter. Depending on where your audience is located, skipping this step could put you at risk of non-compliance with privacy laws like GDPR or CCPA. Even if you’re not collecting sensitive info, having these pages shows visitors that your site is trustworthy and professionally managed.
Make sure you have the following pages live and easy to find, usually in your footer:
- Privacy Policy: Explains how you collect, use, and store visitor data.
- Terms & Conditions: Outlines usage rules, disclaimers, and liability.
- Cookie Notice: If your site uses cookies (most do), you’ll likely need a visible cookie banner and a link to your cookie policy.
If you’re unsure where to start, tools like Termly can generate legally compliant pages and cookie consent banners in just a few steps.
10. Verify Your Email Marketing Setup Is Integrated Properly
If you plan to build an audience or collect leads, your email setup needs to be ready from day one. Even if you’re not launching a full campaign right away, it’s important to ensure your opt-in forms are styled properly, placed where they make sense, and easy to complete.
You’ll also want to double-check that your form integrates smoothly with your email marketing platform, whether you’re using Mailchimp, Kit, or something else. Submit a test email to make sure contacts are being added to your list and that your welcome or confirmation emails are sending as expected.
If you’re using a tool like Bloom, now’s a good time to set up your forms, connect them to your provider, and apply consistent styling to match your brand.

Even if only a few people sign up at first, having these basics in place ensures that you’ll be able to capitalize on opportunities from day one. Once you’ve launched your website successfully, you would want to set up your email marketing automation to start nurturing your subscribers.
11. Set Up Your Website Backup System
Launching a website involves many moving parts, and sometimes things don’t go as planned. Maybe a plugin update causes a layout issue, or you accidentally overwrite a key page during last-minute edits. Whatever the case, having a backup ready means you can quickly restore your site without losing progress.
Install a plugin like UpdraftPlus and configure it to store backups off-site, such as on Google Drive or Dropbox. Run at least one manual backup before launch, so you have a clean version to restore if anything goes wrong.

You can also set up automatic backups to run daily or weekly, depending on how often you update your site. It’s one of those things you don’t think about until you really need it. Here’s a guide on how to back up your WordPress site if you need help getting started.
12. Tighten Your Website Security
Security should be part of your launch process, not something you patch in later. Here’s what to take care of before going live:
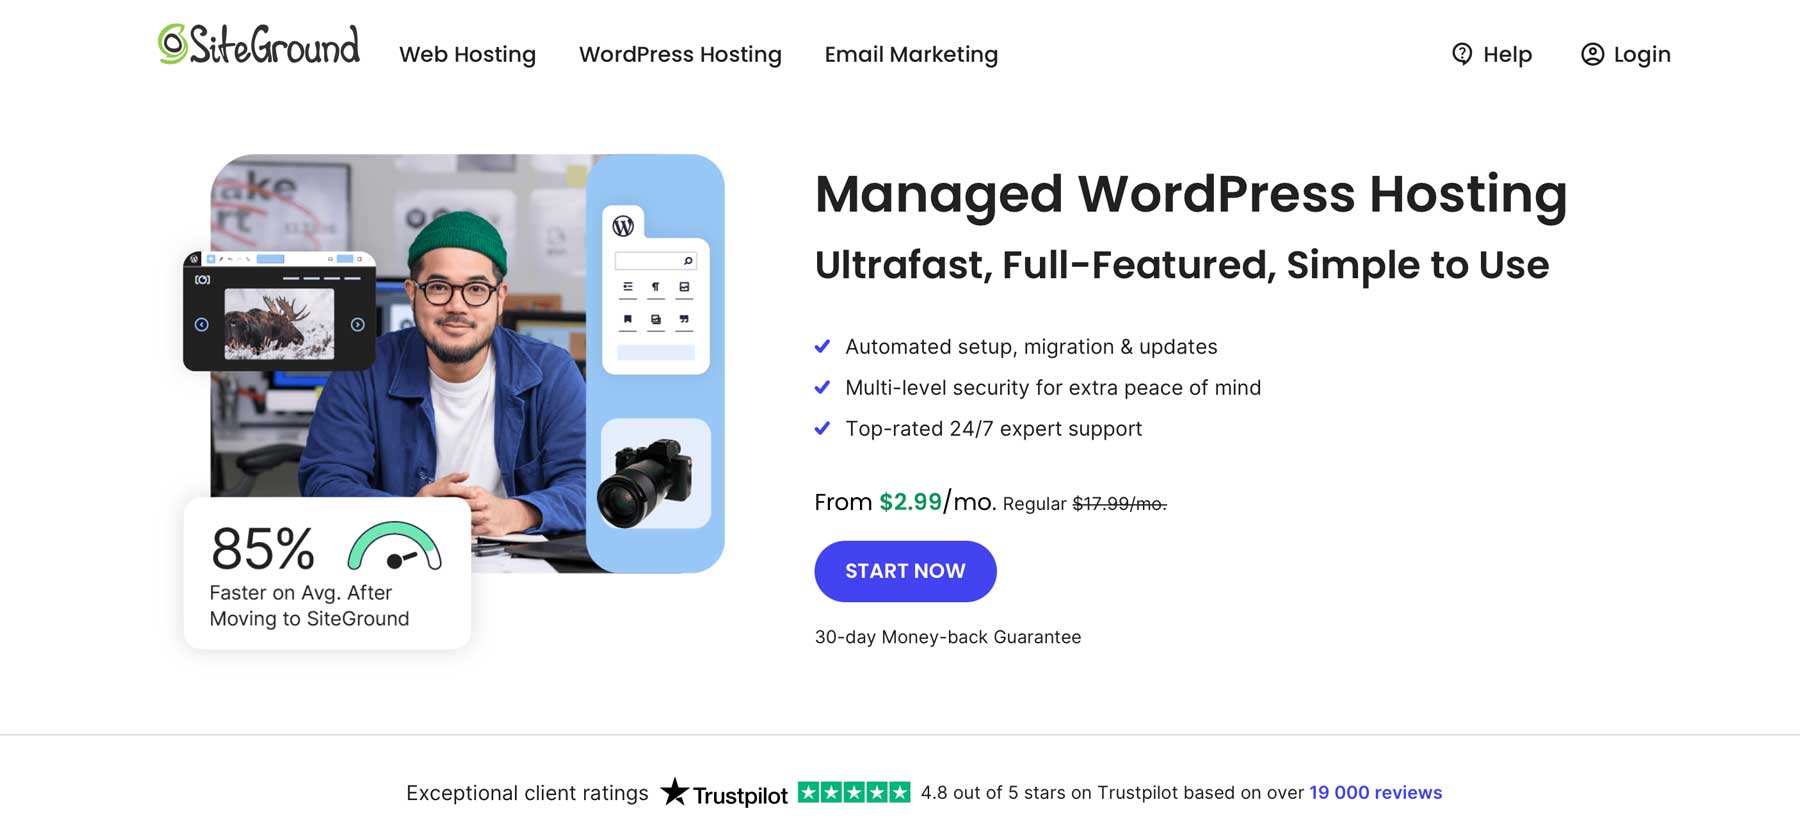
- Install an SSL Certificate: Most hosting providers, like SiteGround, offer free SSL with a one-click setup. This encrypts your site and boosts user trust.
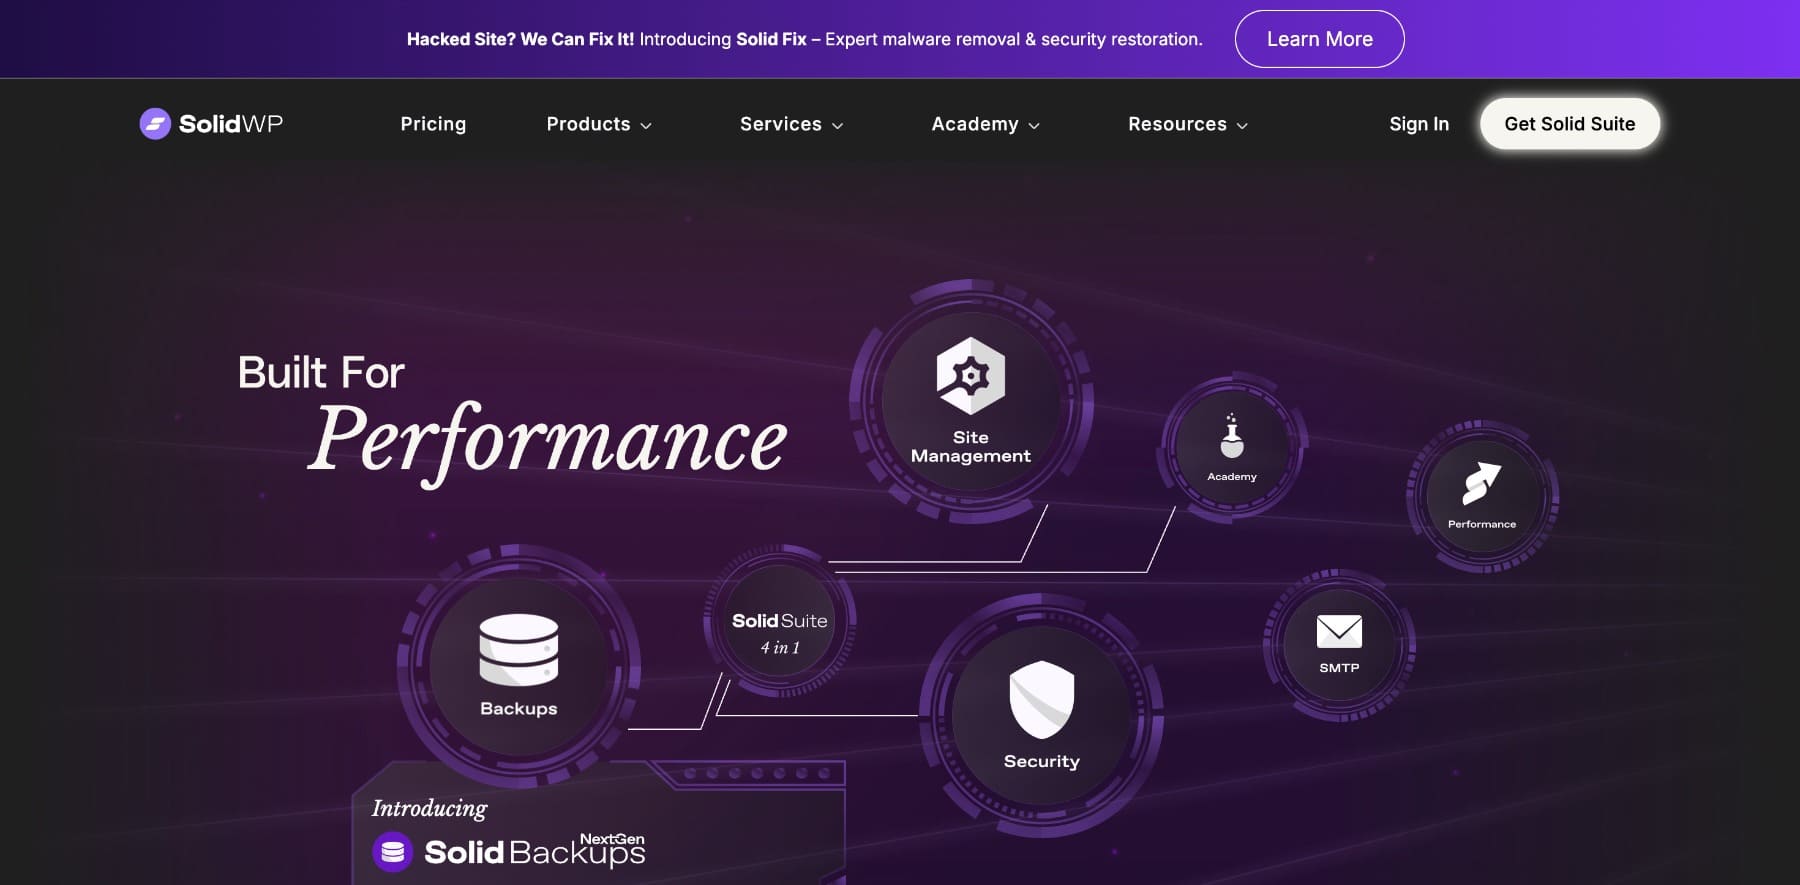
- Use a Trusted Security Plugin: Tools like Solid Security or Wordfence help monitor suspicious activity, block brute-force attempts, and secure login pages.
- Disable File Editing from the WordPress Dashboard: This prevents anyone from modifying theme/plugin files directly if they get access.
- Create Strong, Unique Passwords: Especially for admin accounts and hosting logins.
- Remove Unused User Accounts: Fewer users mean fewer entry points.
- Keep WordPress, Themes, and Plugins Up to Date: Most vulnerabilities come from outdated software.
Taking these steps early helps avoid unnecessary stress once your site is live and attracting traffic. An all-in-one solution like Solid Security can help, but you might want to optimize your site for a layered security approach, as we found that a plugin alone is not enough in our recent report. Check out the biggest security threats WordPress faces and our complete guide on WordPress security to harden it even more.
13. Check Your Favicon & Browser Title
These might seem like small details, but your favicon and site title make a big difference in how your website appears in browsers and tabs.
First, upload a favicon (the small icon that appears next to your site name in the browser tab.) Without it, users may see a generic placeholder or nothing at all, which can make your site look unfinished.
Next, double-check your browser tab title. This is usually pulled from your homepage’s SEO title, but it’s worth reviewing to ensure it clearly reflects your brand. Avoid generic titles like “Home” or “New Website.” It helps your site look more polished and trustworthy from the first click.
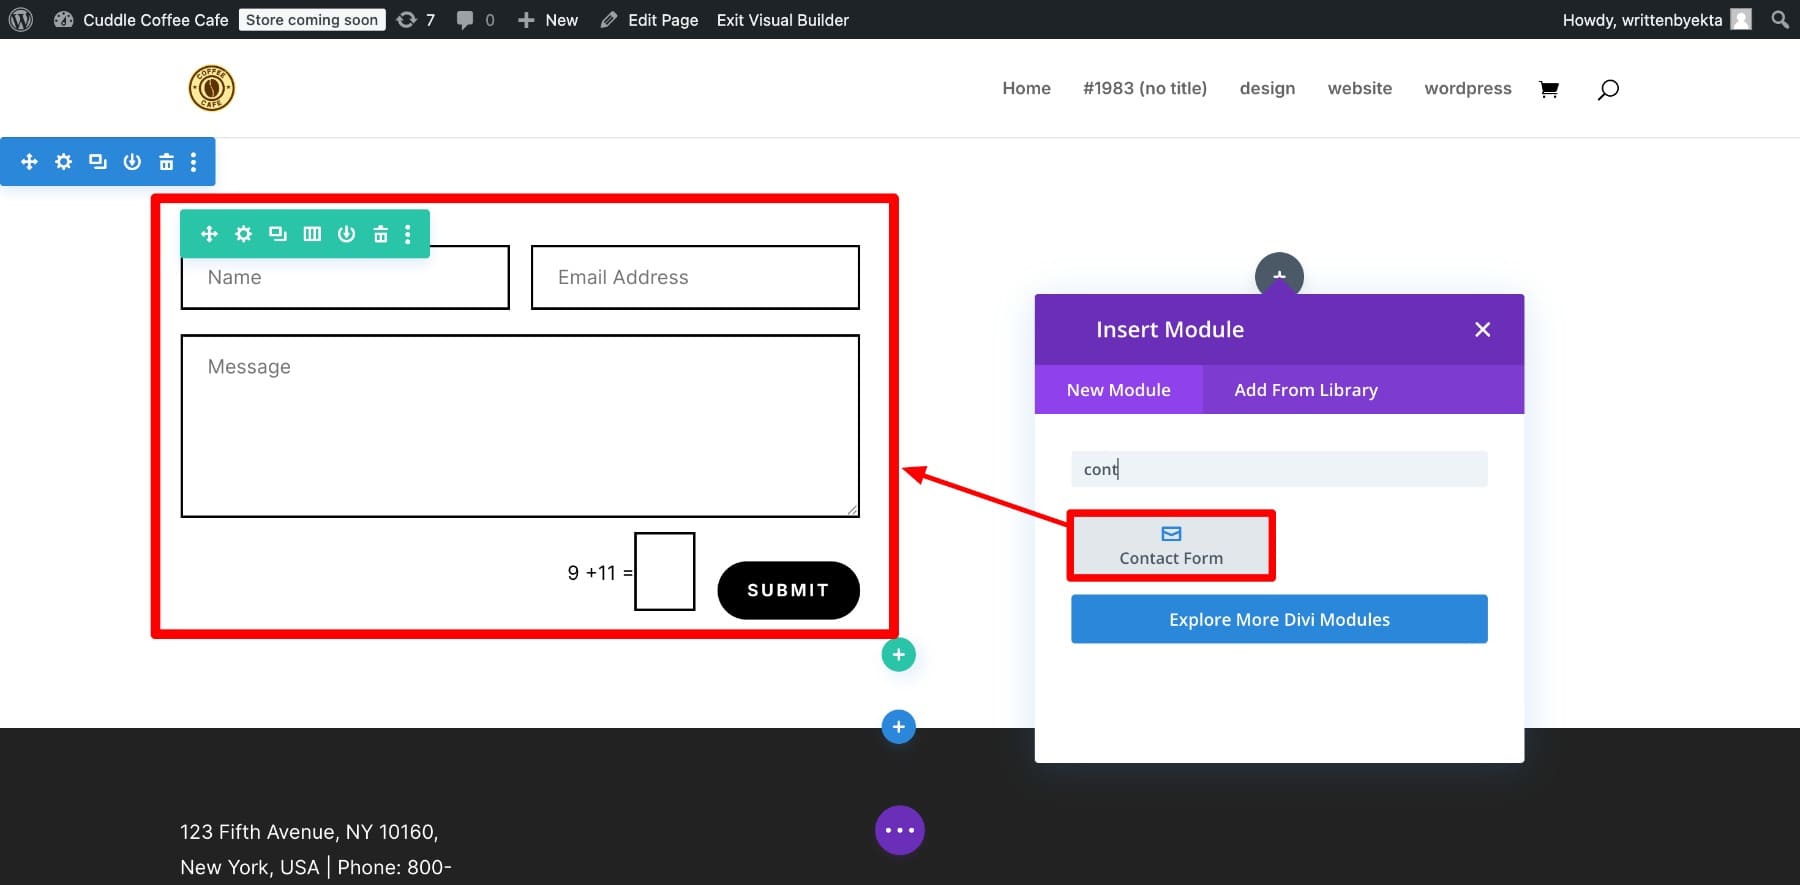
14. Test Your Contact Forms
You’d be surprised how often contact forms break or never get tested before launch. And if someone tries to reach you through a form that doesn’t work, you may never know. Before launching your site, submit a test entry through every form on your site, such as contact forms, lead magnets, quote requests, anything. Check if:
- The form submits successfully without errors
- Emails are delivered to the right inbox
- Auto-replies or confirmation messages look correct
- Spam filtering or CAPTCHA (if used) isn’t too aggressive
If you’re using multiple forms or third-party tools like Mailchimp or Kit, test the integration. If you’re using the Divi contact form module (which is a good idea to keep things simple), test integrations with email services or CRMs, especially if you’ve added conditional logic or custom fields.
15. Optimize Your Site For Web Accessibility Standards
Your website should also work for everyone. Accessibility is about making sure all visitors, including those with disabilities, can navigate and interact with your site. At the very least, check the basics:
- Color Contrast: Make sure the text is easily read against the background, especially for buttons and links.
- Alt Text: Every image should have descriptive alt text so screen readers can read it.
- Keyboard Navigation: Try using your site with just a keyboard. Can you reach all important areas without a mouse?
- Form Labels and Error Messages: Make sure they’re clear and properly associated with their fields.
EqualWeb is a free web accessibility checker that lets you quickly perform an accessibility audit and highlight problem areas. While you don’t need to meet every advanced guideline right away, covering the accessibility basics makes your site more inclusive and user-friendly for everyone.
Website Post-Launch Checklist
This list highlights things to verify after a few days of launching your site.
16. Final Content Review
Even after all the pre-launch checks, reviewing your content once it’s live is helpful because sometimes errors only become obvious when seen in context. But that’s not actually a boring part, because I know you’re probably very excited to see your website’s live version.
Click through each key page on your website and look for typos, formatting glitches, broken CTAs, or placeholder text you may have missed earlier. Also, double-check your mobile views, especially for text overlays, CTA buttons, and long-form content.
If you’re working with a team, it helps to have someone else do a fresh pass. A second set of eyes often spots things you’ve gotten too used to seeing.
Your website is live. Now, it’s time to make it shareable.
Start by adding social sharing buttons to key pages like blog posts, product pages, and landing pages. You can add them as floating sidebars, below the title, or inline content. That said, floating sidebars are great for longer articles, while inline buttons near the top or bottom work well on shorter pages or sales content. Focus on making sharing effortless without interrupting the reading experience.
If you’re using Monarch, review your settings to make sure:
- Buttons are showing up on the right pages
- The design and animation style match your branding
- Mobile responsiveness is working properly
Test the buttons across different devices and screen sizes to confirm they’re not blocking content or taking too long to load. The more seamless the experience, the more likely visitors are to share.
18. Set Up A CDN And Check Hosting
Is your website fast and stable for real visitors? If your hosting is slow, consider SiteGround that comes with built-in caching and performance tools to handle most speed optimization tasks out of the box, including dynamic caching and on-demand scaling.
Also, add a CDN like Cloudflare and confirm that it’s delivering your static assets correctly. Monitor your site for a few days after launch to catch any slowdowns, spikes, or downtime. Even small hosting issues can impact user experience if left unchecked.
19. Announce Your Launch
Think of your launch as a final giveaway: you’re handing over a polished, working website to the world. Start by planning how you want to announce it. Will it be a soft launch to your email list or a bigger push across social platforms?
Craft a short message that highlights what’s new, what’s valuable, or what people can expect next. If you’re targeting specific groups (like clients, peers, or followers), tailor your message to each one. Then share it.
- Send an email to your list.
- Post a short launch message or behind-the-scenes video on LinkedIn, Instagram, or wherever your audience hangs out.
- Update your bios, link to the new site, and consider repurposing your launch message into a short blog post or newsletter.
The Divi Framework Simplifies Website Launch
Launching a website can be overwhelming if you’re juggling design, speed, SEO, and functionality all at once. That’s why your choice of website builder matters more than you think.
Divi is more than just a WordPress theme. It’s a complete website-building framework that brings all the moving parts of your site into one streamlined workspace. From polishing your design to optimizing for mobile, fixing SEO basics, and testing performance, Divi helps you check every item off your launch checklist without switching between multiple tools.
It’s built to simplify the entire launch process. Instead of spending hours fixing responsiveness, styling buttons, or chasing performance issues, you get a builder that anticipates these needs and bakes in solutions from the start.
Here’s what makes Divi a solid choice:
- Professionally Designed Templates: Choose from over 2,000 customizable website templates built for different industries and use cases — all editable with Divi’s intuitive visual drag-and-drop builder, so you’re never starting from scratch.
- Quick Website Setup with Divi Quick Sites: Generate a complete website in minutes using Divi Quick Sites. Just answer a few questions, and Divi builds out your homepage, inner pages, and branding automatically, perfect for rapid launches.
- Content Generation with Divi AI: Need content fast? Divi AI helps you generate text, images, and even custom code inside the builder. Whether it’s writing headlines or building full sections, AI speeds up your workflow without compromising creativity.
- Launch an Online Store in Minutes: Divi’s WooCommerce Builder comes with built-in support for creating and styling all your eCommerce pages, from product listings to cart and checkout, with no extra setup needed.
- All-in-One Marketing Toolkit: Divi includes Bloom for email opt-ins, Monarch for social sharing, and Divi Leads for built-in A/B testing. These tools help you grow your audience, increase engagement, and optimize conversions, all from a single dashboard.
- Responsive by Default: All templates and elements in Divi are built to be mobile-friendly and responsive. Plus, you can preview and adjust layouts for different devices directly within the builder.
- Streamlined Updates with Divi Dash: Manage your site updates on one centralized hub with Divi Dash. It keeps your workspace tidy and makes global changes fast and easy.
With Divi, you’re not just choosing a design tool. You’re investing in a complete website-building framework that brings everything together, so launching your site feels organized, efficient, and stress-free from start to finish.
Tools Recommended To Launch Your Website Effectively
You probably couldn’t follow all our tool suggestions while building your site, so here are all the tools, plugins, and products we mentioned throughout and what each does for you.
| Tools to Launch Websites Effectively | Description | ||
|---|---|---|---|
| 1 | Divi | Website Builder | Get |
| 2 | SiteGround | Hosting | Get |
| 3 | LambdaTest | Cross-Browser Testing | Get |
| 4 | WP Rocket | Speed Optimization | Get |
| 5 | WP Optimize | Speed Optimization | Get |
| 6 | Jetpack | Analytics & Monitoring | Get |
| 7 | Rank Math | SEO Plugin | Get |
| 8 | Mailchimp | Email Marketing | Get |
| 9 | ConvertKit | Email Marketing | Get |
| 10 | UpdraftPlus | Backup Plugin | Get |
| 11 | Solid Security (iThemes) | Security Plugin | Get |
| 12 | Semrush | SEO & Site Audit | Get |


Leave A Reply