When building websites in WordPress, high-quality images are crucial to the design. With high-resolution displays being the new norm, your images must have the right size and resolution for all devices. But what happens when you are stuck using an image that’s not big enough or looks blurry? You can try to find a new image or simply use an image upscaler. With the power of AI, a good image upscaler can magically transform your small, pixelated images into high-resolution masterpieces in a few clicks. In this guide, we’ll learn more about image upscaling, upscale some images on WordPress, and explore a variety of image upscalers you can use in future projects.
What is Image Upscaling?
Subscribe To Our Youtube Channel
Image upscaling is the process of increasing a digital image’s size, resolution, or dimensions without losing image quality. This can be done using AI technology that uses deep learning, neural networks, and AI algorithms to enhance the image with the additional pixels it needs. It is a powerful solution for web designers looking to enlarge and enhance images while maintaining a quality that will not degrade the initial provided image.
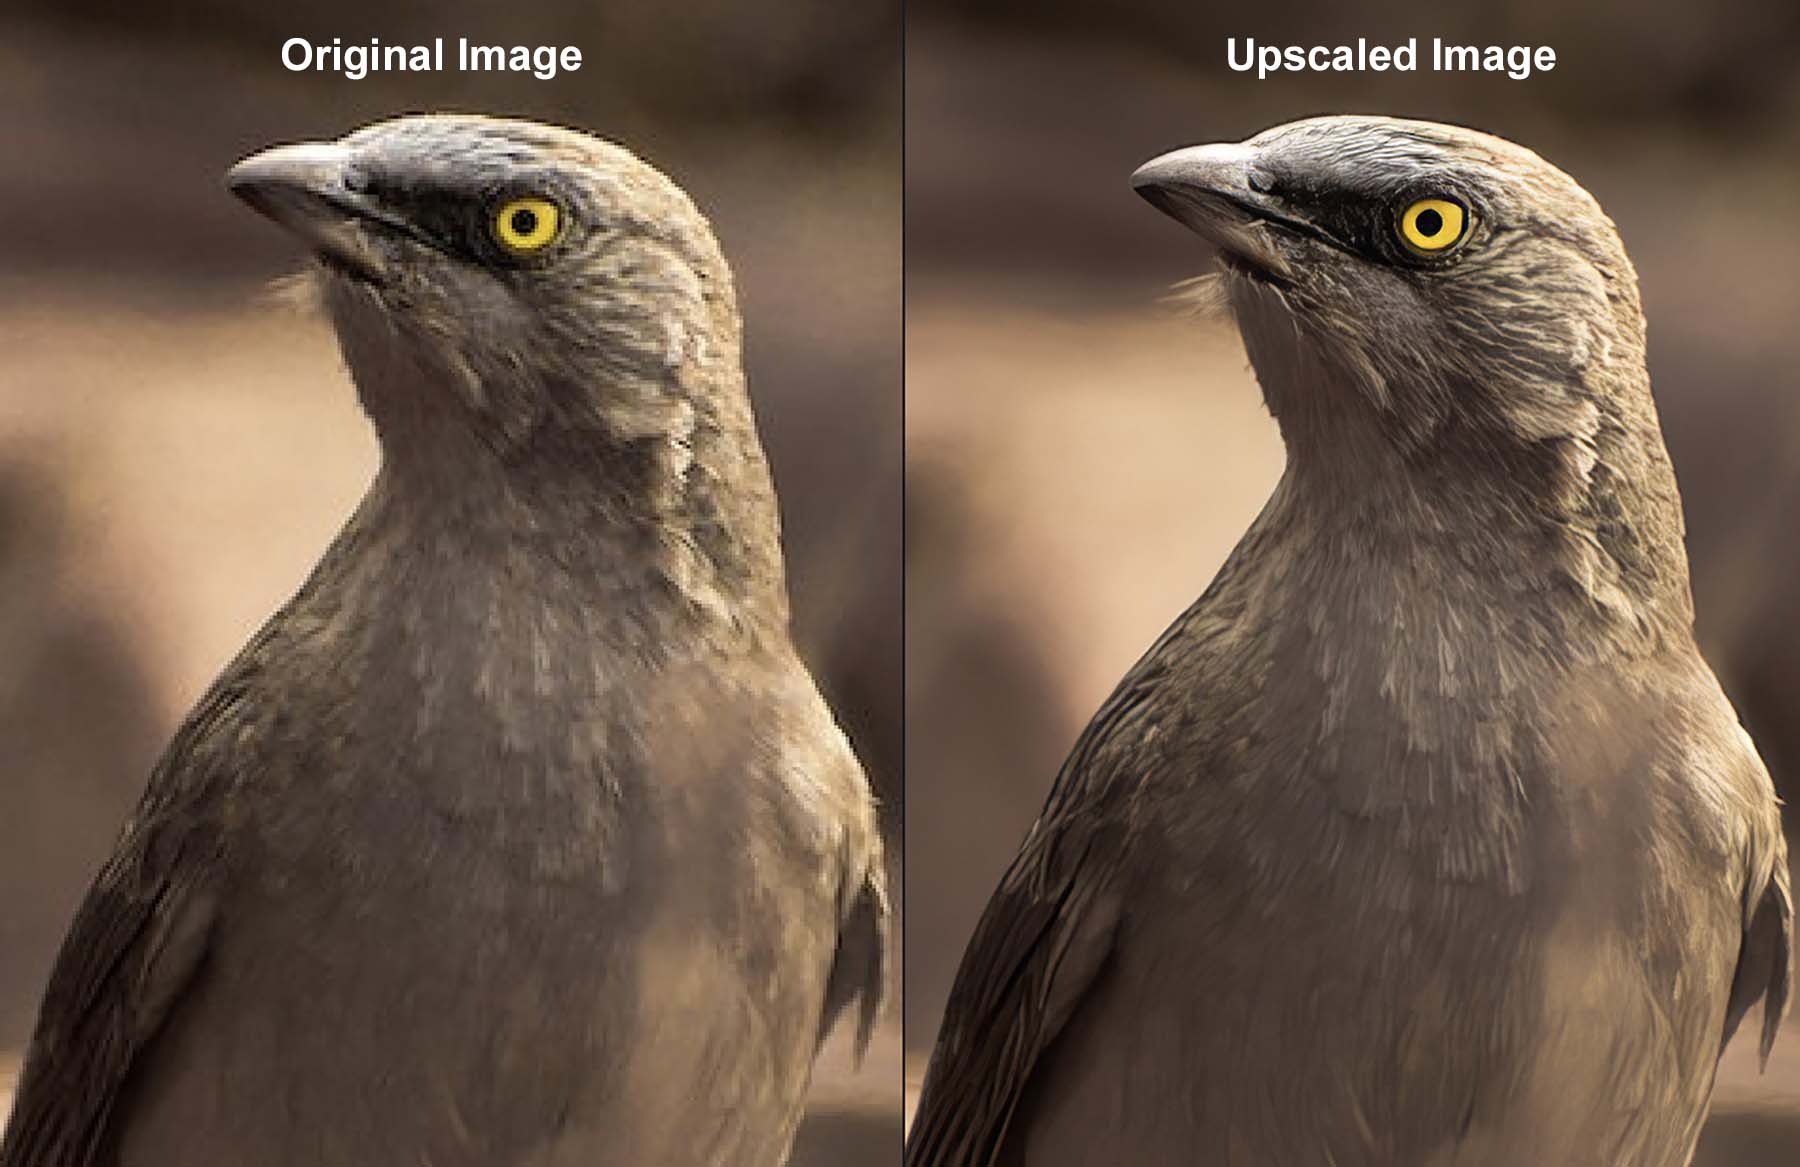
Popular image upscalers like Topaz Photo AI can do this outside of WordPress. In the above image, we can see that the quality of the initial image is subpar. There’s some pixelation; the image appears blurry and can’t be used at a higher resolution. However, the second image is much clearer: we can see the details within the features, the image colors are brighter, and the final product can be used in a larger and smaller form. This is an excellent example of the benefits of upscaling images.
Why You Need to Upscale Images in WordPress
In WordPress, once your image is uploaded, the original (or intrinsic) size and dimensions of the image are set. Sure, you can make the image smaller if you want. In fact, WordPress will create smaller versions for you to help render the right size on your website. But making them larger is a different story. If you want to make it larger, you can’t just increase an image’s dimensions in the Media Library or manually give it a larger width and height on your page. This will stretch the images and their pixels beyond their intrinsic value and render them with less quality and blur.
To make an image larger in WordPress, you need an image upscaler. Upscaling uses AI to ensure that the enlarged image maintains quality while increasing its size and dimensions. While the image’s dimensions are increased, the quality of the image is maintained and often enhanced with a result that often looks even better than the original. When working in WordPress, having this handy tool available saves you from having to search for better high-quality images or use other third-party tools for upscaling.
Benefits of Upscaling Images for WordPress
Many benefits come with upscaling images for your WordPress website:
- Improve Your Website’s Visuals: Upscaling your images in or for WordPress provides a better web experience for your viewers. Good visuals make a great website. Using crystal clear images on your website is an easy process when using an image upscaler to adjust photos on your website.
- Zooming and Panning in eCommerce: eCommerce plugins like WooCommerce have many features, including zooming and panning product photos. However, if you have poor-quality photos, this doesn’t look good for your brand. Being able to upscale images in WordPress affords you the ability to bring this feature to your WordPress site with high-quality images.
- Convenience When Searching and Using Images: With upscaling, you can save time when trying to find high-resolution versions of images in your arsenal. Using image upscalers, you can upscale the image you have on hand instead of searching far and wide for the high DPI version of an image.
- SEO and User Engagement: Most of the time, large images are a big problem for website performance and page load speed, which isn’t good for SEO. But, as long as your images are optimized, high-quality photos can lead to higher rankings on search engines. Therefore, consider using an AI image upscaler to process images for your WordPress website. Plus, there are more ways AI can help WordPress SEO.
- Future-Proofing Your Website: Screen sizes and resolutions have increased over the years. From retina to high DPI screens, ensuring your website will look as good today and in future years is imperative. You can remedy this by using image upscaler tools to keep your images looking fresh, regardless of the year people access your website.
Now that we understand how upscaling our images can benefit our WordPress website, let’s explore how we can implement this practically with Divi and Divi AI.
How to Upscale Images in WordPress with Divi AI
Divi, our powerful AI WordPress theme and page builder, ships with a powerful AI assistant for your website called Divi AI. It incorporates various AI features into your WordPress website, including image upscaling. Let’s explore how we can utilize these WordPress tools to enhance the dimensions of our images without compromising their quality.
1. Download and Install Divi and Divi AI
If you’re new to Divi, your journey starts by getting a membership and downloading Divi from your member profile. Then, you can follow this excellent guide showing you how to install Divi. It covers many topics that will help you install Divi on your WordPress website, including downloading the theme’s ZIP file, installing it in WordPress, and authenticating your website with Elegant Themes.
Divi AI is a powerful AI tool that works hand in hand with Divi and the Divi Builder plugin. You’ll have access to Divi AI out of the box with a free trial, and you can upgrade to an unlimited version at any time. This will give you full access to Divi’s AI image generator (and upscaler) as well as Divi AI’s writing assistant for generating content with AI.
Once Divi is installed and activated, and you have procured your Divi AI license, we can start upscaling some images! If you’re already a member of the Divi family, great! We’re happy to have you!
2. Open the Divi Builder and Select Your Image
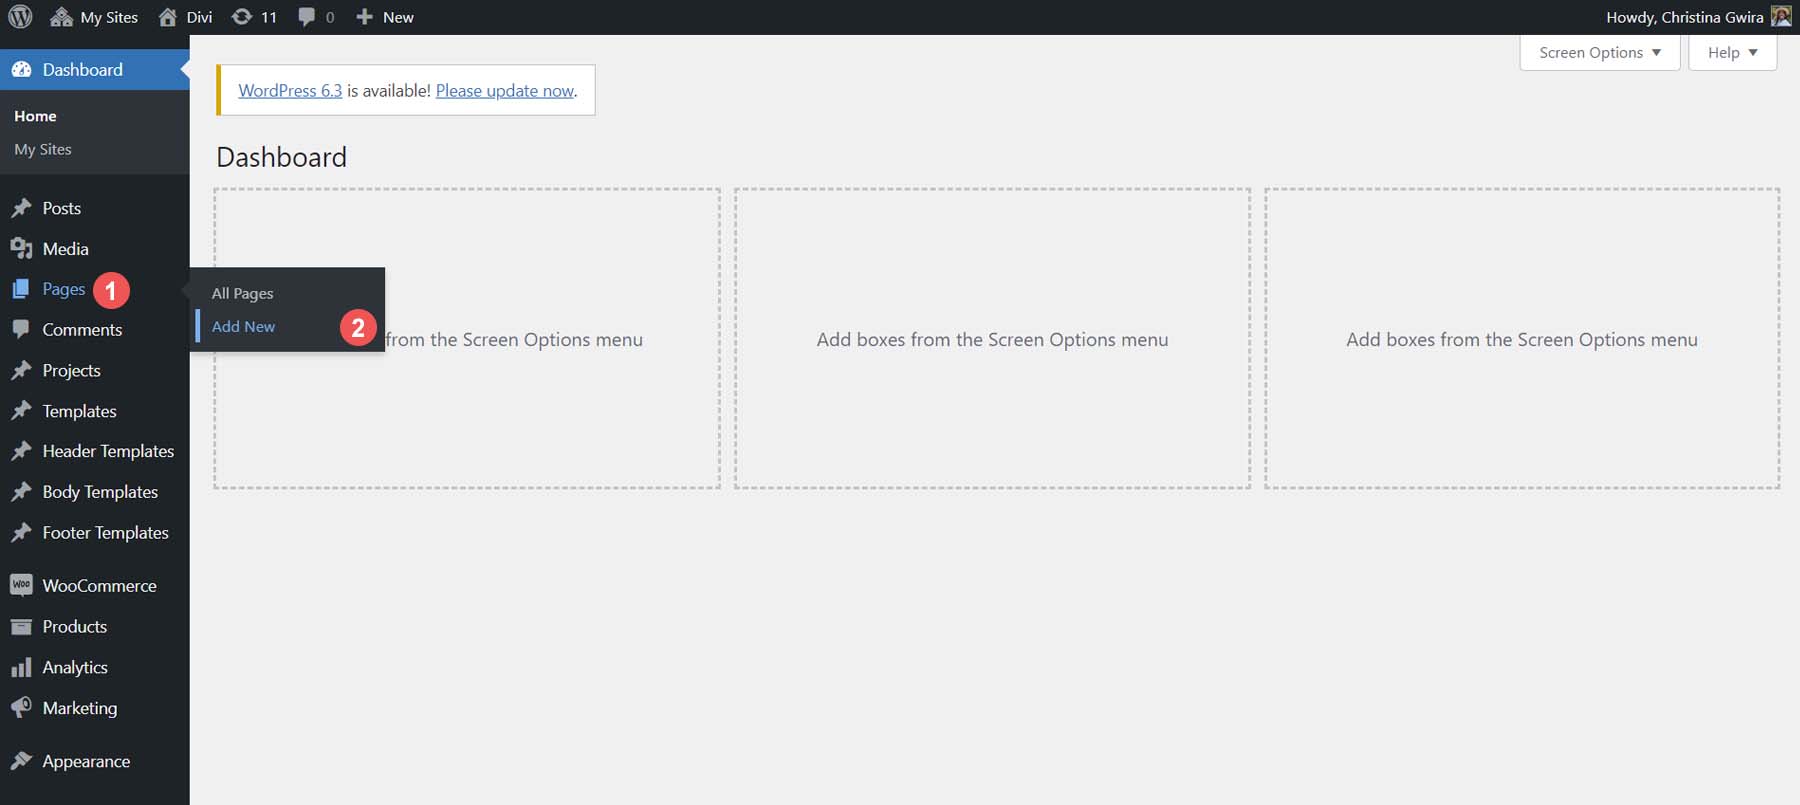
Whether working on an existing page or creating a page from scratch, the upscaling process with Divi AI is the same. You will edit your image, use the Divi AI upscale command, and then Divi AI will automatically re-insert your image in the same place. Let’s go over how to do that now with a brand-new page in WordPress. From the WordPress dashboard, hover over the Pages menu link. Then, click Add New. This will create a new page for us.
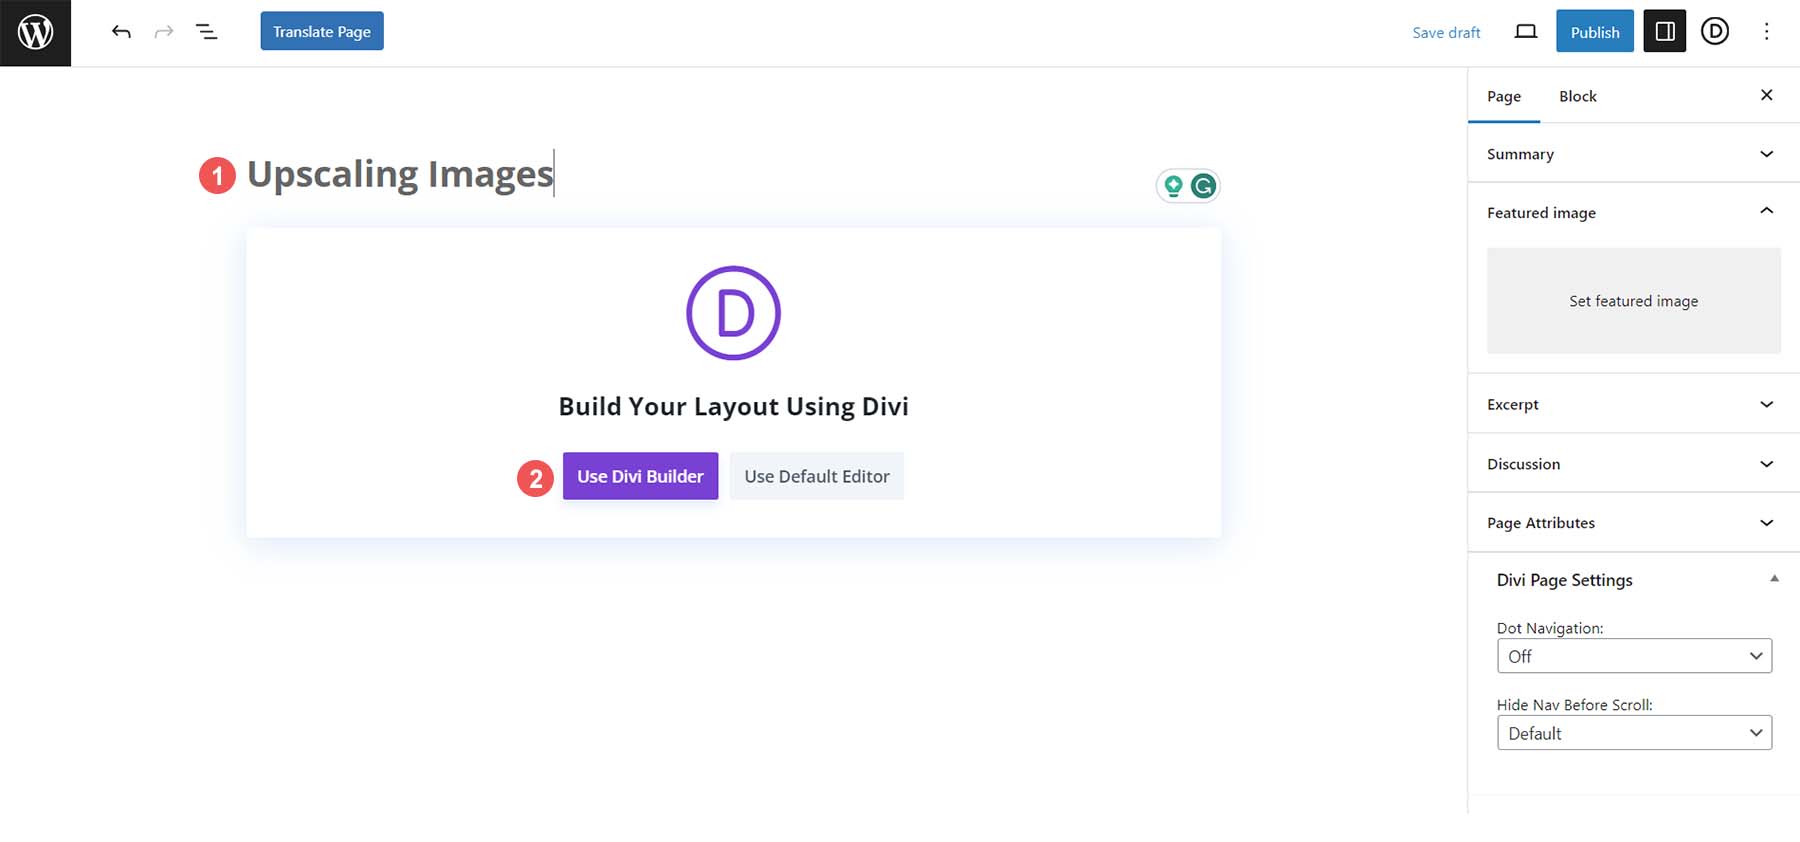
Name your page, then click the purple Use Divi Builder button.
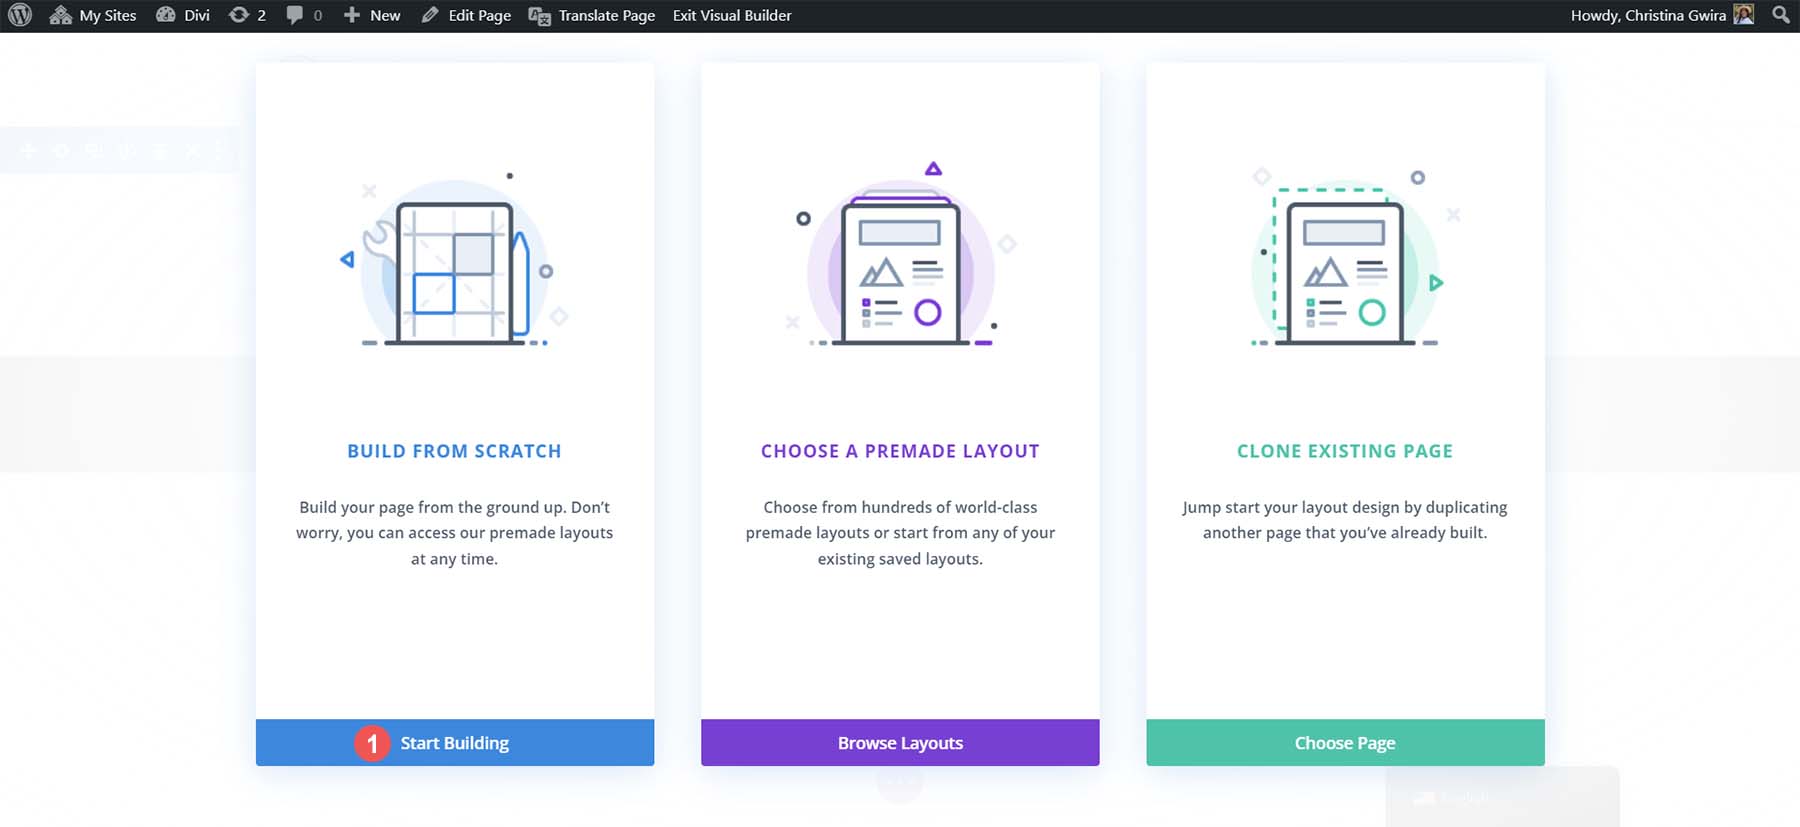
From the three options presented, choose the first choice. Click the blue button that says Start Building, and now, you have a blank slate for upscaling your images.
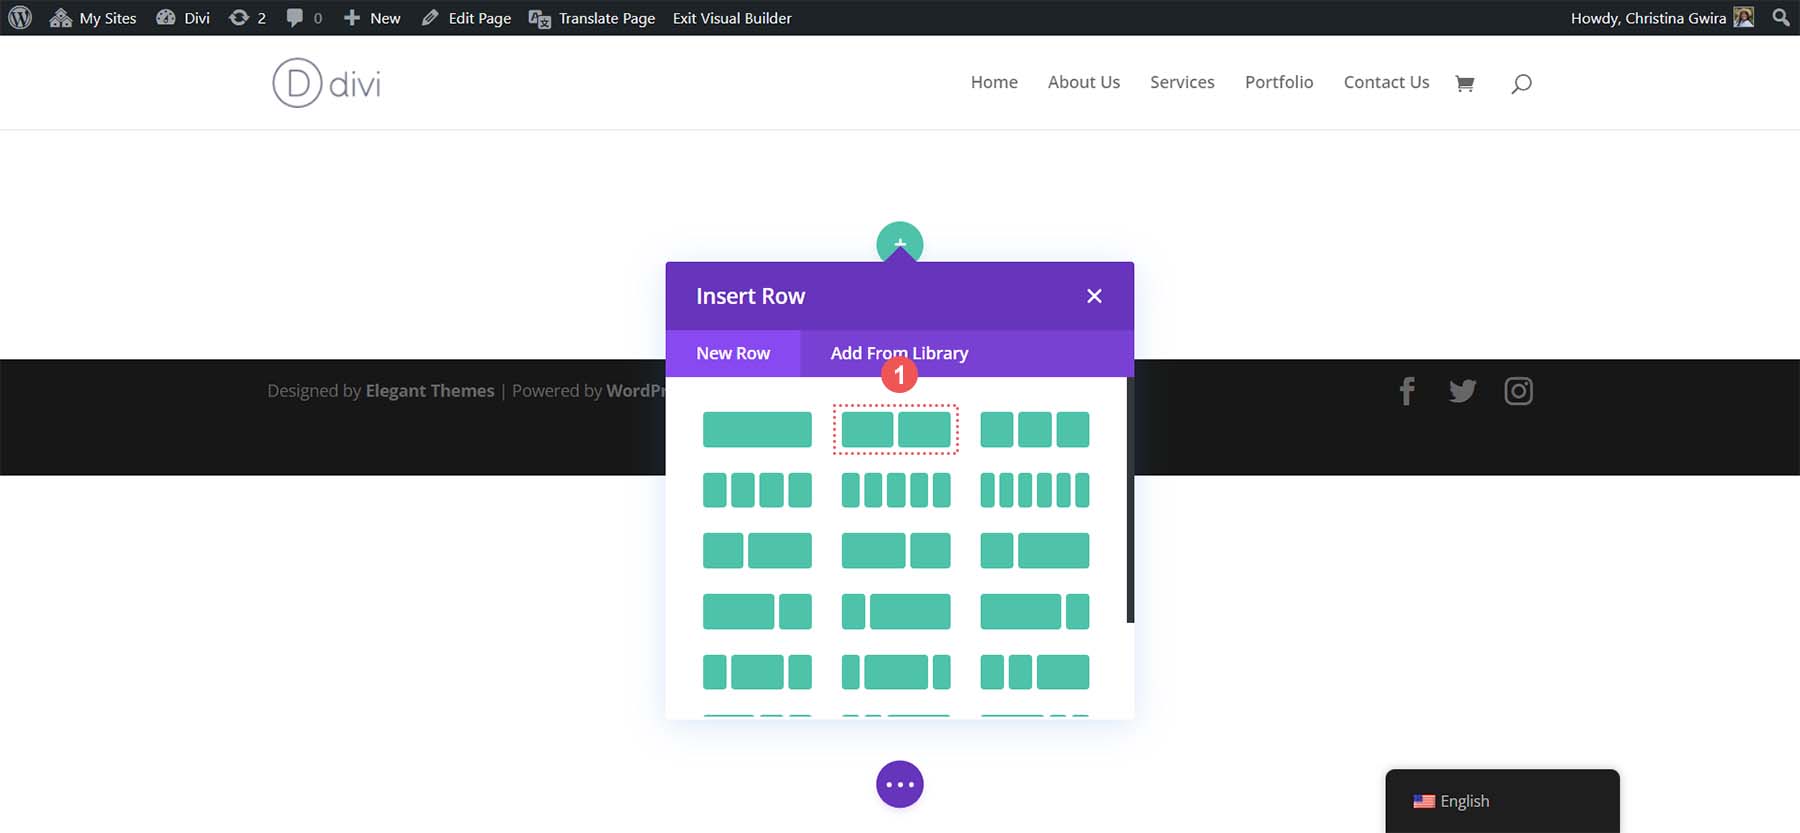
Divi will automatically create a new section for you in the builder. However, you’ll need to add a new row. Click the two-column row layout from the row modal box to do this.
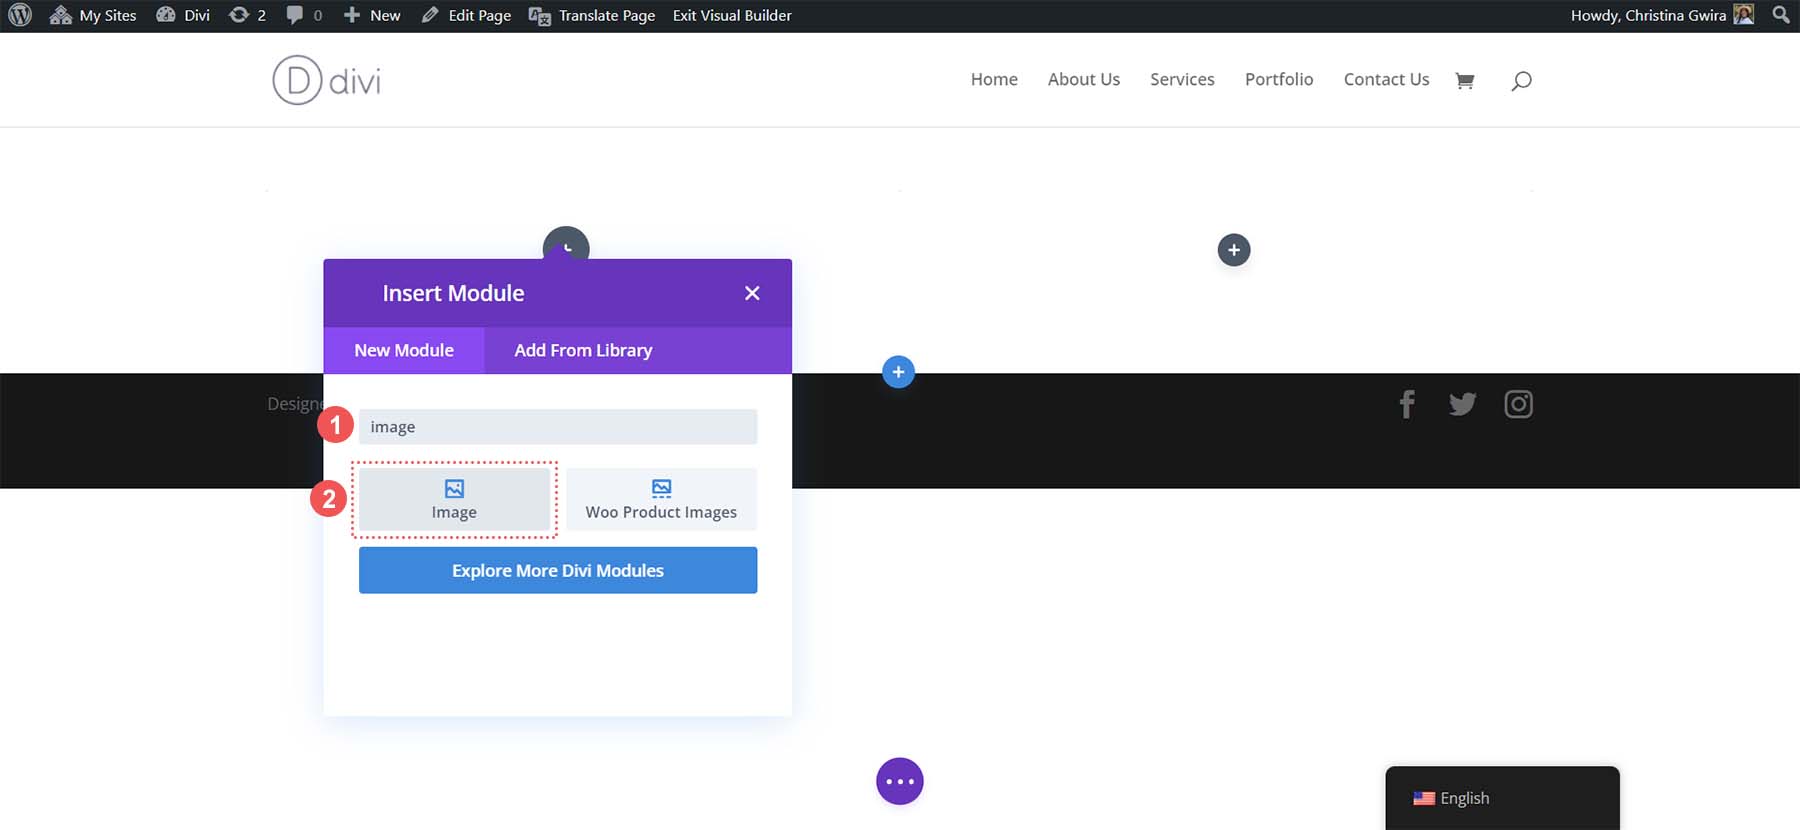
Next, enter the word “image” into the search box for the Module modal box. Click on the Image Module to add it to the first column in your newly added row.
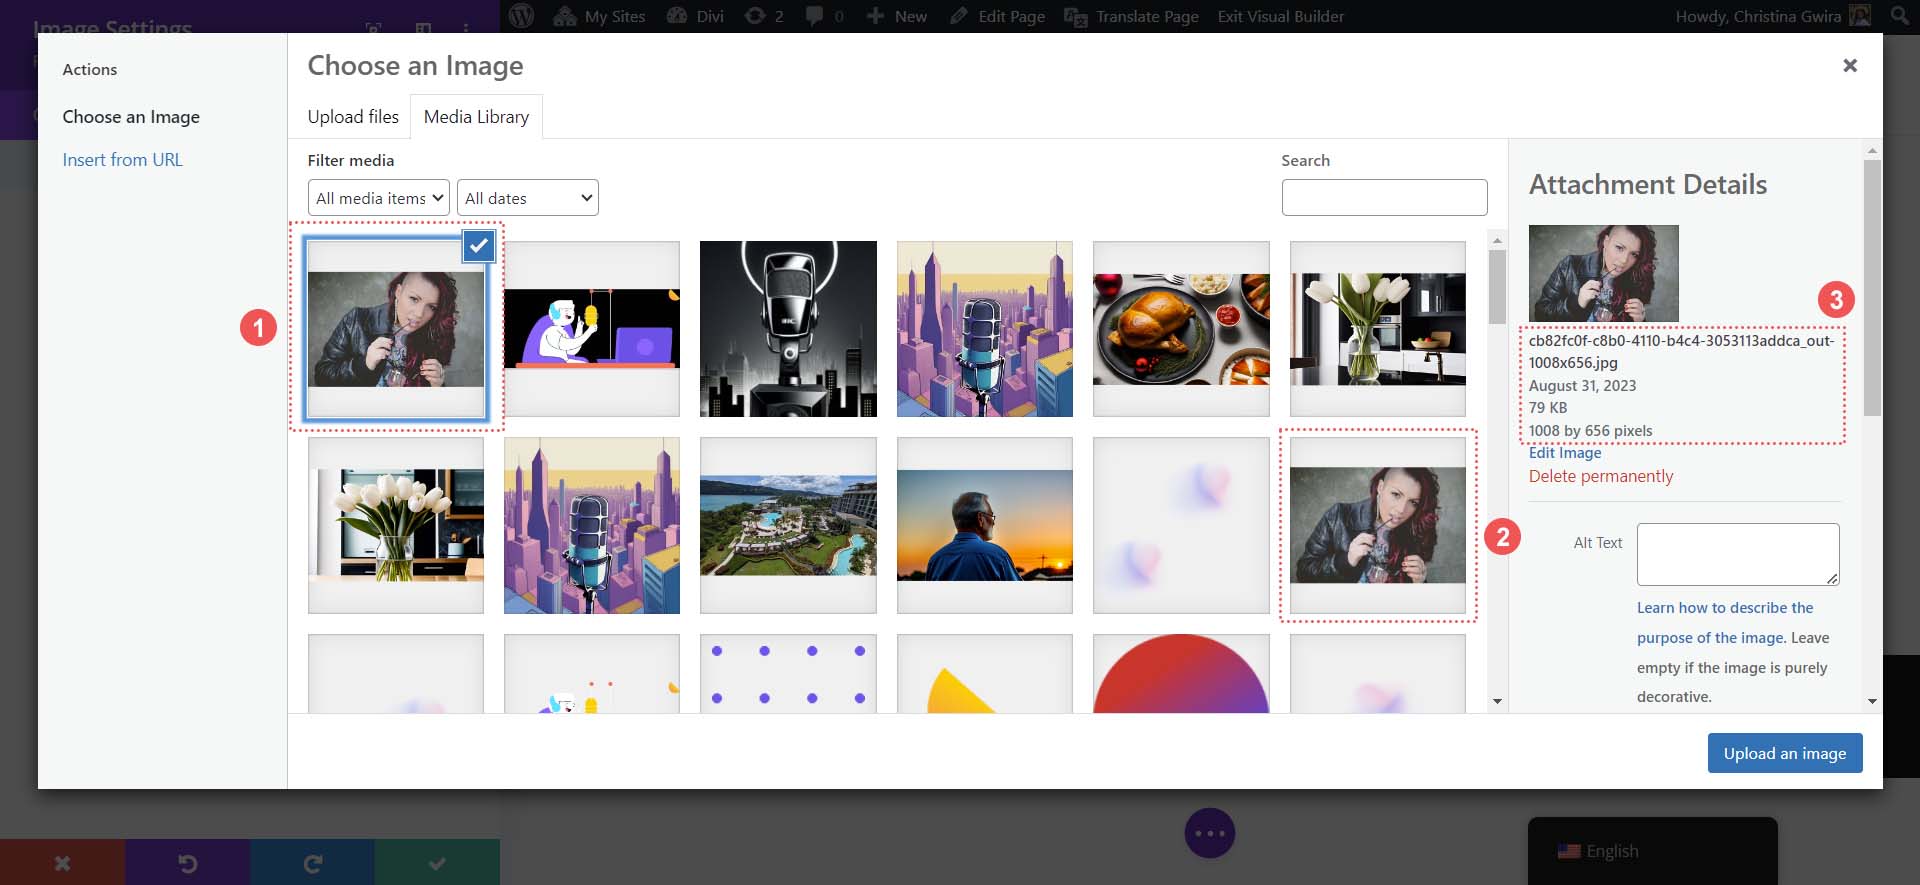
With our Image Module in place, let’s upload an image from our hard drive to WordPress and upscale it. Inside the Image Module, click the gear icon. This is where the Media Library will open up. You can select an existing photo from your library or upload a new one. We’re going to select an image that’s already in our Media Library.
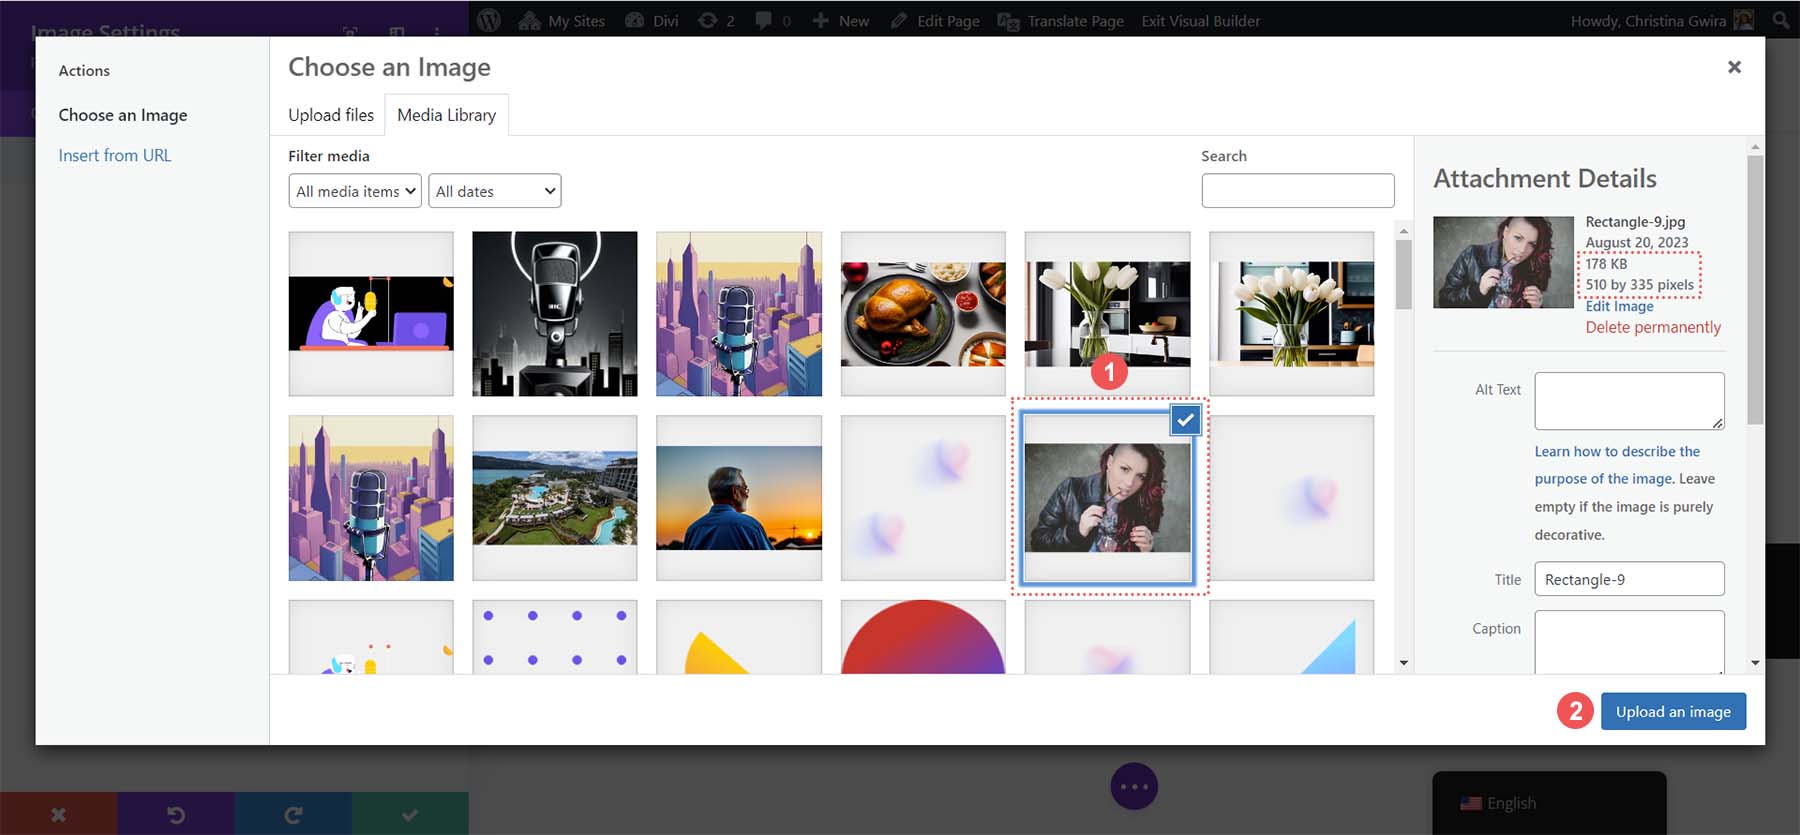
Once you’ve selected your image, please take note of its dimensions and file size. We’ll use this information later to compare the effects of upscaling images in WordPress with Divi AI. Finally, click the Upload an Image button to add your image to your page. Now, we can run the image upscaler present in Divi AI.
3. Upscale Your Images in WordPress with Divi AI
Once our image has been selected in the Divi Image Module, we can activate Divi AI. Click on the Divi AI icon next to the image’s settings icon.
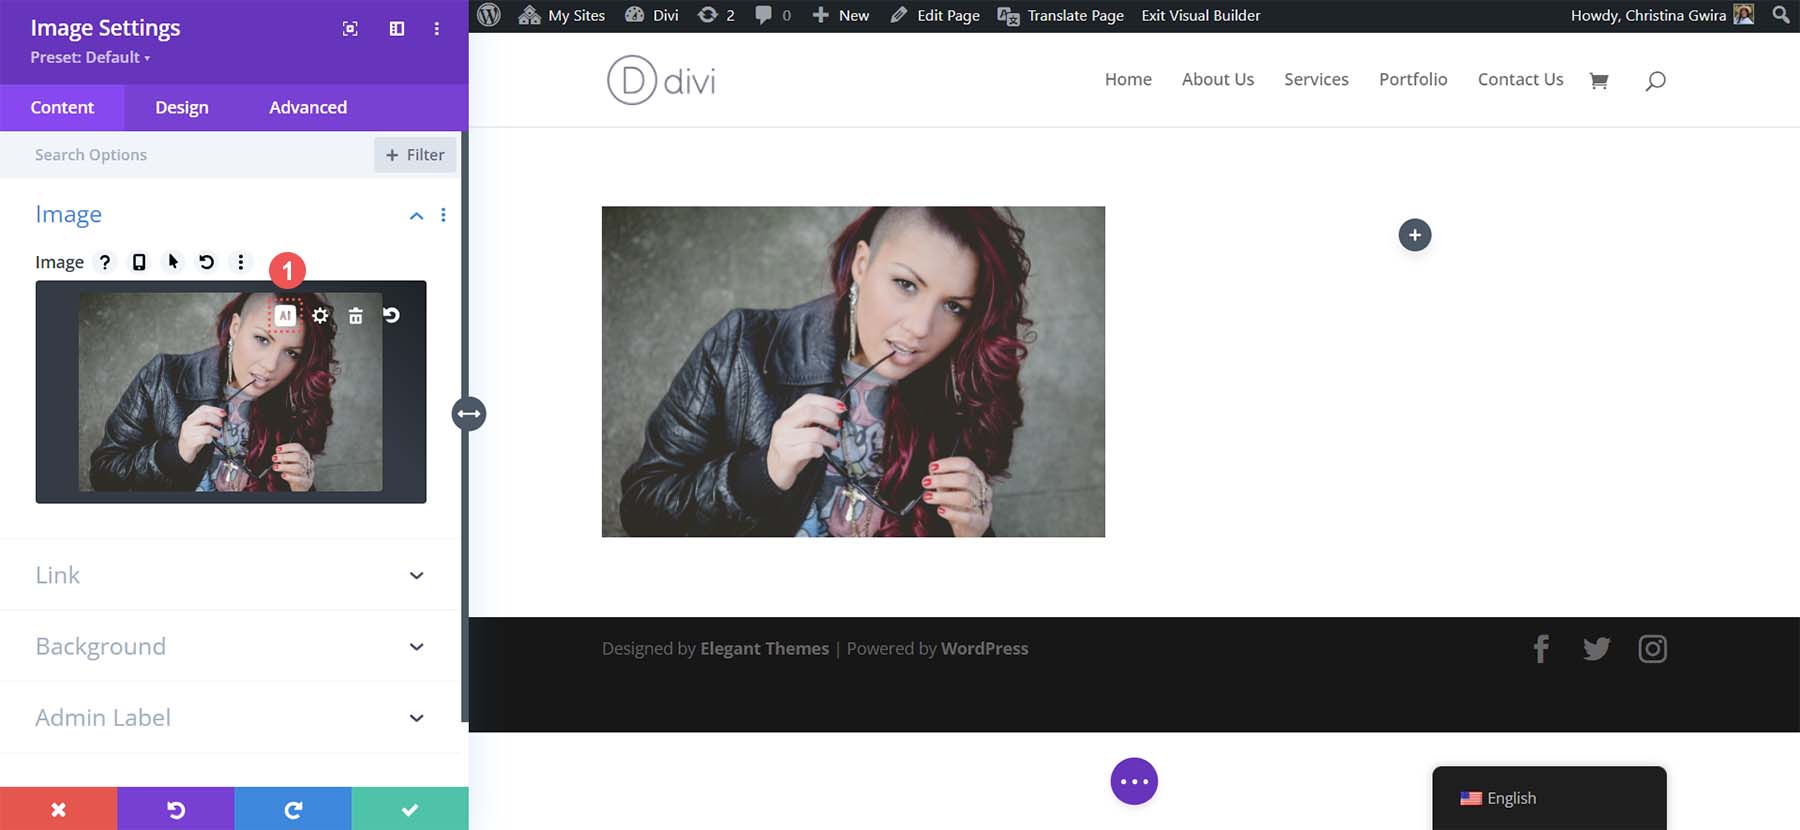
Then select the Upscale feature. Finally, choose between the 2x and 4x options for your upscaling.
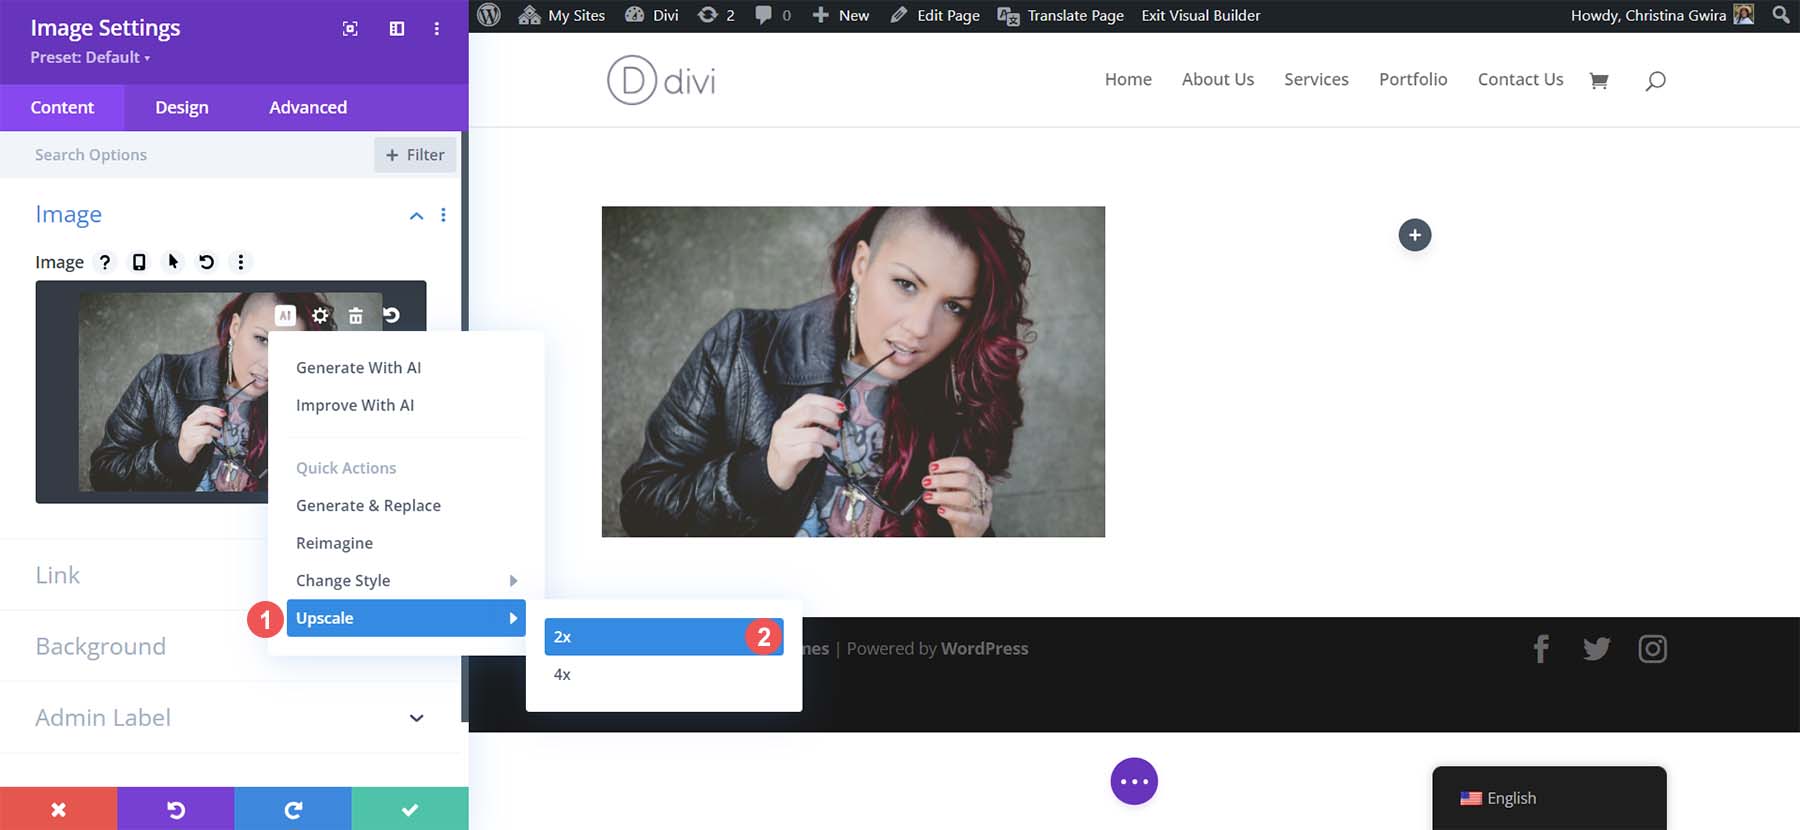
The beauty of using Divi AI for your WordPress upscaling needs is that you never have to leave the WordPress dashboard. There’s no need to open a program on your desktop or visit an external website to upscale your image. You can upscale your image within the Divi Builder without requiring additional tools or downloads.
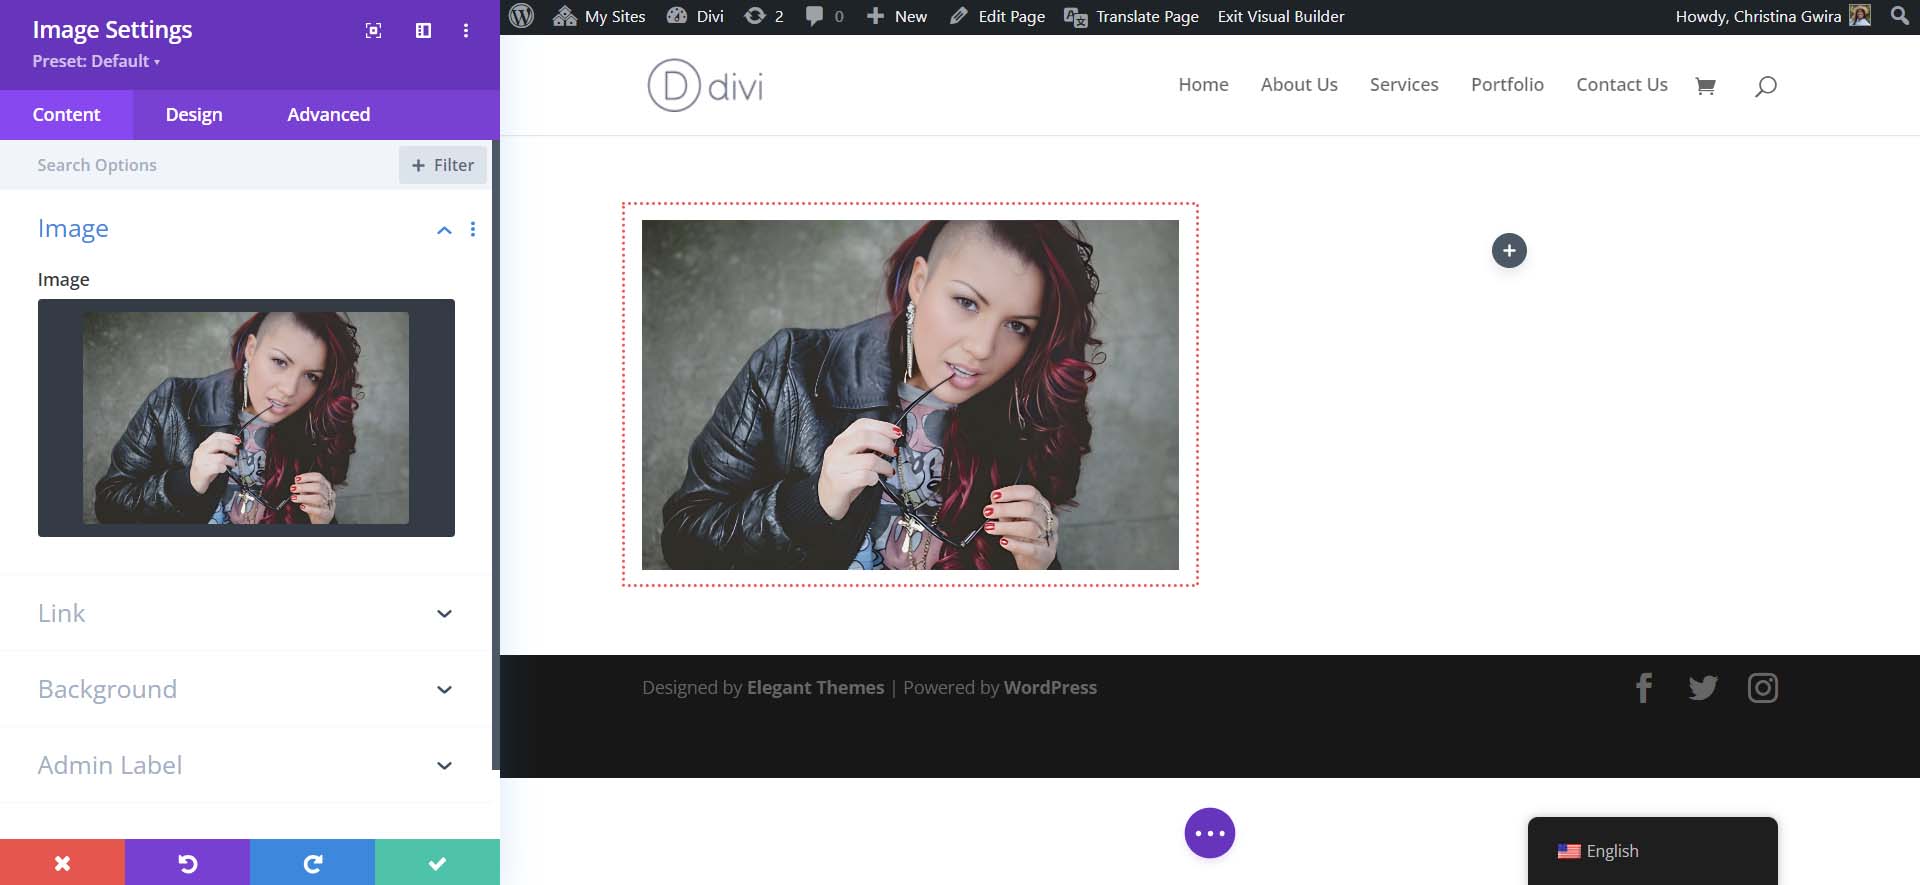
After a short wait, you’ll notice that your page looks the same. But is it? Let’s take a deeper look.
4. Comparing Our Original and Upscaled Images
Click the gear icon to access the Media Library and see what Divi AI has done under the hood.
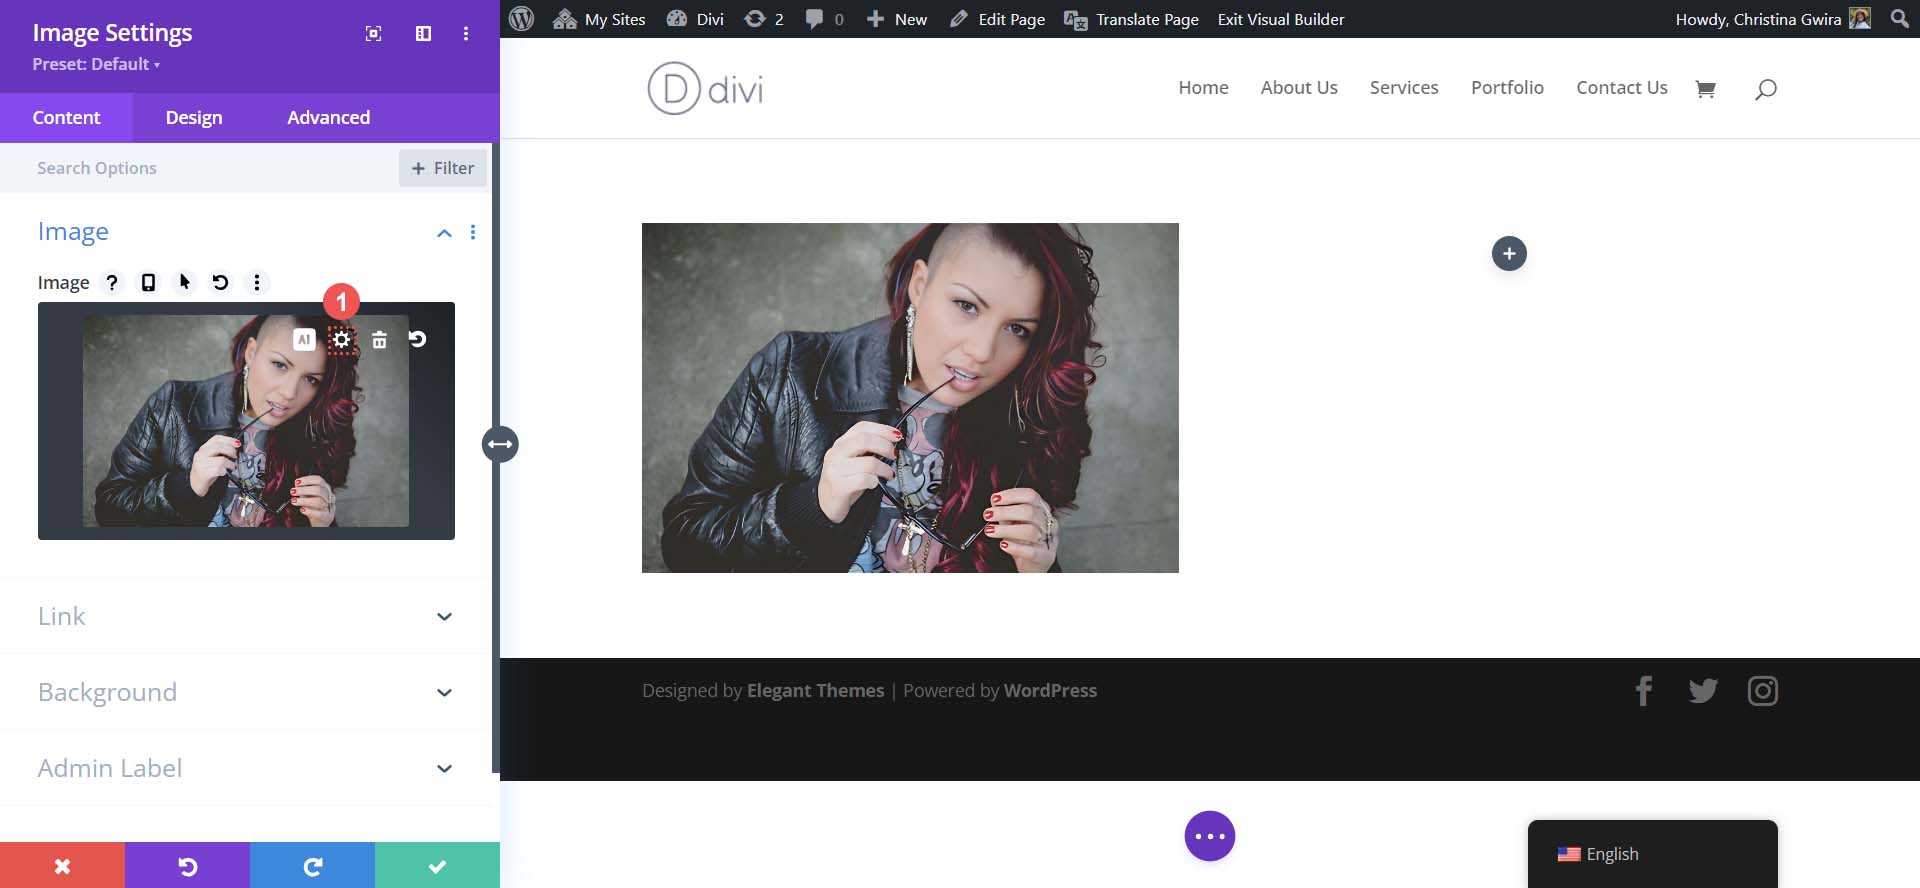
The first thing we notice is that our original image has been duplicated. Divi AI is smart enough to back up our image before performing upscaling tasks. Next, when we click on our new upscaled image, we notice that its dimensions have changed. It’s now almost double in size, which aligns with the 2x upscaling option we selected in Divi AI. However, its file size is still manageable and light.
Furthermore, if you compare both images, you can see a noticeable difference in the quality of our upscaled image.
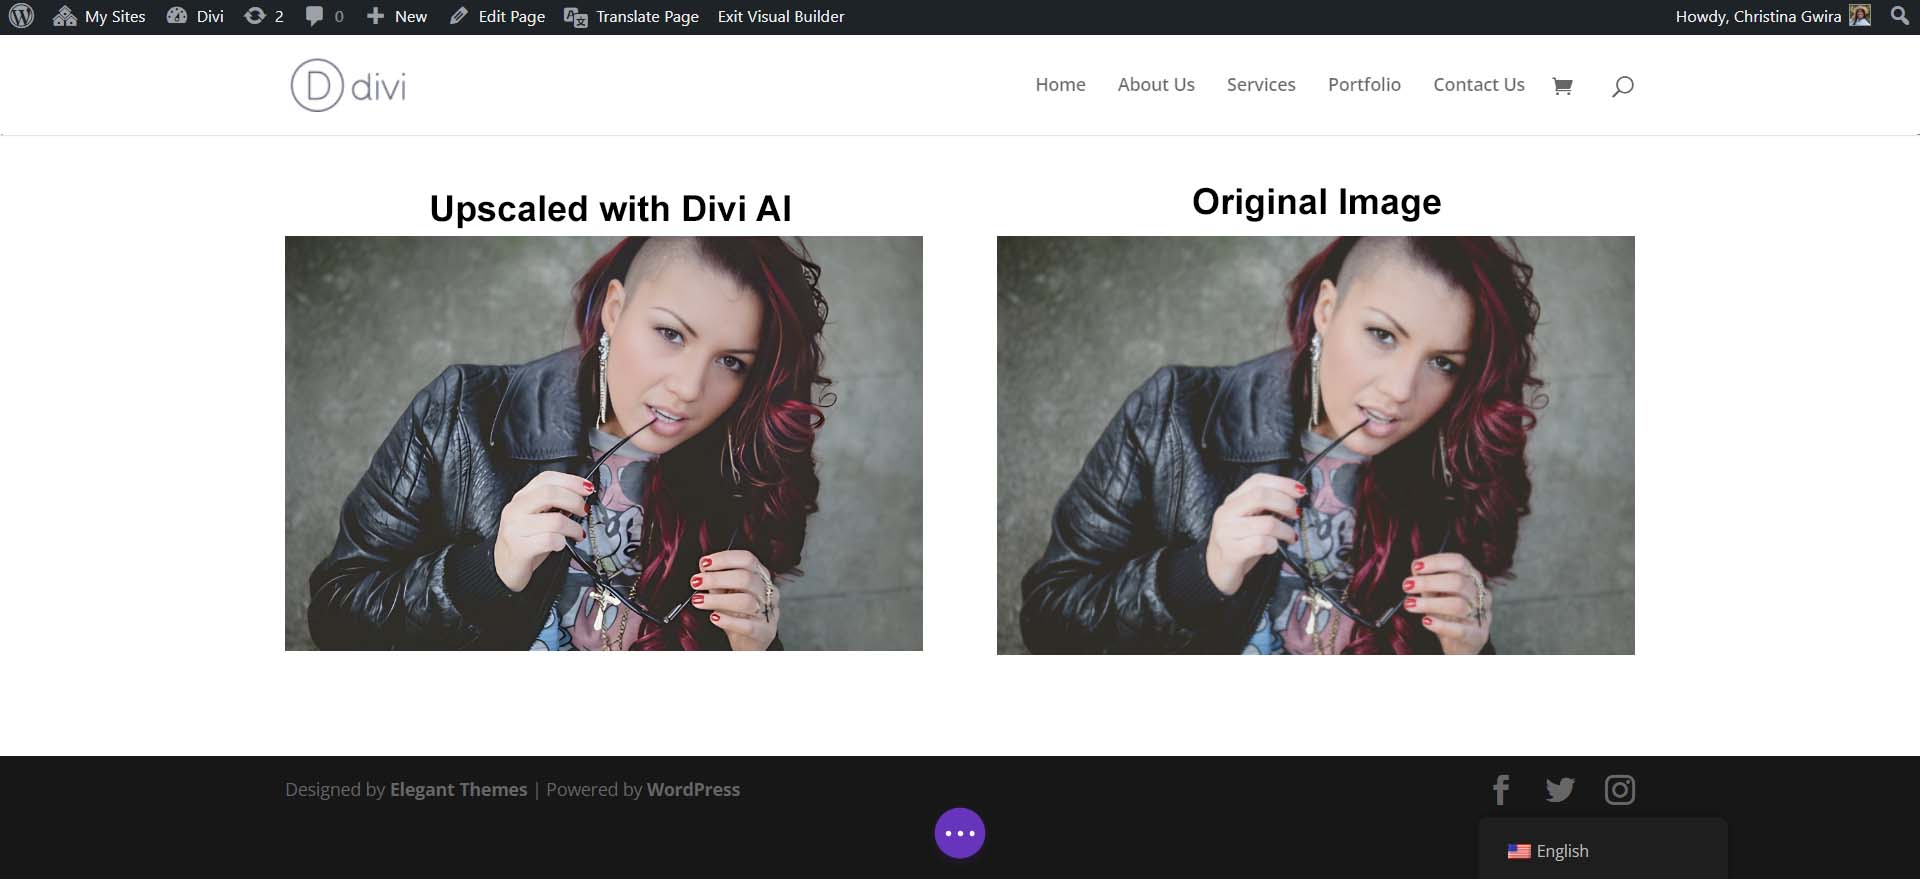
Our upscaled image is sharper, and the colors in our new photo are more vibrant. Not only does the Divi AI increase the dimensions while maintaining the quality of our upscaled images, but it also refines them. Let’s look at the new statistics of our images from the Media Gallery.
Our original image was 510px by 335px. It was also 178kb. While still a light image, our upscaling can help us be more optimized. Divi AI was able to not only almost double the size of our image but it was also able to compress the image without decreasing the quality of the image.
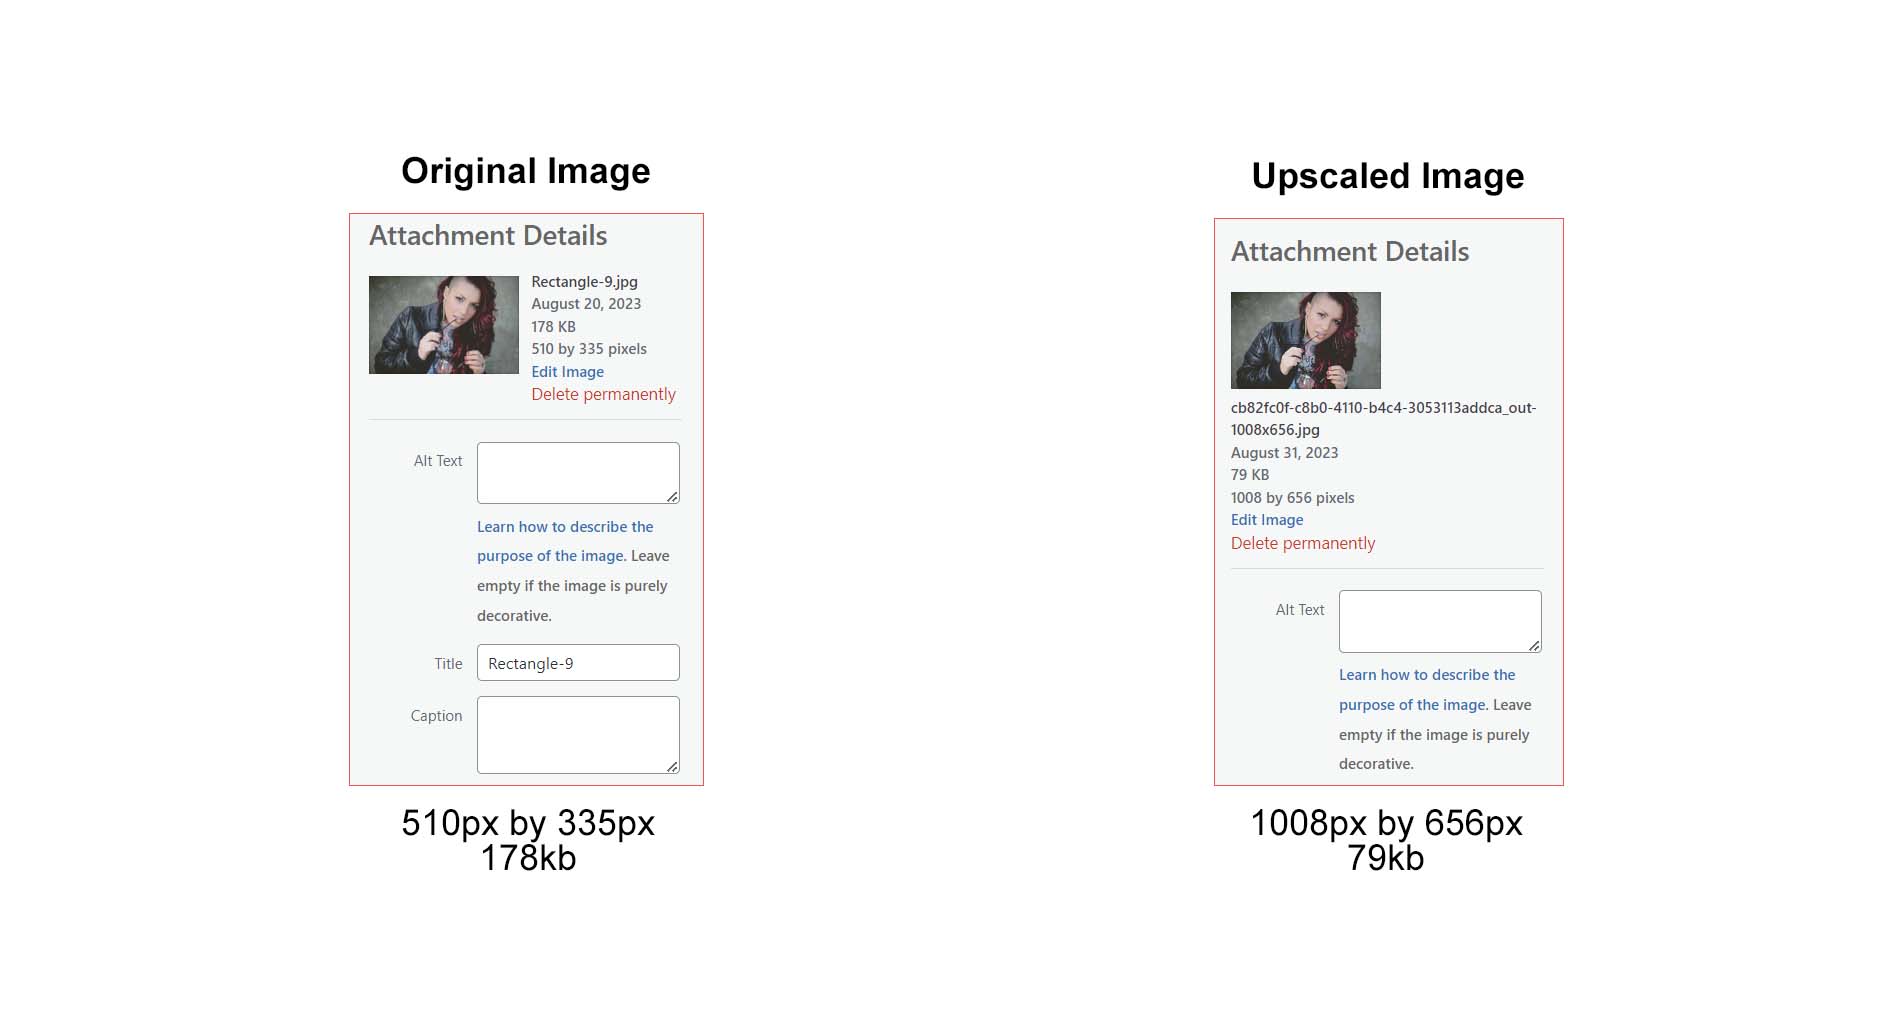
Additionally, when you look at the image in the Divi Builder, even though the size of the image has changed, its quality has increased alongside the change in dimensions:
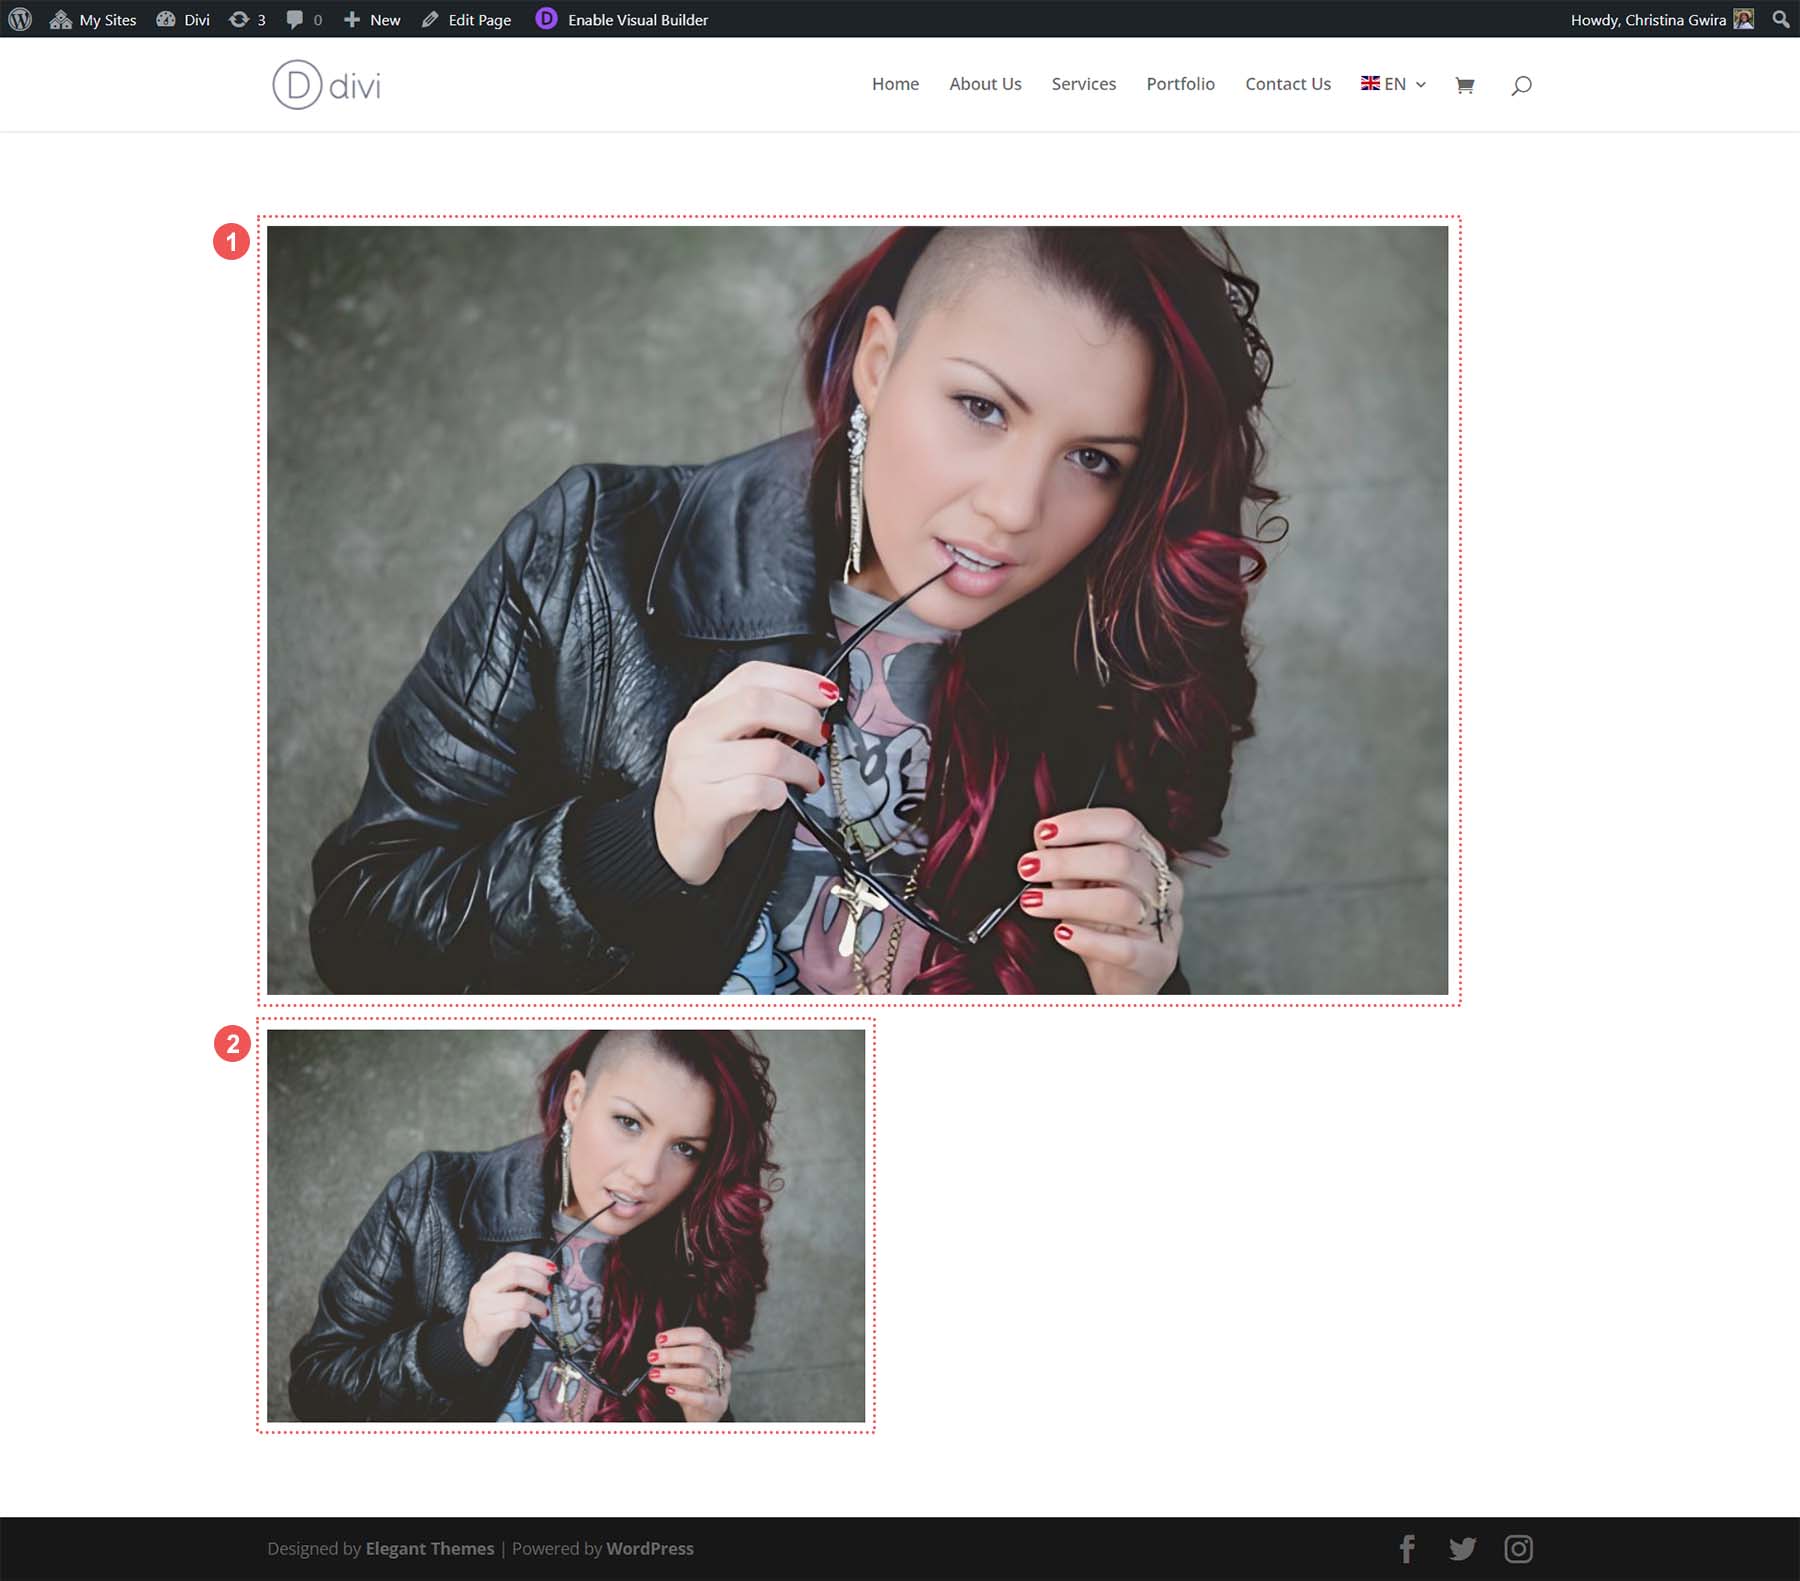
Image 1 is our new and improved image, and image 2 is our original image. Both of these images are within a one-column row layout in Divi. We can see that image 1 is larger. However, when you look closer, you can see that the image is sharper, the colors are more precise (notice the hair and nails), and the skin on the model has improved. Even though the original image is smaller, it is still not as straightforward as our upscaled image.
This gives us better images overall for our web pages without leaving the WordPress backend or using external tools. It’s clear that when you choose to use Divi AI as your WordPress image upscaler, you will get fast, easy, and excellent results for the photos and images on your website.
Other Image Upscaling Tools for Your WordPress Website
While Divi AI is an excellent tool for upscaling images in WordPress, you may want additional upscaling capabilities that Divi AI may not have… for now. With this in mind, here are other image upscaling tools that you can use outside of WordPress for your website:
- Gigapixel AI by Topaz Labs: A light and easy-to-use online platform, this image upscaler supports multiple image formats, enhances image quality, and can process your images in seconds.
- Upscale.media: A light and easy-to-use online platform, this image upscaler supports multiple image formats, enhances image quality, and can process your images in seconds.
- Icons8 Smart Upscaler: Another online platform, this upscaler has a simple interface that can upscale images up to 7680px. It also comes with an API, and its desktop application for Mac can also remove backgrounds.
- Zyro AI Image Upscaler: A free online tool that uses artificial intelligence to upscale and enhance images. It can process JPEG and PNG images and improve their quality and clarity. Hostinger, a WordPress hosting and domain resell platform, owns the tool.
- Adobe Firefly: If you’re a fan of the Adobe Creative Suite, Adobe Firefly is right up your alley. Seen powering industry-standard tools like Lightroom and Photoshop, refine color, show off deep details, and more with this creative, generative AI engine.
These external image upscalers require you to perform upscaling tasks outside of WordPress and then import your images into the Media Library. However, using a tool like Divi AI is more convenient and saves you valuable time. As such, it’s a great tool for an efficient web designer.
Conclusion
Image upscaling is a necessary part of preparing your images for the web. Instead of using tools outside your WordPress installation, you can now find image upscaling capabilities through Divi and Divi AI. Performing image upscaling directly within the Divi Builder helps you refine your process and stay on track when building your websites.
However, suppose you’re looking for a desktop application or an API to give you more image upscaling power. In that case, other AI upscale tools are available that you can use in conjunction with WordPress. Have you tried to upscale your images in WordPress? What tool did you use? Have you tested Divi AI’s upscaling feature yet? Let us know in the comments; we’d love to hear from you!
Finally, check out our top tools collection for a full deep dive into the various AI tools you can use with your WordPress site. There, you’ll find an arsenal of platforms and programs that you can use on your WordPress website. From photo enhancers to AI design tools, we’ve gathered the best in the business regarding AI and WordPress!




What about the ethical question? Our website uses real photos of real people, the participants in our running races, members of our board, volunteers, etc. Your note that “the skin on the model has improved.” particularly struck me.
what about speed? will bigger images slow down the site?
Thanks for the question, Joseph. The number one rule with images on the web is to only use as big of an image as you need to. This means watching both the image dimensions and the total file size. Upscaling images is particularly useful if you have a very small image that you need to have enlarged. The second reason you’d do this if an image you have is of poor quality and you want to improve it. So, there is utility in upscaling some images, you’re correct that not every image needs to be.
Not at all impressed with Divi AI… I haven’t been able to create a single image that was useful but then I have only used photo mode – and the fact that it is AI is very apparent. I’m sure it will improve in time.