
Unless you plan on running a text-only website, you’ll need to handle a variety of media files. That may include images, videos, GIFs, audio files, and even PDFs. Fortunately, WordPress enables you to manage all of these resources using its built-in Media Library.
In this article, we’ll explain what the WordPress Media Library is and where to find it. We’ll go over what file formats it supports, and how to upload those files to your site. Finally, we’ll discuss proper Media Library usage, and some ways to extend its default functionality using plugins.
Let’s get to it!
Subscribe To Our Youtube Channel
What Is the WordPress Media Library (And Where Can You Find It)?
The WordPress Media Library is a repository that shows all of the media files you upload to your website. You can access your Media Library by logging in to your dashboard and selecting Media > Library from the menu to the left:
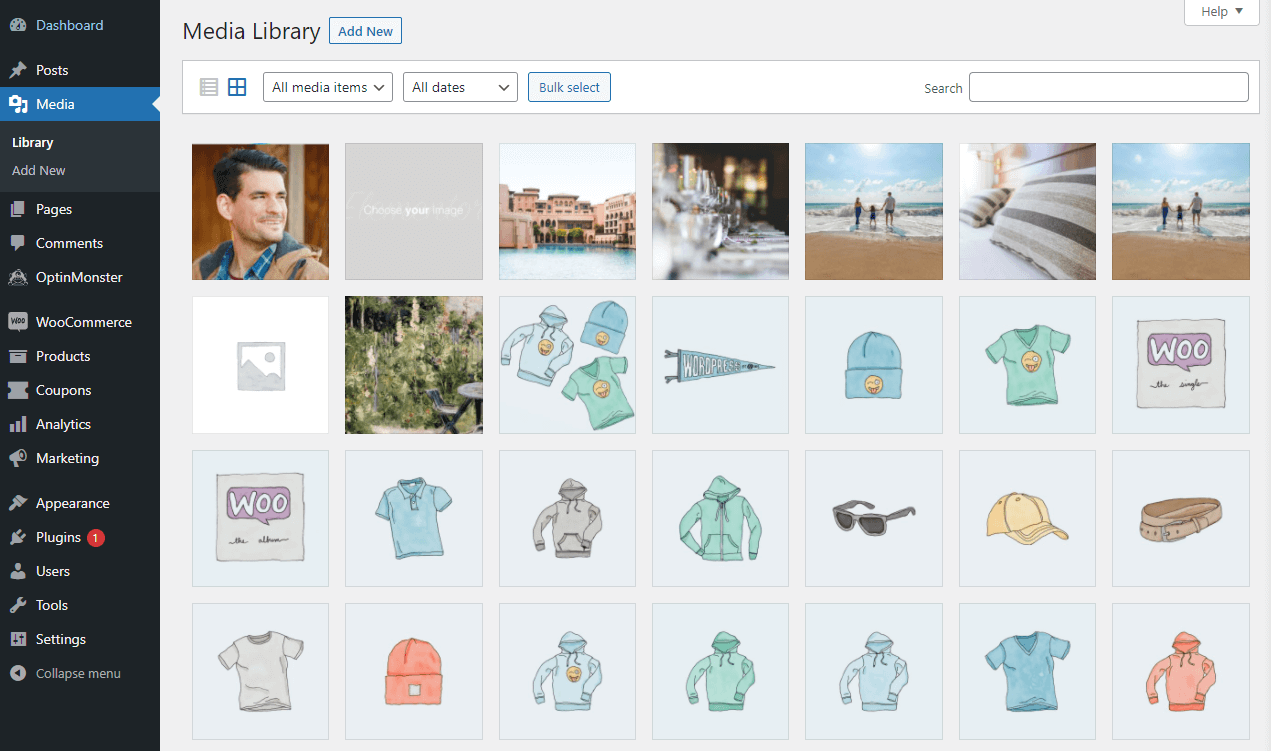
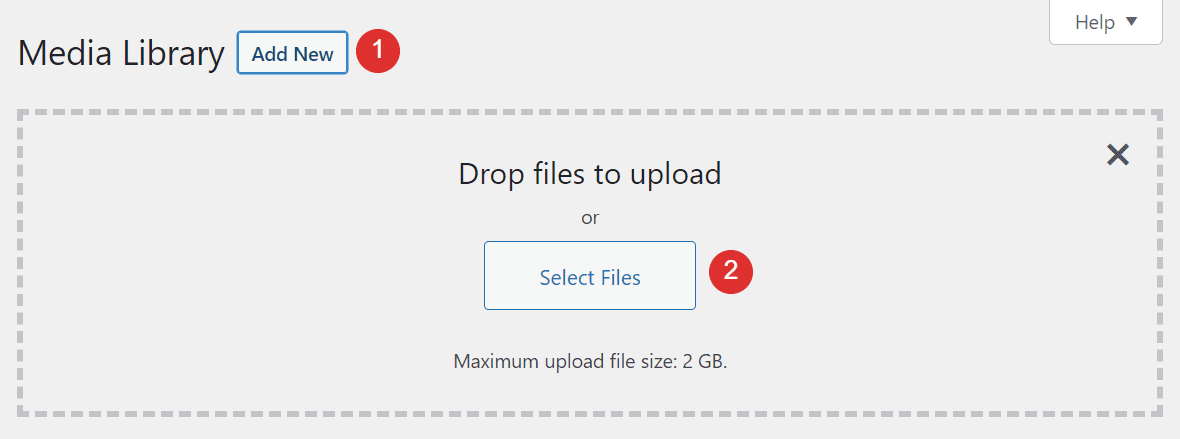
This section of your dashboard enables you to search through the media files that you’ve uploaded. You can also sort the contents based on their file types and upload dates. Clicking on Add New at the top of the screen will let you upload new media files from your computer:
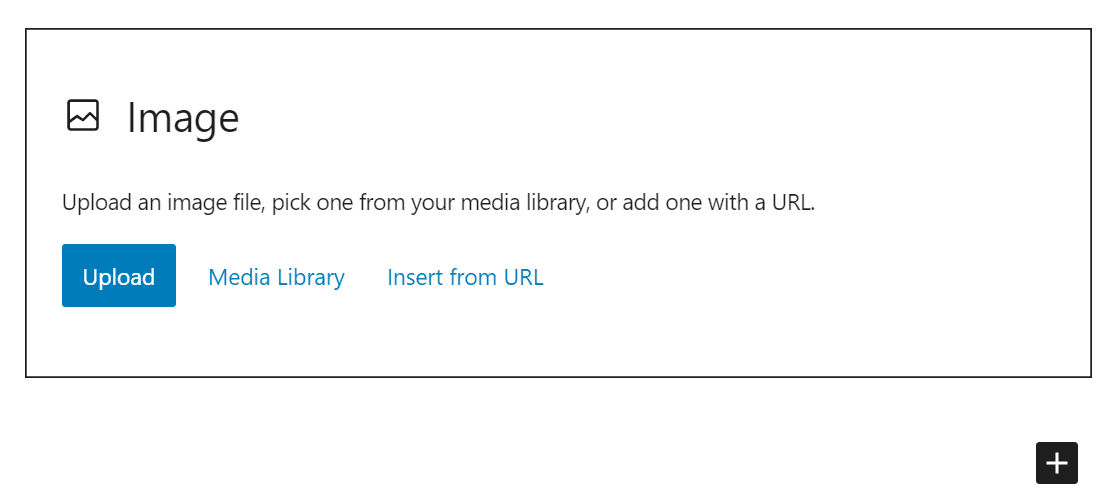
It’s worth noting that you can also upload media files to WordPress using the Block Editor. In most cases, you’ll do this as needed while working on a post or a page. If you upload images through the Media Library first, you’ll be able to access them from the editor by selecting the Media Library option when adding a new Image, Gallery, Video, or Audio block:
Keep in mind that, in some cases, you might encounter an HTTP error when uploading images to WordPress, either through the editor or your Media Library. Fortunately, this problem is easy to troubleshoot.
How Can You Edit Media Files and Add Meta Data in WordPress?
Along with letting you view all the media files on your website, the Media Library also enables you to edit those files in bulk or individually. Let’s go over how that process works.
Editing Image Details
If you click on any file within the WordPress Media Library, a new window will open where you can see its details. This includes:
- Its upload date, who uploaded it, and the file’s name, type, size, and dimensions
- An option to edit the image
- The image’s meta data
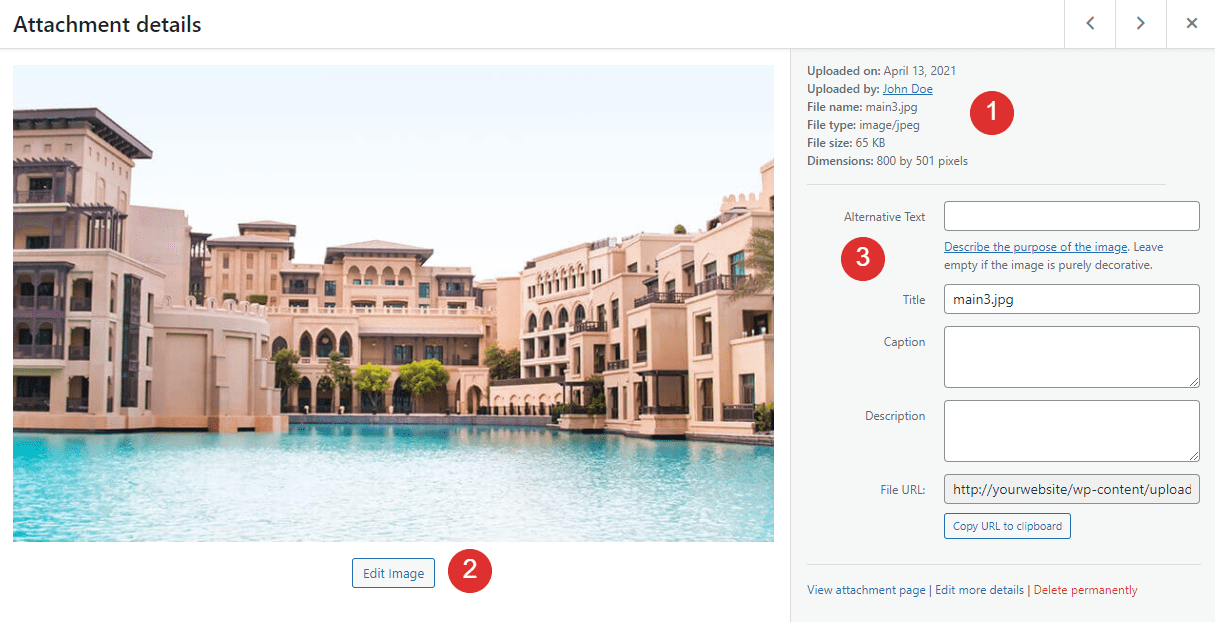
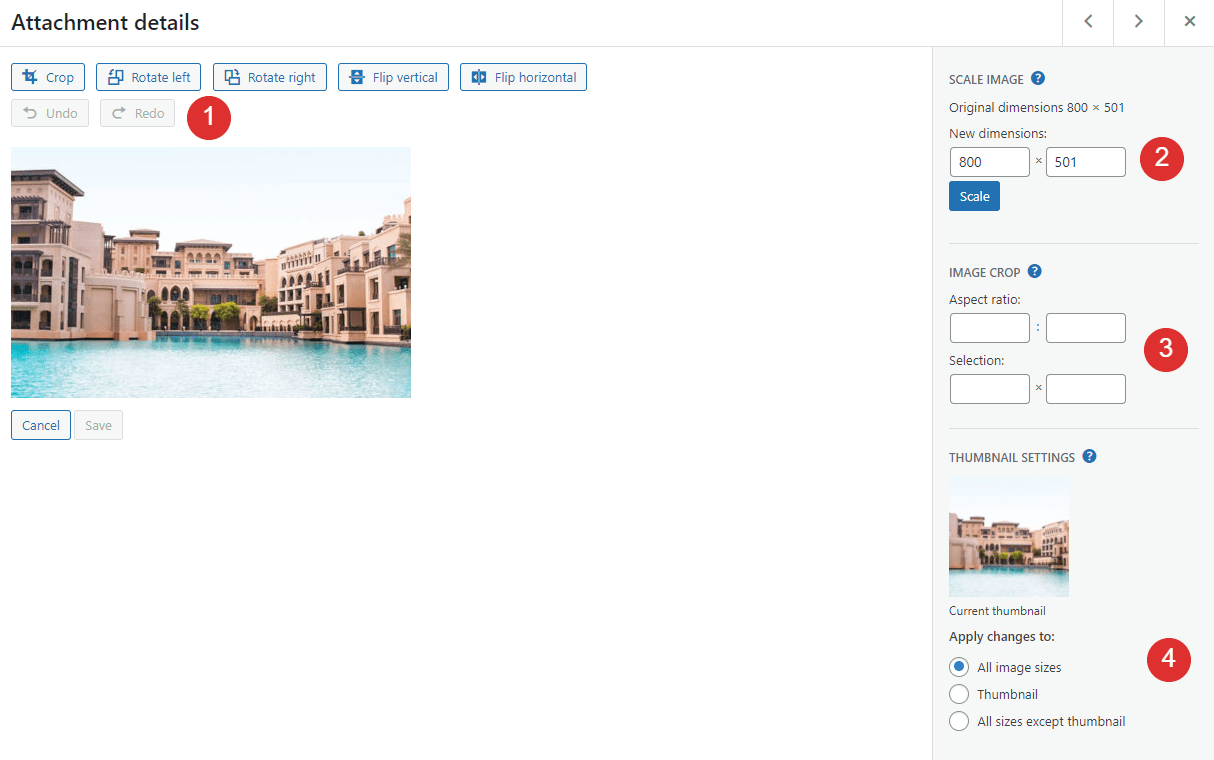
If you click on the Edit Image button, you’ll get access to a set of basic options for altering image files. For example, you can:
- Rotate the image, flip it, and crop it with a drag-and-drop tool
- Scale the image by entering dimensions manually
- Crop the image manually by entering exact dimensions or an aspect ratio
- Decide whether to apply your changes to all image sizes or only some of them
When you upload an image to WordPress, the platform automatically generates multiple variants in different sizes, including a thumbnail version. Then you can choose which image size to use in your posts and pages.
You can preview your changes in the window to the left, and save them by clicking on the corresponding button. Keep in mind that WordPress’ built-in image editor is a very basic tool. If you want to make any significant edits to your images, we recommend using dedicated image editing software before uploading the files to WordPress.
Adding Image Meta Data
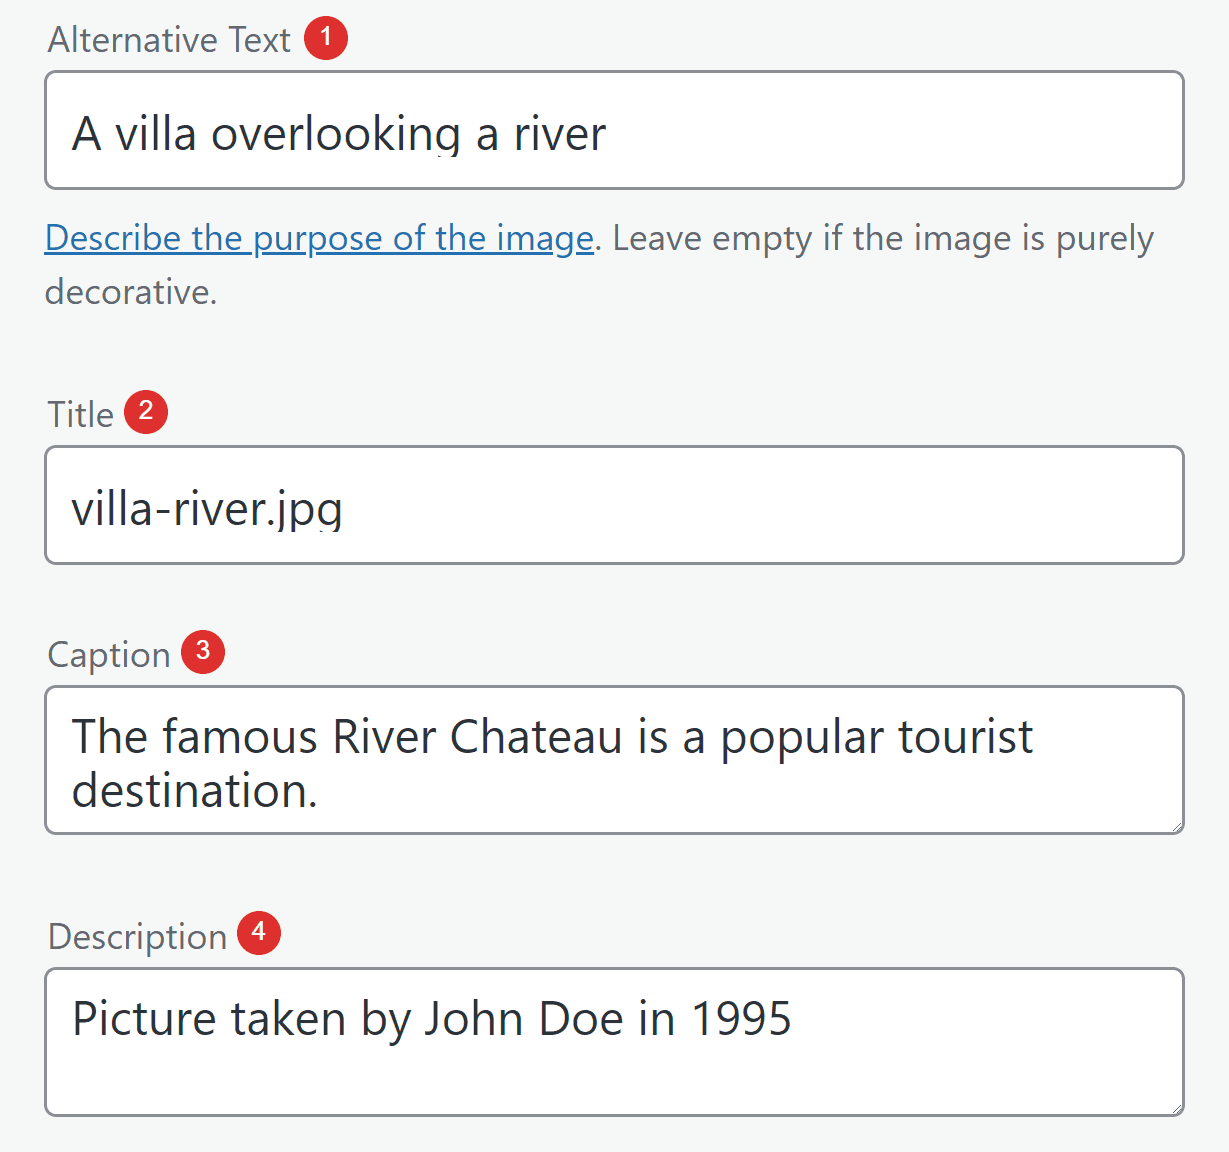
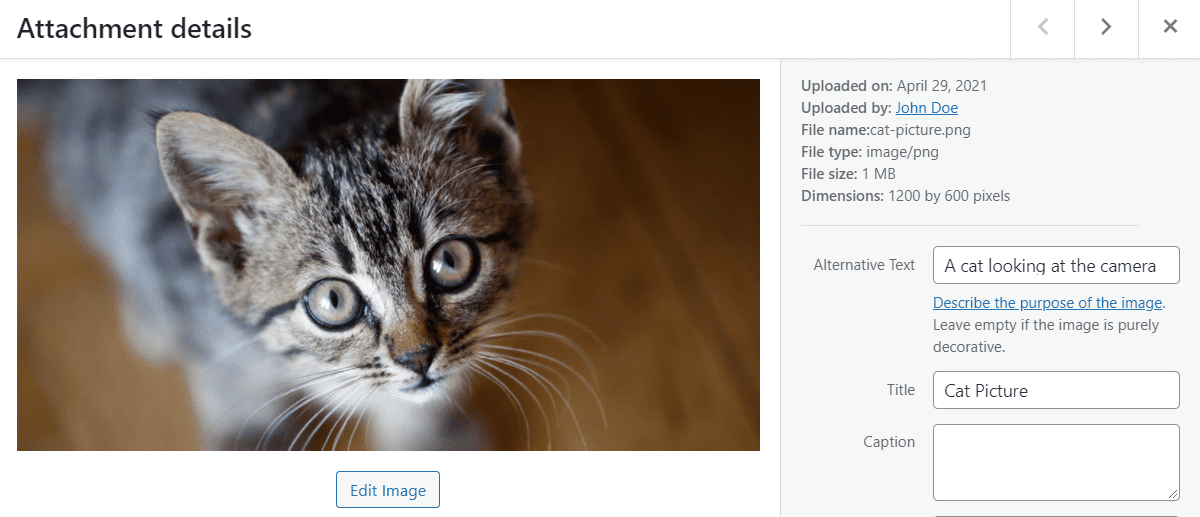
If you exit the editor and return to the main Attachment details screen, you’ll be able to edit some of the file’s meta data, including:
- Alternative text (or “alt text”). This should be a short description of the image, which helps search engines understand what they’re “seeing”. Plus, if your image can’t load, visitors will see the alt text instead.
- Title. The image’s title attribute is also important for Search Engine Optimization (SEO), and it should concisely explain what the image is. Moreover, some browsers will display an image’s title if you hover over it.
- Caption. This is the text that you often see below an image that explains its context or includes attribution details.
- Description. The image description will show up if visitors access the file’s URL or attachment page. You can use it to include more details about each image or add attribution information.
Here’s how each of those fields appears within each image’s Attachment details window:
Of these fields, you should pay special attention to each image’s alt text and title. Those are the two most important pieces of meta data from an SEO perspective. As for captions and descriptions, you can decide whether to include them or not depending on your website’s style.
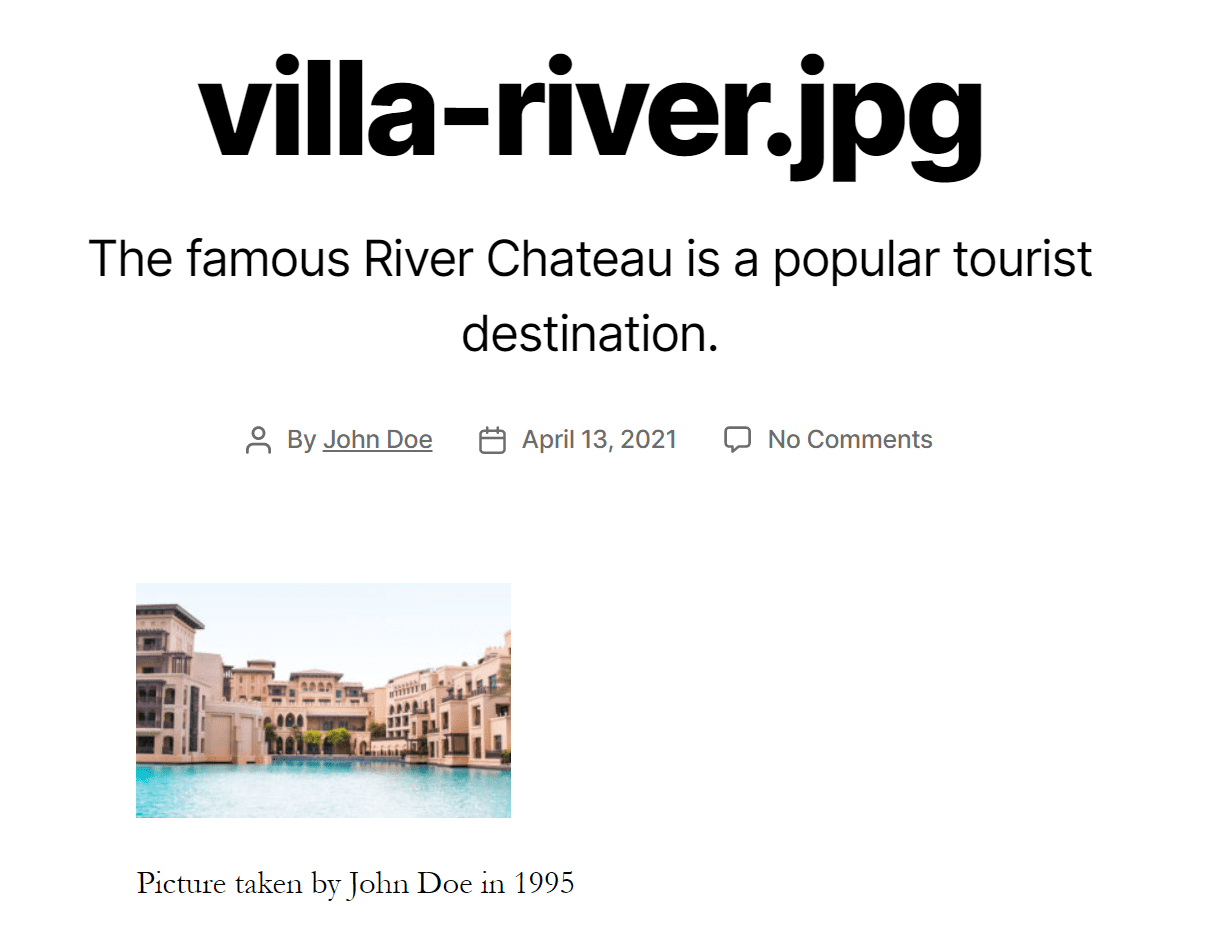
Disabling Image Attachment Pages
A moment ago, we mentioned image attachment pages. Those are pages that WordPress generates for each image you upload. If you visit an image’s URL, you’ll see a page like this, which includes that file’s description:
A lot of websites don’t use attachment pages because they have no need for them. If you want to disable attachment pages altogether, some redirect plugins enable you to send users who try to access them back to your home page (or to some other custom destination).
What Media File Types Does WordPress Support?
So far, we’ve mostly talked about image files. However, there are many kinds of media beyond images, and WordPress enables you to upload a broad range of file types.
Here’s a full breakdown of all the media file types that WordPress allows:
| Images | Documents | Audio | Video |
|---|---|---|---|
| jpg | mp3 | mp4 | |
| jpeg | doc | m4a | mov |
| png | ppt | ogg | wmv |
| gif | odt | wav | avi |
| ico | xls | mpg | |
| psd | ogv | ||
| 3gp | |||
| 3g2 |
If you try to upload a file type that WordPress doesn’t support to your website, you’ll see an error message like this one:
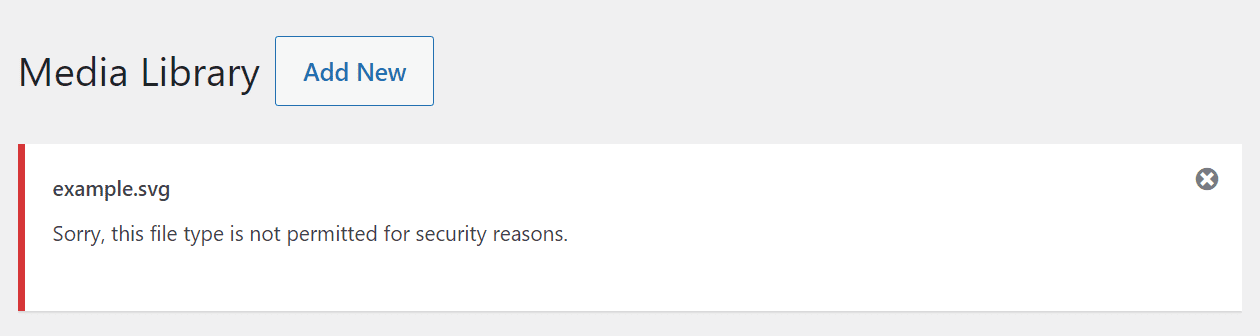
In that example, we tried to upload an SVG file, which is a format that WordPress doesn’t support out of the box. However, there are several ways to deal with the “Sorry, this file type is not permitted for security reasons” error. For more details, check out our full tutorial on how to add support for more file types to WordPress.
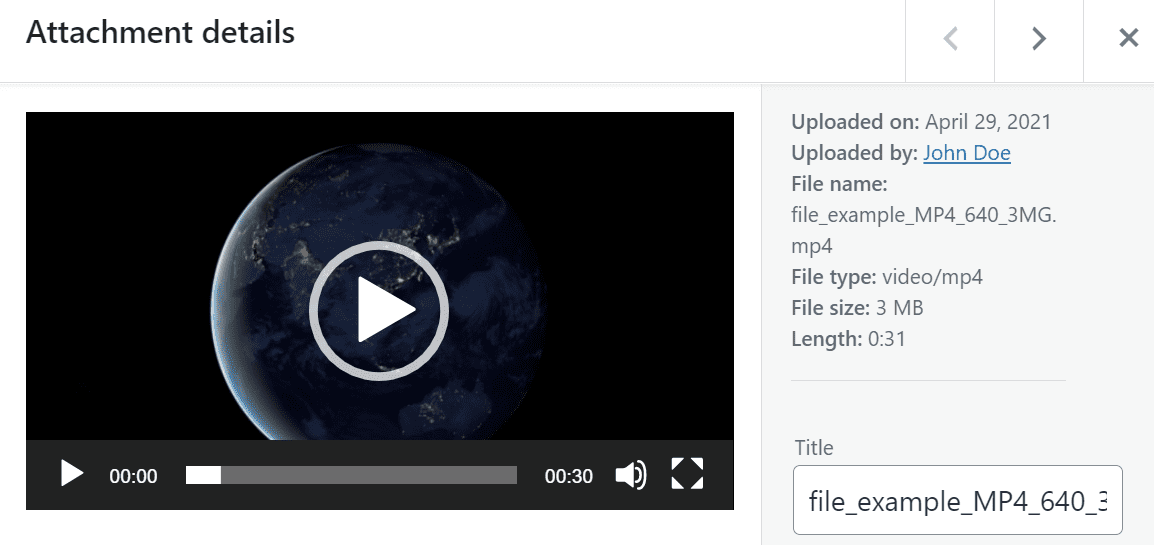
If you upload video or audio files, WordPress will enable you to play them back within the Media Library by clicking on them. However, you won’t get access to any editing functionality for these media types:
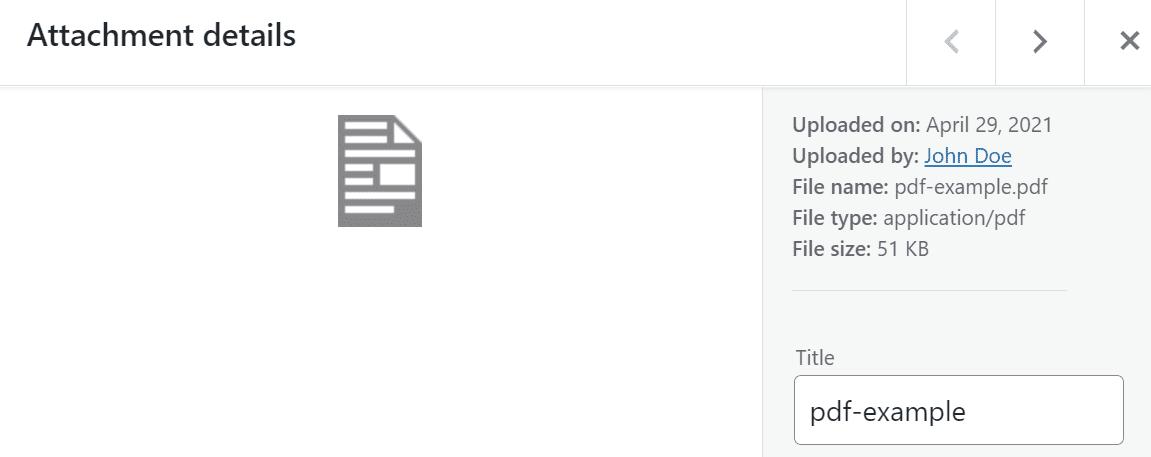
In addition, the preview functionality doesn’t extend to document file types. If you upload a PDF (or another similar file), you’ll only see an icon when you open its attachment details window:
Likewise, you can’t embed documents into your WordPress pages or posts, even if they’re file types that WordPress supports. If you want to add a PDF to a post, for example, you’ll need to use the File block. Even then, WordPress will only show the file’s title alongside a download button.
3 Best Practices for WordPress Media Management
Uploading media files to WordPress and placing them within pages or posts is simple. However, there are some considerations you should keep in mind to ensure that your media files are easy to interact with and provide SEO value. Let’s go over three key tips.
1. Add Descriptive Titles and Alt Text to Every Media File
Every single media file you upload to WordPress should have a descriptive title and alt text. For example, instead of uploading a file called “12312414.png”, you’d want to rename it something like “cat-picture.png” before uploading.
As soon as you upload the image, you can add alt text as well:
Those two simple actions can have a positive impact on your website’s SEO. Moreover, adding alt text will make your site more accessible for all visitors regardless of their abilities.
2. Optimize Images Before Uploading Them
Most modern websites include multiple images per page. This blog post alone has over ten of them, each with a lot of detail. High-resolution images look fantastic, but they can also slow down your website due to their file sizes.
As a rule of thumb, we recommend that you compress images to optimize them before uploading them to your website. There are two ways that you can go about this. One is using a third-party service such as TinyPNG:

The second option is to use an image optimization plugin. These tools compress images after you upload them, which translates to a more hands-off process. However, it’s worth noting a lot of these plugins require purchasing a premium license or plan.
To make your work easier, we recommend that you don’t upload files with massive resolutions to WordPress. Instead, you can resize those images to a more manageable resolution first, and then optimize them. You should see a significant decrease in file sizes if you follow those two steps.
3. Use Plugins to Extend the WordPress Media Library’s Functionality
As you might expect, there are many plugins you can use to extend the Media Library’s functionality. Out of the box, the library works quite well. However, that doesn’t mean you can’t improve on it, and add in some of the features it’s lacking.
A few aspects of the Media Library that you can extend using plugins include:
- Automatic resizing functionality. This feature means you won’t need to resize high-resolution images manually before uploading them.
- A taxonomy system. As your Media Library grows in size, navigating it and finding specific files becomes more difficult. A comprehensive taxonomy system (such as categories and tags) will help to alleviate that problem.
- The option to rename media files in bulk. If the files you’ve already uploaded don’t have descriptive titles, you can replace them in bulk using the right tool.
We put together a list of plugins that include all of those features and more in our article about how to supercharge your WordPress Media Library. If there’s any aspect of using the library that you don’t enjoy or that takes too much time away from other tasks, we recommend using a plugin to give yourself more options.
Conclusion
The WordPress Media Library is deceptively simple, but it packs a lot of features. Through the library, you can upload images in bulk, find specific files among hundreds of options, browse media based on when they were uploaded or their types, edit images, and more.
Adding and using media files in WordPress is very straightforward. However, if you want to get the most out of the Media Library and improve the user experience, here are some tips to keep in mind:
- Add descriptive titles and alt text to every media file.
- Optimize images before uploading them.
- Use plugins to extend the WordPress Media Library’s functionality.
Do you have any questions about how to use the WordPress Media Library? Let’s go over them in the comments section below!
Featured Image via kaisorn / shutterstock.com


Hi,
I used a plugin to automatically compress images. However what I encountered is that it takes resources from my server. But, I optimize images before uploading to WordPress now.
One question: Is it possible to replace images? I use a lot of screenshots in my blog. As time goes, they become obsolete. It would be easier if there is a way to replace older ones with new ones.
Thanks,
Chamal.
Hi Will, thank you for the post, a few days ago I asked.
On my website, I show videos of some things, I use YouTube for some (they are longer and weigh a lot), but other videos the size is between 4 to 9Mb. I use the Divi video module with the link from youtube or from the video that I have uploaded to media.
I want to do the same from a storage such as google drive (enabling the link) or onedrive, the same by enabling the link, but it won’t let me show it. Is there any other way to do it?
I ask because if I have too many files of a lot of weight I do not want to add it to the media, if not from an external area.
Thank you.
Hi Andres.
I am not sure about OneDrive, but it is possible to embed a video hosted on Google Drive.
To do so, make sure the video’s sharing settings are set to “Anyone with the link…”. Then, click on the three-dot icon in the top right corner of the screen to access the file’s options and select “Open in new window”.
In the new window, click on the three-dot icon again. There should be a new option listed here labeled “Embed item”. If you click on it, it will give you an HTML snippet that you can use just like the YouTube embed code.
Hope this helps!
Hello
Interesting. But I do not read anything about the tools to manage the storage of the medias, with attributes that can have a hierarchical structure. What can it be said about this need ? Plugins ?
Hi there! You would be correct, you need a plugin such as Enhanced Media Library to enable taxonomies. You can check out the Media Library plugins post linked above in the article for more details.