
The images you use on your website are one of the most important elements. Not only do you want to have visually compelling imagery, but you also don’t want those images to be so large that they slow down the load time for your site. One of the main reasons a site will lag is because the images included in it have not been resized for optimal site performance.
In this article, we will explore manual methods for reducing image sizes in Photoshop including changing the file type, resizing, and compressing files using the Save for Web function. If those looking for something more automated, we’ll also look at some plugins and web-based options.
Subscribe To Our Youtube Channel
Changing The File Type
“File Size” for an image file refers to the number of pixels per inch. Generally, the more pixels per inch, the more information the file holds, thus, the bigger its size.
The two most common file types for images are JPG and PNG.
- PNG – Portable Network Graphics – This file type is mostly used for graphic files like logos, icons, illustrations, and text. When edited in a photo editing application like Photoshop, these files don’t lose much data when you manipulate or compress them. They are referred to as “lossless” for this reason. These files tend to be bigger in size for this reason.
- JPEG – Joint Photographic Experts Group – This is the most common file type you’ll find for most images on the internet. This file type can manage millions of colors, can be highly compressed while preserving quality. These are referred to as “lossy” because the process of compressing them removes pixels from the image.
Either file type can work. Which one you choose really depends on your site, the number and type of photos you choose to use.
Here is a sample photo. Its original format was as a JPG file.
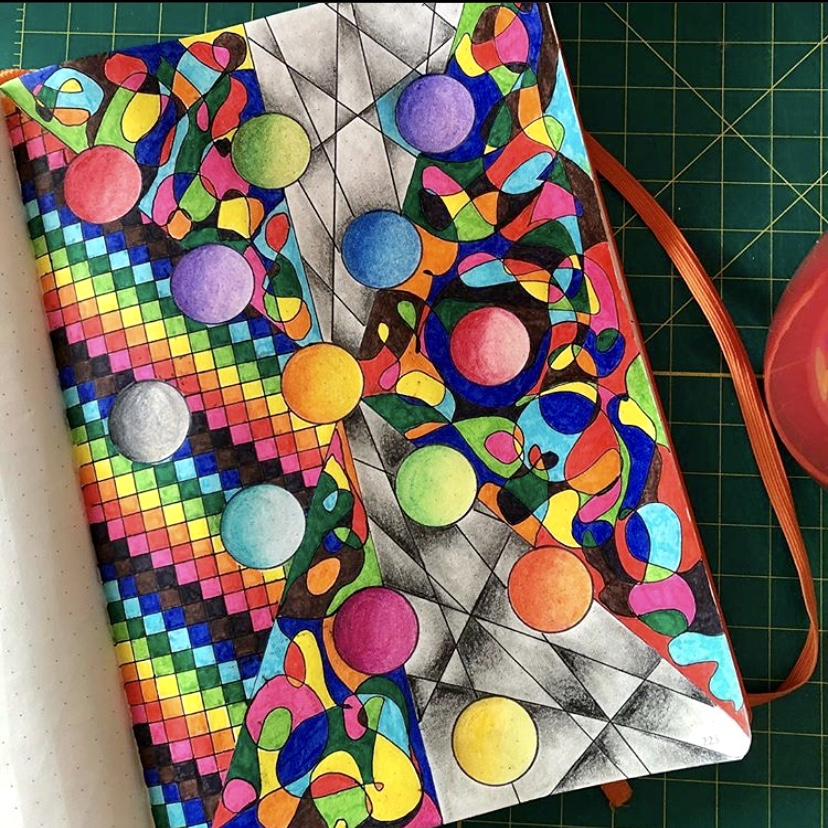
I used the File>Save As command in Photoshop and chose the PNG format and completed the save function.
When I changed the file type, the size of the file went from 646 MB to 1.3 KB. As noted above, PNG files are typically larger, so for this type of picture with a lot of color and detail, you may be better off staying with the JPEG version to ensure faster load times. If you know your image needs to be able to scale larger without losing resolution, go with the PNG version.
Note that there are many other file formats available. I’ve focused on JPEG and PNG because they are the most popular.
Manual Resizing in Photoshop
In Photoshop, you can use the Image>Image Size function to manually resize your image. The tool looks like this:
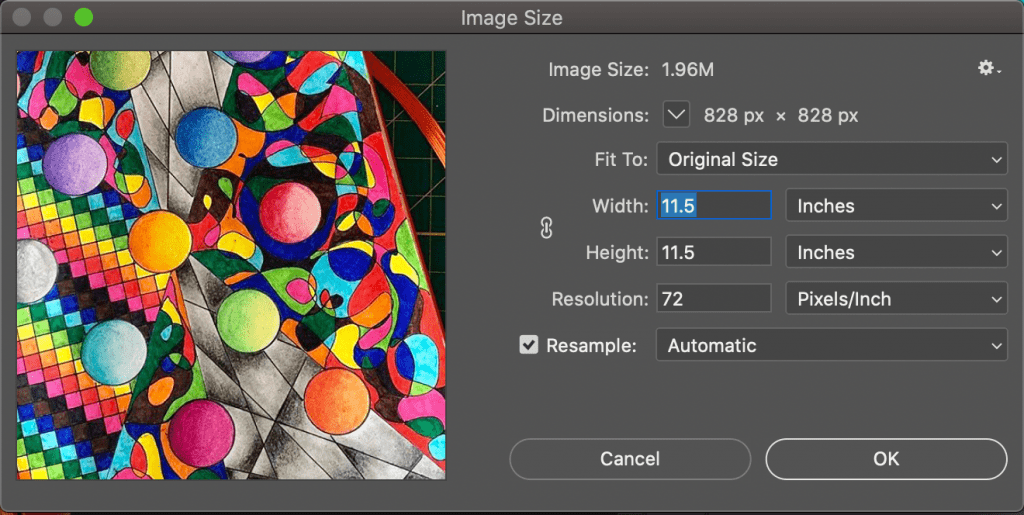
You can see the current Image Size and pixel Dimensions are noted at the top of the tool. Any adjustments you make here will change the size.
Fit To is a drop-down list that has preset sizes and pixel settings.
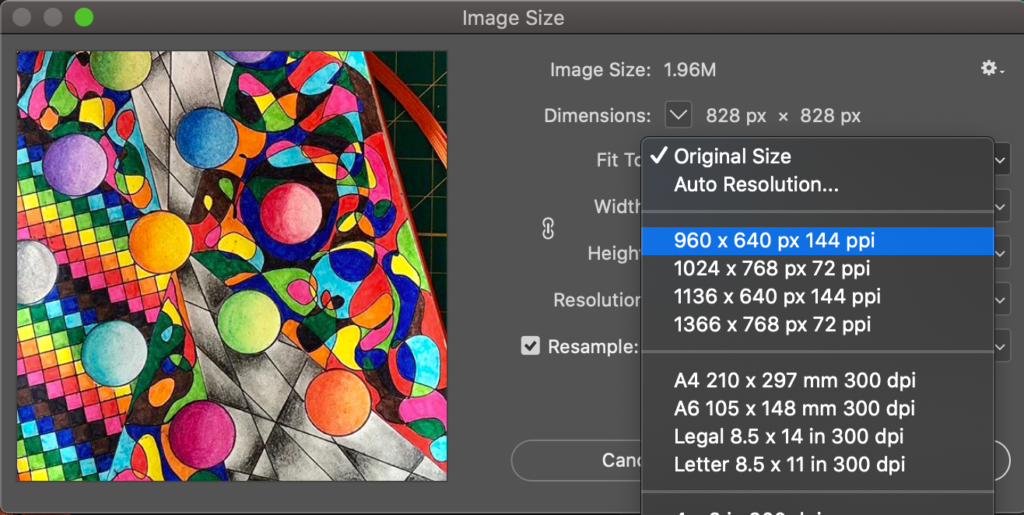
If I choose the first option in that list to adjust the dimensions and pixels per in (ppi) I can see how the file size will change.
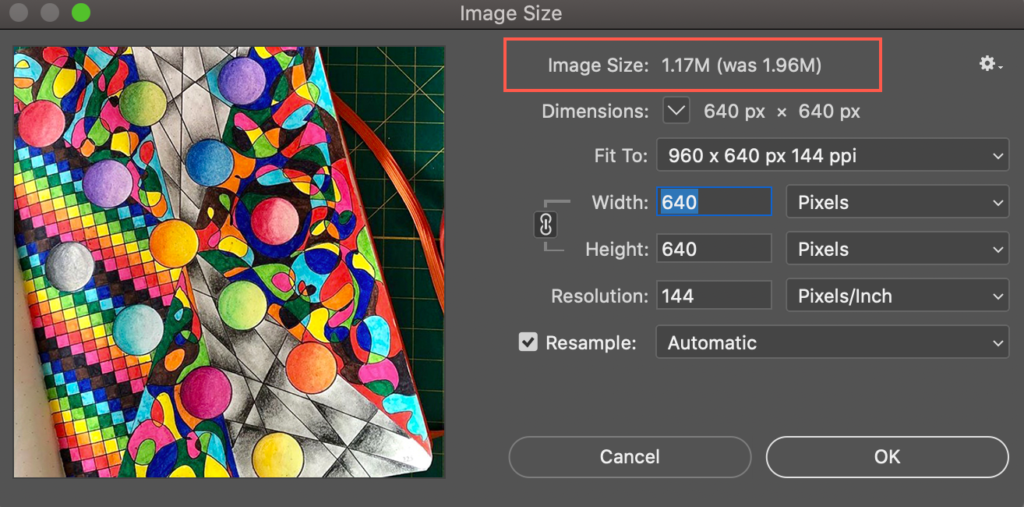
You can experiment with these settings to determine whether a standard size from the drop-down will work, or if you need to manually change the width, height, or resolution options to get the size you need.
Save for Web Function
Save for Web is different from Save As in that the web option removes metadata (details about the type and origin of the image) from the file before saving. This function is specifically meant for images that will display on the internet, so it can be a very fast way to resize while maintaining quality.
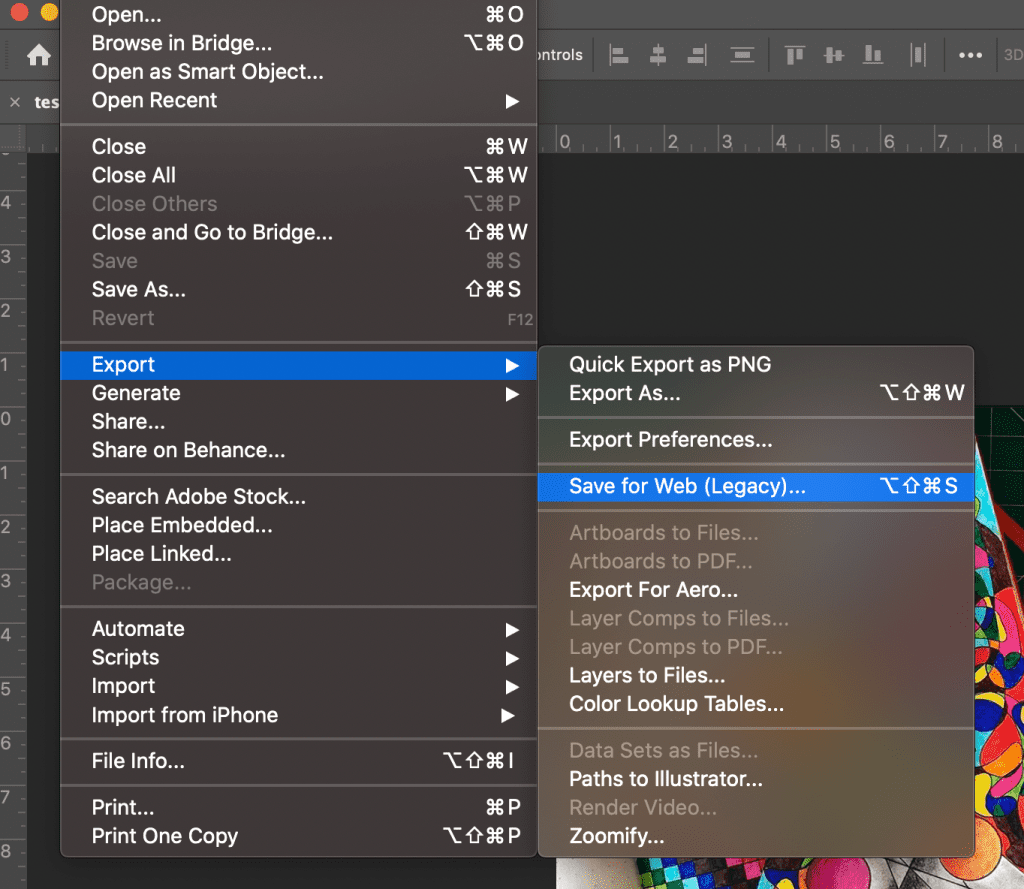
Find the Save for Web option by navigating to File>Export> Save for Web:
When the Save for Web window opens, you’ll notice another benefit of this function. If you select the 2-up tab at the top, you can see a comparison of the original image side-by-side with the changed image.
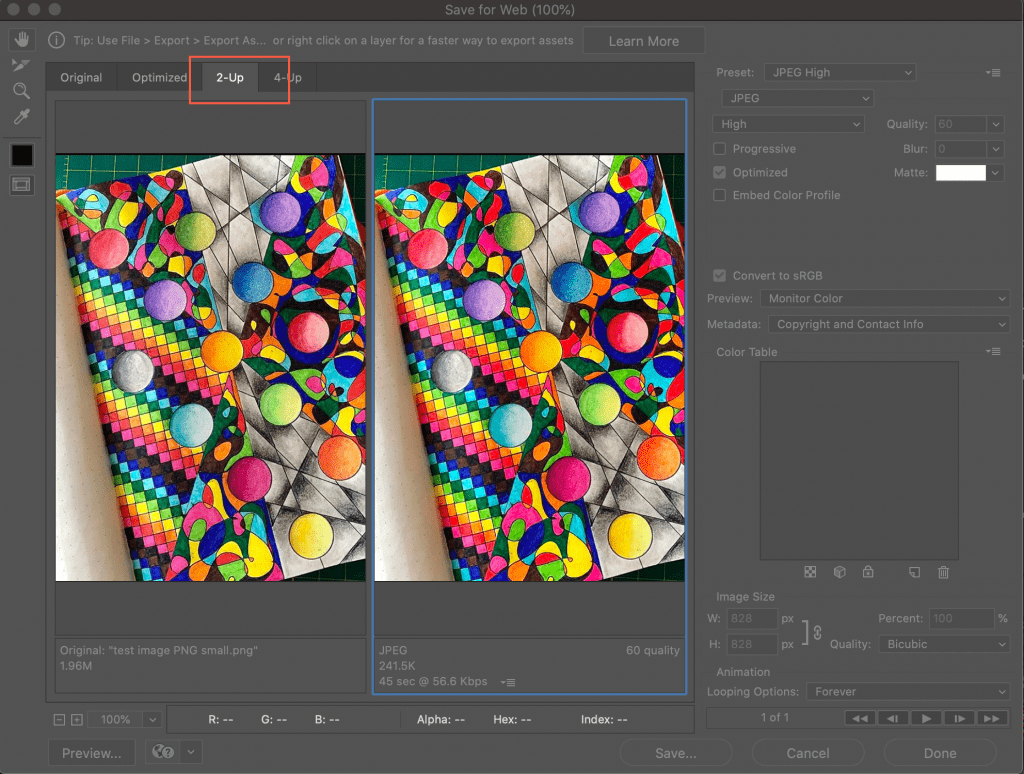
From here, use the presets in the upper-right corner to choose the JPG format and adjust the quality as you wish. After you make changes, you can see whether or not your new file is up to your quality standards via the image preview, and you can validate the change in file size by looking at the data under each image:
Note that you can also change the size by using the width and height fields in the lower right corner. Because this article is specifically looking at resizing, we aren’t covering the other options shown in the Save for Web screen, but you can read here for more detailed information.
WordPress Image Optimization Tools
Photoshop is a great option if you like to turn the dials yourself to reduce image file size yourself. If you are looking for something more automated to help with resizing your images, there are a good number of WordPress image optimization plugins that can help. Here’s a list of a few popular options and a brief description of their benefits:
Imagify – Optimize all your images in one go, resize with ease and restore photos to their original versions when needed. It’s affordable too. This plugin is free to download and includes 20 MB of file space. Other options are $5 per month for 500MB and $10 per month for unlimited space.
ShortPixel – No file size limit and one API key for multiple sites allow for great utilization for this plugin. They also offer one-time and monthly plans for budget flexibility.
Optimole – For the data-oriented, Optimole offers a dashboard where you can review optimization stats. Their free plan allows for 5,000 visitors per month and unlimited bandwidth.
For a more complete comparison of these options and a handful of others, see this article.
Web Resources for Image Optimization
If you’re in a pinch for time and/or money, there are plenty of free online image optimization tools.
Compressjpg allows you to upload multiple files and resize them all at once. It also has a feature that will convert iPhone HEIC format photos to JPEG. Other similar sites are Tinypng well as Image Compressor.
Canva Pro is another popular site that not only resizes but also allows you to design and animate images, as well as format them for web or social media use. Its layout is intuitive and easy to use.
Wrapping Up
Don’t underestimate the importance of optimizing your images. Slow sites not only turn off viewers, they don’t get traction on Google search either. Fast-loading, sharp images can provide that little extra something that sets your site apart from the rest. An optimized site will keep visitors coming back for more.
Are you using any of these methods to resize your images? If not, which do you think you’ll try first? Tell us in the comments!
Featured Image via Prihanto Edi / shutterstock.com


Perfect timing!
This very task is on my To-Do list for this week.
This will make it much easier. Thanks.
Thank you for this. I am new to Divi (this week). My question is: Does Divi have a list of the best sizes for certain images? For example, before I signed up for Divi, the theme I was using required my slider images to be a certain exact pixel size. What about Divi?
Hi Joanne,
Have a look at this: https://www.elegantthemes.com/blog/divi-resources/the-ultimate-guide-to-using-images-within-divi
Smush is another Good Example
The size of the images matters a lot in the loading of our website. You explored the manual methods for reducing image sizes in Photoshop.
You clarified a very consistent way how resizing image size and discussing the WordPress image optimization tools. Thanks for this article.
Very nicely explained. Do we need to go with PNG if resizing is concerned? JPEG is always smaller in size and if we resize it to a smaller one or a bigger one, how much it’s quality would be compromised?
One major difference between JPG and PNG not mentioned here is that JPG images always have a background. So a round logo for instance will have to be on a rectangular background and that background will be white or another colour. PNG on the other hand can have a transparent background (as can GIF again not mentioned here) which can be very useful in presentation.
Thank you very much for the excellent advice. I will use it when building the next page, thank you and Best Regards.
Great detailed instructions, Thank you for posting about this!
“When I changed the file type, the size of the file went from 646 MB to 1.3 KB. ”
Wow – who would have thought converting a jpg to a png would decrease the file size to only .0002% of the original size?
Especially when accompanied by the statement “As noted above, PNG files are typically larger, so for this type of picture with a lot of color and detail, you may be better off staying with the JPEG version to ensure faster load times.”
So – I’m guessing that perhaps it was supposed to be
“When I changed the file type, the size of the file went from 646 KB to 1.3 MB.” ?
Thank you for posting about this! As someone who has a gallery page with before and after images of my work, knowing how to properly reduce my image file sizes will really help out. Any other plugins you would recommend to maybe help automate the process for me though?