
Whether you’re a seasoned website creator, developer, or manager or you’re a newbie, one thing is obvious: the more streamlined the hosting portal, the better. Who wants to spend time looking for a tool that should be front-and-center? And what do you do when you’re trying to work with your first website but you don’t understand any of the terms used? When SiteGround switched from cPanel to its own interface (called Site Tools) in 2019, the company created the features that would best serve customers.
Today, SiteGround Site Tools let you do anything you need regarding website management, from installing WordPress to monitoring statistics and even handling developer-level tasks. You can learn about cPanel here, but essentially, Site Tools is able to give users more options, access, and control.

Each of the SiteGround Site Tools Explained
Here’s how to access the SiteGround Site Tools:
- Head to SiteGround.com.
- Click the login link on the top right.
- Enter your username and password.
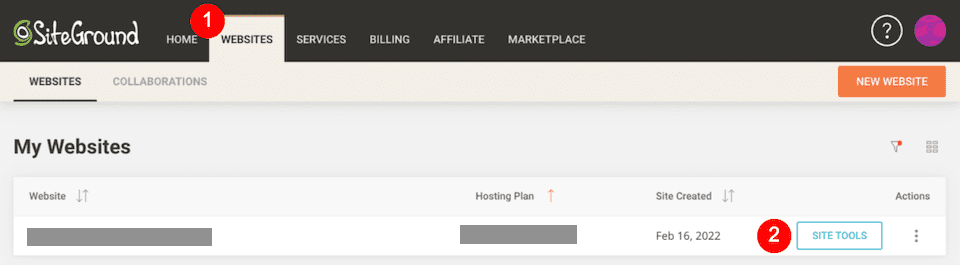
After that, you will notice a tab called Websites. Click that, and then to the right of the site that you will be working with, click Site Tools.
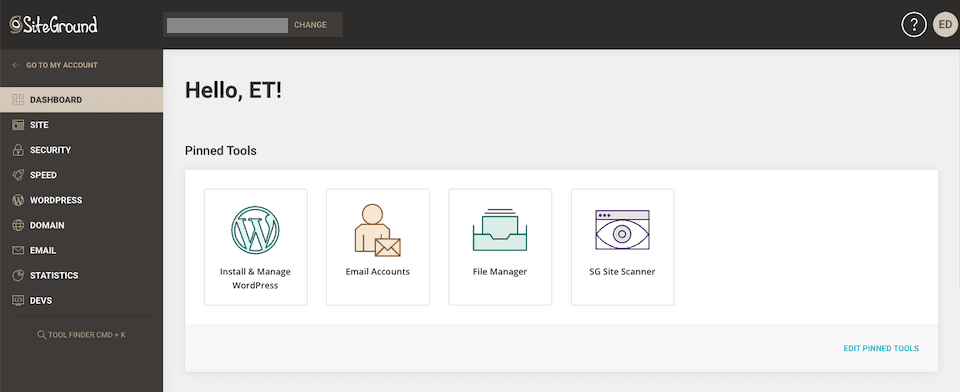
This is where you’ll be able to access your SiteGround Site Tools. The lefthand sidebar is the navigation between all of the tools and their subsections. If you’re a WordPress user, this will feel incredibly familiar.
Let’s go over what each one is!
Dashboard
The Dashboard is kind of like your Site Tools homepage. You’ll see a welcome message and possibly an announcement from SiteGround. Under that, there will be Pinned Tools, which you can change by clicking Edit Pinned Tools on the bottom-right of that section.

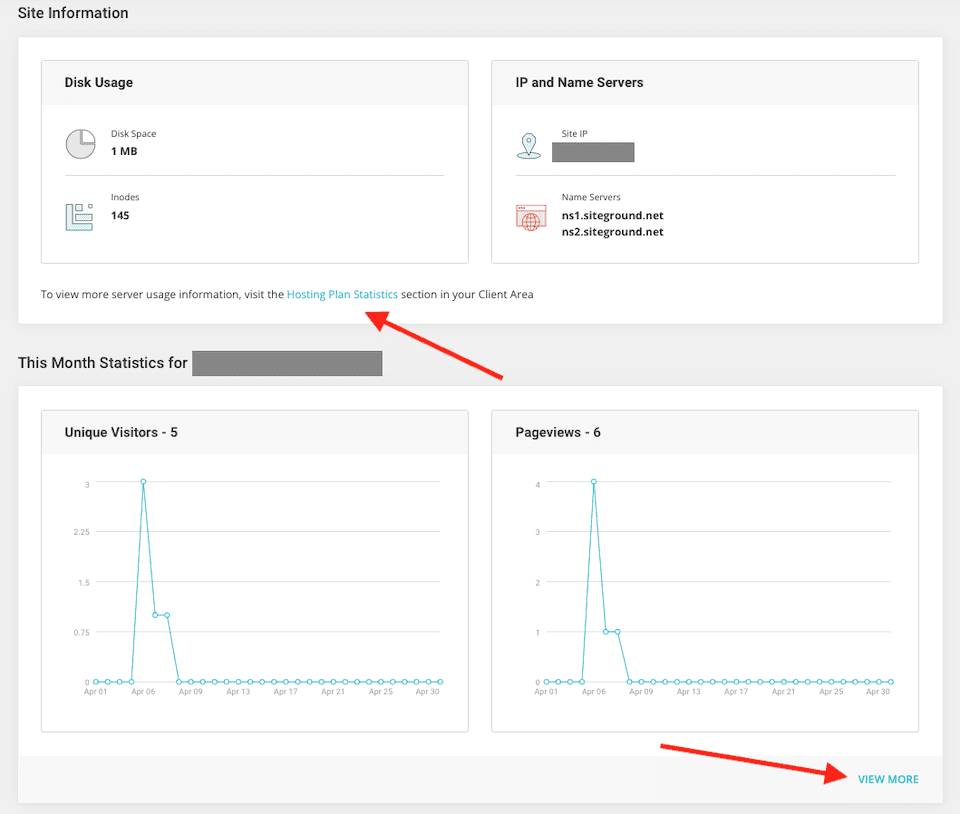
Next is Site Information, which includes stats about disk usage, as well as your IP and name servers. And below that, you’ll see your monthly statistics. Both sections have links if you want to dig into them more. (Clicking View More under the statistics section brings you to Statistics & Traffic, which we’ll get to when we talk about that section.)
You may also find that our article What is a KPI? A Marketer’s Guide is helpful when it comes to figuring out which stats matter most.
Site
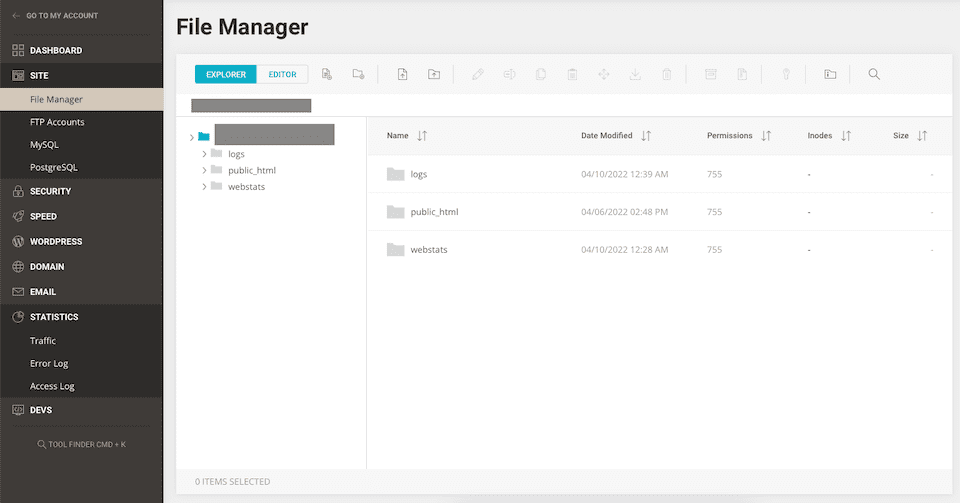
It’s possible that you’ll never have to head into this section — that’s the beauty of managed WordPress hosting. But if you have more advanced website management skills, it pays to know what’s here. Clicking Site opens a menu with four options:
- File Manager
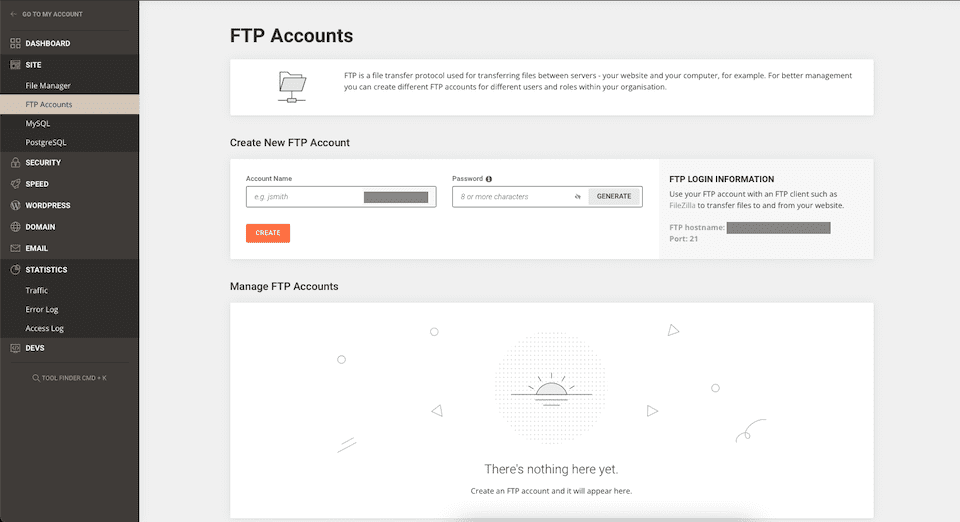
- FTP Accounts
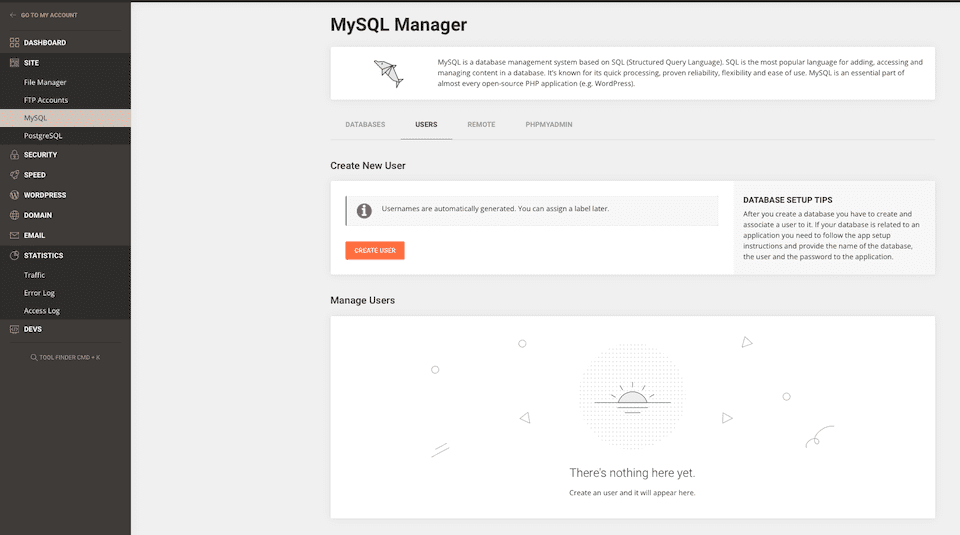
- MySQL
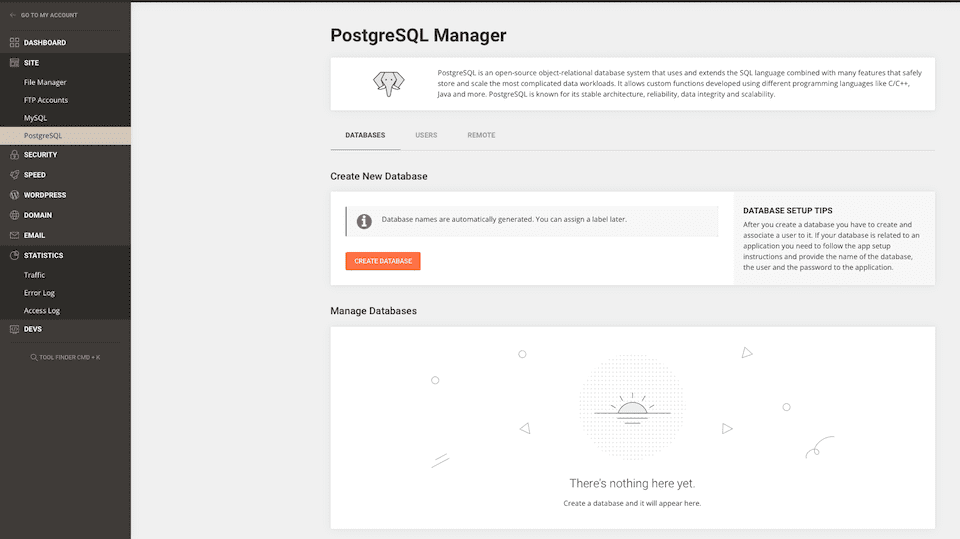
- PostgreSQL
The File Manager is where all of the files for your website live. If you had trouble making a change on WordPress, like if a plugin causes a problem and you need to delete it, you could do it through the File Manager.
In the FTP Accounts section, you can create different accounts for people you work with. That way, you can allow only certain users access to your website’s file management.
The MySQL manager provides another way to access your WordPress website’s database. You can add users to whom you want to give access, as well. SiteGround has some great tutorials on MySQL if you want to learn more about the WordPress database.
The last option in the Site section is PostgreSQL. This is also a database system manager to which you can add users.
Security
The options under Security are:
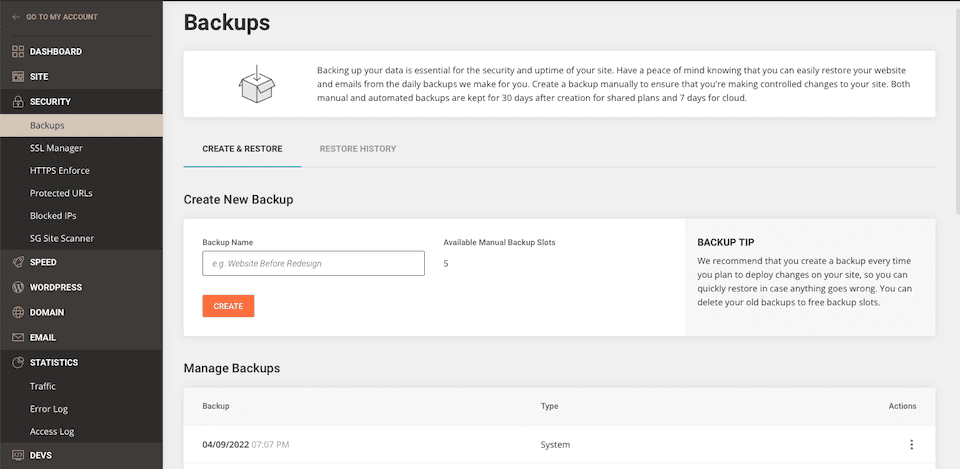
- Backups
- SSL Manager
- HTTPS Enforce
- Protected URLs
- Blocked IPs
- SG Site Scanner
The Backups section lets you create and restore backups, as well as see your restore history. SiteGround makes daily backups for you, and both automatic and manual backups are kept for seven to 30 days, depending on your plan.
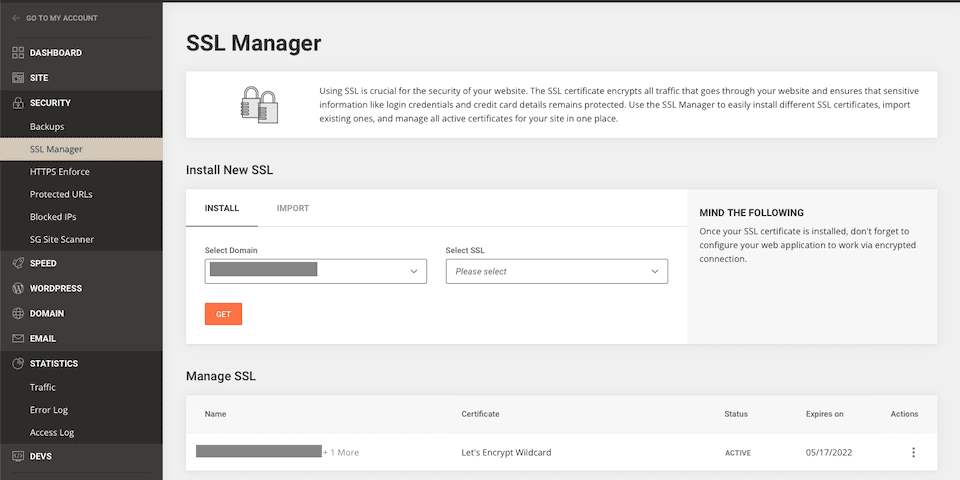
The SSL Manager is where you can install or import your SSL certificate, which is important for keeping sensitive information (like credit card details) safe. SSL is essentially required for every single website these days, and to make sure your site is set up correctly, check out our Ultimate Guide to HTTPS and SSL for WordPress, too.
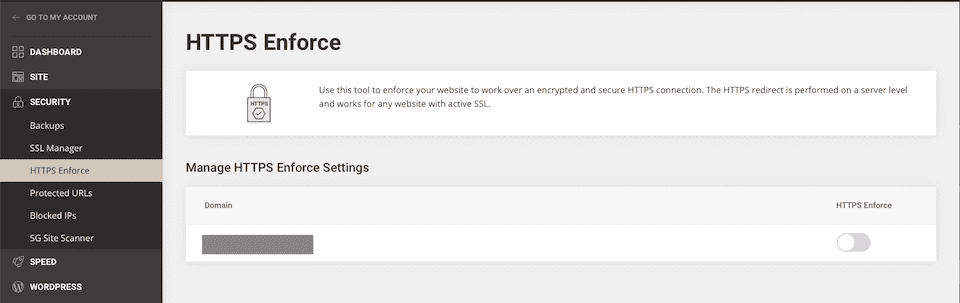
With HTTPS Enforce, you can set your website to work over a secure, encrypted connection — simply toggle it on or off.
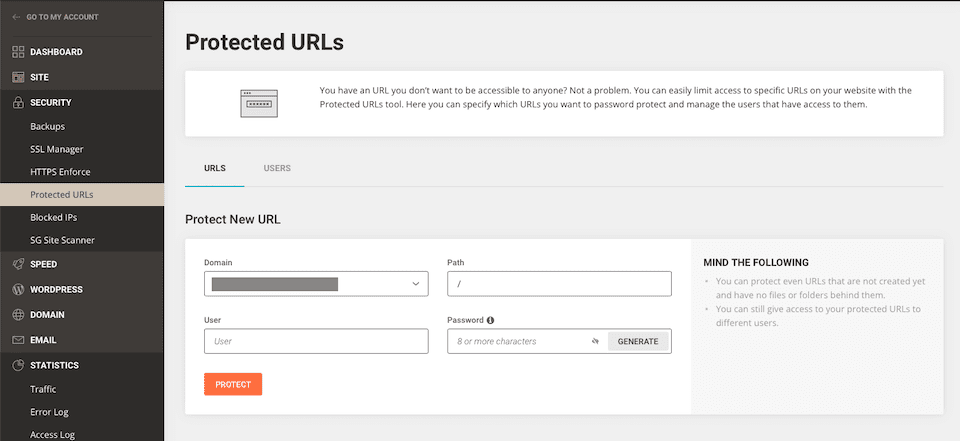
The Protected URLs tool gives you a great way to micro-manage your website. You can set certain URLs on your website to not be accessible, and you can decide who is able to access them with a password. This will supersede any password protection you place within WordPress itself because it happens server-side.
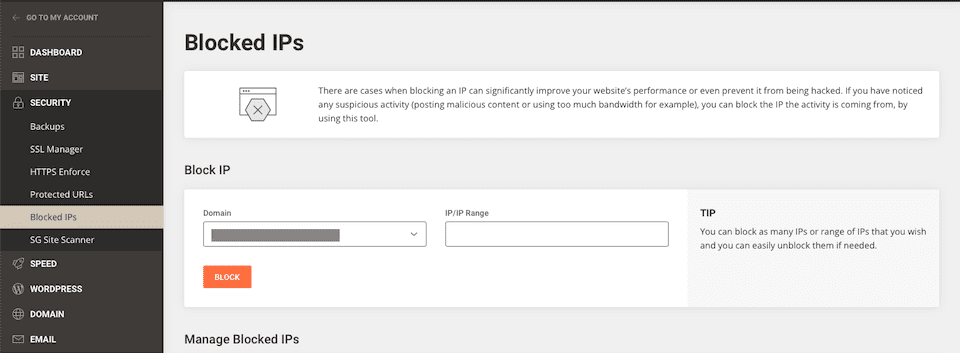
You may want to use the Blocked IPs section if you noticed suspicious activity coming from a specific IP. Doing this can also improve website performance and keep it safer.
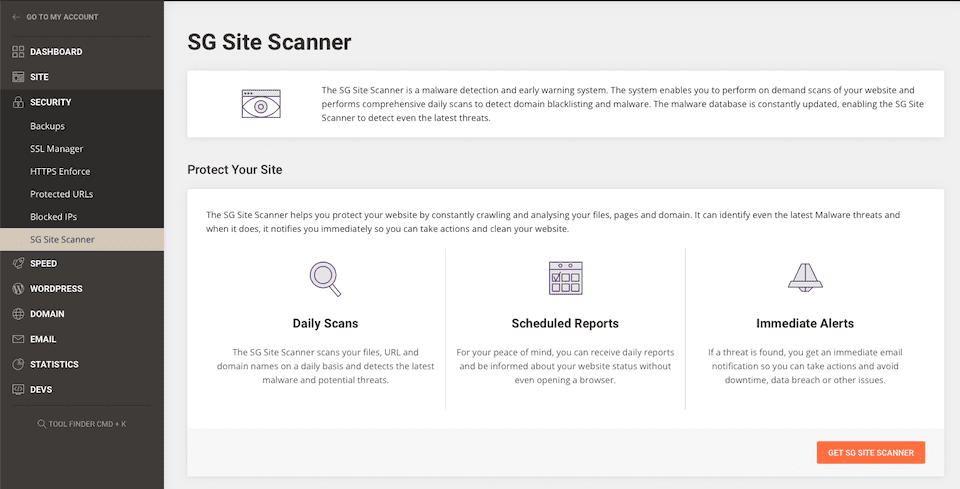
Last up, the SG Site Scanner detects malware and warns you of a potential problem ASAP. While your site is automatically scanned daily, you can also perform a manual scan whenever you want. This doesn’t stop the need for WordPress security practices and plugins, but adds an additional layer of protection.
Speed
The Speed section has three options underneath:
- Caching
- CDN
- Cloudflare
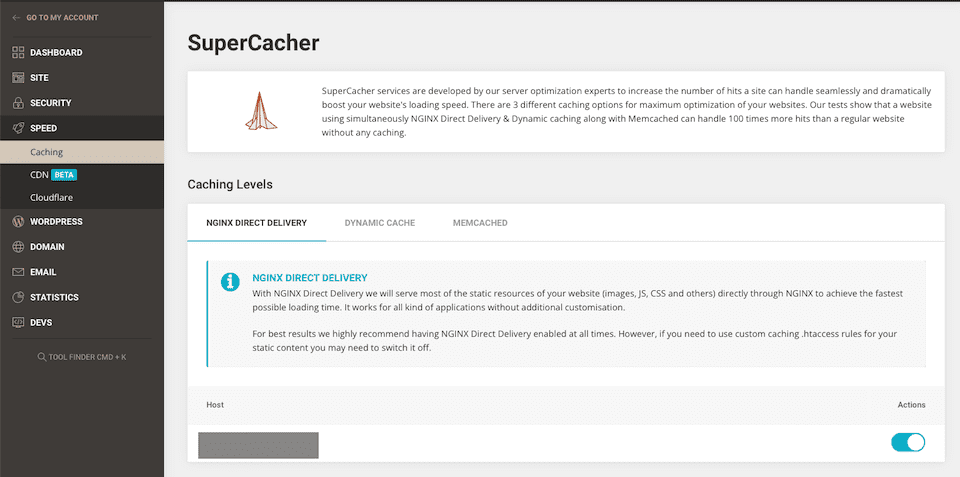
When you’re in the Caching section, you’ll see the SuperCacher, which has three options to optimize your website. You can read through each option and toggle on the one you like best. As we’ve said above, this feature doesn’t stop the need for having a WordPress caching plugin like WP Rocket.
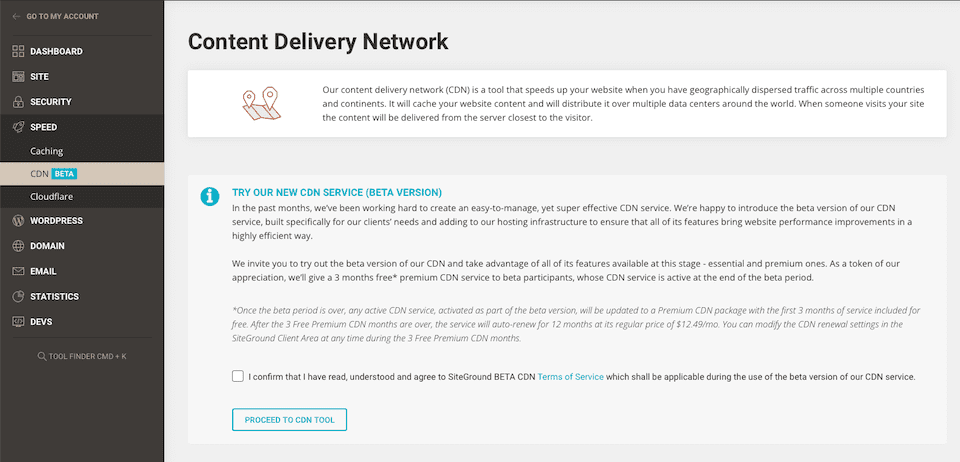
The CDN or Content Delivery Network is used to optimize your website’s performance when you have traffic coming from around the globe. Right now, the CDN service is in beta, but you can opt-in if you’re interested.
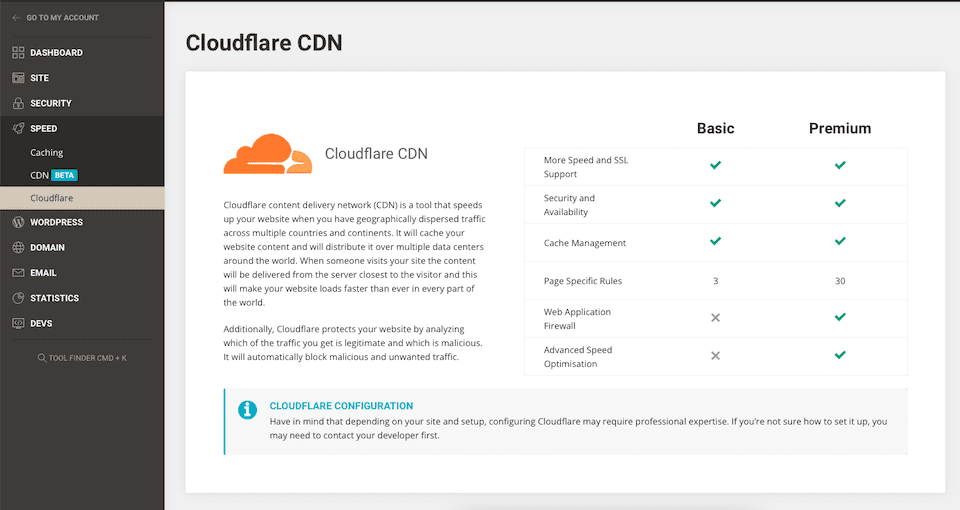
The last option is where you can configure Cloudflare. You can read about its CDN services in our 8 Best CDN Services for WordPress roundup to decide if it’s right for you. It is a nice addition that you can take advantage of, however, as free Cloudflare is very nice. It’s definitely worth checking out.
WordPress
Clicking WordPress opens a menu with the following options:
- Install and Manage
- Staging
- Migrator
- Autoupdate
- Search and Replace
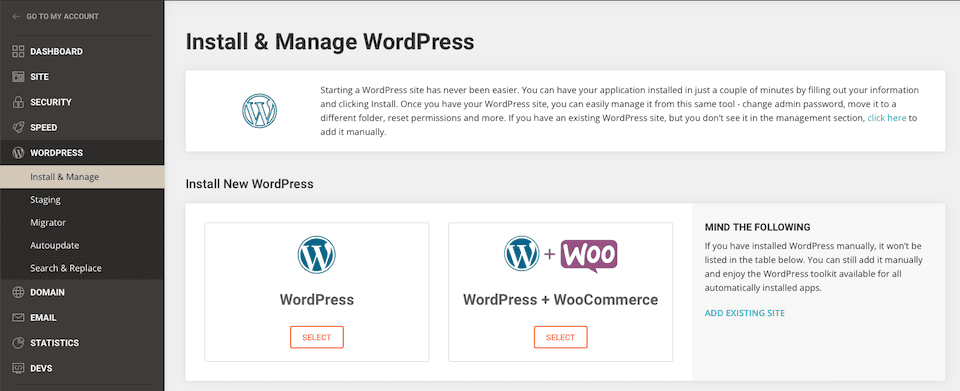
The Install and Manage section lets you install a WordPress website or a WordPress website with WooCommerce integration. You’ll manage your installations from here, too. (Not sure if WooCommerce is the best choice? We compared it to Shopify to help you decide.)
Staging is where you can test changes to your site without risking your actual website or dealing with downtime.

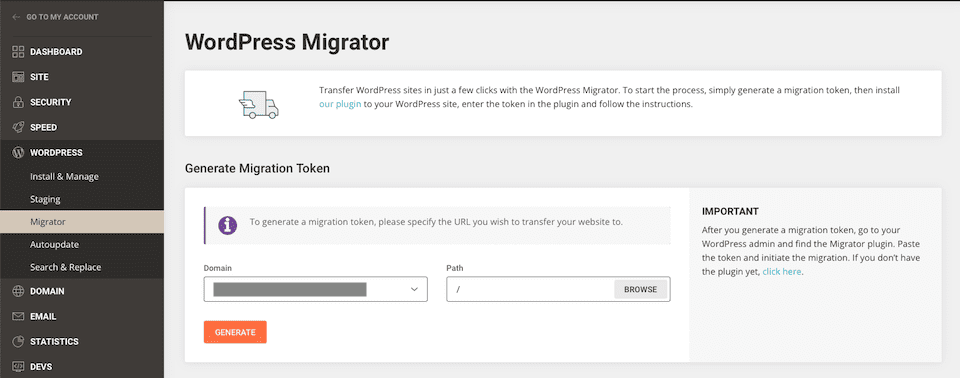
The Migrator lets you transfer an existing website into SiteGround. There are easy-to-follow directions on this page, too, so even if you’ve never migrated a site before, you should be able to do it effortlessly. And if you’re not comfortable with it, SiteGround support can help with migrations, and our experience with them handling that has been seamless every time.
The Autoupdate option lets you create a schedule and then SiteGround takes care of the actual updating for you. You can decide how often you want to update your site based on the type of release: major vs. minor. Where a major release is 5.0, 5.1, 5.2 and a minor release would be 5.0.2 or 5.2.9.

If you need to make a major change to WordPress strings (like switching from http to https), the Search and Replace section is where you’ll set it up.

You can do this with WordPress plugins, too, but any time you can deal with it from your hosting platform with their tools, it’s probably a good idea.
Domain
The Domain section in SiteGround’s site tools includes:
- Parked Domains
- Subdomains
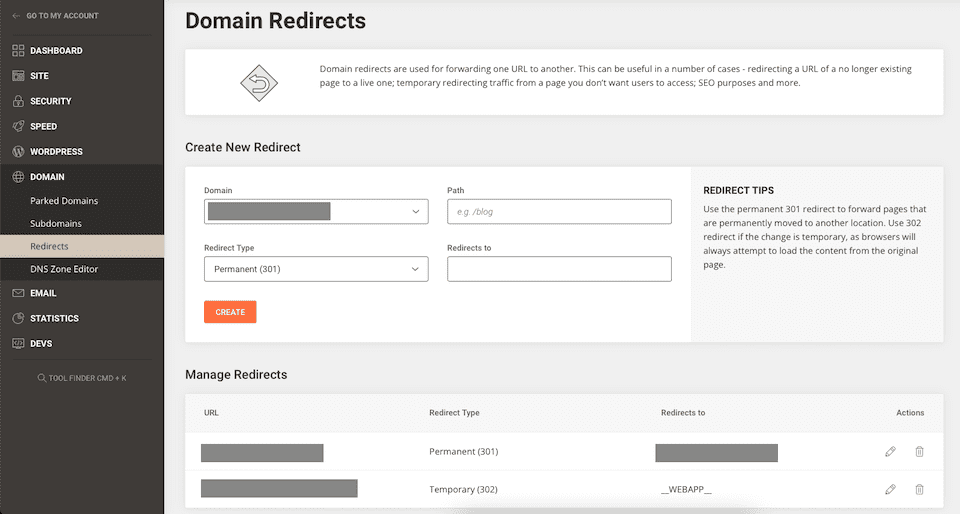
- Redirects
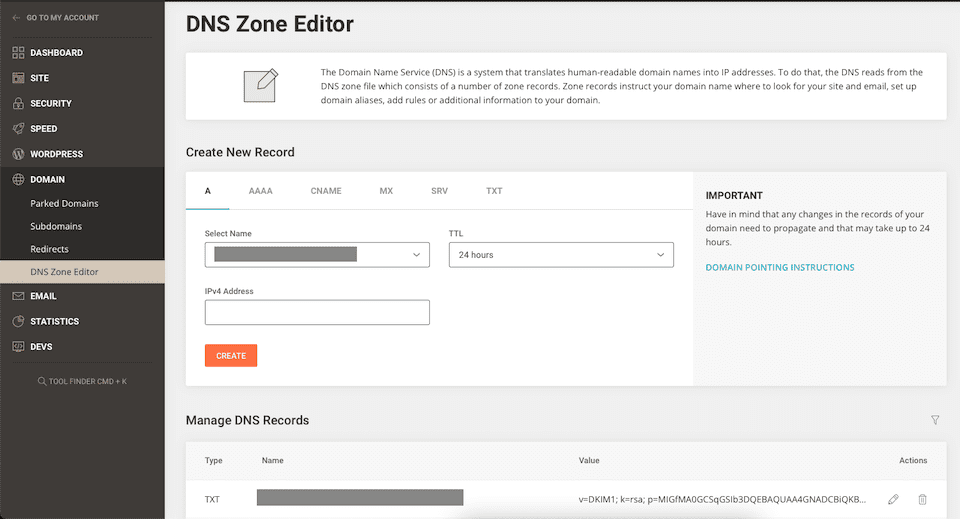
- DNS Zone Editor
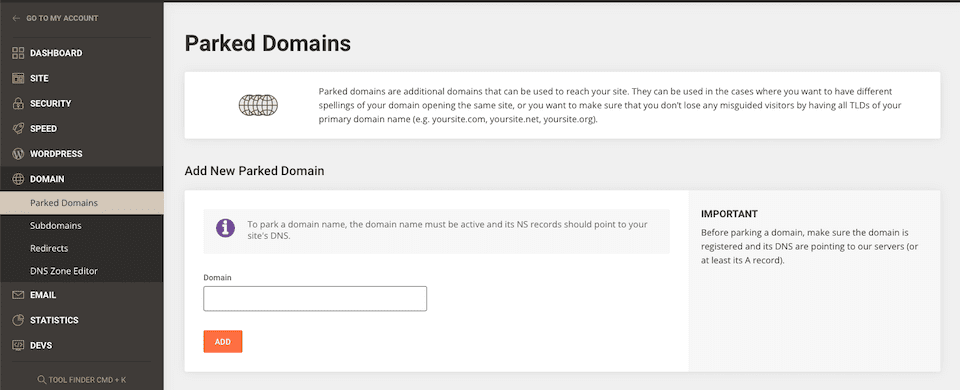
Let’s say you have a .com URL, but you also want a .net so another company doesn’t scoop it up to try to compete. While your .com may be your main URL, you need the .net to point to it so you don’t lose that traffic and so visitors find your actual website. That’s where Parked Domains come in, and in this section, you can set up the domains that you want to go to your main site. (We also have an article about the Difference in .net vs .com Domains.)
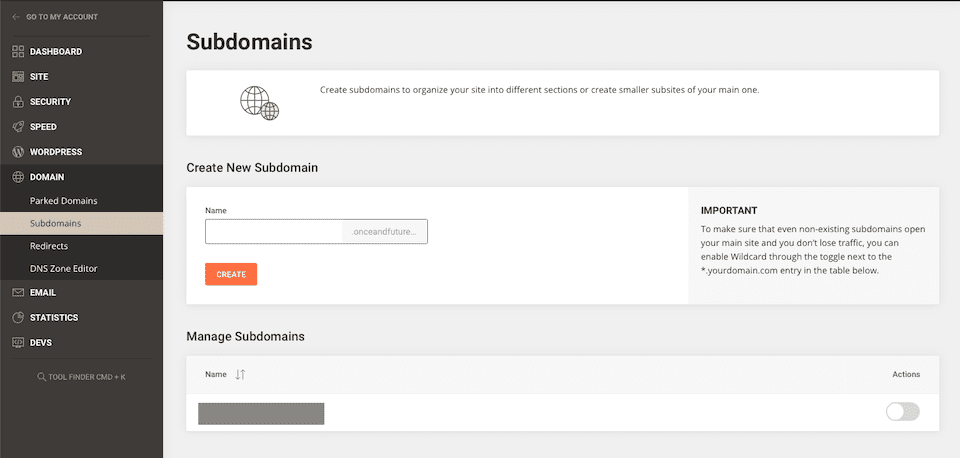
In the next section, you can create Subdomains for better site organization. For more information, check out What is a Subdomain and How to Use One With WordPress.
To forward one URL to another URL, you’ll create Redirects. For example, maybe you have a page that’s no longer active and you want to direct traffic to another page. This can be incredibly important for SEO, and handling it correctly can be a major boost to ranking in SERPs.
The DNS Zone Editor is where you can create and manage your DNS records. Here’s more information about how DNS works, and know that making changes here is pretty simple, so long as you know which info to update. DNS records are finicky, so if you’ve never done it before, it may be a good idea to get support’s help.
The Email menu has several options:
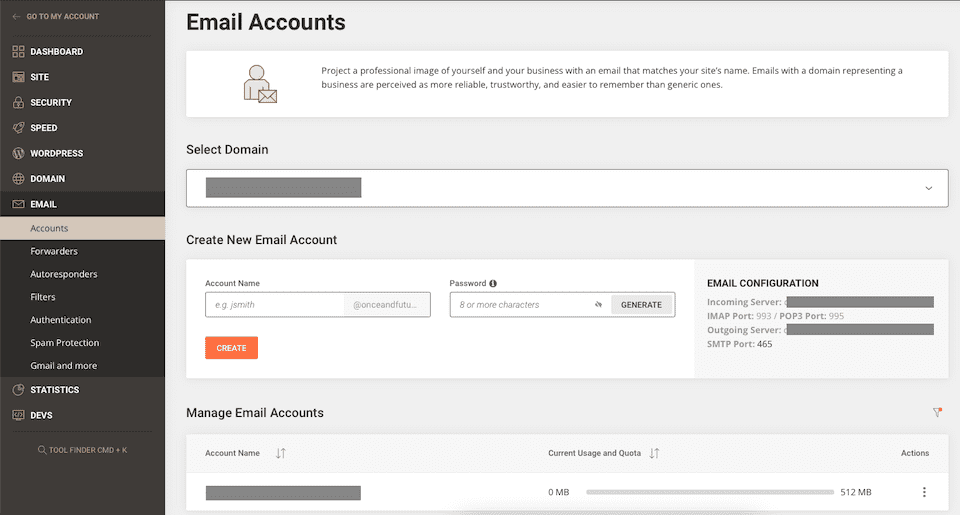
- Accounts
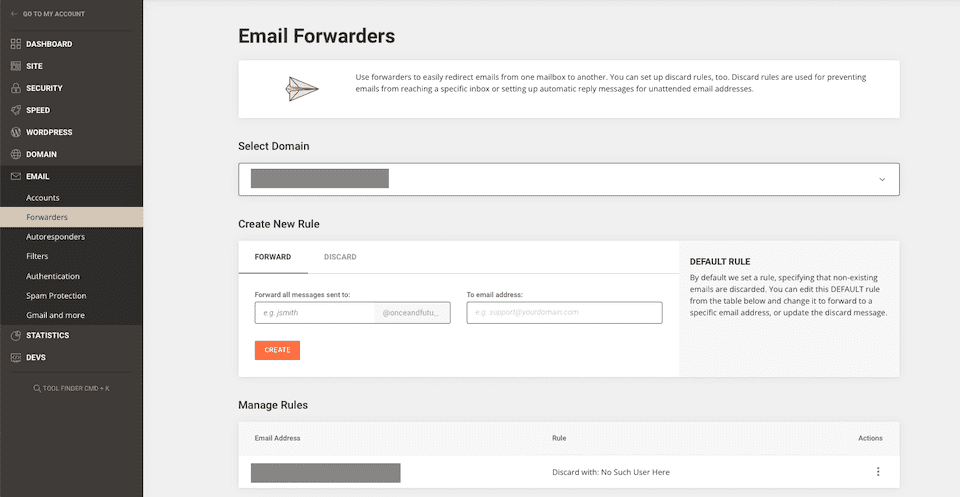
- Forwarders
- Autoresponders
- Filters
- Authentication
- Spam Protection
- Gmail and More
The Accounts section is where you can create email accounts that use your domain name. We have a thorough walk-through of this section in our article How to Set Up, Configure, and Forward SiteGround Email.
Forwarders lets you direct emails from your SiteGround address to another address. You may do this if it’s easier to check your Gmail account than your SiteGround Webmail, for example. We go over this in the article referenced above, too — find it here.
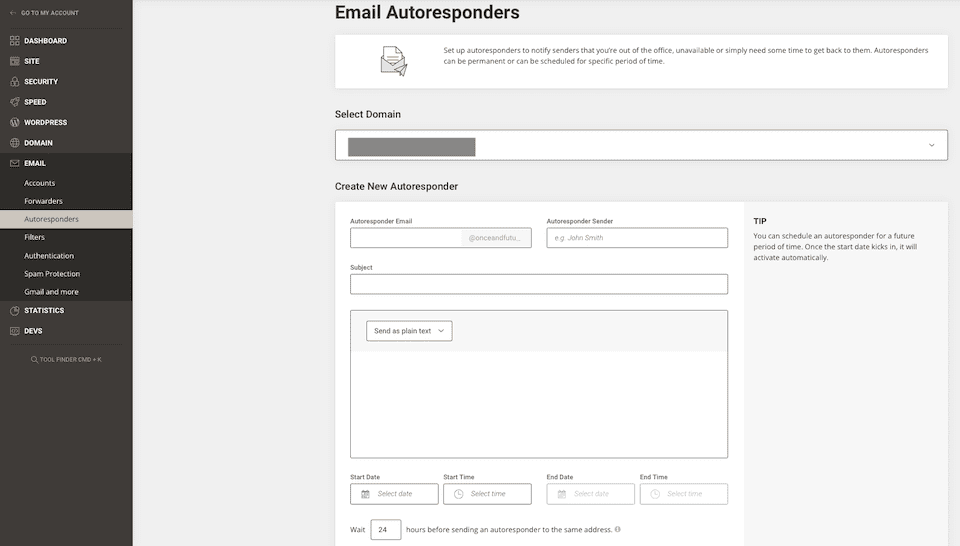
If you’re going to be out of the office (or don’t want to check email for a day or two), you can set up Autoresponders. Email is incredibly overwhelming, and reaching Inbox Zero is a pipe dream for many of us. So taking advantage of autoresponders can relieve a great deal of stress.
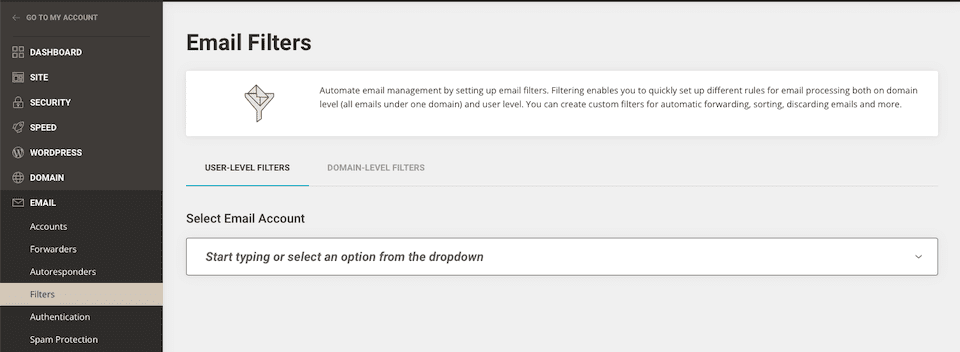
In the Filters section, you can set rules for how you want certain emails to behave. Delete, forward, and sort emails based on the filters you set up.
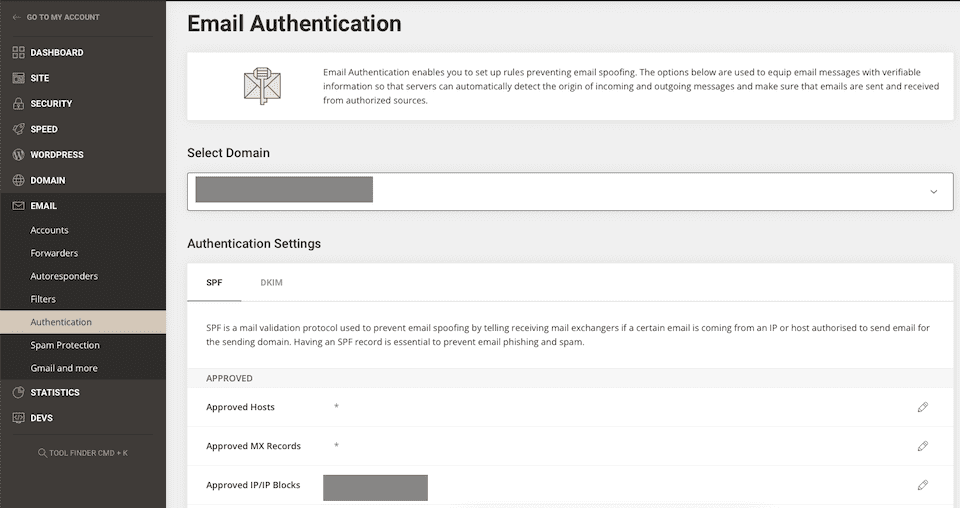
The Authentication section lets you set rules so that servers know which incoming and outgoing messages are legit. SiteGround has an email authentication tutorial that can help you decide which, if any, rules to set.
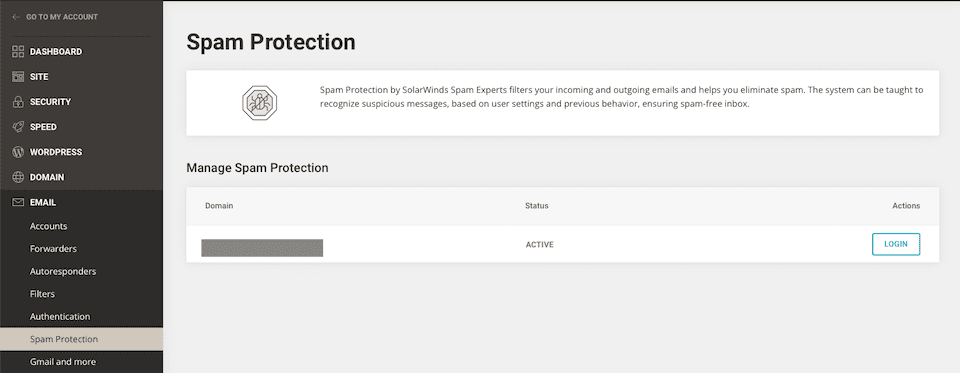
Spam Protection is a straightforward tool for detecting and eliminating spam so you can have less junk in your inbox.
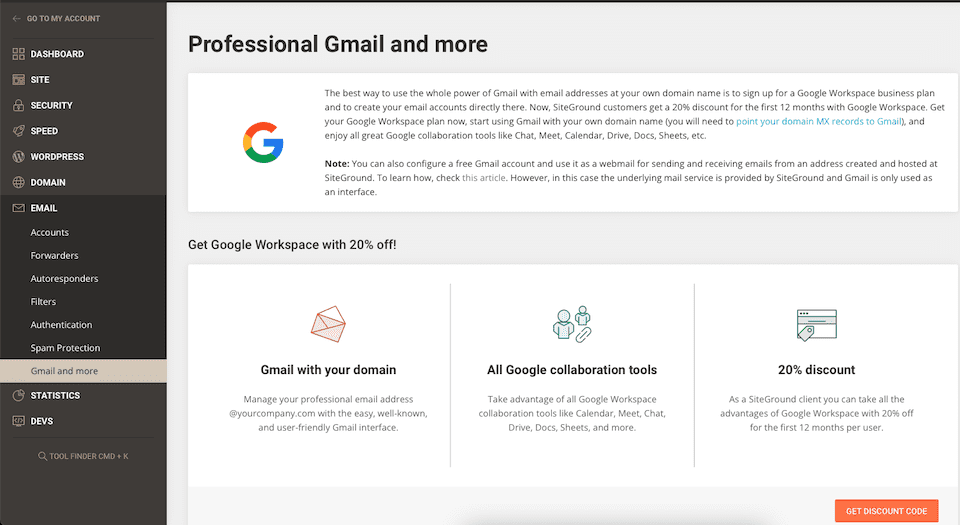
The Gmail and More option is for people who want to use Google Workspace to use Gmail email addresses with their domain name. This isn’t the same as using Gmail to manage your email — we cover that in the SiteGround email article.
Statistics
Under Statistics, there are three options:
- Traffic
- Error Log
- Access Log
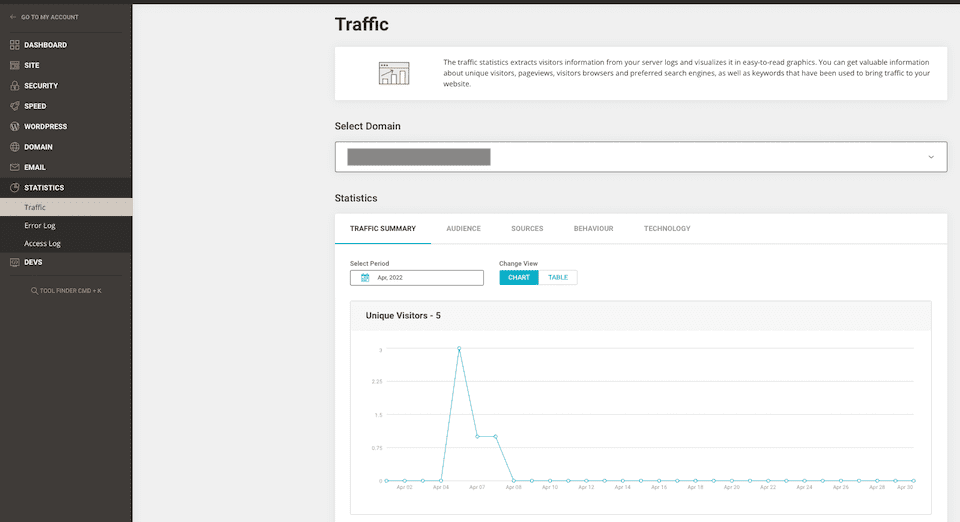
The Traffic section includes both chart and table views of your stats for the month of your choice. There are five statistics options, and some of them have more options within them:
- Traffic Summary: Unique visitors, pageviews, average number of pages per visit, and bandwidth
- Audience: By country
- Sources: Search engines, referrers, and keywords
- Behavior: Most visited pages, most visited files per type, and HTTPS status codes
- Technology: Broken up by operating systems and browsers
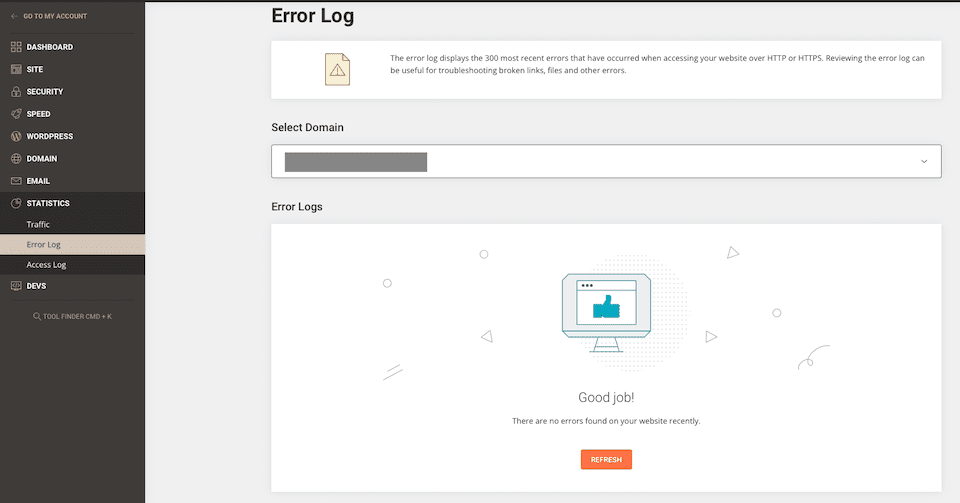
The Error Log includes the last 300 errors on your website. This is where you can troubleshoot issues like broken links, for example.
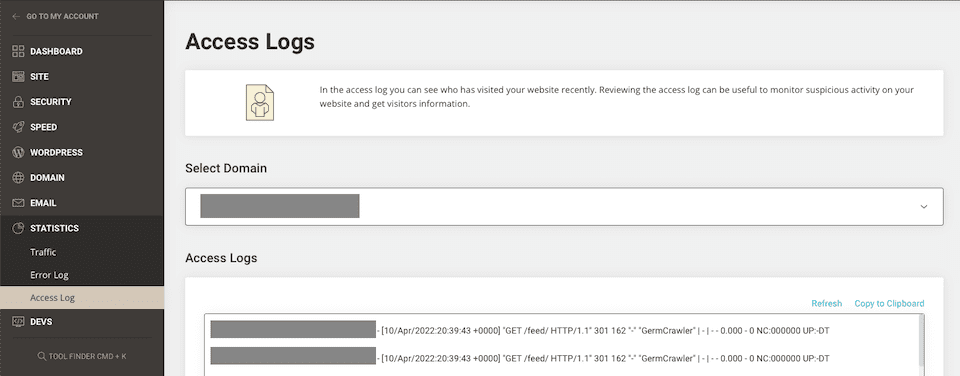
The Access Log is where you can find information about your visitors, like the date and time they accessed your site, their browser, etc.
Devs
Under the last section, Devs, you’ll find:
- Git
- Cron Jobs
- PHP Manager
- SSH Keys Manager
- App Installer
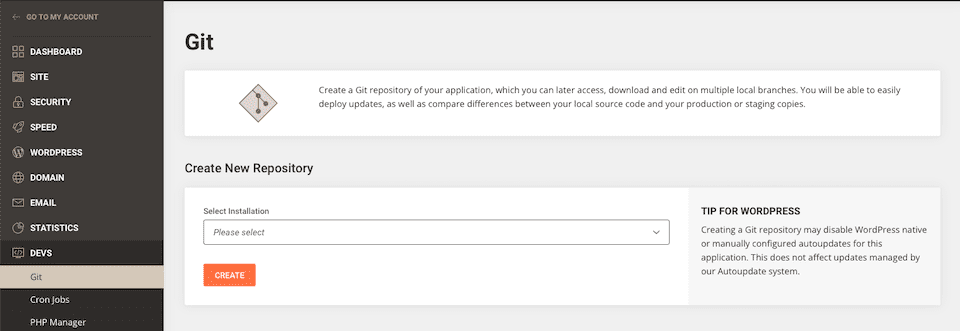
With Git, you can collaborate with others and keep track of any and all revisions made to your WordPress website. We have an article explaining Git and Github, and we also suggest checking out SiteGround’s Git tutorial.
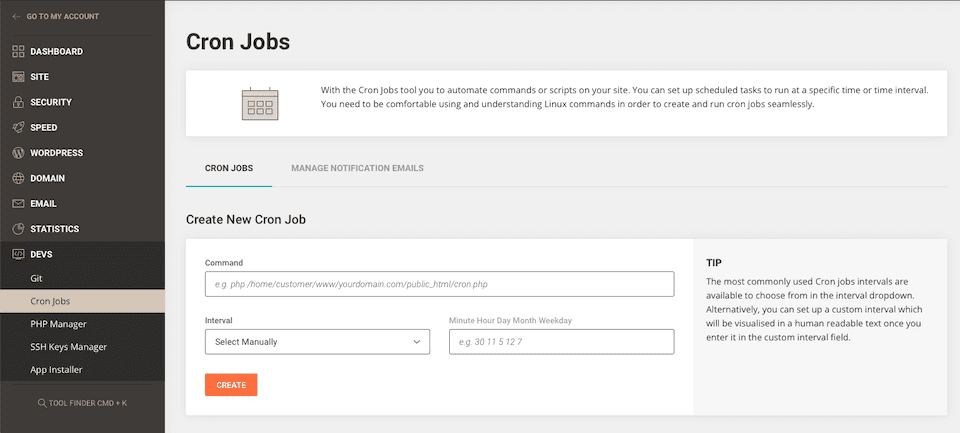
The Cron Jobs section lets you automate commands or scripts and run tasks on a schedule. If you’re interested in using this tool, read SiteGround’s overview of cron.
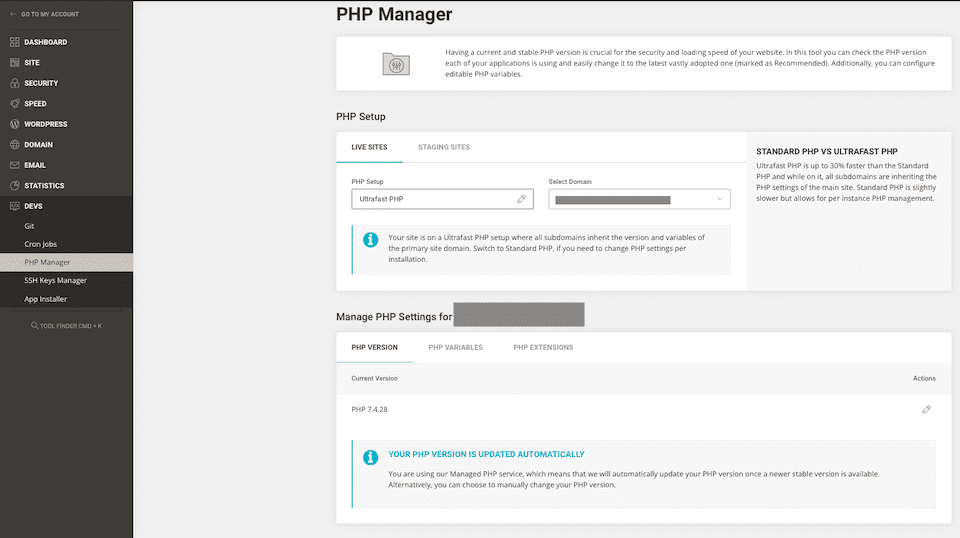
The PHP Manager helps you keep your site fast and secure, and it lets you check your applications to ensure they have the latest PHP version. There’s a tutorial about it here, too.
The SSH Keys Manager lets you access your website’s files and folders over an encrypted connection. SiteGround has a number of SSH tutorials here.

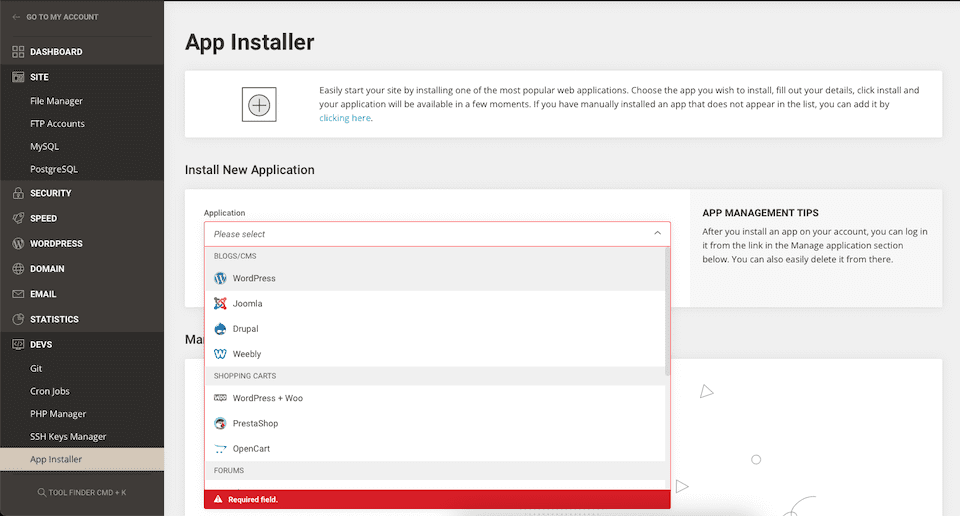
The App Installer has a drop-down menu with a selection of apps that you can install on your website.
Final Thoughts About SiteGround Site Tools
Whether you’re exploring hosts that you may want to sign up for or you’ve already gotten started with SiteGround hosting, knowing how to get around the portal is a must. Yes, you get a lot handled for you when you have managed WordPress hosting, but there will be times when you need to — or just want to — get into the nitty-gritty of your website yourself.
The SiteGround Site Tools are well-organized, and each one includes a quick blurb about what it does, often with the option to learn more. They’re a lot easier to navigate and are much more user-friendly than cPanel. Plus, SiteGround has a vast knowledge base you can reference and an excellent support team. Basically, you have everything you need to successfully create and manage your websites.
Have you used SiteGround’s Site Tools since the changeover? We’d love to hear about your experience!


Hi Lindsay
Thanks for the walkthrough. I am lifetime customer at elegant themes and love to read your blog posts. Looking forward to an update about Bloom plugin, which I use on my site.
I have used Siteground previously with their gogeek plan for my website, but changed to another somewhere along the way. I didn’t know they had a makeover and maybe I should take a look at them again. Their support is faboulous. Very fast and they always solved my issues.
Thanks for doing these posts 😀