
If you run a business website, maintaining a professional image is crucial to your success. This professionalism includes having an email address with your domain name, like [email protected]. Fortunately, it’s straightforward to create your own email domain.
In this post, we’ll take a closer look at email domains and why they’re essential. We’ll then show you how to create your own email domain using Cloudways and Rackspace. Let’s get started!
- 1 What is an Email Domain?
-
2
How to Create Your Own Email Domain with Cloudways
- 2.1 Step 1: Create a Cloudways Account
- 2.2 Step 2: Set Up the Rackspace Add-on
- 2.3 Step 3: Create Your Own Email Domain’s Mailbox
- 2.4 Step 4: Configure your DNS records
- 2.5 Step 5: Set Up Aliases, Mail Forwarding, and Catch-All Addresses
- 2.6 Step 6: Configure Your Email Client With Your Rackspace Inbox
- 3 Conclusion
What is an Email Domain?
An email domain is the part of an email address with a website URL, such as yahoo.com or gmail.com. Basically, it’s what comes after the @ symbol.
For instance, if your email address is [email protected], the email domain is companyname.com.
Typically, if you run an online business, you’ll want to create your own email domain rather than use a public one like [email protected].
There are several benefits to having a business email address. For starters, it helps you project a more professional image and build brand awareness. Additionally, users may be more likely to open your marketing emails if the address looks legitimate and they can recognize the brand.
Moreover, a business account enables you to create additional email addresses for different areas of your company, such as [email protected] or [email protected]. This setup can be handy as your team continues to grow.
How to Create Your Own Email Domain with Cloudways
When you set up a hosting account for your website, you can usually create your own email domain. However, this service isn’t always available, or if it is, it might be a bit pricey. Additionally, you may be looking for a more professional solution.
This tutorial will show you how to set up an email domain with Cloudways. This popular web host offers managed hosting services to help you grow your business.
Cloudways also lets you set up mailboxes for your domain using the email service Rackspace. The best part is you only pay $1 per month per mailbox.
Let’s look at how to create your own email domain with Cloudways in just six easy steps!
Step 1: Create a Cloudways Account
First, you’ll need to create an account with Cloudways:
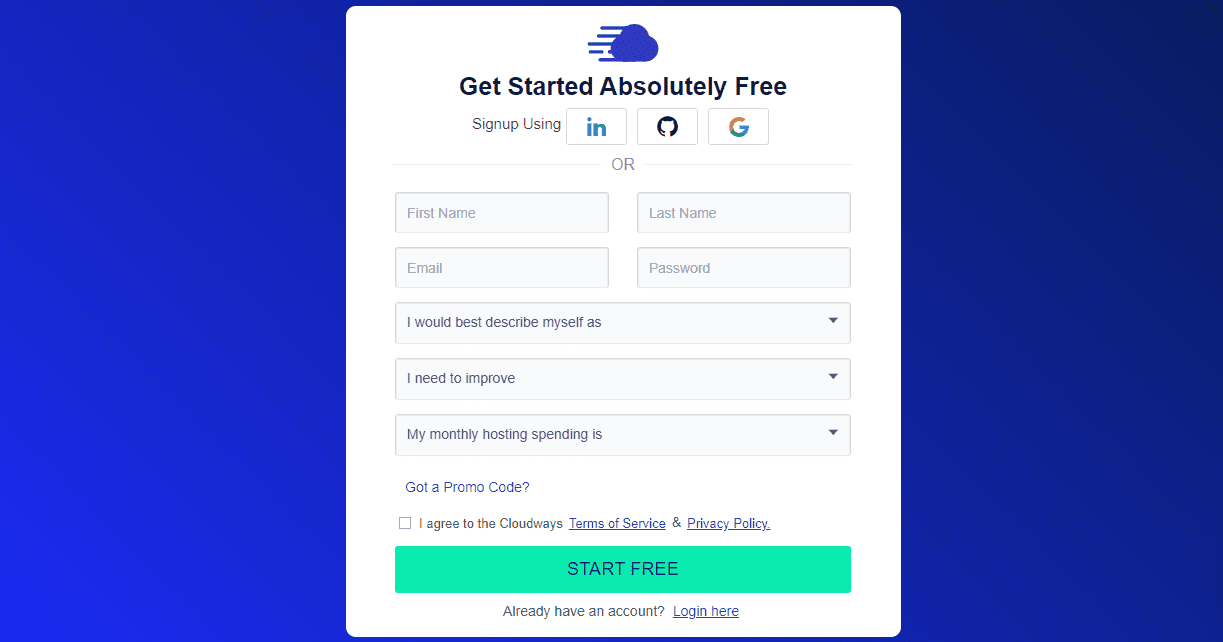
The process is pretty straightforward. You can sign up using LinkedIn, Gmail, or GitHub. Alternatively, you can manually enter your details. Then you’ll just need to answer a few simple questions about yourself.
Once you’ve set up your account, you’ll be prompted to provide more information about your business. Alternatively, you can start creating your email domain straight away.
Step 2: Set Up the Rackspace Add-on
As mentioned earlier, Cloudways uses Rackspace’s email service to manage your mailbox. Therefore, the next step is to set up Rackspace on your account.
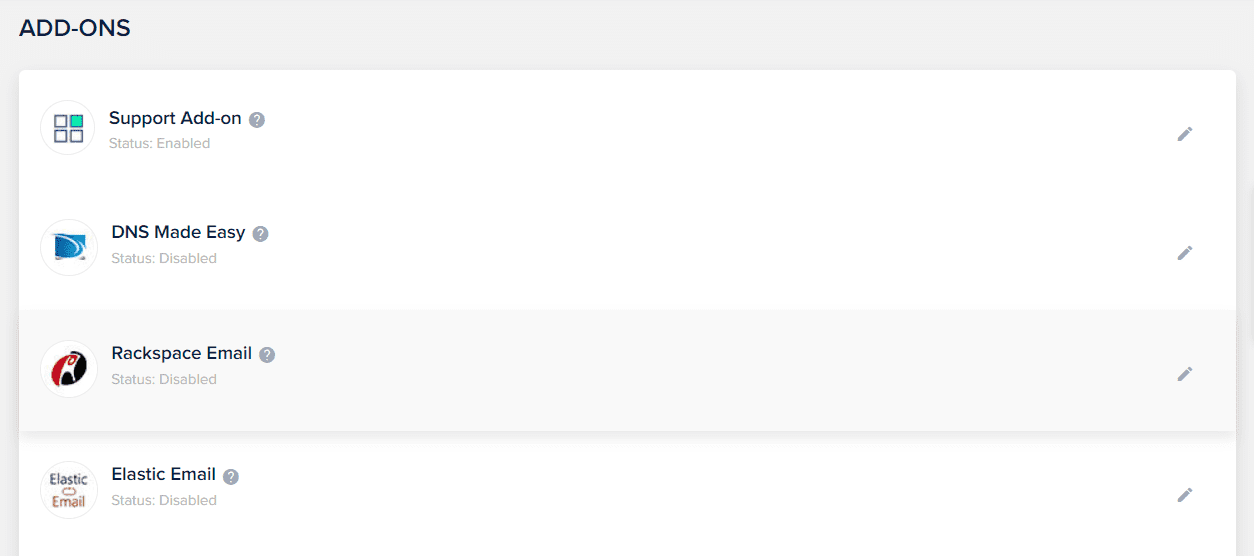
To start, click on the grid icon in the top menu bar and select Add-ons:
![]()
This will bring up a list of available add-ons. Find Rackspace Email and click on the accompanying pencil icon:
A popup window will open, giving you different options. Let’s start with mailboxes.
Step 3: Create Your Own Email Domain’s Mailbox
To set up your own email domain, you’ll need to create a mailbox. Rackspace makes this process super easy:
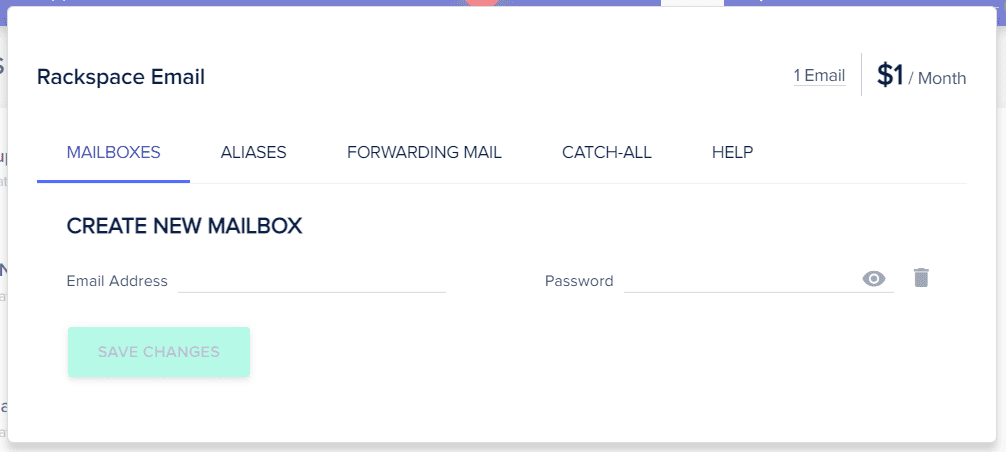
All you have to do is enter your custom email address and set a password. Then, click on SAVE CHANGES.
As you can see, you can make as many mailboxes as you like. You just need to click on Add Mailbox. Note that you’ll be charged $1 per month for every mailbox you create.
Step 4: Configure your DNS records
If this is the first time you’re setting up a mailbox for your domain, you’ll need to configure your DNS records. You can find this information in your domain registration account. If you registered your domain name with your web host, you’ll need to log into your hosting account to access and modify these records.
Once you’ve found your DNS records, you’ll need to update your MX records to point toward Rackspace. This way, your domain will be able to route your incoming and outgoing emails.
You can follow these instructions by Rackspace to ensure that all your records are correctly updated. Alternatively, you can activate the DNS Made Easy add-on in your Cloudways account:
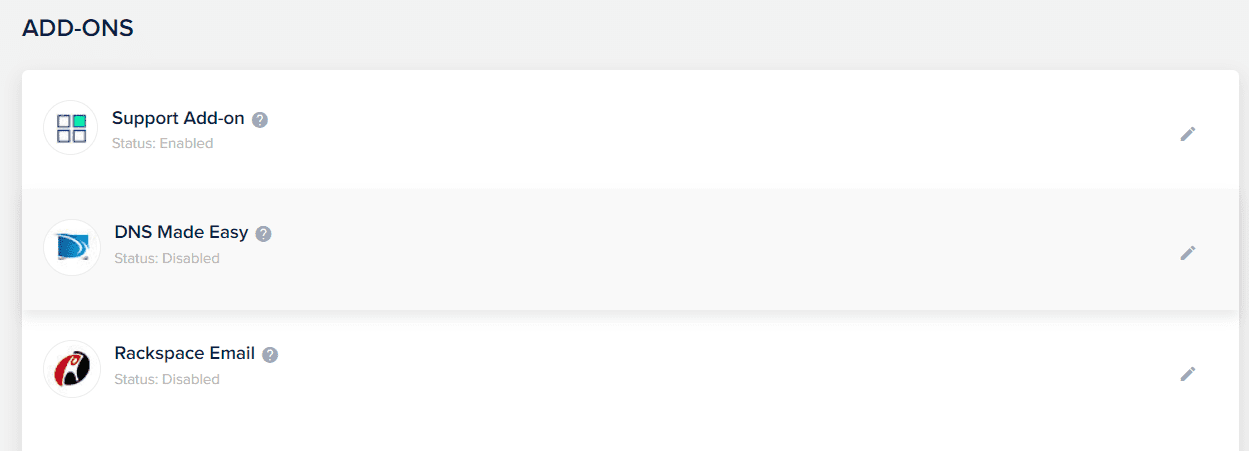
You can choose a subscription based on the number of domains you own. Once you’ve subscribed to the service, Cloudways will manage your DNS records. However, you’ll still need to contact support to let them know you want to configure and update your records.
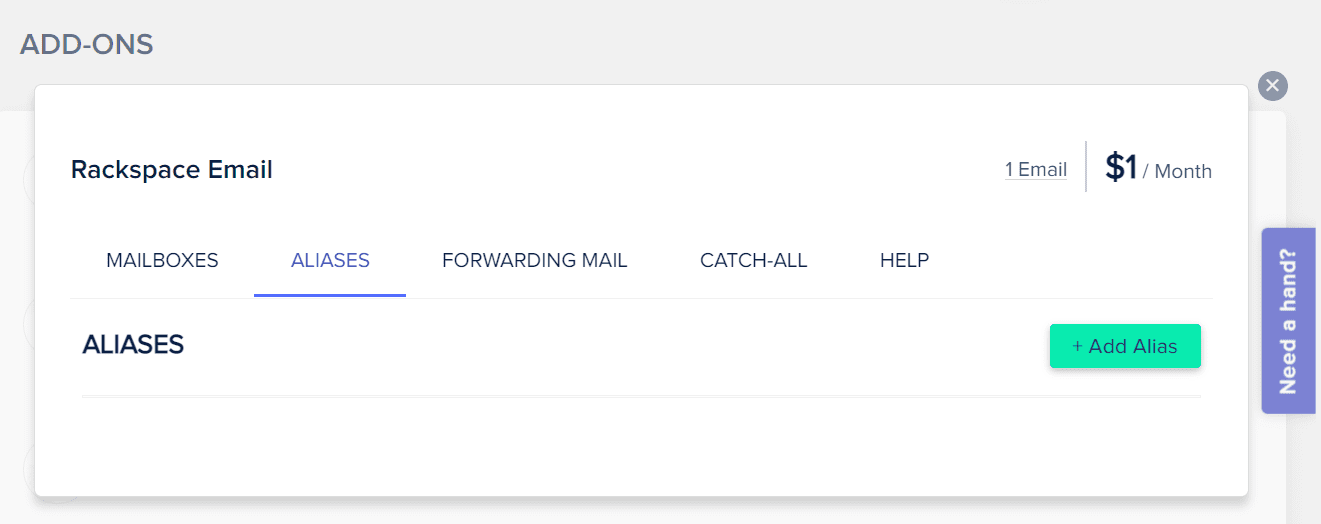
Step 5: Set Up Aliases, Mail Forwarding, and Catch-All Addresses
If you wish, you can also set up aliases. These are additional email addresses that point to an existing mailbox. This way, you won’t have to create separate mailboxes for these addresses.
Start by navigating to the ALIASES tab in Rackspace. Then, enter your alias and select your domain from the dropdown menu:
Next, choose the email addresses you want to link to that mailbox, and add them to the MEMBERS OF THE ALIAS field. When you’re ready, click on SAVE CHANGES.
You can also forward the emails in your Rackspace mailboxes to other mailboxes. To do this, go to the FORWARDING MAIL tab and select the relevant mailbox:
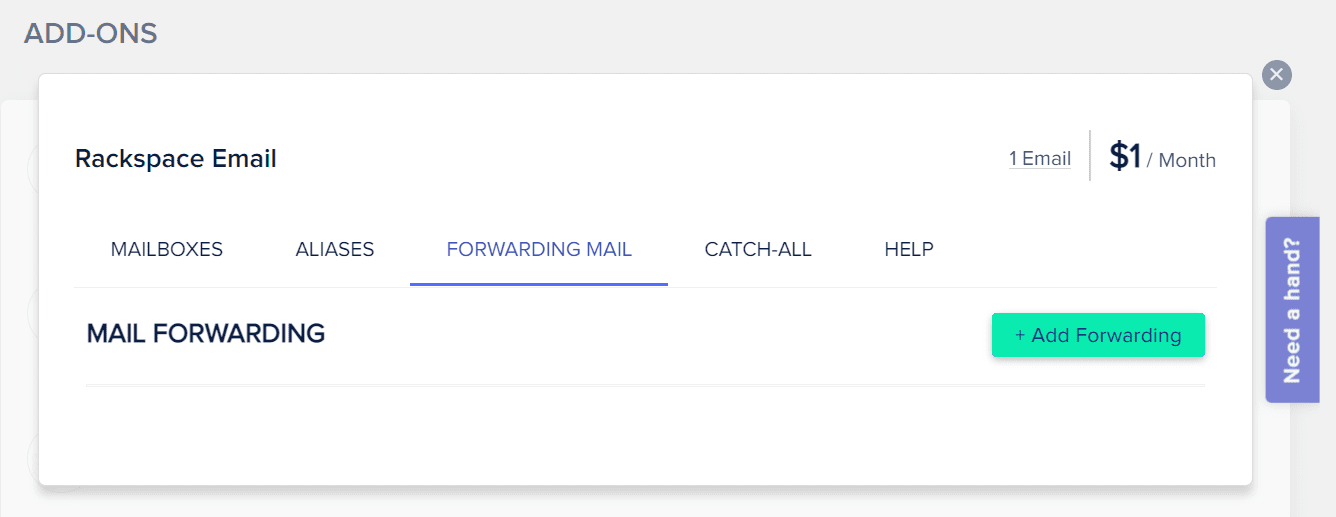
Then, simply enter the address that you want to forward emails to. Remember to save your changes when you’re done.
Finally, you might want to create catch-all addresses that receive emails sent to incorrect addresses. If the sender makes a mistake when typing your email address, you’ll still receive their message.
Go to the CATCH-ALL tab in the Rackspace add-on. From the available menus, select your domain and email address:

When you’re ready, click on SAVE CHANGES. That’s it! You’ve now fully configured your Rackspace mailbox with your own email domain!
Step 6: Configure Your Email Client With Your Rackspace Inbox
So far, you’ve created your Rackspace mailbox and updated your DNS records. You can now access your inbox through the Cloudways webmail service.
However, you may also want to use your favorite email client to process messages sent to your email domain. For example, you might manage your emails through your Windows or iOs mail client.
Fortunately, Cloudways provides instructions on linking your Rackspace inbox with different mail clients. Once you’ve set up this integration, you might want to check that everything is working as it should.
Most commonly, you could try sending messages from your personal email to your new email domain and vice versa.
Conclusion
Having a custom email domain can make your website look more professional and credible. It also enables you to create custom addresses for different business areas, such as marketing and support. Fortunately, Cloudways lets you create your own email domain with minimal hassle.
Once you’ve set up a Cloudways account, you can use the Rackspace add-on to create a mailbox for your new domain. You’ll then need to configure your DNS records to route messages to the correct email service. Additionally, you can set up aliases and mail forwarding and link your preferred mail client with your Rackspace inbox.
Do you have any questions about creating your own email domain with Cloudways and Rackspace? Let us know in the comments section below!


Yeah! Amazing. This is helpful. Much needed post. Surely going to use this and advise my friends as well. Thank You!
You’re welcome, Amitairi 🙂