
Cloud hosting is becoming increasingly popular. With this service, your site is hosted on multiple virtual servers, which can help improve performance and maximize uptime. Amazon Web Services (AWS) is one of the leading cloud computing providers, so you might be wondering how to host your WordPress site on this platform. Fortunately, we’ve put together a guide to help you get started.
In this post, we’ll look at AWS web hosting and how it works. We’ll then show you how to set up AWS WordPress hosting using Lightsail and Cloudways. Let’s dive right in!
What Is AWS Web Hosting?
Amazon Web Services (AWS) is a cloud computing platform powered by Amazon. It offers a wide range of services, including data storage and cloud hosting:
Furthermore, AWS is the most popular cloud hosting service. It dominates the market, with a 33 percent market share. This statistic makes it even more popular than Google Cloud hosting, its closest competitor.
AWS web hosting is a scalable and cost-efficient service that caters to different types of websites. It supports WordPress, Drupal, Joomla, and many other applications.
With AWS, you only pay for the resources you use. There are no up-front costs, and you can opt for a pay-as-you-go plan or fixed monthly pricing. Additionally, you can manage your web server and resources and configure the settings to meet your needs. For many, AWS Lightsail can be an affordable alternative to many managed WordPress hosts.
It’s also worth noting that Amazon has data centers across the world. In fact, it has 84 centers across 26 geographic regions, with plans to expand into 24 more zones and 8 more regions:
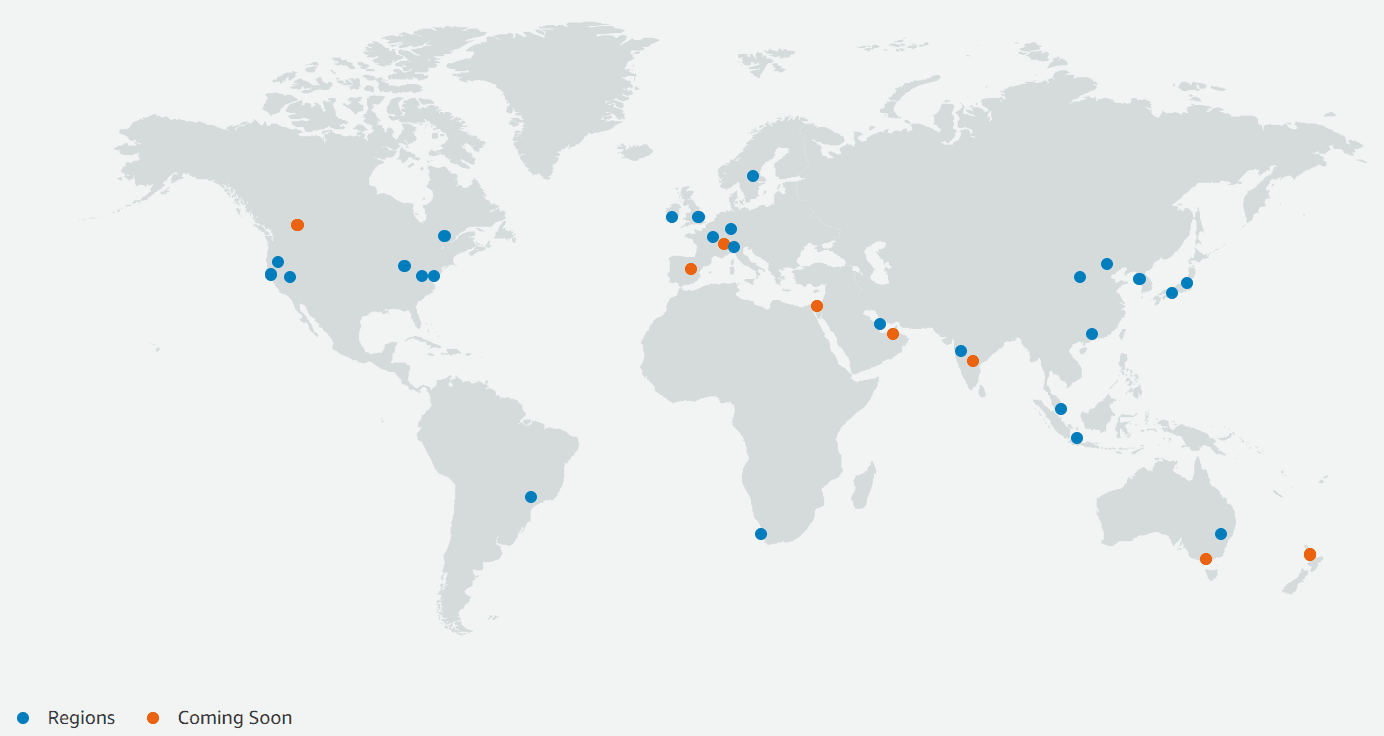
Image source: AWS Global Infrastructure
When you set up AWS WordPress hosting, you can select the data center that’s geographically closest to your target audience. This setup can lead to faster loading times and a smoother User Experience (UX). Therefore, AWS hosting could be an excellent option to maximize your WordPress site’s performance.
How to Install WordPress on AWS Hosting
The easiest way to install WordPress on AWS hosting is through Amazon Lightsail. This service offers an easy-to-use Virtual Private Server (VPS), SSD storage, DNS management, and more.
You can also opt for Amazon EC2. This hosting option is highly scalable, with advanced security features and customization settings. However, since it is significantly more expensive, it’s better suited to enterprise or large business websites.
For this part of the tutorial, we’ll focus on Lightsail. Later, we’ll show you an alternative installation method for Amazon EC2.
Step 1: Create a WordPress Instance
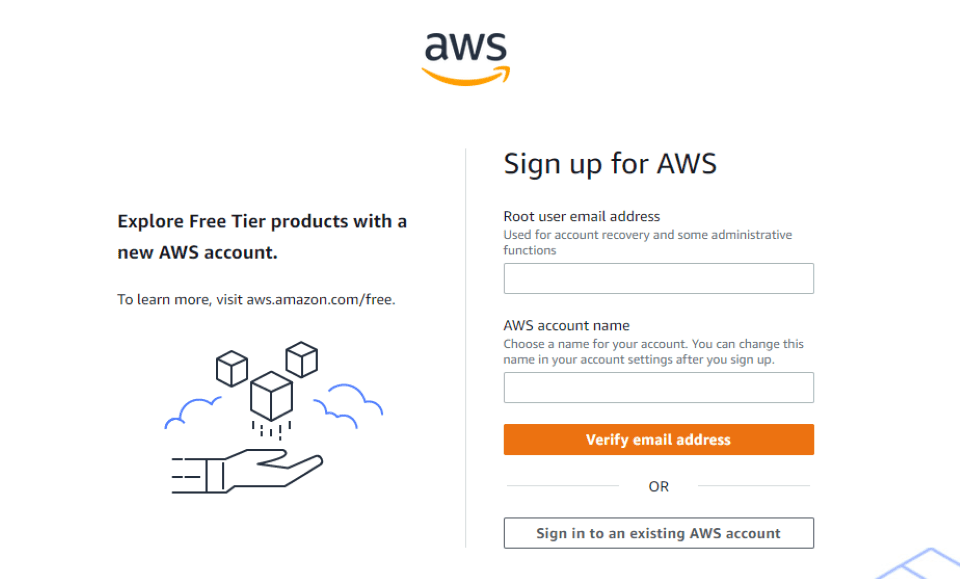
To get started, you’ll need to create an AWS account:
Once you’ve signed up, you can log in to your console and navigate to Amazon Lightsail:
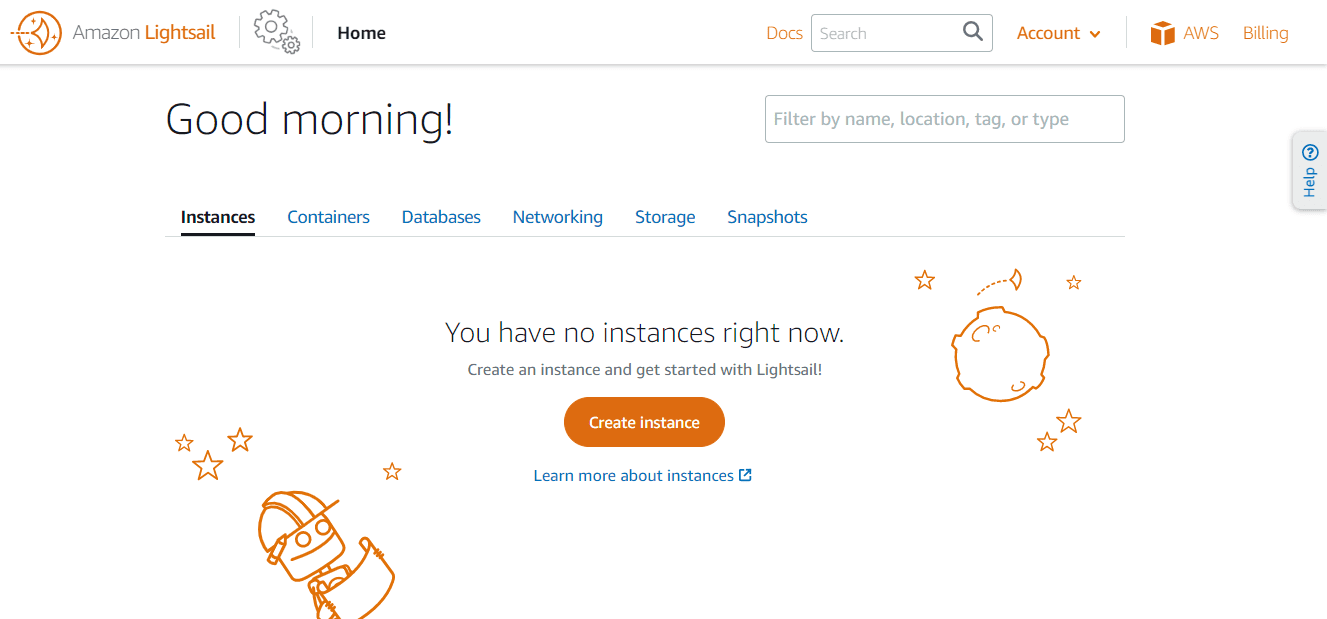
To set up your VPS, you’ll need to click on Create instance. This will take you to a page where you can configure the settings for your instance.
First, you’ll need to select a server location. Ideally, you’ll want to choose a location closest to your target audience. This way, your content will be delivered to users more quickly. You’ll also need to choose an operating system. There are two platforms available: Linux/Unix and Microsoft Windows.
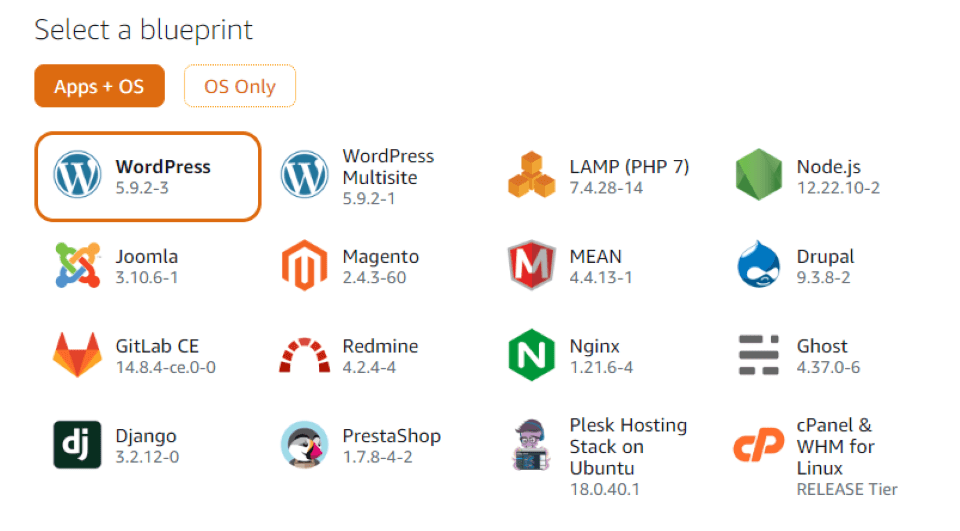
Next, you’ll need to select a blueprint for your instance. This should be WordPress (or WordPress Multisite). You can always install something line NGINX and go through the manual installation of WordPress, but why would you?
Once you’ve configured the settings, you can select an instance plan:
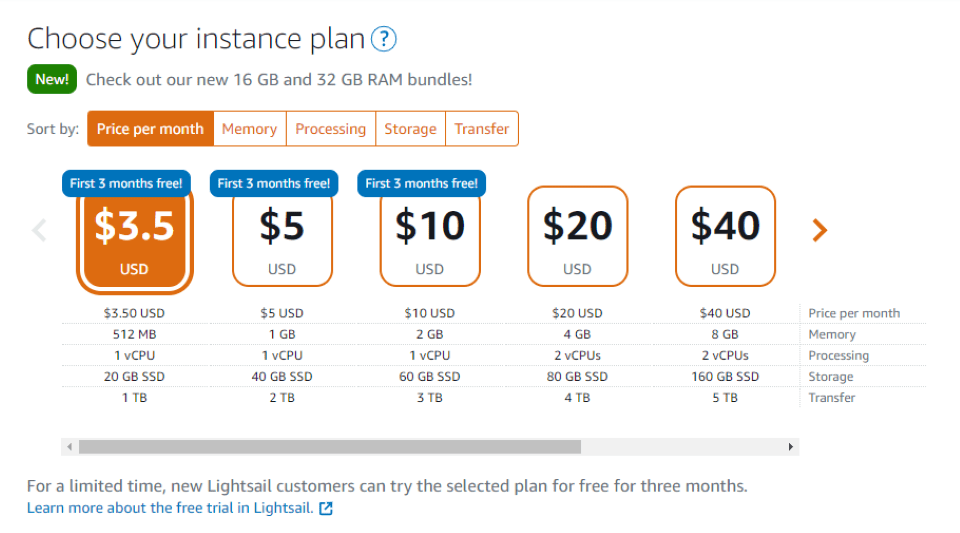
As you can see, you can get started for just $3.50 per month. This subscription includes 512 MB memory, 1 vCPU, 20 GB SSD storage, and 1 TB bandwidth. Additionally, at the time of writing, you can try the Lightsail plan free for three months.
Finally, you’ll need to enter a name for your instance:
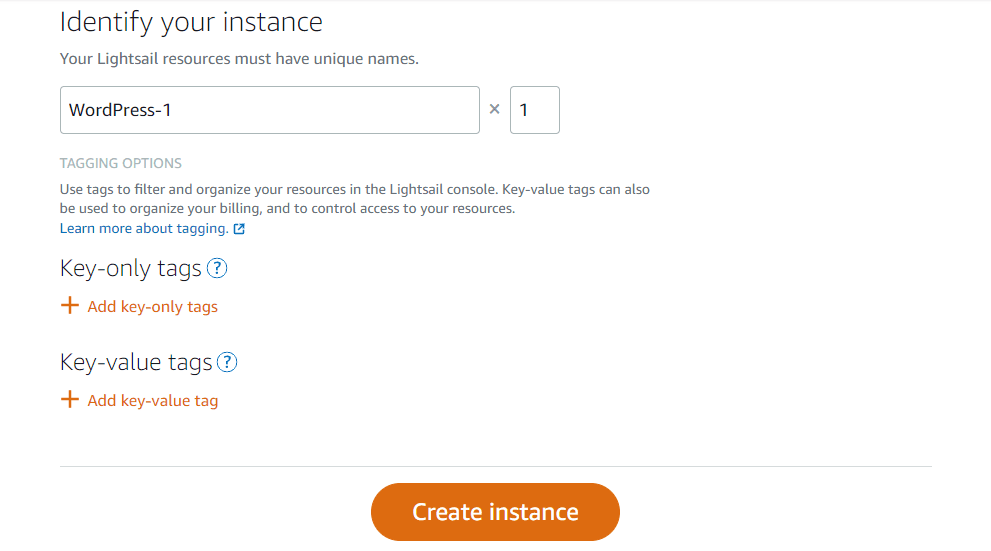
You can also use tags to organize your resources. When you’re ready, click on Create instance.
Step 2: Connect to Your Instance
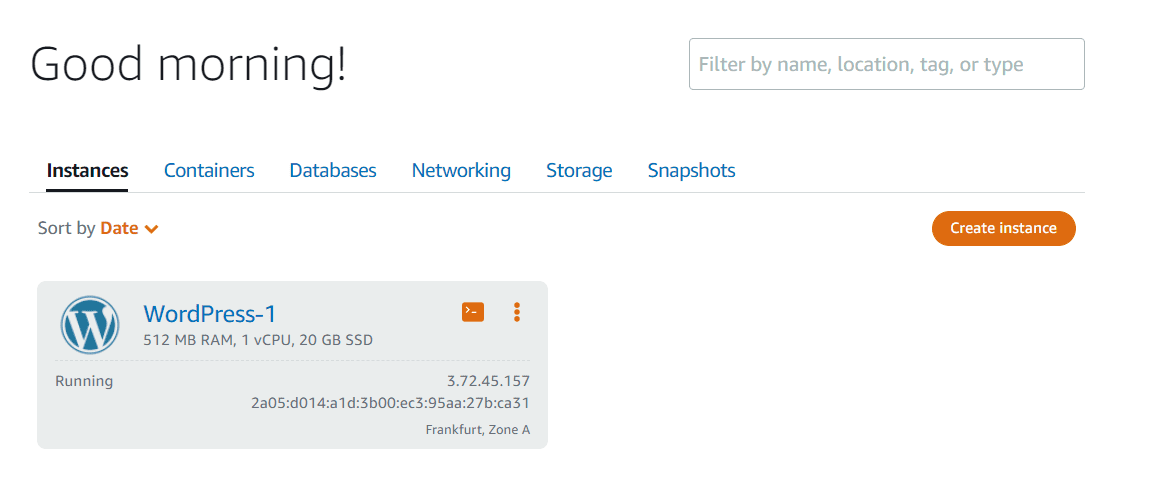
Once you’ve created your instance, you’ll need to connect to it via Secure Shell (SSH) to get the password for your WordPress site. In your Lightsail console page, navigate to the Instances tab and locate the server you’ve just created:
Then, click on the tiny orange box next to the name of your instance:
![]()
This will launch the following window:
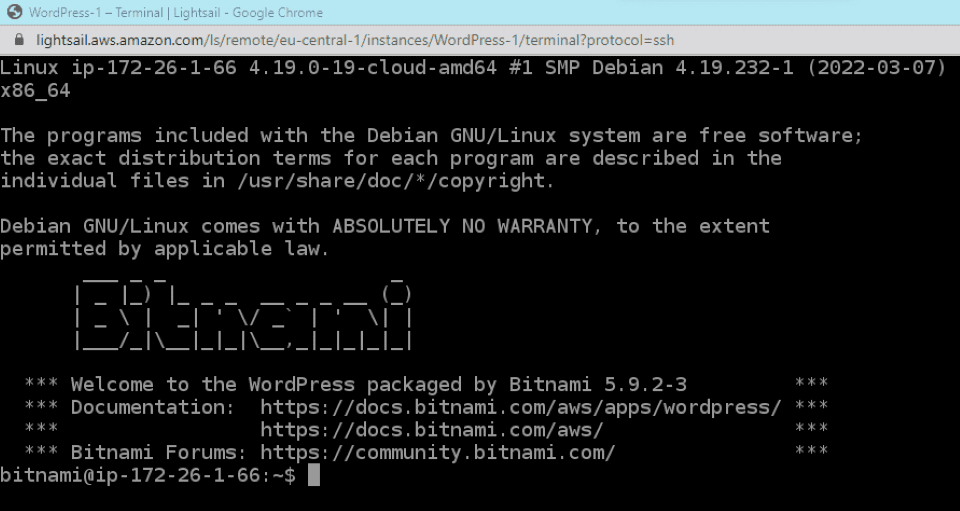
Here, you’ll need to enter the following command:
cat $HOME/bitnami_application_password
Then, press the Enter key, and you’ll see a password made up of random letters and numbers. Make a copy of this credential and store it in a secure place. You’ll need it to log into your WordPress site.
Step 3: Log in to Your WordPress Site
You can now sign in to your WordPress admin. Open your browser and enter the following address:
http://PublicIpAddress/wp-login.php
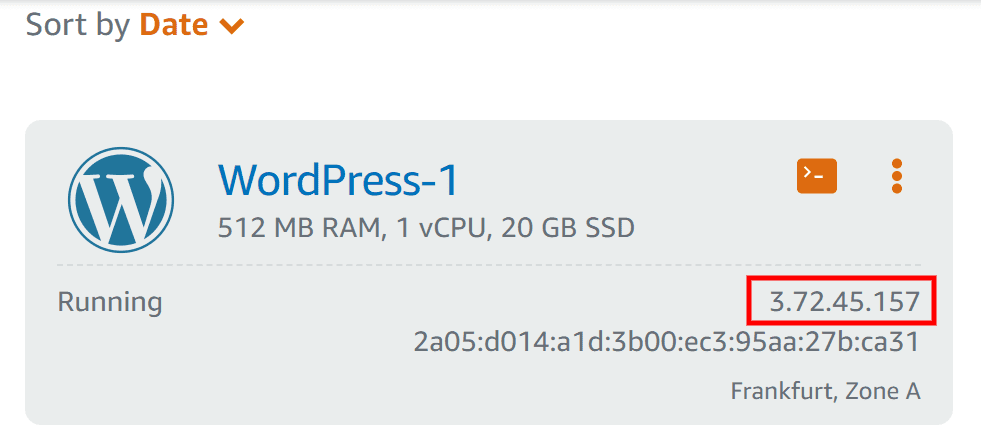
You’ll need to replace “PublicIPAddress” with the actual IP address of your WordPress instance. You can find this information in your Lightsail console:
You should then see the login screen for WordPress:
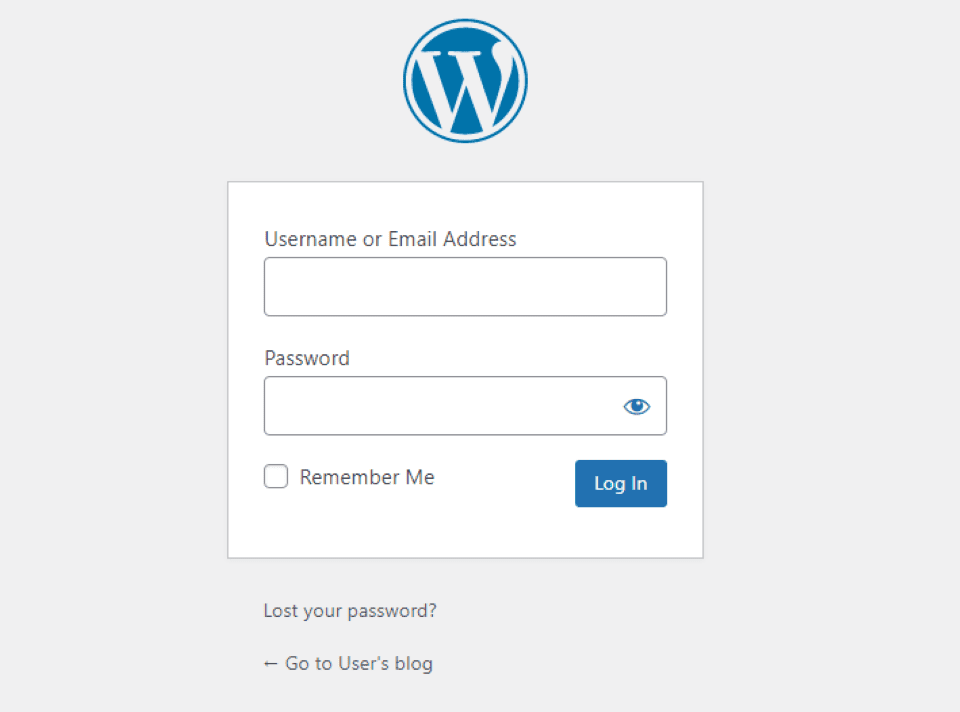
In the Username field, type in user. Then, enter the password that you copied earlier. You’ll then be taken to your WordPress admin dashboard:
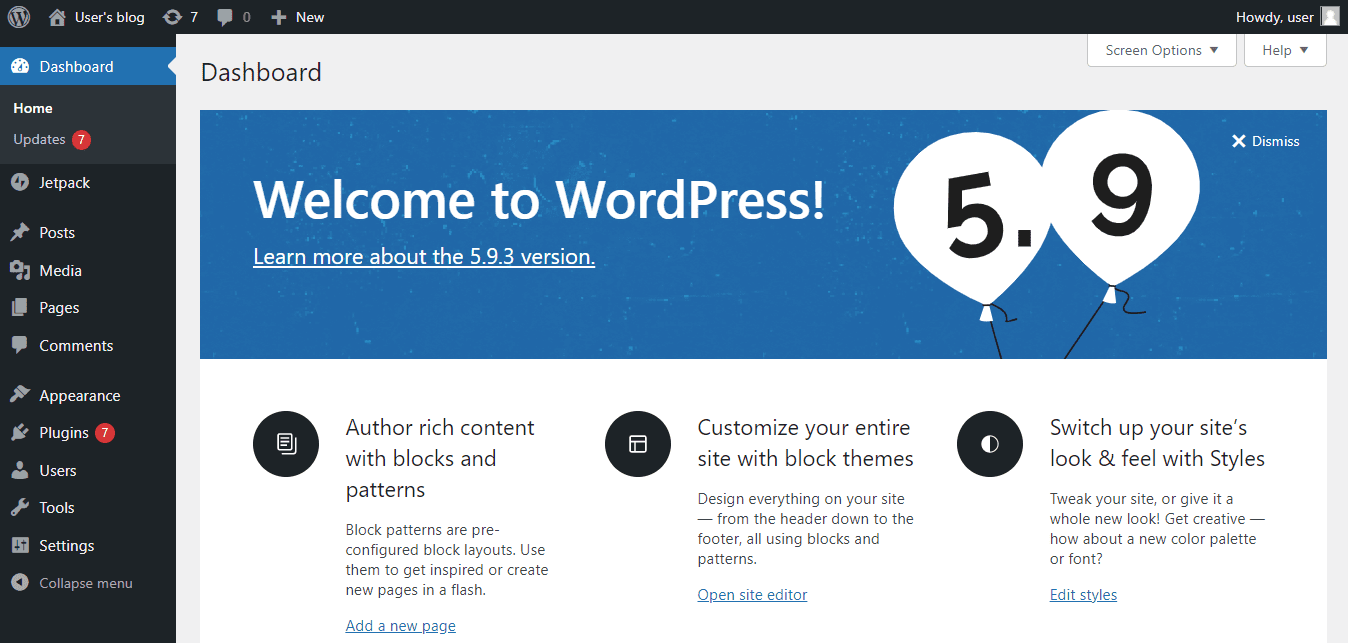
You can now start building your site. If you’ve purchased a domain name from a third-party website, you can also create a DNS zone to manage your records in Lightsail.
Install WordPress on AWS Using Cloudways
You can also install WordPress on AWS using Cloudways, which is one of the top WordPress hosting platforms available. This option will use the Amazon EC2 servers.
After creating a free Cloudways account, navigate to Servers and click on Launch now:
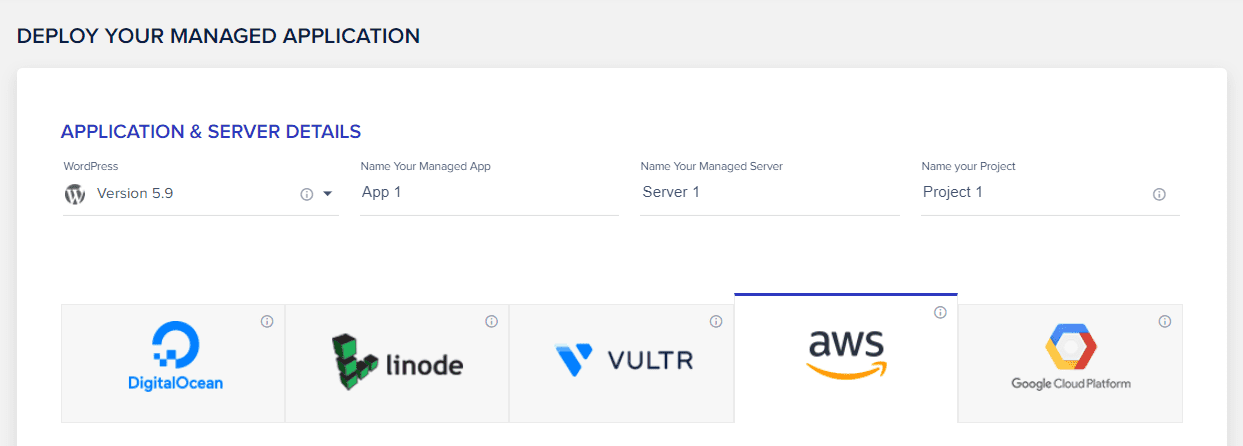
Then, you can select AWS and name your project and server:
As you may notice, you can customize the server to your needs. For instance, you can choose the size from small to CO 24XL. You can also set your bandwidth from 2 GB to 500 GB:

You can also choose the amount of storage space you need and select the location of your server. When you’re ready, click on Launch now.
That’s it! You can now manage your WordPress site from the Cloudways dashboard. Moreover, you can change your server settings and scale up or down as needed.
Conclusion
AWS offers a scalable and low-cost hosting solution for your WordPress website. It also gives you a lot of flexibility with server configuration. Additionally, you can host your site on the closest server to your target audience to improve loading speeds and UX.
It’s pretty simple to host a WordPress site on AWS, whether you create an instance (or server) in Lightsail or set up AWS WordPress hosting through Cloudways. With the latter option, you can select your server size, bandwidth, and storage. You can also scale up or down to meet your site’s demands.
If you’re an Elegant Themes member, you can also get additional performance improvements through Divi Hosting by Cloudways. Not only will you get the benefits from being on AWS EC2, but you will have access to Divi-optimized server environments for every site on your plan.
Do you have any questions about hosting WordPress on AWS? Let us know in the comments section below!


Amazing. your blogs are really great. I learned a lot. Thank you
You’re welcome!
All the Tips Very Helpful for me while I a writer too
I wonder how hard it is move a WP site to AWS. I help would be appreciated.
It should be fairly simple, Louis 🙂
These days more and more people are looking for effective and fast solutions to host their wordpress website.As google is more happy with fast loading websites and pagespeed is a ranking factor we need better hosting solutions.Thanks for sharing this post.
You’re welcome, Aja 🙂
All of the tips which you mentioned are very helpful while blogging, we must follow all of them while blogging.
In short, there is a lot to learn in this blogging world. Keep learning and keep sharing the only rule of successful blogging.
Anyways, that’s an amazing post. Keep up the great work. All the best.
Please keep sharing good articles.
Thanks,
Thank you, Michael 🙂
Wow. This is great. Every single steps are perfectly stated. I learnt a lot. Thanks.
Hi Will, very easy steps and presentation with easy steps to set up WordPress in AWS looking for a tutorial but got this blog on the net very easy steps you show here thanks for the blog.
Glad you found it helpful 🙂