
If you want your online store to succeed, it’s not enough to have amazing products to offer your customers. You’ll also need to know how to display them effectively on your website. Fortunately, the All Products WooCommerce block enables you to present all of your items in a neat grid, on any page or post you want.
In this article, we’ll take a closer look at how the All Products block works, and show you how to add it to your site. We’ll also discuss some best practices for using this block effectively.
Let’s get started!
How to Add the All Products WooCommerce Block to Your Post or Page
The All Products block enables you to display all of your products in a professional grid with pagination and sorting options. However, this feature is only available if you’re using WooCommerce. With that plugin, you’ll also get access to all the other WooCommerce blocks in the Block Editor.
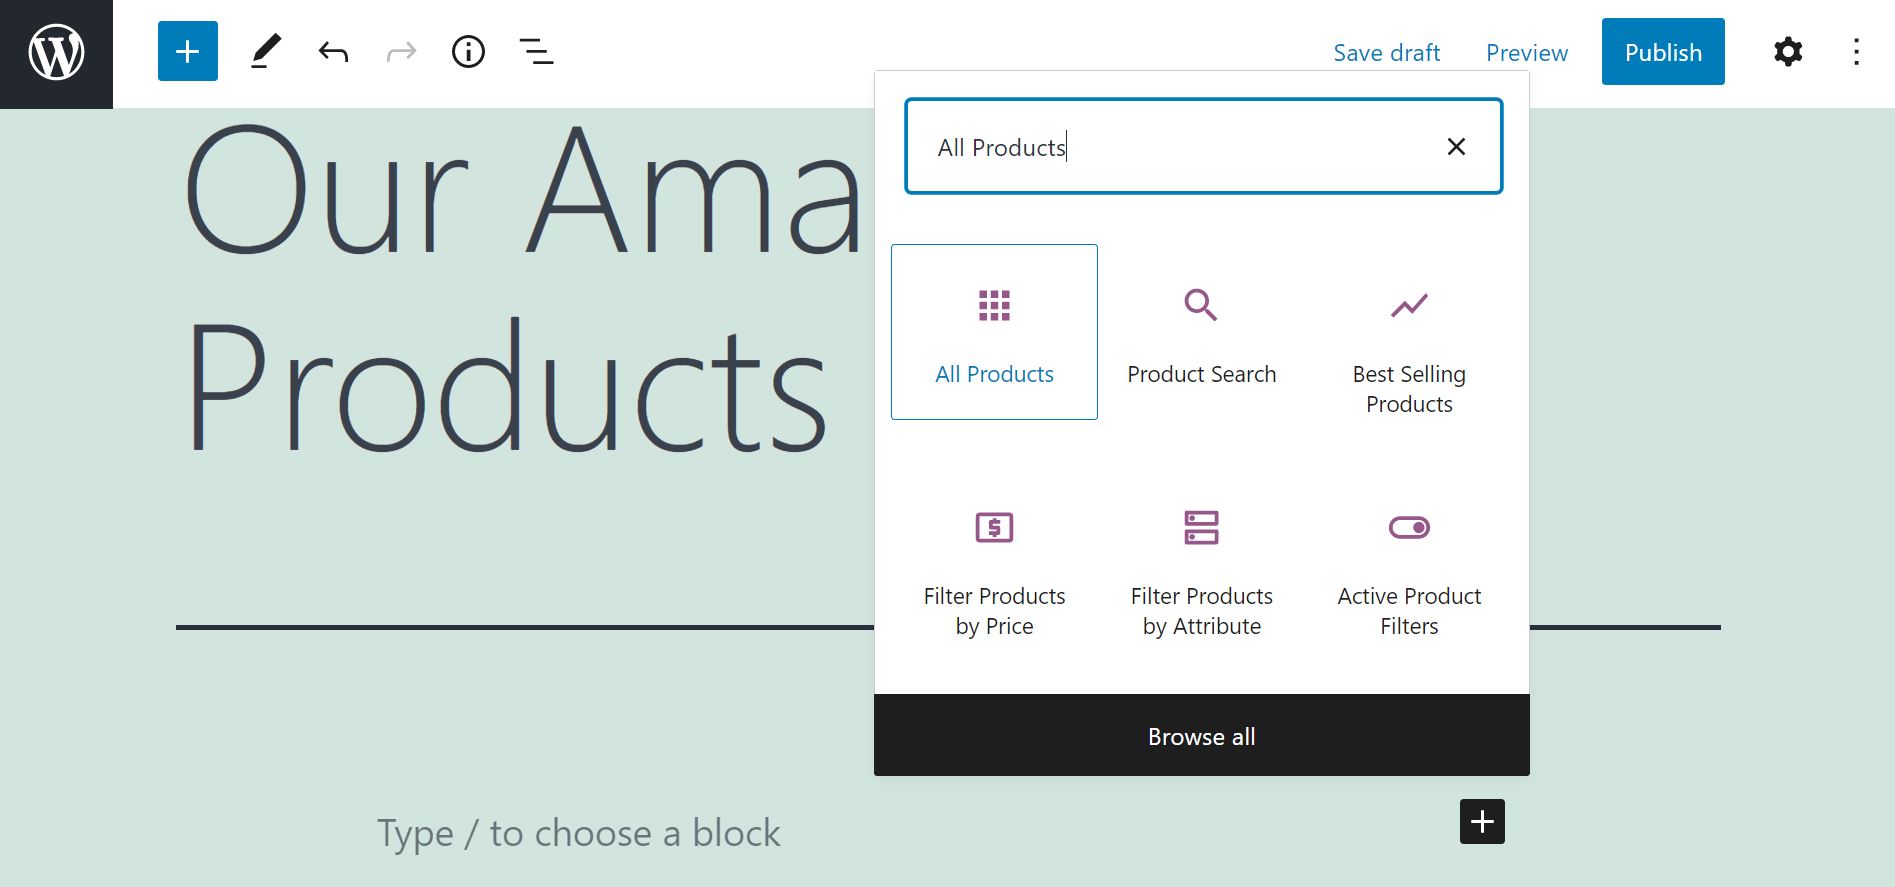
To use the All Products block, open the page or post where you want to showcase your items. Then click on the plus sign (+) to add a new block, and use the search bar to look for the All Products option:
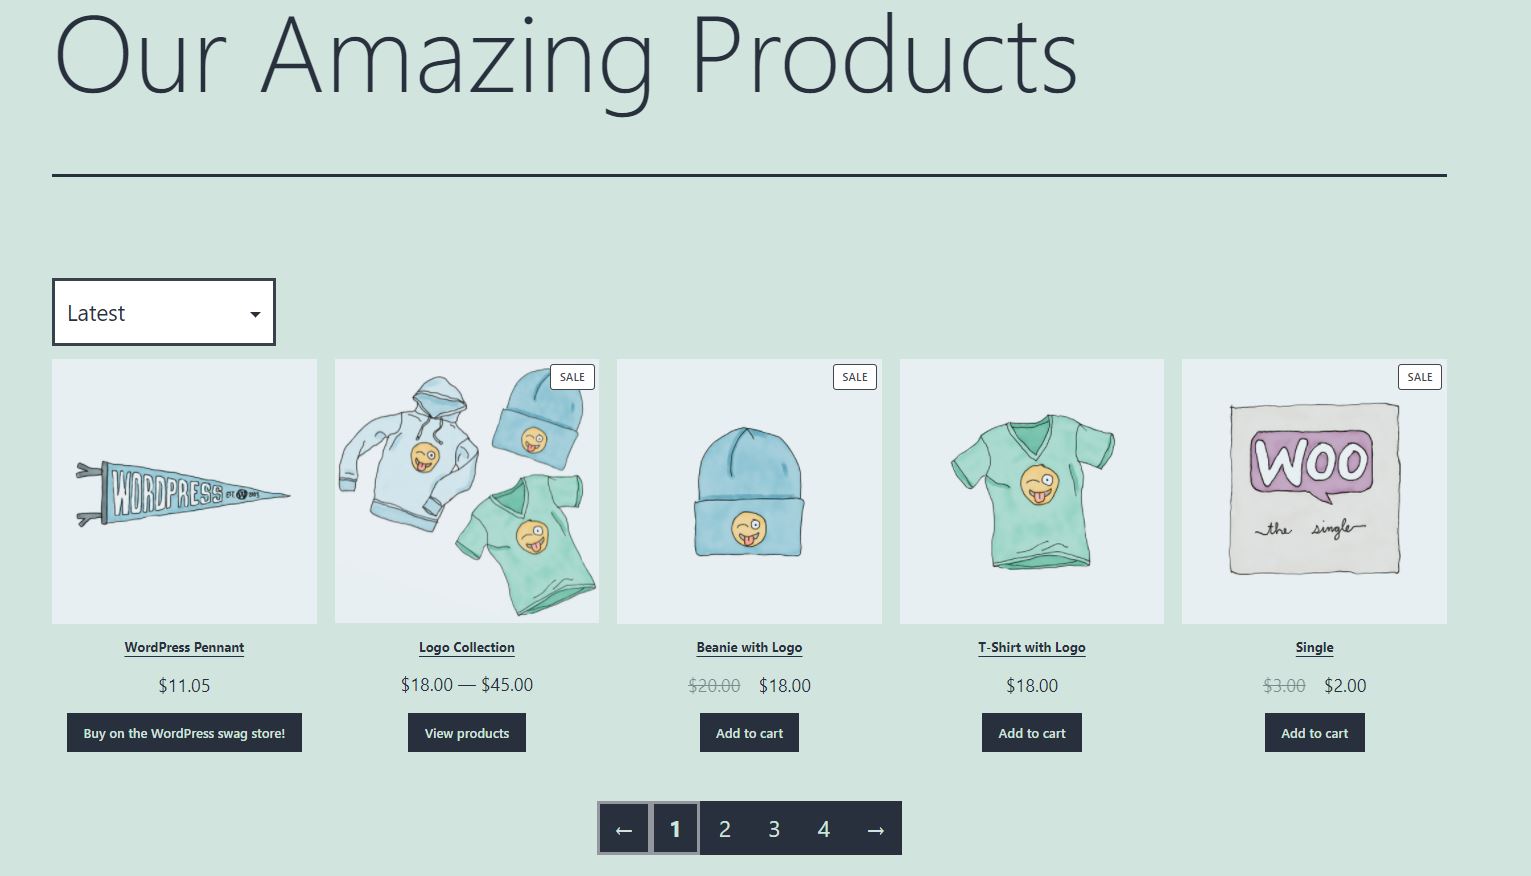
Once you insert the block, you’ll see a complete list of your products:
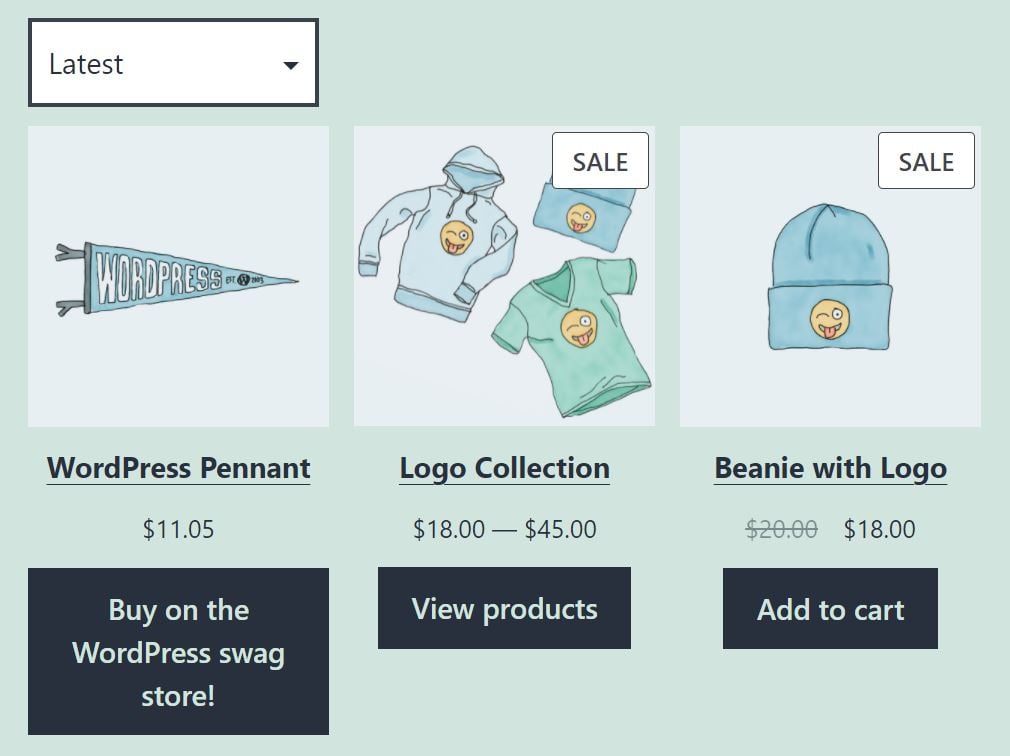
By default, the block displays three items per row, and nine per page. It also shows the key details about each product, including its name and price, as well as an image and a Call To Action (CTA) button. However, you have the option to modify the appearance of the grid and the items contained within it.
All Products WooCommerce Block Settings and Options
Now, let’s explore the main settings offered by All Products block. First, we’ll look at the options for modifying the appearance of the grid.
If you click on the block, you’ll get a selection of settings in the panel on the right-hand side:
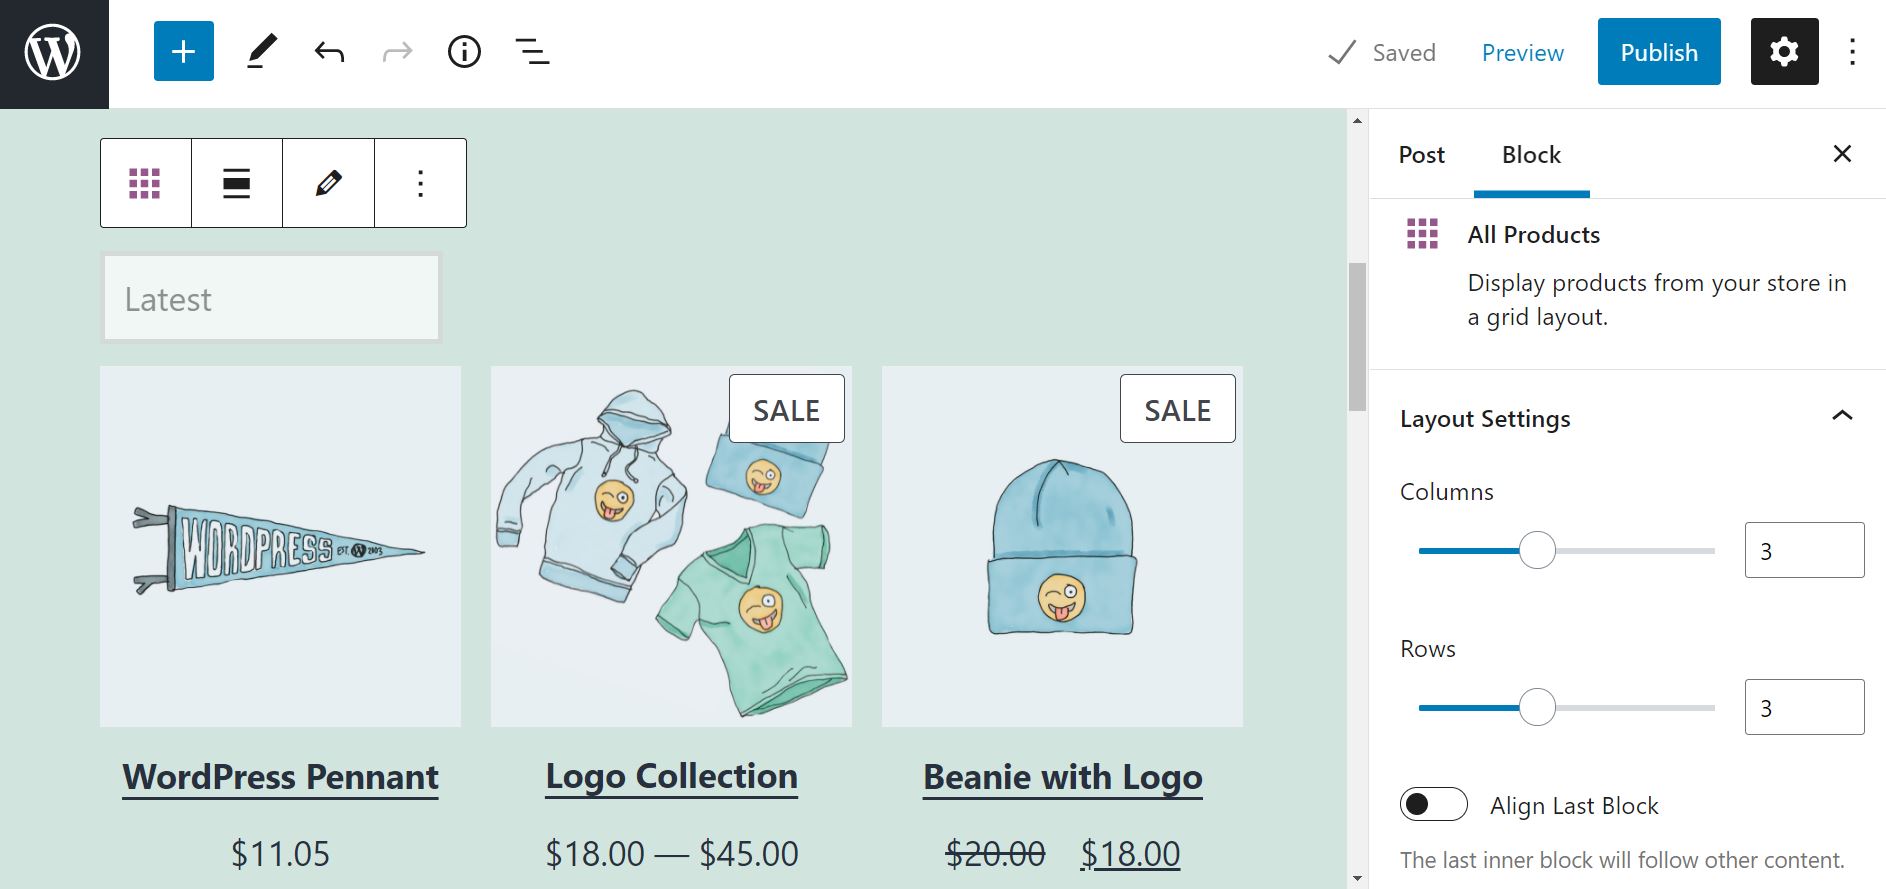
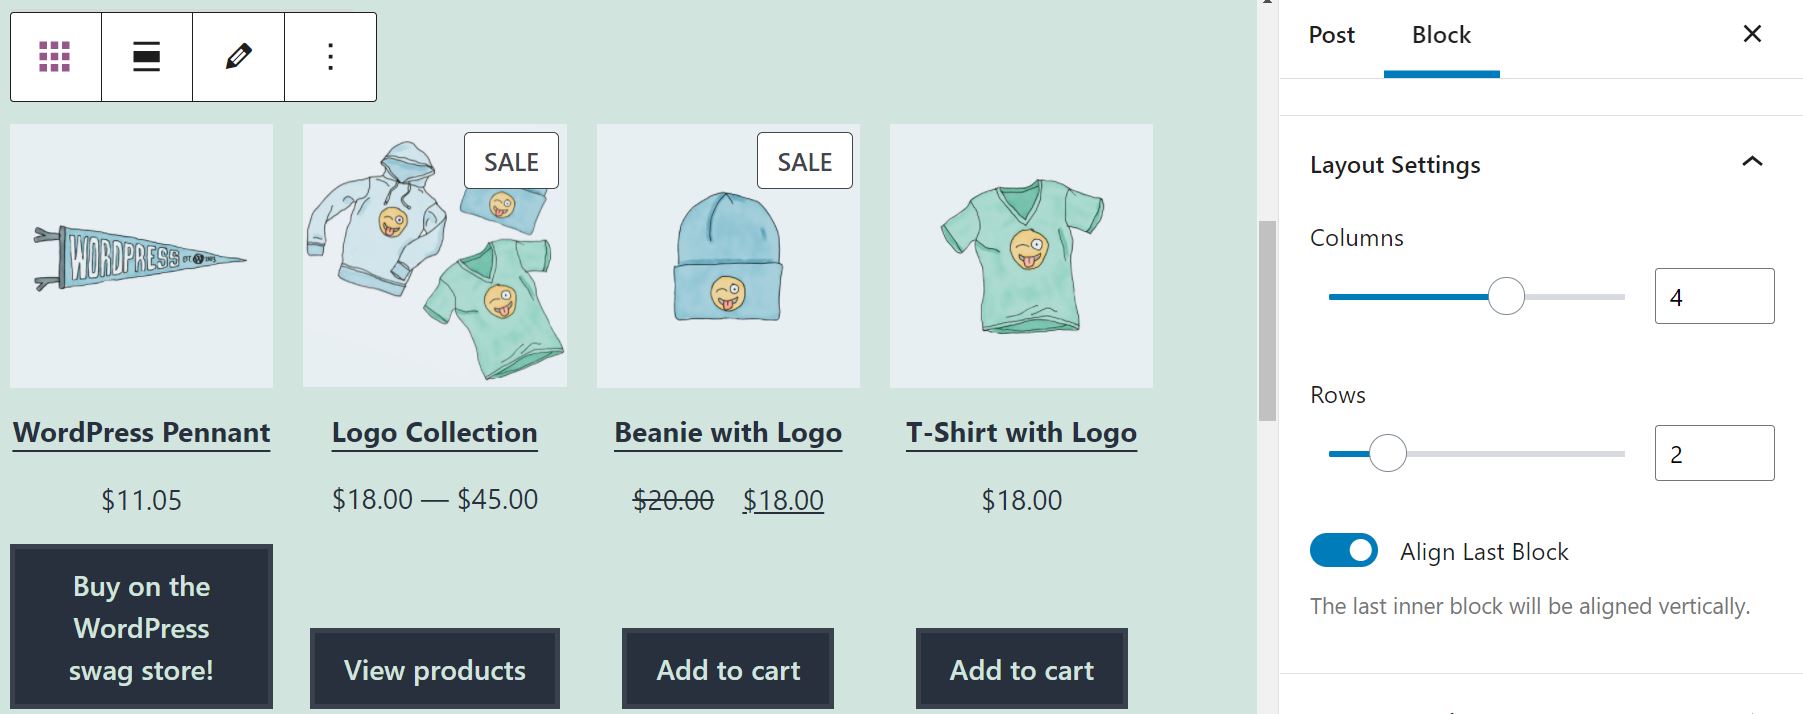
Under Layout Settings, you can select the number of rows and columns you wish to display per page. You can also define the alignment of the last inner block. In our example, this is the CTA button:
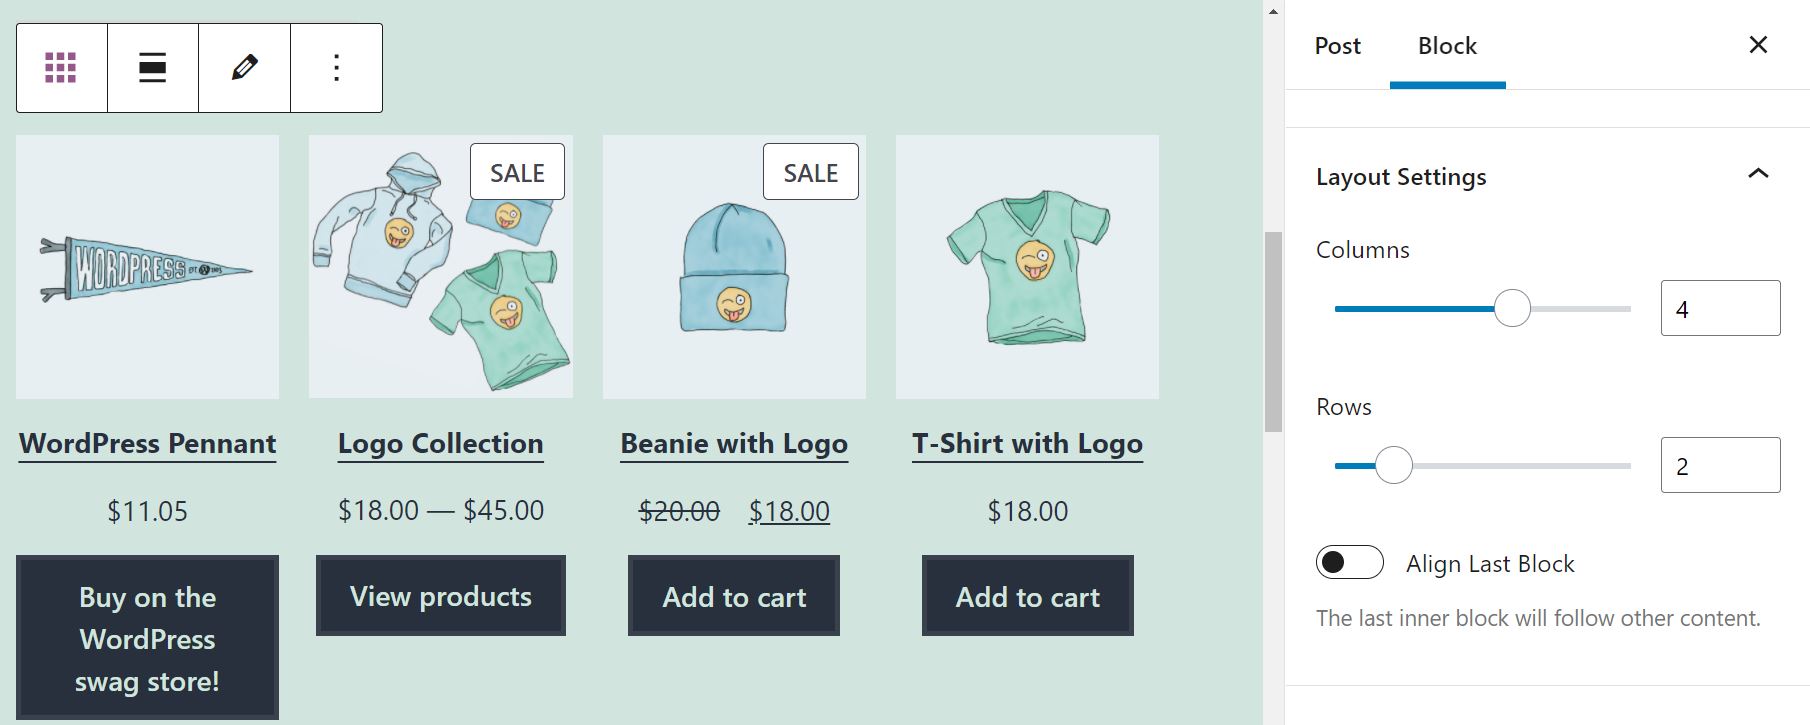
Here’s what happens when we turn on the Align Last Block option:
If you scroll down the panel, you’ll also see the Content Settings:
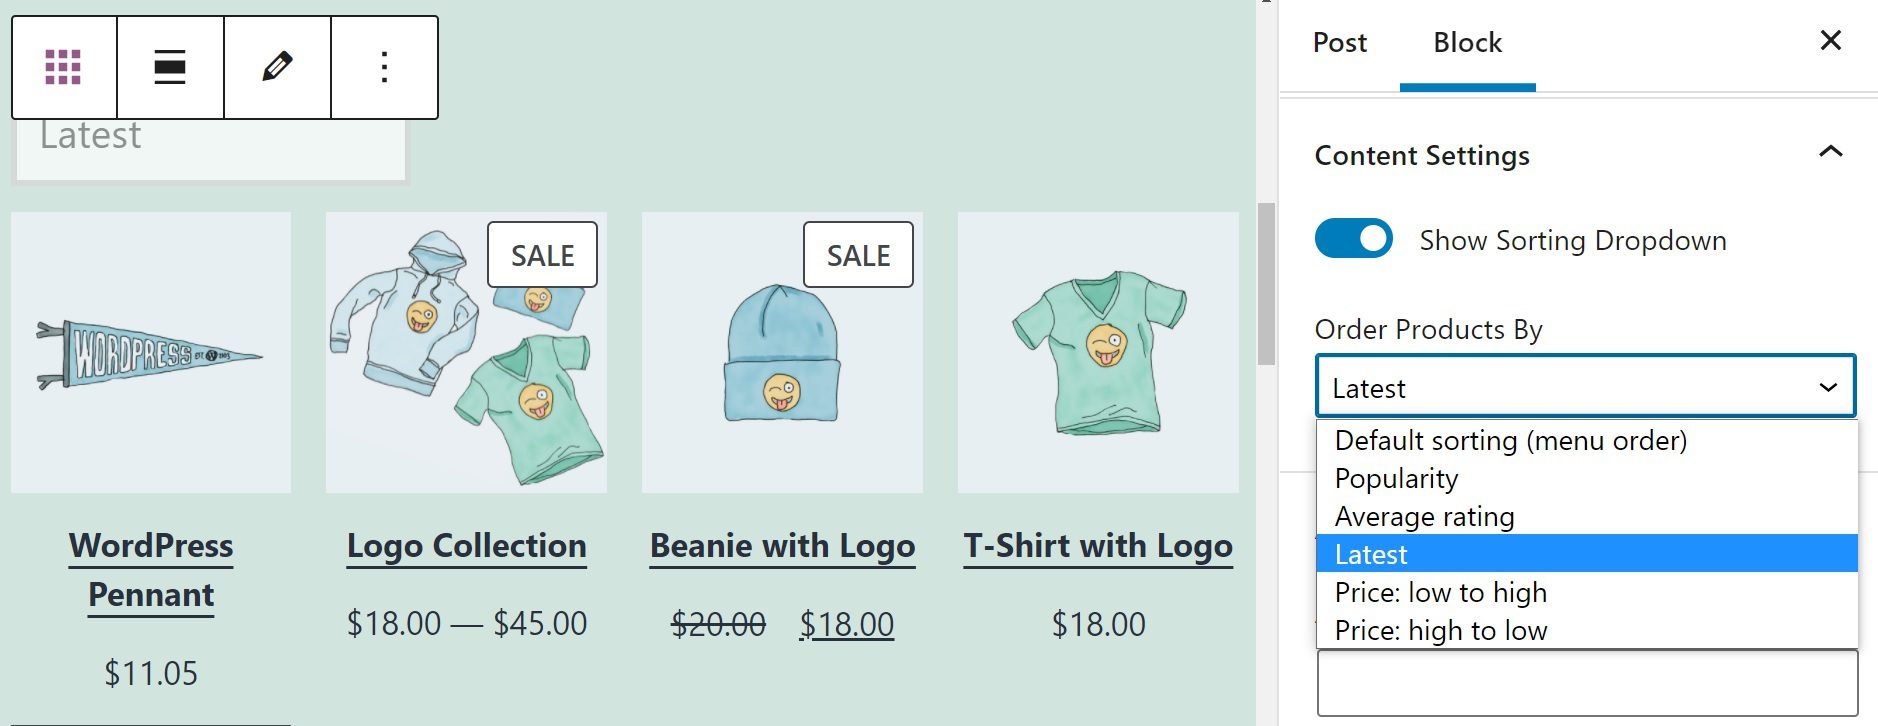
By default, the block comes with a drop-down menu that enables users to sort products by popularity, average rating, price, and other variables. You can choose to disable this feature, or select a sorting option from the drop-down menu under Order Products By.
Finally, we have the Advanced settings:
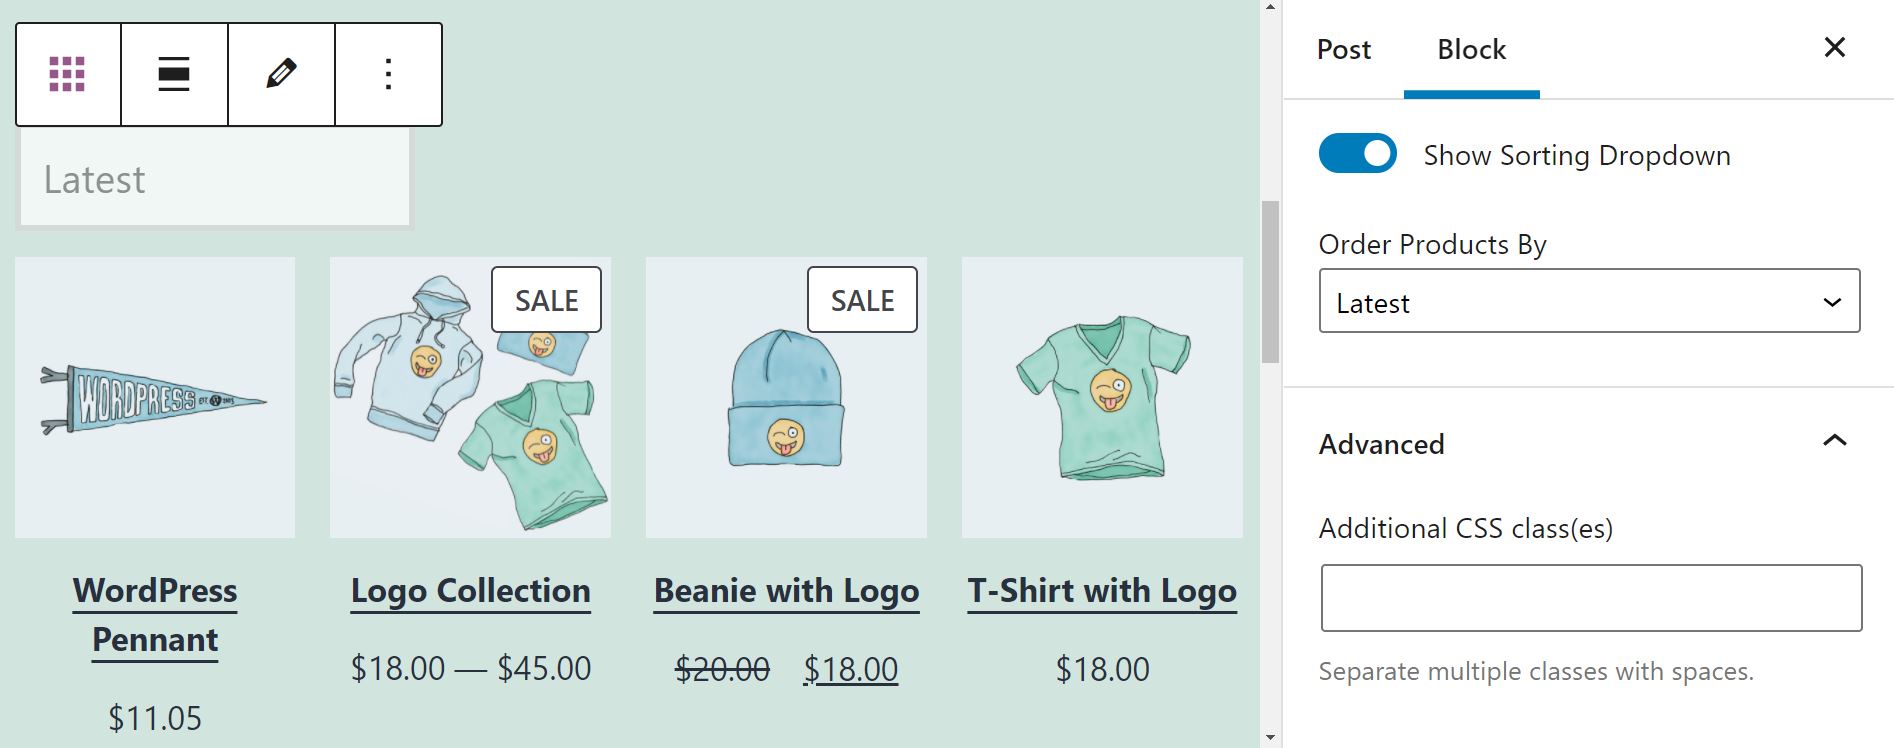
This section enables you to add new CSS classes to the block. However, we recommend that you only use this feature if you know how to use style sheets.
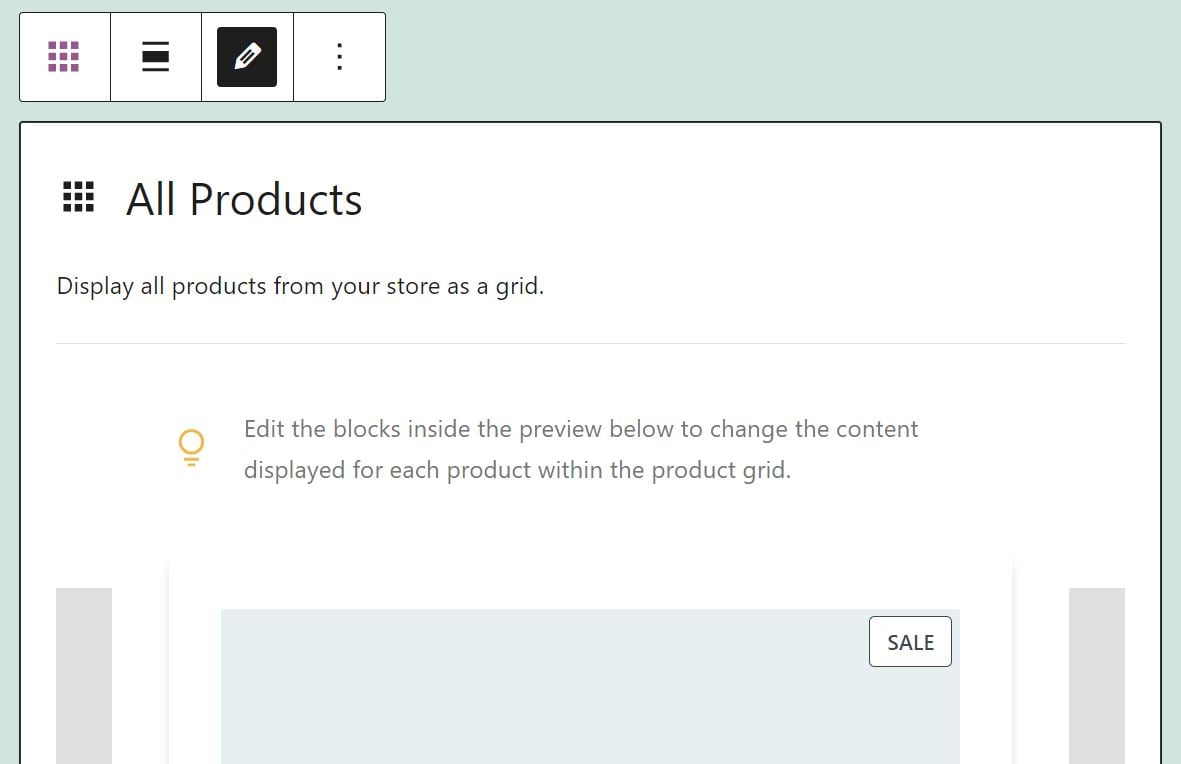
Let’s move on to configuring the items within the grid. If you click on the block again, you’ll get a toolbar with four main settings:

Here’s a quick overview of each option:
- Change block type or style: You can transform it into a Group or Columns block.
- Change alignment: You can select a full width or wide width layout.
- Edit: This enables you to modify the elements within the block.
- Options: You can copy the block, group it, add it to your Reusable Blocks, or remove it.
If you wish to edit the products inside the grid, you need to select the third option. This will enable you to work on the blocks within the preview:
If you click on an element, such as the product image, you’ll see some settings for it in the right-hand panel:
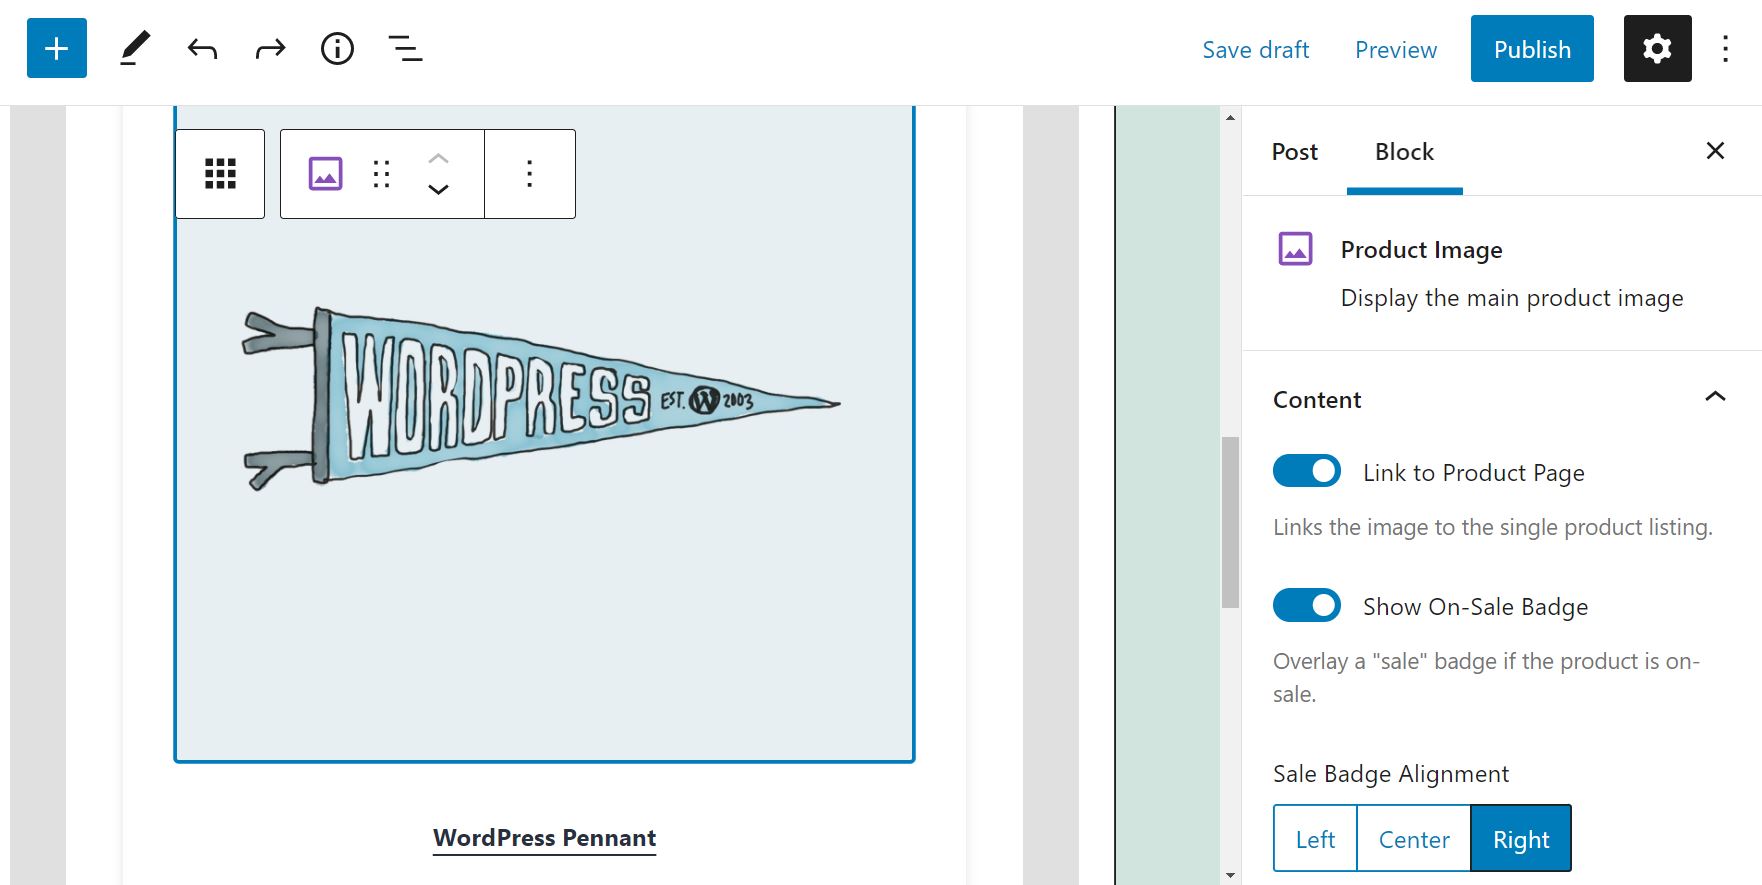
For instance, you can choose whether you want to link the image to the product page, or show the “sale” badge for relevant items. You can also select the alignment of your sale badge, and set your image sizing to Full Size or Cropped.
Moreover, you have the option to insert other WooCommerce blocks. All you need to do is click on the plus icon (+) and select an element:
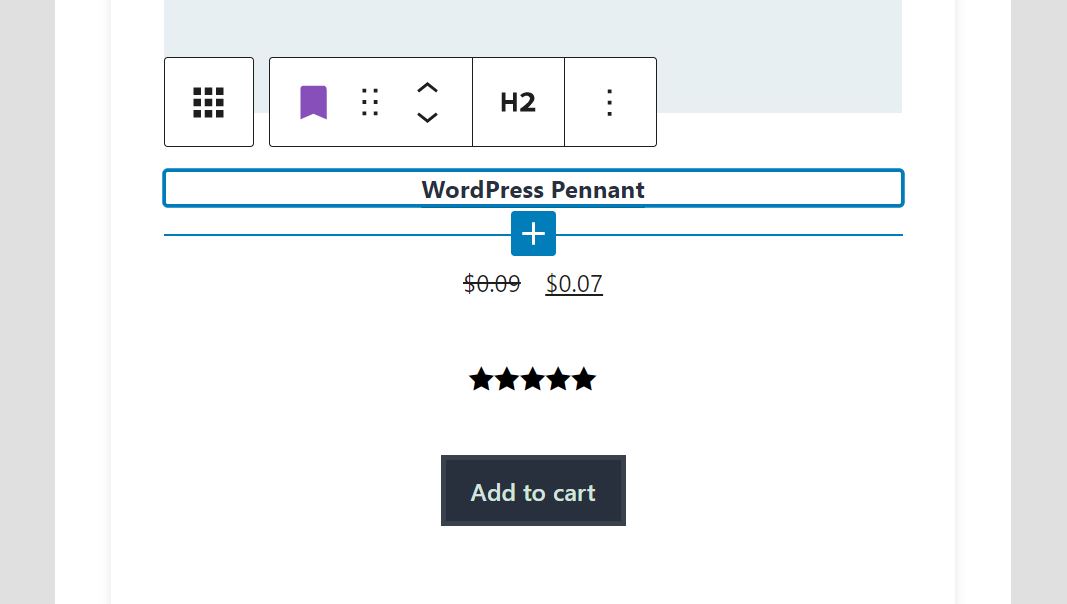
You can also move blocks around by using the up and down arrows in the toolbar. If you want to remove a block, you just need to click on it and press Delete on your keyboard (or select Remove block from the toolbar options).
When you’re happy with your changes, click on the Done button within the All Products block. If you want to undo all the changes you’ve made, you can select Reset Layout instead.
Tips and Best Practices for Using the All Products WooCommerce Block Effectively
As we have seen, the All Products WooCommerce block offers an effective way to display all of your products in one place. However, there are some things to consider when using this feature.
For instance, you may want to keep the product information that’s displayed to a minimum. While you may be tempted to insert more WooCommerce elements within the All Products block, showcasing too many details may overwhelm potential customers. Instead, we recommend that you stick to the most essential details, especially the product name and price.
Moreover, you may want to make sure that each item links back to the relevant product page. That way, users who are interested in a product can click on it to learn more.
Finally, we also recommend that you only show a few items at a time:
Filling an entire page with endless rows of products can exhaust your users. It could also have a negative impact on your page loading times, which can be detrimental to the overall user experience.
Frequently Asked Questions about the All Products WooCommerce Block
At this point, we’ve covered all the main things you need to know about the All Products WooCommerce block. However, you may still have some questions about it. Let’s take a look at some of the most common queries about this block.
Can I Update the Product Details From the All Products Block?
Unfortunately, the answer to this question is no. This block only makes it possible to select the product details you want to display. If you want to update the price of an item or any other information about it, you’ll need to do that from the Products page within your dashboard.
Can I Exclude Some Products From the Block, or Limit the Number of Products?
As the name suggests, the All Products block displays all of your WooCommerce products. Currently there isn’t an option to exclude certain products, or limit the number of items that appear in the block.
Is There a Search Function Within the Block?
With the All Products block, users can sort products by different criteria and browse through various pages. However, there is no search function that enables them to search for a product within the block itself. Having said that, you can use the Product Search WooCommerce block to help visitors find what they’re looking for more easily.
Conclusion
The All Products WooCommerce block enables you to display a complete catalog of your products anywhere on your site. You can also set the number of items to show per page, and choose the product information that you want to display.
To avoid overwhelming your visitors, we recommend that you only show the most important product details, such as the name and pricing. Customers can simply click on an item to visit the relevant page and learn more about the product.
Do you have any questions about how to use the All Products block in WooCommerce? Let us know in the comments section below!
Featured Image via Julia Tim / shutterstock.com


Leave A Reply