
WordPress is widely renowned for its hassle-free user experience, but website, plugin, or theme developers have different requirements to that of an end user. Many have heard the advice to “never work on a live site”, and setting up a WordPress development environment is a key consideration you should make in order to keep the WordPress police from your door.
In this article, we’ll explore what a WordPress development environment is, why it’s vital for your workflow, and how to set yours up in five steps. Let’s get cracking!
What a WordPress Development Environment Is (And Why You Need One)
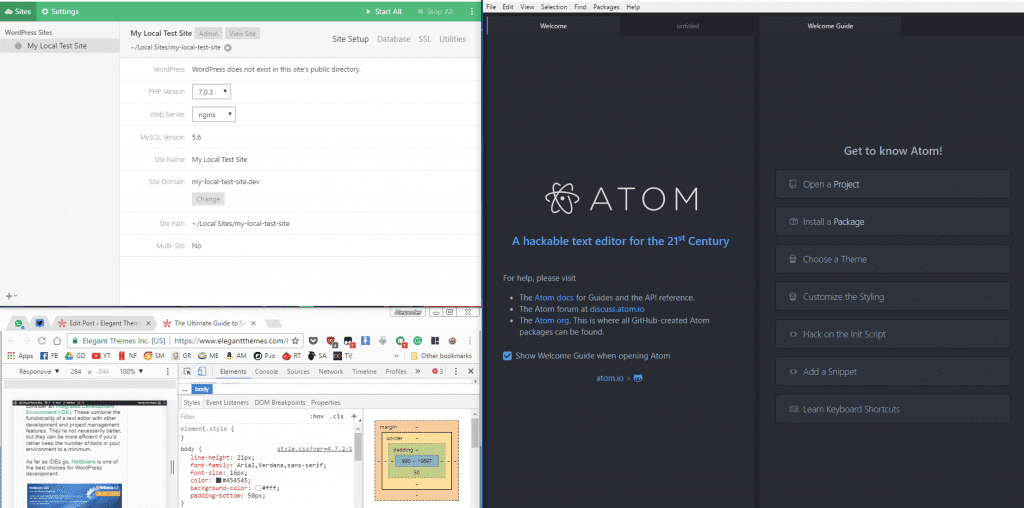
An example of a simple WordPress development environment.
In a nutshell, a WordPress development environment is a collection of tools that enable you to safely test your projects before they go live. However, your choices will depend on your unique needs (and your tastes!).
It’s almost always a good idea to try out any major features in a testing environment before deploying them, for the following reasons:
- It enables you to test your changes locally and spot any problems, without any risk.
- You can configure your testing environment to your liking. This will enable you to test if any themes or plugins you created show compatibility errors, for example.
- Relying on a local testing environment is usually faster (and cheaper!) than connecting to a remote server.
- It enables you to work on your projects even when you don’t have access to the internet.
- Depending on which tools you use, deploying a local WordPress site might only take minutes.
With that in mind, let’s walk through the process of setting up a full-featured WordPress development environment.
How to Set Up Your WordPress Development Environment (In 5 Steps)
As we alluded to earlier, there’s no one-size-fits-all solution when it comes to development environments – not even for WordPress.
By the time time you’re finished navigating these steps, you’ll have set up your own WordPress development environment. Along the way, we’ll also offer our opinion on some of the best tools for your needs. However, let’s start with one of the hardest choices – picking a server solution.
1. Choose a Suitable Server Solution
First off, you’re going to need a dedicated server, and there are two choices available – virtual or local:
- A virtual server. This involves creating a compartmentalized ‘computer within a computer’. Both the software you’ll need and WordPress are installed within, and you configure it in order to access it from a browser.
- A local server. This involves setting up both the server software and WordPress directly on your computer, as you would with any other software.
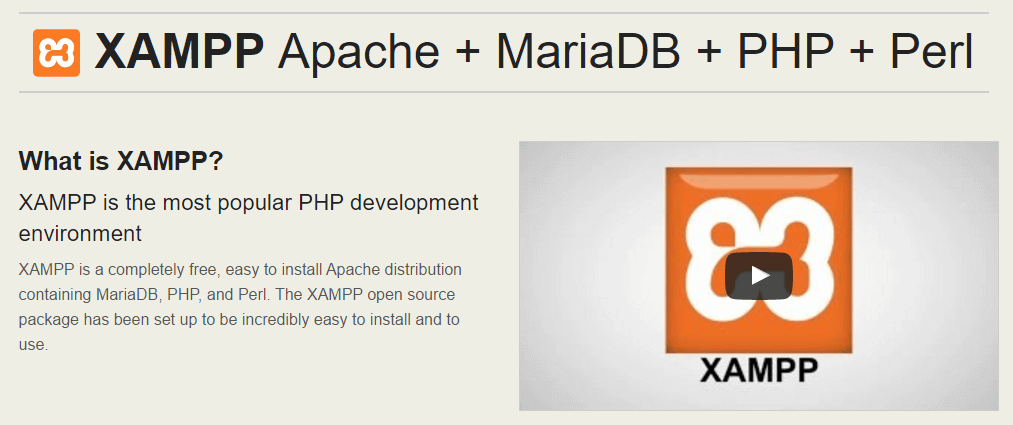
On the whole, local servers are easier to install and access, but there are downsides. For instance, setup can be complicated without a guide. What’s more, your chosen solution may not be WordPress-specific. Uninstalling them can also be a hassle unless you use a full stack. Solutions such as XAMPP, MAMP or WampServer often bundle together everything you need into one package:
Virtual servers can also be complicated to set up if you’re not familiar with them. However, in contrast to local servers, you’re able to create as many virtual systems as your computer’s resources permit without running into compatibility issues. Furthermore, once you’re done with a particular installation, you can delete its virtual system cleanly. Take Vagrant, for example:
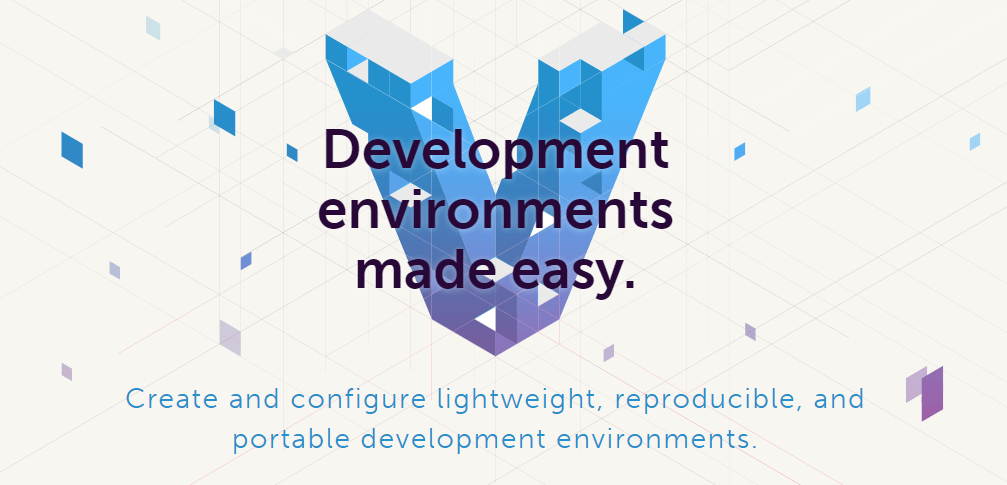
This is a tool that enables you to create portable development environments (and WordPress websites) through the command line. Two main advantages are its lightweight environments and wide library of user configurations. Some of the most popular choices for WordPress users include Varying Vagrant Vagrants (VVV) and VIP Quickstart.
Finally, there’s a sort of new, middle ground between the local and virtual approaches. Two of our favorite tools in this category are DesktopServer and Local by Flywheel. Both enable you to create an unlimited number of WordPress websites, customize your choice of server, and delete your sites cleanly when you’re done. In practice, this approach provides you with all the benefits of virtualization mixed with those of local setups, and it’s the option we recommend.
2. Find a Suitable Text Editor or IDE
Once you have your server set up, you’ll need a good text editor. Experienced developers often have their favorites – they already know that a good, easy to use development-oriented text editor will increase your efficiency.
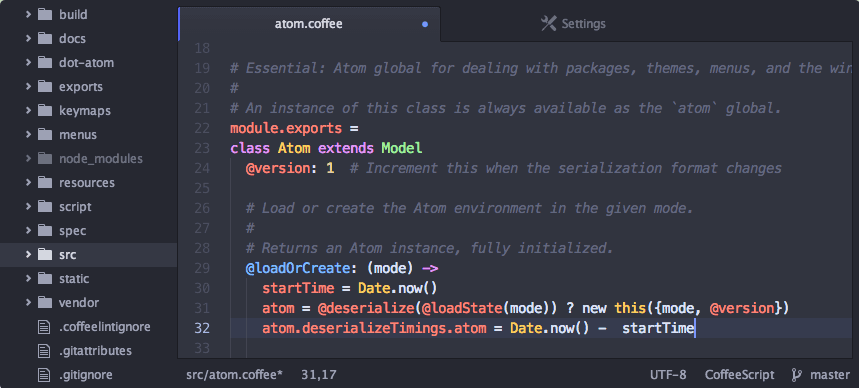
Atom is a good open-source text editor suited to development.
There are plenty of text editors available, and discussions about their various merits tend to be heated. In our case, we’re big fans of Atom thanks to its variety of packages (or extensions) and auto-completion system. If you choose to follow in our footsteps, here’s an excellent introduction to the tool.
If you’re looking for something a little more than a text editor, you should consider an Integrated Development Environment (IDE). These combine the functionality of a text editor with other development and project management features. They’re not necessarily better, but they can be more efficient if you’d rather keep the number of tools in your environment to a minimum.
As far as IDEs go, NetBeans is one of the best choices for WordPress development:
For a start, it’s optimized for PHP coding – ideal for our particular needs. This tool can also help you correct mistakes in your code, and helps make it simple to find key sections in critical files.
As with text editors, there’s a lot of competition. If you’re considering an IDE, it’s important to check out the other available options without being swayed by each solution’s fan base – make sure you test drive each one if possible before plumping for a solution.
3. Pick a Suitable Browser
Most modern browsers ship with their own set of developer tools, which makes them ideal for working on WordPress websites. For example, take the Chrome DevTools. They enable you to debug sites and test them for responsiveness, all without leaving your browser:
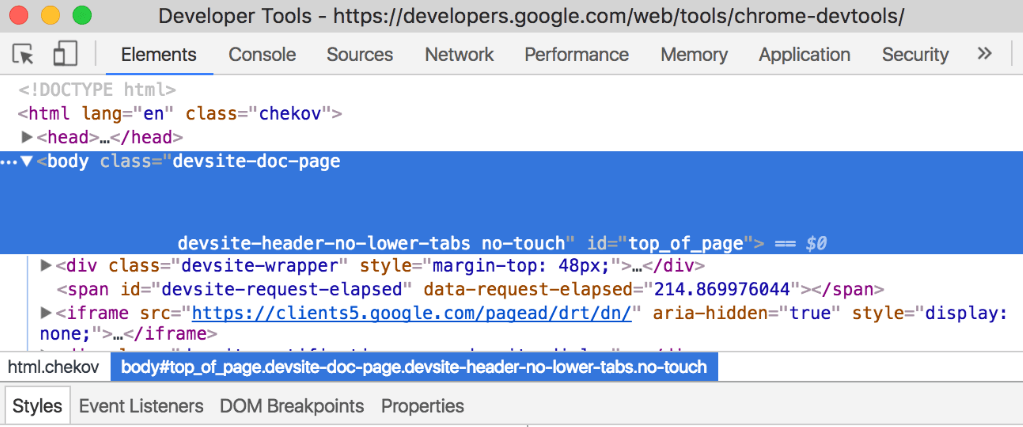
Each browser’s set of developer tools are different, but a few share some significant functionality, such as Chrome and Firefox. The latter even provides a browser tailor-made for your needs, called Firefox Developer Edition:
Since you’ll do a lot of testing from your browser, it makes sense to pick an option with the set of tools you feel most comfortable with. After testing both Chrome DevTools and Firefox Developer Edition, we feel confident in recommending both of them.
However, it’s worth noting those aren’t the only browsers that include development-related features. Safari also has its own set of development tools, as does Edge and Opera.
4. Enable Debugging for Your WordPress Installation
At this stage, you should have a working server setup, a text editor or an IDE, and a set of browser developer tools. If you haven’t installed WordPress within your environment (or set up a new site if you’re using a tool such as Local by Flywheel) do so now. We need to enable WordPress’ debugging function, which is an important step.
This feature enables WordPress to display a list of any generated errors. It can be a lifesaver during development since it’ll enable you to catch any errors that arise as you tinker with your project. Depending on your configuration, you can save these issues on a log, or display them on your front page.
Rather than offer you step-by-step instructions, let us guide you towards a previous piece devoted to the subject – it contains everything you need to know about enabling and configuring debugging in WordPress.
5. Install Any Optional WordPress Development Tools
By now, you should have a full set of WordPress development tools, and a way to catch bugs. That should be everything you need to get cracking, but there’s always room for more depending on your personal needs.
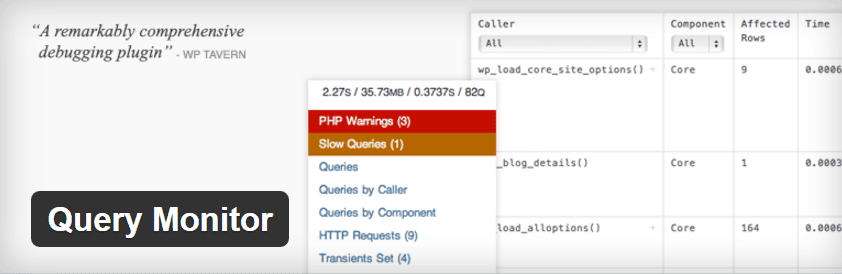
For example, using the WordPress Command Line (WP-CLI) tool can help you streamline your development process, and its commands are easy to memorize. There are also plenty of tools that can make your life easier (bundled within a handy plugin called Developer), such as Query Monitor. This enables you to debug your database queries, hooks, conditionals, and HTTP requests:
If you’re a theme developer, you might also want to consider using Theme Check. This plugin automatically checks your active theme to make sure it meets all of the latest WordPress standards:

Finally, you should also consider importing WordPress’ official Theme Unit Test data kit if you’re testing on a bare site. This file will automatically populate your site with the elements a real one would include, such as posts, pages, and comments, and a host of unique formatting.
Importing this data will enable you to work with real-world content, and enable you to spot any mistakes before pushing your site live, and without spending time populating it with your own content.
What to Do Once You’ve Set Up Your WordPress Development Environment
Now you have a complete WordPress development environment, you need to learn how to use it. Often, you’ll need to implement new features, plugins, or themes to your live website. Since it’s bad practice to make live changes, the best option is to clone your site using a plugin such as Duplicator:
Using this plugin, you can create a carbon copy of a live site and set it up in your testing environment. This will enable you to test any changes safely, before uploading it back to your live server.
This process is commonly known as ‘staging’, and it’s key to a safe web development workflow. However, some web hosts such as WP Engine, Flywheel, and SiteGround offer advanced staging options within their plans, and we’d recommend plumping for this option if it’s available.
Finally, if you’re new to WordPress development and want to delve into creating your own themes and plugins, we recommend searching the web for relevant tutorials. For example, Torque have recently published a series on how to develop WordPress plugins, and there are plenty of resources related to theme development to get your teeth into.
Conclusion
We won’t lie – setting up a WordPress development environment is time-consuming. However, this small investment should pay off big time as you continue using it. The right environment will not only increase your productivity, it’ll enable you to iron out any bugs in your project along the way.
In this piece, we’ve walked you through five steps to create your own WordPress development environment. Let’s quickly recap them:
- Choose a suitable server solution.
- Find a good text editor or IDE.
- Pick a suitable browser.
- Enable debugging for your WordPress installation.
- Install any optional WordPress tools you need.
What tools can’t you live without in your WordPress development environment? Subscribe and tell us why in the comments section below!
Article thumbnail image by BarsRsind / shutterstock.com


Great article. One question, I’ve set up MAMP and it’s working fine but if I’m working on multiple projects do I need separate installs of WordPress?
Cheers Rob
Hi Rob! You can set up multiple installations if you want. Depending on what you’re trying to do, you might also be able to run several sites from a single installation. Check out this article for more details: https://perishablepress.com/wordpress-multisite-mamp/.
Atom… the amnestic editor 🙂 https://github.com/atom/atom/issues/10044
phpStorm features soooo MUCH more than all these text-editors (e.g. a built-in wordpress integration). Using sublime, atom, notepad, … is like smashing stones to light a fire.
Great read! Vouch for Atom.
Thanks, Cammy! 🙂
Flipping brilliant! I love this post. Staging is such an enigma at times. It can be so confusing because you don’t always get what you think you’re gonna get when you go from local to live. Working flawlessly on local machine environment meets random server security setting that creates FUBAR errors.
I love learning how others do their staging. Great info and very helpful. Thanks for sharing
You’re welcome, Gerald! Thanks for your feedback. 🙂
Brilliant post. Another +1 for Atom, and I’m also testing out DesktopServer and I’m quite liking it.
Thanks for your comment! 🙂
I use ServerPress for my WordPress development. I run it on a Mac Server on my network, and share the current project over the LAN. This means I can pick up any device in the office, be it a desktop, tablet or phone, point a browser to the local IP address as it will serve up my site….very nifty for testing responsive websites.
Hi Jeremy! Thanks for the tip. 🙂
Thanks a lot John. Such a useful post, it helps me a lot for our website.
You’re welcome. 🙂 I’m glad you found our article helpful.
Great article. I can say that I have completely come to grips with the fact that using a staging site is very necessary for most projects, especially large ones with a lot of traffic in production. For a while I didn’t use a staging environment, I just made changes live. I can’t tell you how many anxiety-ridden, headache-ridden days I’ve had because of that. However most people don’t realize you can do it on a local machine.
+1 for Local by Flywheel, it works really well for me, and if you use their hosting I think they’ve mentioned that it will be hooked up so that you can one-click push to production soon.
Thanks for sharing your thoughts, Jacob. We agree that Local by Flywheel is a great tool. 🙂
Oh, ElegantThemes blog is now responsive on mobile phones, finally!
BTW, great post!
Thanks! I’m glad you enjoyed the article.
So timely! Thx John
You’re welcome! 🙂