
Nested Modules in Divi 5 allow every module to serve as a container, enabling you to place rows and other modules inside one another with infinite depth. You can place buttons inside a Blurb, a CTA inside a Blog module, or custom layouts inside an Accordion with ease.
In this post, we’ll dive into what Nested Modules are, their benefits, and showcase some examples of them in action. Let’s dive in!
What Are Nested Modules?
Nested Modules enable the placement of any module inside another module with infinite nestability. This means you’re no longer limited to pre-defined modules. You can now build layered, custom layouts by embedding rows or modules within one another, as many layers deep as you’d like.
At its core, a Nested Module turns every Divi element into a flex or grid container. Whether it’s a Blurb, Accordion, Tab, Slider, or any other Divi module, you can now treat it as a layout parent element. These child elements can be simple Text modules, complex row structures, or even other nested modules, creating reusable design patterns.
Every parent module now includes layout controls, such as Flex direction, Justify Content, Align Items, Gap spacing, and more, giving you control over how child elements are arranged. In practice, this means you can:
- Place a call-to-action (CTA) button directly inside a blurb’s content area.
- Embed a full row with multiple columns inside a single tab.
- Build a pricing table where each plan contains its own nested row for feature comparisons.
The result is a more logical, component-based approach to design that mirrors modern web development practices. Nested Modules don’t just expand what’s possible in Divi, they redefine how you think about building with it.
Benefits Of Nested Modules
Nested Modules don’t just add a new feature; they transform how you design, build, and maintain websites in Divi 5. Here are the key advantages that make this capability so unique:
Infinite Design Flexibility
With infinite nestability, you’re no longer confined to flat, linear layouts. Create deeply layered, interactive designs, like a 3-column row with Blurbs and Buttons nested inside a Tab module. This opens the door to highly customized layouts and user experiences, like interactive product showcases, multi-step onboarding flows, or dynamic content hubs that adapt to user behavior.
Enhanced Layout Control
Every parent module now supports full Flexbox and CSS Grid settings, allowing you to control child alignment, spacing, and responsiveness. Apply pre-built templates directly to modules for instant, professional layouts. This is especially good for pricing tables, team grids, or galleries, where consistent child item layouts are essential.
Simplified Positioning And Editing
Native content within modules can now be repositioned with a single setting. Change a Blurb’s Flex direction from column to row, and instantly transform it into a side-by-side layout. All child elements are displayed in an intuitive, sortable list within the module settings, allowing for full drag-and-drop reordering directly on the canvas or in the panel.
UI And Workflow Improvements
The Visual Builder now includes right-click menus that let you add, paste, or duplicate elements above, below, or inside any target with a single click. Visual indicators clearly mark flex and grid containers in the canvas, reducing guesswork. Combined with real-time responsive previews, these enhancements make complex builds faster and cleaner.
How To Use Nested Modules
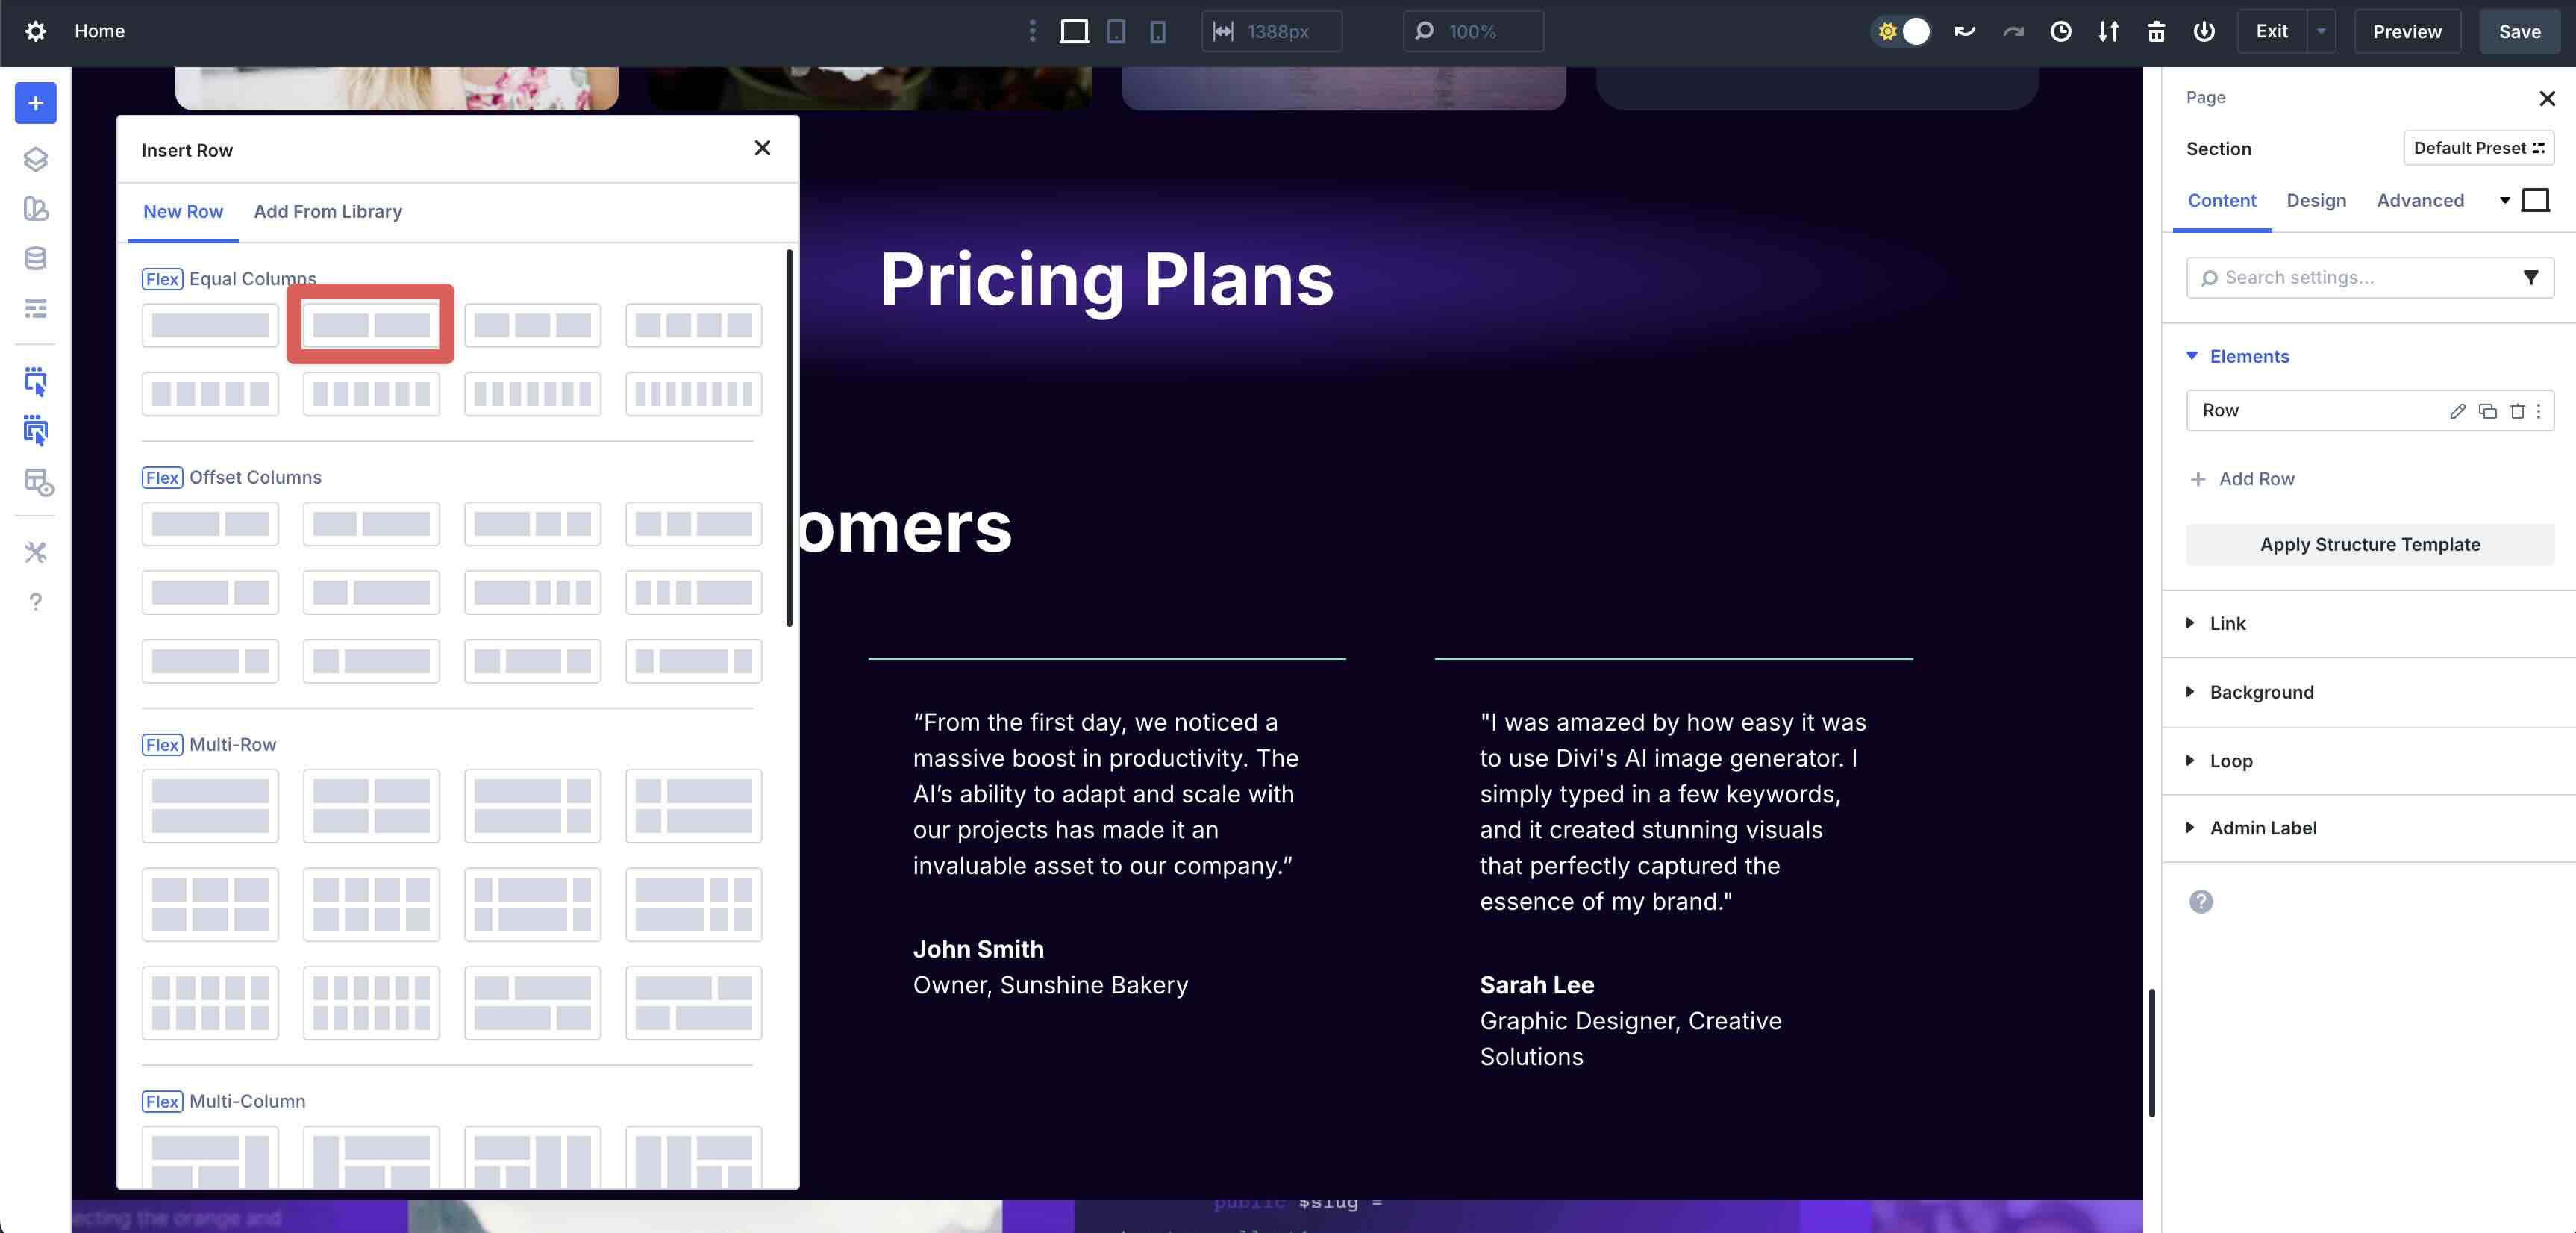
Getting started with Nested Modules is easy. Start by adding a new two-column Flex row to a page.
Add a Heading Module and style it as you’d like. Under the Heading module, add a Number Counter module and style it.
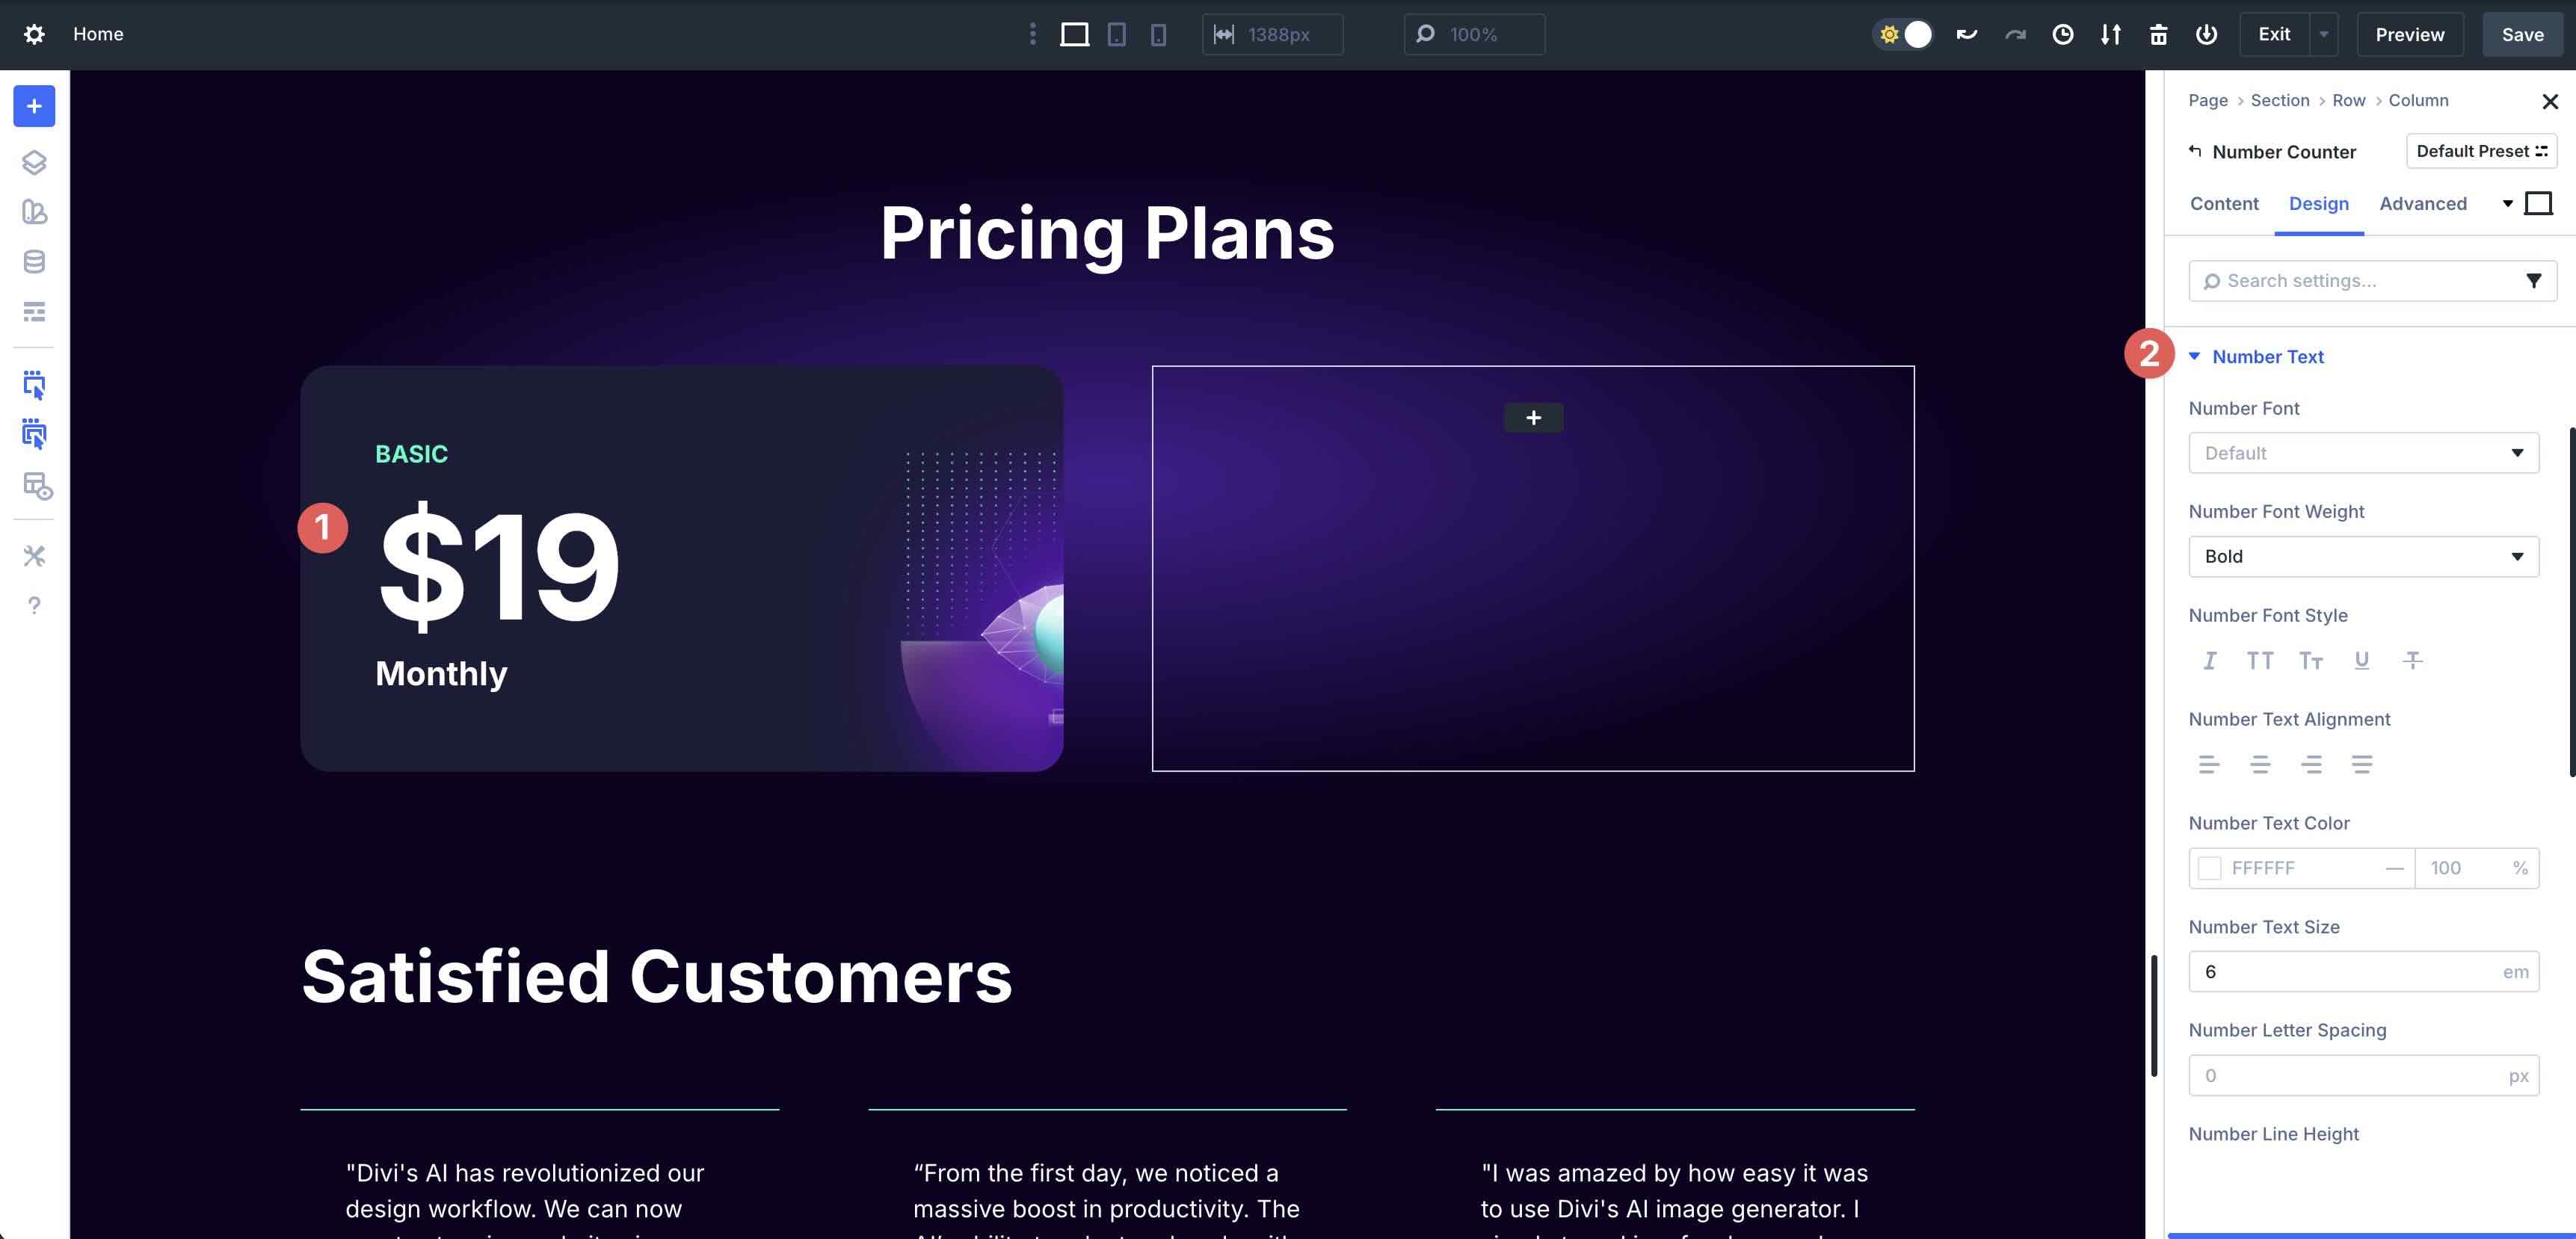
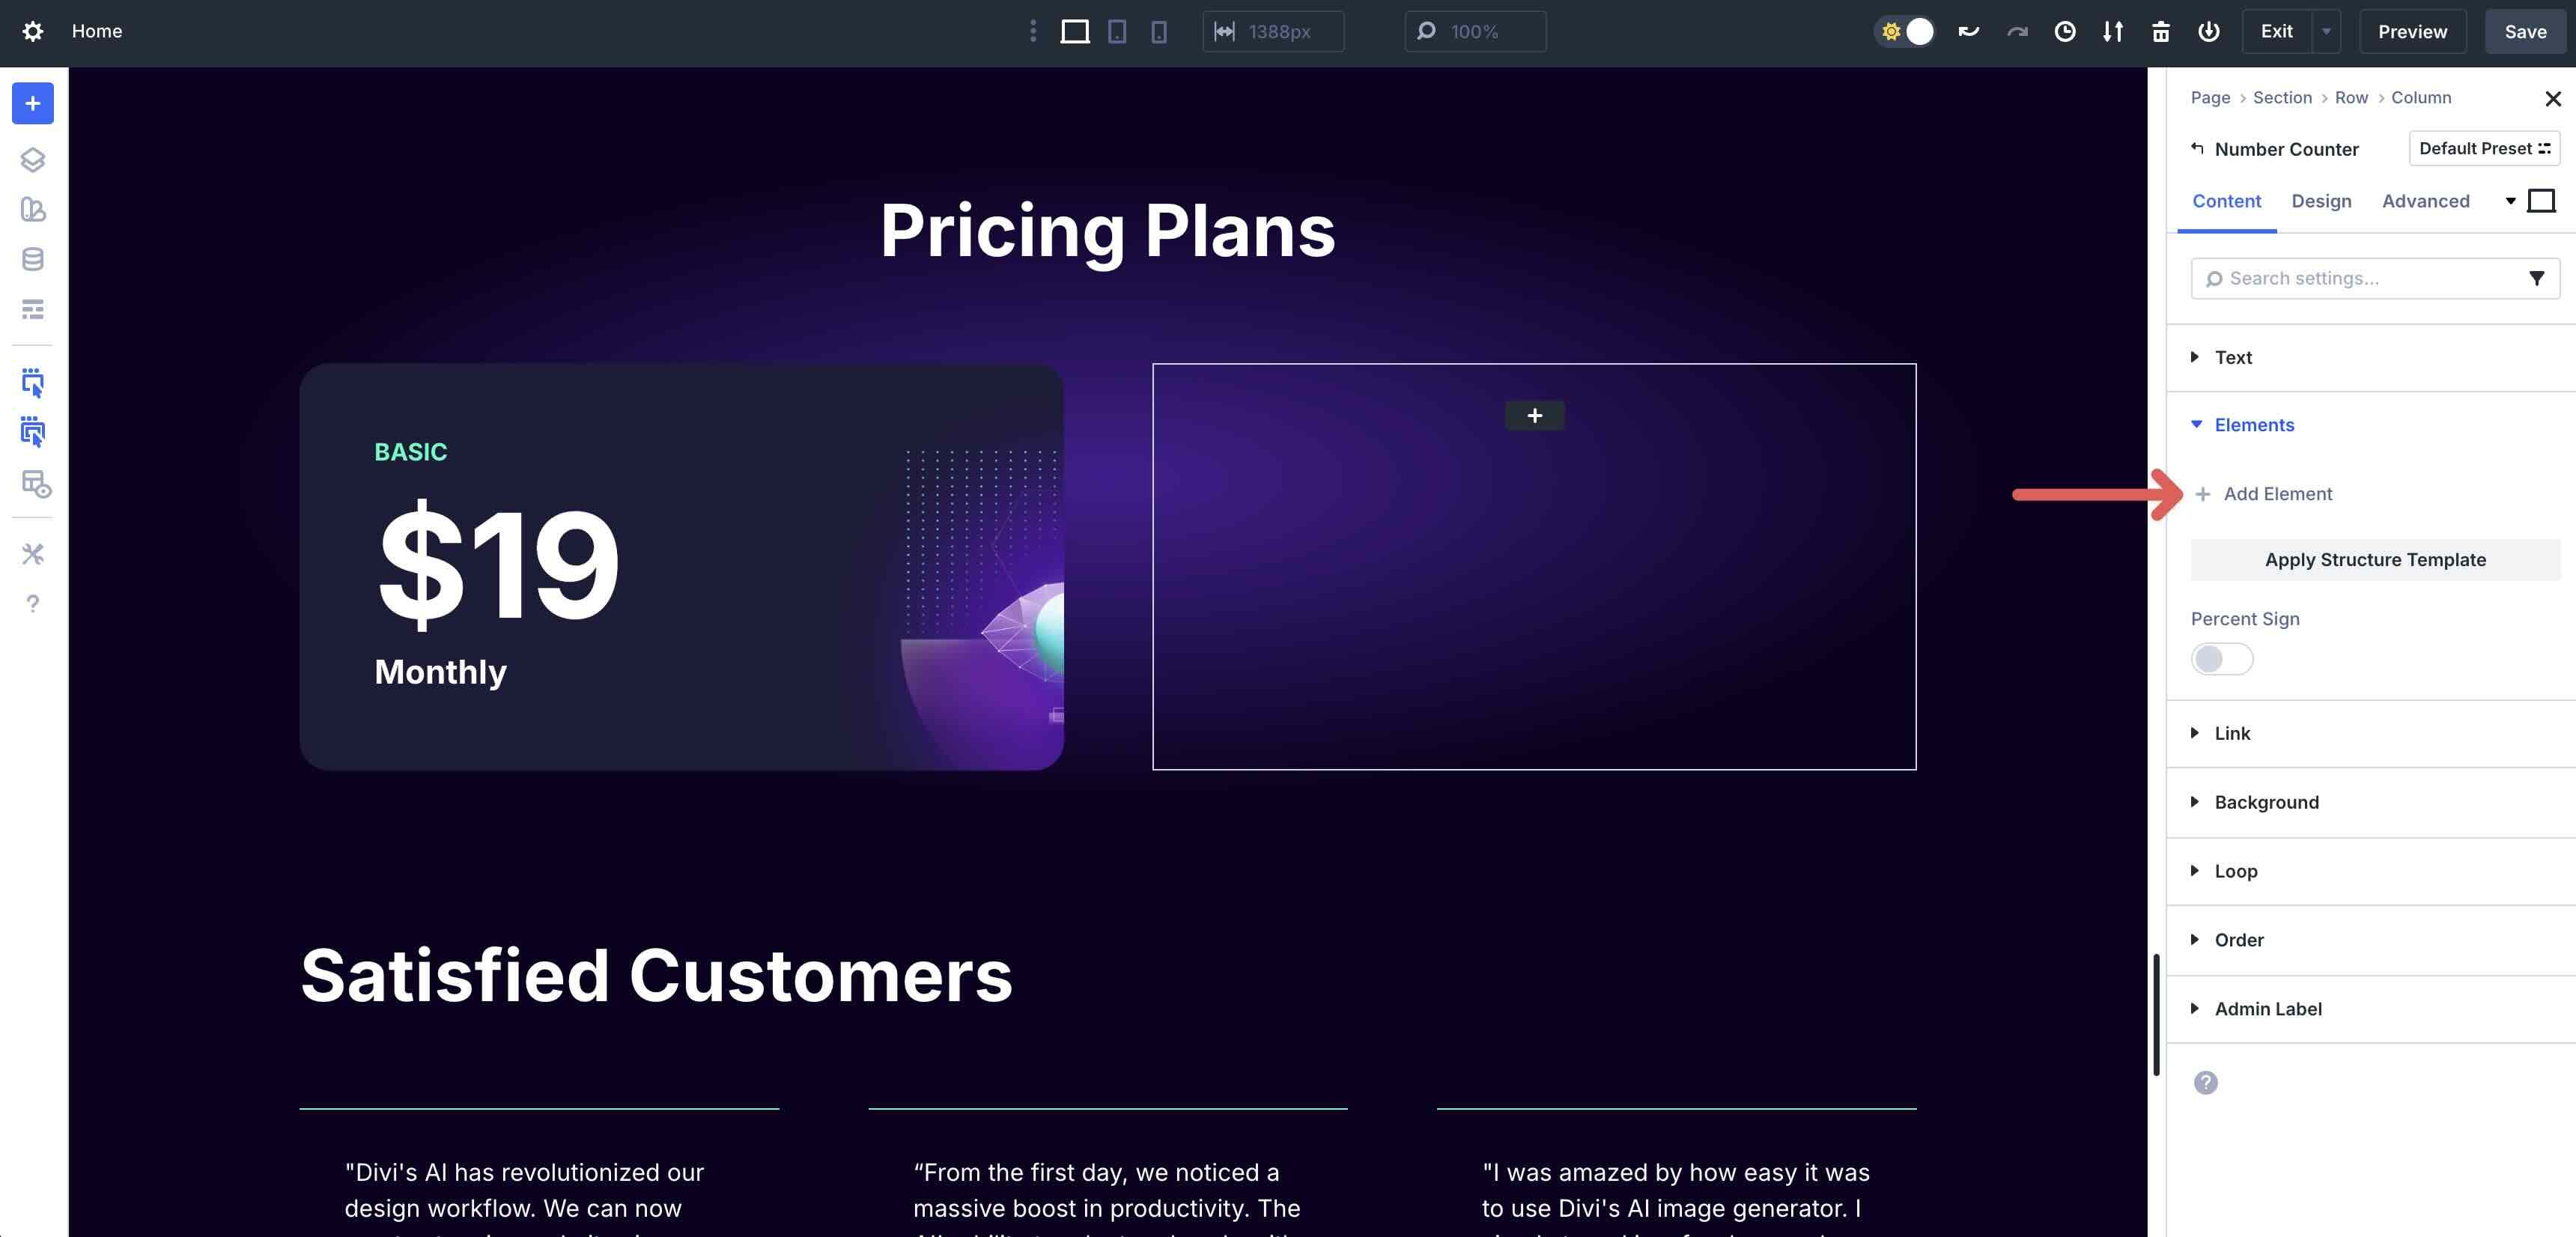
Expand the Elements dropdown menu in the Content tab. Click the + Add Element button to add a new module.
When the Insert Module Or Row modal appears, select a Text module.
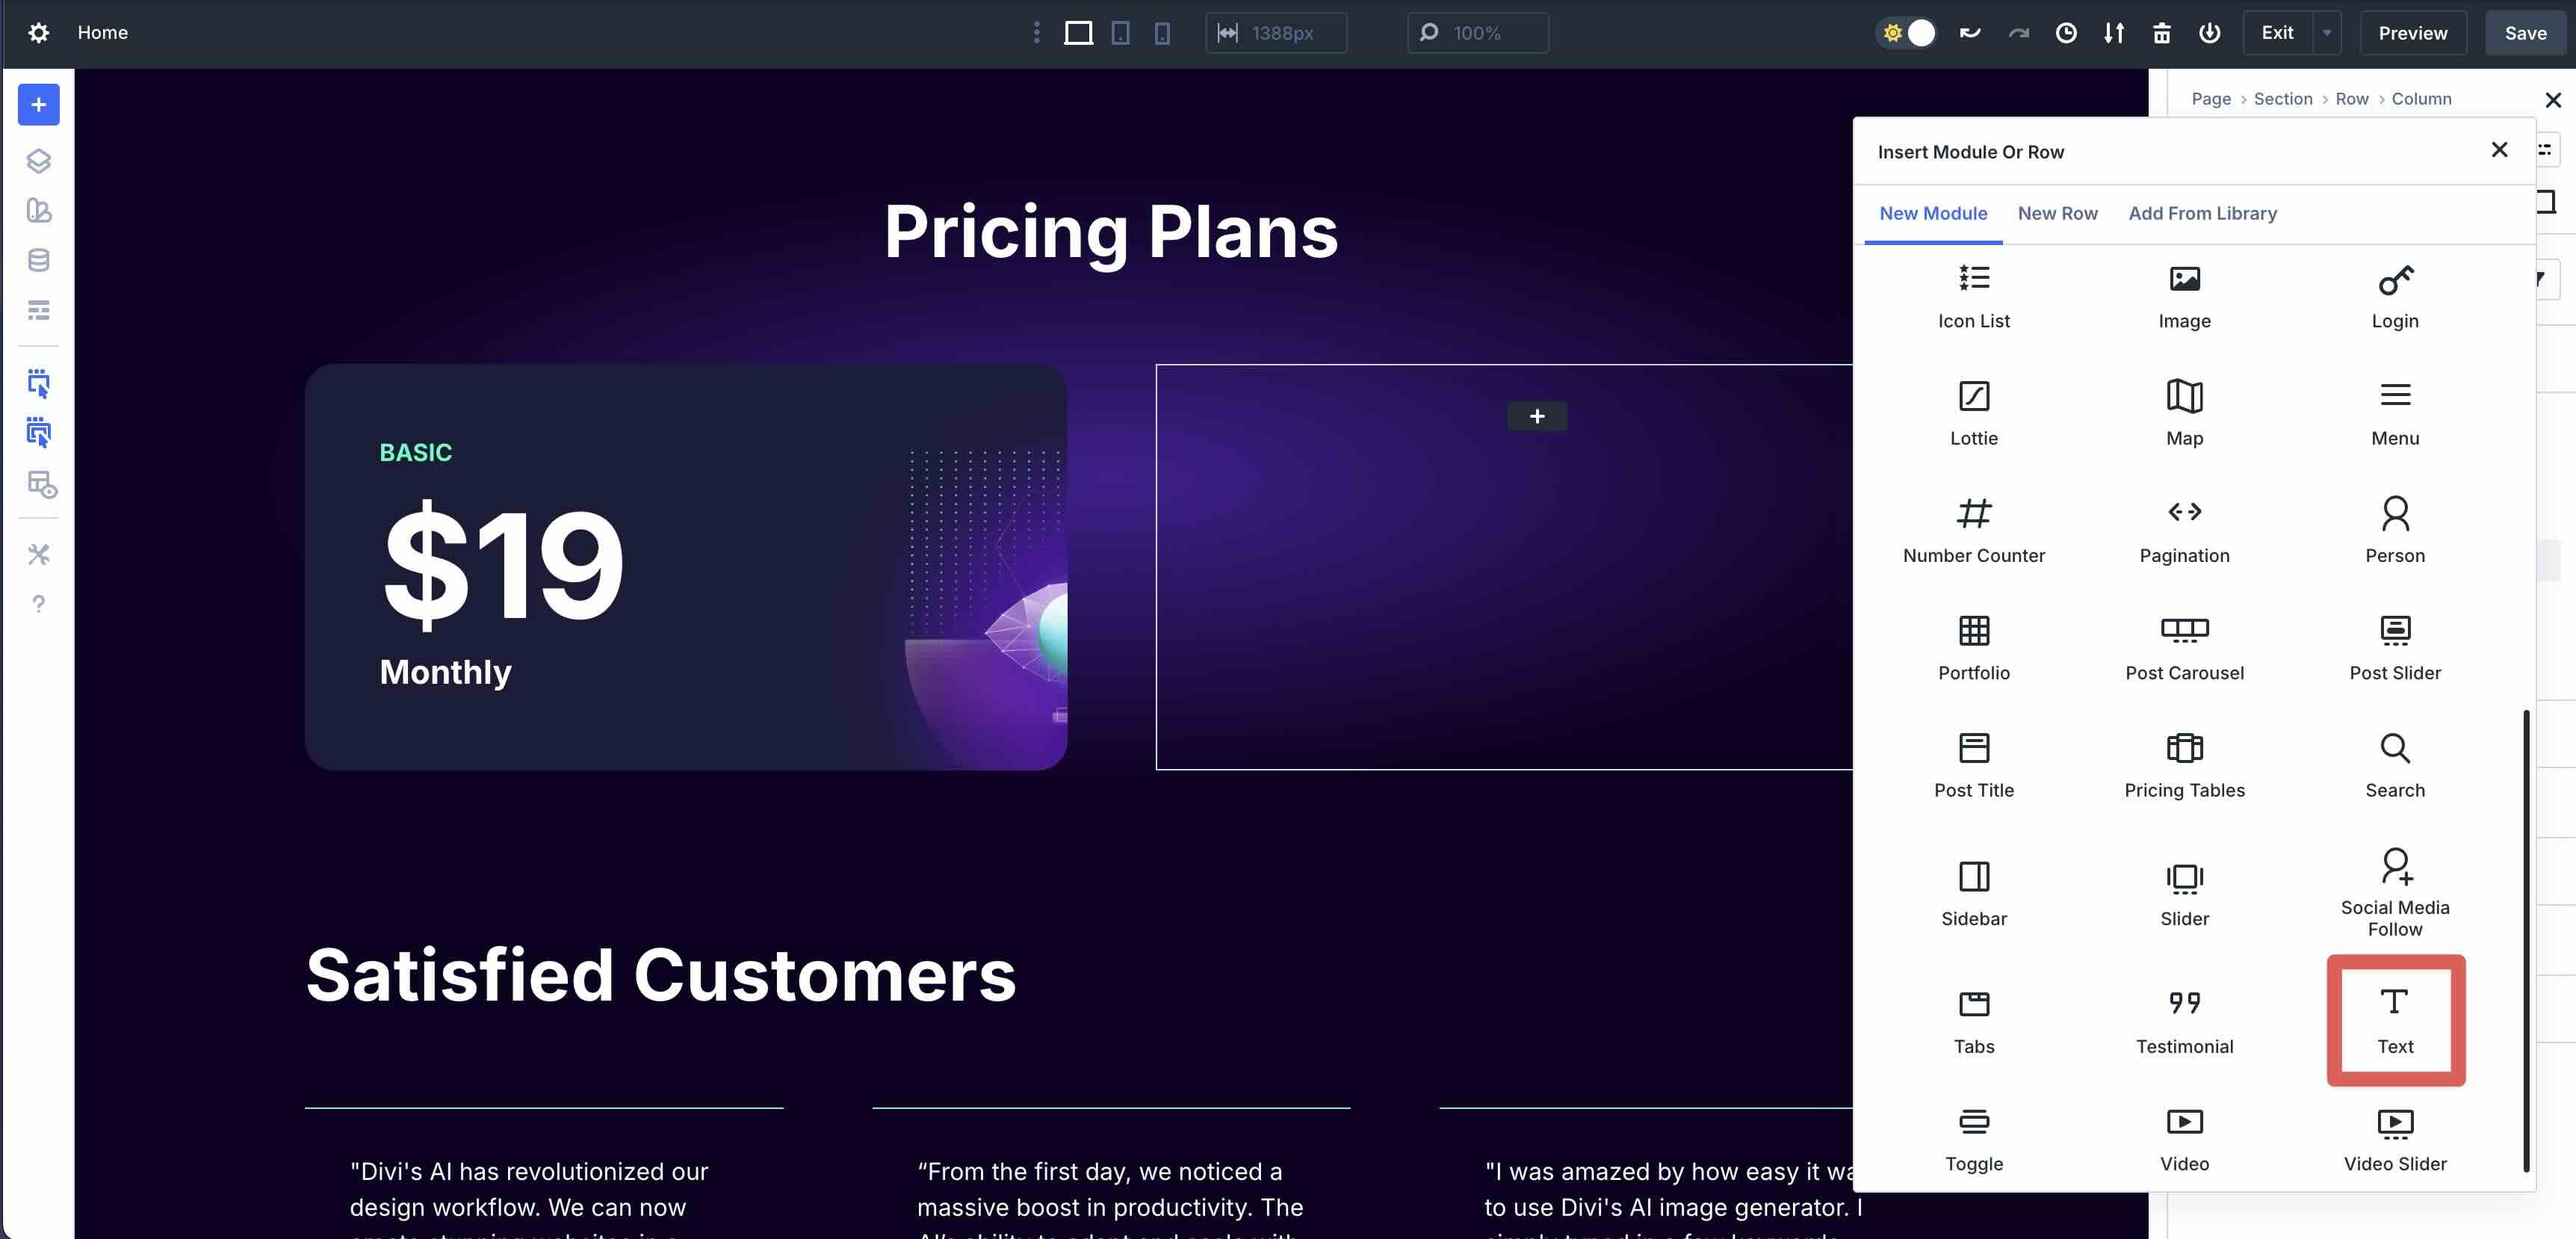
Style the Text module as desired. Repeat the steps to add a new Element, but this time add a Button module.
Add content to the second column, and then use Divi 5’s Customizable Responsive Breakpoints to make adjustments to the layout.
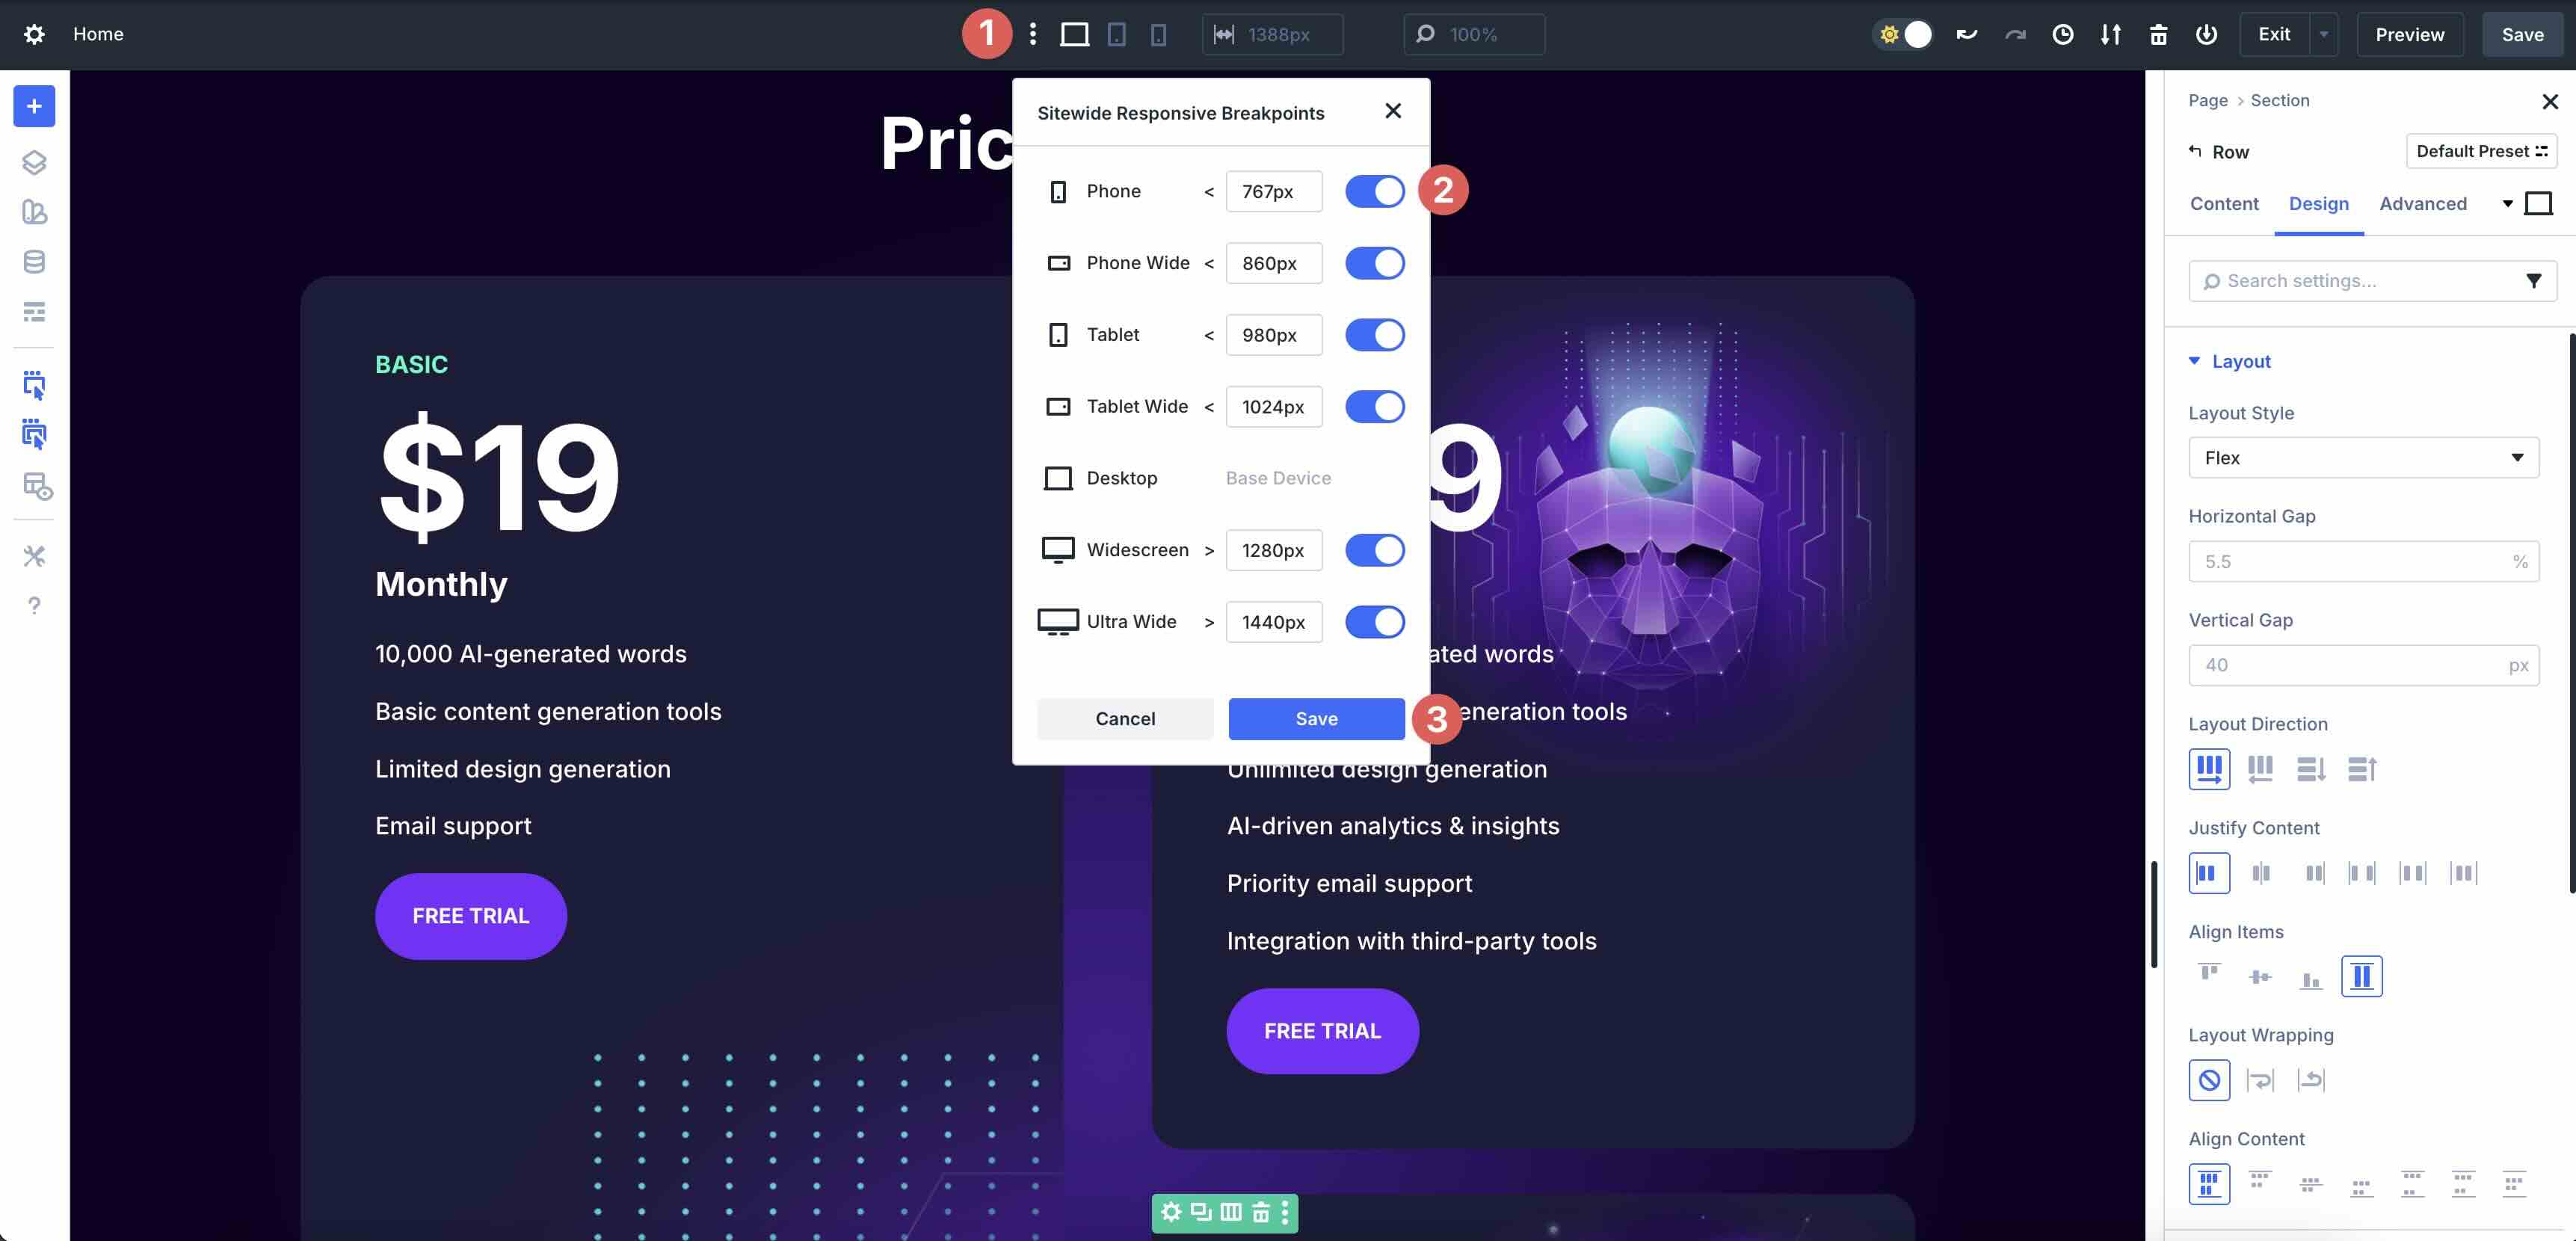
To adjust the columns on smaller devices, click the Apply Structure Template button at the Row level.
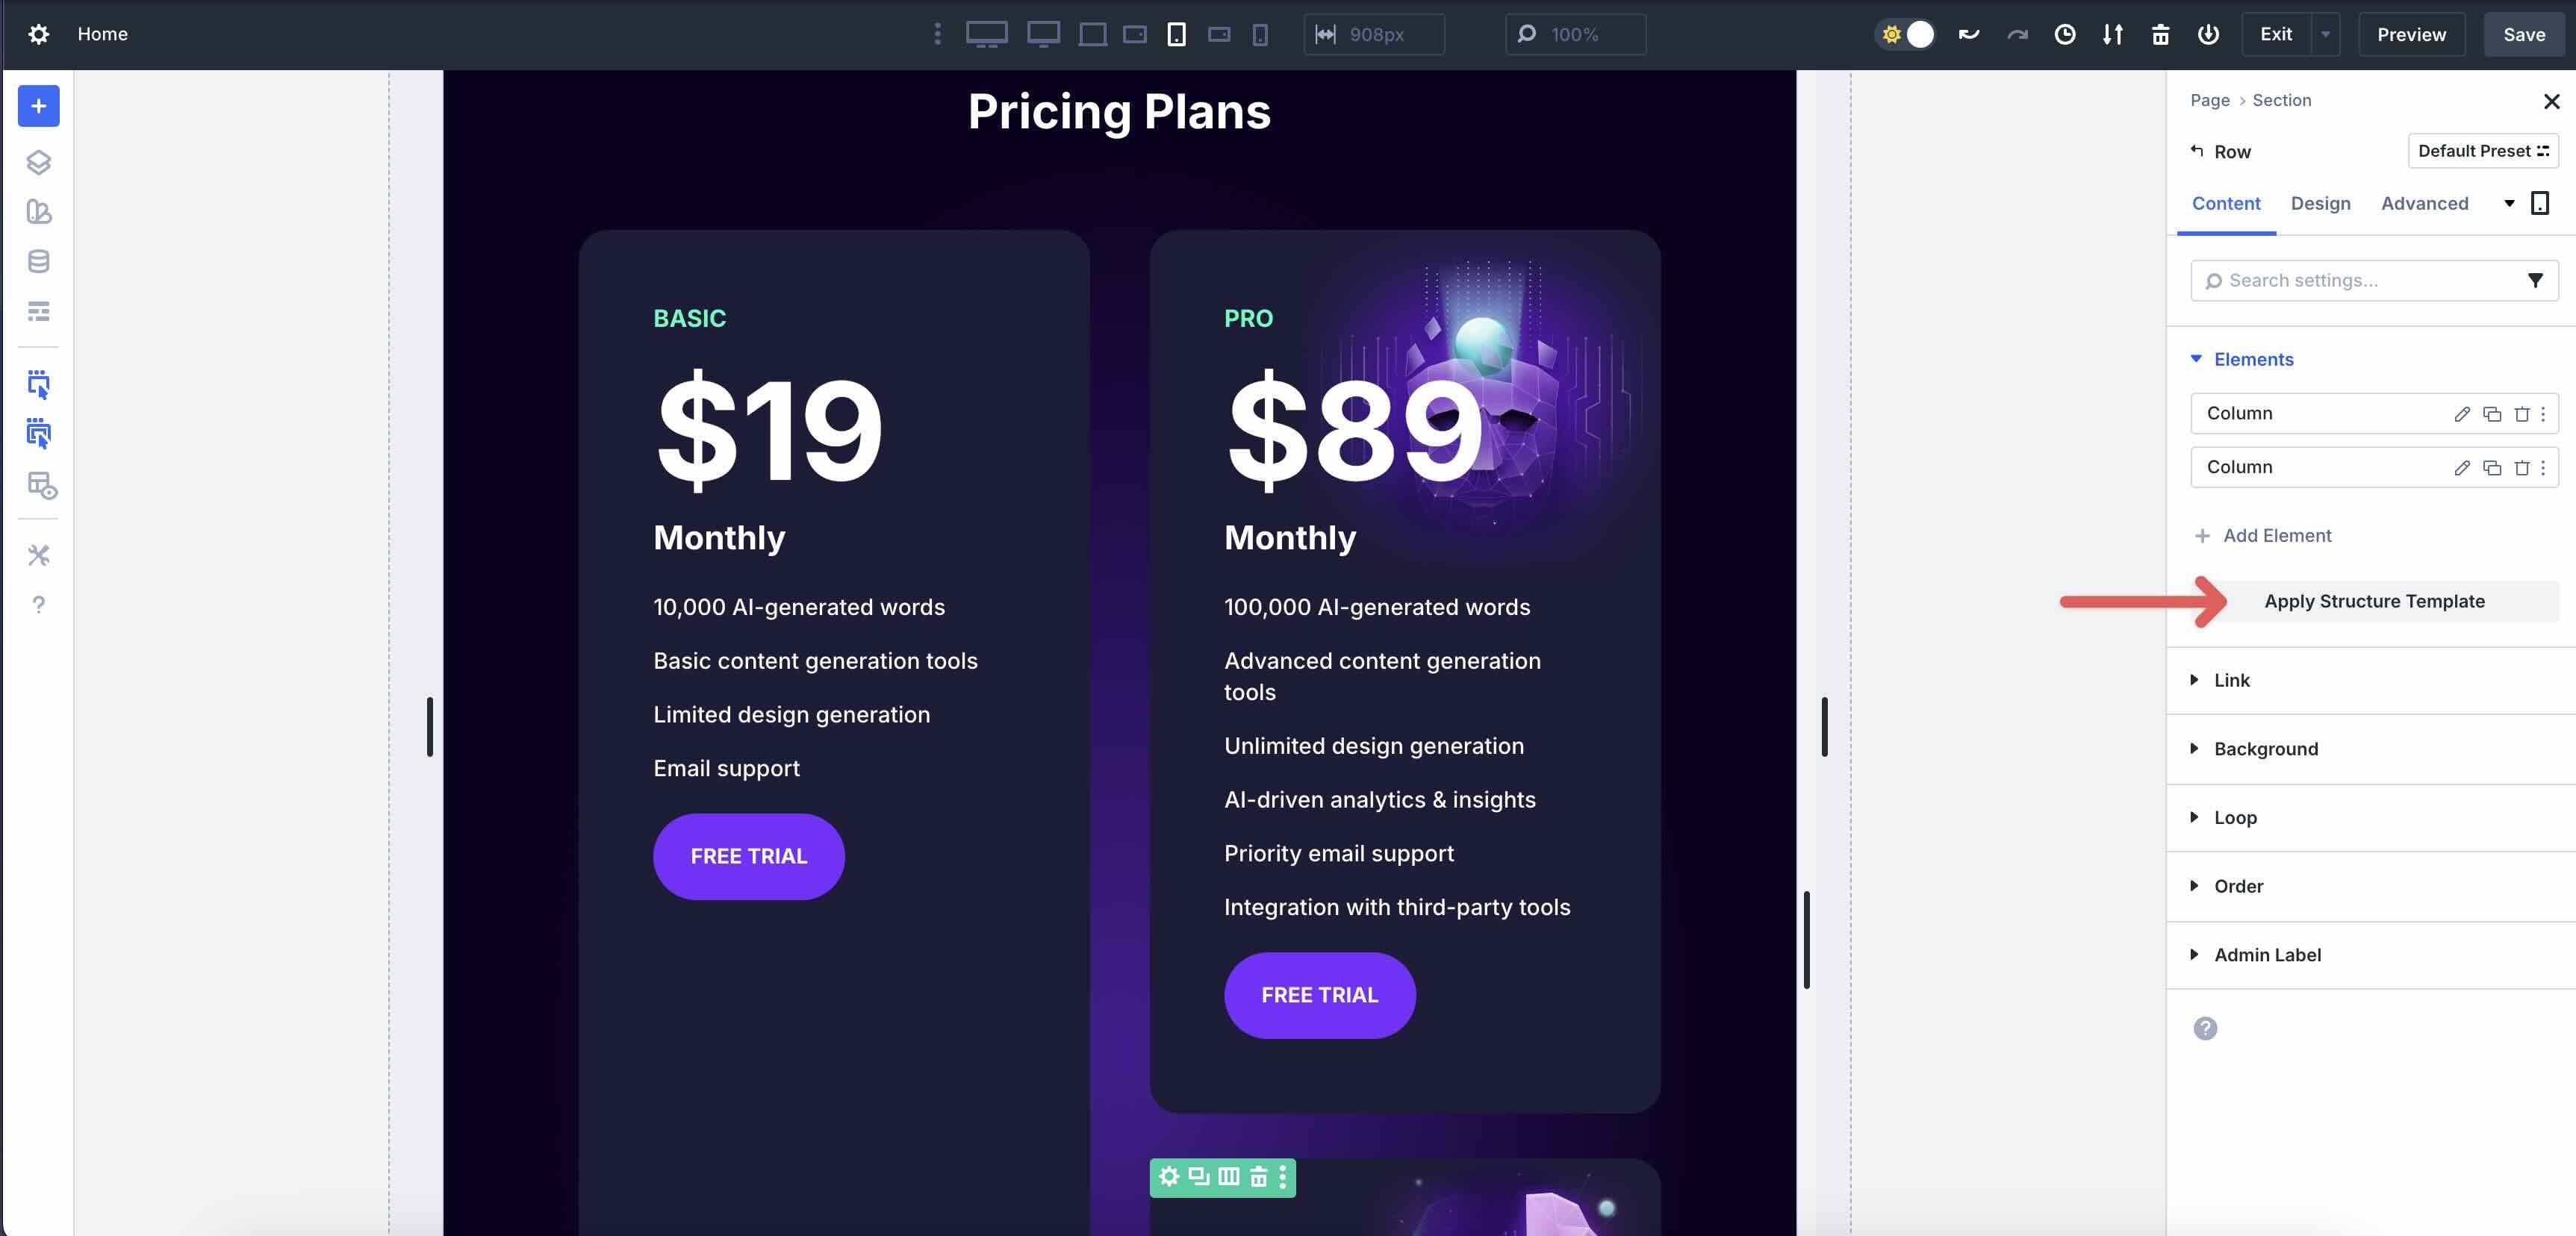
As you navigate through the Breakpoints, adjust the columns by choosing a Structure Template from the available options.
As you can see, adding Nested Modules to your layouts is intuitive and only requires a few steps.
Real World Examples
Now that you know how you can build intricate layouts with Nested Modules, let’s showcase some examples of them in action. Below are three practical examples that showcase how Nested Modules elevate everyday designs into dynamic layouts.
1. Dynamic Tab Modules
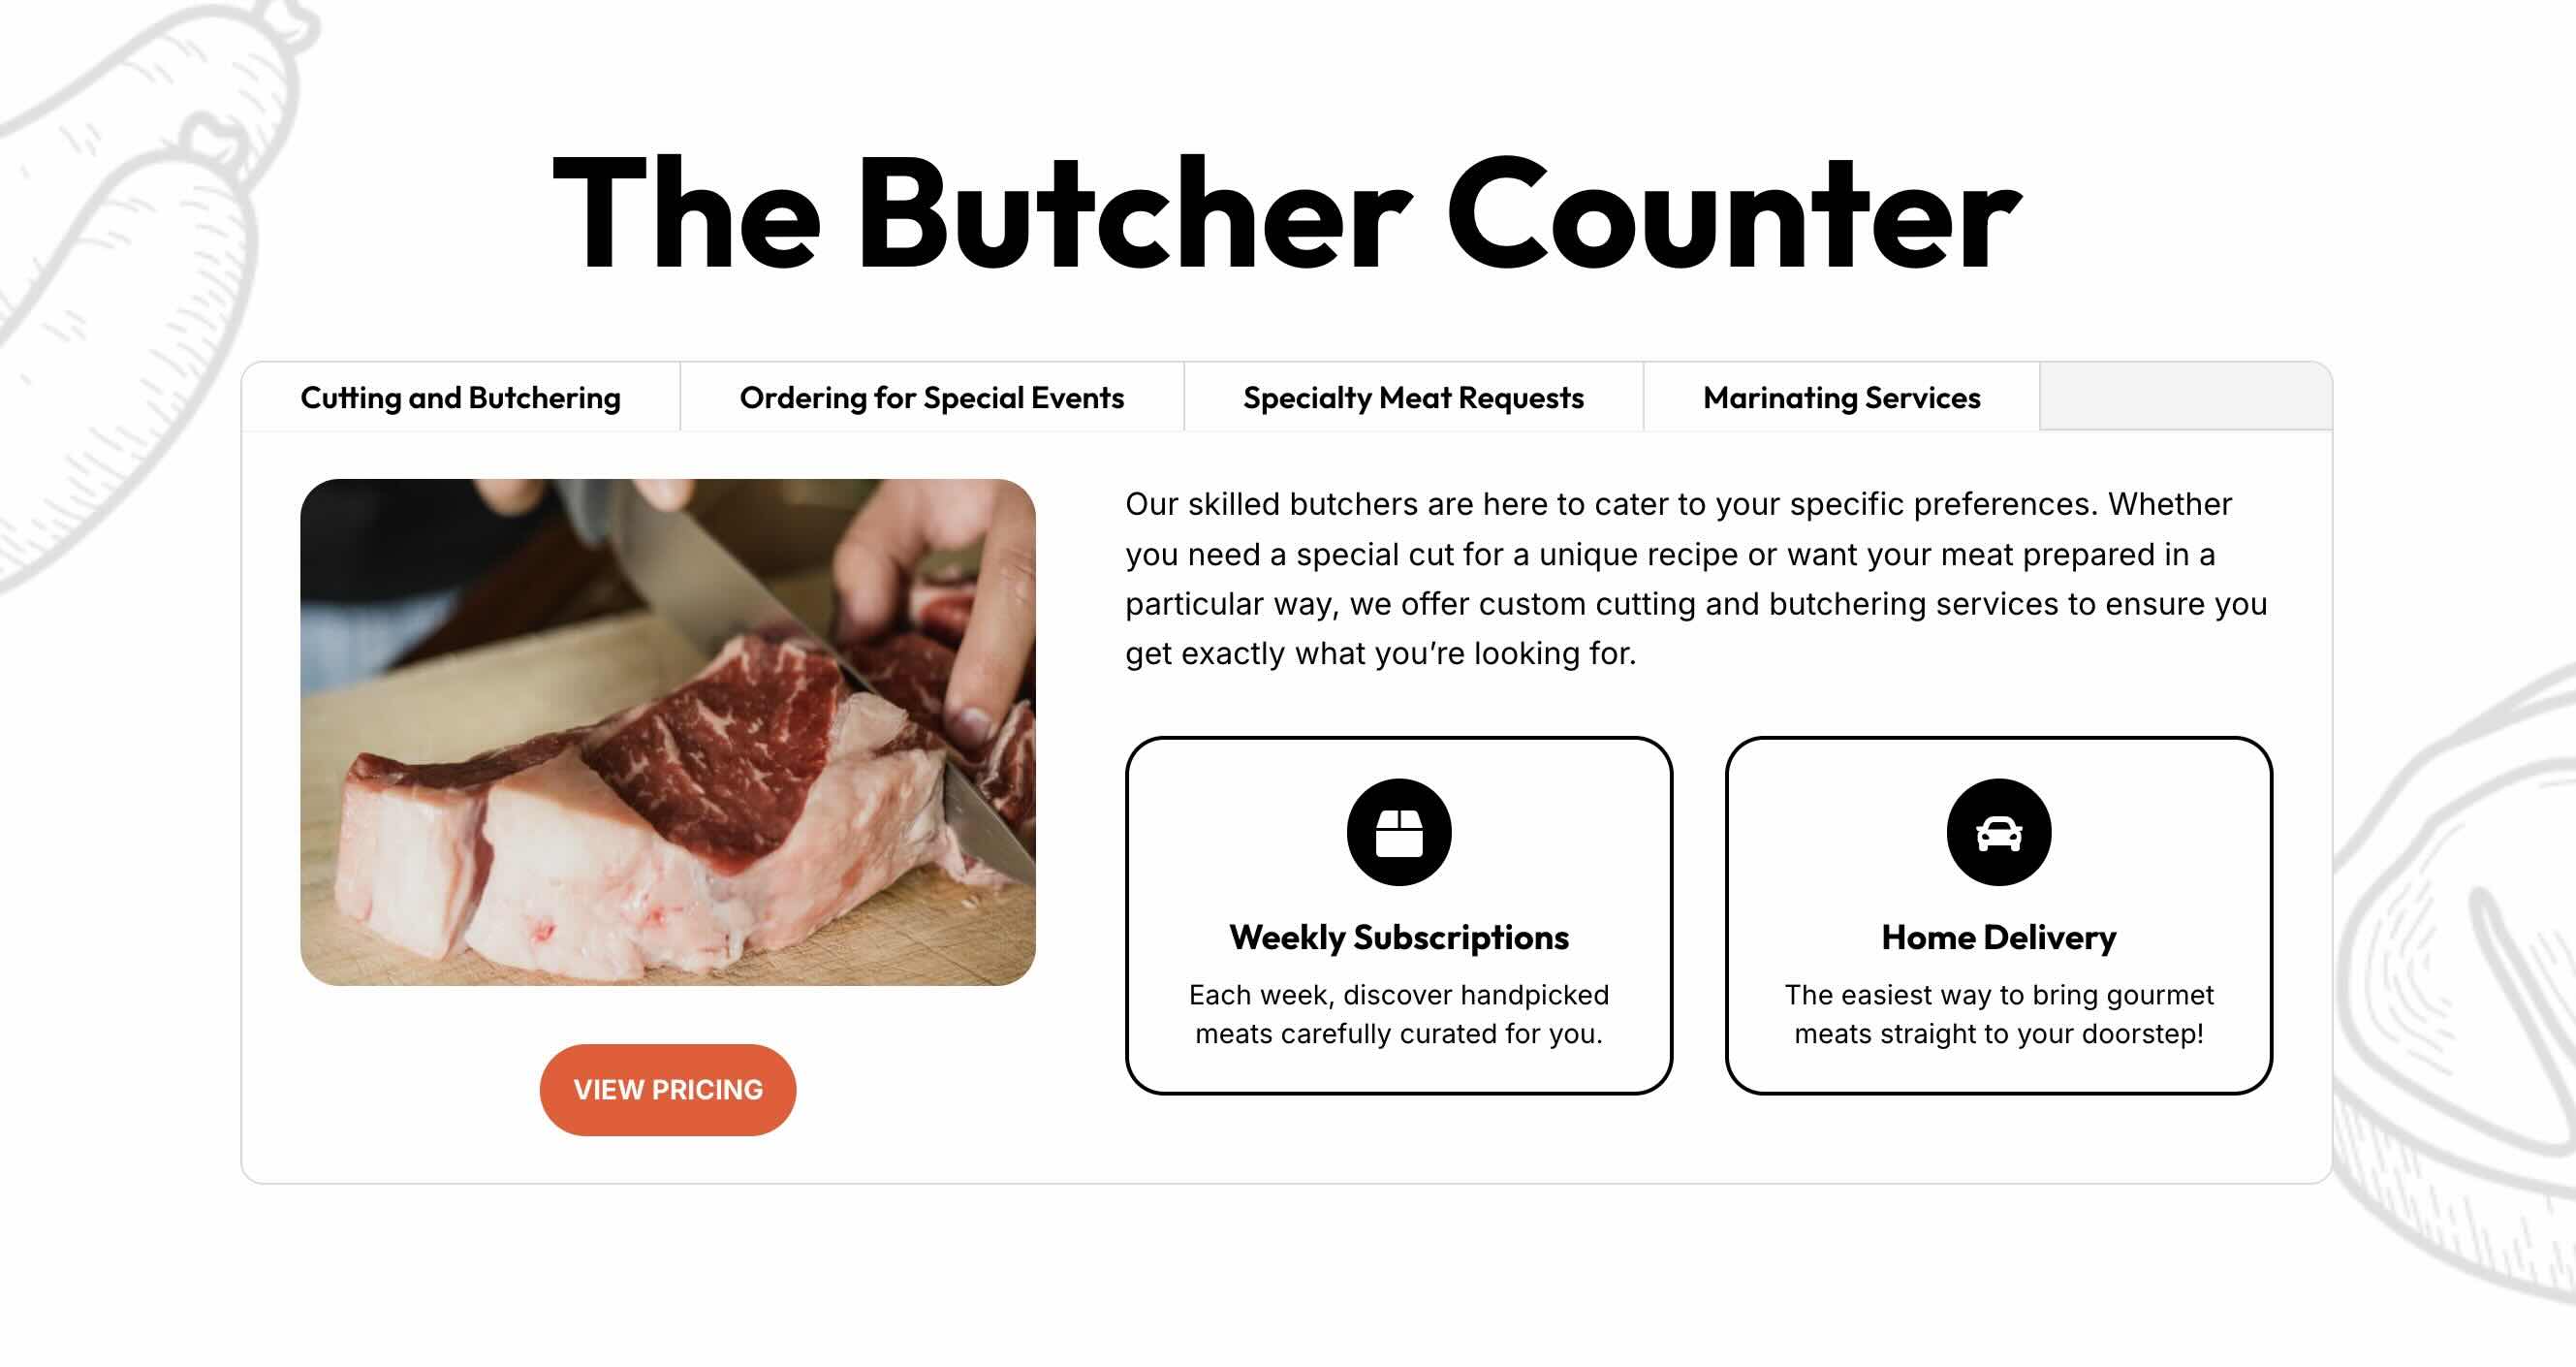
Nested Modules work incredibly well on the Tabs module. You can use them to create multi-column layouts with Nested Rows to feature services and other important information on your site. Using Divi 5’s Flexbox controls, you can rearrange columns and apply Structure Templates on smaller devices to ensure your layout looks amazing on any screen size.
2. Integrated CTA in a Blog Grid
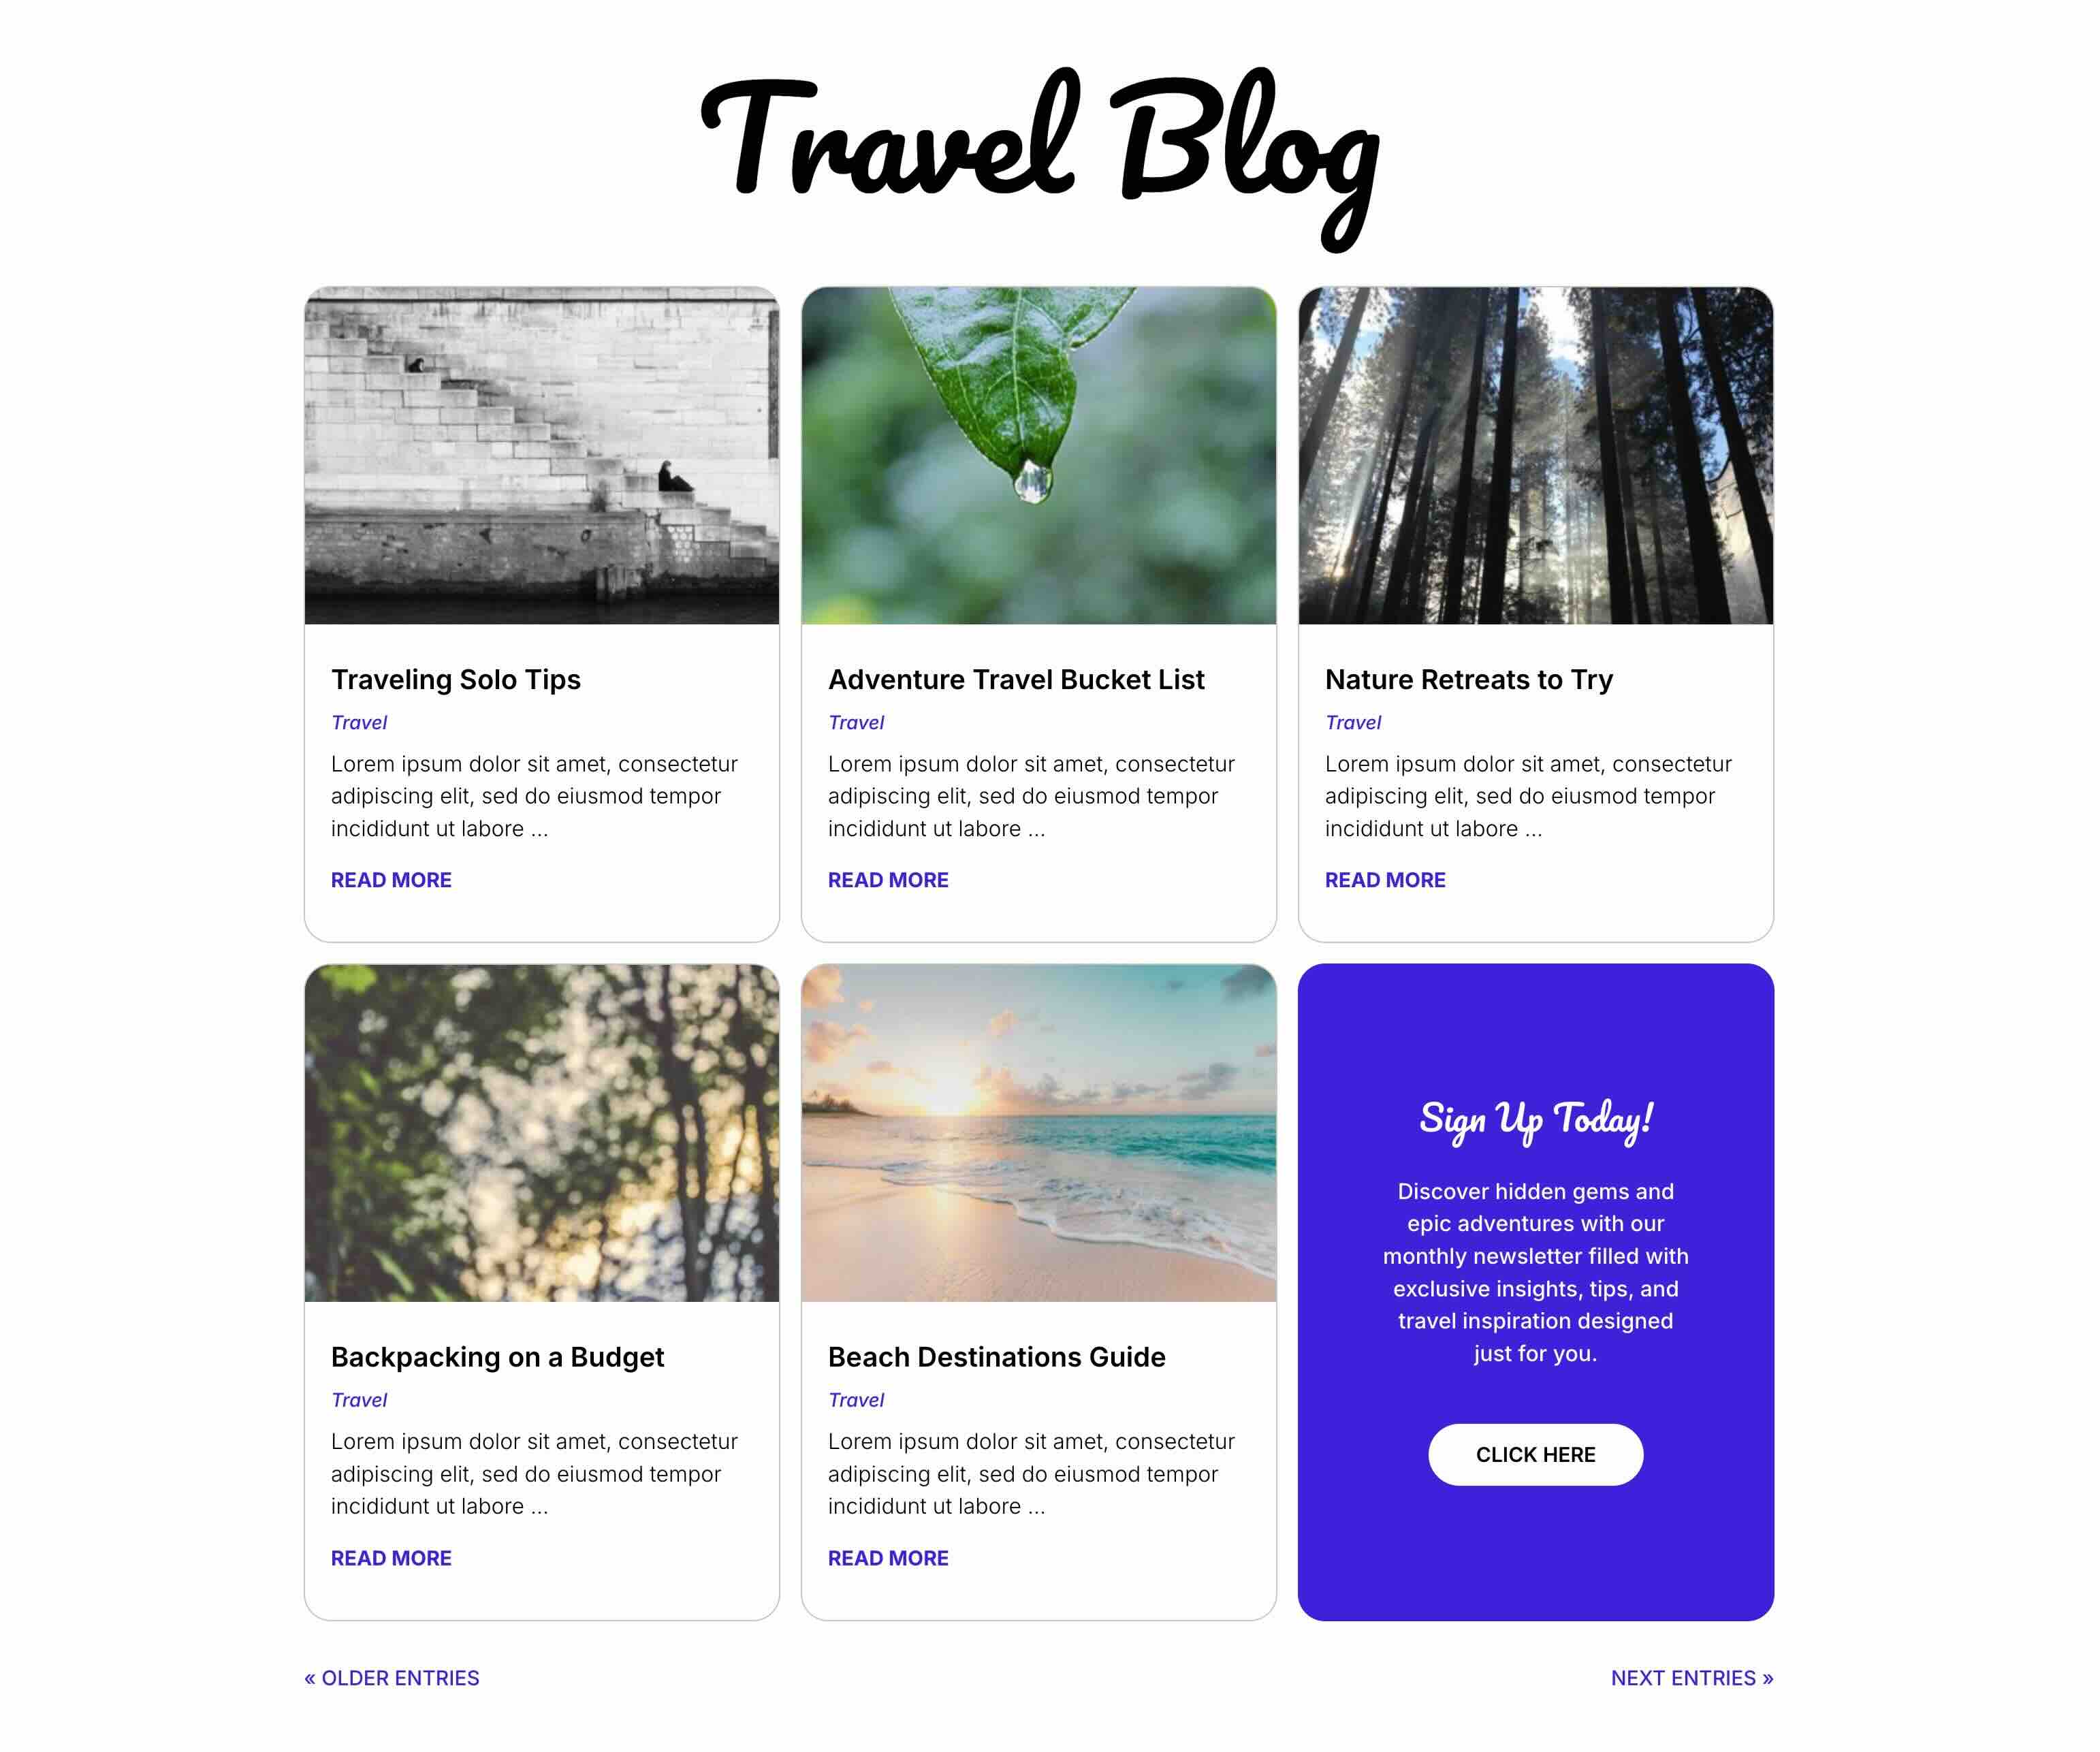
With Nested Modules, you can seamlessly blend promotions into content feeds without breaking the layout. Simply set the number of posts in the Blog module, add a CTA element, and style as desired. Divi 5 will add the Nested Module after the last blog post while preserving the Blog’s grid structure. As you use the pagination module to cycle through the posts, the CTA will remain in the same place, regardless of the number of posts.
3. Project Feature Slider
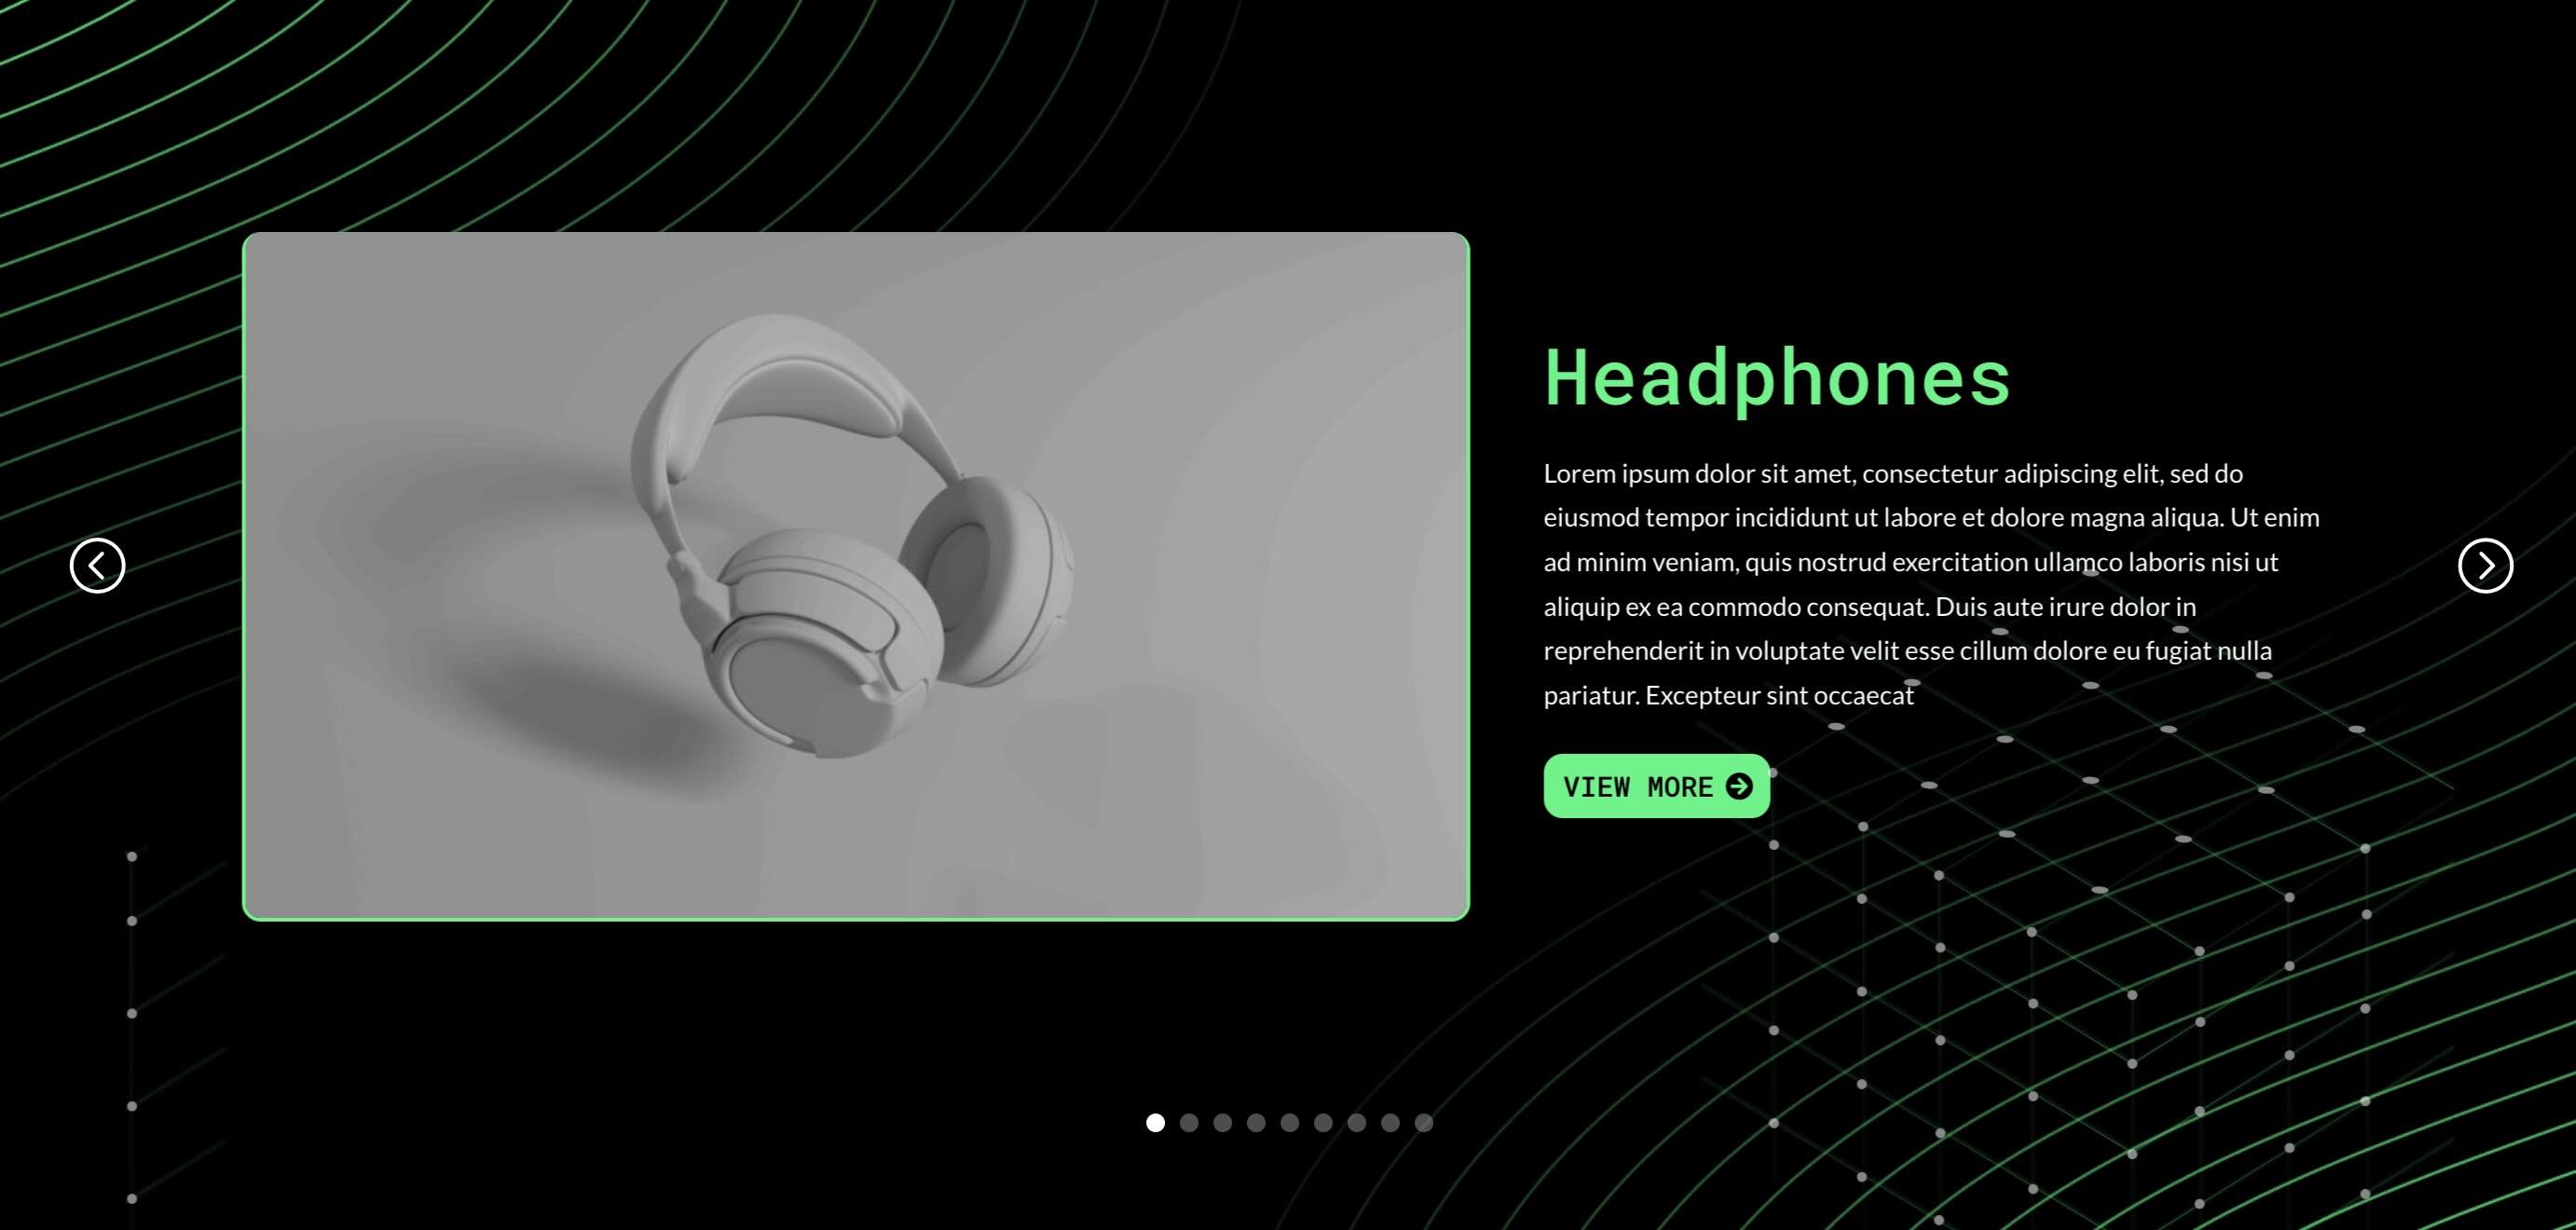
Nested Modules are useful for adding accents to layouts, like in this example. Here, we use a Group Carousel Module and enable the Loop Builder to showcase the Projects custom post type. To give the design more depth, we’ve added a background image to the Section and then used a Nested Module on the Nested Row within the Carousel to add another image with transform controls. This simple nesting trick turns flat carousels into rich, engaging showcases without extra plugins or code.
Download The Nested Module Examples
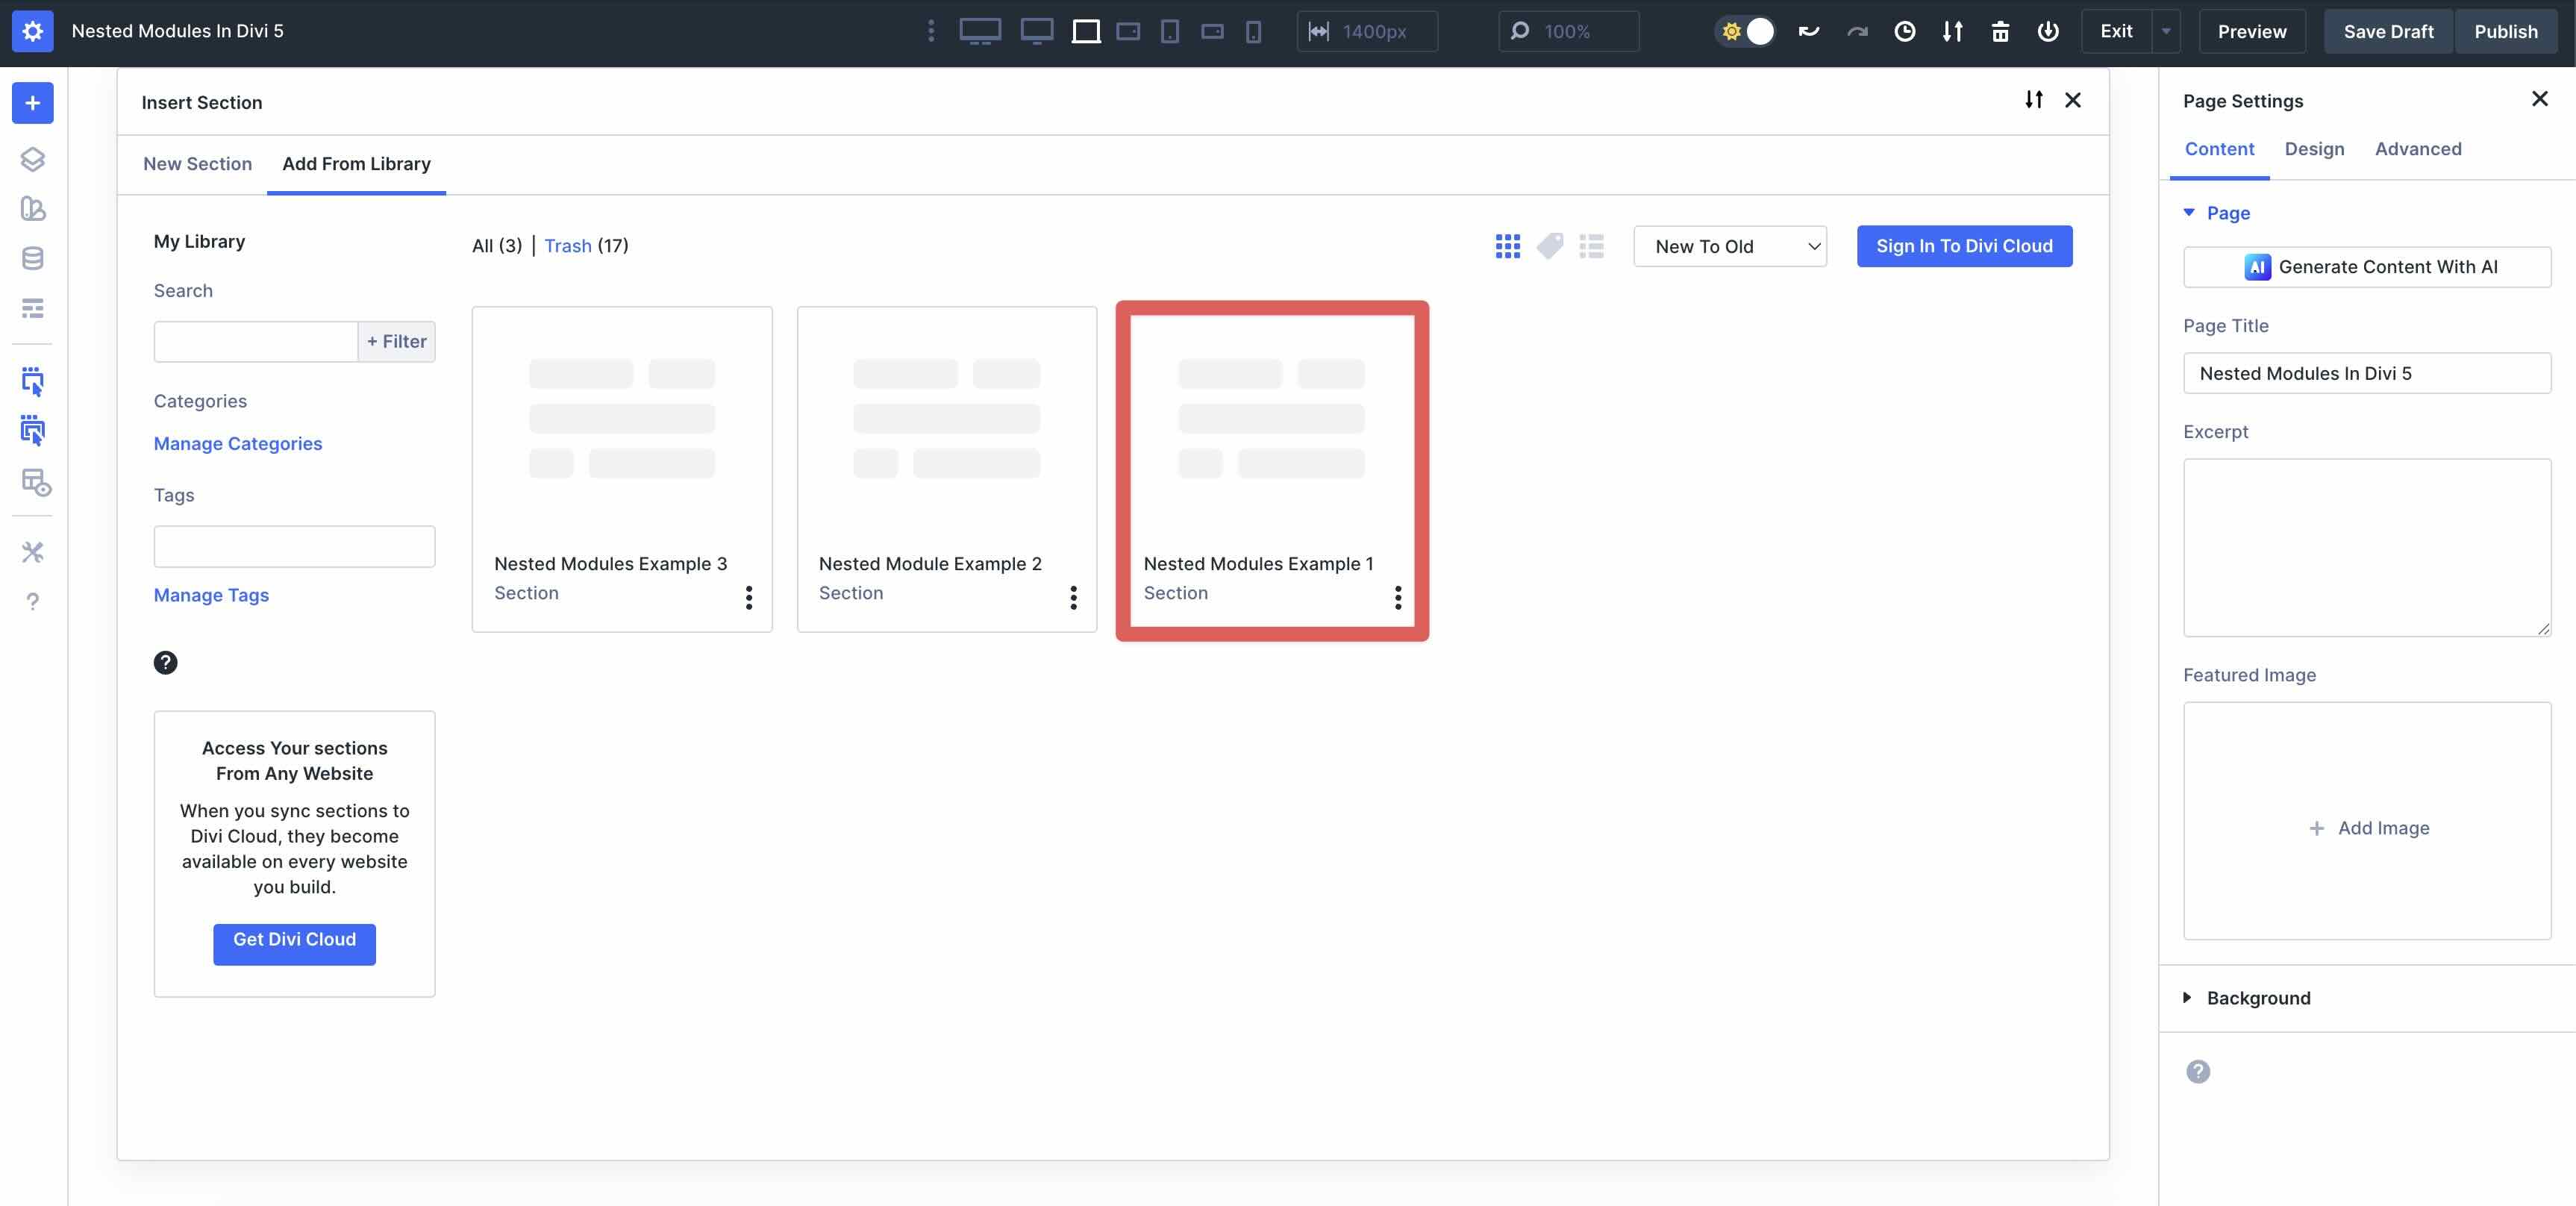
Fill out the form below to download all of the layouts featured in this post. Nested Modules Example 1, 2, and 3 can be imported by clicking the blue + icon while working in a Divi page.

When the Insert Section modal appears, click the Add From Library tab and then select the example you want to import.
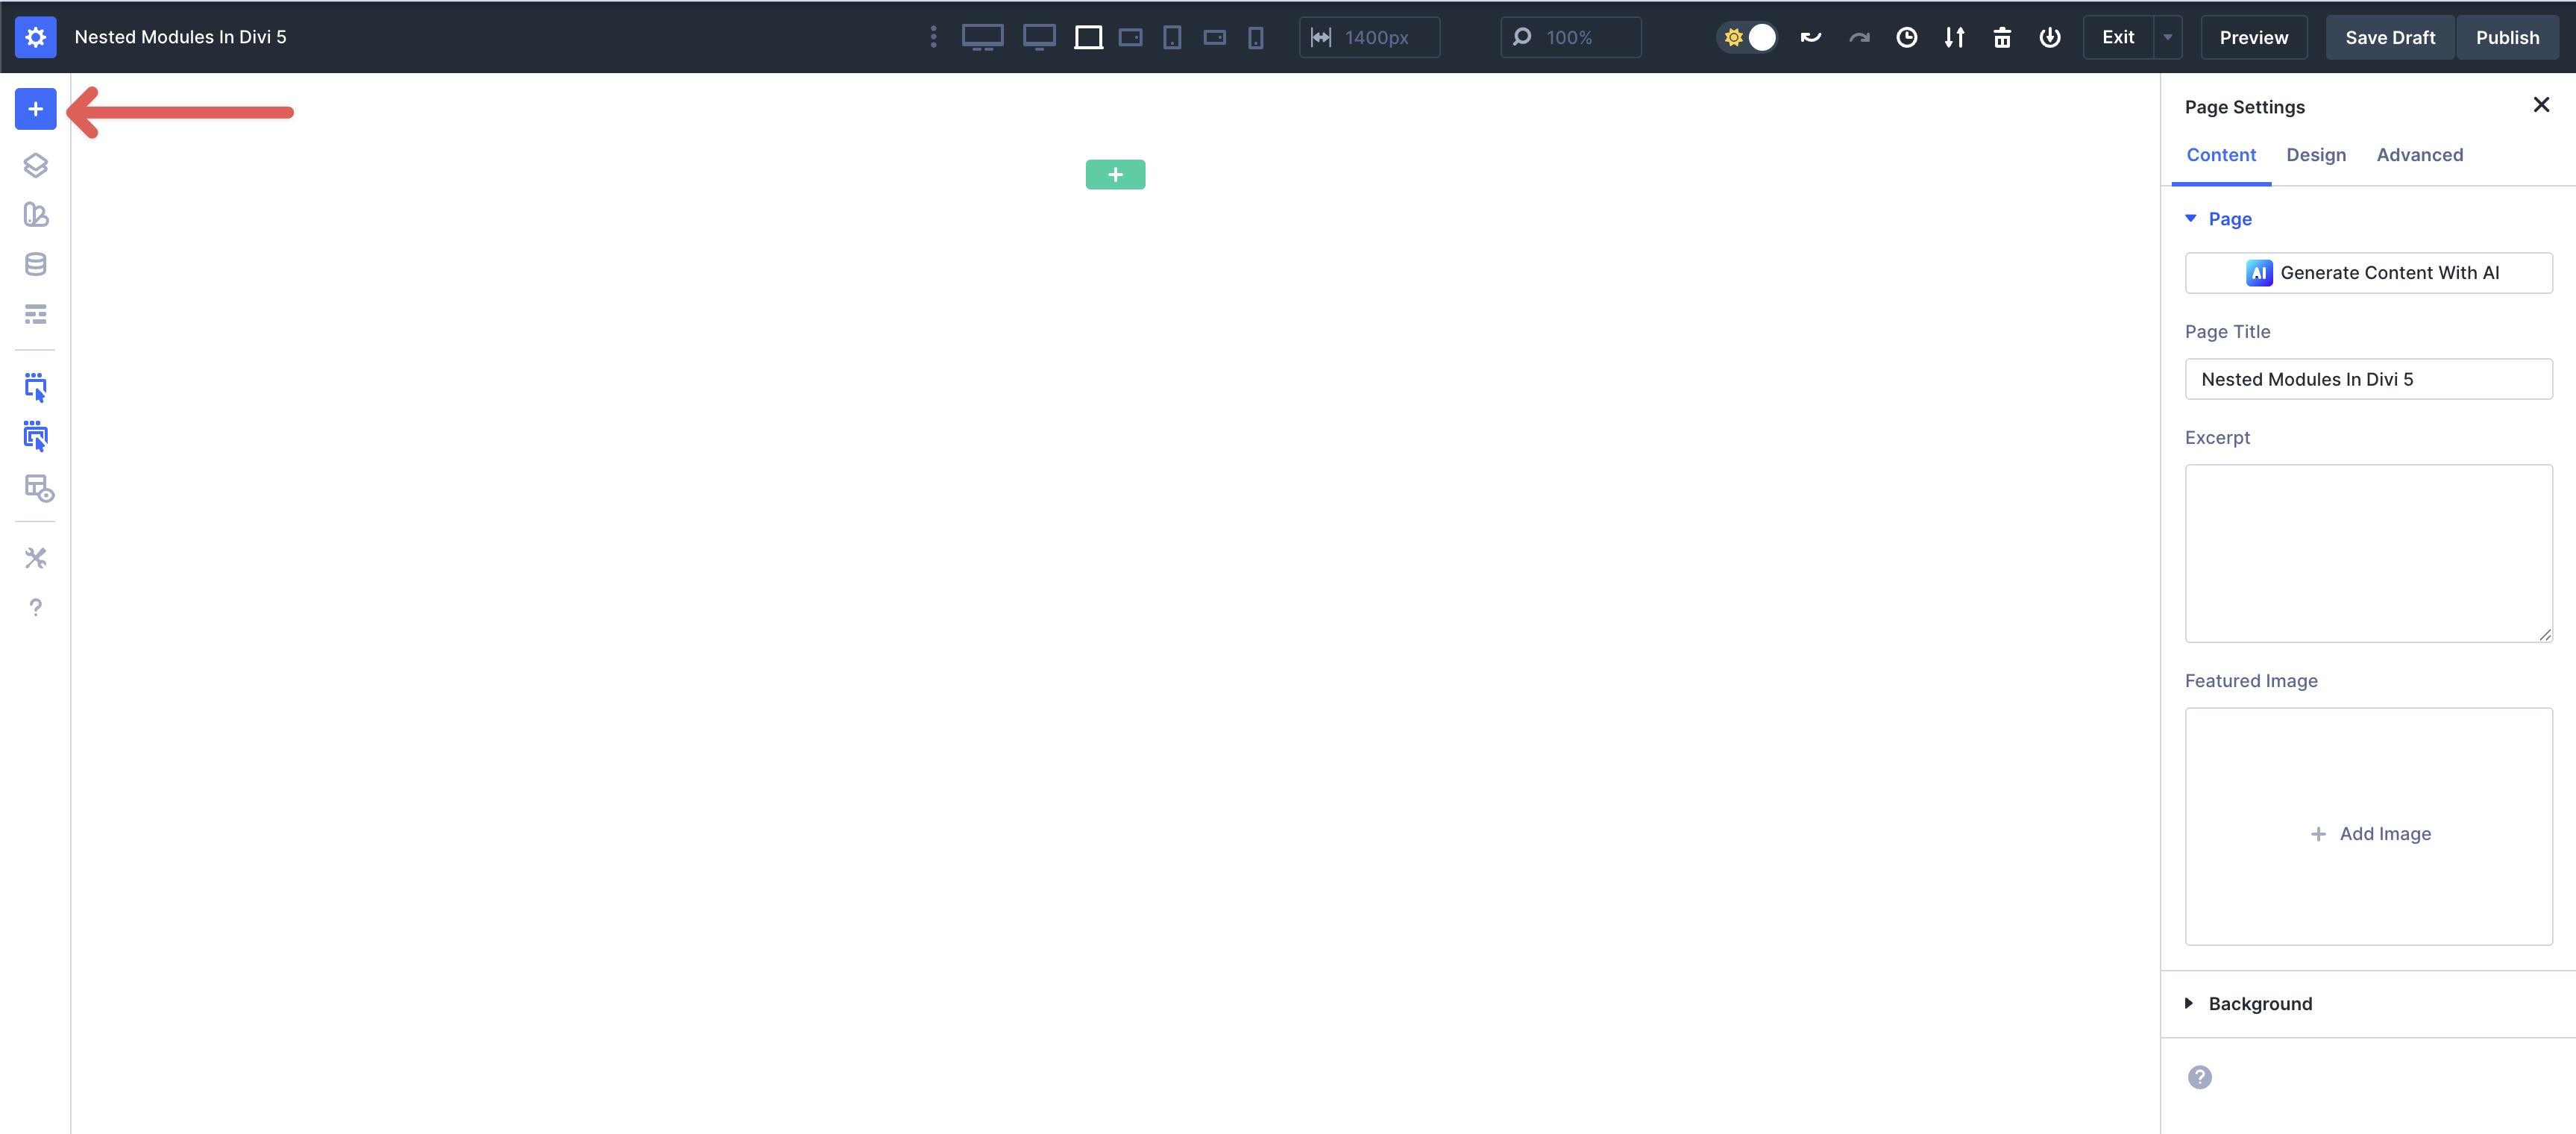
The full-page example can be imported by clicking the blue + icon at the top left of the Visual Builder.
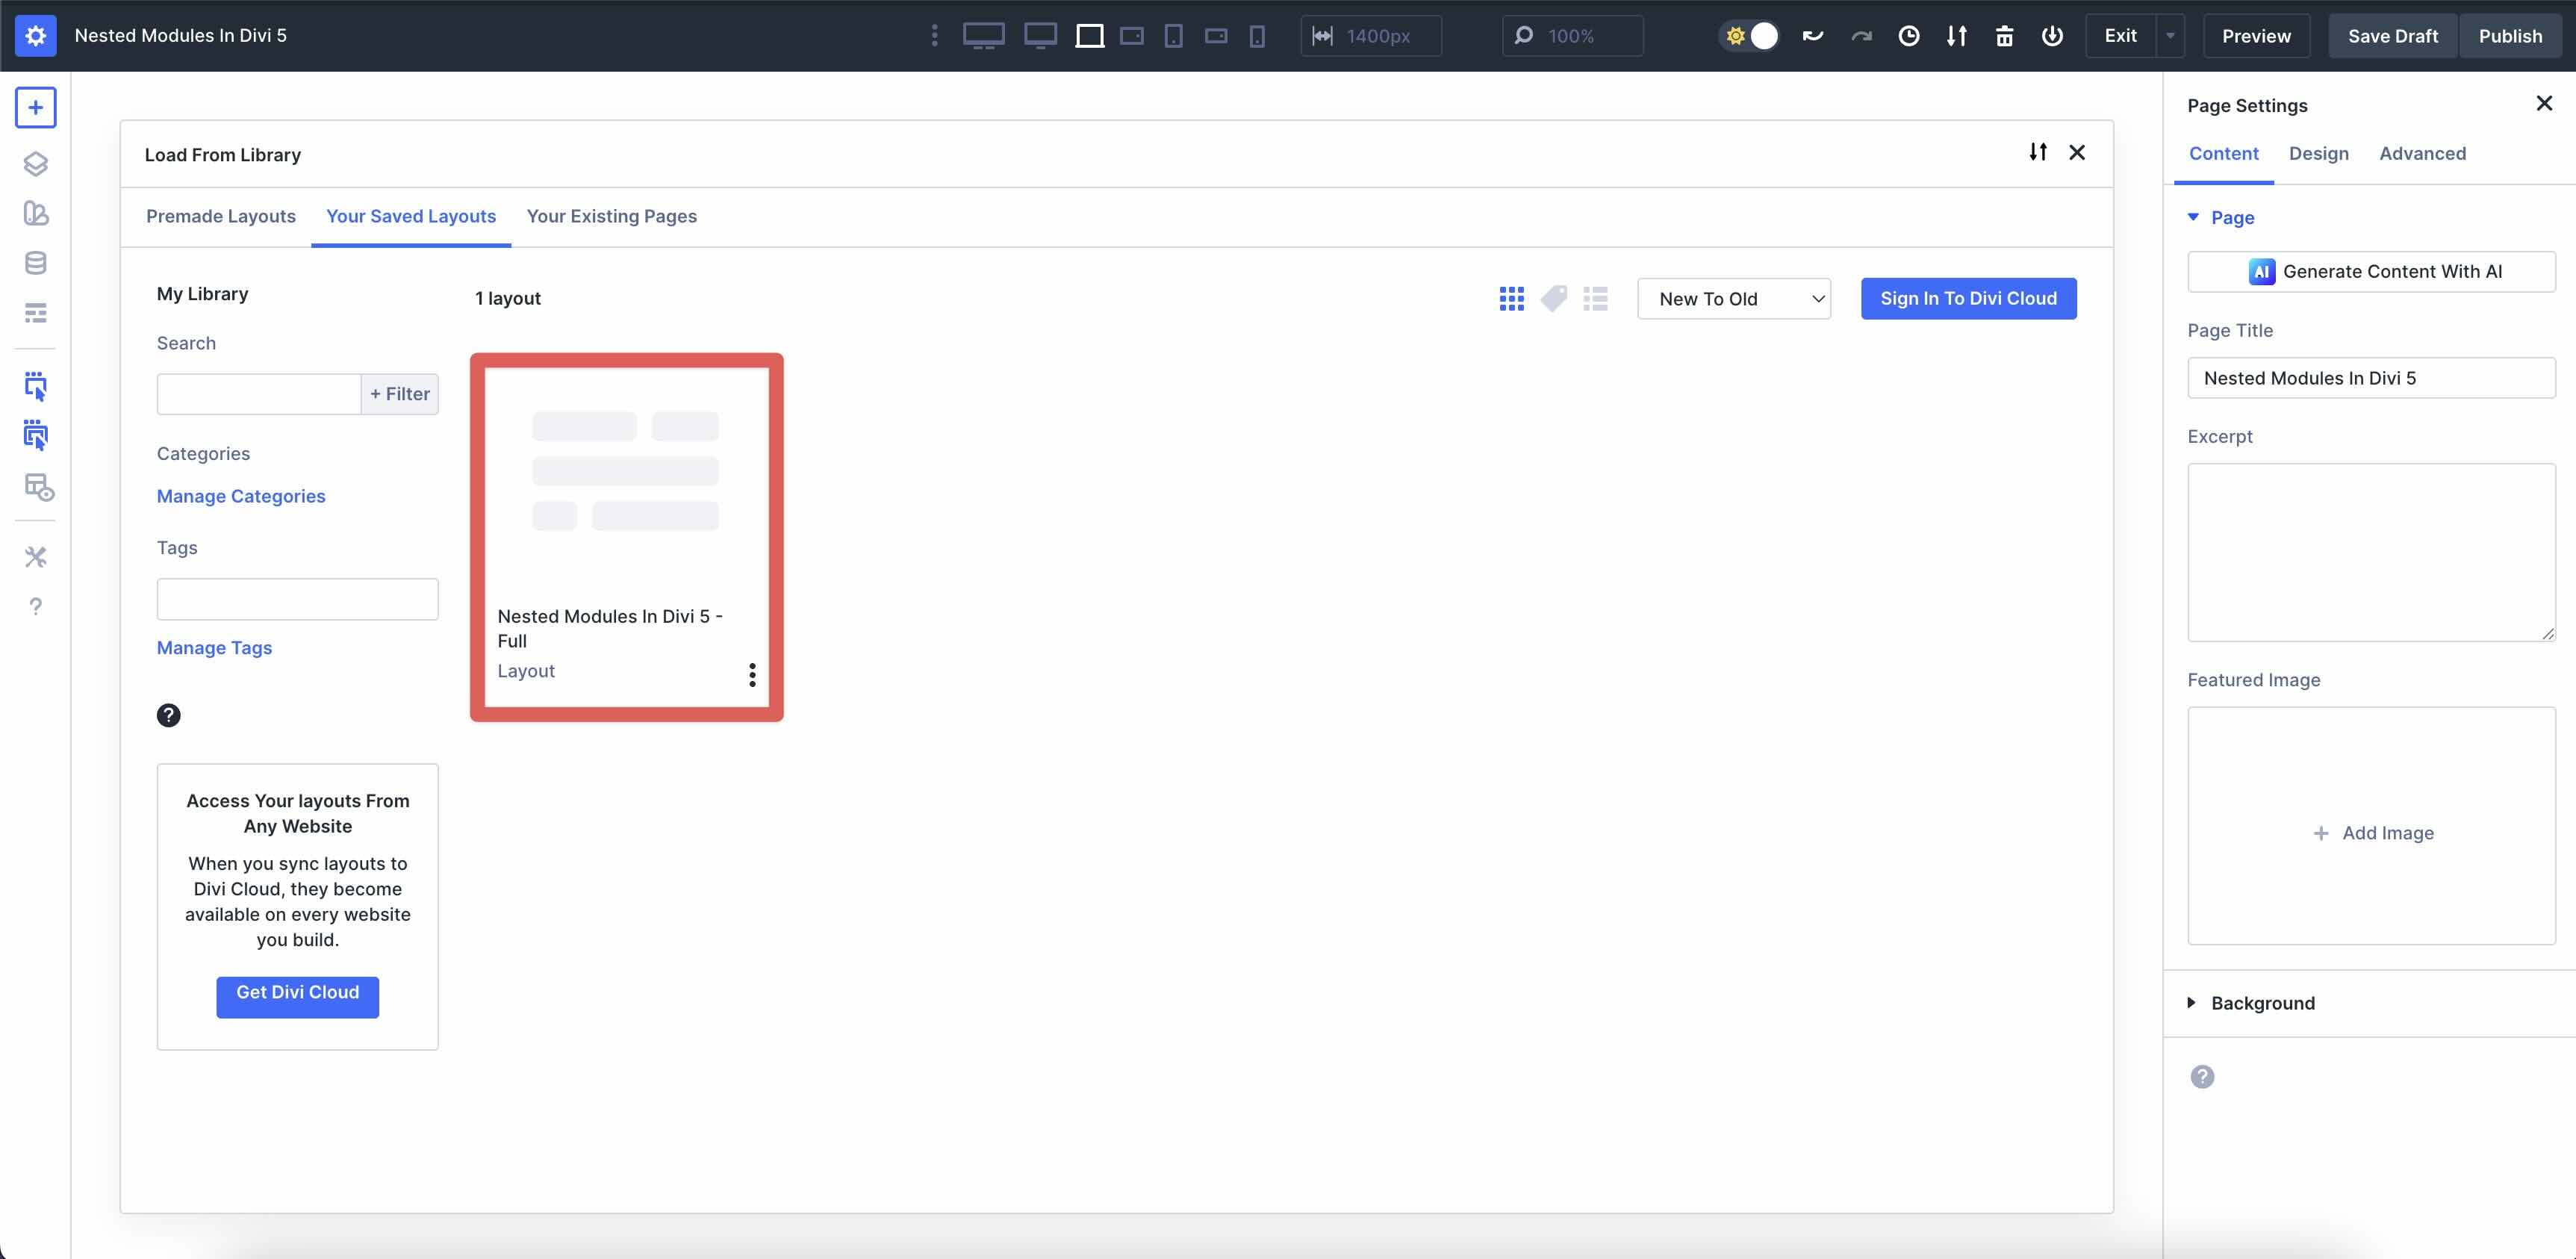
When the Insert Layout modal appears, click Saved Layout.
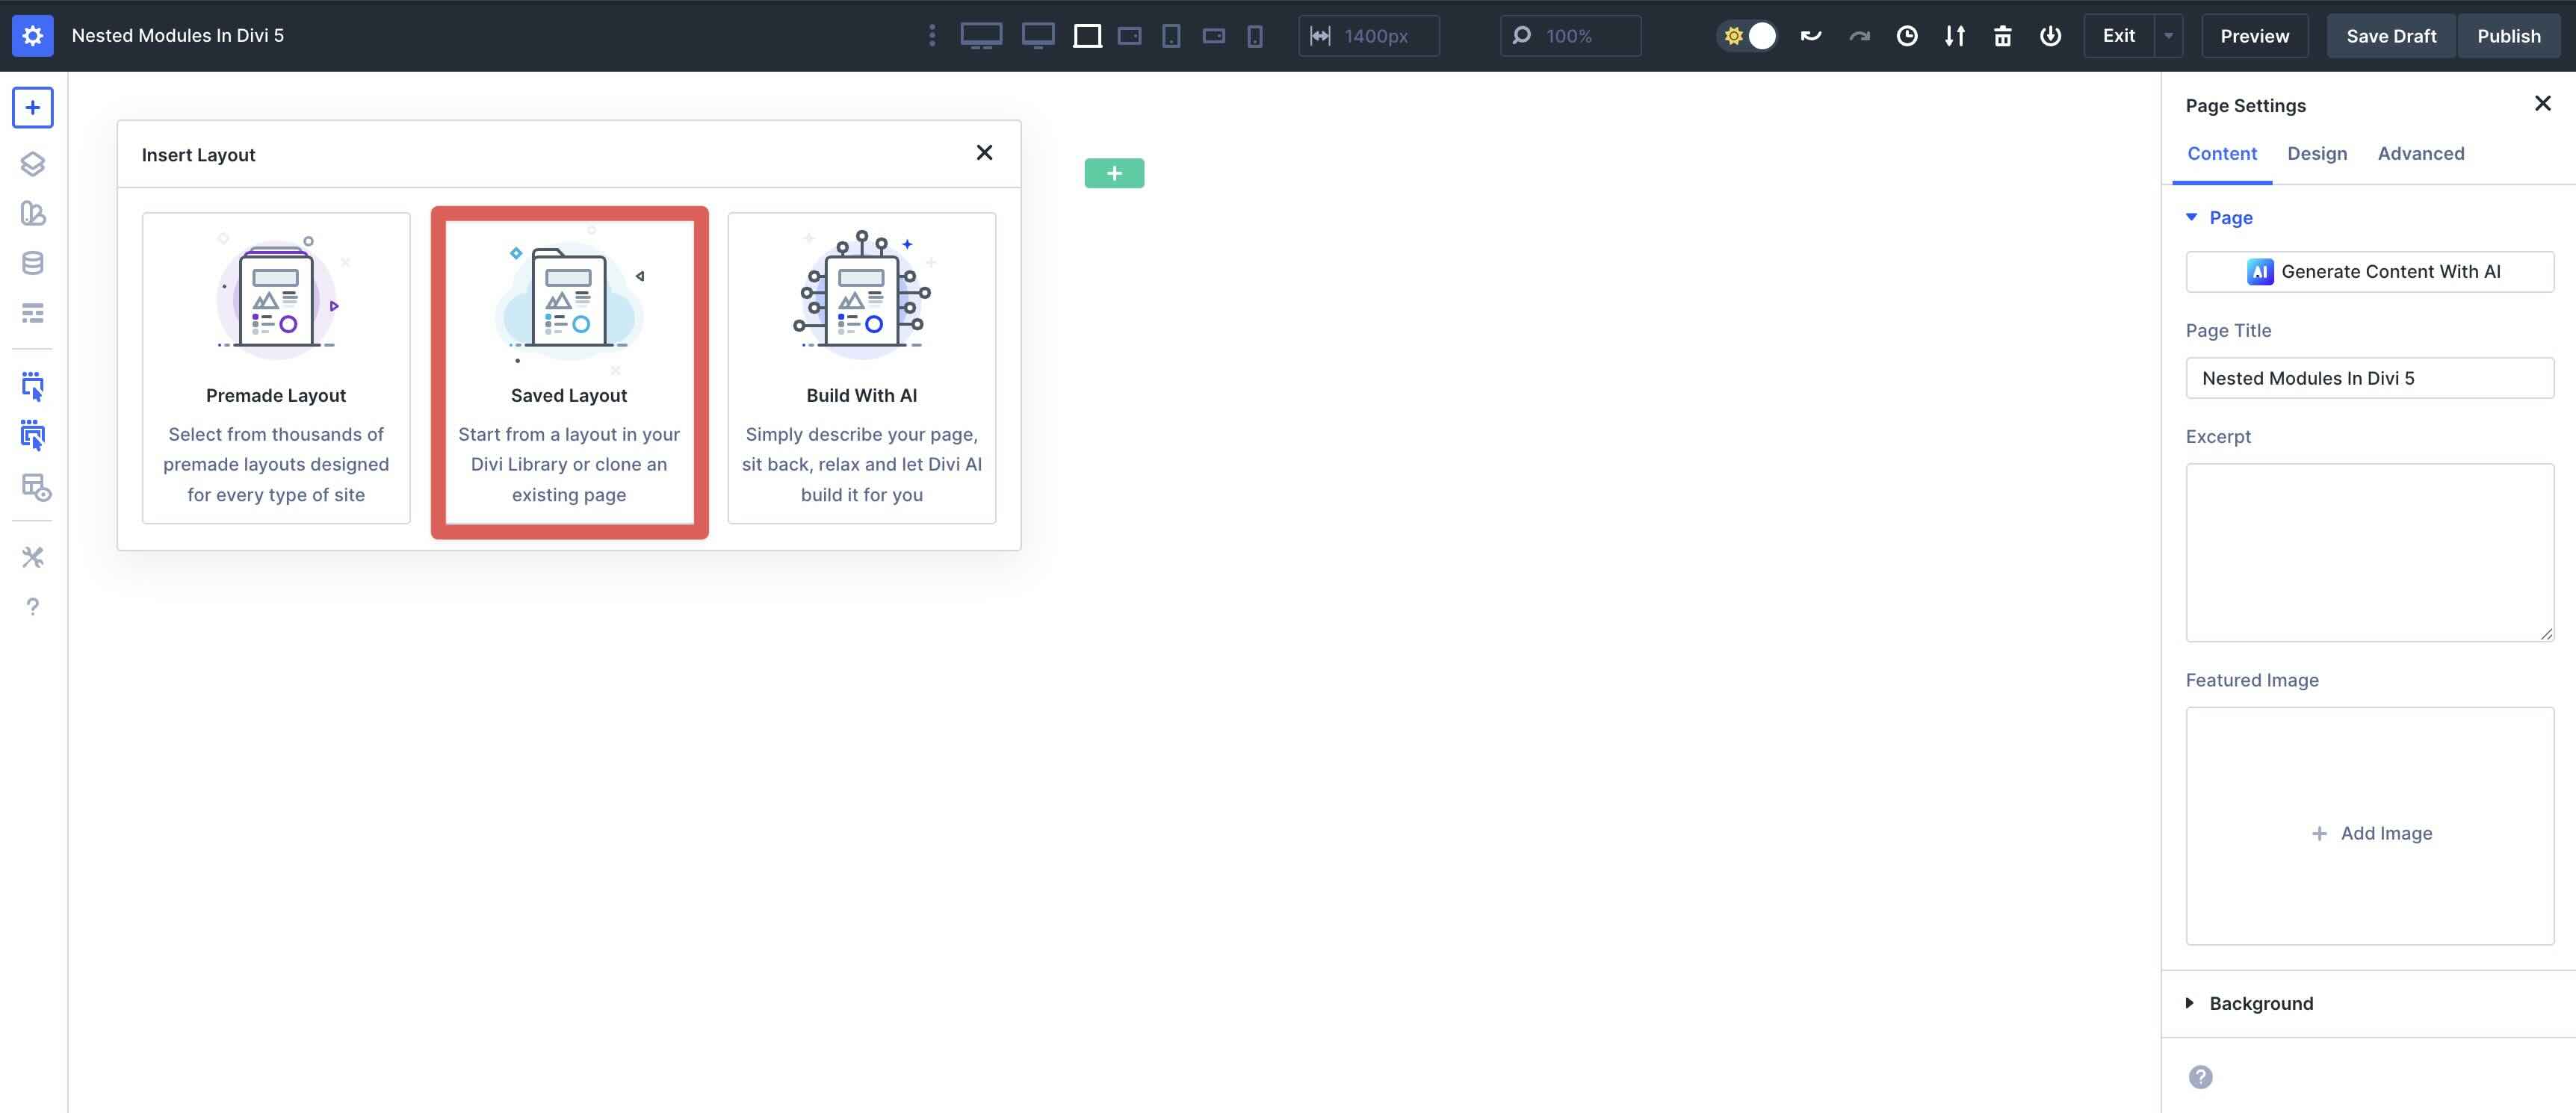
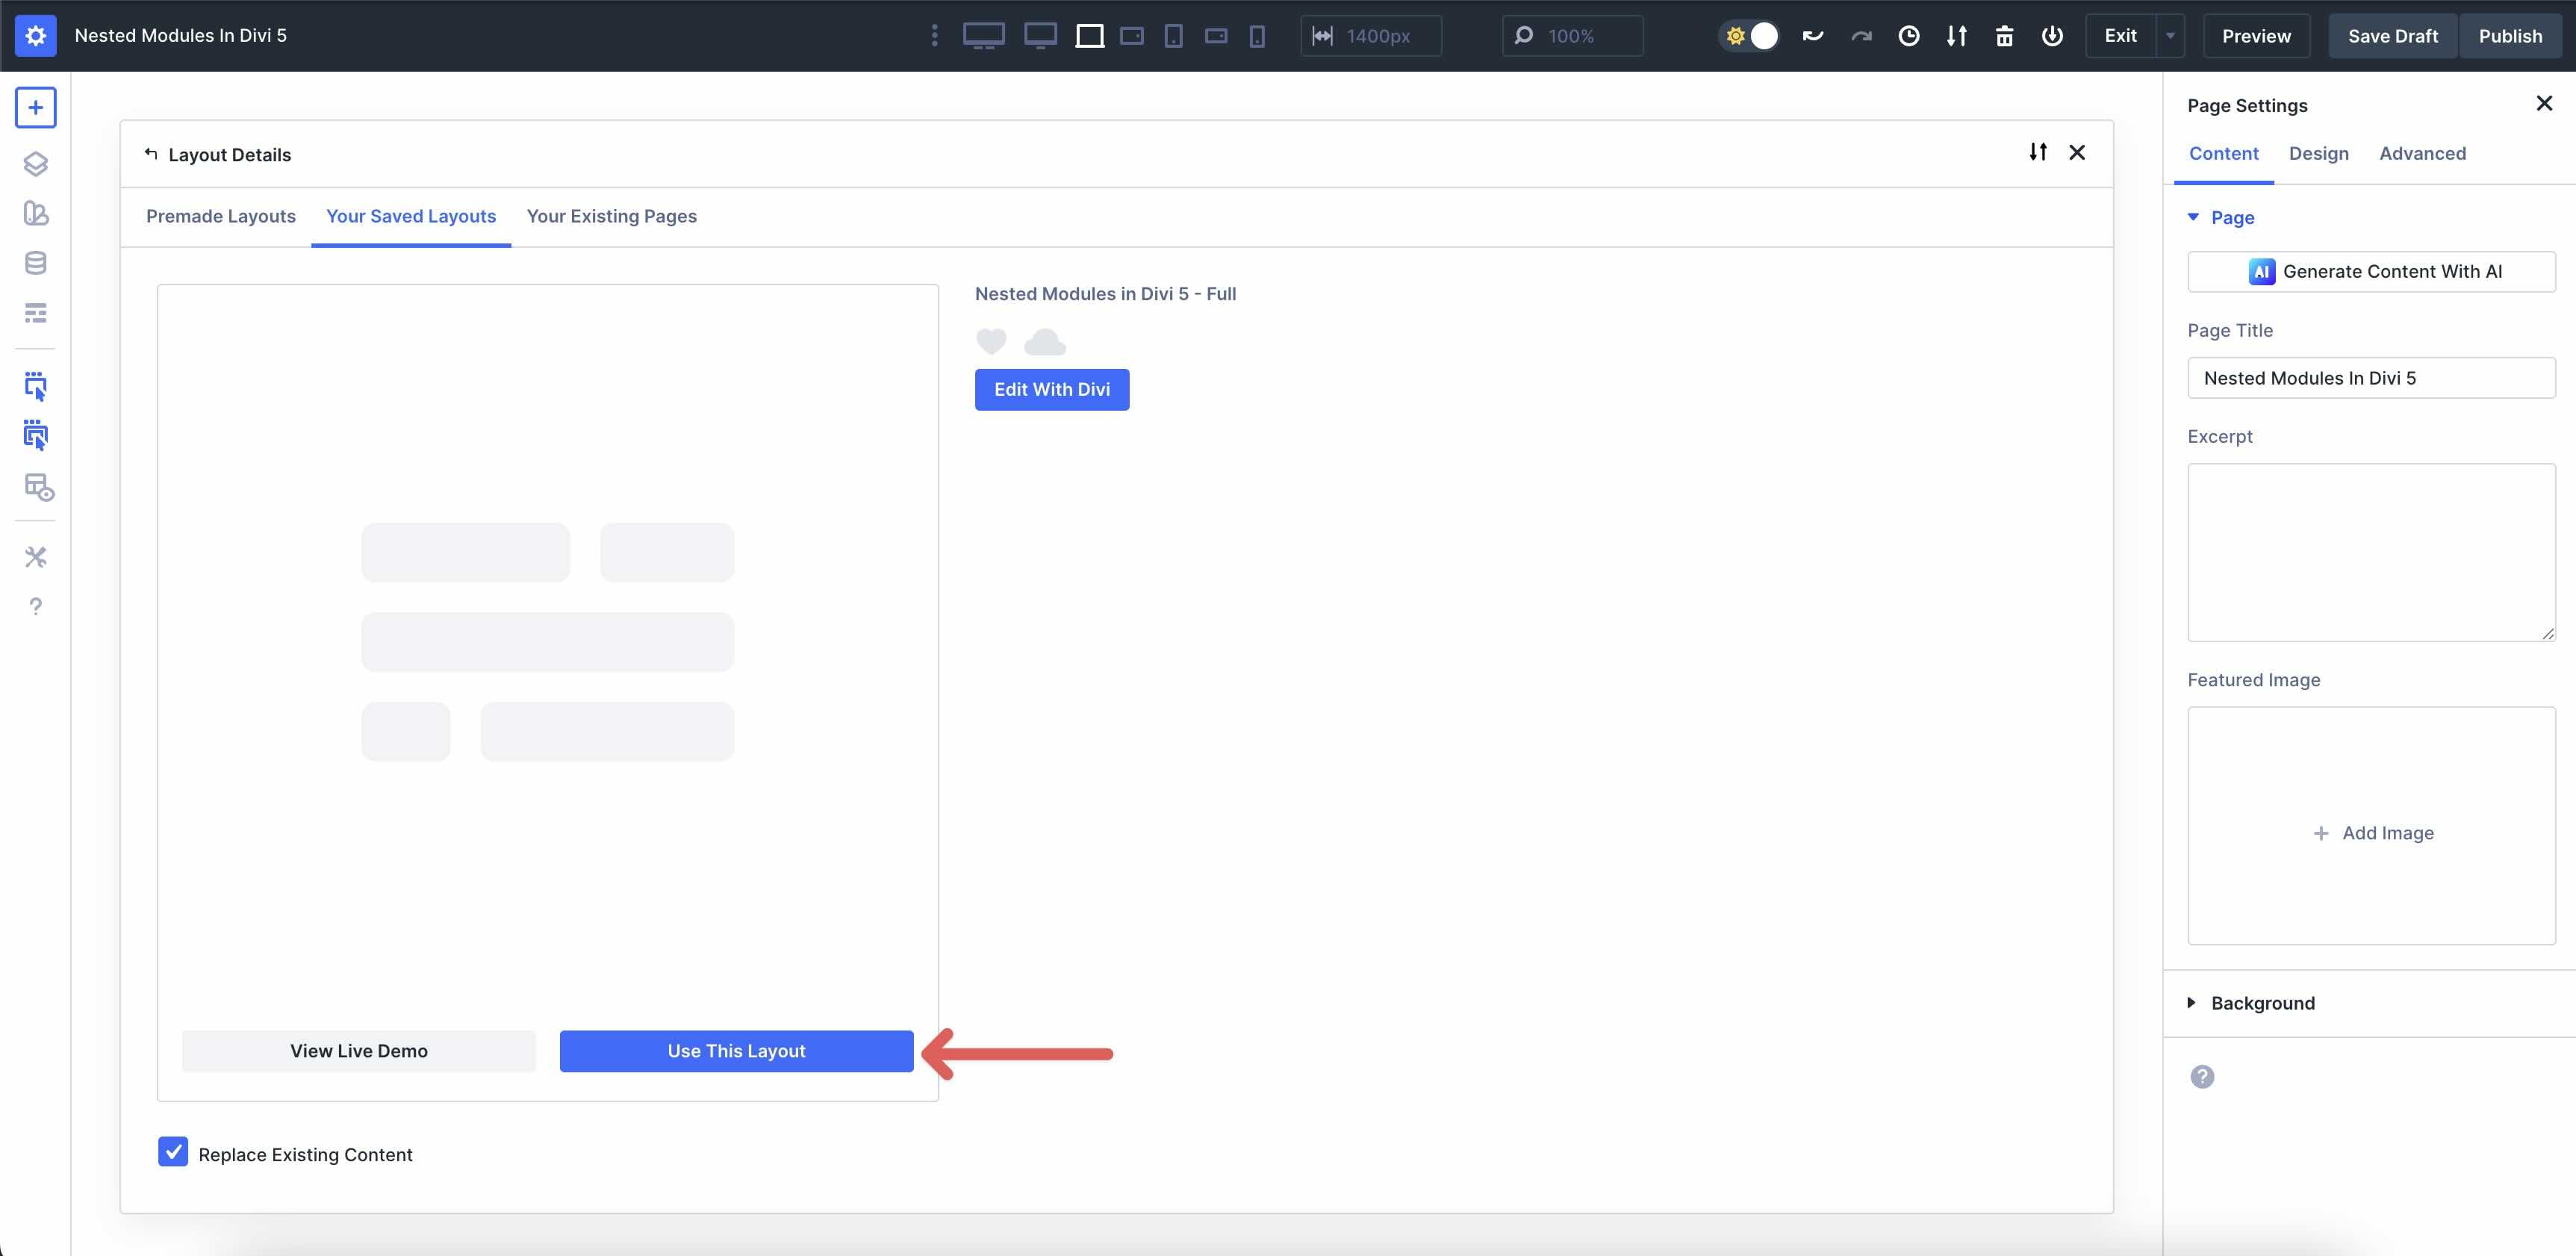
Select the Nested Modules in Divi 5 – Full layout.
Click Use This Layout to import the layout into the Visual Builder.

Try Nested Modules In Divi 5 Today
Nested Modules in Divi 5 unlock infinite creativity through boundless nestability, delivering superior layout control with native Flexbox and CSS Grid. It improves your workflow with intuitive drag-and-drop editing, right-click menus, and real-time responsive previews. With a faster foundation and over 20 new features to date, Divi 5 is ideal for creating sophisticated, modular-based designs that make working with a WordPress page builder enjoyable again.
Are you ready to experience Nested Modules in Divi 5? Download the latest Divi 5 Beta today and start experimenting. The possibilities are endless!


Leave A Reply