
Fast loading times are crucial to your site’s success. A slow website can turn readers away and harm your search engine rankings. Fortunately, there are several ways to improve your site’s speed, such as using lossy compression for your images.
In this post, we’ll take a closer look at lossy compression and how it can improve your site’s performance. We’ll also show you how to apply lossy compression to your images and discuss the pros and cons of this technique.
Let’s get started!
What is Lossy Compression?
Compression reduces the size of a file. When you compress an image, you are effectively making the file smaller. There are different types of compression, one of which is called “lossy”.
With lossy compression, you can reduce the file size by a significant amount. However, this process can result in poorer image quality. This is because the compression removes some of the pixels that make up the image.
As you can probably tell, a compressed picture will not look as good as the original one. Depending on the compression level that you use, you may notice a dip in image quality.
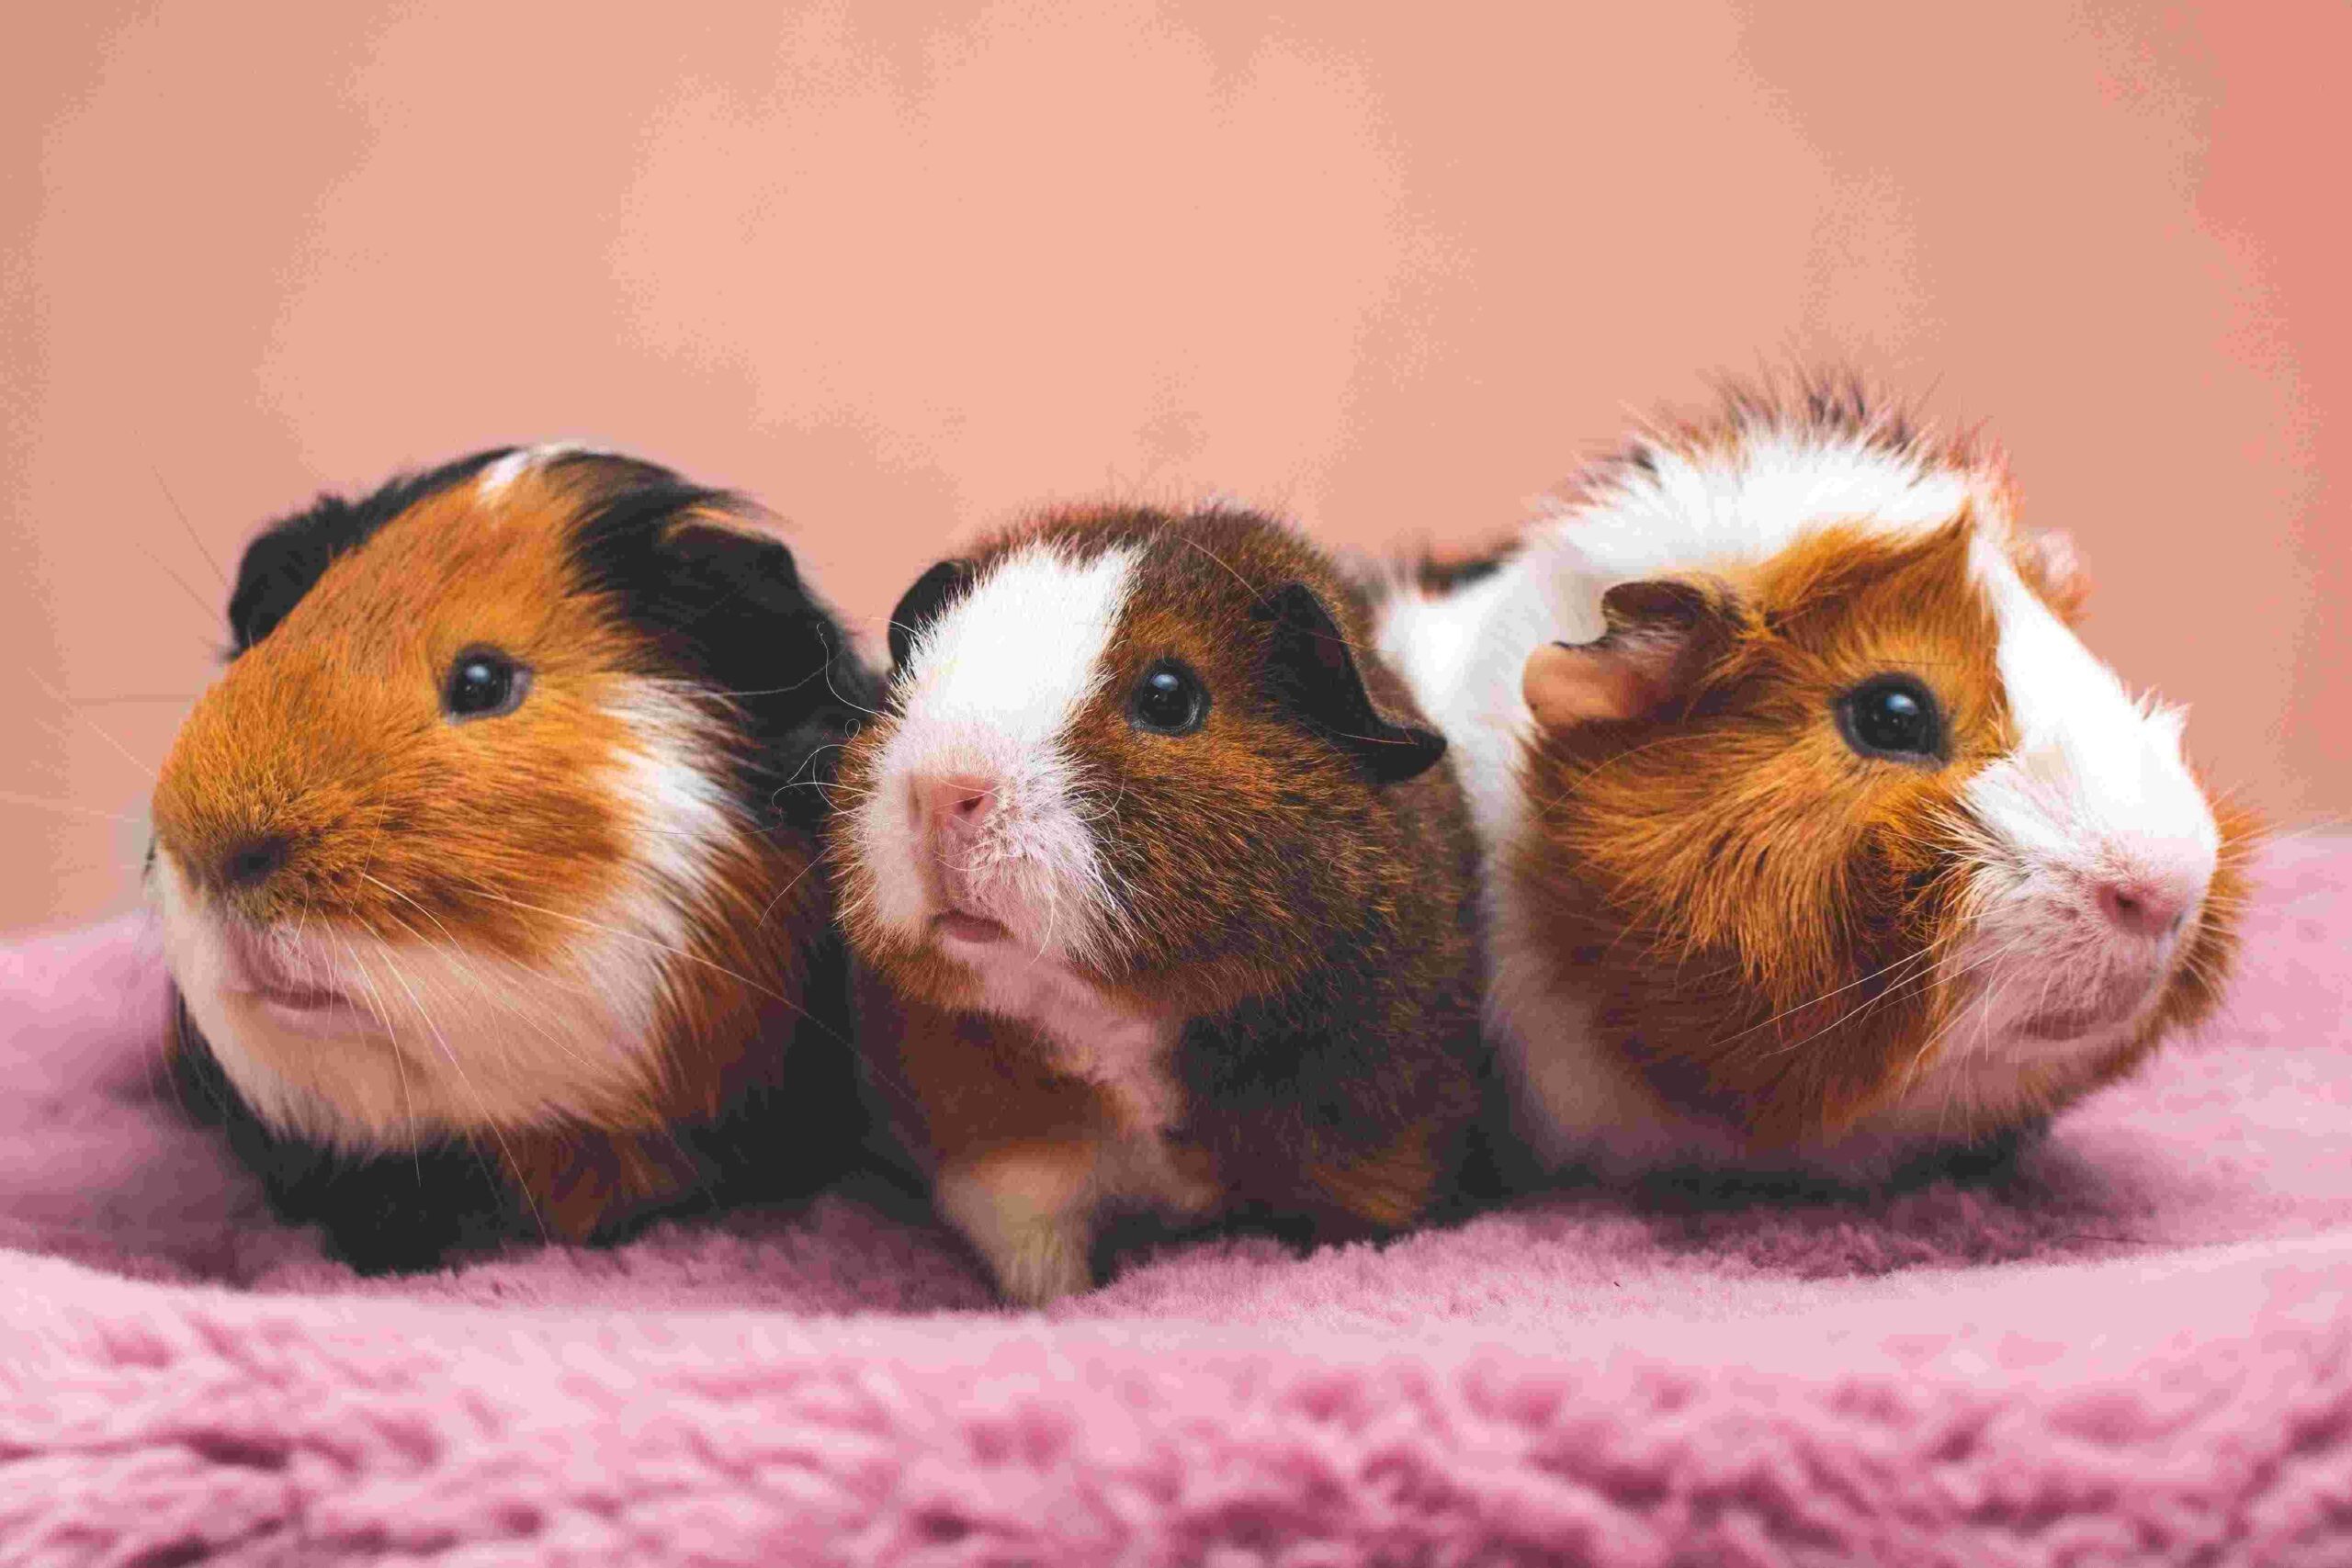
Let’s look at some examples. This is the original image, with a file size of 2MB:

Here is the same image after a 50 percent compression:

The file size has gone down to 806KB. However, there’s no noticeable difference in quality.
Finally, we compressed the image to 10 percent, which resulted in a file size of 329KB:
As you can see, the reduction in quality is now obvious. This is because we have removed a large amount of data from the image.
As we mentioned earlier, compressed images can help speed up your site. To illustrate this, we’ve run a page speed test with different image sizes using Lighthouse.
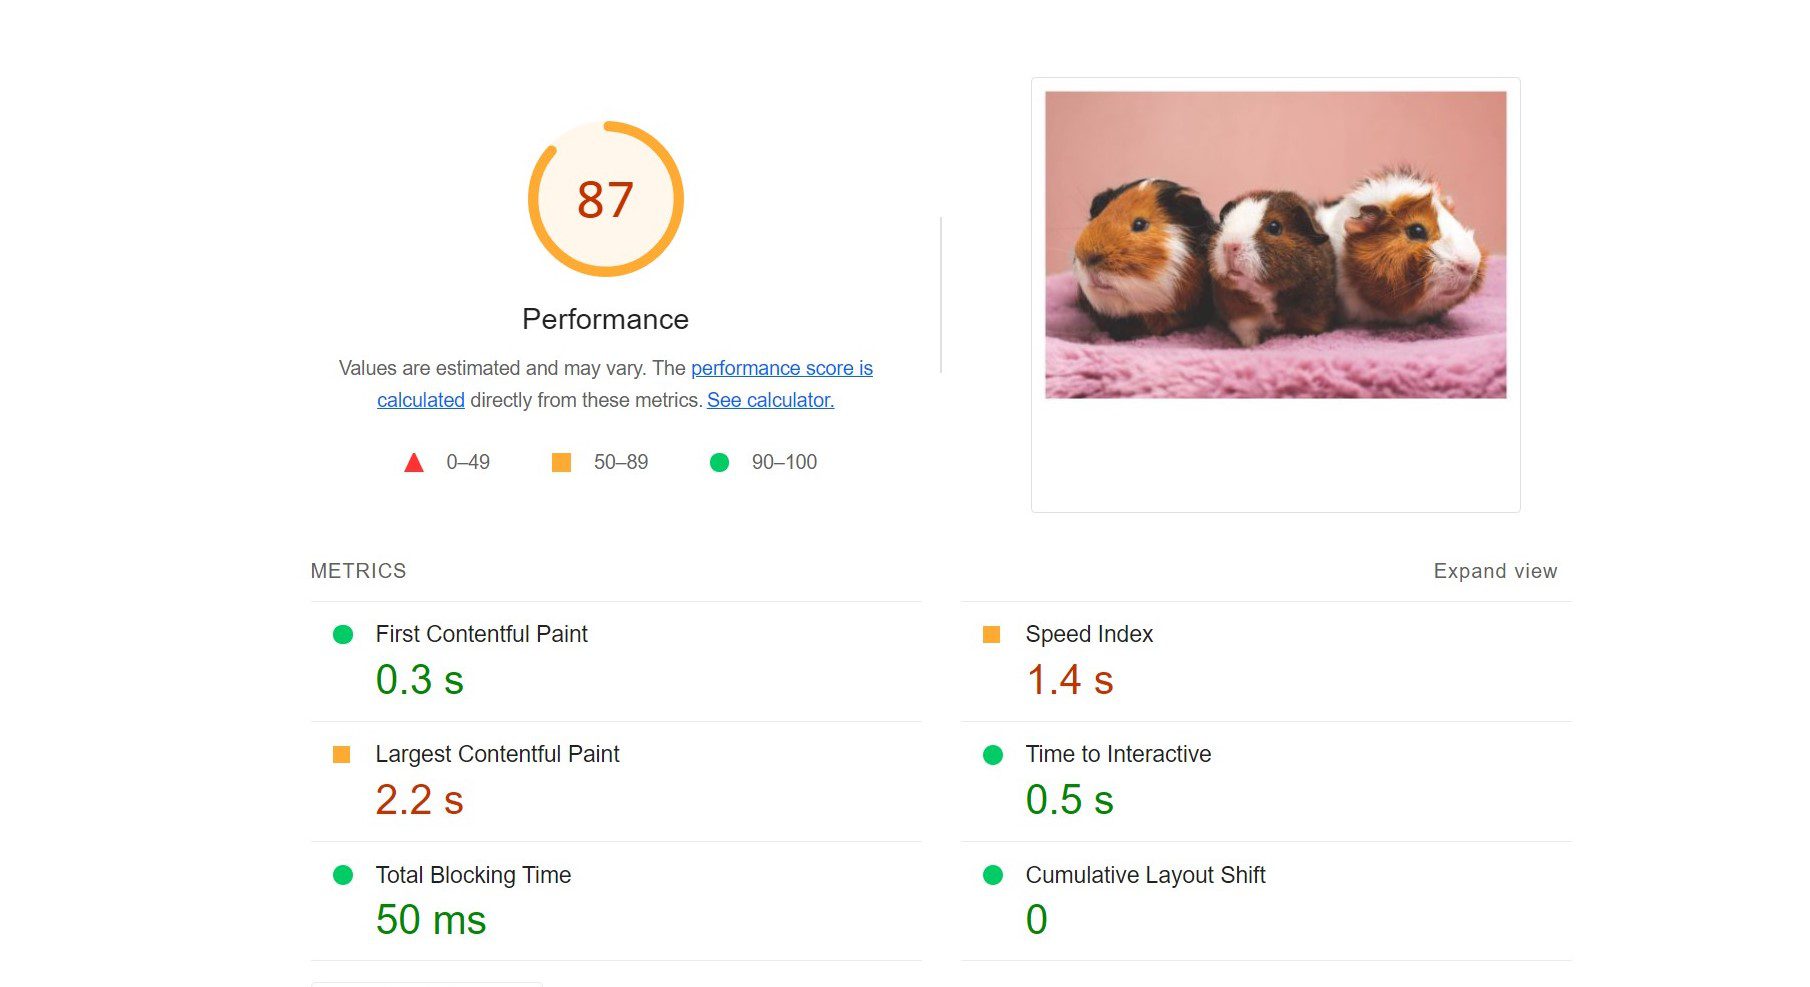
Lighthouse testing is color-coded, and any number in green is acceptable for loading performance. Here is the performance score of the page when we used the original image:
We then reran the speed test with the image compressed to 50 percent:
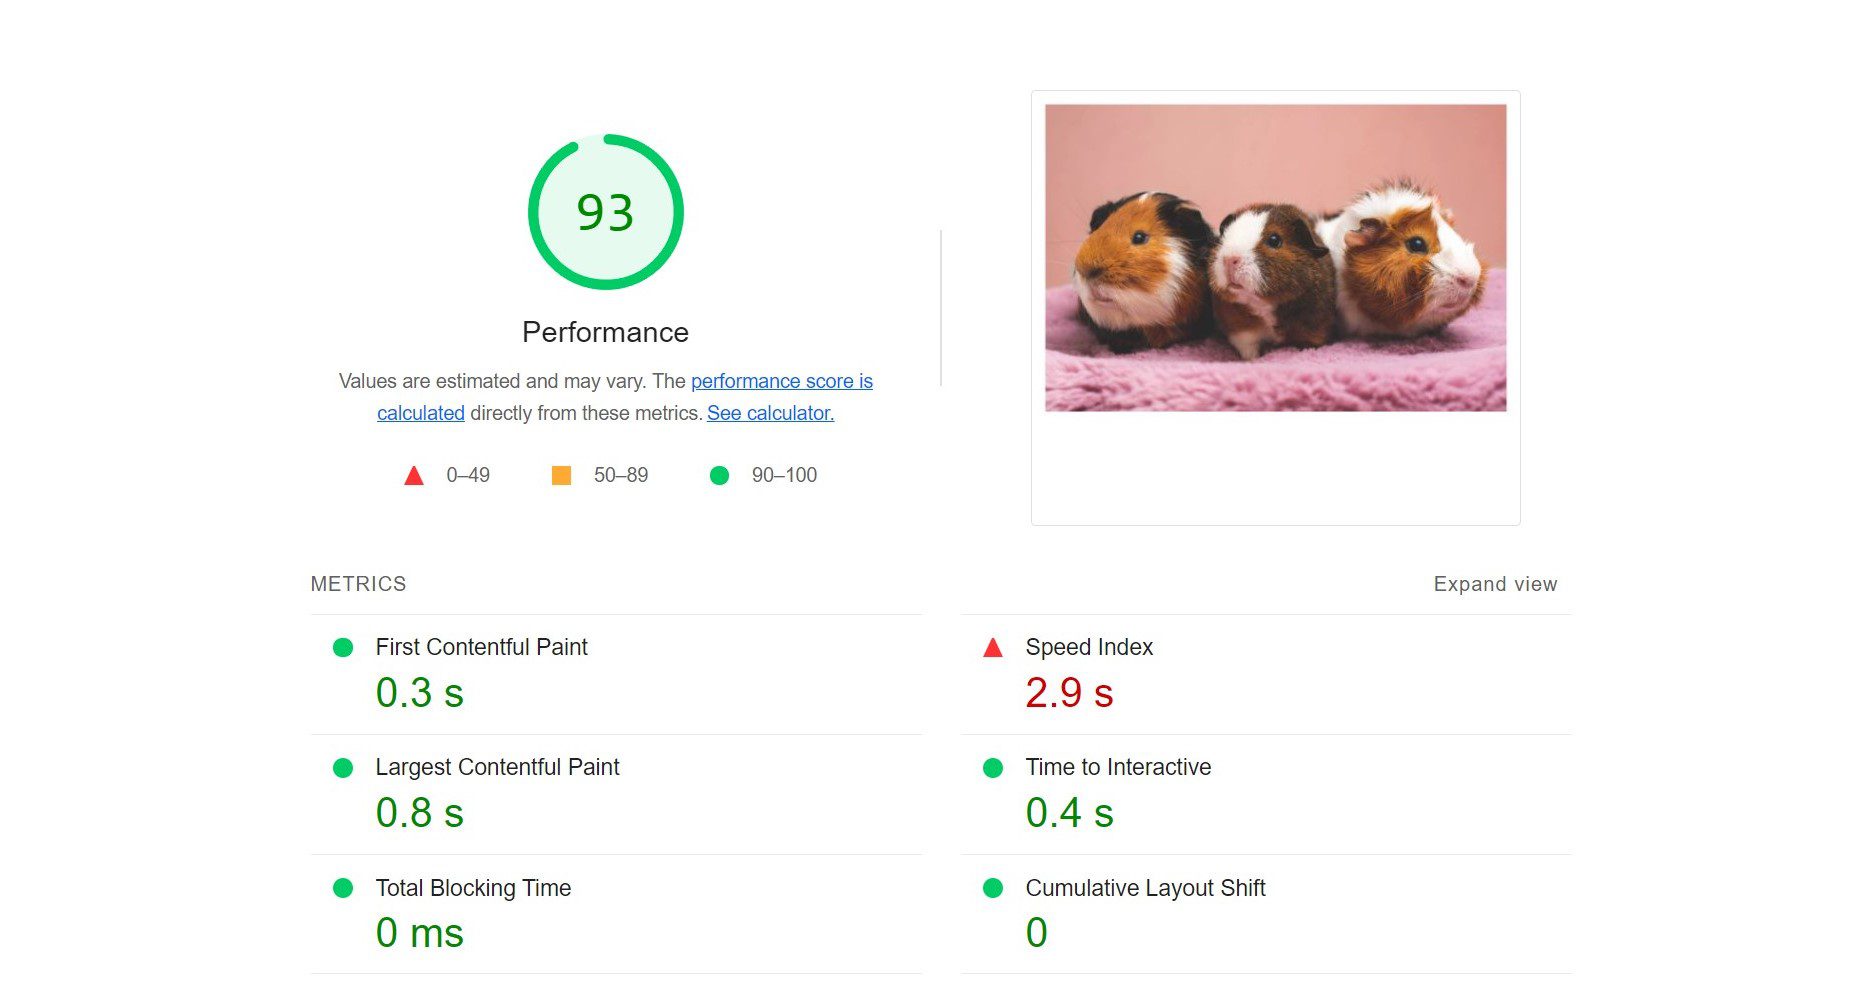
As you can see, there is a performance improvement. Finally, we tested the same page using the photo that we compressed to 10 percent:
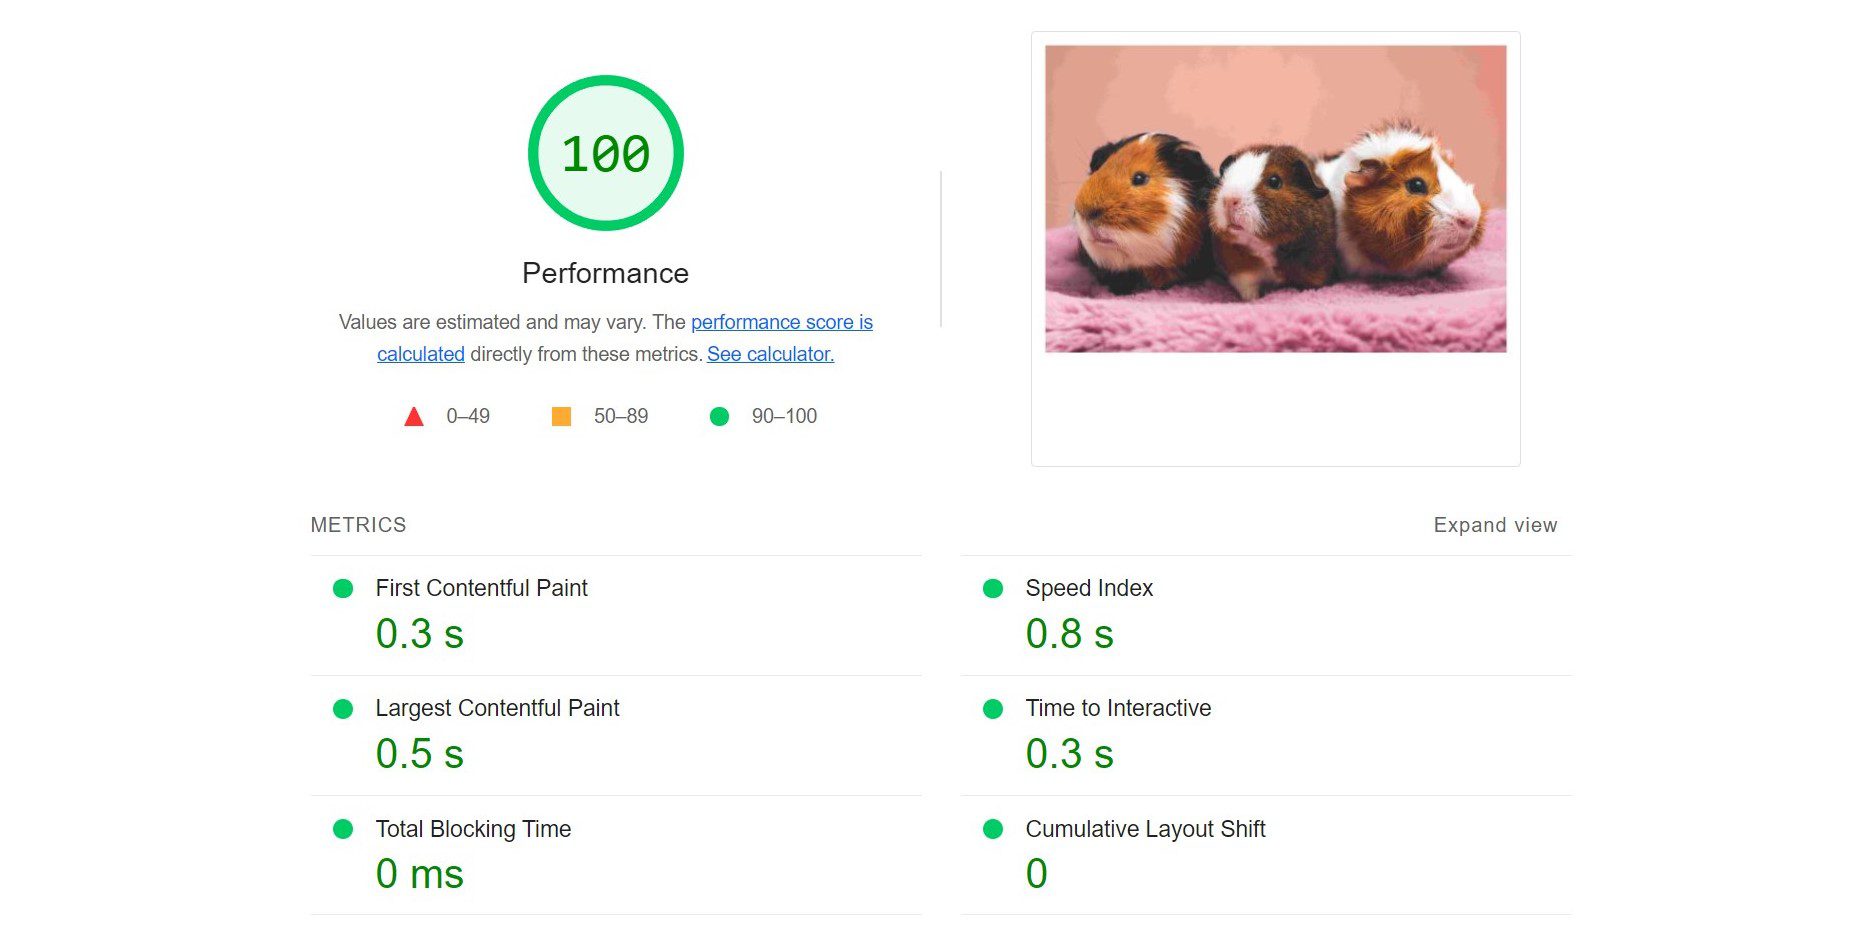
As you can see, the page now scores full marks. This test shows that small image files can significantly improve your site’s performance.
While heavily compressed graphics can do wonders for your site speed, their lower quality can reflect poorly on your brand. Therefore, we advise against reducing images to more than 50 percent unless absolutely necessary.
Why Should You Use Lossy Compression?
The more data you have on your website, the longer it will take for your pages to load. Files such as plugins, images, audio, and videos can add pressure to your site’s loading time.
Lossy compression can help you speed up your site, particularly if you have image-heavy content. You can use this compression type on various file formats, including Joint Photographic Experts Group (JPEG) and Graphics Interchange Format (GIF). You can also apply lossy compression to video and audio files.
As mentioned earlier, lossy compression works by removing data from your images, leading to a reduction in both size and quality. This method contrasts with lossless compression, which makes an image file smaller without affecting its quality.
However, lossy compression can be more effective than lossless compression. This is because it can remove larger amounts of data from your images. As such, it can free up some space in your storage and increase your site speed.
You may want to consider using lossy compression if you have an image-heavy site, such as an online store or a large blog. This compression method can help you optimize your product images, thumbnails, banners, and other JPEG files on your website. As a result, your pages may load faster for your users, helping you reduce your bounce rate and drive more conversions.
Lossy compression also gives you some control over the quality and size of your images. In fact, many image optimization tools enable you to choose the compression level for your files. This way, you can go for a balanced approach that helps you improve your site’s performance without compromising the quality of your graphics.
How to Apply Lossy Compression to Your Images
It’s important to note that WordPress automatically compresses JPEG files up to 82 percent. Therefore, every time you upload an image to your website, it goes through a lossy compression process.
You can adjust this automatic compression level by editing your functions.php file. However, this method can be tricky, and it won’t compress pictures you’ve already uploaded to your site.
Moreover, there are easier (and more efficient) ways to optimize your images. Let’s look at some options!
1. Compress Images With a Photo Editor
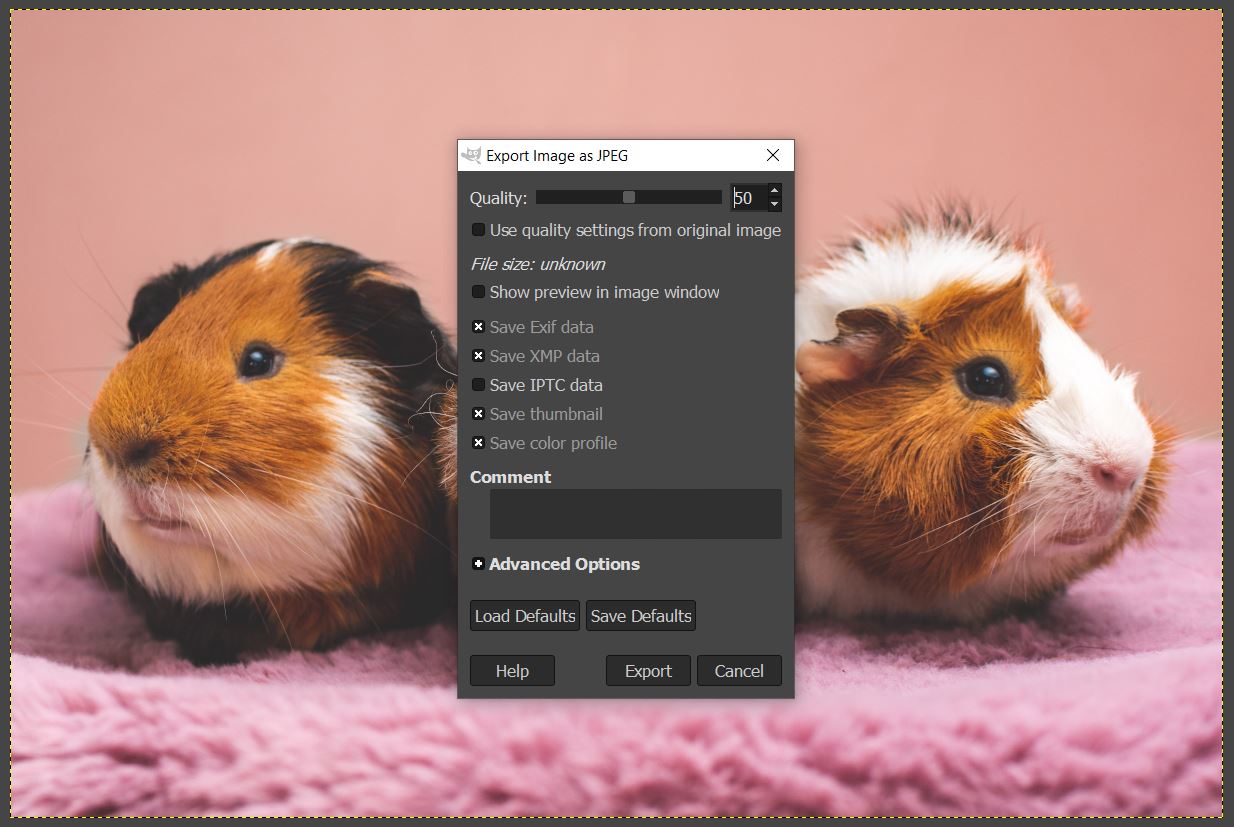
You can easily compress your pictures using your preferred photo editing software. Popular tools such as Adobe Photoshop and GIMP enable you to apply a quality level to your images:
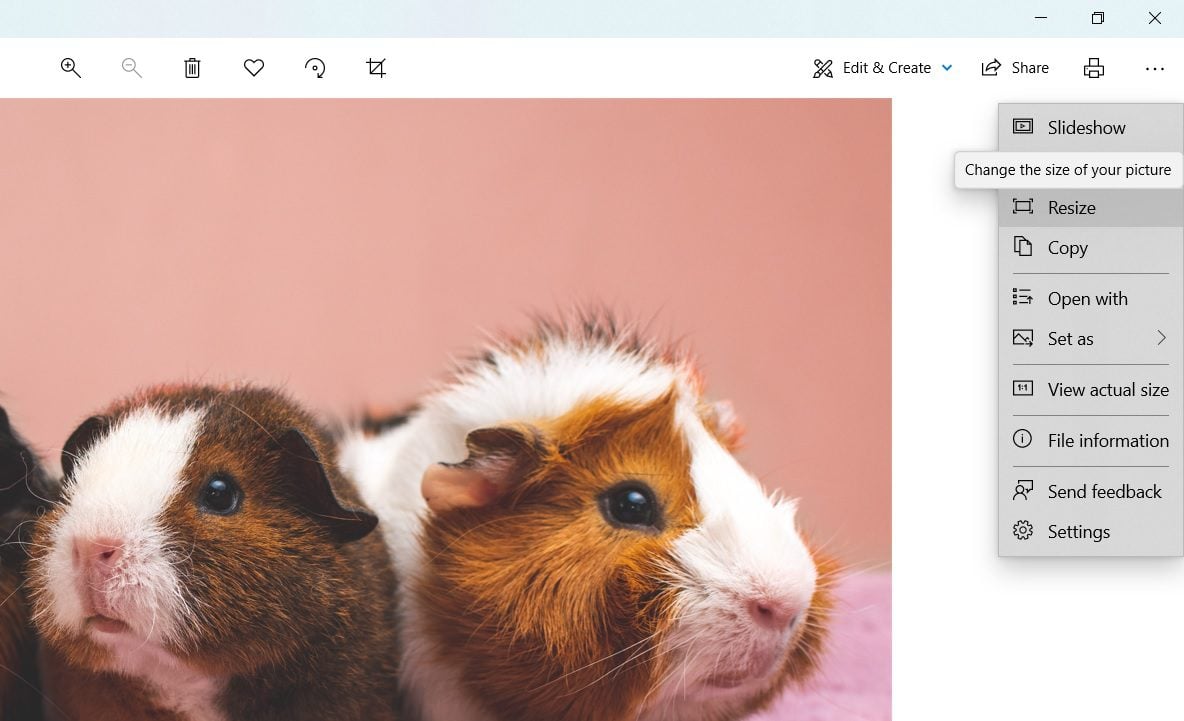
Alternatively, you could use the in-built photo editor in your computer’s operating system. If you’re a Windows user, open your image in Microsoft Photos. Then, click on the three dots in the top right-hand corner and select Resize from the drop-down menu:
In the next pop-up window, select Define custom dimensions:

You can then set the quality of your image using the slider:
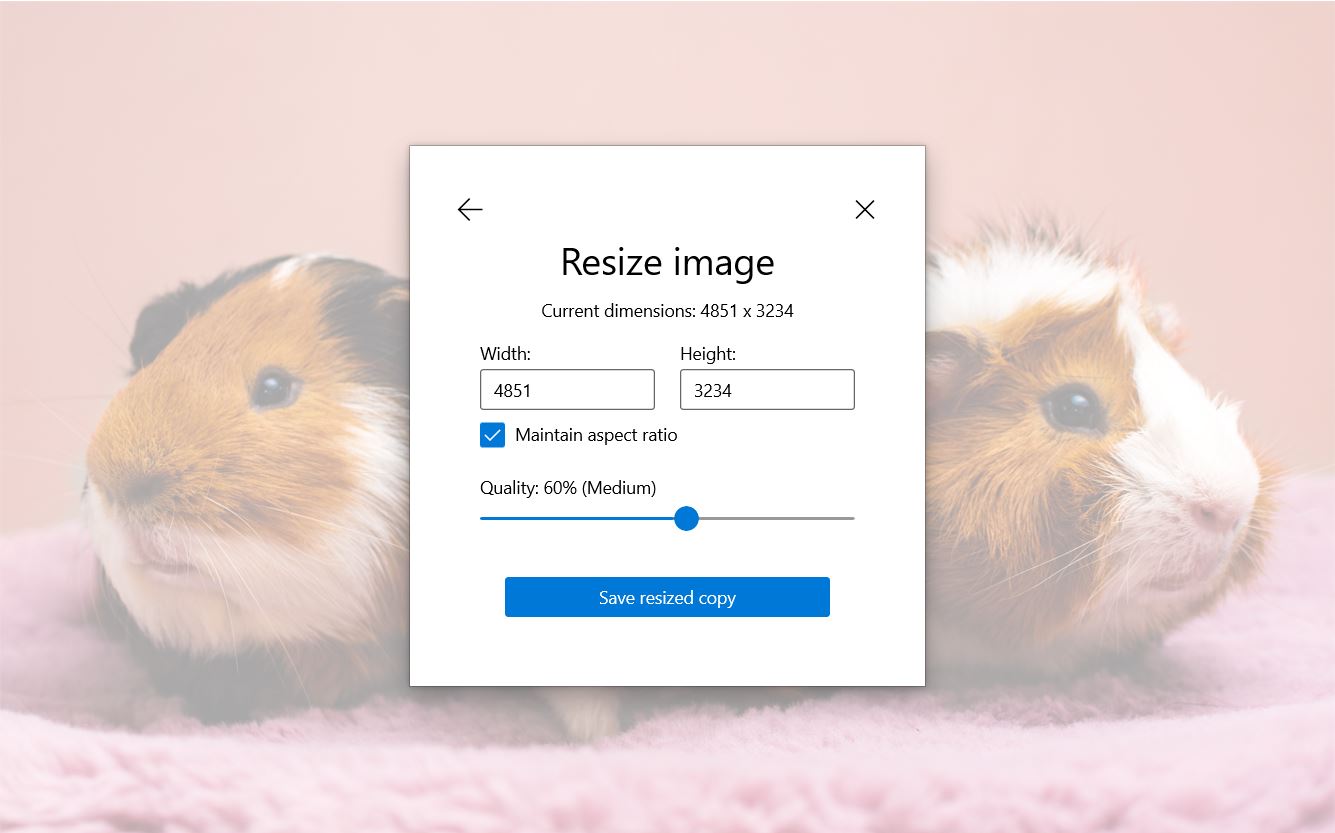
When you’re ready, click on Save resized copy. We recommend saving this compressed image as a separate file. This is because lossy compression is irreversible – if you overwrite the original graphic, you can’t undo your changes.
2. Compress Images With a WordPress Plugin
Another way to compress your images is by using an image optimization plugin. This method can save you time because the plugin will auto-optimize any pictures you upload to your site.
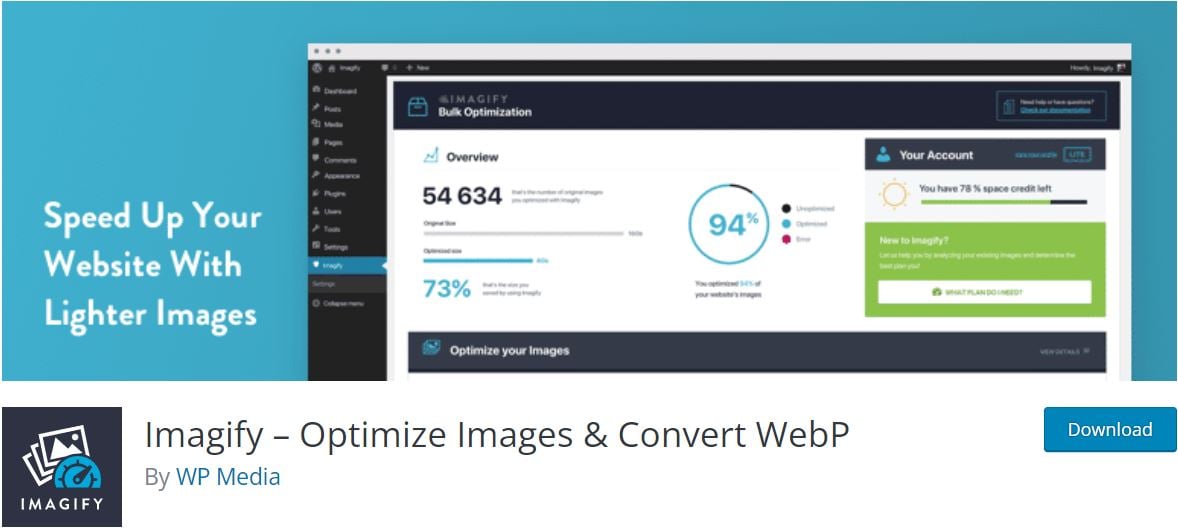
One powerful optimization plugin you can use is Imagify:
Once you’ve installed and activated the plugin on your site, you’ll be asked to create a free account and enter your API key. When you’re done, you can go to Settings > Imagify to set your compression preferences.
As you can see, there are three options available:
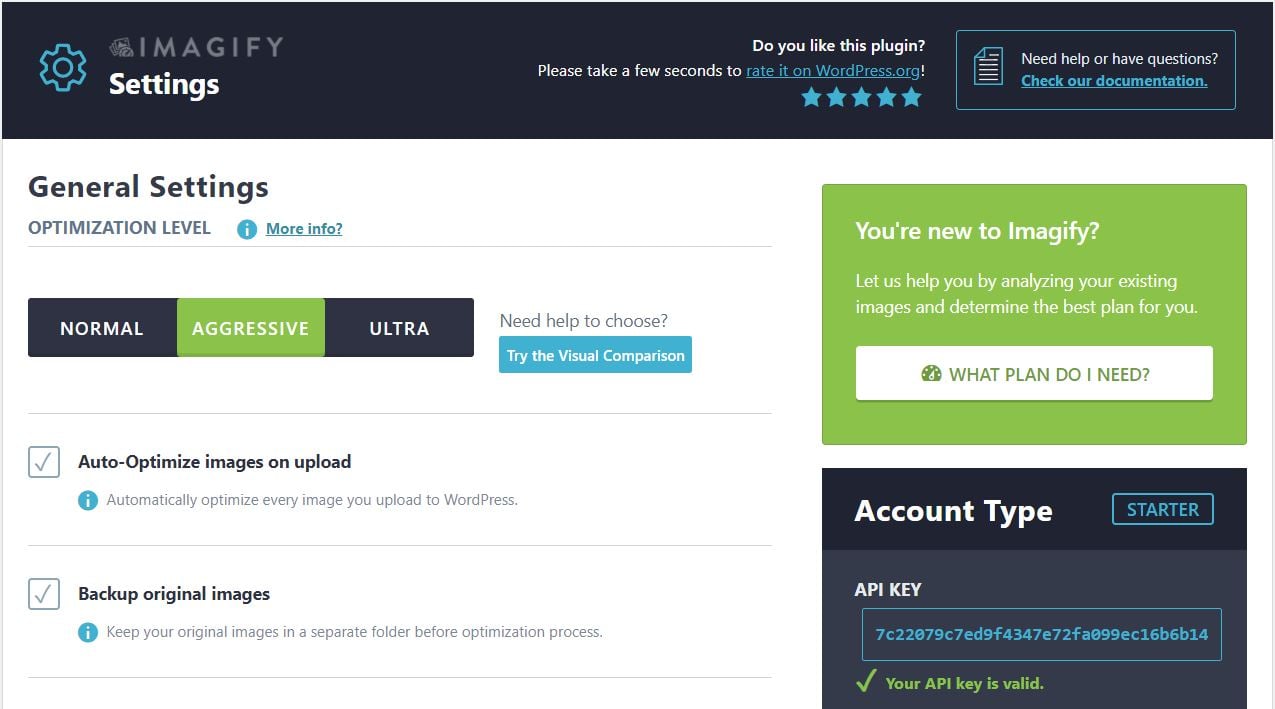
If you opt for Normal, the plugin will perform lossless compression on your images. This method may not speed up your site.
Meanwhile, the Aggressive type will result in lossy compression. However, there won’t be any noticeable differences in quality.
Finally, we have Ultra, which is the strongest lossy compression level. This setting may cause significant changes to the quality of your images.
For the best compression results, we recommend opting for Aggressive. Imagify will automatically optimize the original size of any image you upload to WordPress.
If you scroll down, you’ll see the option to select other image sizes that you want to compress, such as thumbnails:
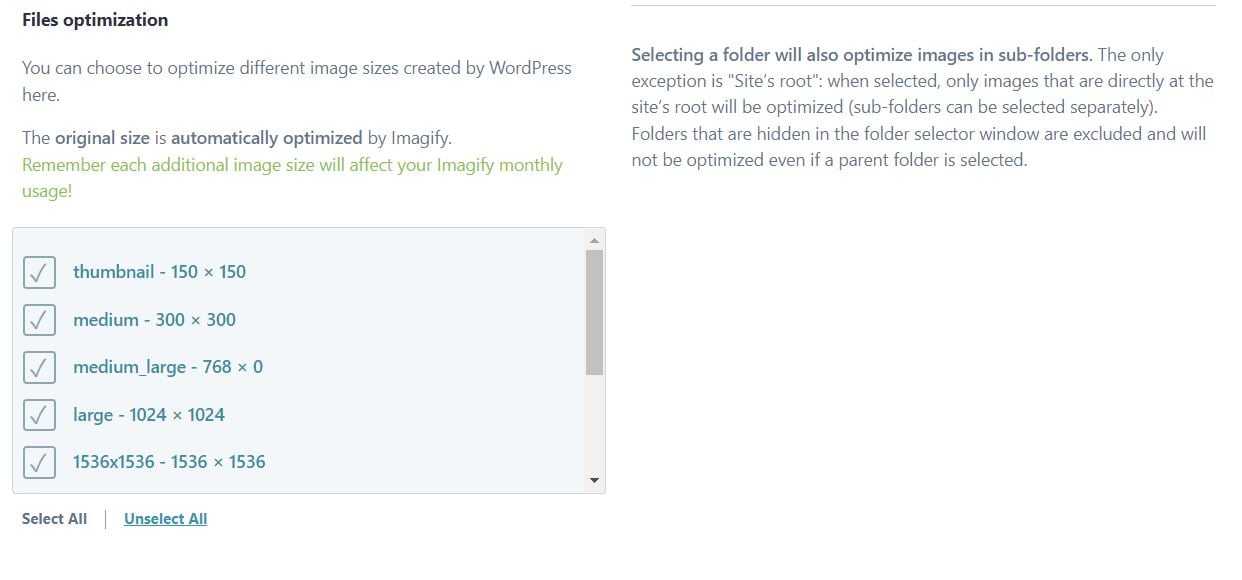
When you’re ready, click on Save Changes. Any images you upload to your site will now be automatically compressed to your preferred level.
Benefits of Lossy Compression
As we have seen, lossy compression can improve your site’s performance and page loading times. In turn, this increased performance will lead to a better user experience. It may also help improve your site’s Search Engine Optimization (SEO).
Lossy compression can also be beneficial if you have limitations on your disk space and bandwidth. It reduces the amount of data stored on your website.
Fortunately, compressing your graphics doesn’t require much effort. You can simply install a free plugin that will automatically reduce the size of all your uploaded images. As such, using lossy compression can be a quick and easy way to boost your overall website performance.
Downsides of Lossy Compression
Unfortunately, there are a few drawbacks to using lossy compression. For starters, you cannot restore compressed images to their original states. When optimizing your graphics, you’ll need to ensure that you do not override the original files.
As we’ve already discussed, lossy compression can also negatively affect the quality of your images. This is because it eliminates data in the files. Therefore, you’ll need to select a moderate compression level to ensure that there is no noticeable difference in quality.
Conclusion
Using lossy compression on your images can effectively speed up your WordPress website. This technique reduces the size of your image files, thus making your pages load faster. In turn, this compression helps improve your user experience and SEO.
You can easily compress your images using your favorite photo editing software or an image optimization plugin such as Imagify. However, we recommend avoiding using heavy compression because it may lead to a noticeable drop in image quality.
Do you have any questions about lossy compression? Let us know in the comments section below!
Image via Jaroslaw Slodkiewicz / unsplash.com, Featured Image via PureSolution / shutterstock.com


This is some great advice and explained in a simple manor, thanks. I do have one question. Will Imagify compress images already loaded on your site?
Thanks in advance for any feedback.
I have used the website tinypng.com to compress both png and jpg images. Although it is a bit of work in terms of uploading, downloading, and filing it seems to do a great job of compressing without loss of quality. Could you please compare and contrast it to Lossy?
Hi Steve,
I’m afraid I don’t know which Lossy tool you’re referring to.