
Using images, videos, and other files can improve the quality of your blog posts and enhance your WordPress website’s appearance. However, including too many “heavy” elements could slow down your site and affect its overall performance. Fortunately, lossless compression can reduce file sizes without affecting their quality.
In this guide, we’ll explore lossless compression and when you should use it. Then we’ll explain how to apply this compression method to your images and files.
Let’s get started!
What Is Lossless Compression?
Lossless compression can reduce file sizes by removing and isolating redundant data. This method can make files smaller without affecting their overall quality. It is also completely reversible.
For example, here is an image with lossless compression applied to the right side. It has been reduced in file size from 335KB to 294KB:
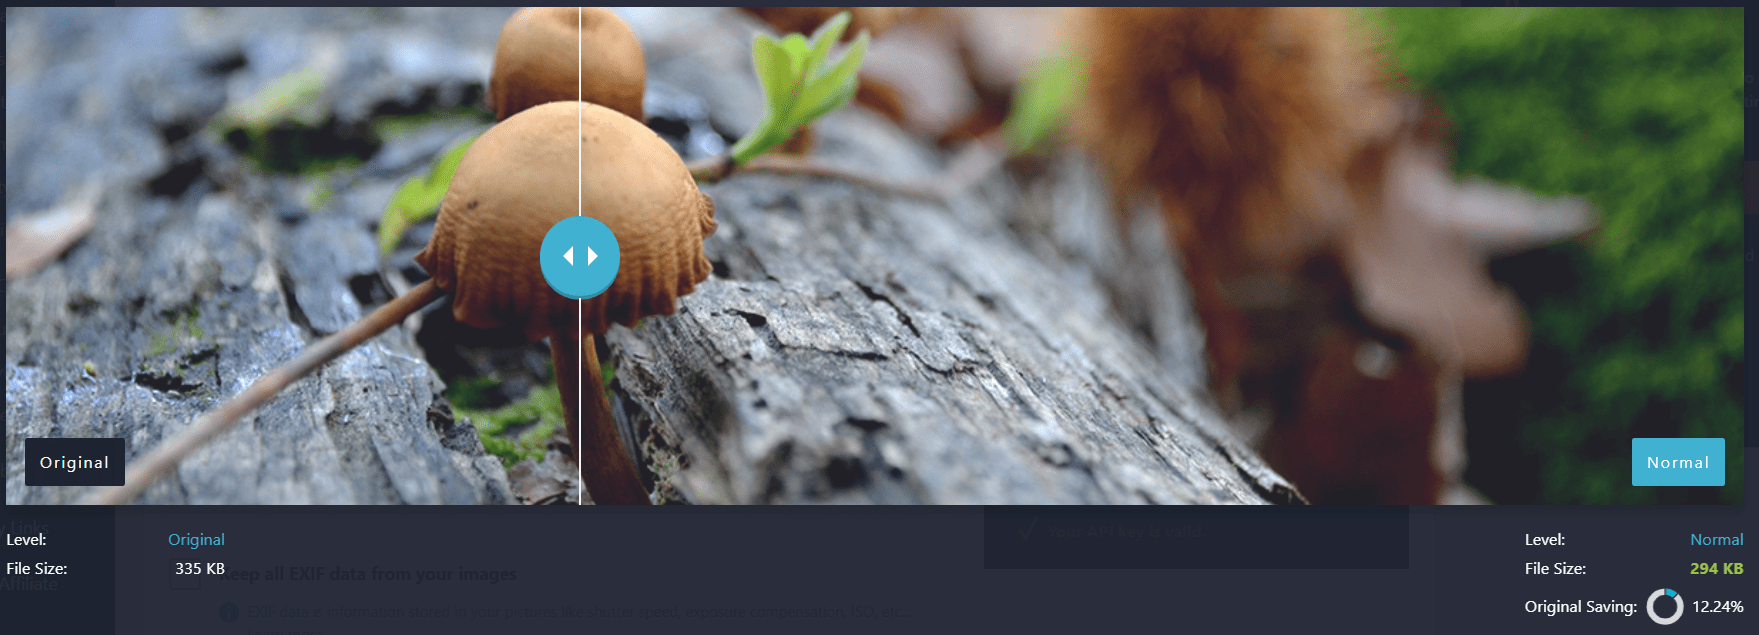
As you can probably see, there is no discernible difference in image quality. However, the file has been made 12.24 percent smaller.
Lossless compression uses an algorithm that looks for repetitions of words, patterns, and other unnecessary data. Then, it replaces this information with numbers and stores the original data in a separate index file.
It also strips metadata from your images. Therefore, this compression method creates more streamlined files without deleting their extra information.
Lossless compression is most suitable for photos with transparent backgrounds and images with a lot of text. These are the most common lossless file formats:
- Portable Network Graphics (PNG)
- Graphics Interchange Format (GIF)
- Zipped files (ZIP)
- Raw images (RAW)
- Bitmap image files (BMP)
Furthermore, lossless compression is increasingly used for audio files. Streaming giants Spotify, Apple Music, and TIDAL use this method to speed up content loading without reducing music quality.
Why Should You Use Lossless Compression?
As we mentioned earlier, lossless compression uses an algorithm to compress images and other file types. These are some of the most common algorithms used:
- Huffman coding: This algorithm assigns different values to characters and their frequencies.
- Arithmetic encoding: This encodes the whole file as a series of characters with symbols assigned to them.
- Run-length encoding: This looks for repetitions of characters in the code, and then encodes them into smaller bytes.
These compression methods make files smaller without damaging their quality. You can also return the files to their original sizes because of their indexed data. Therefore, lossless contrasts with lossy compression, which causes irreversible changes to images and other media files.
Image compression is essential for improving your site’s performance. For starters, smaller images improve your page loading times. This is one of Google’s key ranking factors when determining where to place your content on its search engine results pages.
Google uses a series of metrics called the Core Web Vitals. The following two metrics are relevant to images on your website:
- First Contentful Paint (FCP). FCP measures how long it takes for the first element on your page to display. It might be a text or image element. If your site has to load an image or other media file first, using lossless compression on it will speed up the loading time for your users.
- Largest Contentful Paint (LCP). This measures how long it takes for the largest element on your page to display. This will likely be one of your images. Therefore, if your photo has a smaller file size, your LCP score will be better.
Smaller images are not only important for SEO. They are also essential to the User Experience (UX). Readers may become frustrated and click away from your website if your pages load slowly.
Finally, lossless compression maintains image quality. Therefore, using it won’t render grainy or unfocused graphics across your website. As such, this compression method can help your site look professional to your readers.
2 Ways to Apply Lossless Compression to Your Images
You can use a few different methods to apply lossless compression to your images. Some of these strategies happen within your WordPress dashboard, whereas others rely on external software. Let’s take a look at two different compression options!
1. Use an Image Compression Plugin
Some WordPress image optimization plugins can compress your pictures with the lossless method. Using a plugin is a quick and easy option, because the tool can apply compression across your entire website. As such, you won’t need to edit each image manually, which can be time-consuming.
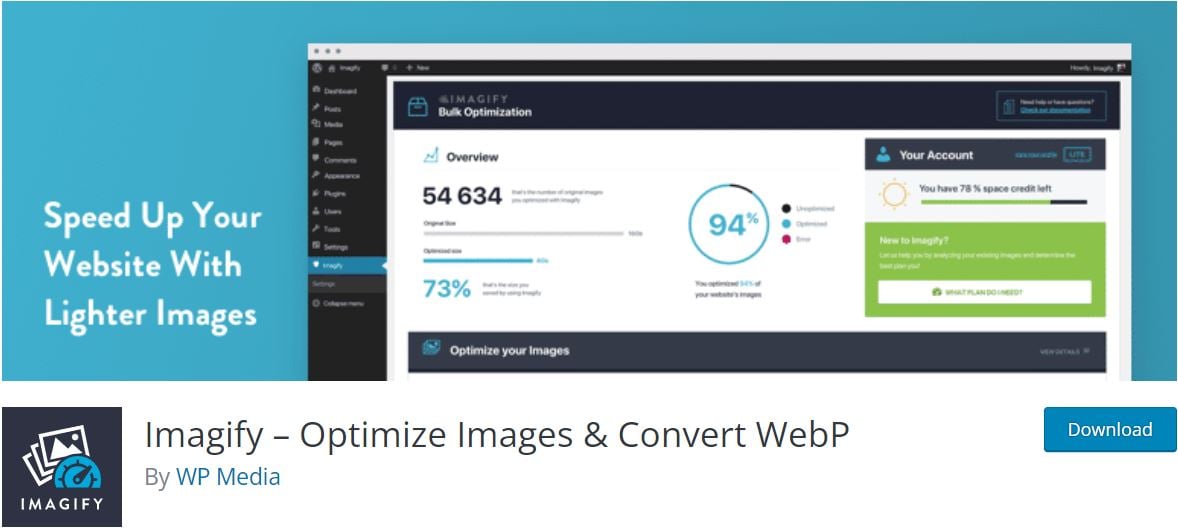
We recommend using the Imagify plugin to compress your images. It has multiple in-built compression levels, and it works for a wide range of image types:
Once you’ve installed and activated the plugin, navigate to Settings > Imagify in your WordPress dashboard. You’ll then see three different optimization levels at the top of the page:
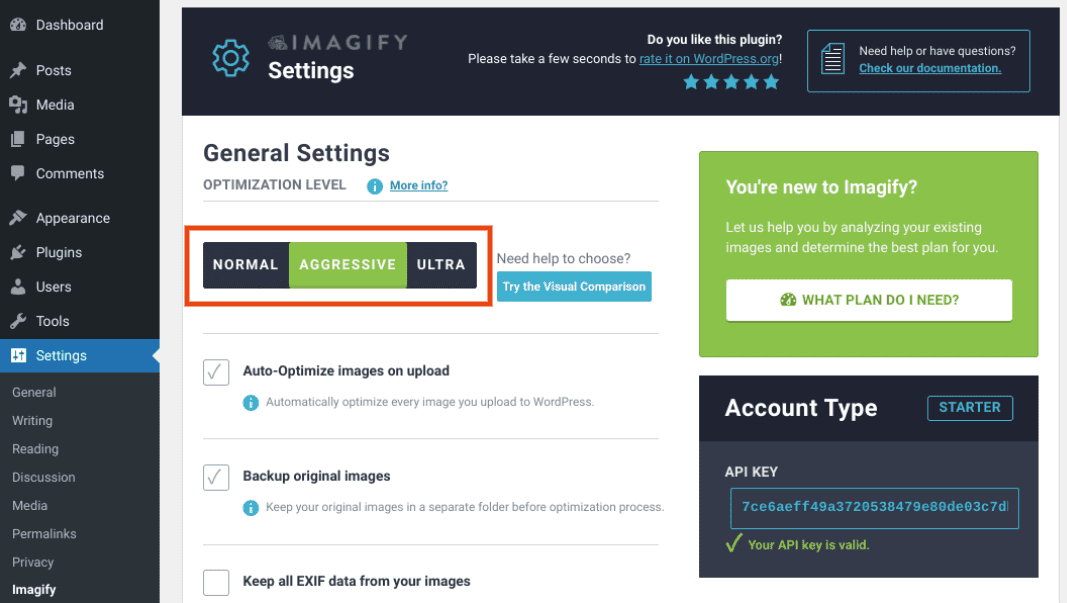
You’ll want to select NORMAL from the different options. This setting will apply lossless compression to your images. You can also automatically perform this compression by enabling the Auto-Optimize images on upload configuration.
2. Use Image Editing Software
Image editing applications, such as Adobe Photoshop and GIMP, often enable you to choose a compression method for your pictures. The exact options and process will vary depending on your chosen software.
For example, if you have GIMP, you can use lossless compression relatively easily. First, open your picture with the image editing software. Then, navigate to File > Export as:
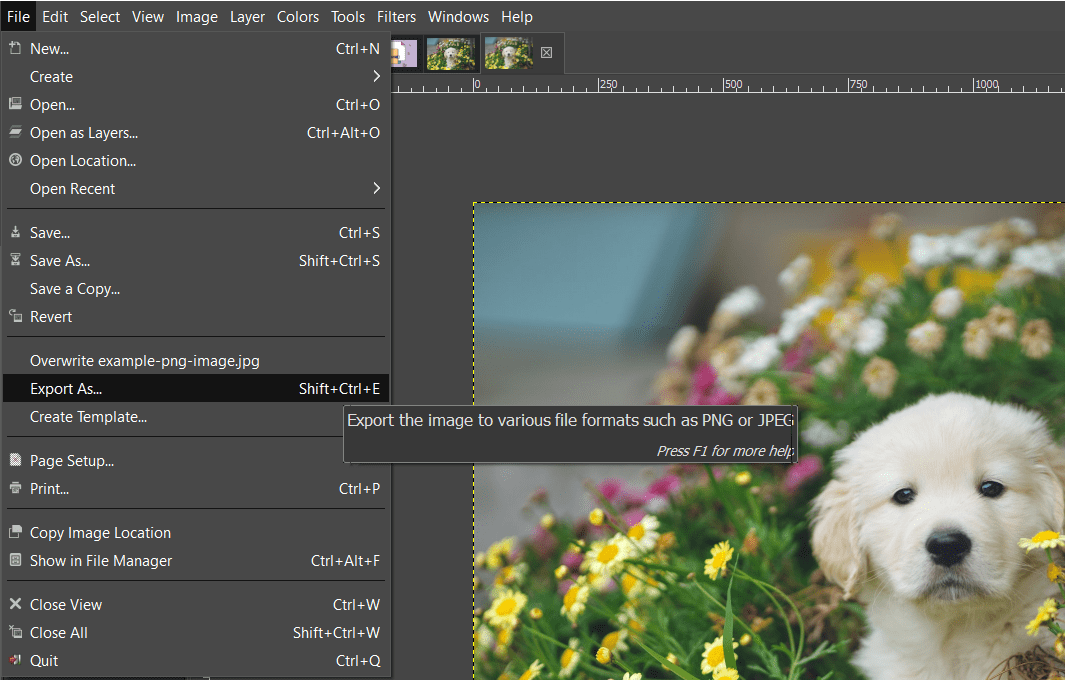
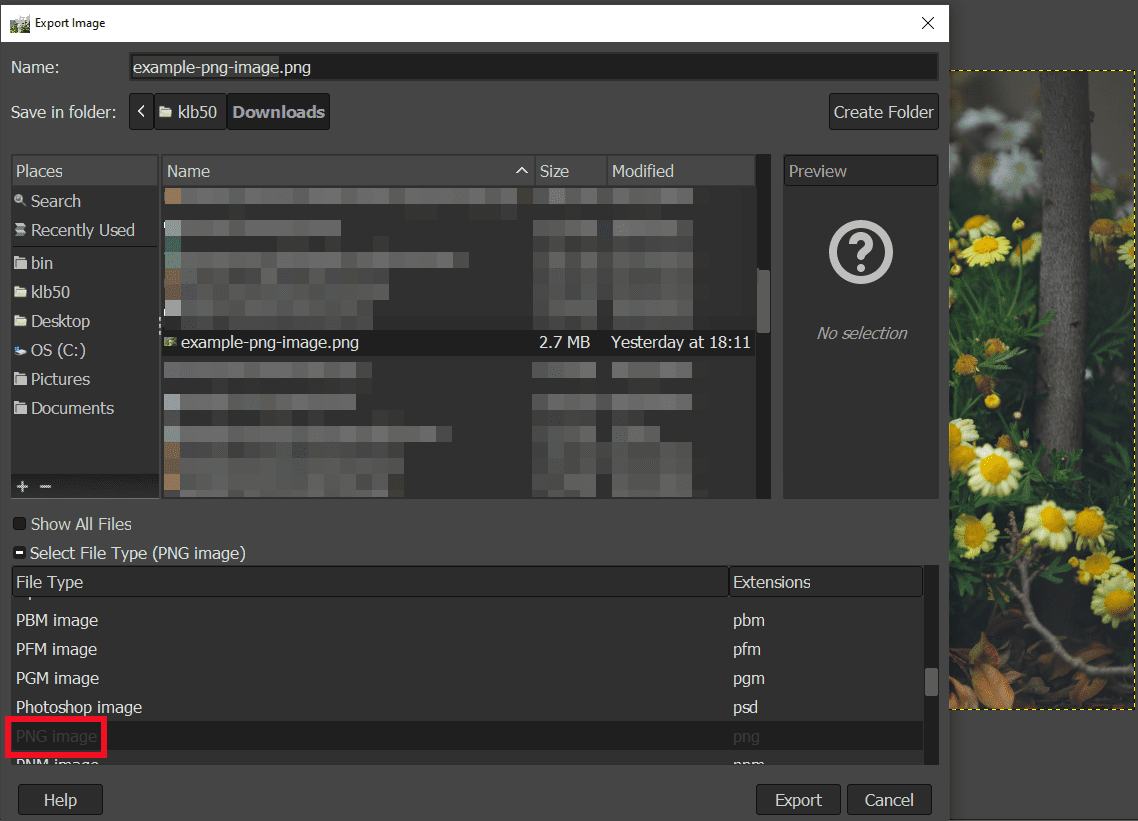
Next, open the drop-down menu under Select File Type (By Extension) and scroll down to select PNG image:
Click on Export, and you will see a popup window where you can choose your lossless compression level from 0-9:
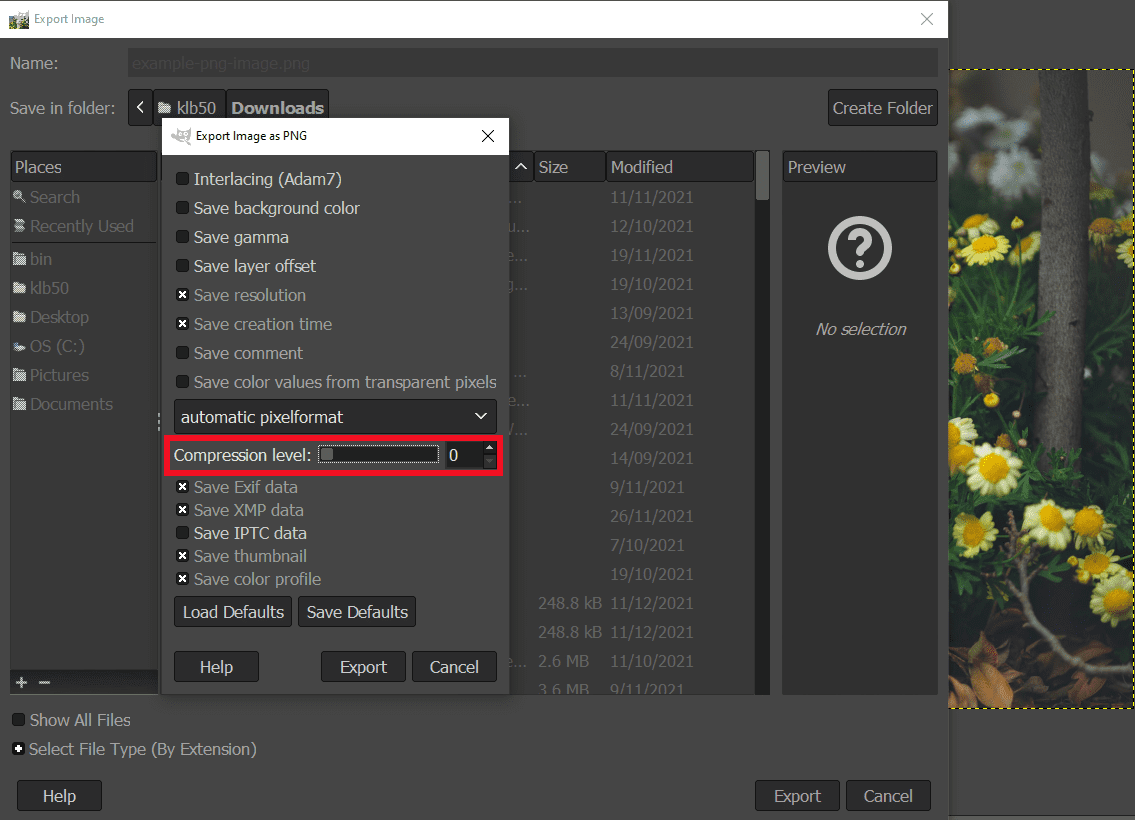
Finally, click on Export to compress and save your image as a PNG. The file should now be smaller without compromising the photo’s quality.
Benefits of Lossless Compression
The main benefit of lossless compression is that it doesn’t reduce image quality. Therefore, it could be ideal for websites and businesses that rely on imagery.
For example, if you run a high-end e-commerce store, you’ll likely want to show off your products. Using the highest-quality images can demonstrate minute details and inspire users to make purchases.
In a similar vein, a professional photography portfolio can also benefit from this compression method. You can show off your skills and possibly attract new clients and sales by maintaining high-quality photos.
Furthermore, lossless compression is reversible. All of the stripped metadata is saved in separate files. Therefore, you can restore your images if you’re not happy with the compression results.
Finally, this compression method applies to multiple file types. If your website uses different elements such as GIFs, audio files, and PNG images, you’ll be able to compress all of them to reduce site loading times across the board.
Downsides of Lossless Compression
Unfortunately, lossless compression does not offer as many performance benefits as lossy compression. Since this method doesn’t delete any data, the resulting images may still have significant file sizes. Therefore, you might want to consider using additional optimization techniques to speed up your website.
For example, we recommend enabling GZIP compression on your WordPress site. GZIP serves your general data files as small as possible to visitors, helping their browsers load your website faster. Fortunately, this compression type is also easy to set up with a caching plugin such as WP-Optimize:
Moreover, you might consider using a Content Delivery Network (CDN). A CDN uses a series of servers worldwide to deliver content to users from their nearest locations. As such, this network can improve your web performance for visitors from around the world.
Conclusion
Compressing your images can reduce file sizes and improve loading times. As such, compression can improve your site’s UX and boost your Search Engine Optimization (SEO).
As discussed in this article, lossless compression makes image files smaller without reducing their quality. This method strips metadata and repetitive information and saves it in a separate file. Therefore, you can speed up your website while maintaining bright and exciting graphics to attract your readers.
Do you have any questions about using lossless compression? Let us know in the comments section below!
Image via Hendo Wang / unsplash.com, Featured image via rupadaratan / shutterstock.com


Leave A Reply