
Need to compress and optimize the images on your website for improved site performance? Google’s image compression tool Squoosh.App could be a great option for you. In this article, we’re going to go over what Squoosh is, how to use it, and how it could help website owners optimize their websites to provide the best experience to their users as possible.
What is Squoosh.App?
Google’s Squoosh.App is an open-source image compression app created by GoogleChromeLabs. Squoosh is browser-based and designed specifically for compressing large images for faster loading on any web browser. The app is free for anyone to use, and works both online and offline in every major browser such as Chrome, Firefox, and Safari.
Squoosh runs on GitHub as part of a larger exploratory project aimed at website optimization. Because large, high-resolution images can slow down site loading and be a part of lowers cores on various Core Web Vitals, Google has set its sights on helping website owners compress their images for better site performance and optimal browsing speeds.
The Squoosh screen is divided so users can see the before-and-after results of their image compression. This tool gives you a sneak peek of the often negligible differences — if noticeable at all — between the original and the compressed images. However, images that have been compressed and optimized for speed contribute to faster load times and a better user experience. They might even help boost your SEO ranking.
Compressing an image in Squoosh is quick and easy, and users can download their compressed images right after they edit. Now, let’s take a look at how to use the app.
How to Use Squoosh.App
Want to compress an image in Squoosh? It’s an intuitive, simple process that’s as simple as uploading, editing, then saving your web-optimized image.
First, open a new browser window and navigate to https://squoosh.app/.
Next, you can either upload or drag and drop your own image into the editor. (You won’t be able to work in batches, unfortunately, so pick one image at a time.)
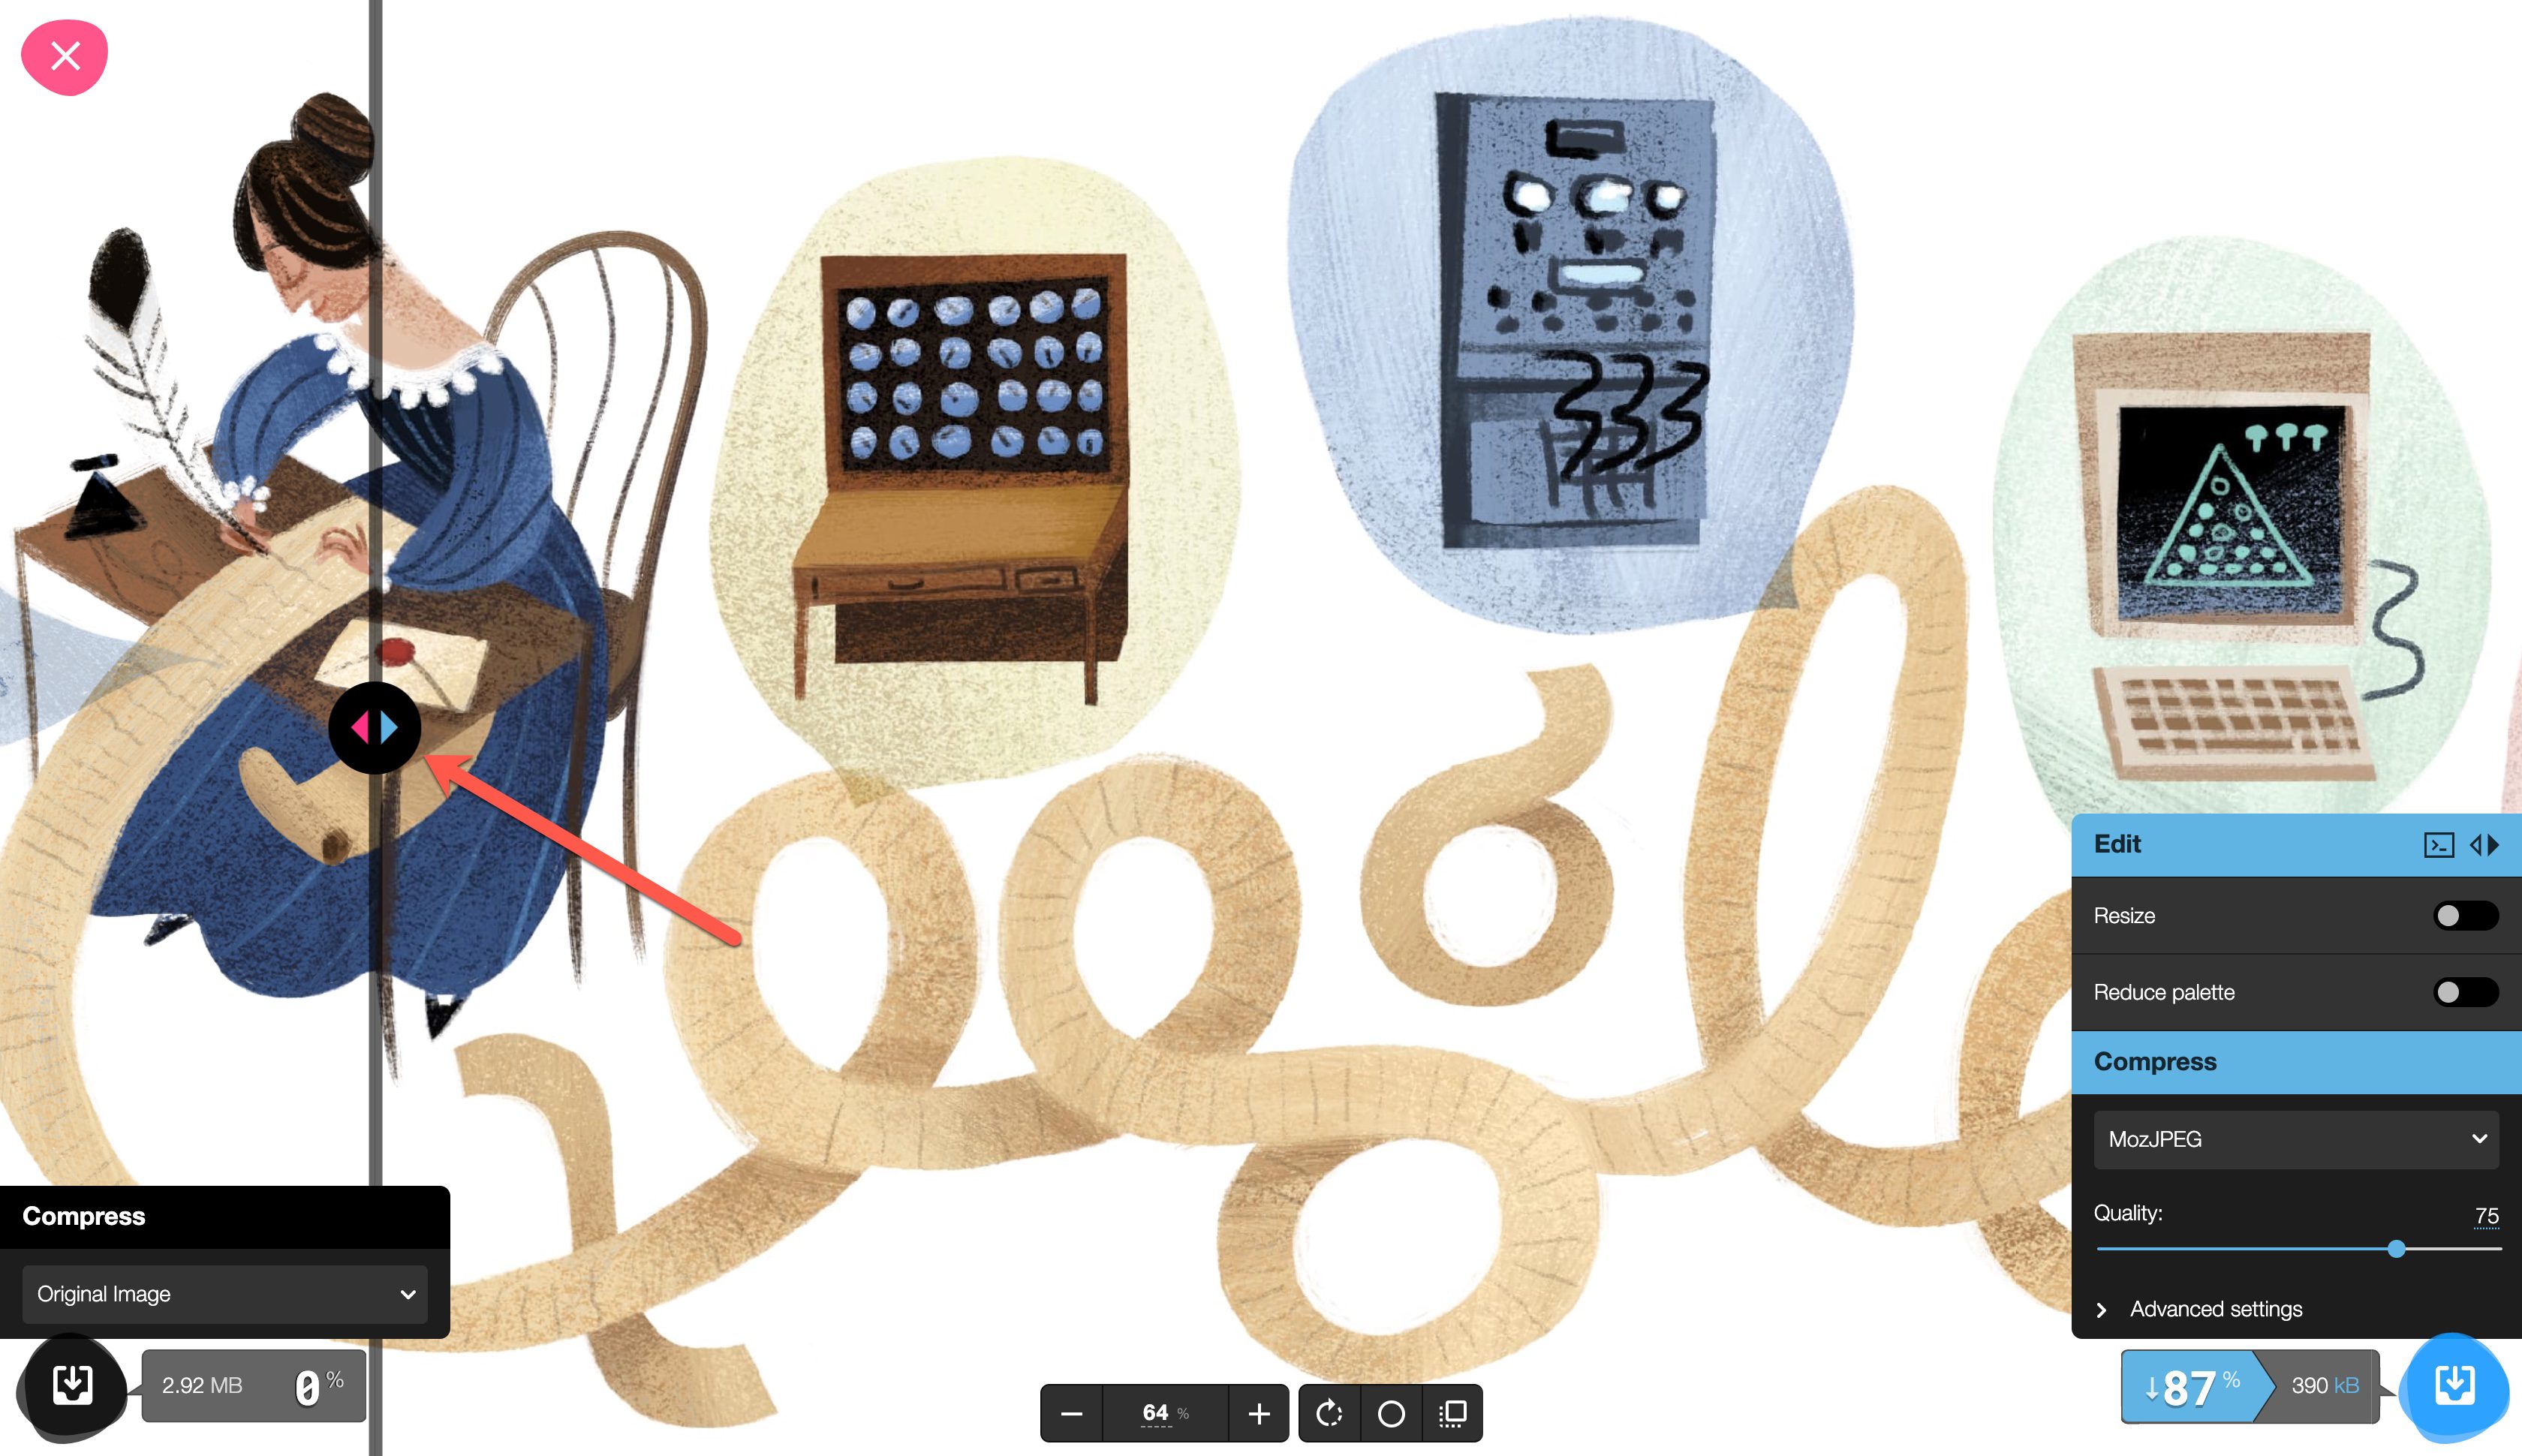
Your before image is on the left-hand side of the slider bar, with the after image to the right. Zoom in and out using the zoom tool at the bottom center of the screen.

Alternatively, you can choose one of the images provided at the bottom of the screen to see how the editor works.
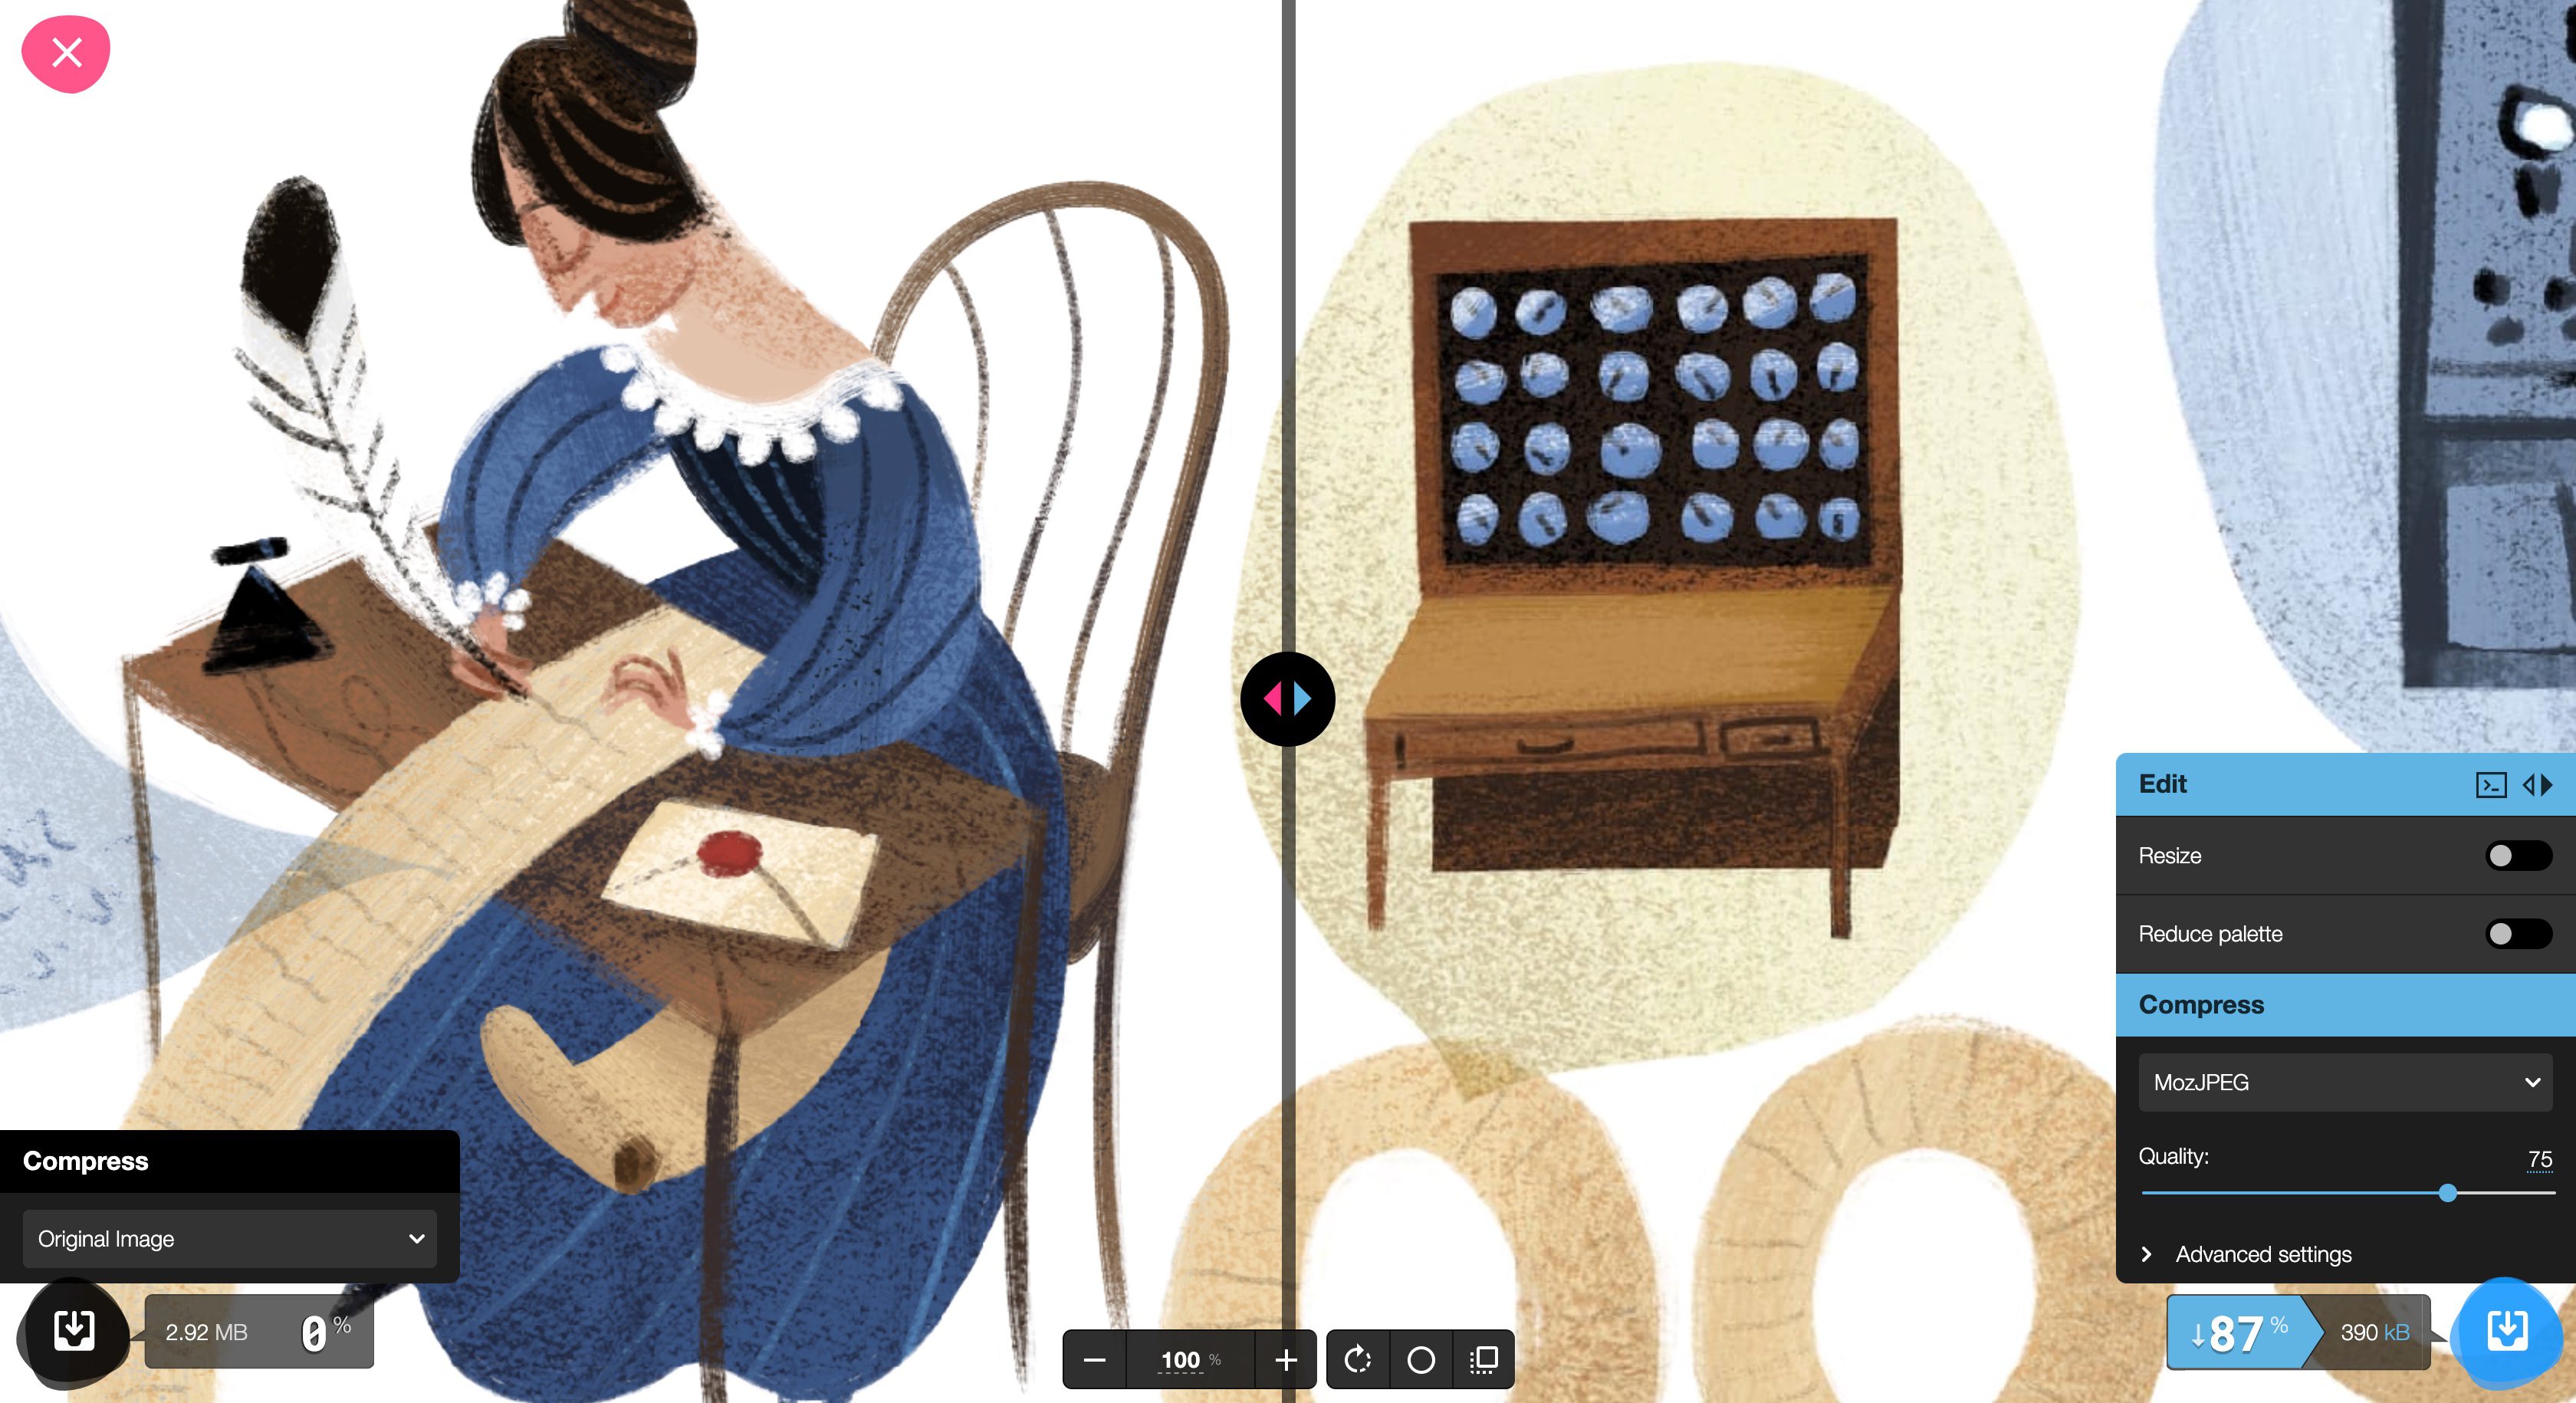
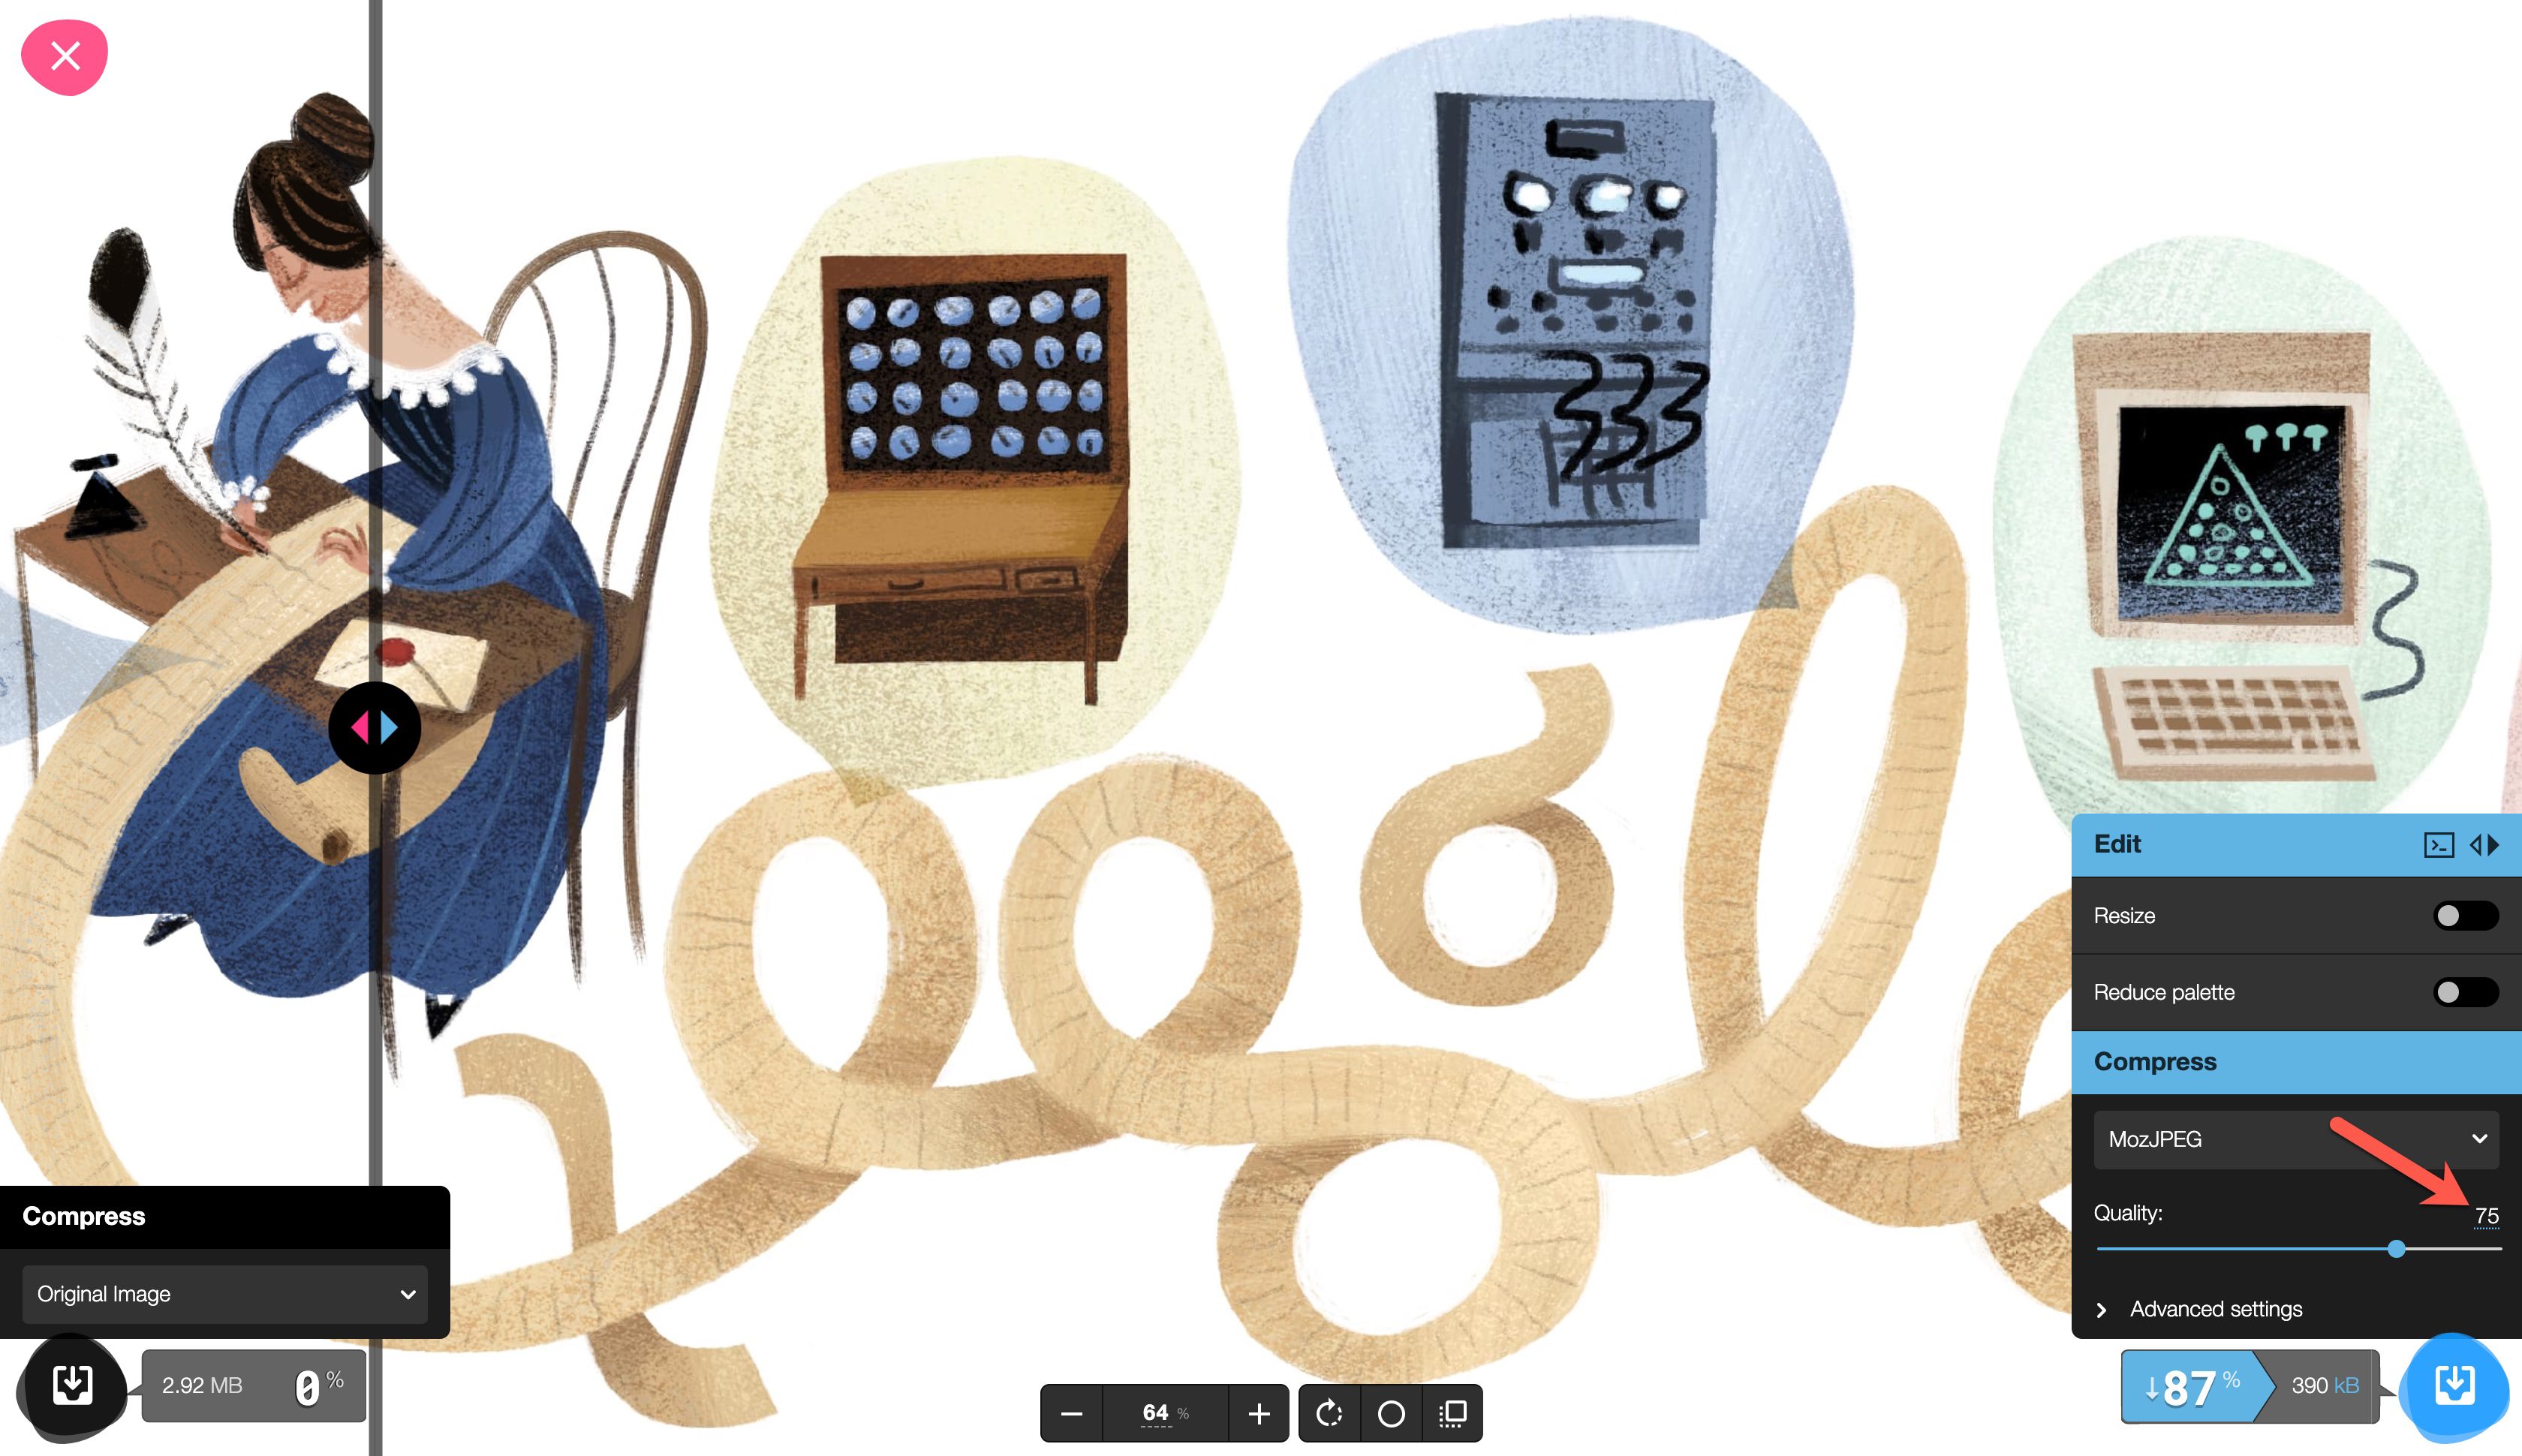
Once you’ve uploaded your image, you can start adjusting it using the browser interface. The comparison slider will show you the difference between the original image and your compressed image so you can maintain the level of image quality you need for your project.
The Compress box in the bottom left-hand corner of your screen shows your original image by default. You can use the drop-down menu to view different image options:
- AVIF
- Browser JPEG
- Browser PNG
- JPEG XL (beta)
- MozJPEG
- OxiPNG
- WebP
- WebP v2 (unstable)

Editing Your Image in Squoosh
On the bottom right-hand side of the screen, you’ll see the Edit menu. If you choose to resize the image or reduce your image’s color palette, you can select those options to see an expanded menu.
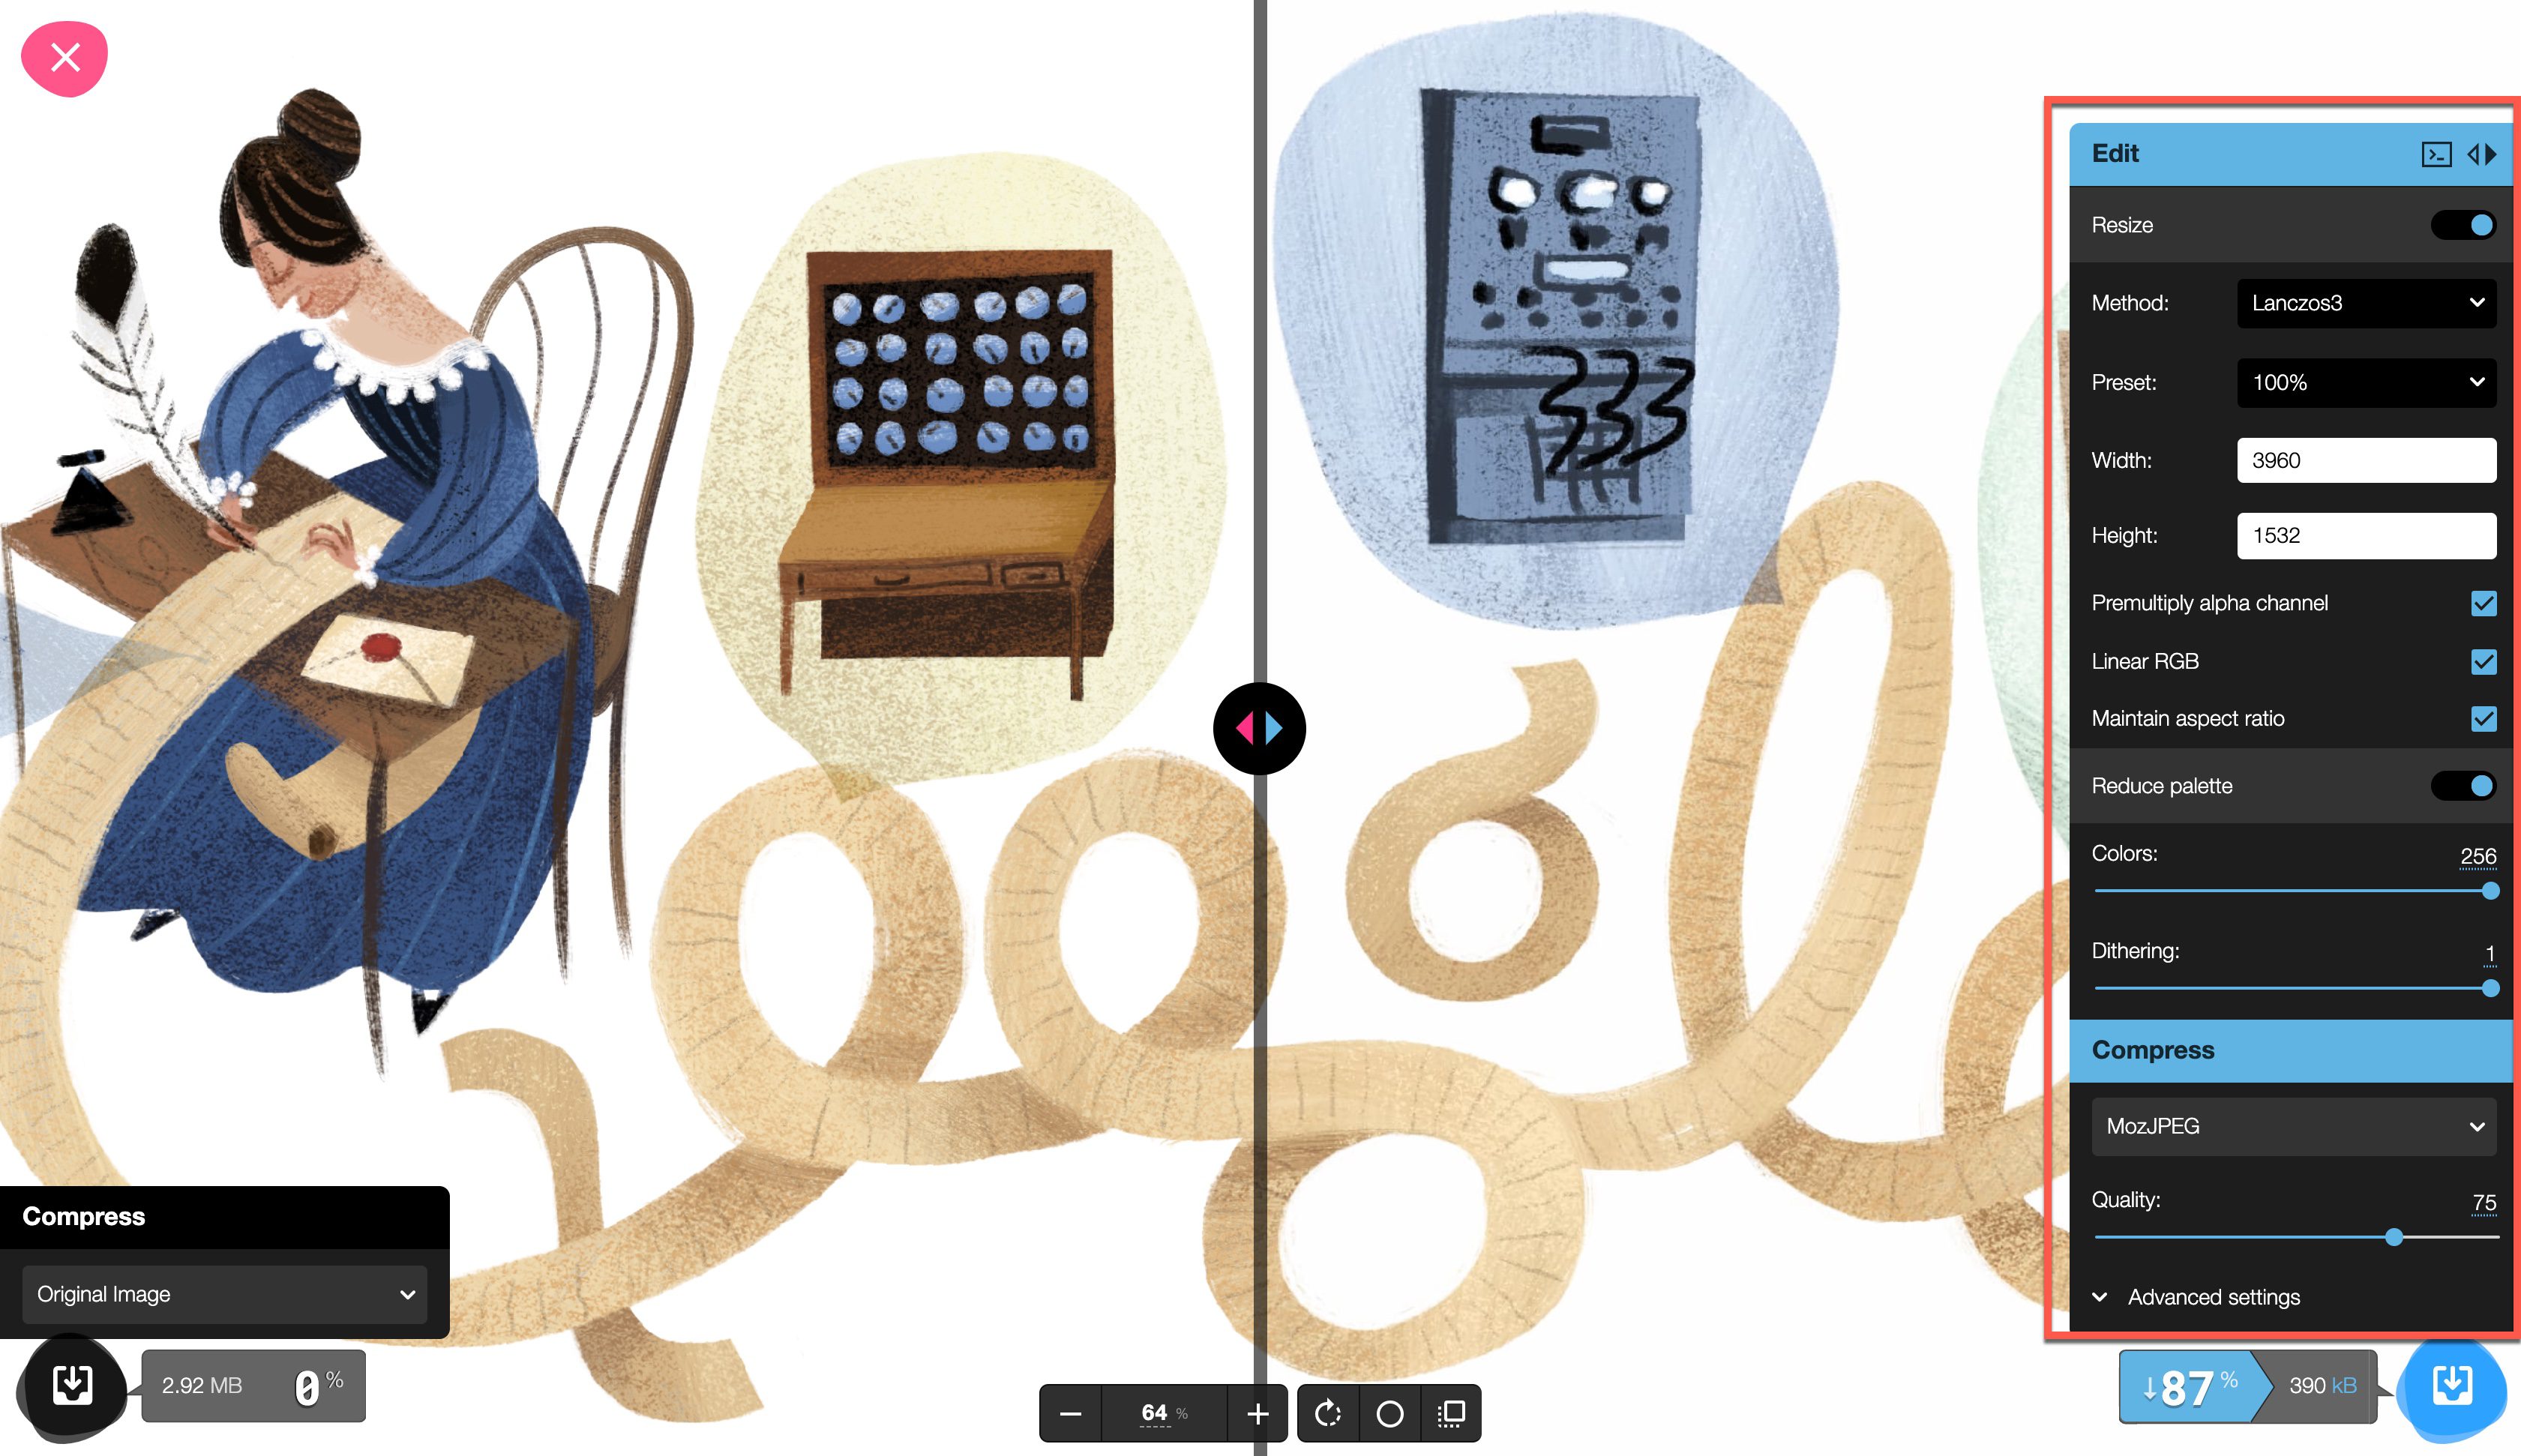
When it comes to resizing your image with Squoosh, you have a number of variables to toggle. You can:
- Choose a specific method and preset for resizing
- Manually reset the image width and height
- Choose whether to maintain linear RGB and aspect ratio
- Choose whether or not to premultiply the alpha channel
Additionally, you can choose whether you want to reduce your image’s color palette for improved website performance. Use the slider bars under the Reduce Palette heading to lower colors and dithering.
Next, it’s time to compress your image. You can choose one of three options:
- OptiPNG, a PNG converter used for original images in TIFF, BMP, PNG, GIF, and PNM (another form of bitmap image) formats. This option compresses and optimizes images without compromising information.
- MozJPEG, a PNG converter for original images in JPG, BMP, and PPM formats. This method compresses JPEGs while retaining both compatibility and quality.
- WebP, a compression method developed by Google that leverages lossless and lossy compression. WebP images are incredibly SEO-friendly.
Notice that here, even at 75% image quality after compression, the compressed image still looks almost identical to the original.
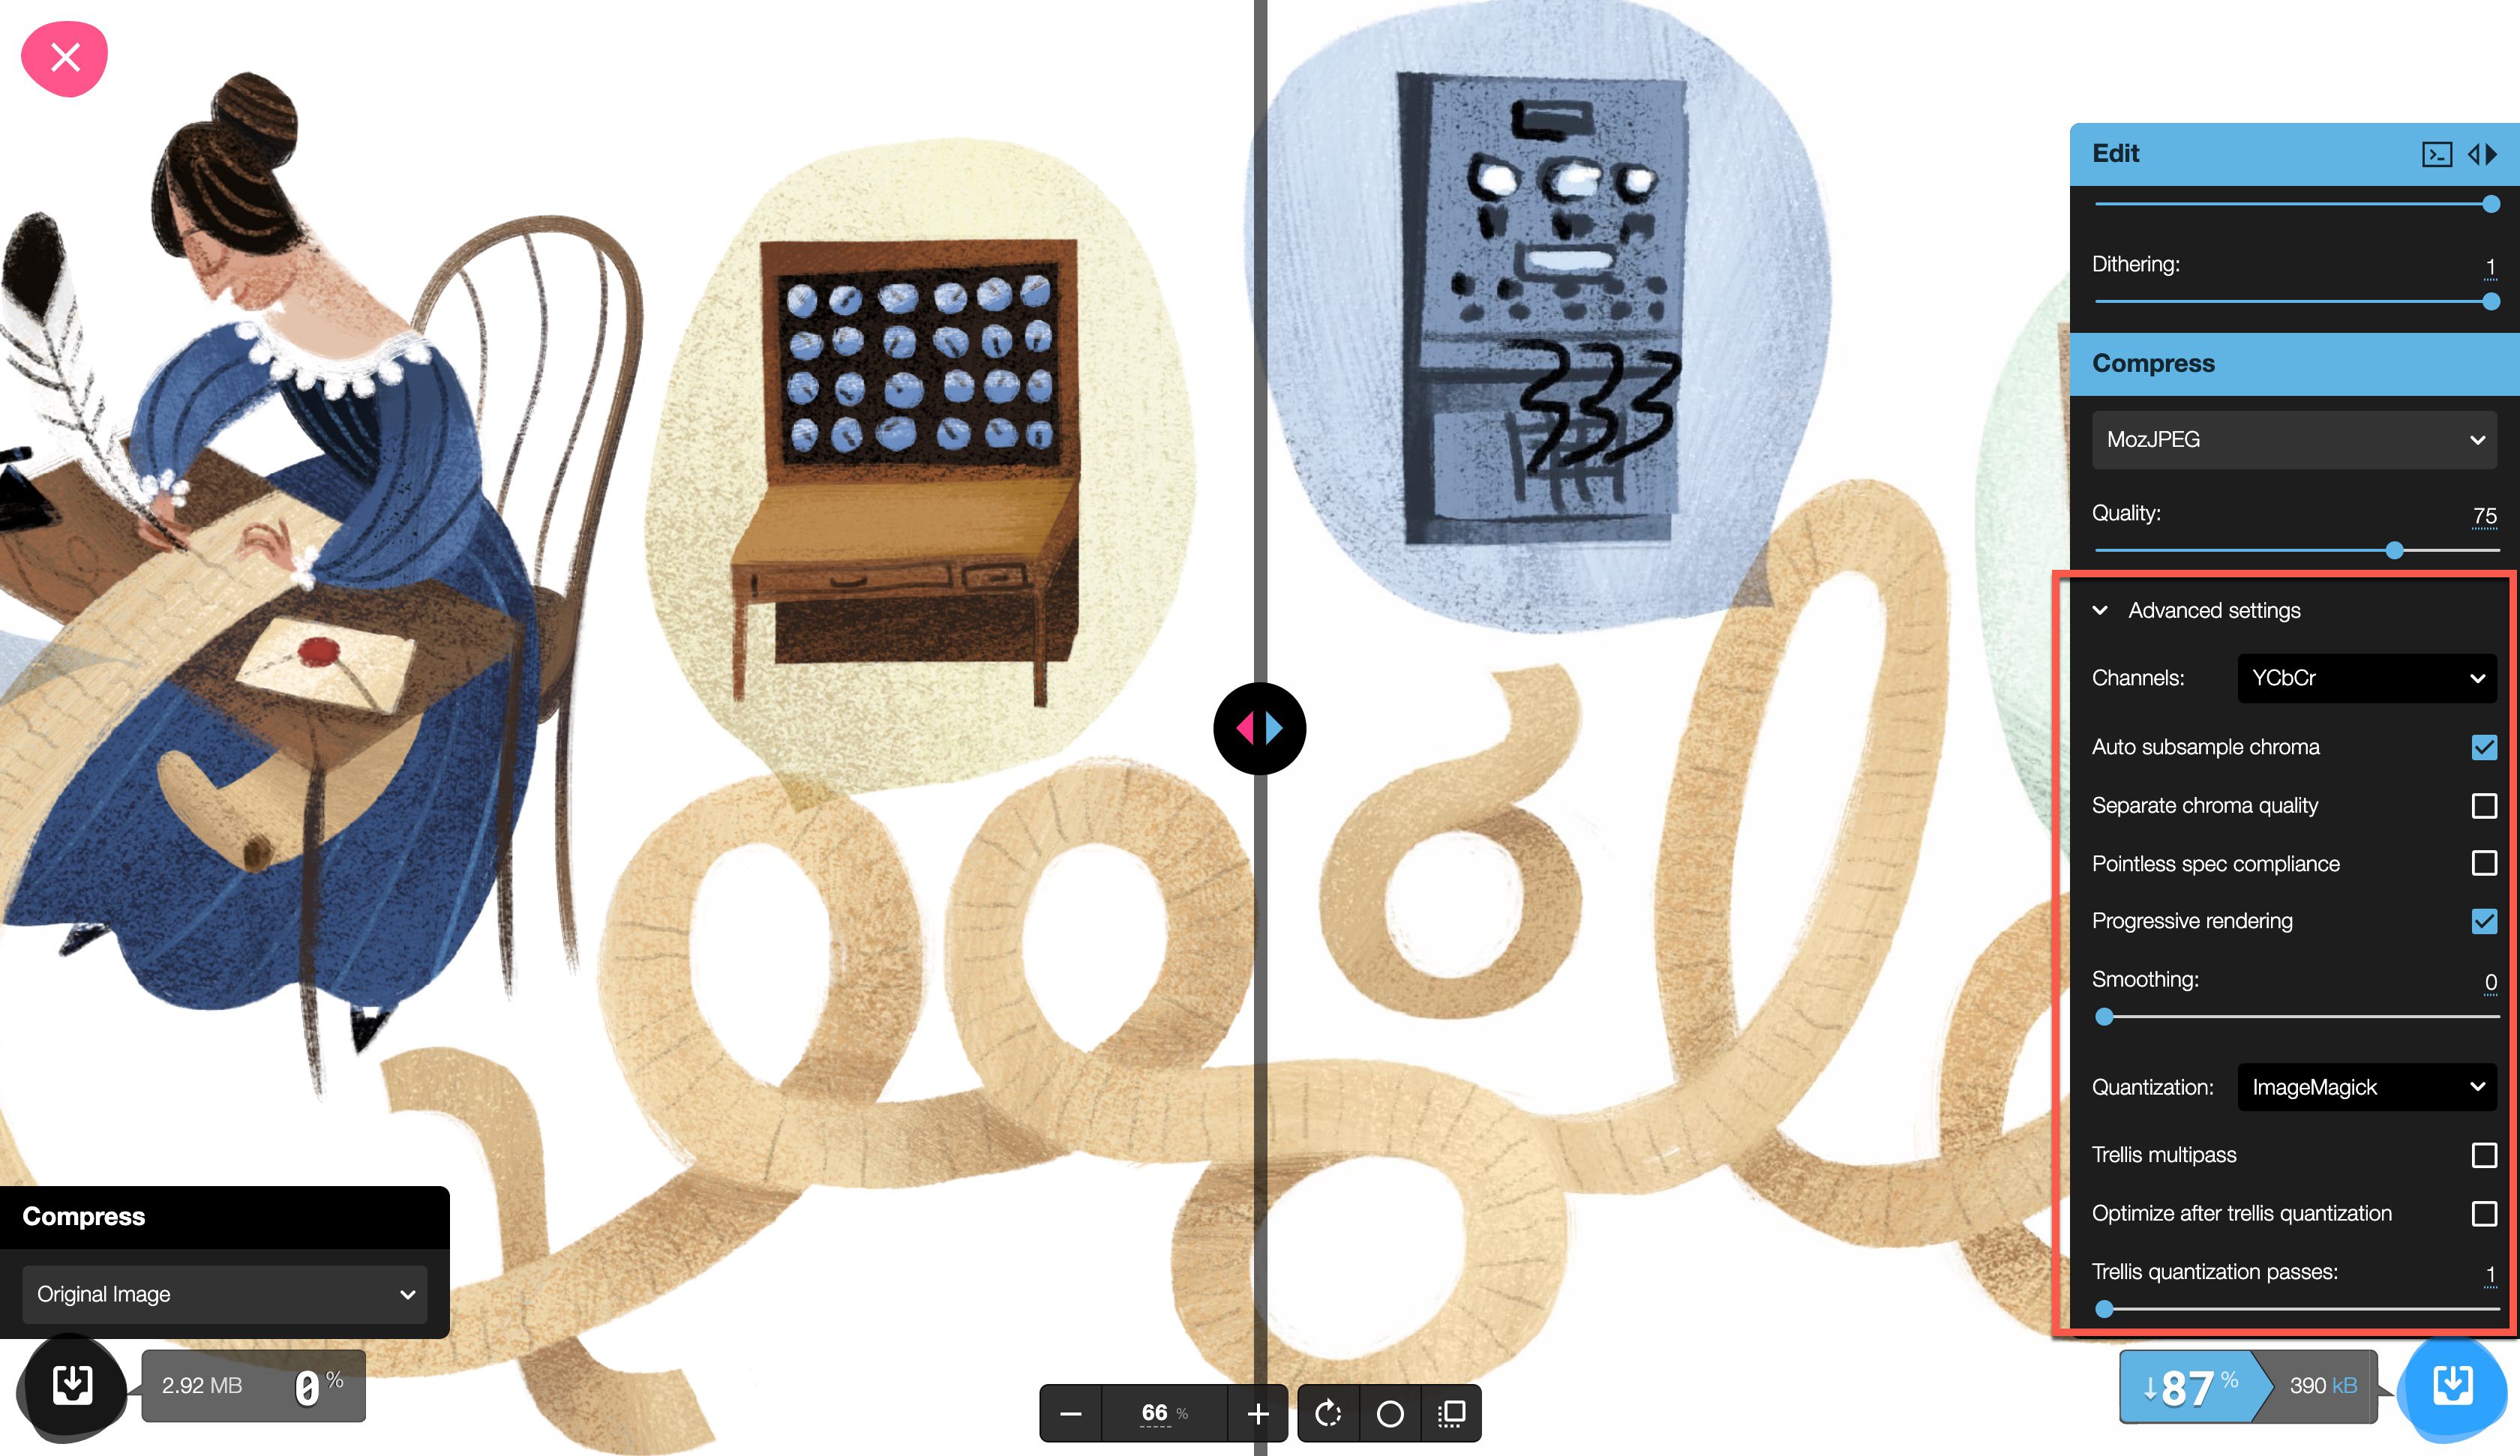
For advanced users, expand Advanced Settings to adjust channels, quantization, and more.
When you’re finished, click the Download button in the bottom right-hand corner of the screen to save your edited file.

How Squoosh Compares to Similar Tools
There are multiple image compression tools available for different platforms and uses. When you select an image compression tool, you’ll want to be sure it’s suited to your uses. Some tools with similar capabilities to Squoosh are either for personal use only (non-commercial), paid, or only downloadable apps made for specific devices.
Keep in mind that you’ll want to select a tool that doesn’t sacrifice the quality of your images. When you analyze your options, you’ll want to check into the tool’s image quality post-compression.
One of most recommended Squoosh competitors is Caesium, a free, open-source image compression app. Caesium is both browser-based and downloadable, so users can decide how best to leverage it. Alternatively, the ImageOptim API functions similarly, with a paid membership beginning at $12.00 USD per month.
You can also find WordPress image optimization plugins that address image compression needs, too. ShortPixel and Smush are tools that can automate your image compression. For WordPress users who want an all-in-one solution without leaving their dashboard, a plugin like this could be a great option.
Squoosh doesn’t boast image batching or automation options that other apps have. However, its ability to compress an image while maintaining impeccable quality is an incredibly important advantage. Ultimately, selecting the right tool for your needs is up to you.
Conclusion
Optimizing your images and speeding up website loading time is critically important for both site visitors and SEO rankings. Squoosh.app helps you successfully compress your website images while maintaining high quality. That’s a major plus, especially since site owners understand the importance of beautiful websites that load quickly. The biggest downside, however, is being unable to batch process images. If that’s not a dealbreaker, Squoosh is a pretty solid choice.
Have you used Squoosh? Or does it sound like a tool you might try? Let us know your experiences in the comments!
Featured Image via Overearth / shutterstock.com


JpgCrush.com for JPEG compression
Does anyone know how this compares to TinyPNG (which Ive been using and found great)? Also, what is the speed of the service like? I’ve found some tools slow with larger batches of images.
Thank you for this review, it´s a perfect tool. I’ve been using the Photoshop’s “Save for web” feature but this tool can reduce the size of my images even more. I have been able to reduce the size of my Photoshopped image with this tool to around 50% of its previous size.