
The WordPress row block is an important design block that enables you to organize your content into a horizontal row. It’s a versatile block that can be used anywhere in the WordPress editor to organize content in templates, template parts, as well posts and pages. In this post, we’ll explain what it is, how to use it, and answer your burning questions about it. Let’s get to it.
What is the WordPress Row Block
The row block works much like the stack block. However, instead of displaying items vertically, it displays blocks horizontally across the available space of the parent container. By default, the block will evenly space the blocks contained inside of it – and uses the flex CSS property to display content in a grid format on smaller screens.
If you are using a page builder, like Divi, the row block isn’t necessary. You can use the Divi Builder to add rows and other elements with more advanced design options.
How to Add the Row Block to your Post or Page
For this post, we’ll be adding it using the Twenty Twenty-Three theme, but you can use any block theme or full site editing theme to follow along. Start by logging into your WordPress site. Then, add a new page.
There are a couple of ways to add the block to your site from the block directory. The first way is to use the block inserter. Click the block inserter icon at the top left of your page.
Next, type row in the search bar. Locate it from the search results and either click to add it, or drag it into the page editor.
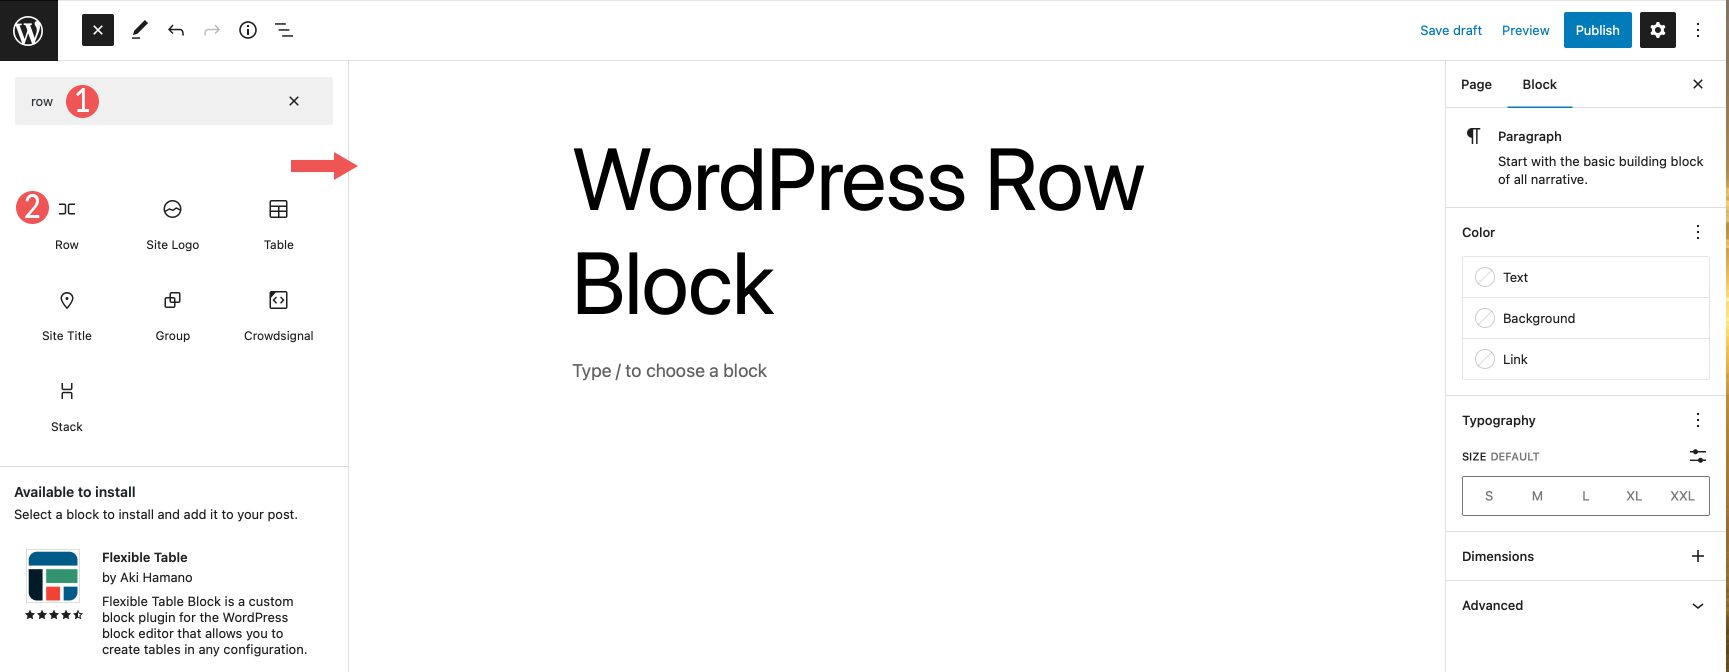
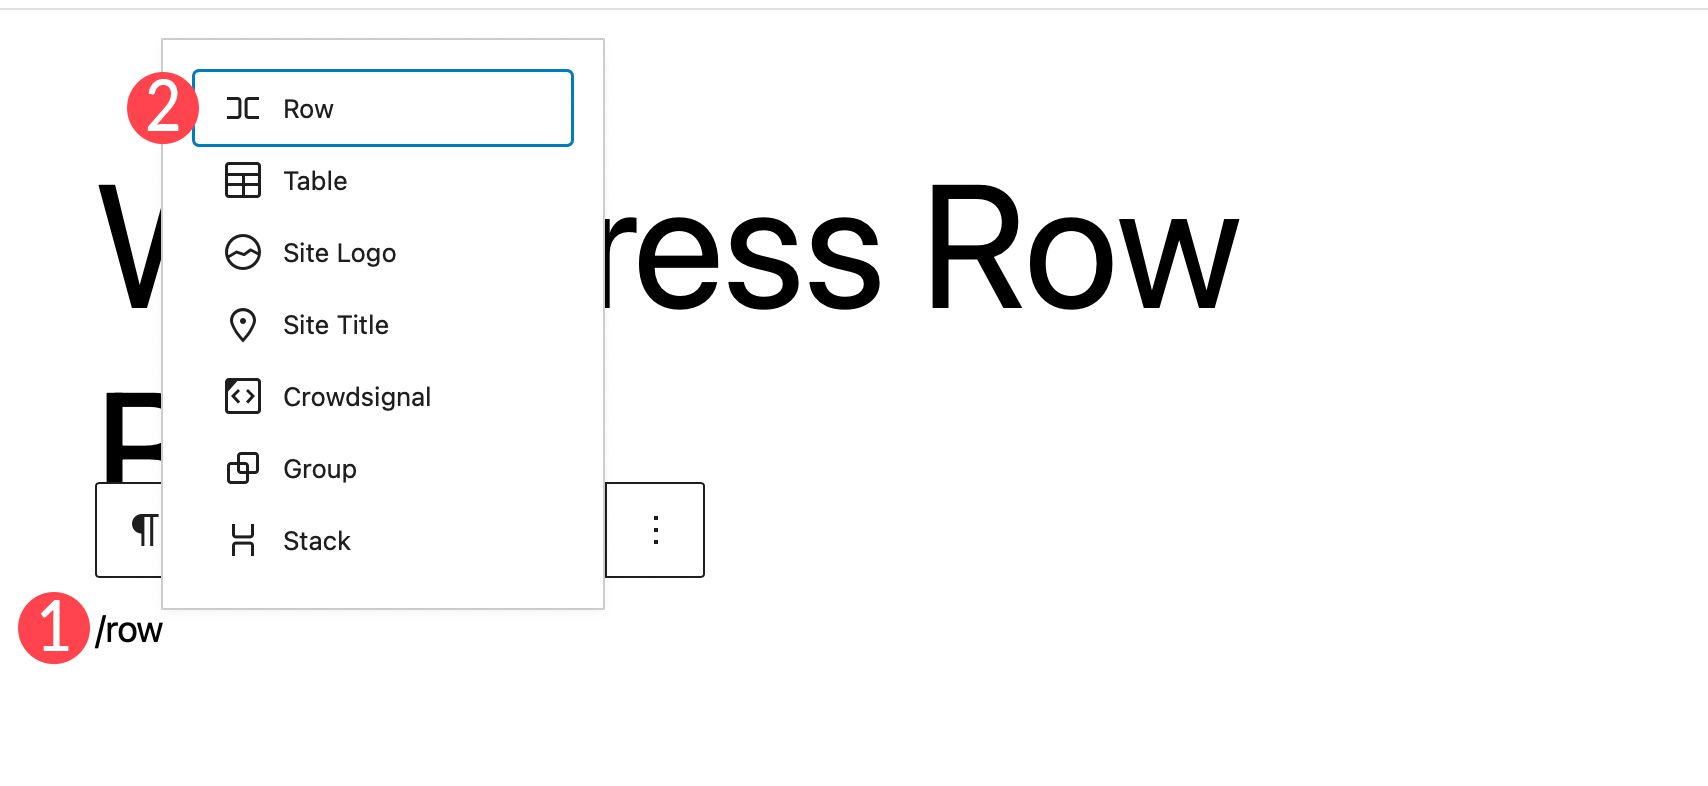
An alternate way to add the block is to click the + icon on the page editor, or simply start typing /row to reveal the block results. Click the row block to insert it into the page.
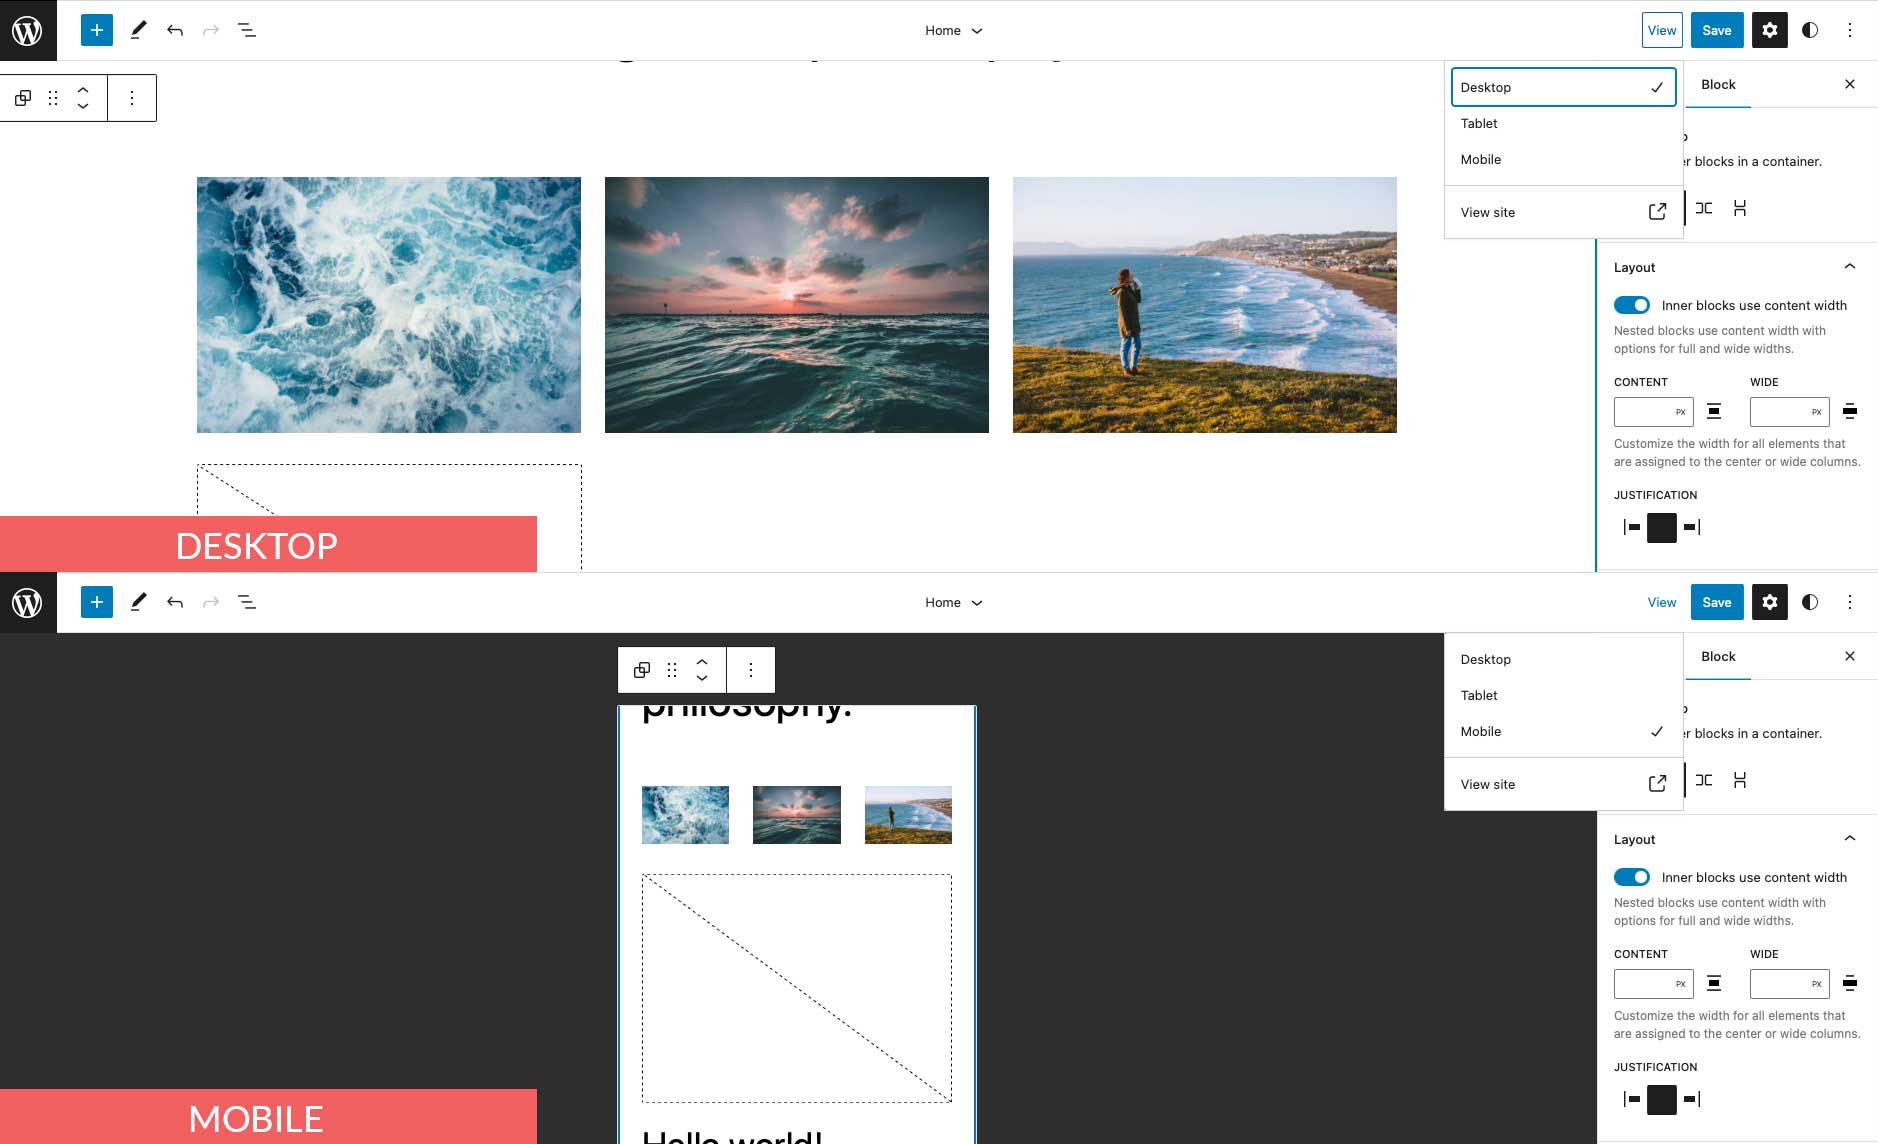
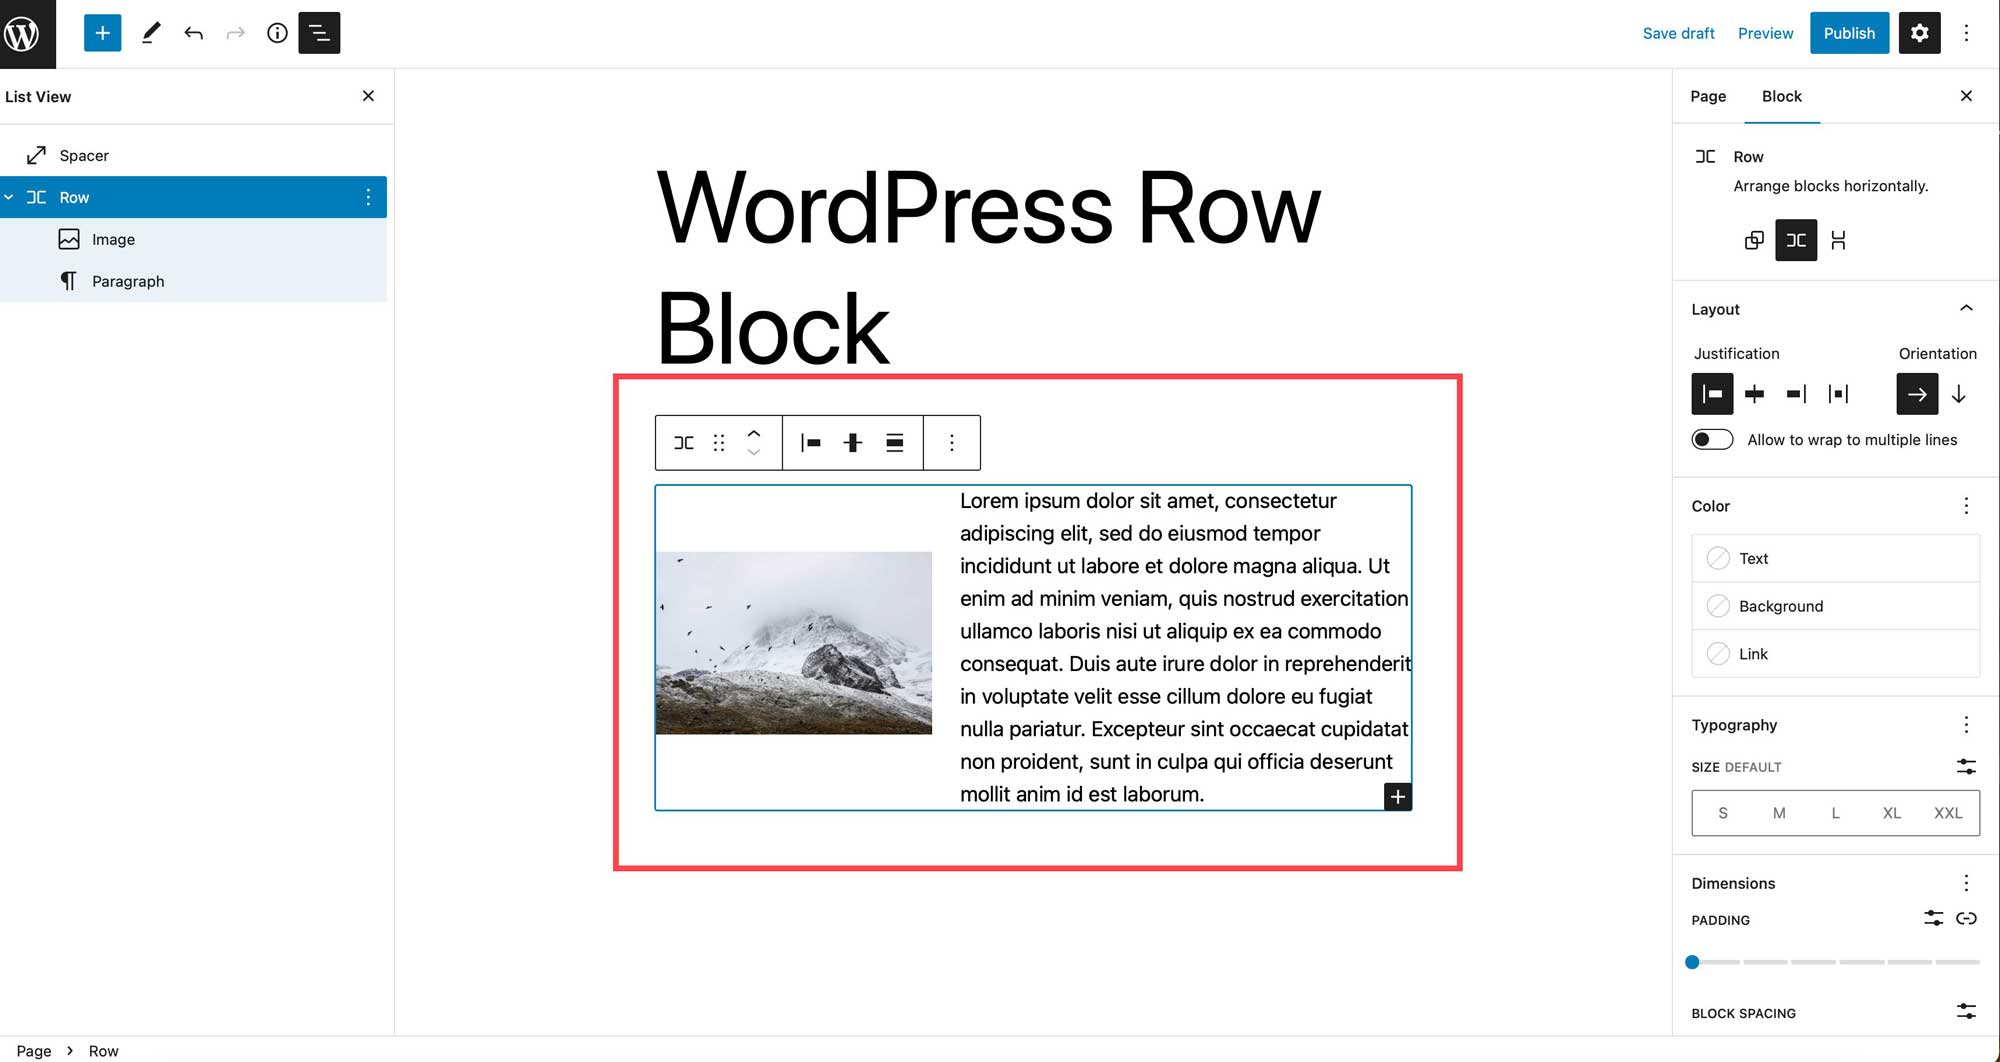
After adding a row to the page, you can insert as many blocks within your row as you’d like. Blocks display depending on whether you choose to stack them or not. We’ll get more into that in the next section. By default, as you add blocks, they appear from left to right in the row.
Row Block Settings and Options
The WordPress row block can be customized using the toolbar settings and additional settings. Here is a breakdown of the settings available.
Toolbar Settings
The toolbar settings group consists of several settings that are outlined in the image below:
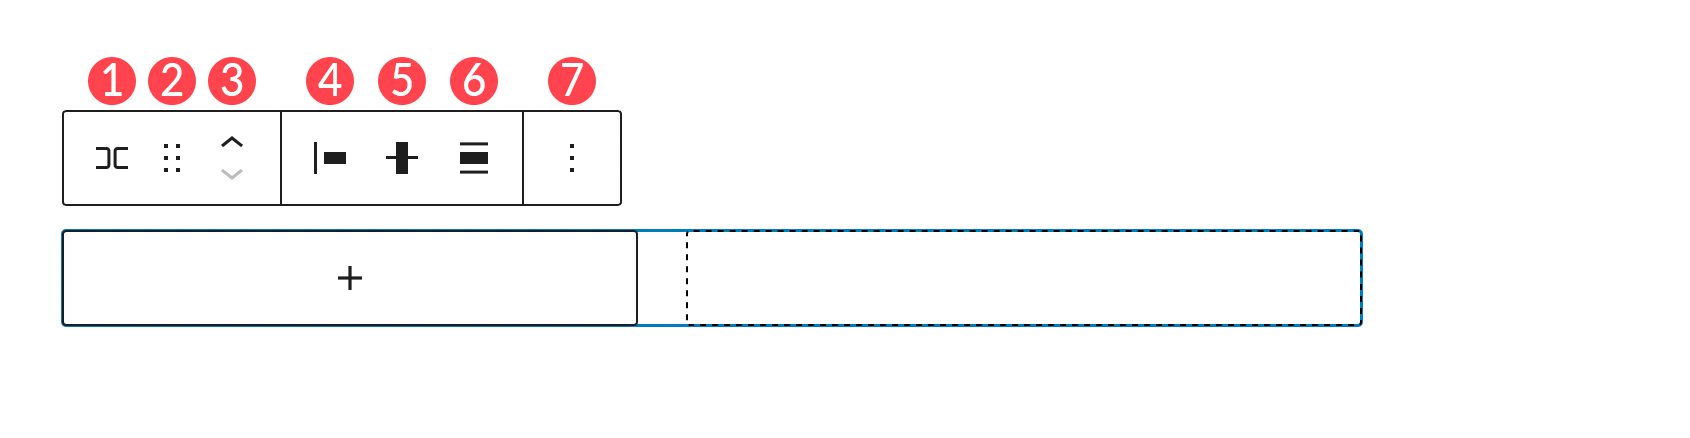
- Transform to
- Drag
- Move
- Justification
- Vertical alignment
- Width
- More options
Transform To
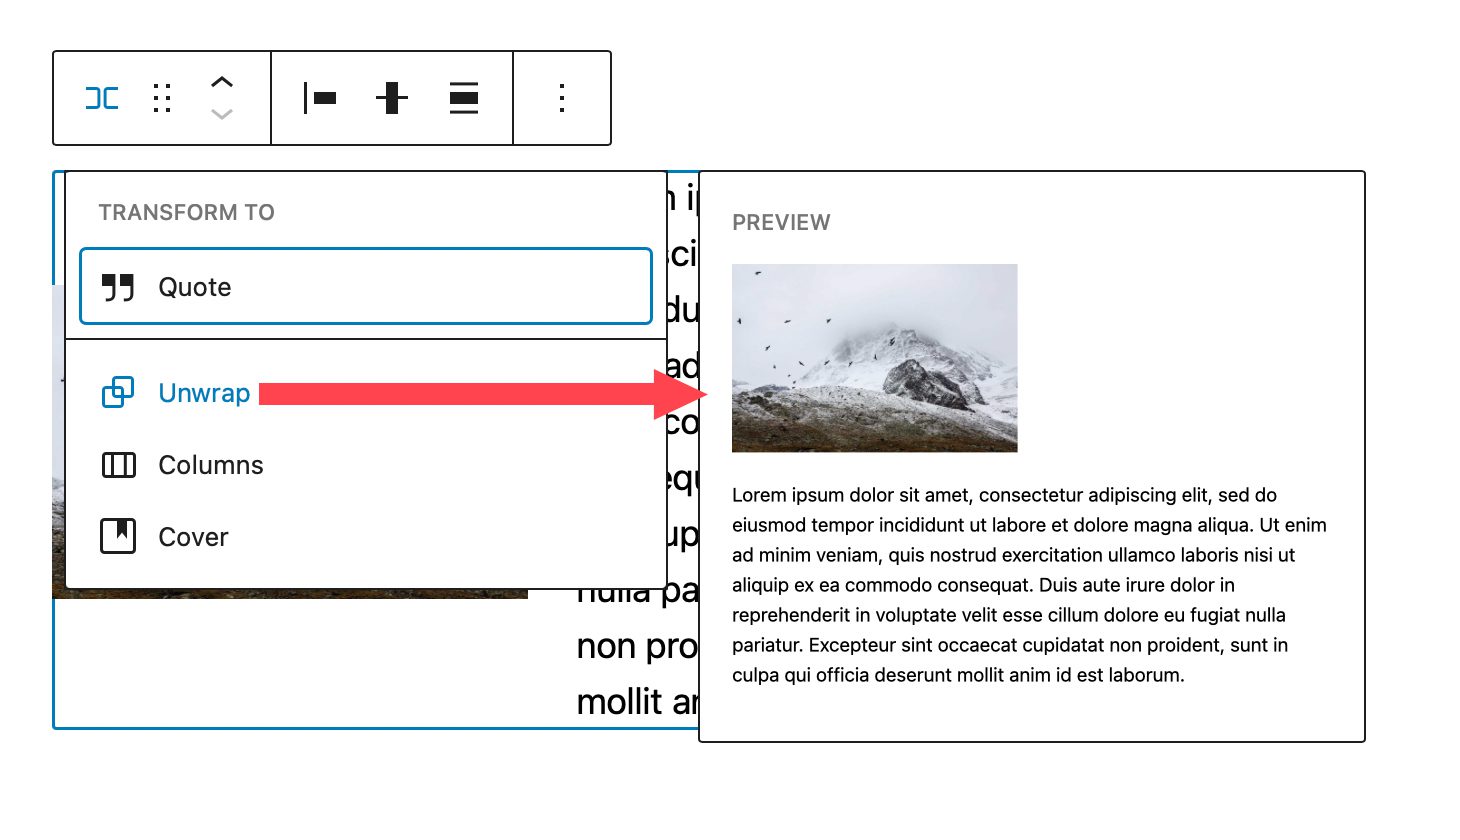
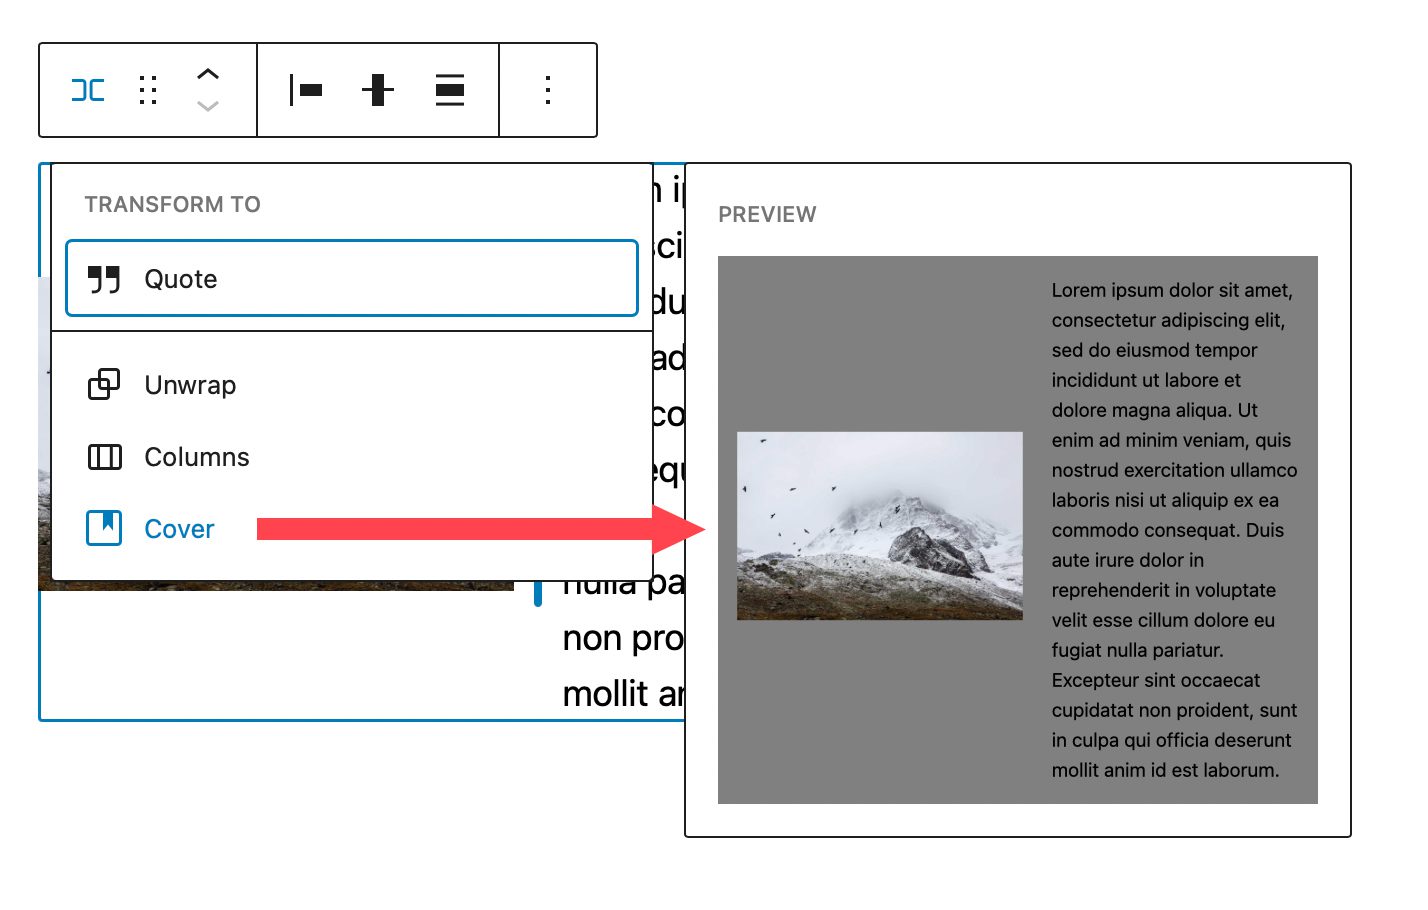
The first on the list is transform to. You have a few options here.
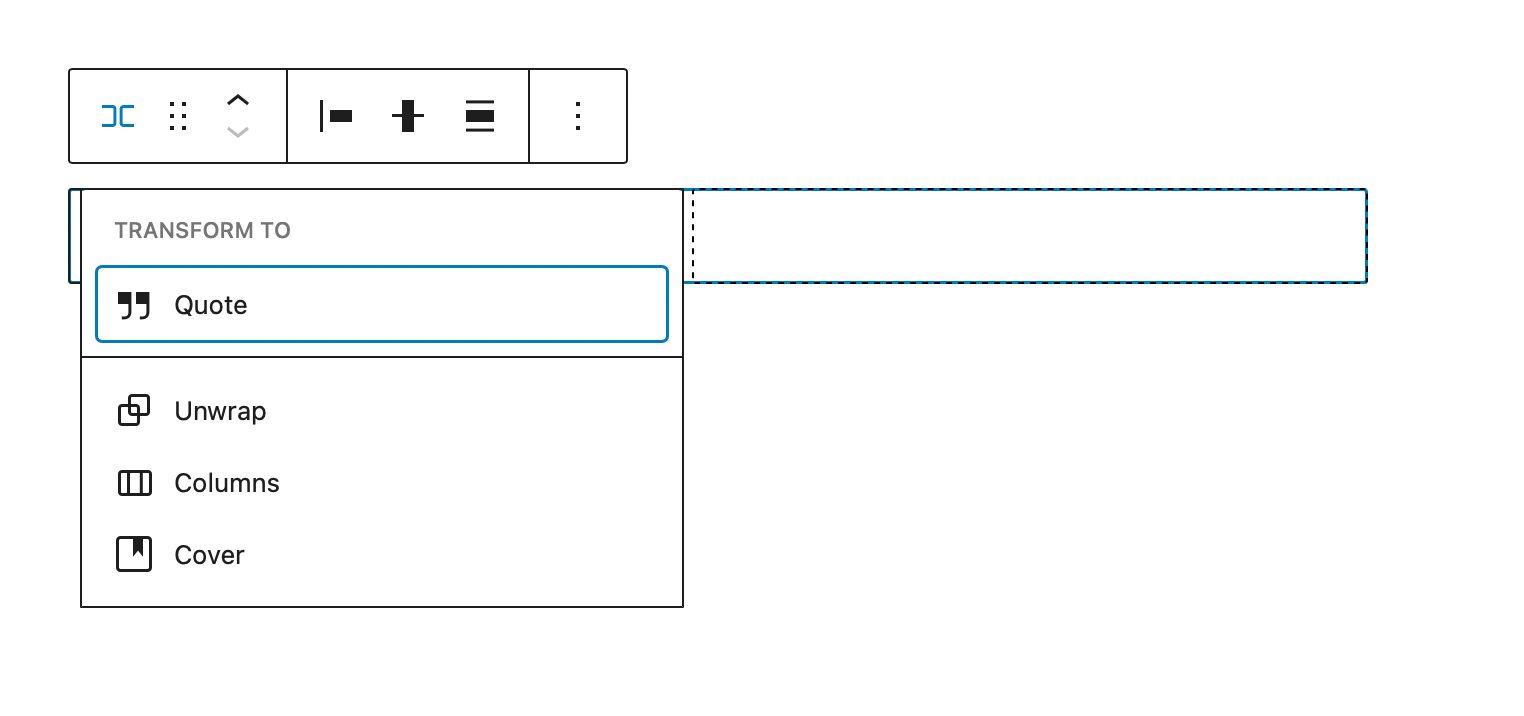
You can transform the row into a quote, unwrap it, convert it to columns, or convert it to a cover. When you unwrap a row, each block contained within it will stack on top of each other, rather than being displayed from left to right. Gutenberg will provide you with a preview of how your row will look once unwrapped.
When converted to a cover, you can add a background image, background overlay, and set the padding on it. Choosing this option converts your row into a cover block, but retains the blocks within the row itself.
Drag and Move
The drag option enables you to reposition the block anywhere on the page. This is handy for complex page designs that contain multiple sections of content. Similarly, move will allow you to move the row up or down on the page without the need to drag.
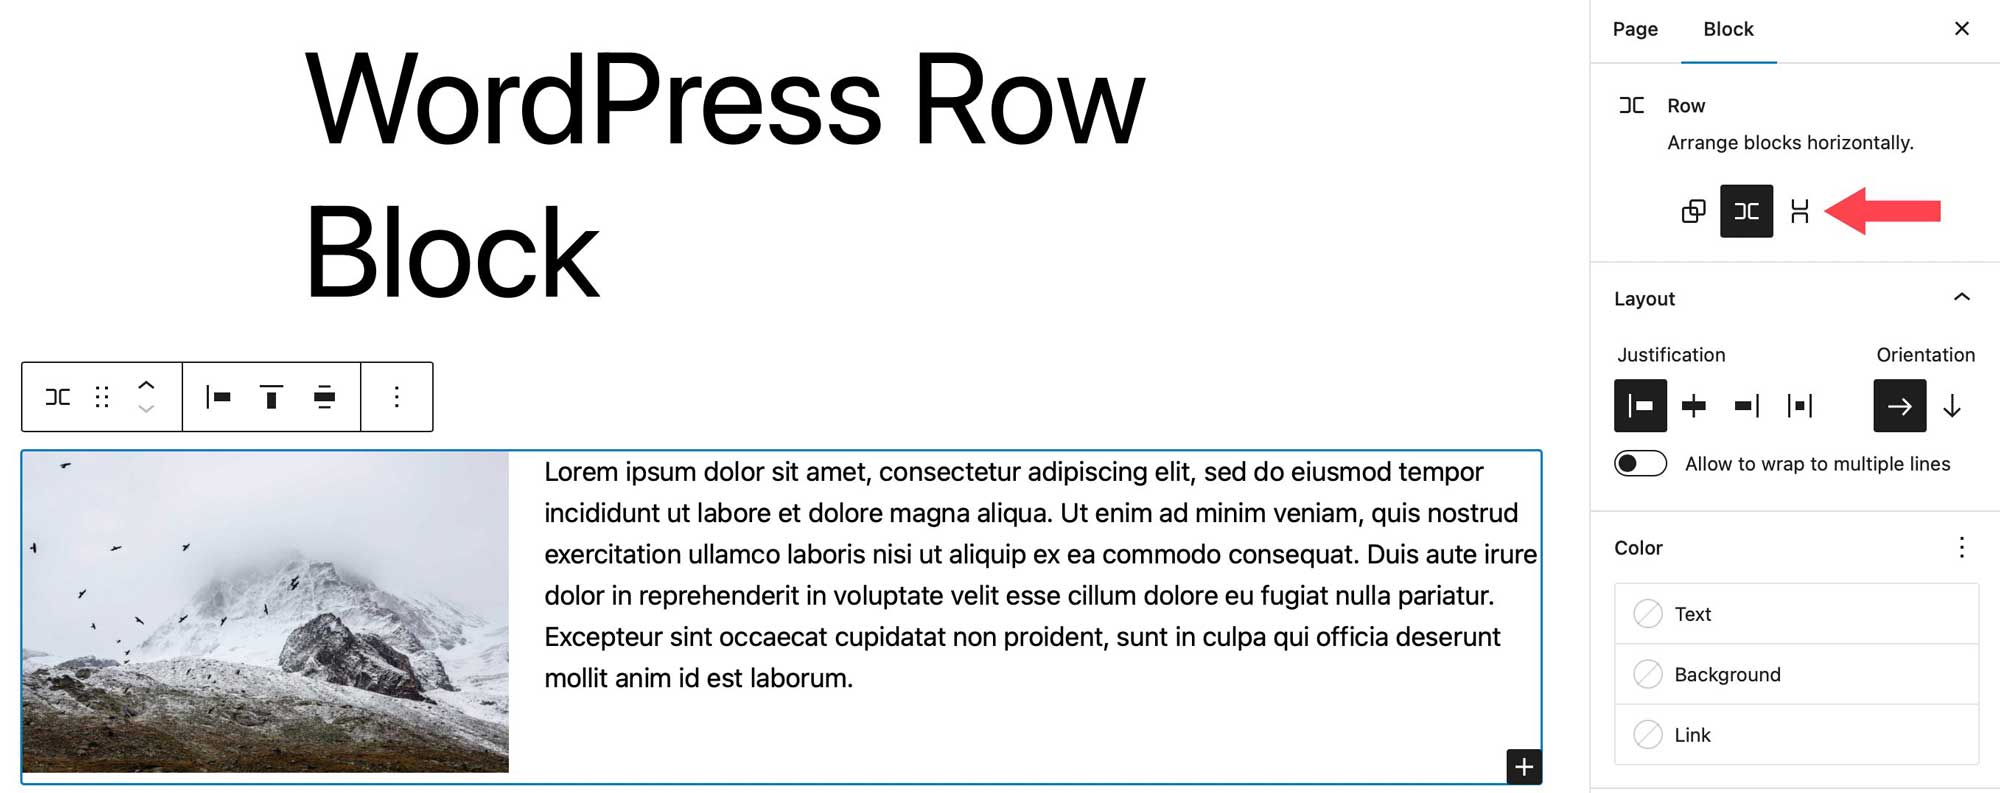
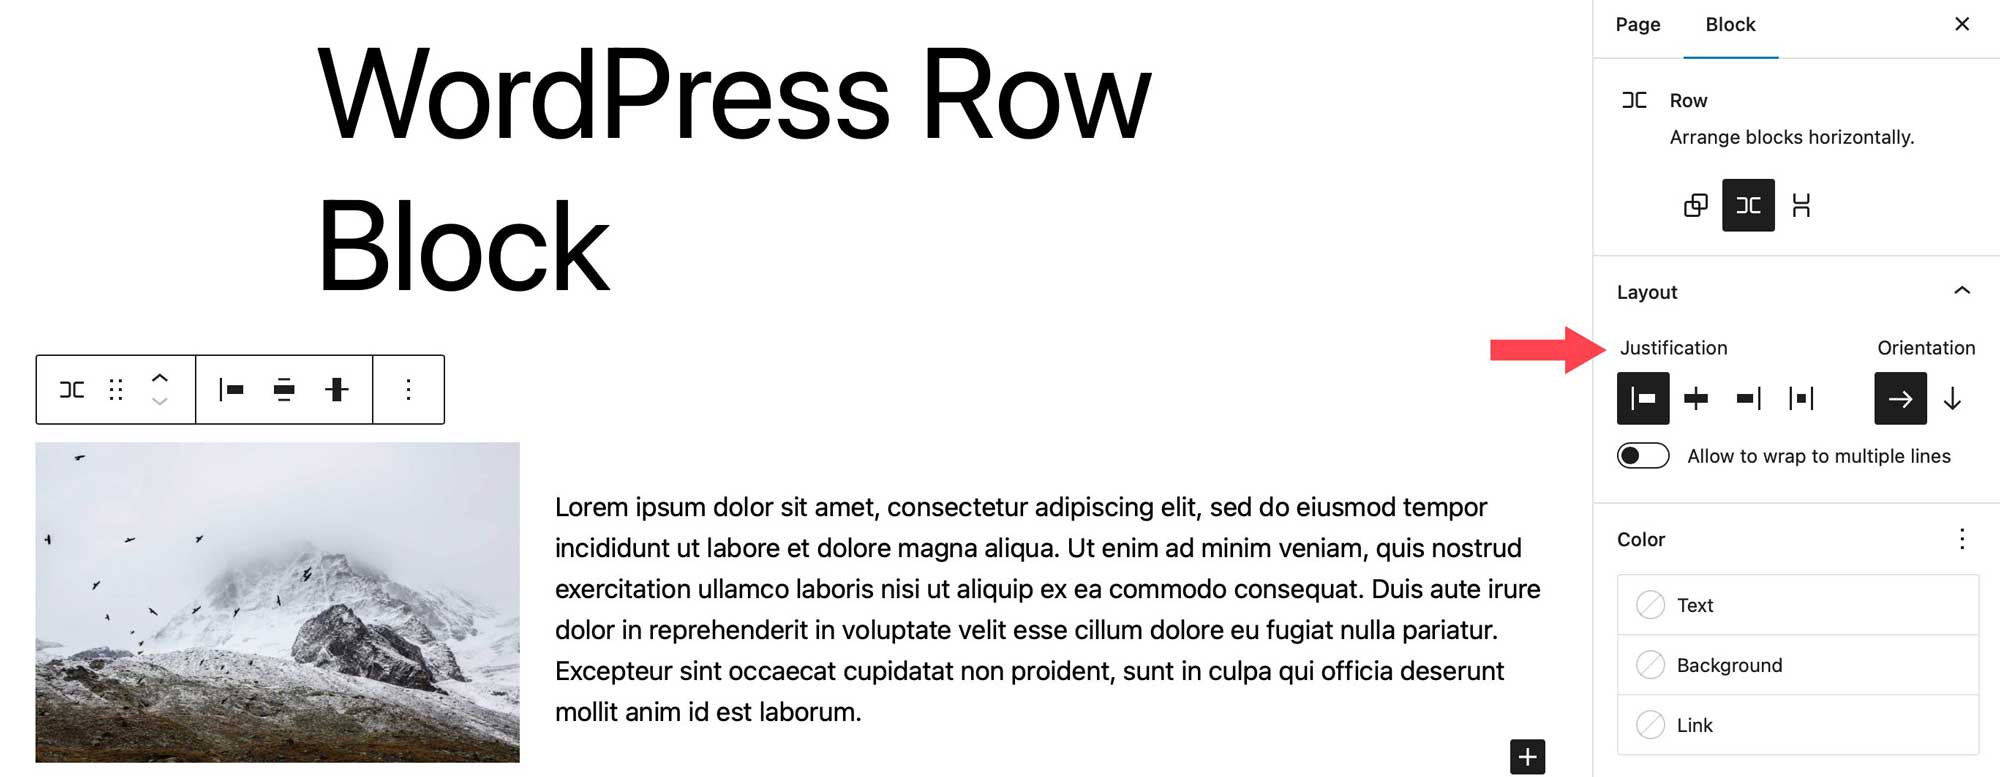
Justification
The justification setting allows you to either justify the items in your row to left, center, right or evenly space the items in your row from left to right.

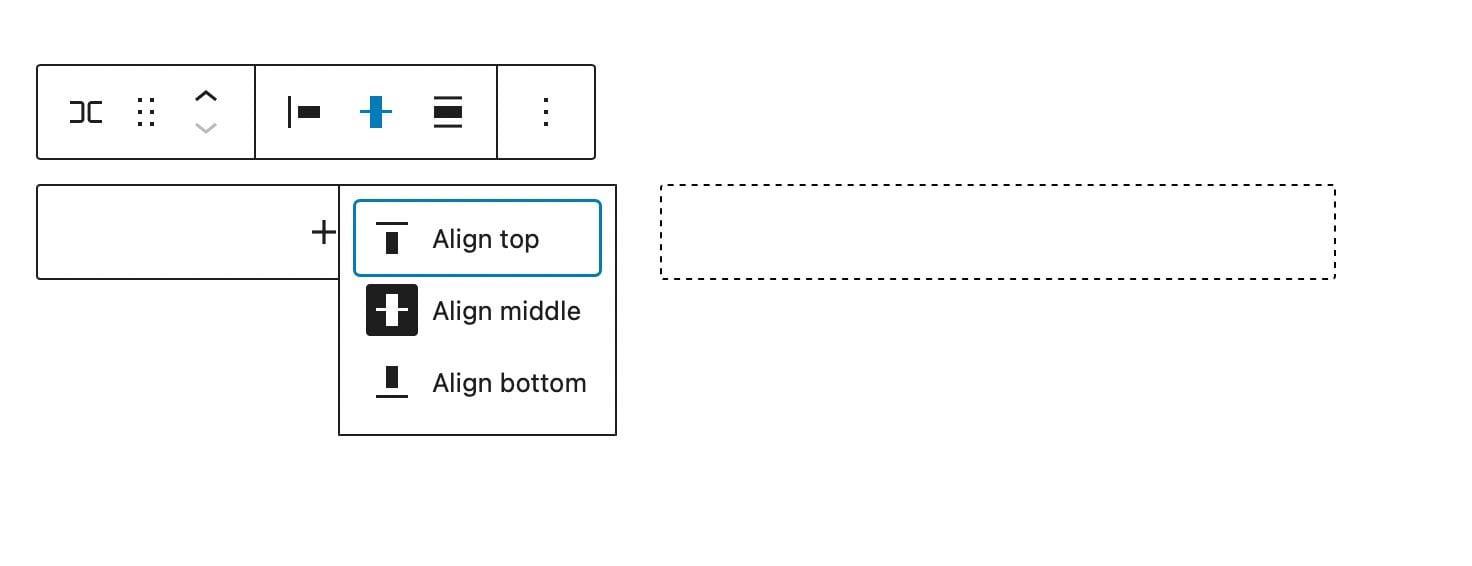
Alignment
With the alignment tool, you can either align the blocks contained in the row to the top, middle, or bottom.
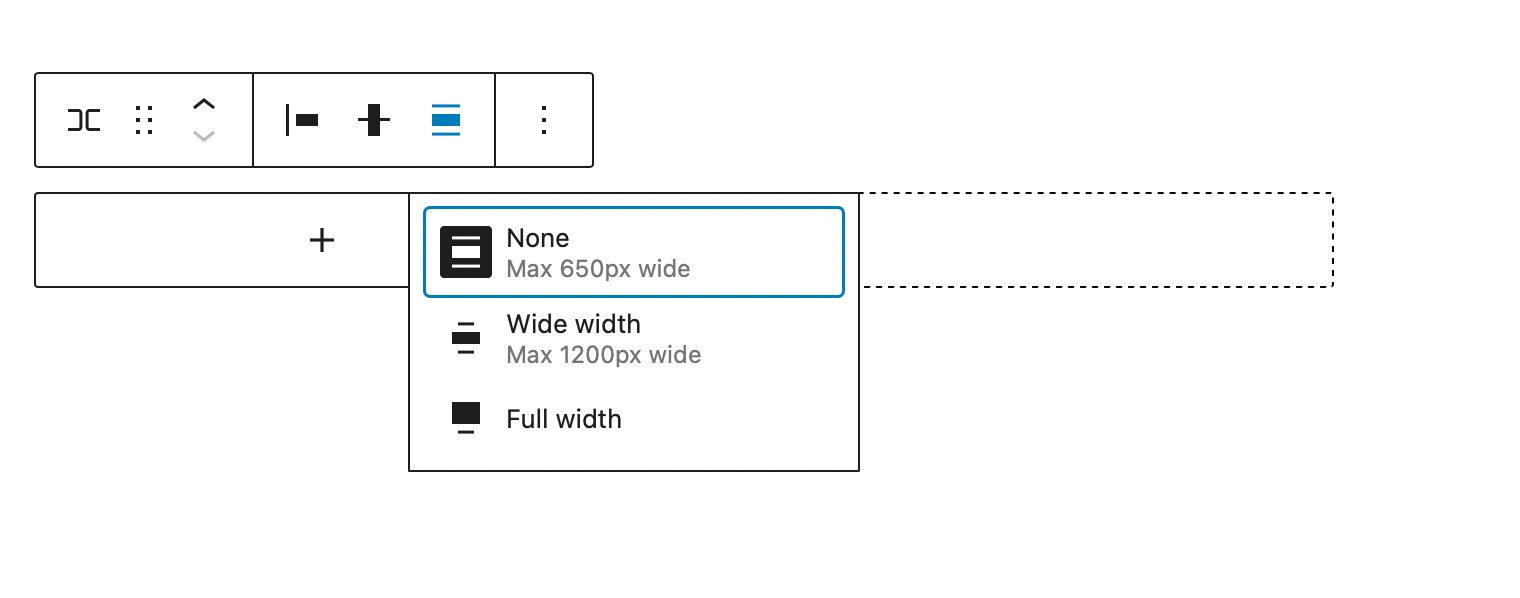
Width Controls
You can specify the width of the block to be a max of 650px wide, 1200px wide, or full width. Full-width rows span the full width of the page, which is good for rows converted to covers or for a call-to-action sections.
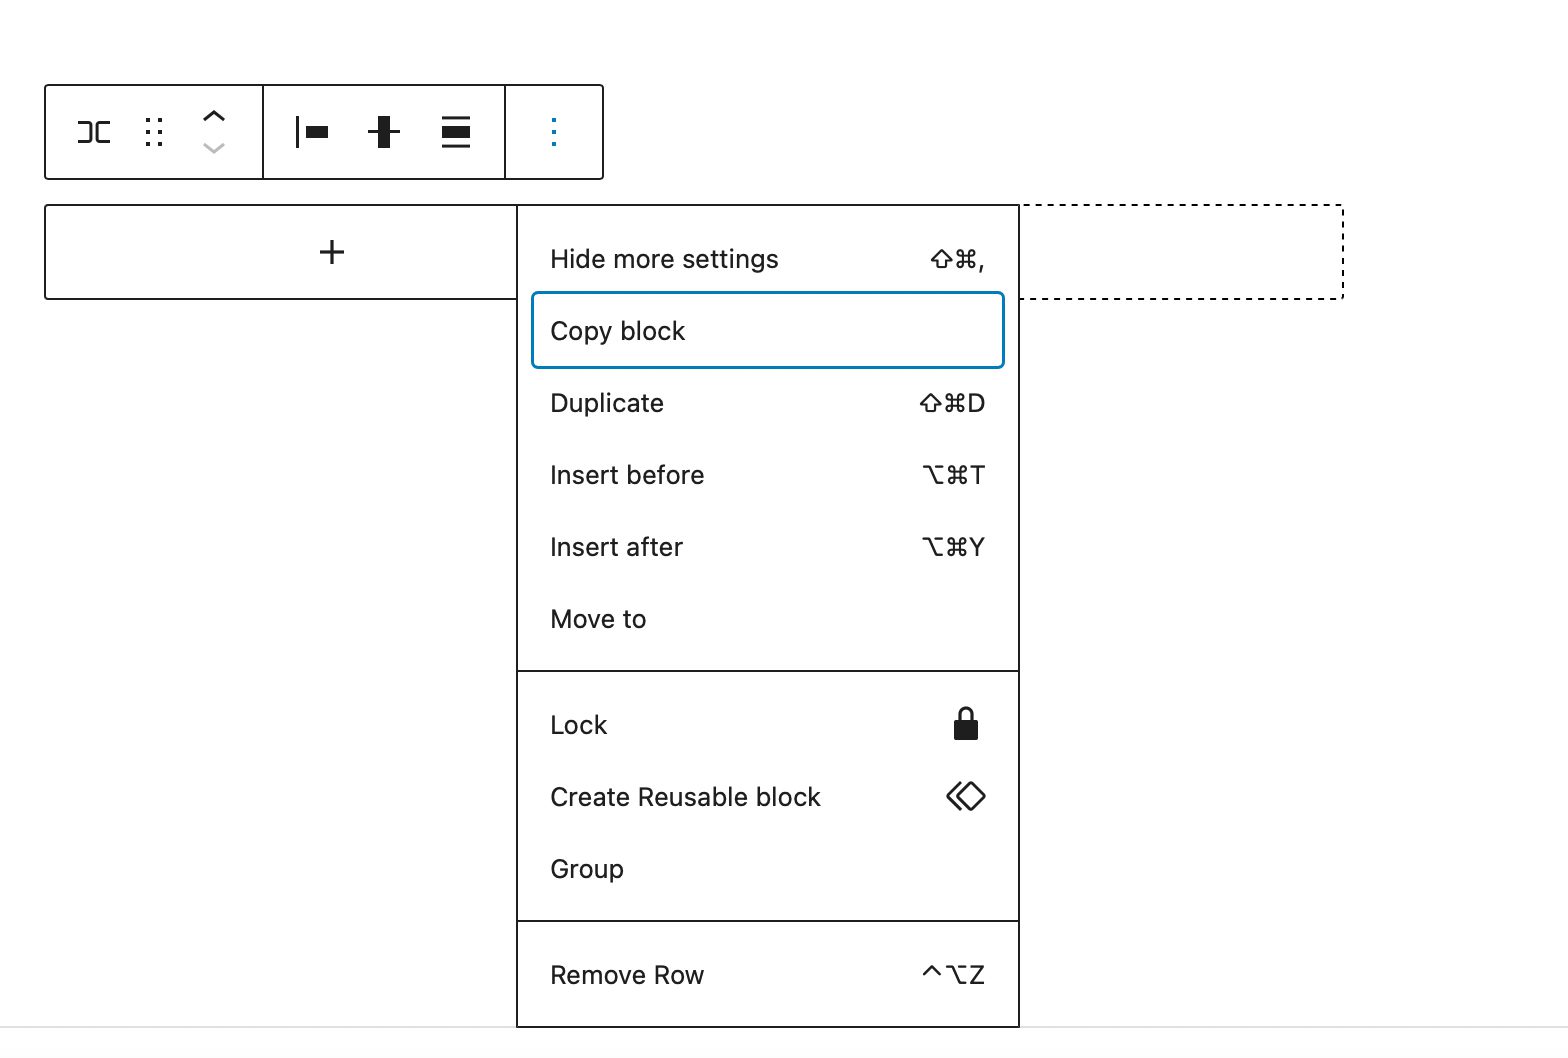
More Options
Under More Options, you’ll be able to do things like copy, duplicate, insert, move, lock, group, ungroup, remove, or create a reusable block from the row.
Additional Block Settings
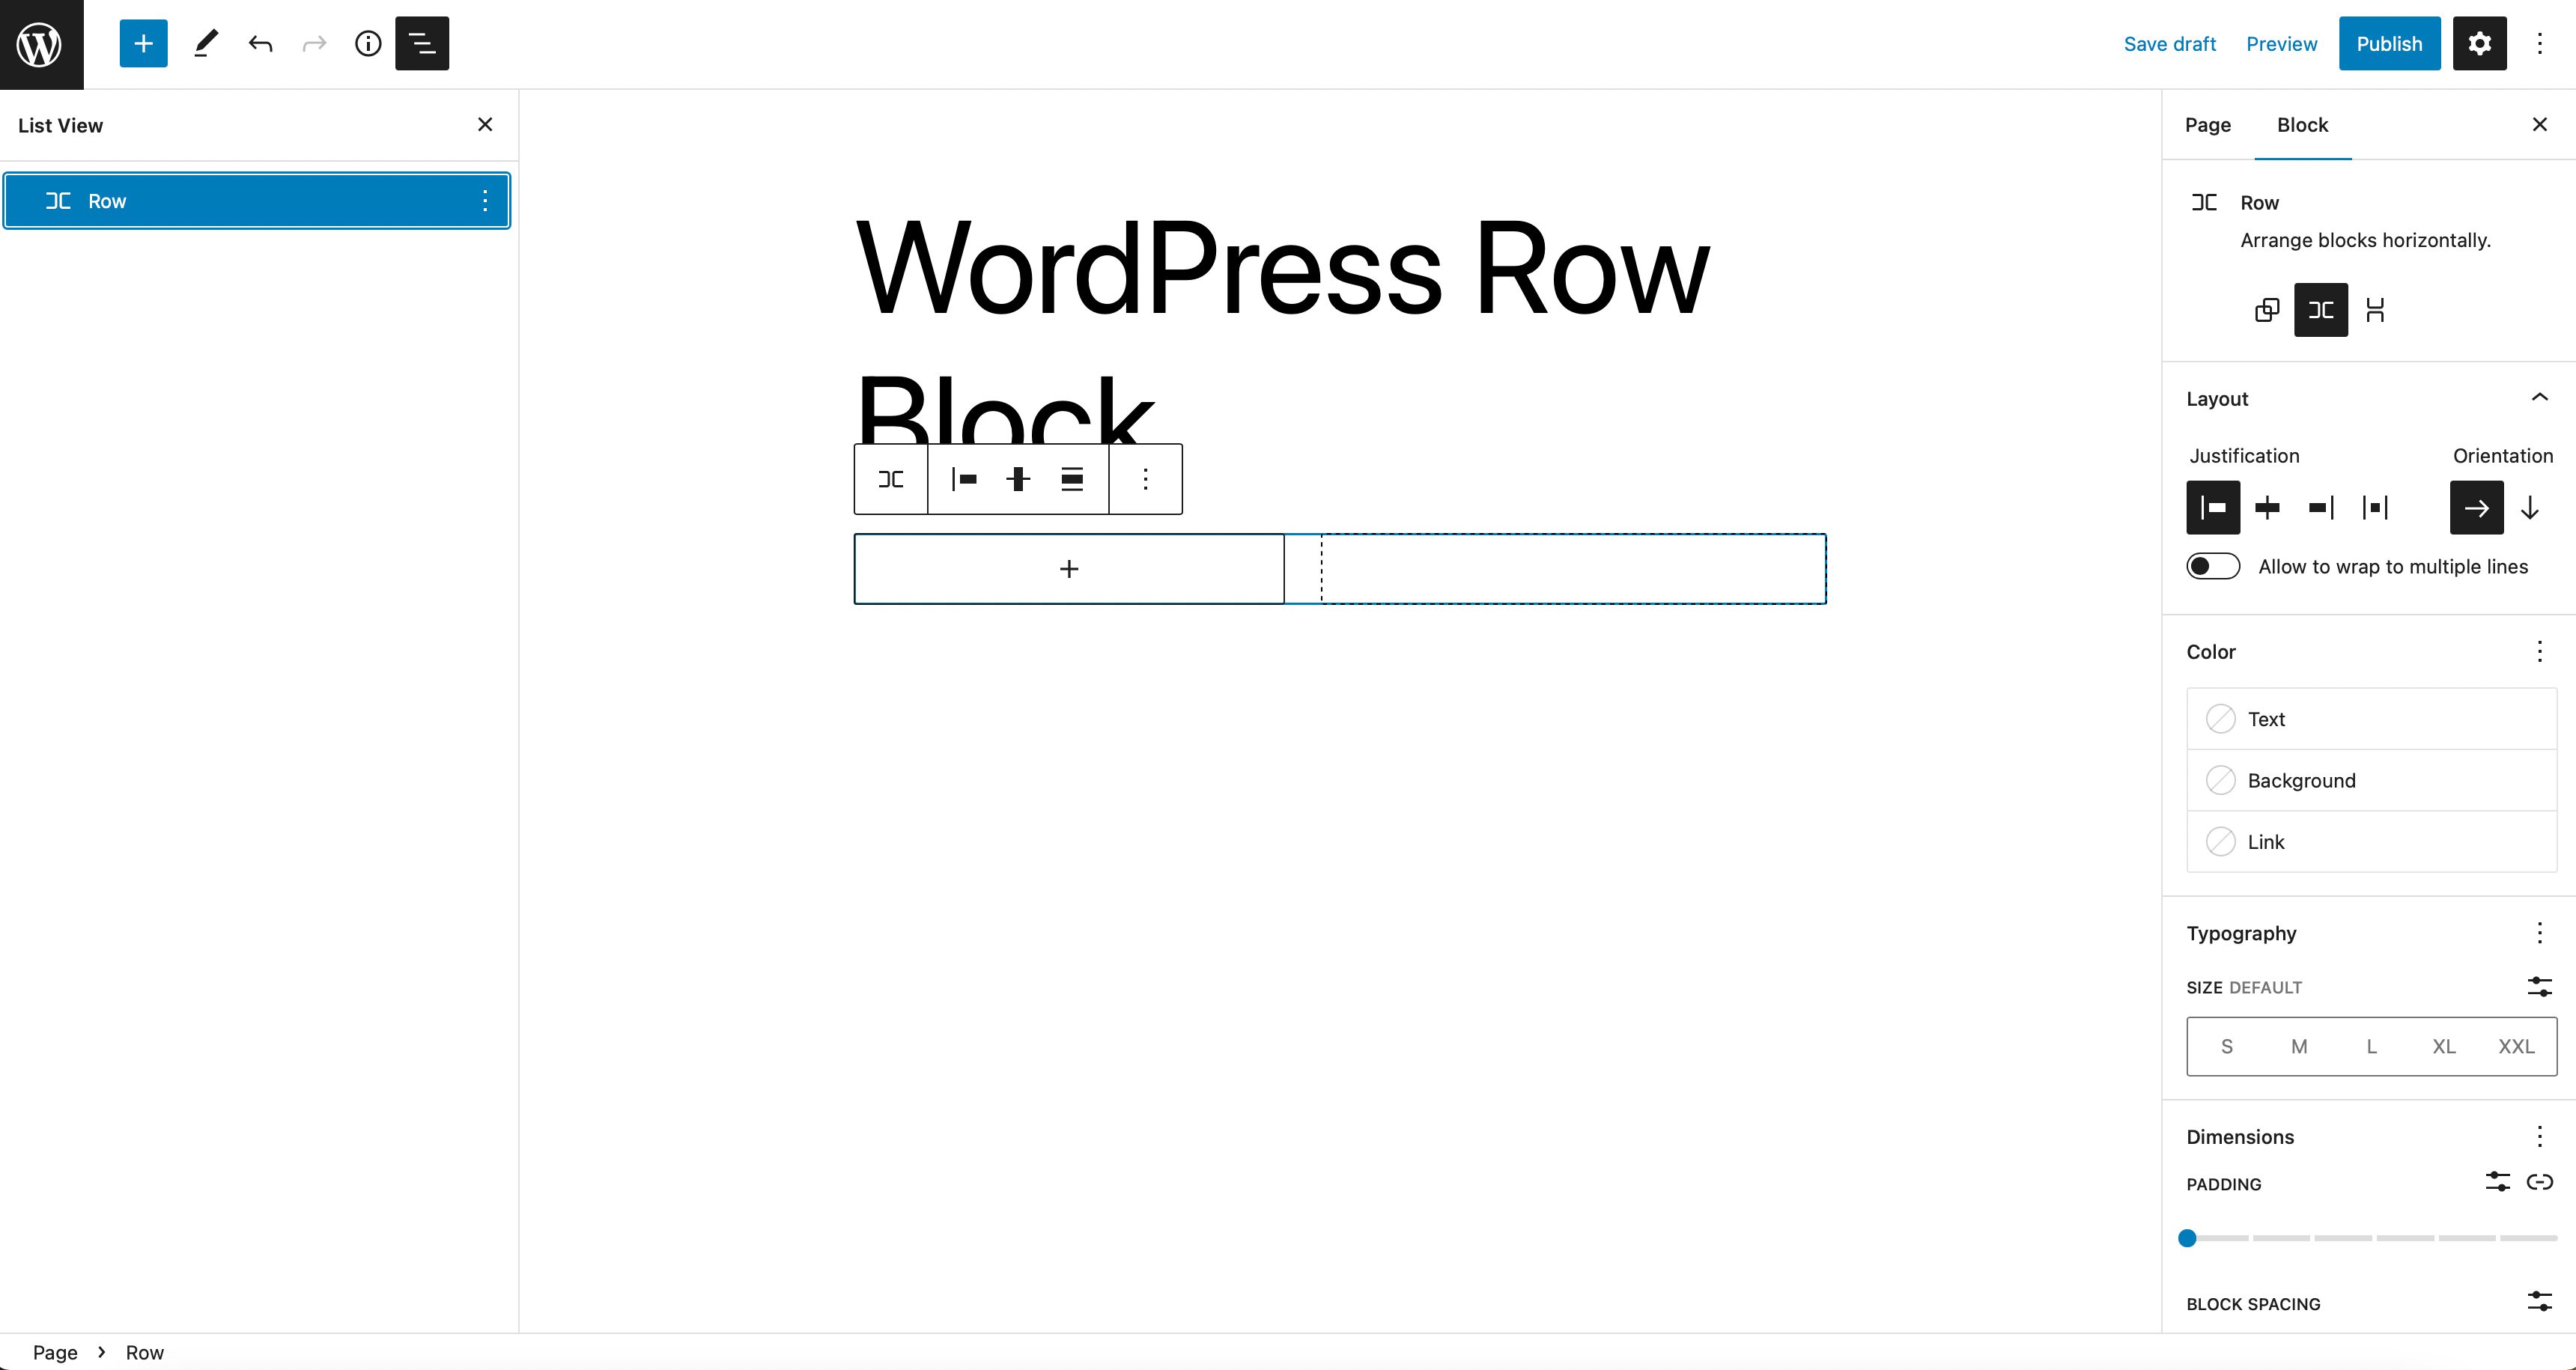
You’ll find several options under additional settings. To locate the block’s additional settings, click the block tab located in the sidebar settings for the row block.
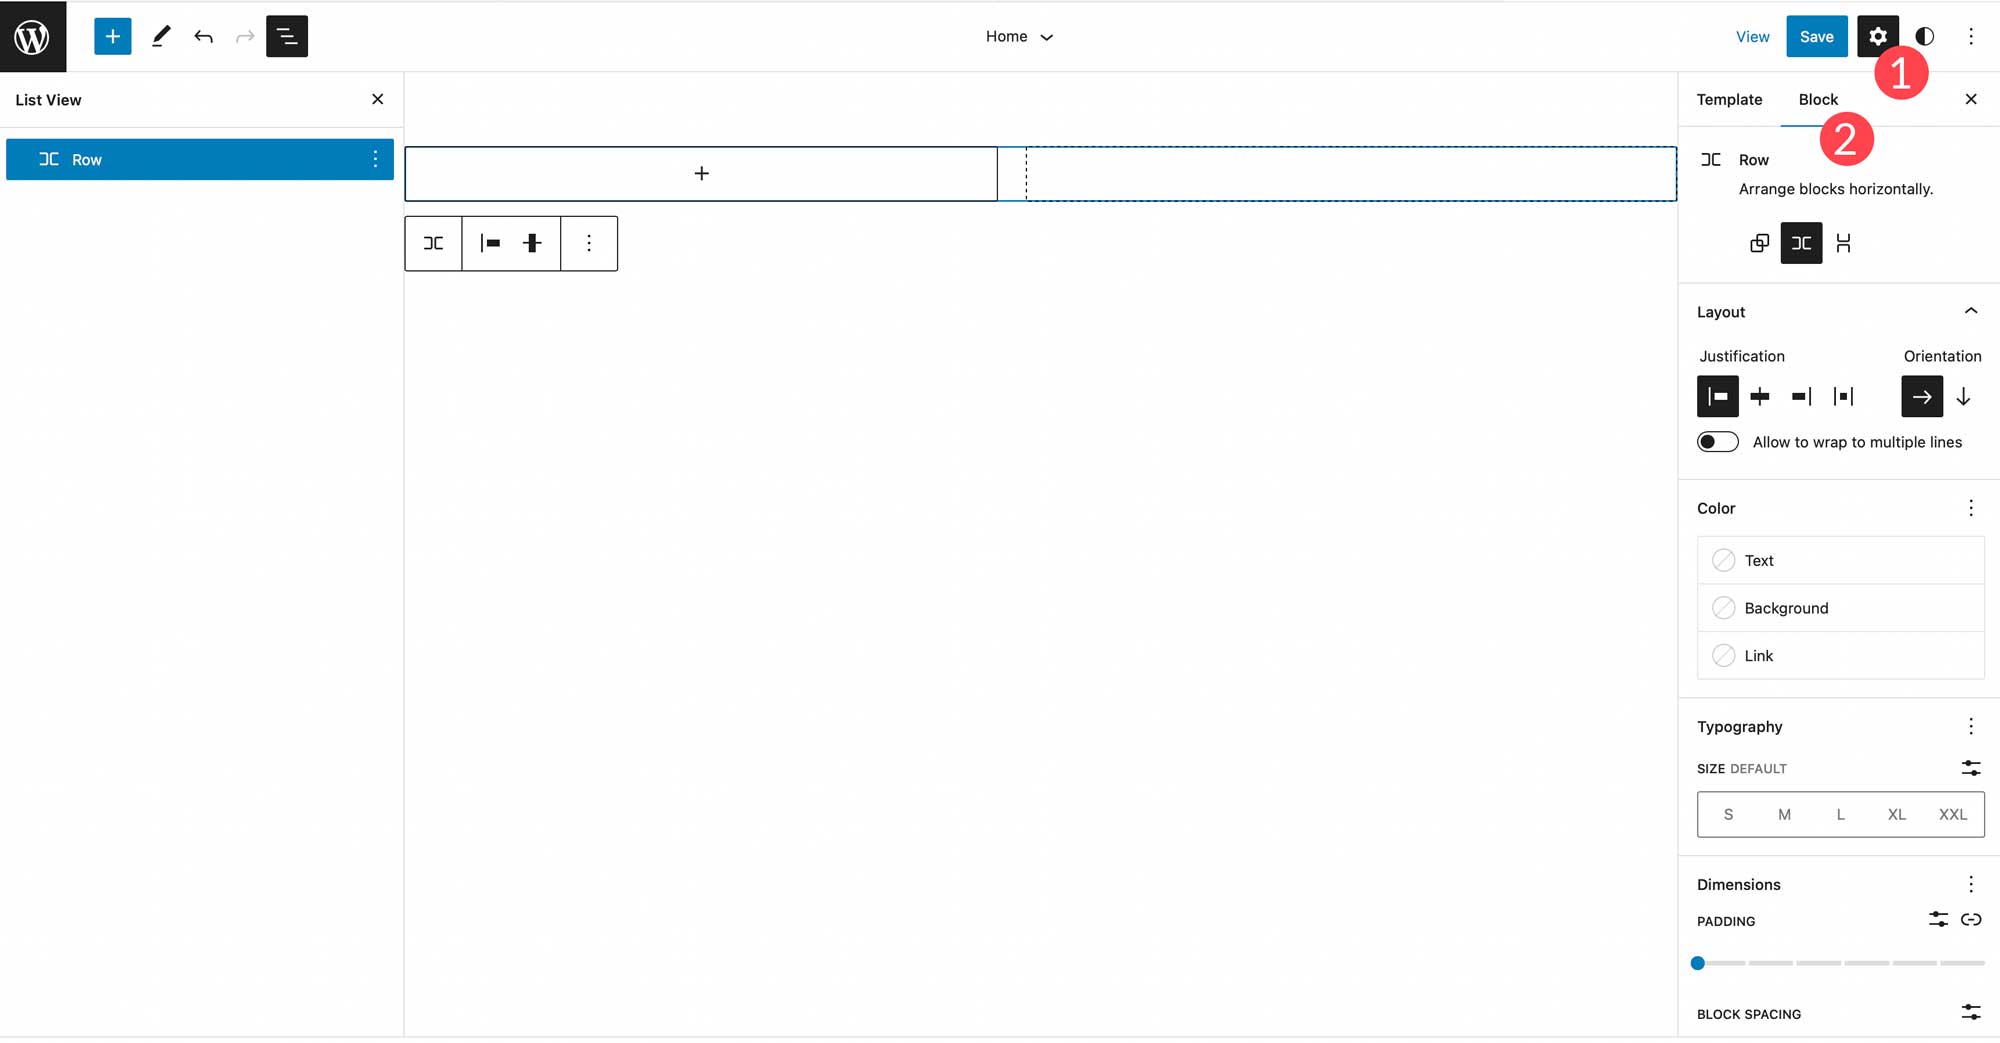
First, you can arrange blocks in your row either horizontally or stacked vertically.
Next, you can set justification and orientation options, as well as set blocks to wrap to multiple lines. Justification options are the same as in the toolbar settings. You can set your blocks to align to left, middle, right, or space evenly. Orientation functions similarly to the arranged options in that you can choose horizontal or vertical orientation.
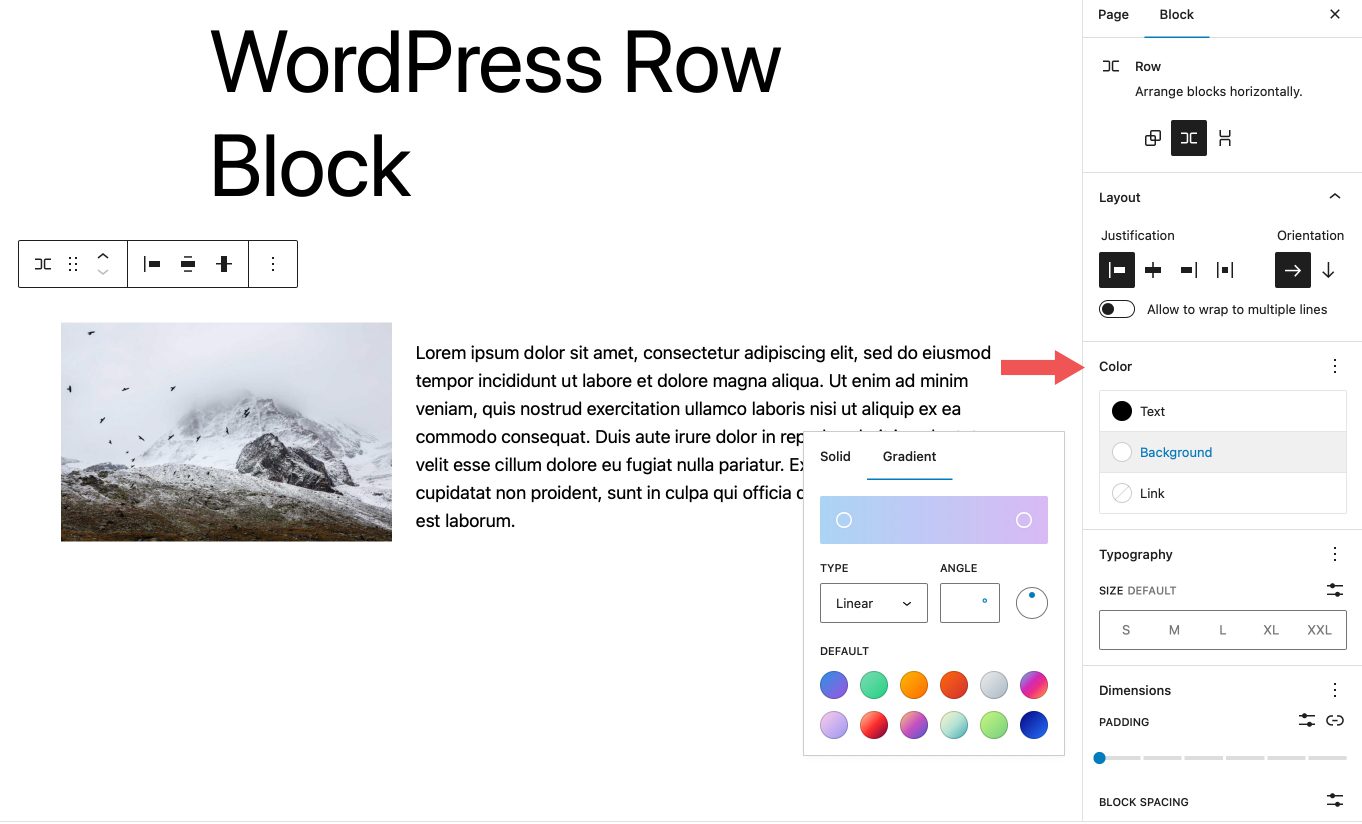
Under color options, you can change colors for text, background, and links in the row’s blocks. Depending on the theme you’re using, gradient background colors are an option as well as solid colors.
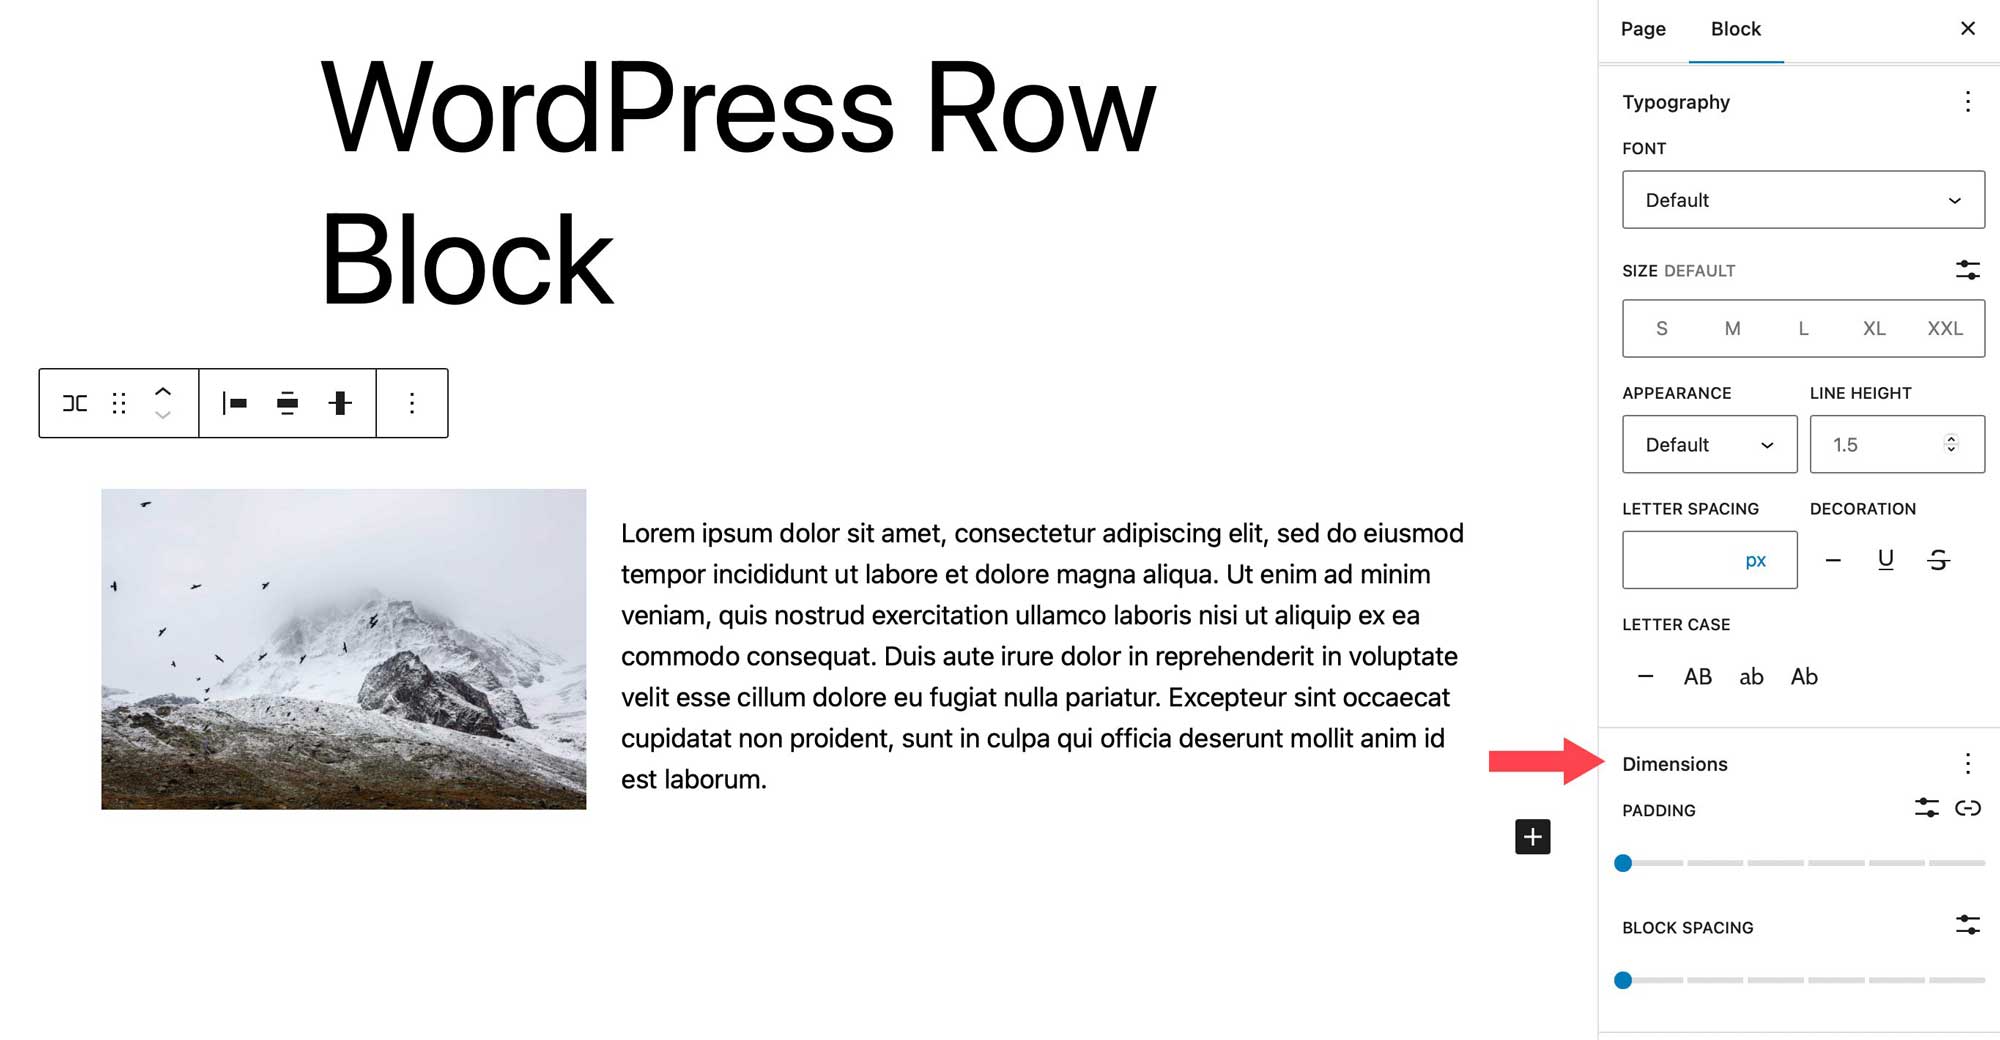
Typography options can be set for any text contained in your row. You can set the font family, font size, font weight (appearance), line height, letter spacing, text decoration, and letter case.

Dimension settings control the padding, as well as block spacing. Block spacing controls the amount of space between blocks.
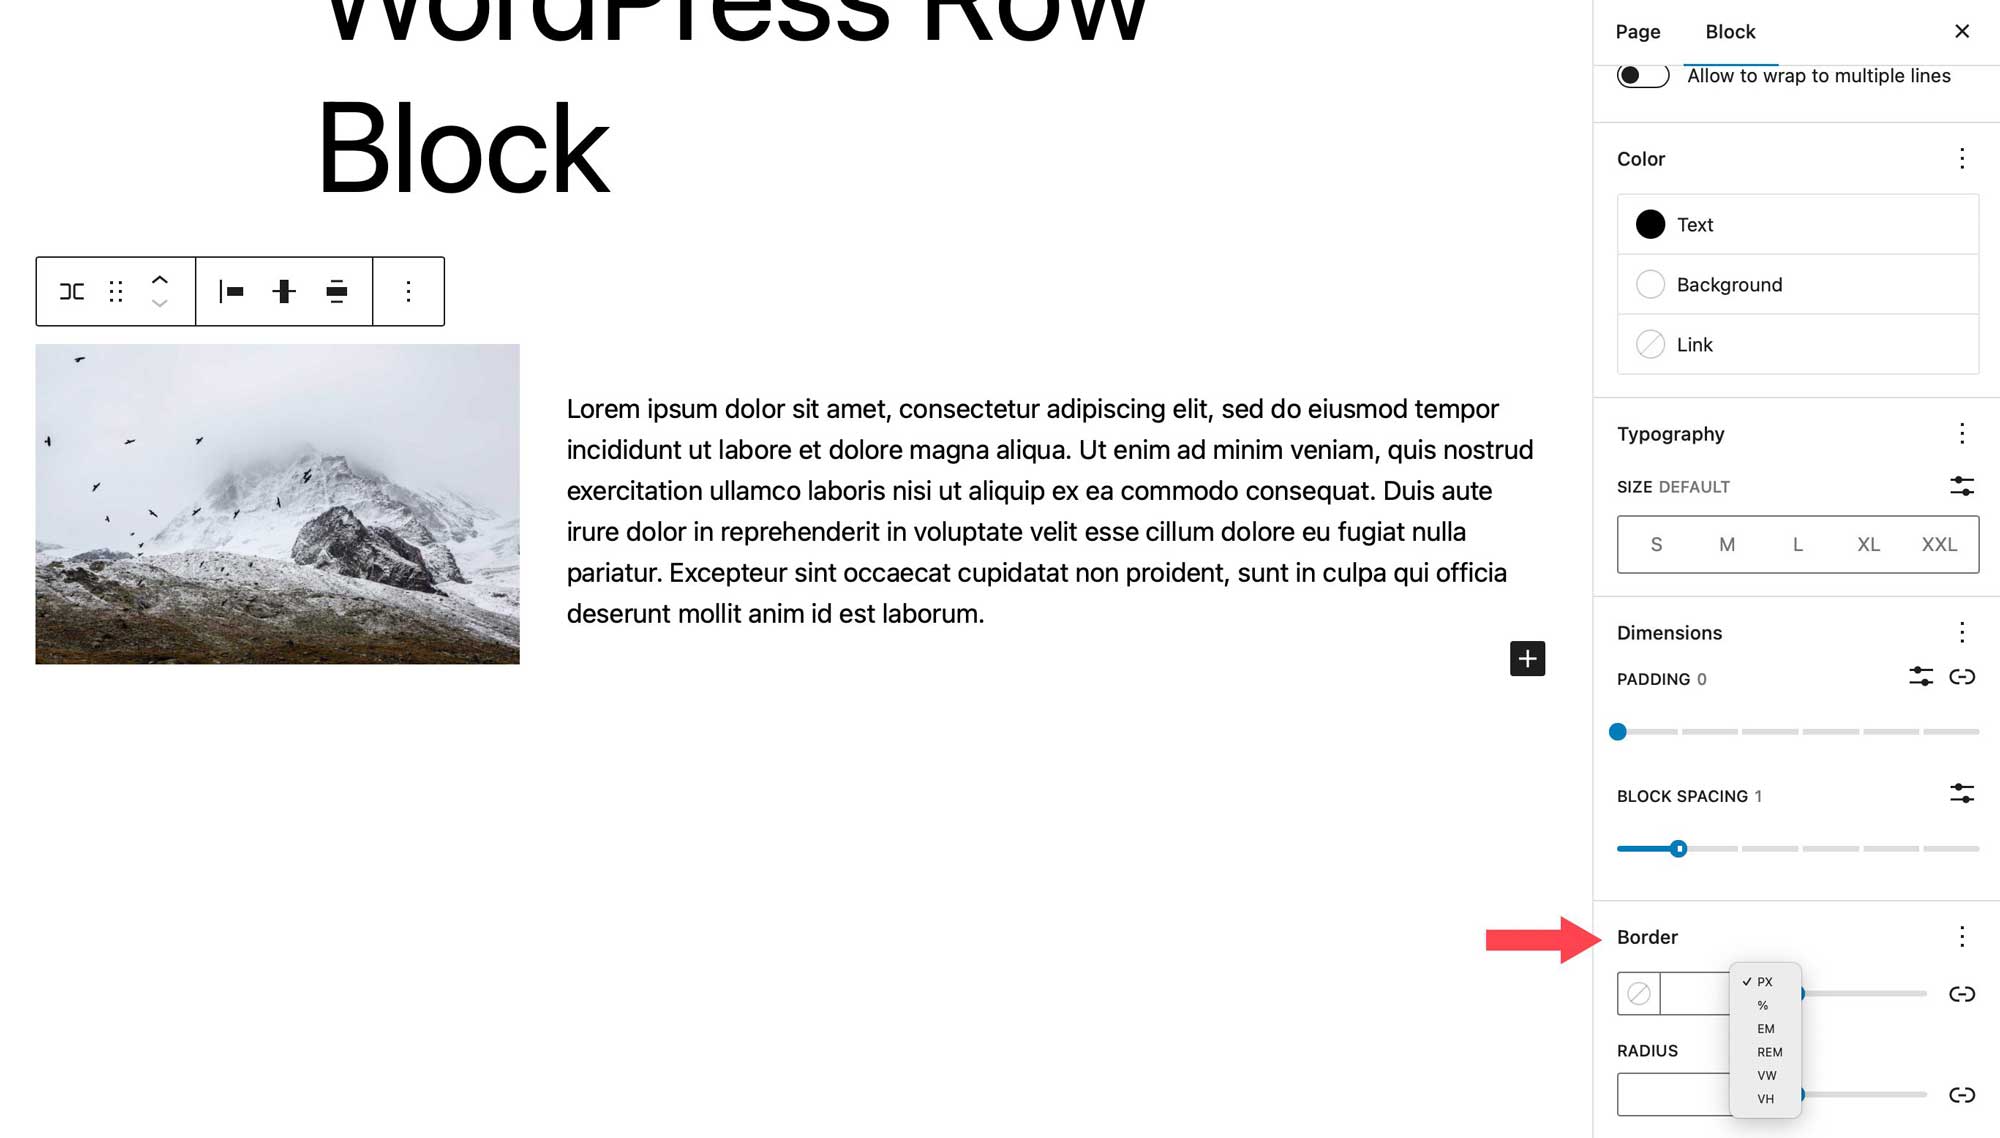
The last setting controls the border, as well as the border radius for the row. Units include pixels, percent, em, rem, vh, and vw.
Tips and Best Practices for Using the Row Block Effectively
The row block is a versatile block that will allow you to do a lot of cool things, apply nice effects to your blocks, and keep your content organized. There are a few things you should consider doing to use the block effectively. Using it is a great way to add different effects to groups of blocks. For example, when creating call to action sections for your website, you could use a call to action block, but its uses are limited. Instead, consider using a row so that you can add any type of block that you want.
Additionally, using a row allows you to set the width, vertical alignment, and background options for a group of blocks. This can come in handy when you are trying to draw emphasis to a certain section of your website, such as a group of posts, for example.
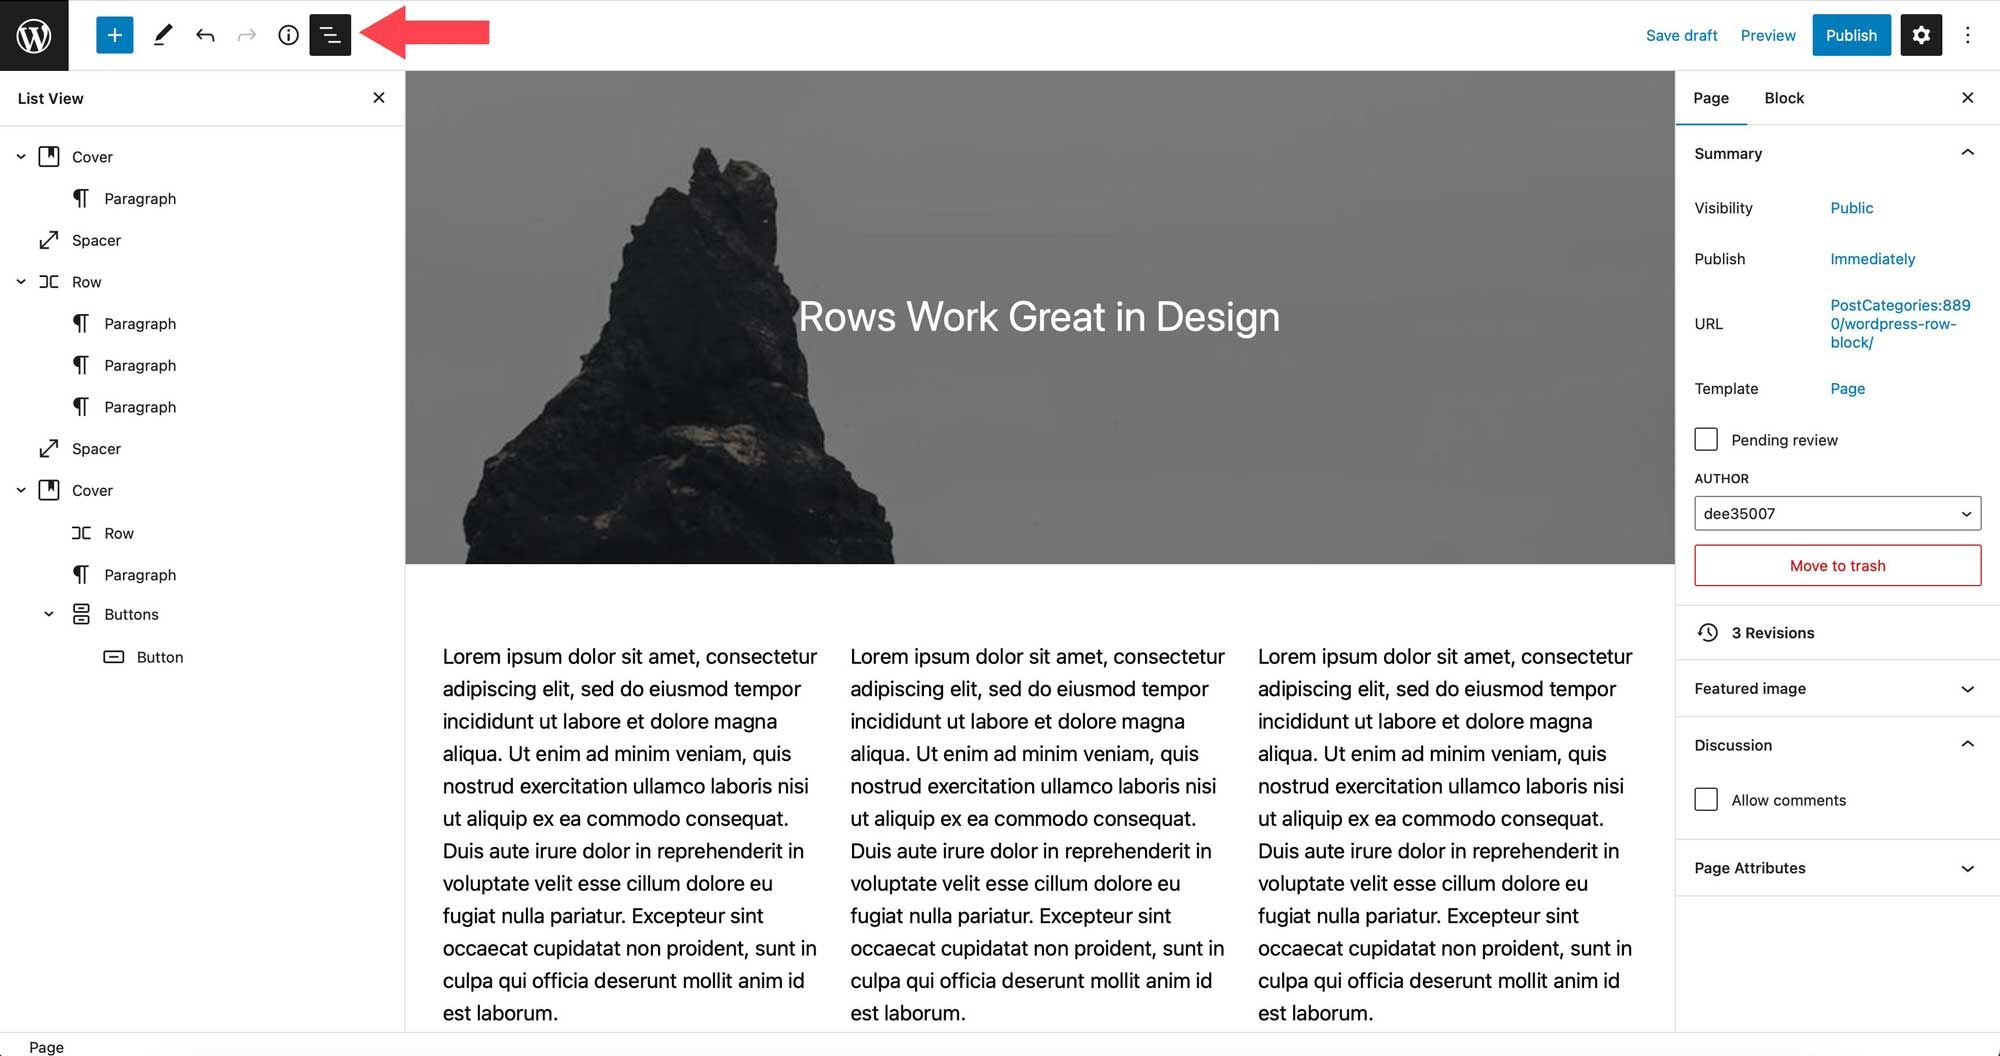
Another tip you should consider when using rows is to utilize the list view. The list view comes in handy, especially when you have quite a few blocks on a single page. You can easily determine where your rows begin and end, drag blocks to other locations within the row to arrange them, and add new blocks exactly where you want them.
Frequently Asked Questions about the Row Block
The row block is a complex block with a ton of uses and features, so you’re bound to have some questions. Hopefully, these will help.
What’s the Difference Between a Row Block and a Column Block?
Rows and columns are very similar to each other. A row works the same as a column in that it allows you to add blocks horizontally. However, there is one key difference. A column block requires you to designate a set width for each column, whereas a row does not. You can easily drag blocks within it to resize the column width, whereas columns demand that you enter a value to resize them.
Can I Use the Row Block in a Template?
Absolutely! As previously mentioned, the row block is suitable for use in any scenario. Whether it’s in a post, page, template part, or template, the row block is useful for all types of content. Using them is a great way to organize and structure content in your templates, as well as your posts and pages.
How Many Blocks Can I Use in a Row?
One of its coolest features is the ability to handle limitless blocks within it. Unlike the column block, there isn’t a predefined number of spaces that can be used. For example, if you were to start adding images blocks to a row, your images will continue to display from left to right, regardless of how many you add. Each image will scale to fit within the space allotted.
Conclusion
The row block is a crucial design element for providing structure to your website content. It can be used within templates, posts, and pages, and can contain unlimited blocks within it. It’s useful in creating template parts such as headers where multiple blocks are displayed. For example, a header row might contain the site logo, page list, social icons, as well as a call to action button. If you’re creating a website using blocks, this block will be essential.
How do you incorporate the row block into your WordPress website? Let us know by sounding off in the comments section below.


Leave A Reply