
Thanks to the introduction of Gutenberg blocks in version 5.8, WordPress makes it easy to organize your content and create awesome patterns. With the help of the WordPress Stack Block, you can add any type of block you choose, then display it vertically to create beautifully stunning layouts with ease.
What is the Stack Block in WordPress?
The WordPress Stack Block is a useful block that allows you to stack multiple blocks in a vertical column. Similar to the row block, it allows you to group multiple blocks together, making it easier to keep your blocks nice and tidy. It’s a versatile block because you can add any block you wish within it such as headings, images, buttons, and more.
How to Add the Stack Block to your Template
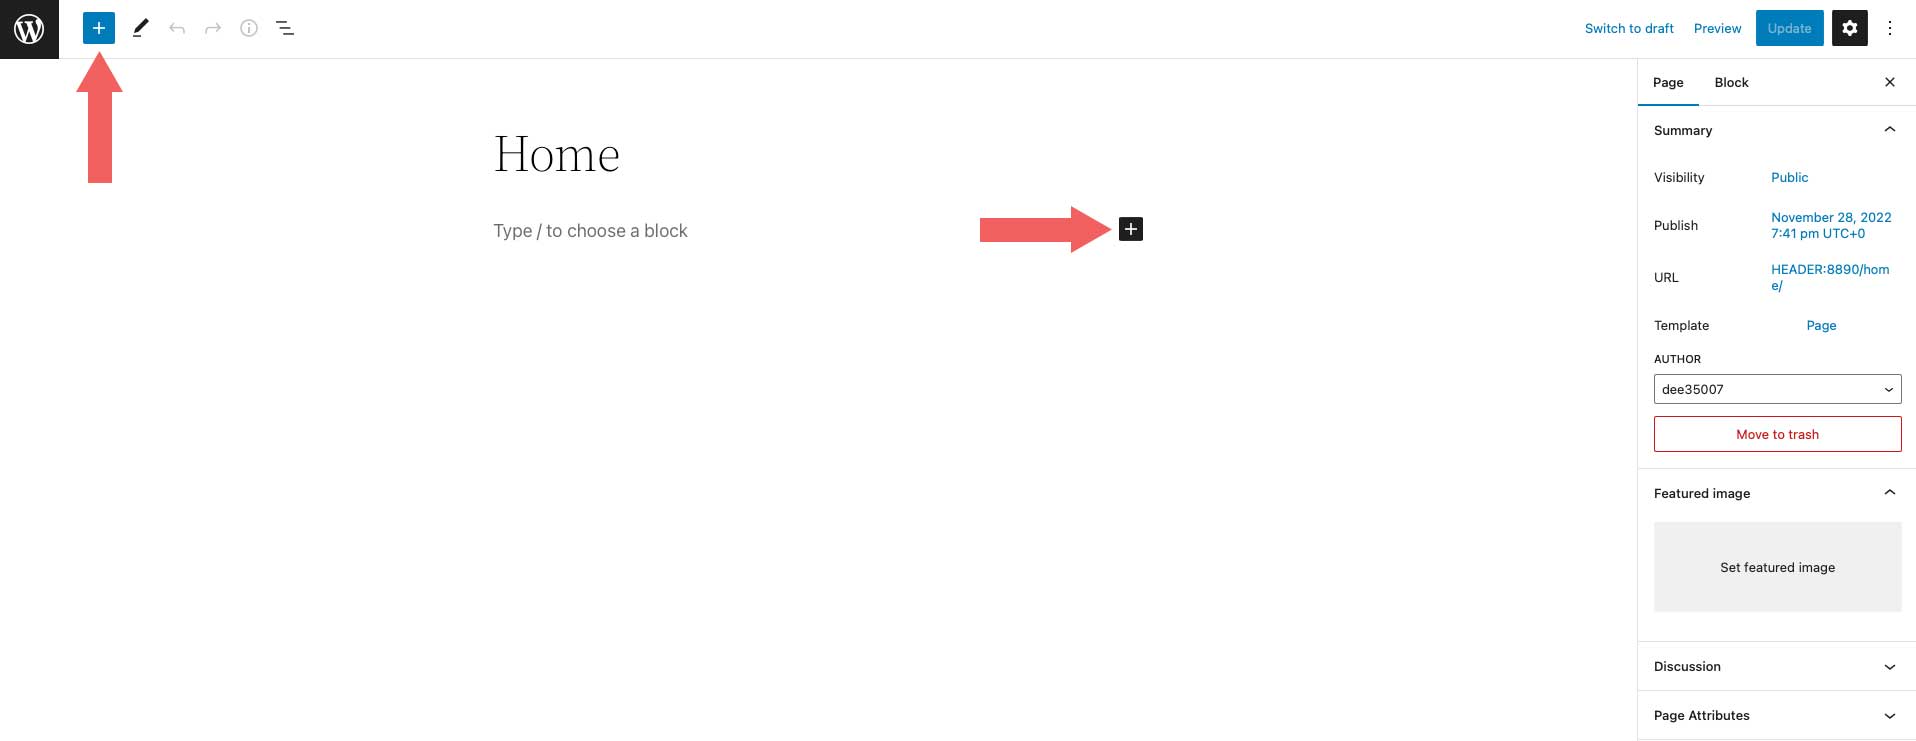
Adding the Stack Block to your page using the WordPress Editor is a simple process. Start by clicking the block inserter icon near the top left of the site editor screen.
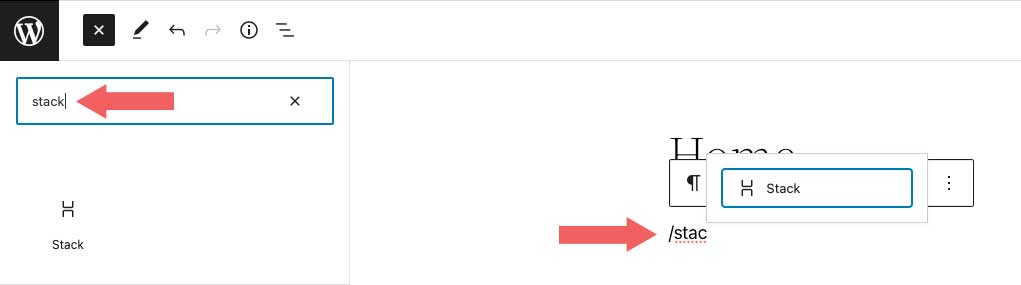
Next, you can either search for the Stack Block or type /stack into the page editor directly. Then, simply click the block to add it.
Stack Block Settings and Options
There are two settings groups within the WordPress Stack Block – toolbar and additional settings. Let’s go over each group to give you a better understanding of how to use it.
Toolbar Settings
As with every block in WordPress, there are a few standard toolbar settings for the Stack Block. They can be observed by viewing the screenshot below:
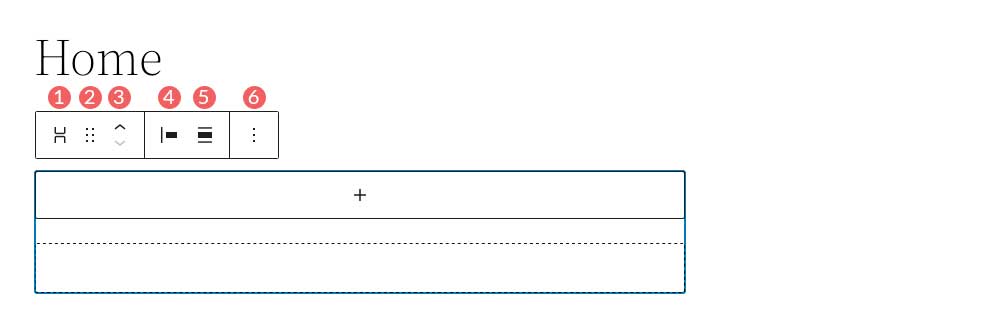
- Transform to
- Drag
- Move arrows
- Justification
- Alignment
- More options
The first setting in the Stack Block is Transform To. With this option, you can turn the Stack Block into a quote, unwrap (ungroup) it, convert it to columns, or convert it into a cover block.

The next two settings – drag and move – allow you to either drag your block into a different position on the page, or use the move arrows to move it up and down.
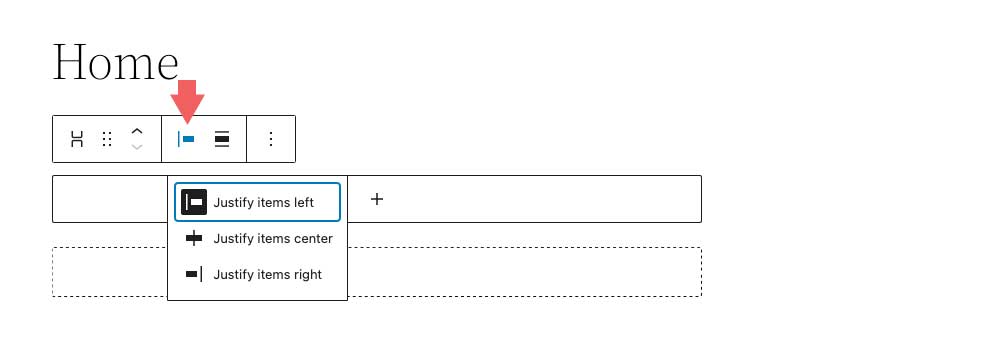
The Justification option in the toolbar settings controls the justification of the blocks within the stack. They can either be aligned to the left, center or right.
Next is the Align option. This option doesn’t necessarily control alignment, but rather the width of the stack. You can set it to None, which will allow the stack and all interior blocks to occupy a maximum of 650px. Wide width will allot 1000px for the stack, and Full width will stretch the Stack Block and all interior blocks across the full width of the page.

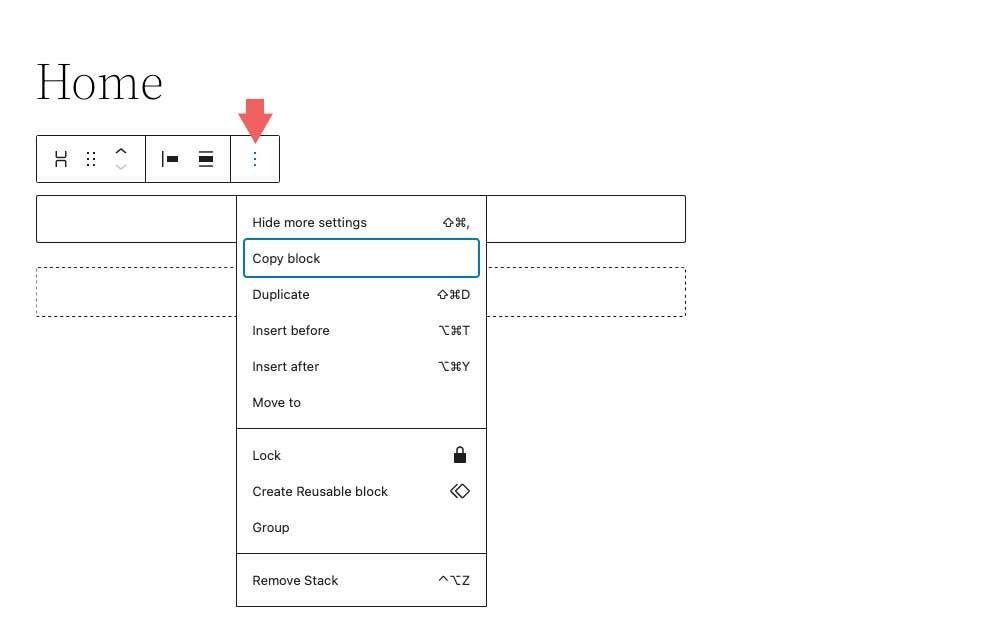
The last toolbar settings group is more options. Within it, you can copy, duplicate, insert, move, lock, group, remove, or create a reusable block.
The Stack Block Settings
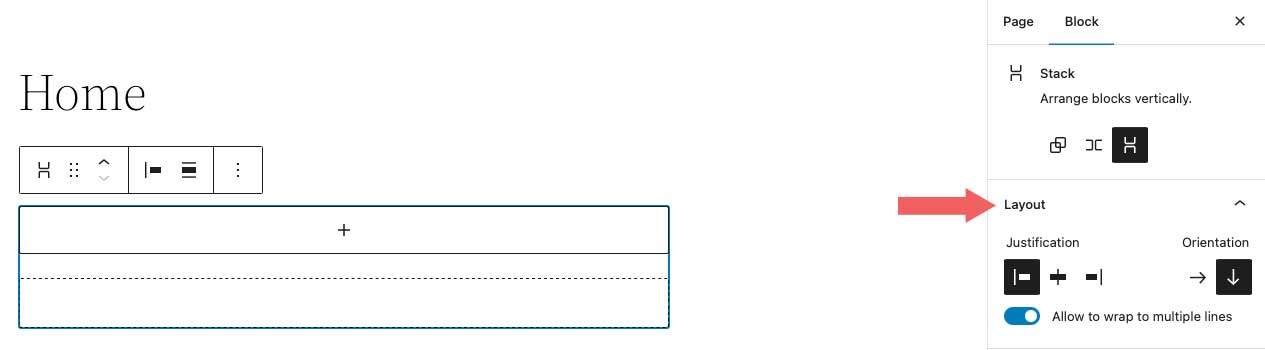
There are quite a few additional settings specific to the Stack Block. First, there is the Layout setting. Under the Layout options, you can control the justification and orientation of the stack, as well as control whether the blocks within the stack should be allowed to wrap to multiple lines. Justification options include left center, and right. For orientation, you can choose whether to orient them horizontally or vertically.
Note that if you choose the horizontal orientation, the Stack Block will automatically be converted to a row block.
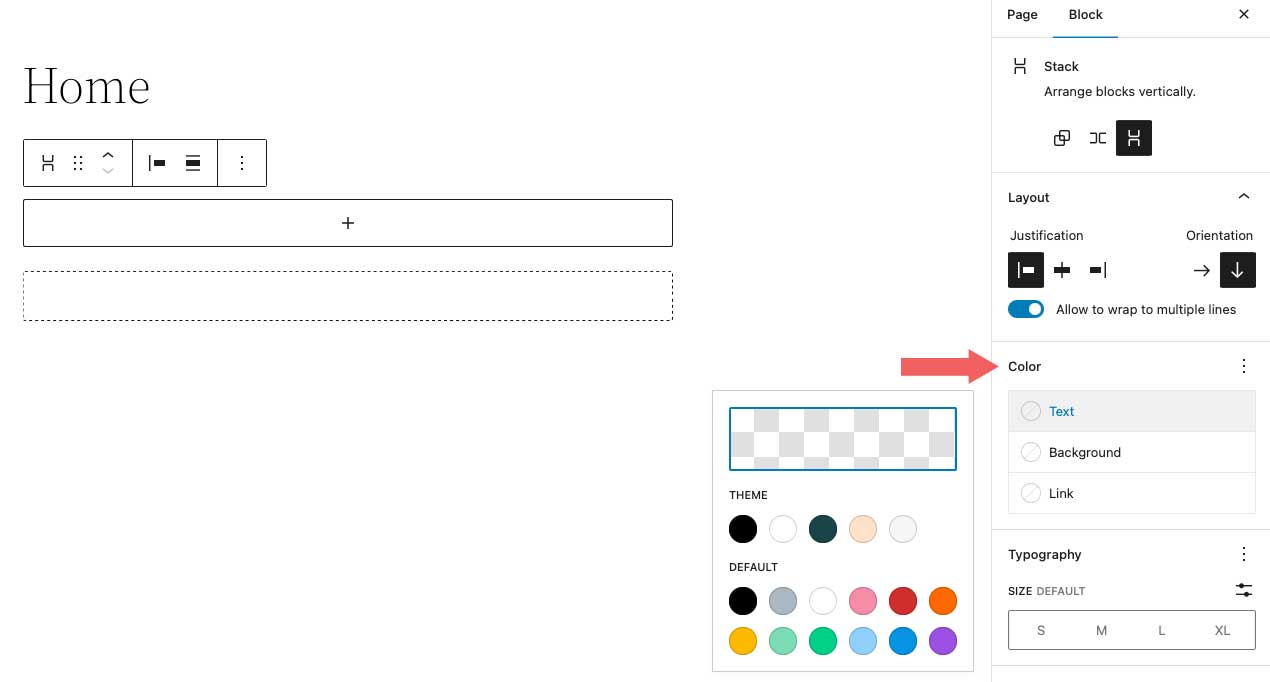
Next is the Color settings. When selecting a text color on the stack, it will control the color of the text on every block inserted into it. Alternatively, when choosing a background color, it will only apply a background color to the stack itself, rather than its contents. Finally, link color settings control any links added within the Stack Block.
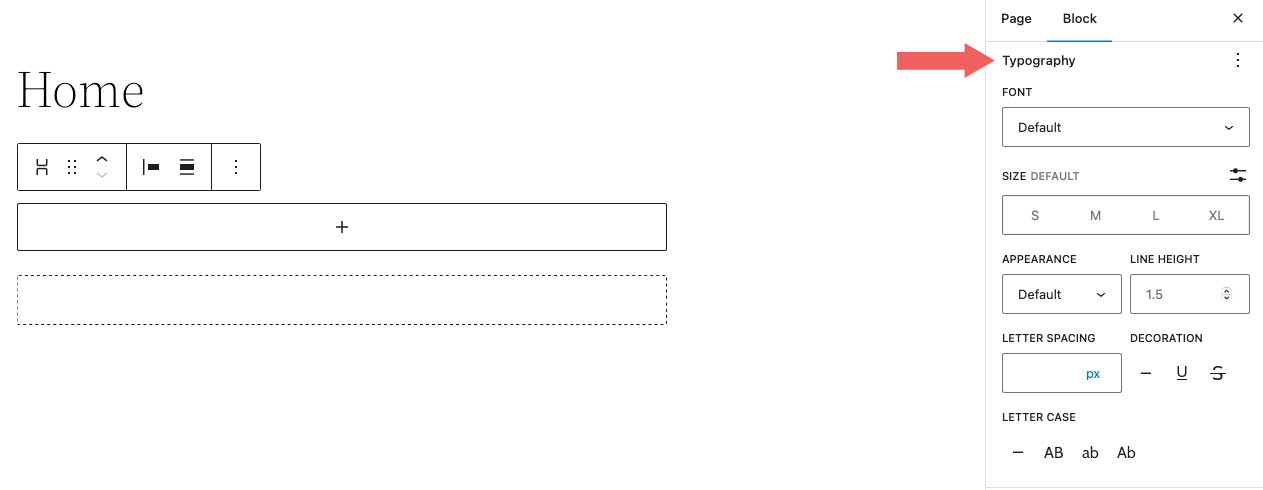
Within the Typography settings, you can set the font size, appearance, line height, letter spacing, text decoration, and letter case for any block inserted into the Stack, which contains the text.
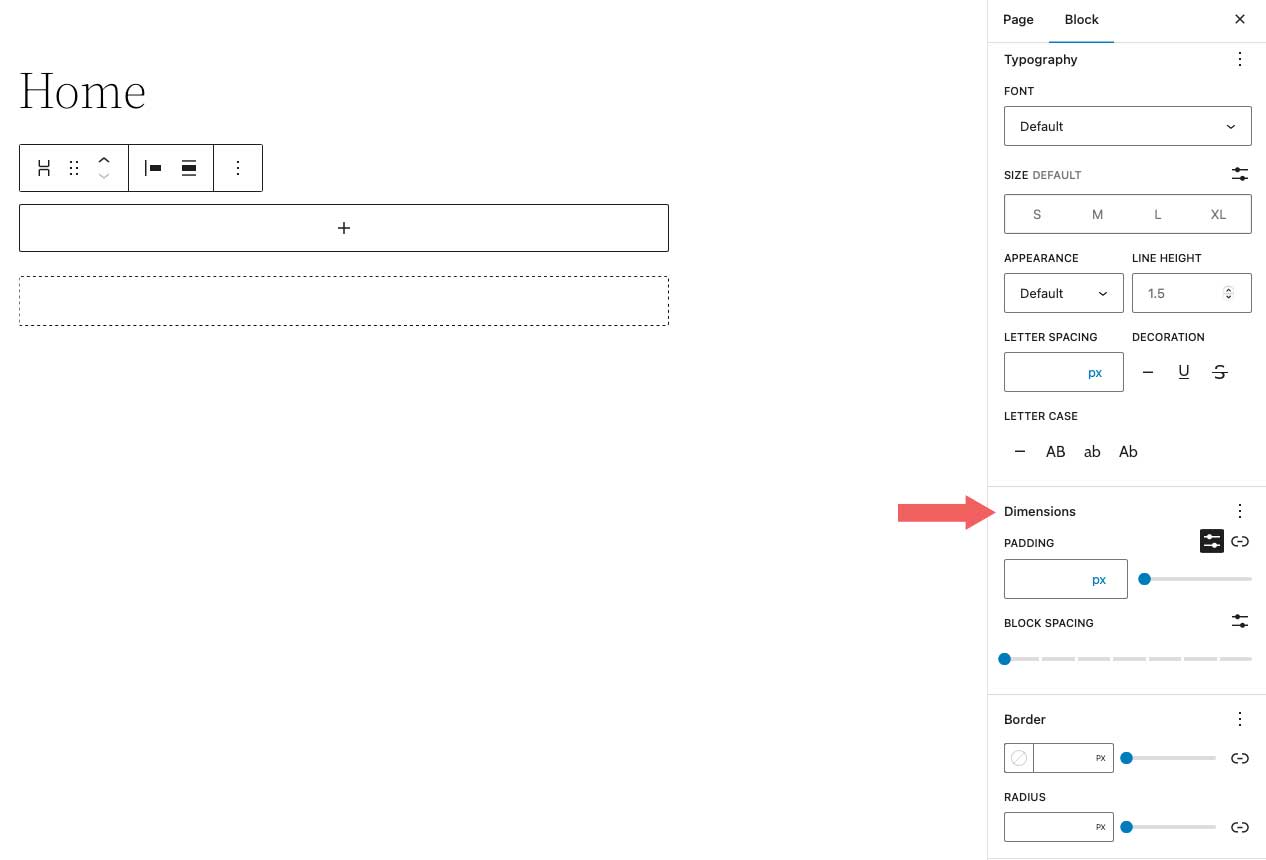
Next are the Dimension settings. Here you can control the padding around the Stack. You can either set padding as a whole, or individually for the top, left, bottom, and right. Additionally, you can control the block spacing for all blocks contained within the stack.
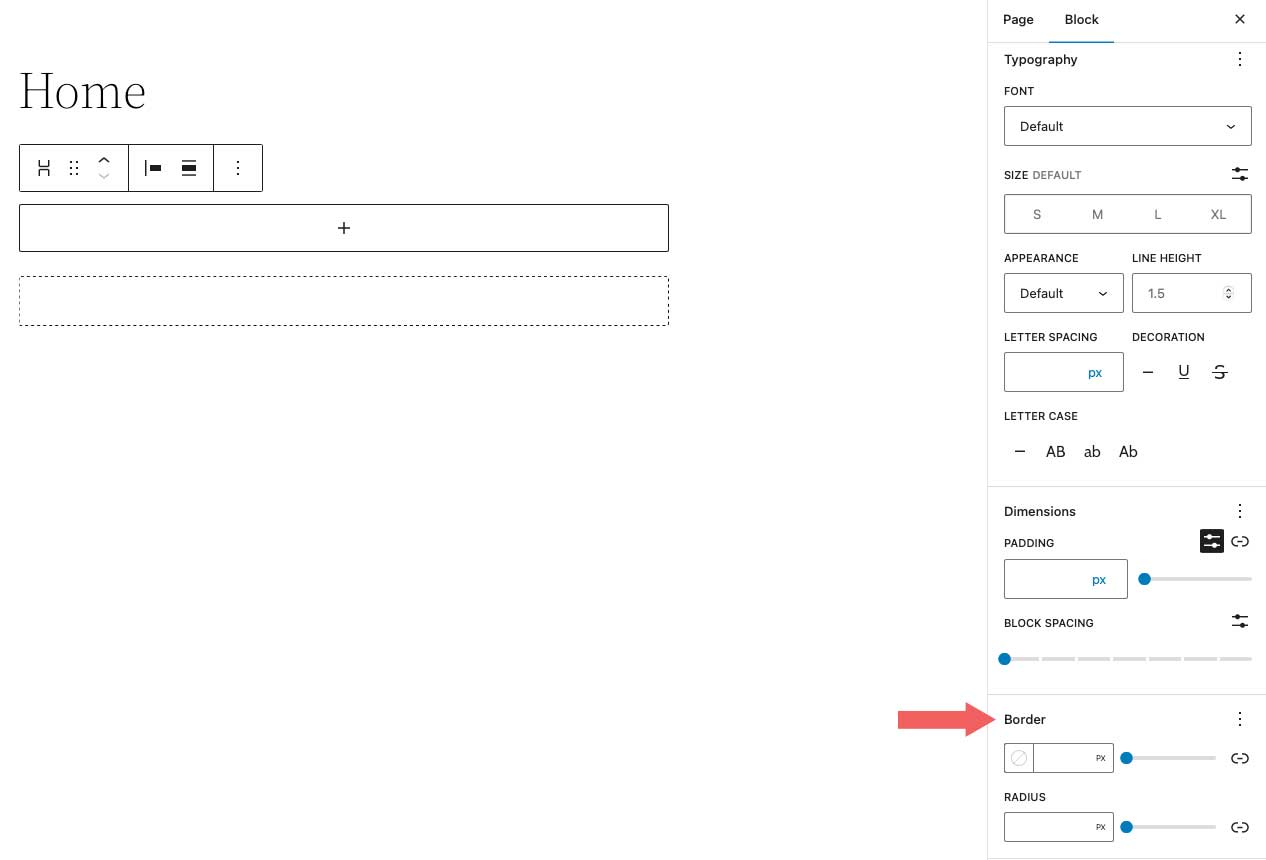
The Border options allow you to add a border and/or a border radius to the Stack.
Tips and Best Practices for Using the WordPress Stack Block Effectively
Even though the block is fairly simple to use, there are a few best practices that you should follow.
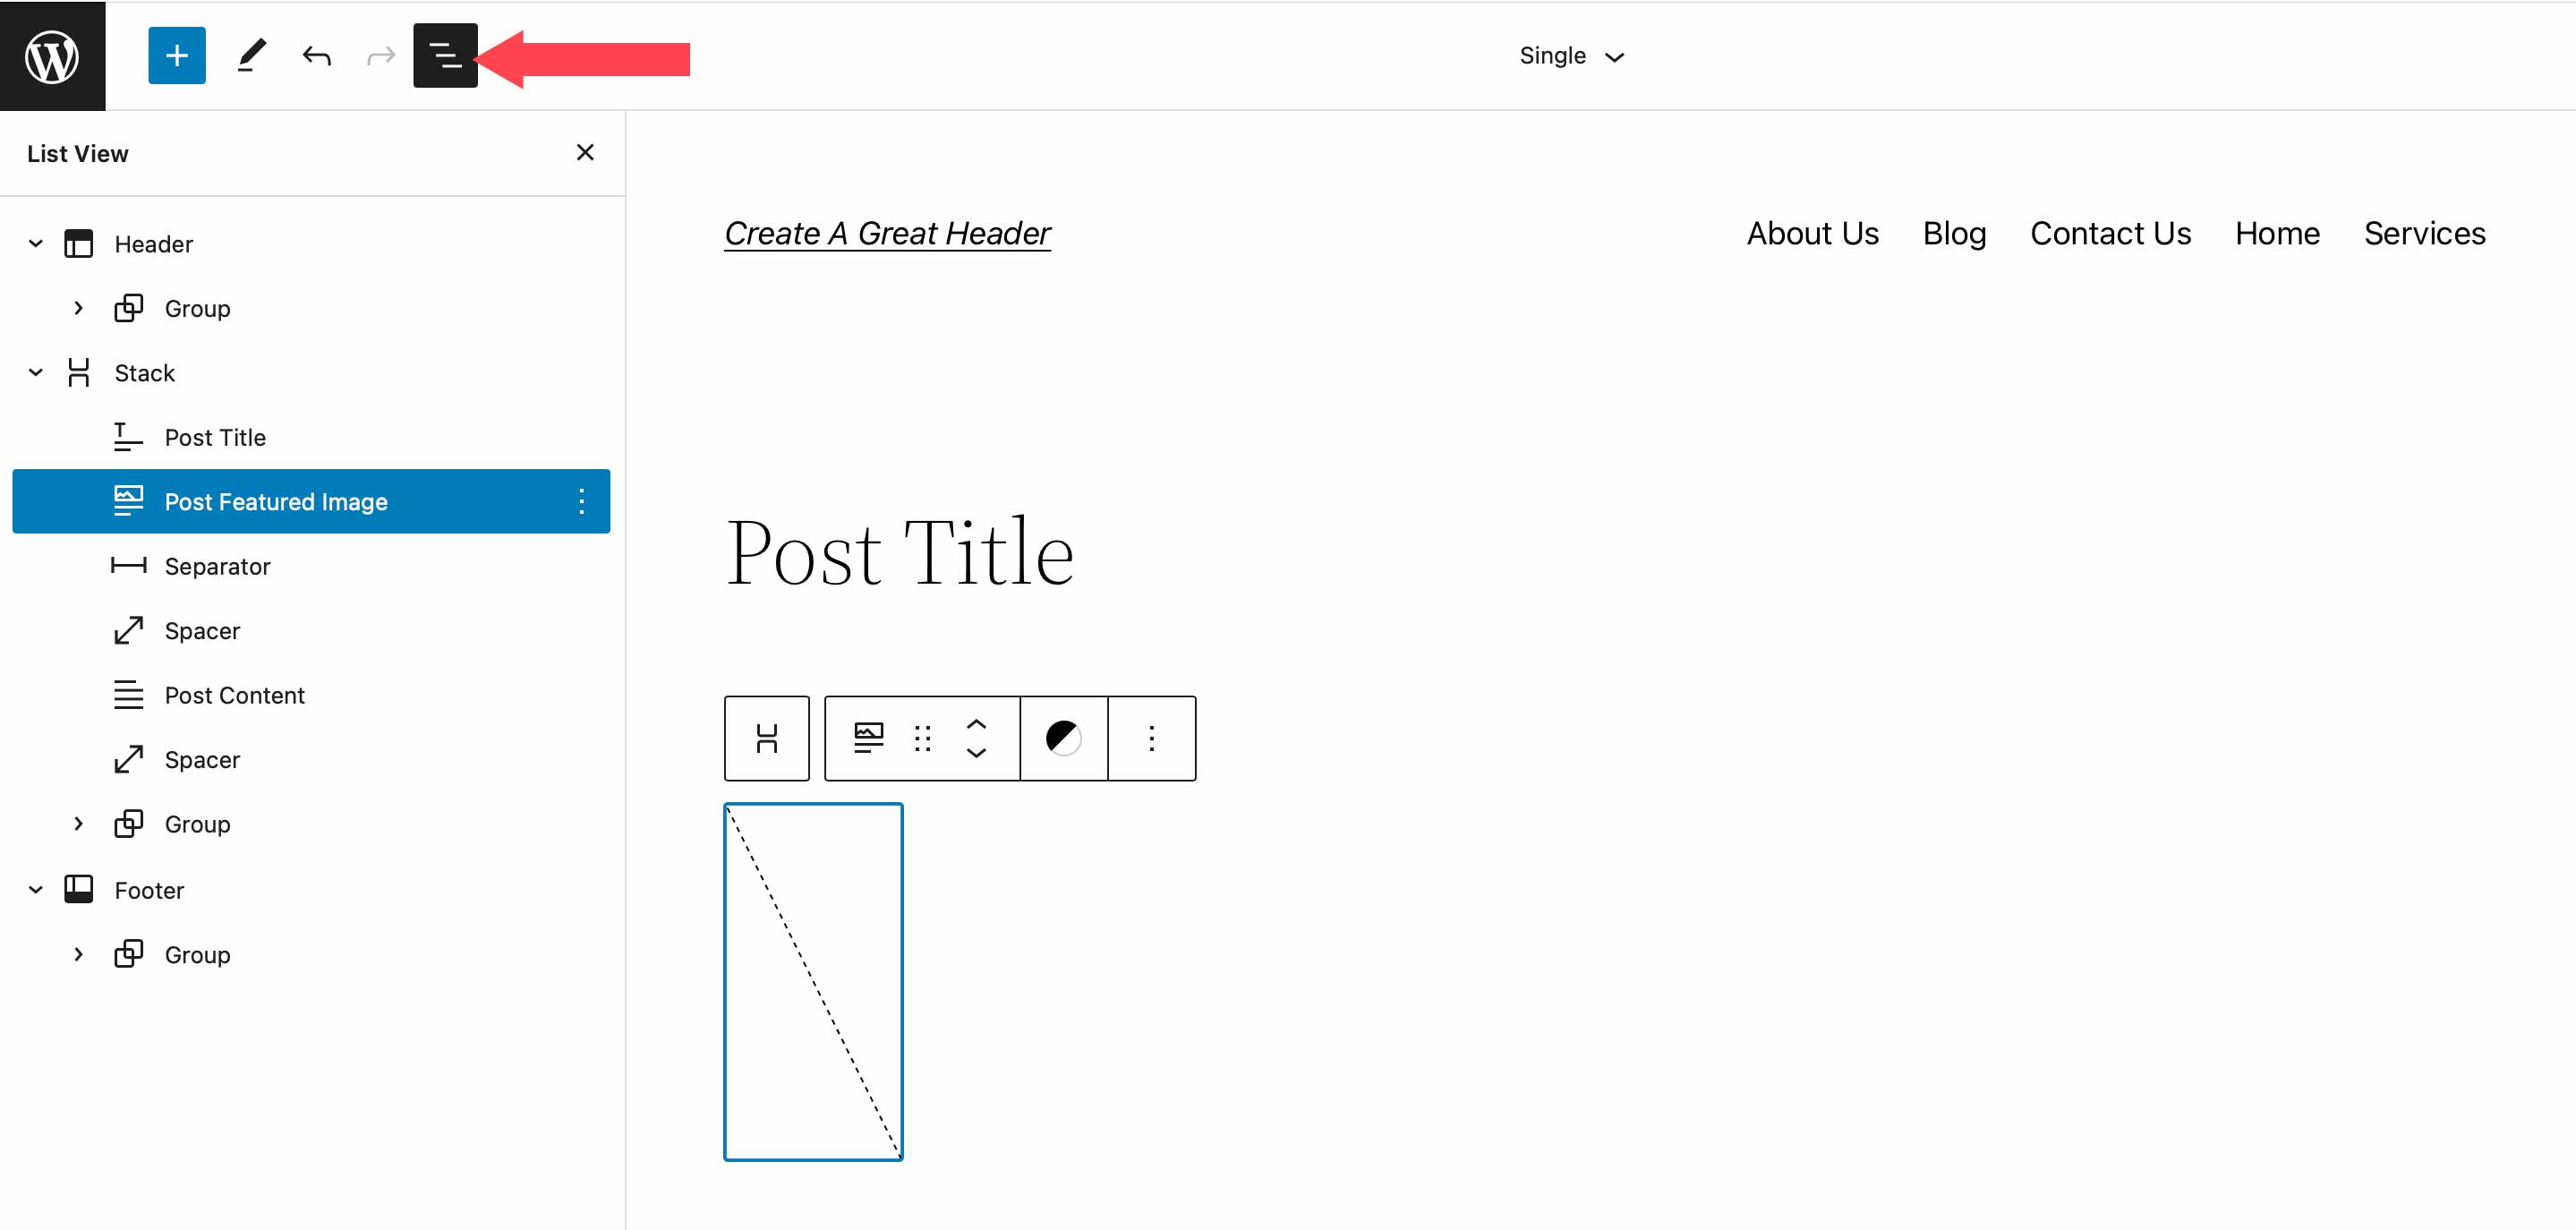
When adding blocks to the Stack, a great way to stay organized and view your blocks is to use the WordPress List View. List view enables you to view each block within the stack, and allows you to easily drag them around to move them. To access the list view, simply click the list view icon to reveal all of the blocks in your stack.
Also, make sure to keep the orientation option set to vertical. Swapping to a horizontal view in the layout settings will convert your Stack to a row. As previously mentioned, rows display blocks horizontally rather than vertically.
Lastly, when setting colors for your stack, keep in mind that if you set a text color on the Stack Block itself, it will apply to other child blocks containing text as well. If you don’t want to apply a color to all blocks within the stack, be sure to apply color settings to individual blocks within the stack.
WordPress Stack Block FAQs
The WordPress Stack Block is a versatile block that can be utilized in pages, posts, and templates. So you will likely have a few questions. Hopefully, these will help.
What’s the Difference Between a Row Block and a Stack Block?
While Row Blocks and Stack Blocks allow you to group a series of blocks together, the difference is in orientation. You should use a row block when you want to display blocks horizontally. A great example of when to use a row block is when building a header. Typically, you want to have your site logo, as well as navigation links displayed horizontally. The Block works in much the same way. It can house a group of blocks. However, a Stack Block displays the block vertically. A great way to use the block is to build a sidebar with your post categories.
Can I Use the Stack Block in a Template?
Yes! Stack Blocks are a great way to display a group of blocks vertically, and help to keep blocks organized. This is especially useful when creating a template using full site editing in WordPress. For example, when creating a blog post template, it’s a good idea to use the block to house your post title, post meta, post content, and other post-related blocks.
Wrapping Things Up
Building a website in WordPress starts with adding structural elements like rows and columns. The Stack Block is a convenient way to add a row of content that is aligned vertically instead of horizontally. The block can be easily configured to help you design a page in WordPress using the built-in settings in the toolbar and sidebar block settings. Though this block is native to WordPress, page builder plugins like Divi or Brizy have more robust design options for optimizing the structure of your page using modules.
For more, check out our other WordPress Block tutorials as well as our complete guide to WooCommerce Blocks.
Have you experienced using the Stack Block on your website? Let us how in the comments below.


This appears to be a feature we DO NOT NEED if we use Divi. It would really help us readers to NOT WASTE OUR TIME if you would put at the beginning of articles like this a statement such as, “If you use the Divi them, you’re already covered with this concept. For everyone else, you need to learn about this powerful feature of WordPress.”
Thanks for the feedback, David. This article is for WordPress users in general, but I can see how that could be misleading for Divi users. For future reference, you could check the category of the post (or featured image icon) to help identify if a post is WordPress or Divi specific before reading. Also, there are Divi users who use the Theme Builder to design templates for posts and use the block editor for post content. So they would benefit from this as well.
Looking forward to when Divi facilitates adding blocks into Divi layouts.
Looking forward to when Divi has a facility to mix in elements from the block editor.