
Using images is one of the simplest yet most effective ways to enhance your WordPress pages and posts. However, if you’re new to using the WordPress Block Editor, you might be a little confused about how to employ the Image block properly.
Fortunately, inserting and using the Image block is quite easy. Learning its various settings will enable you to add images throughout your website more seamlessly, and customize them to your liking. In this post, we’ll explain the Image block and how it works, walk you through each of its options, and offer some tips for using it.
Let’s jump right in!
How to Add the Image Block to Your Post or Page
The Image block has made adding media to your WordPress posts and pages as simple and straightforward as possible. To do so, first navigate to any post or page from your WordPress dashboard.
Next, within the editor, click on the Add Block button (marked by the plus icon) wherever you want to insert the image. Then choose the Image block:
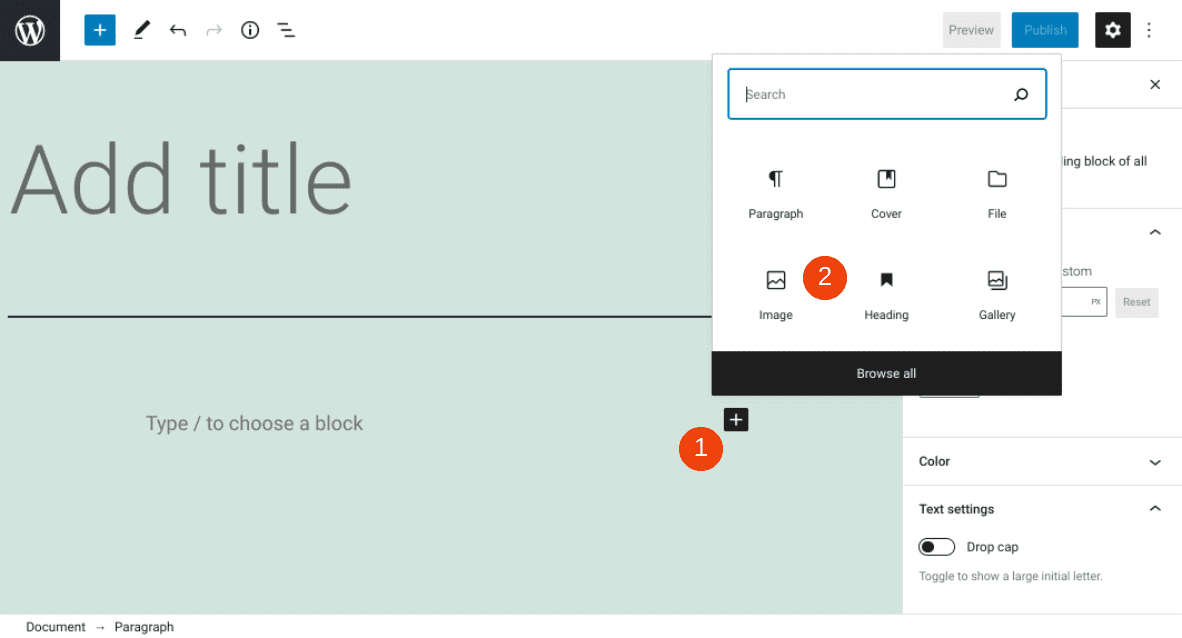
If it doesn’t appear right away, you can also type “image” into the search bar.
Once you add the block, the next step is to select the image you want to use. From there, you have three options. You can either select Upload, Media Library, or Insert from URL:
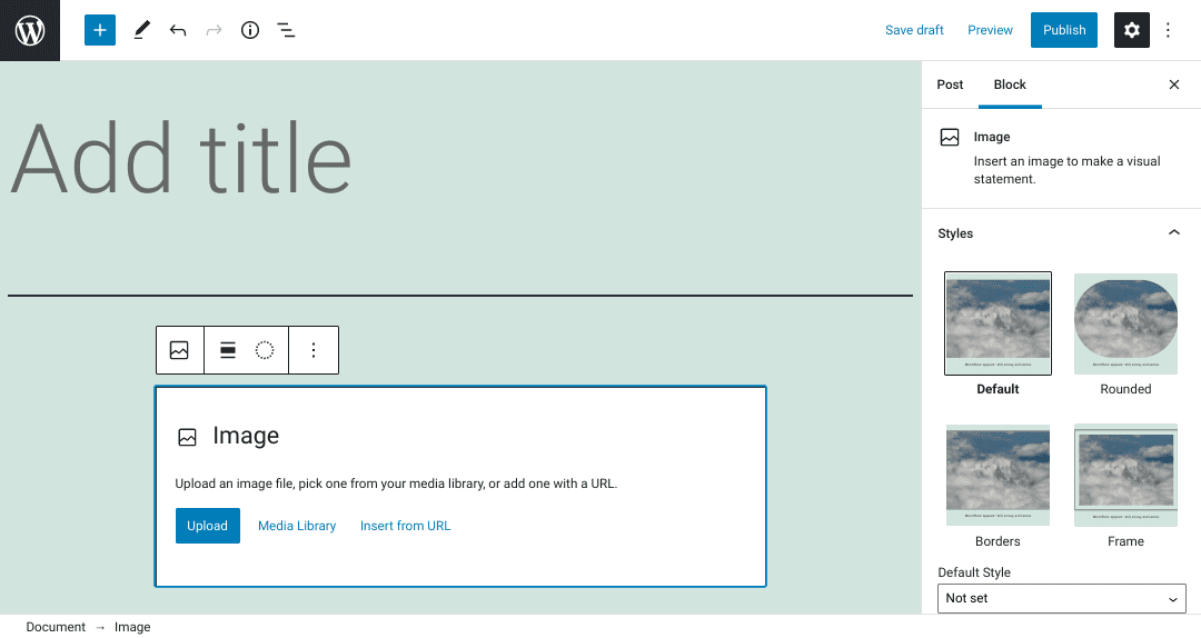
If you select Upload, you can choose an image saved on your computer. For images you’ve already uploaded to your WordPress site, you can navigate to Media Library. To insert an image from a copied link, click on Insert from URL.
For our example, we’ll upload an image:
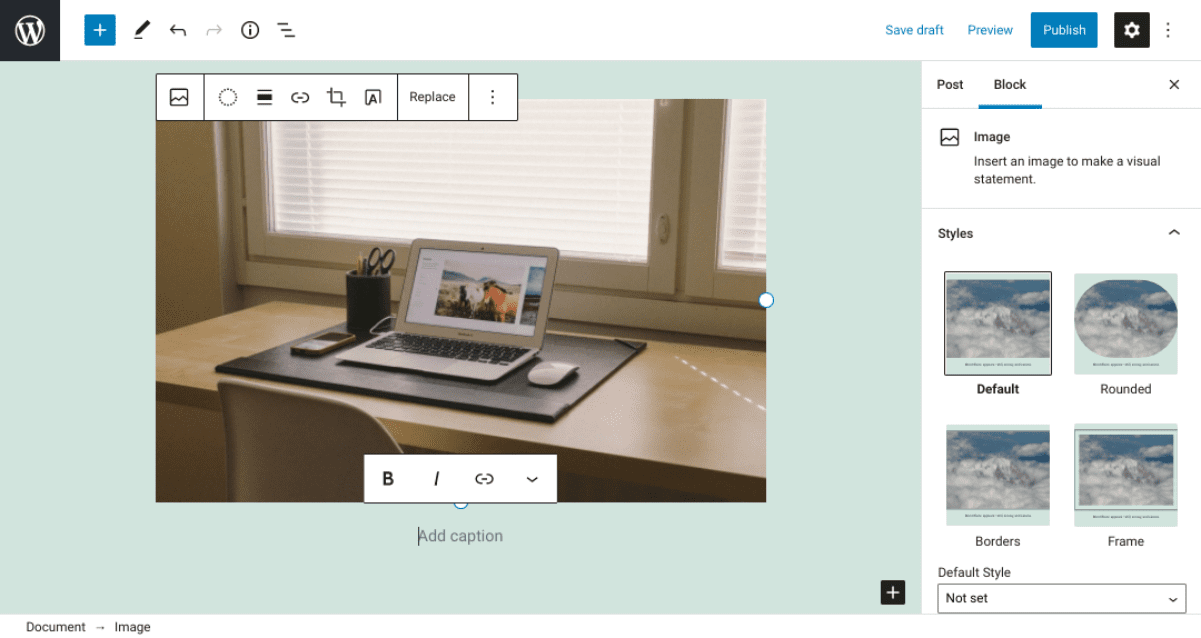
As you can see, once you insert your image a toolbar appears with a variety of options. You’ll also have some settings to choose from on the right side of the screen. Let’s explore these options in more detail.
Image Block Settings and Options
Once you insert your image, you can add a caption below it by typing in the Add caption field. Then in the block toolbar, you’ll find various settings and controls you can use to adjust the image. We’ll go through them from left to right.
Image Block Toolbar Settings
The very first option on the toolbar lets you switch to a different type of block. Next, if you click on the Apply duotone filter icon, you can choose from a collection of duotones to apply to your image:
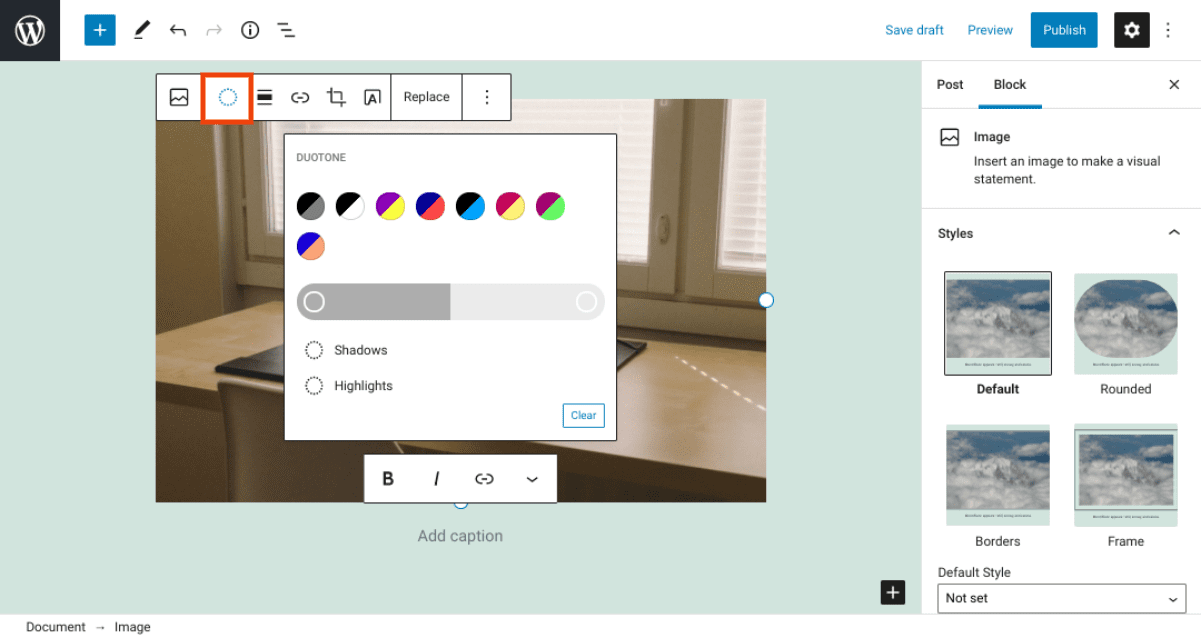
This option also lets you modify the shadows and highlights in the image, to change how it appears. If you ever want to revert to the original image, you can click on Clear.
Next, you can adjust the image’s alignment on the page by selecting Change alignment:
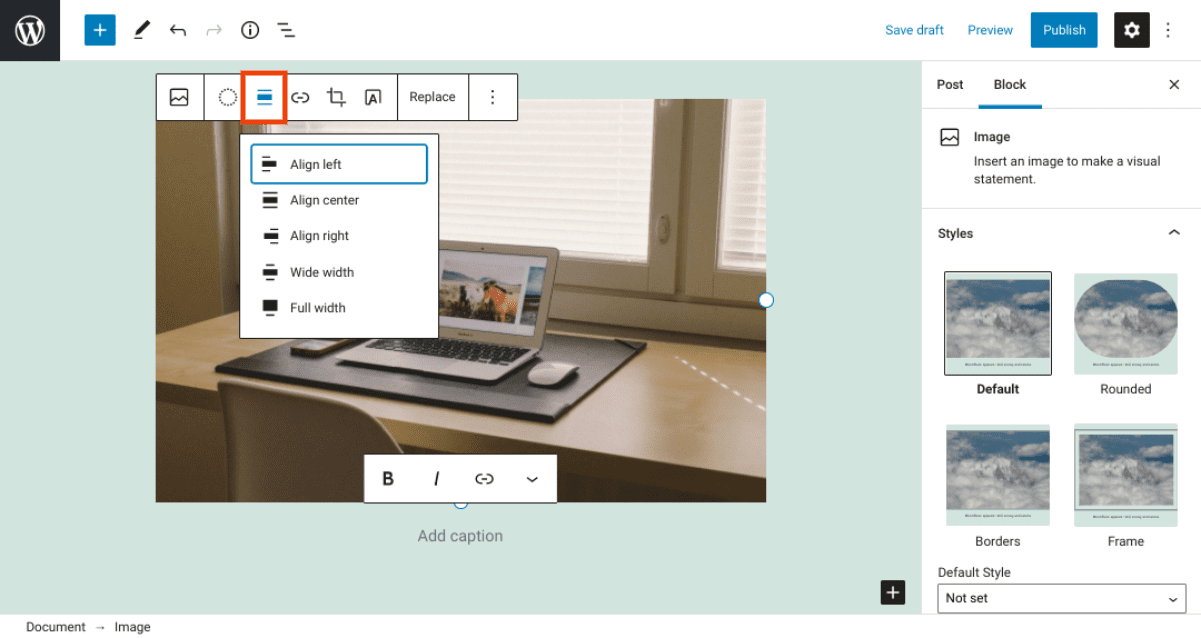
By default, WordPress will set your image to Align Left. However, you can change this by selecting Align center, Align right, etc. You can also choose to make the image either Wide or Full width. The latter can be used to expand the image beyond the standard content area for your current theme.
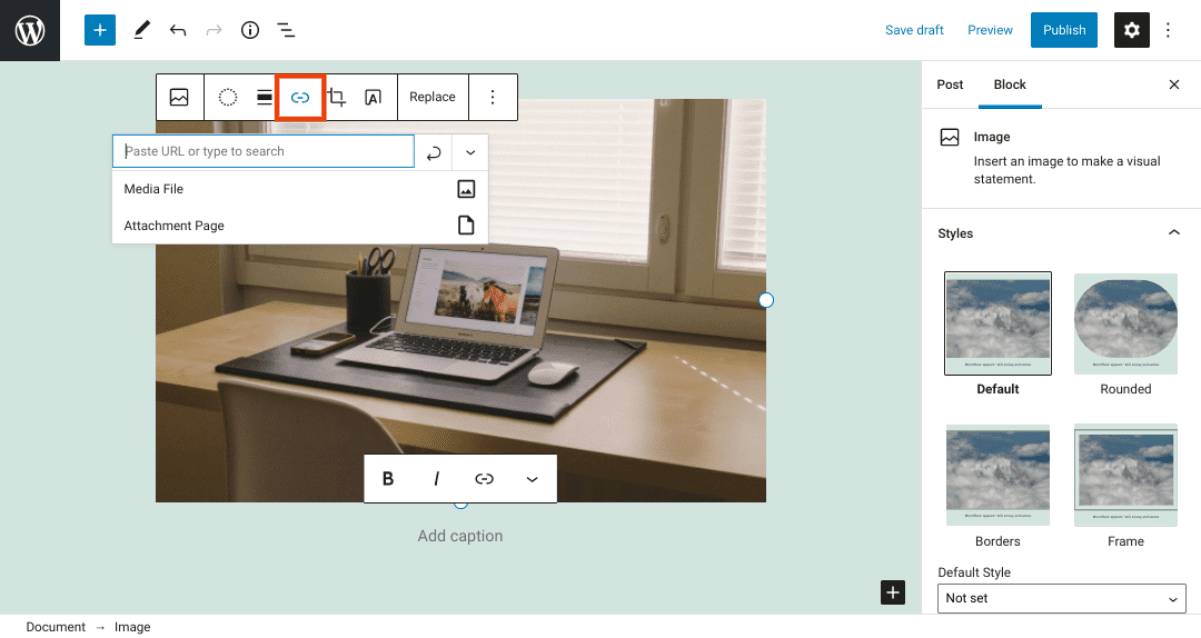
To hyperlink your image, you can click on the link icon and choose Media File or Attachment Page:
If you want to trim your image, you can click on the Crop icon. When you do so, the toolbar will expand to offer three more options:
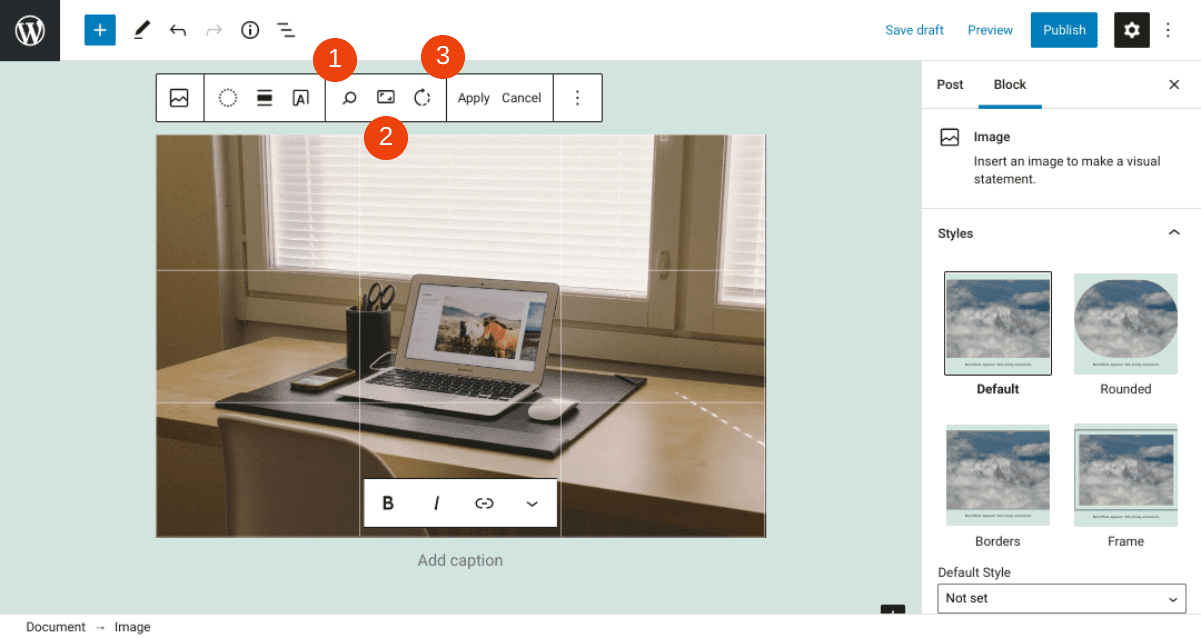
Here is a quick cheat sheet for what each of these icons means:
- The magnifying glass lets you zoom in on the image, from 0 to 300 percent.
- Aspect Ratio lets you choose a ratio for your image, including options for both Portrait and Landscape.
- The arrow icon lets you rotate the image.
After you make your adjustments, you can click on the Apply button to save your changes.
Finally, the last icon lets you add text over your image:
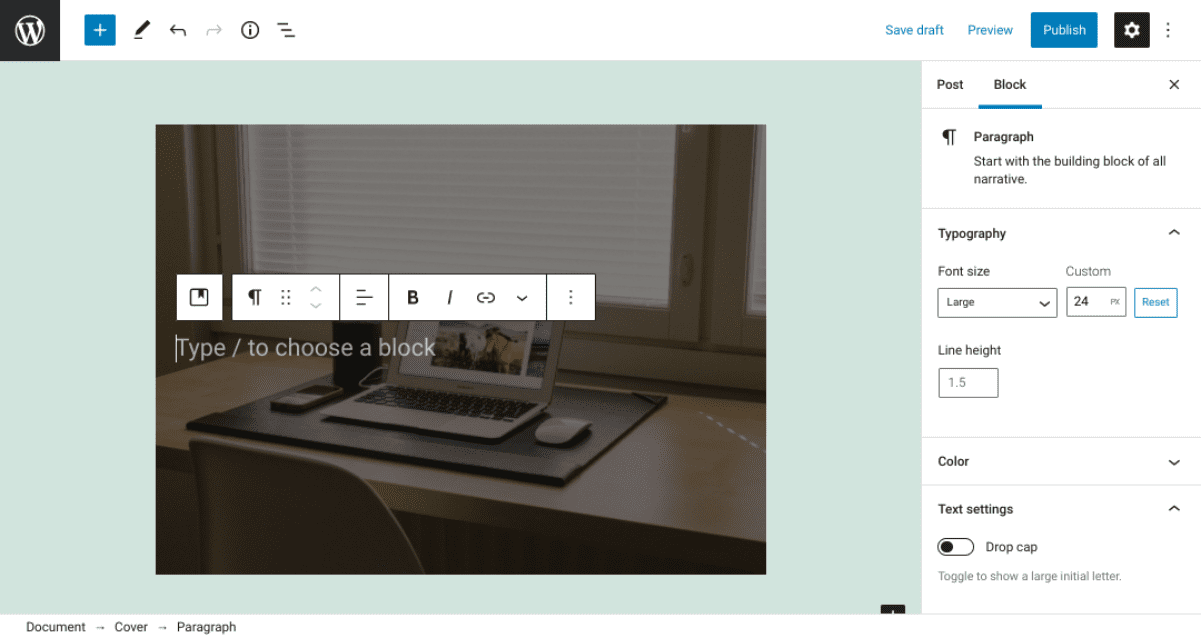
As with a regular text editor, a mini toolbar will appear over the image. You can use these controls to bold, italicize, or link the text, and adjust its alignment.
Additional Image Block Options
If you click on the three vertical dots at the end of the Image block toolbar, you’ll find various additional options. This includes settings for:
- Copying the image
- Editing the image as HTML
- Adding the image to your reusable blocks
- Inserting a new block before or after the Image block
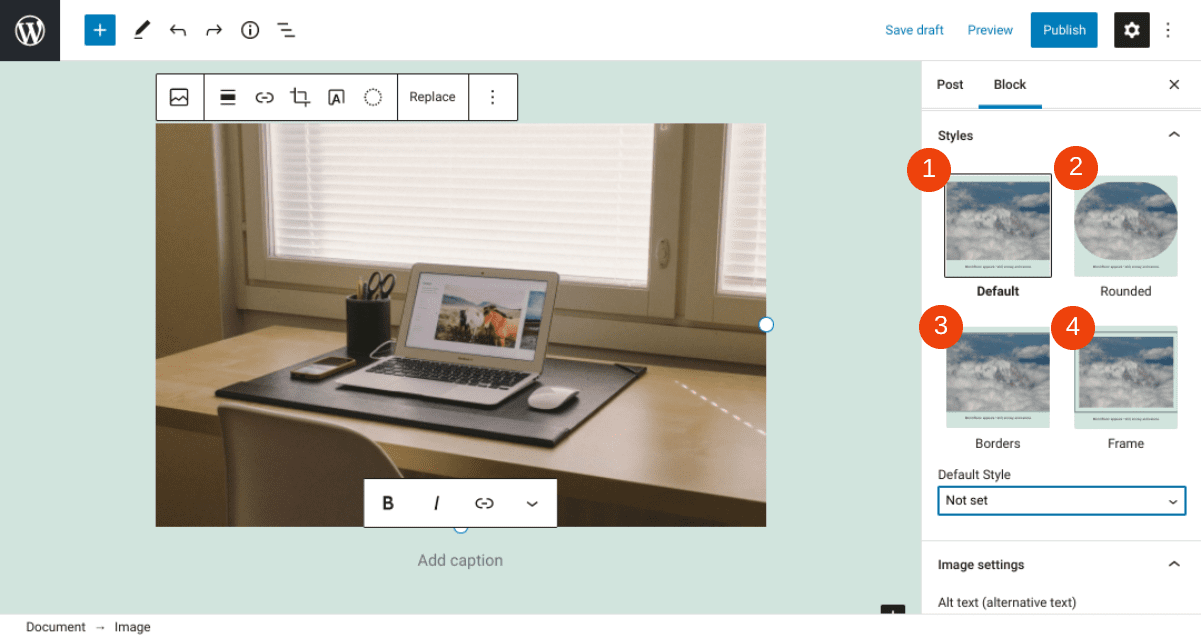
Now, let’s move on to the block settings located in the sidebar. Here you can choose from four styles:
- Default
- Rounded
- Borders
- Frame
Here’s an example of what each style will look like:
Next, under Image settings, you can find the fields to enter your Alt text and (1) change the Image dimensions (2):
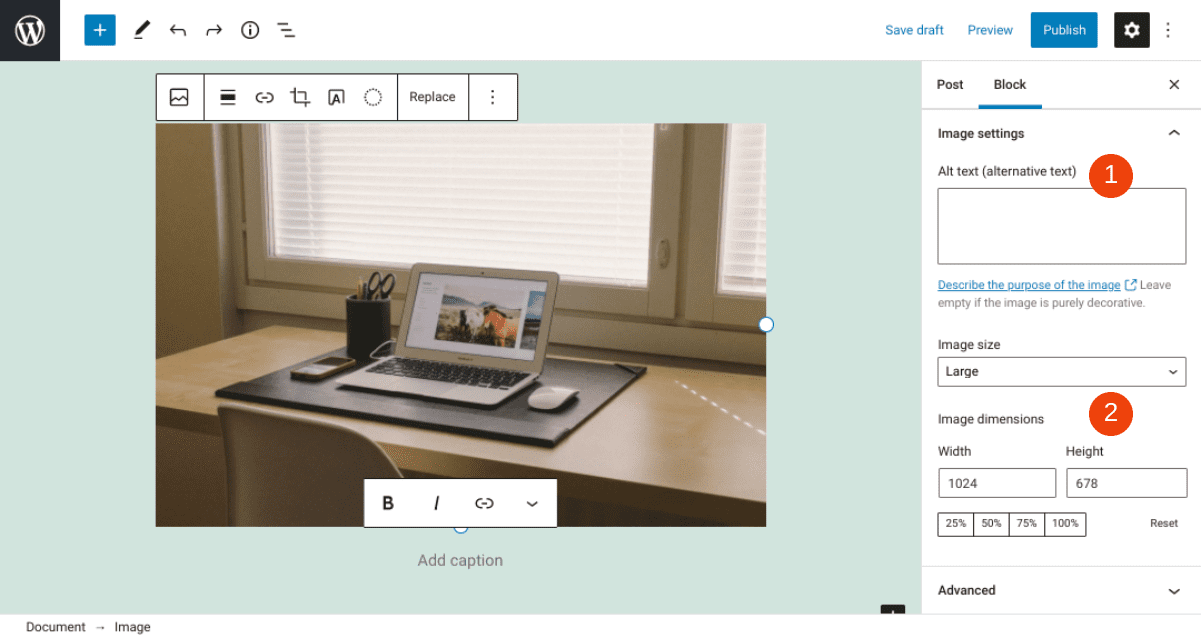
Note that entering alternative text is important for both Search Engine Optimization (SEO) and accessibility purposes.
Beneath that option, you can adjust the image’s size. You can select a preset size from the drop-down menu, or enter custom values in the Width and Height fields.
Tips and Best Practices for Using the Image Block Effectively
Once you learn how to insert images in your WordPress pages and posts, you might be interested in learning how to use them effectively. If so, there are a handful of tips and tricks you’ll want to keep in mind.
First, we always recommend optimizing your images. You can do this by compressing the images before uploading them, in order to improve your page loading times and overall site performance. After that, optimizing the file names and alt text can help improve your SEO.
Another tip for getting the most out of the WordPress Image block is to spend some time getting to know the different resizing and cropping settings. Being able to crop your images directly within the editor (rather than having to go to the Media Library) can save you a lot of time. Learning your way around these controls can help you quickly and seamlessly enhance your pages and how your images appear in them.
Finally, in addition to using alt text, we also suggest adding captions below your images. Doing so can help your users better understand the contents of a photo or screenshot. This is also an excellent place to properly attribute credit to the original source of images you use from third parties.
Frequently Asked Questions About the Image Block
At this point, you should have a solid understanding of how to use this block on your WordPress site. However, let’s quickly go over some of the most frequently asked questions to ensure that we have all the essential points covered.
Where Do I Find the Image Block in WordPress?
After you navigate to a WordPress post or page, there are a few different ways you can find the Image block. The first option is to type “/image” into the text field. The second option is to click on the Add Button block or the plus icon (+), and then enter “image” into the search field.
What Does the Image Block Do?
In a nutshell, the Image block lets you insert a photo into your WordPress page or post and then customize it. This block enables you to resize and adjust its appearance, and display it directly within the editor. You can also use the Image block to upload an image via your computer, insert one from your WordPress Media Library, or add one from a URL.
Can I Add Images Anywhere in WordPress?
There are many different places you can add images to your WordPress site. Your options will vary based on the theme you’re using. However, by using the Image block you can insert them in pages, posts, and WordPress widget areas.
Conclusion
Adding images throughout your site is one of the easiest and most powerful ways to spice up your content. Not only can photos and screenshots make your content more aesthetically pleasing, they can also help enhance the overall User Experience (UX).
Thanks to the WordPress Image block, adding media to your pages and posts simpler than ever. You can quickly insert images into your content by selecting the relevant block from the editor, and then configuring the various styling options to personalize it.
Do you have any questions about using the WordPress Image block? Let us know in the comments section below!
Featured Image via TarikVision / shutterstock


Leave A Reply