
The WordPress Cover Block is interesting. It lets you place an image, video, or solid color in the background and add content blocks to the foreground. This means you can place blocks over other blocks. It has more options than most blocks. Knowing how to use the Cover Block can greatly enhance the design of your website.
In this article, we’ll look at what the Cover Block does and see its settings and options. We’ll also see some best practices of how to use it and see the frequently asked questions.
Subscribe To Our Youtube Channel
How to Add the Cover Block to your Post or Page
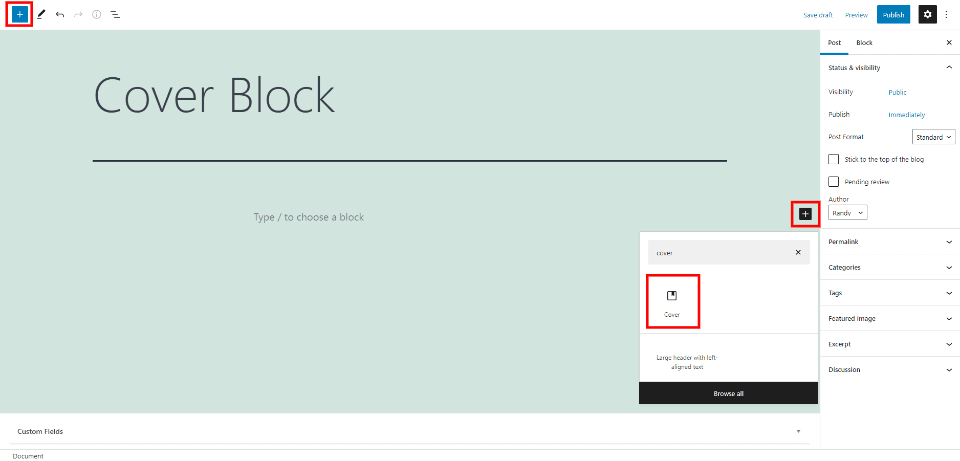
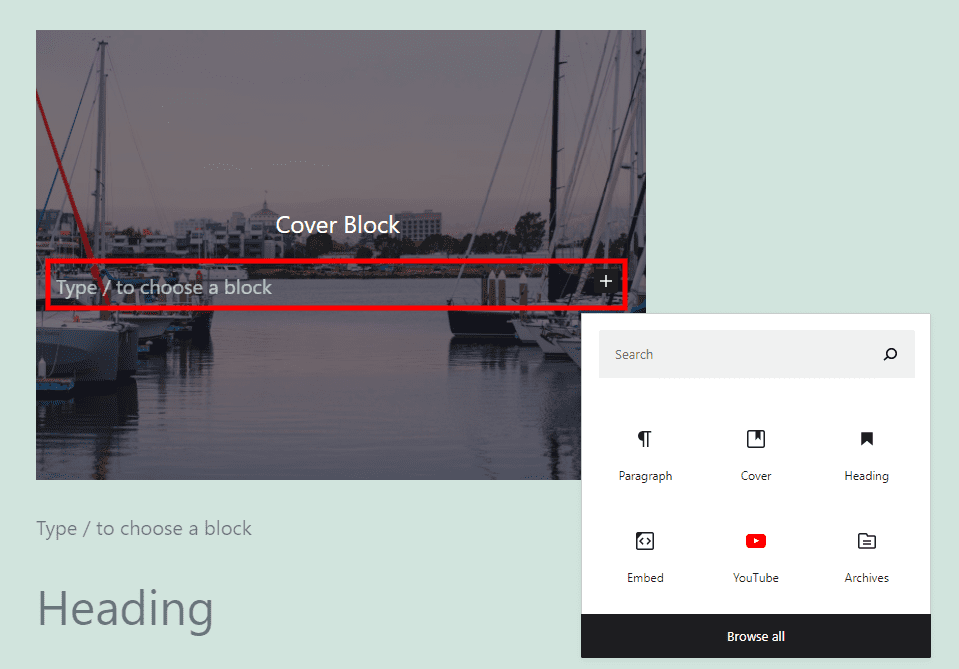
To add the Cover Block to your pages and posts, select the block icon either within your content or in the top left corner of the page, enter the name of the block, and select it.
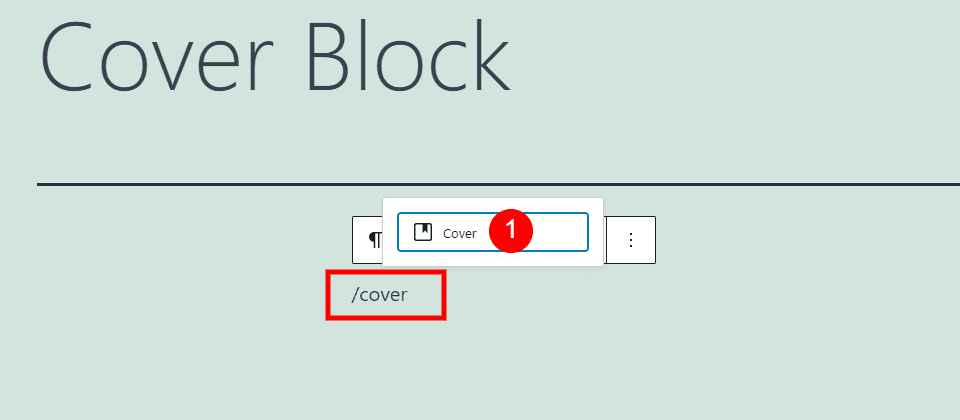
You can also type /cover and hit Enter or select the block.
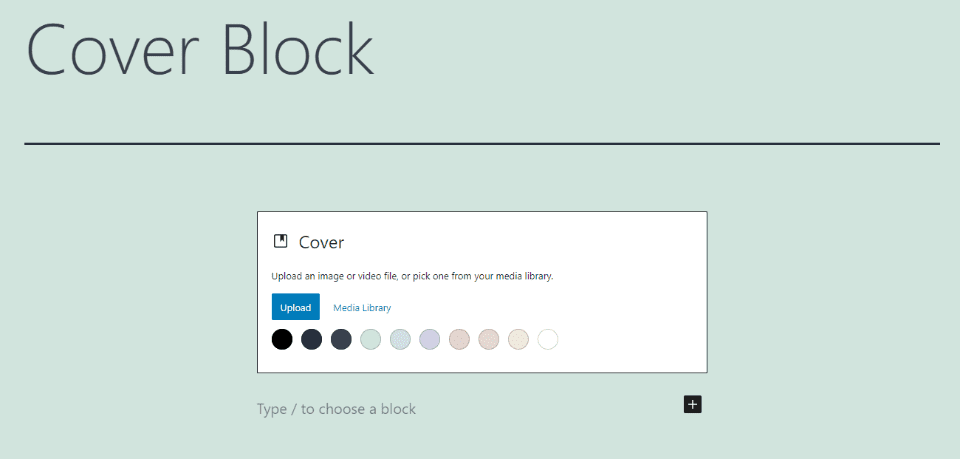
You’ll then have a Cover Block in your content where you can add media such as images or video, or use color for the background, and place text in the foreground. Once you select content from your media folder or color, the text option appears in the foreground.
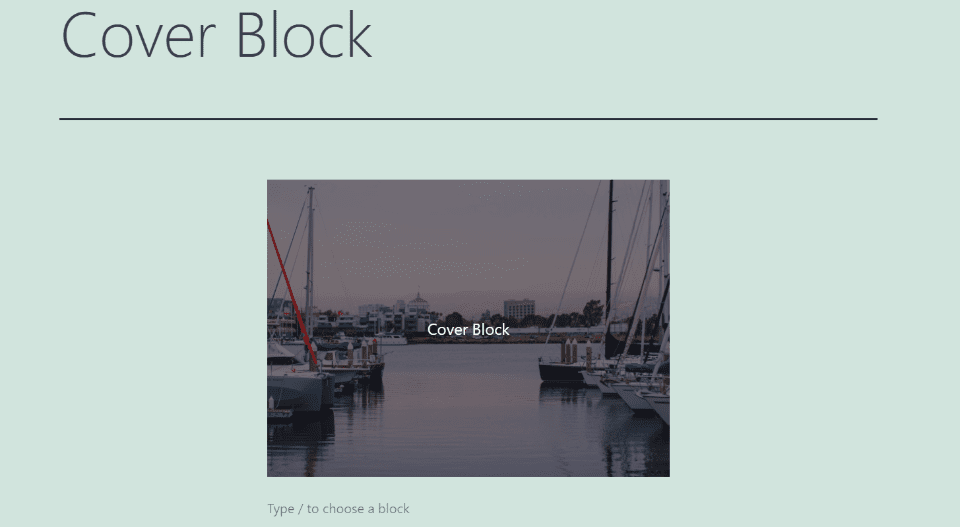
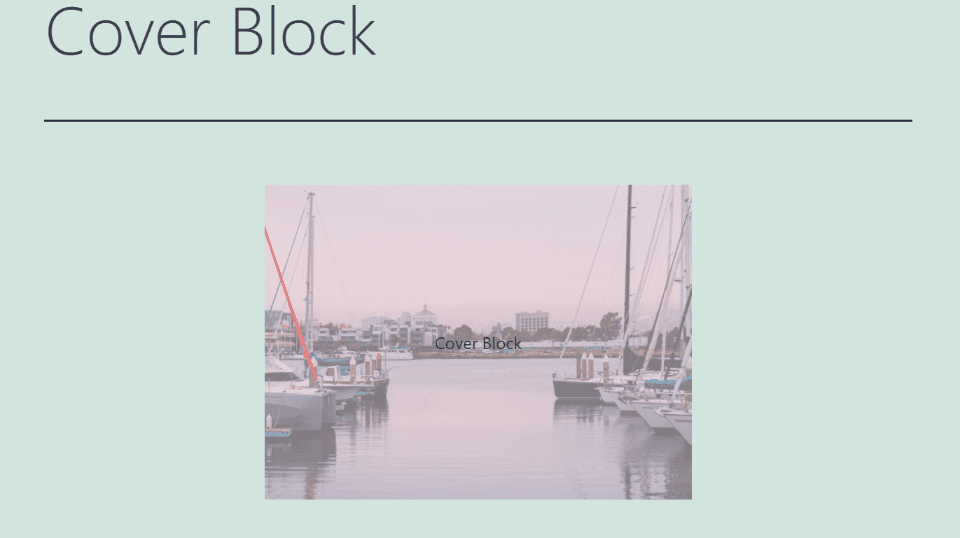
I’ve added an image from my media library and added a caption over the image. The caption is a paragraph block. You can change it to other types of blocks, embed video, and more.
You can also add multiple blocks by hitting the enter key. Select from your blocks as normal.
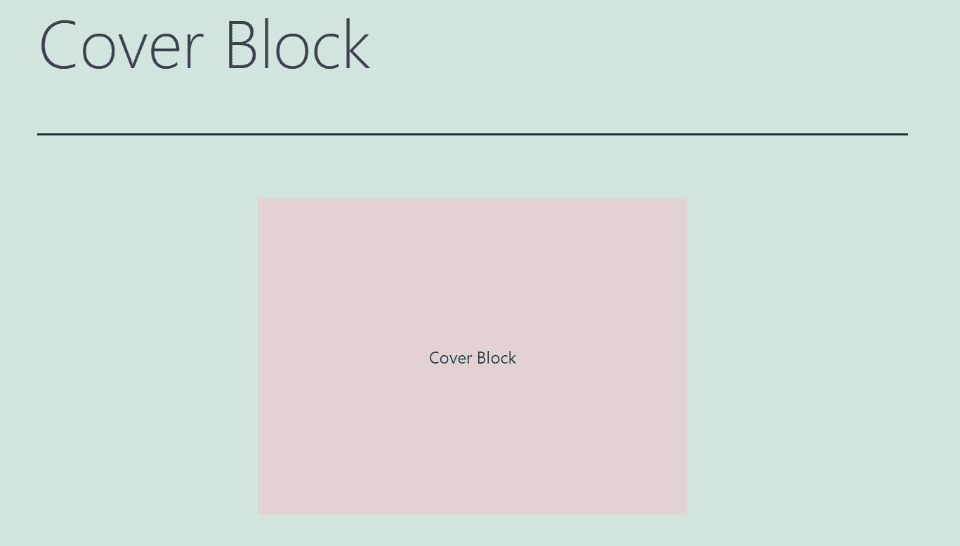
You can also choose from one of the preselected colors for your background.
The color can be used as an overlay over your images.
Cover Block Settings and Options
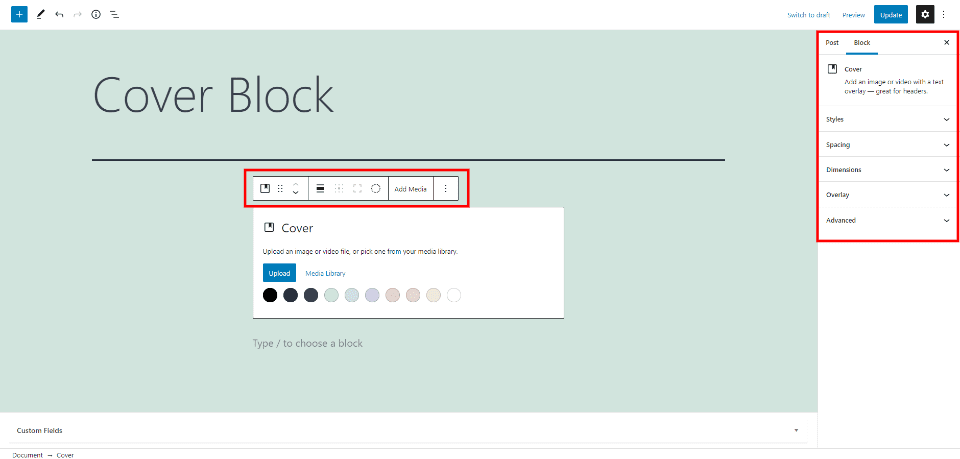
The Cover Block has two areas with settings and options. The first is the Cover Toolbar. The second is the Cover Block options in the right sidebar.
Cover Block Toolbar
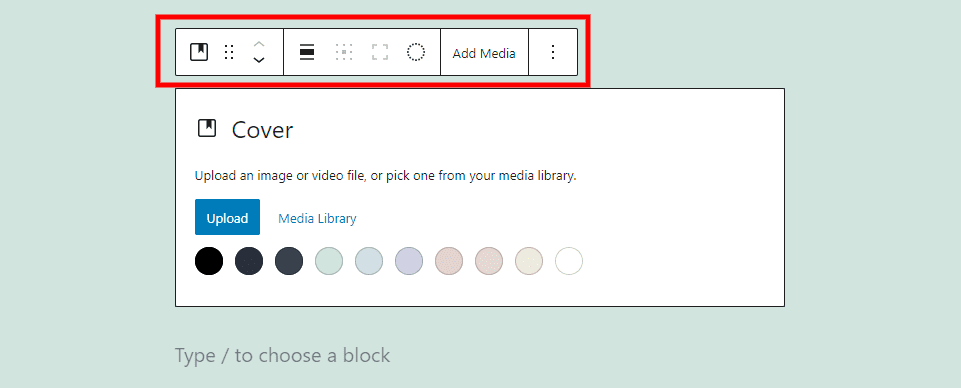
Clicking anywhere in the Cover Block opens its toolbar.
Change Cover Block Type or Style

The first setting changes the number of columns, lets you group, changes to an image, and selects style from default or borders. Hovering reveals a preview. I’m hovering over Image. Image deletes the content blocks that you have in the overlay.
Drag or Move
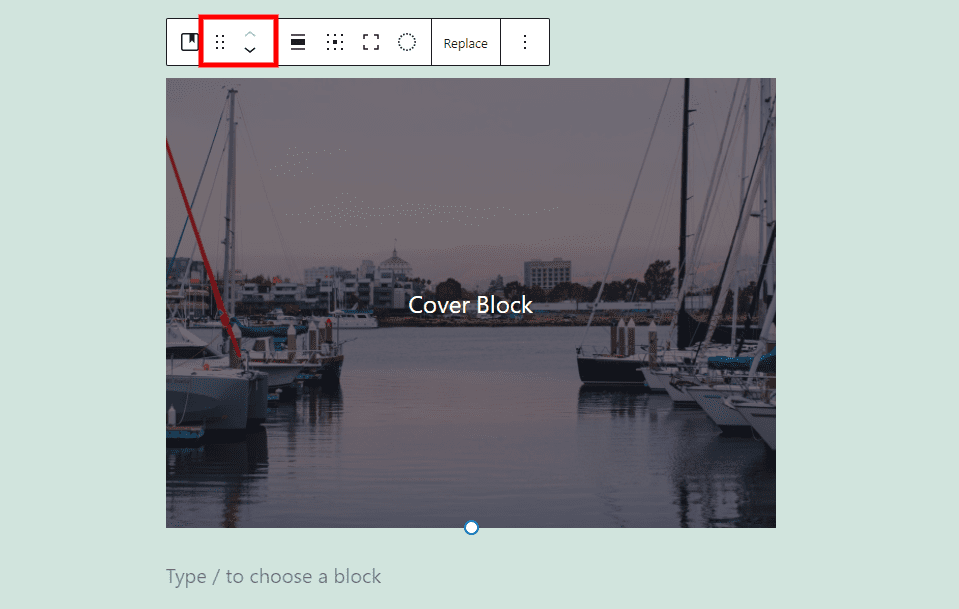
Grab the drag tool (6 dots) to drag the block anywhere you want. The Move tool lets click the arrows to move the block up or text within the content.
Alignment

Alignment options include left, center, right, wide width, and full width. Left and right wrap the block with the paragraph under it.
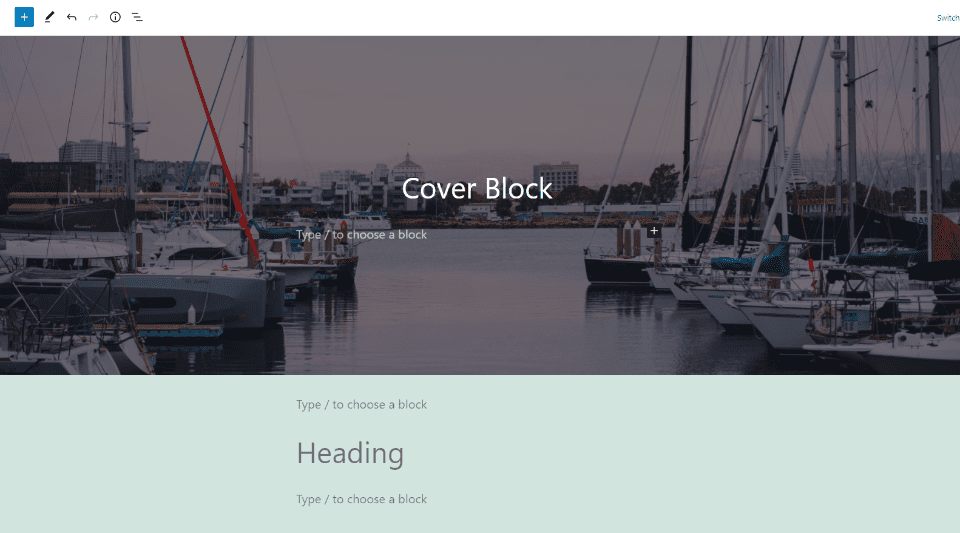
Here’s the image in full width. This can be used to create titles, divide sections, etc.
Change Content Position
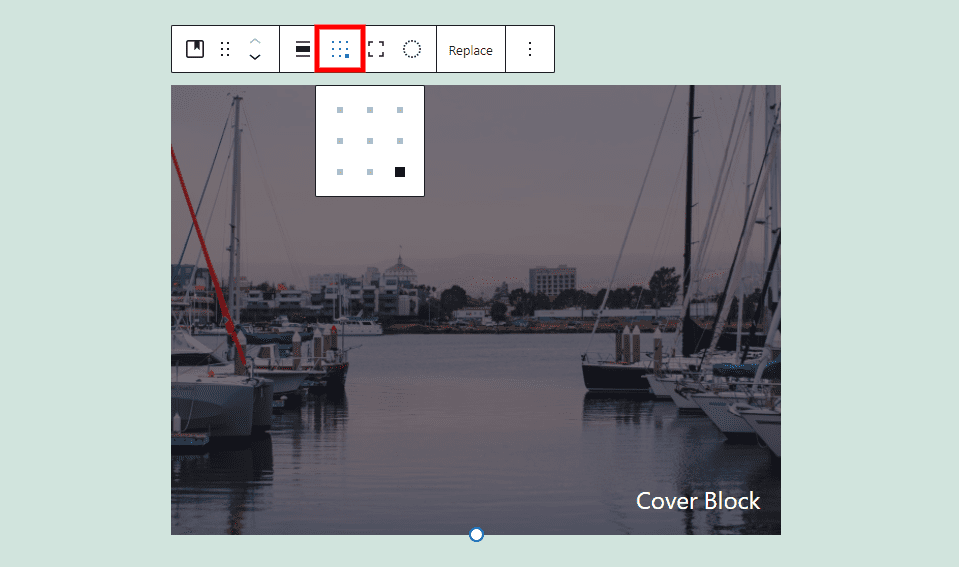
This selects the content location. It opens a 3×3 grid with dots. Selecting a dot moves the content to that location within the image.
Toggle Full Height
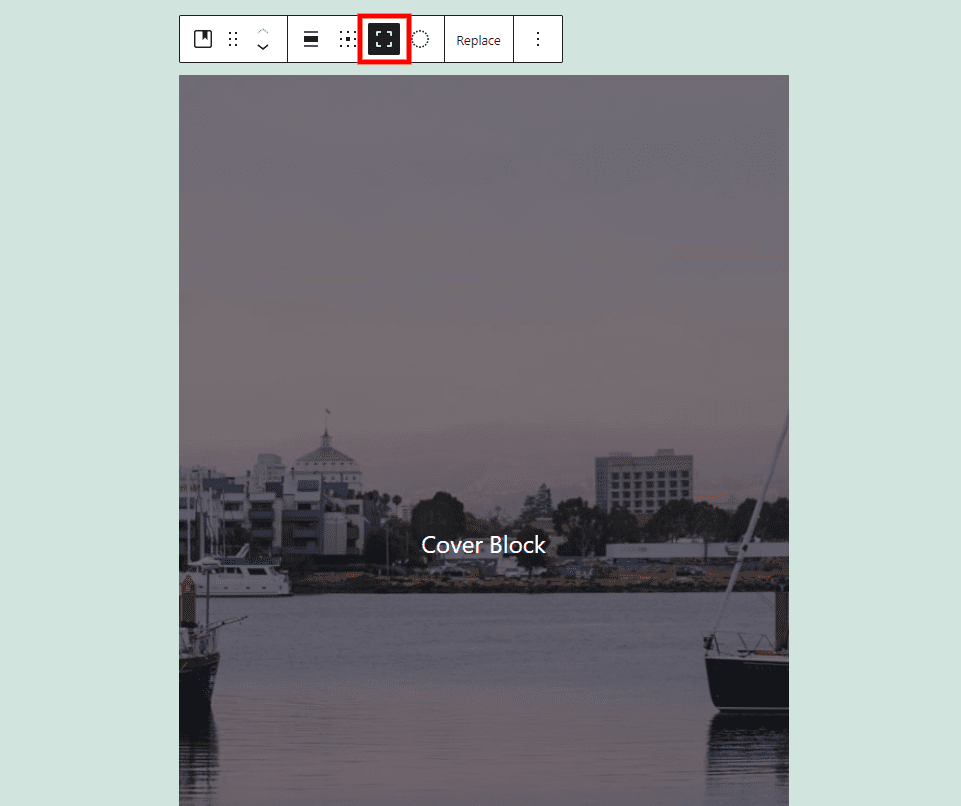
This sets the image to its full height rather than resizing it.
Apply Duotone Filter
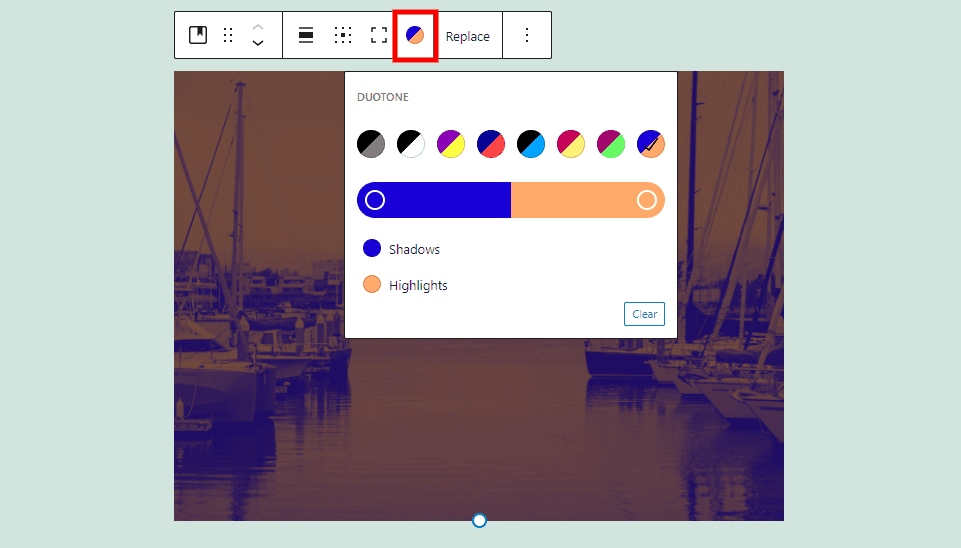
Choose a duotone from your preselected options. One applies to the shadows and the other applies to the highlights.
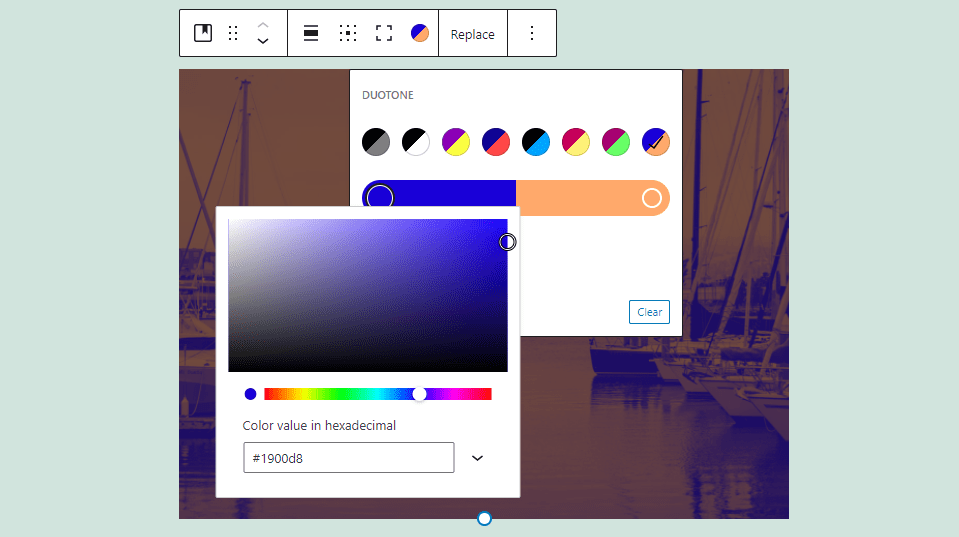
Select a color on the slider to adjust it.
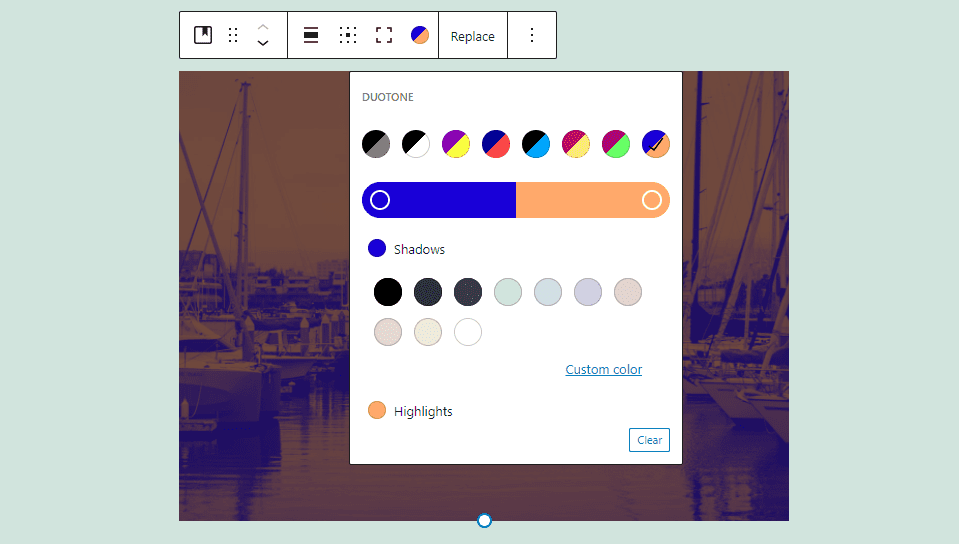
Select a color under the slider to choose a preselected color.
Replace
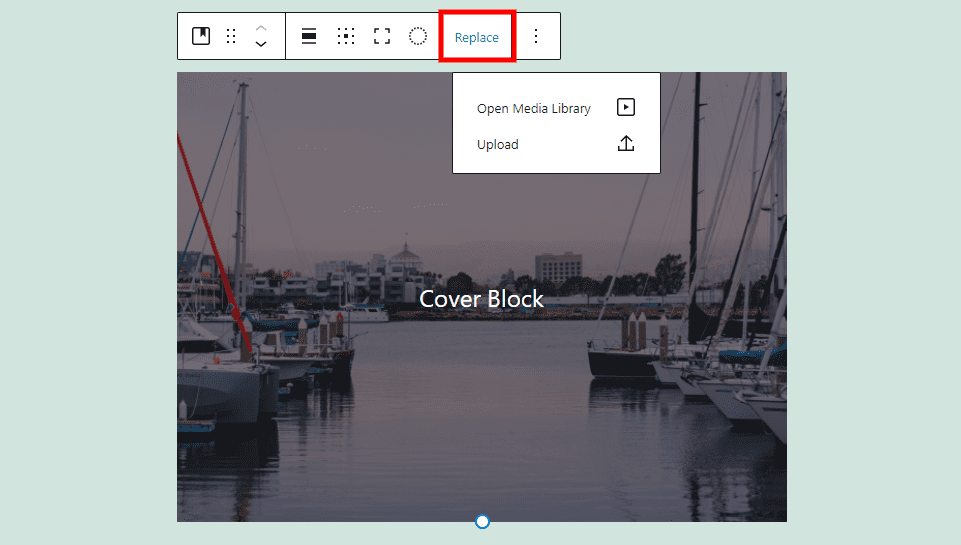
This opens the media options so you can upload or choose another image from the library.
Options
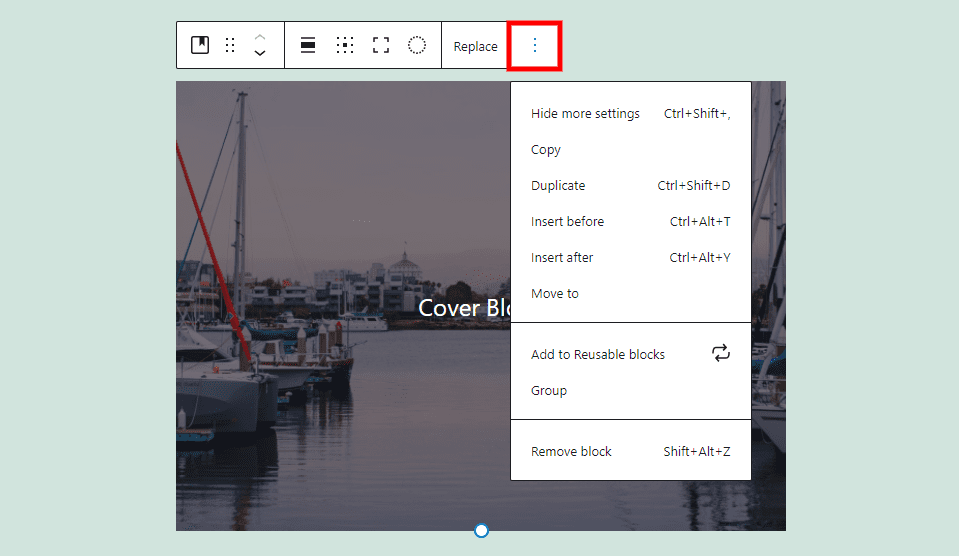
The Cover Block options include:
Hide More Settings –hides the right sidebar.
Copy – copies the Cover Block so you can paste it anywhere within your page or post.
Duplicate – creates a duplicate of the Cover Block and places it under the original.
Insert Before – adds space above the Cover Block for another block.
Insert After – adds space below the Cover Block for another block.
Move To – lets you move the block by moving a blue line up or down with the arrow keys. Hit enter and your block is moved to the location of the blue line.
Add to Reusable Blocks – adds the block to your reusable blocks so you can use it on any page or post.
Group – add the block to a group so you can adjust them as a single unit.
Remove Block – deletes the block.
Cover Block Content
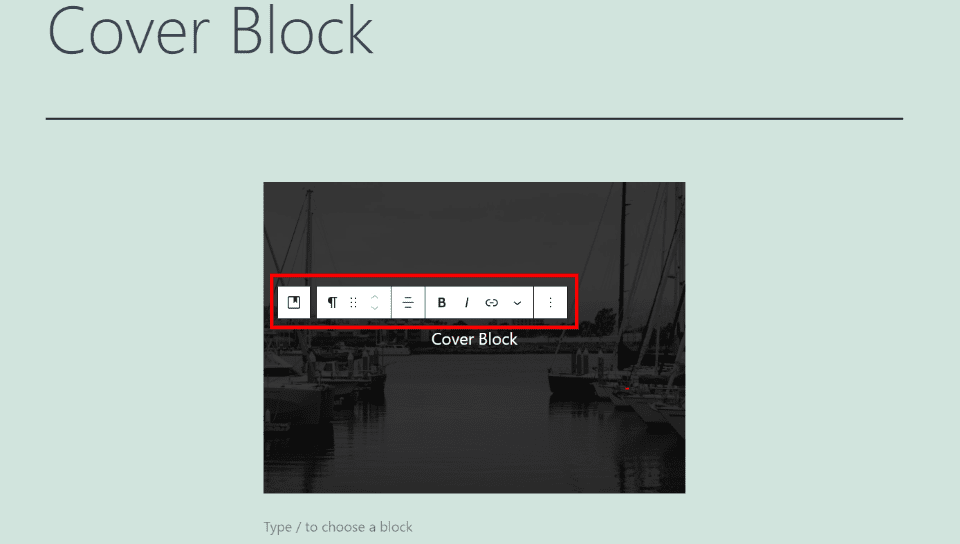
Selecting the content opens another set of tools just for the content. The default is a Paragraph Block and includes all the standard options for both the toolbar and the sidebar settings. You can transform it or add any block. This gives you lots of options for the content.
Select Cover
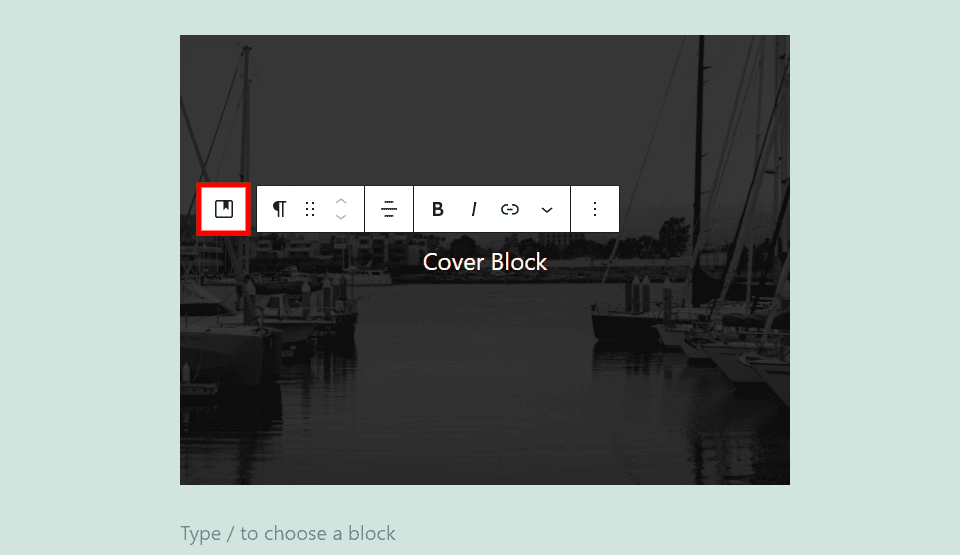
This closes the content toolbar and opens the Cover Block toolbar.
Cover Block Resize

Resize the image by dragging the circle at the bottom of the image.
Cover Block Settings
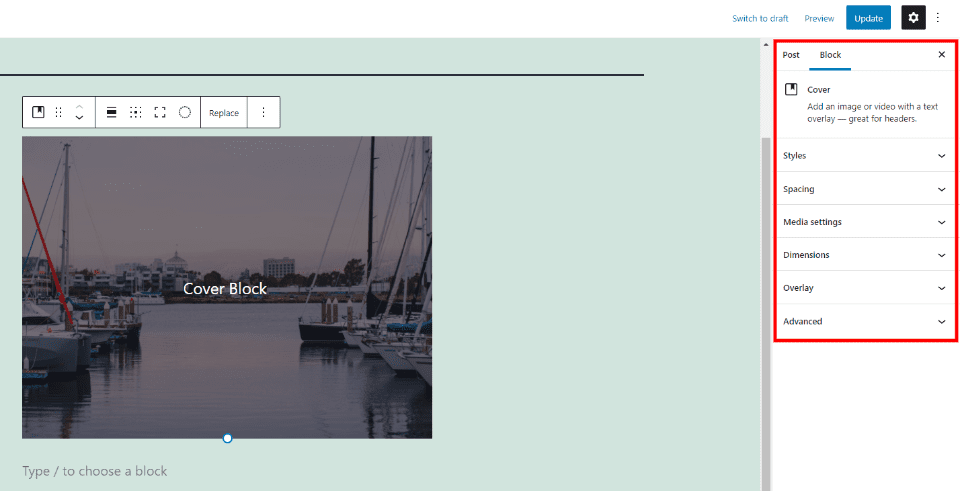
The Cover Block settings are placed in the right sidebar. Click the block or the gear to show the sidebar. If you select the block within the content of the block, then its sidebar settings will display.
Styles
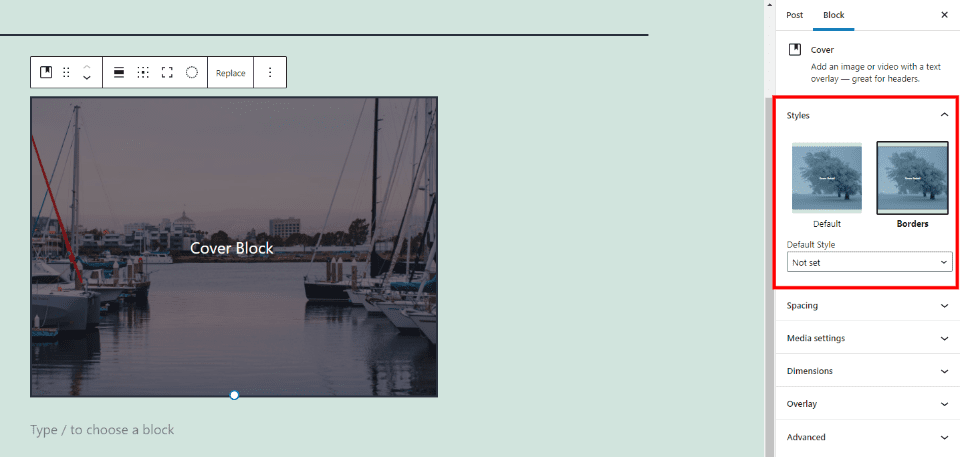
Display the block with or without a border. You can also set the default to show the border. It includes a preview so you can see how it would look before selecting it.
Spacing
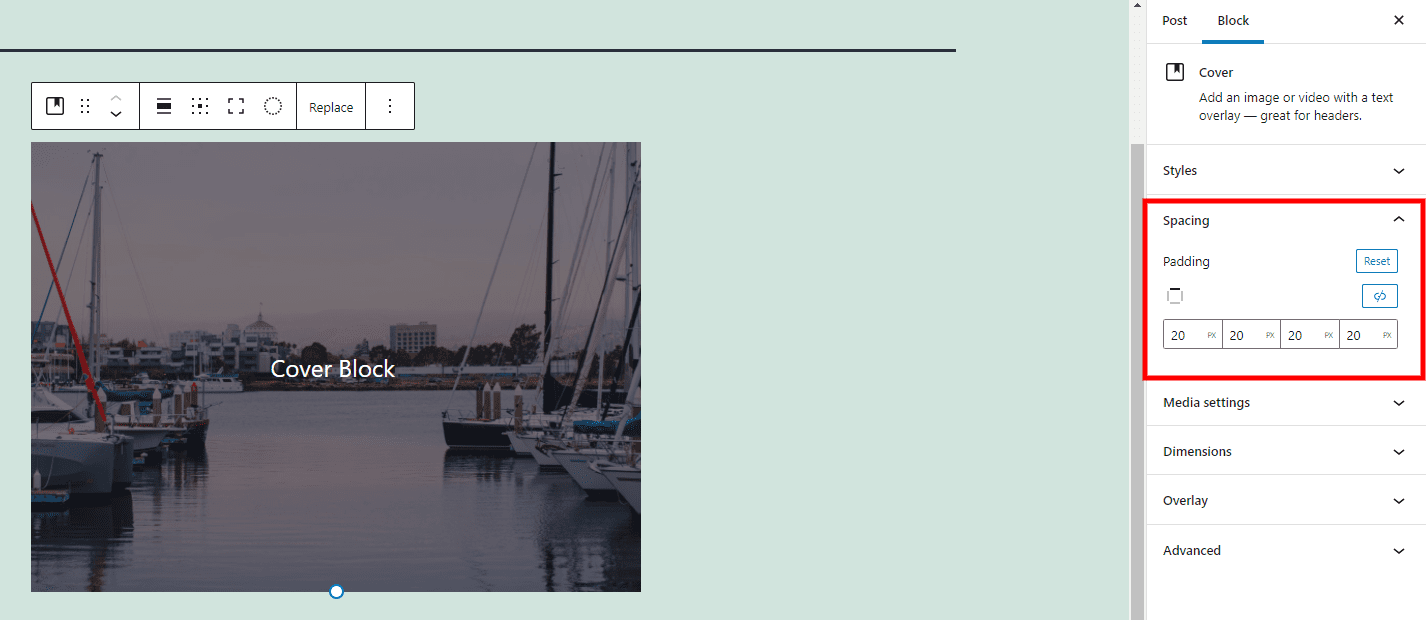
Add space to all sides or specific sides. Select each side individually or link them together to adjust them all at once.
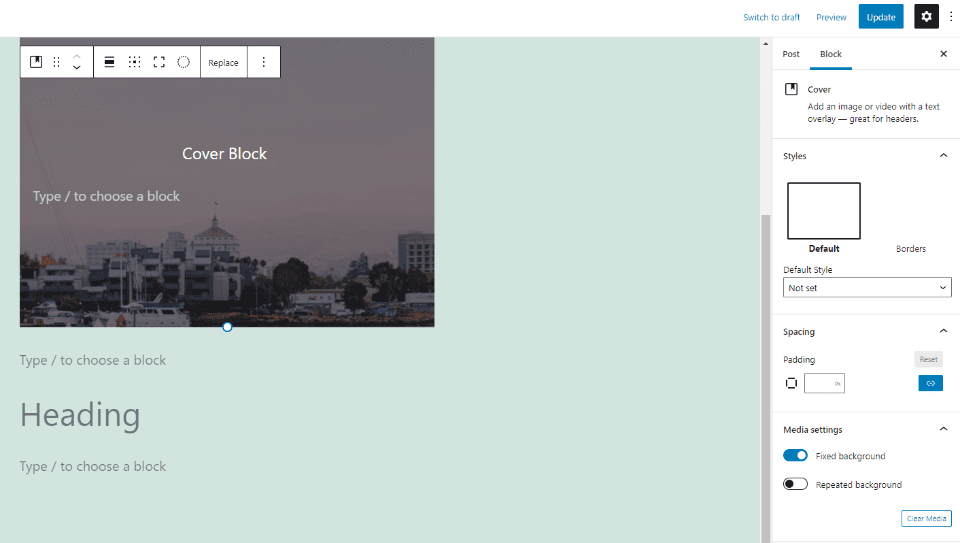
Media Settings
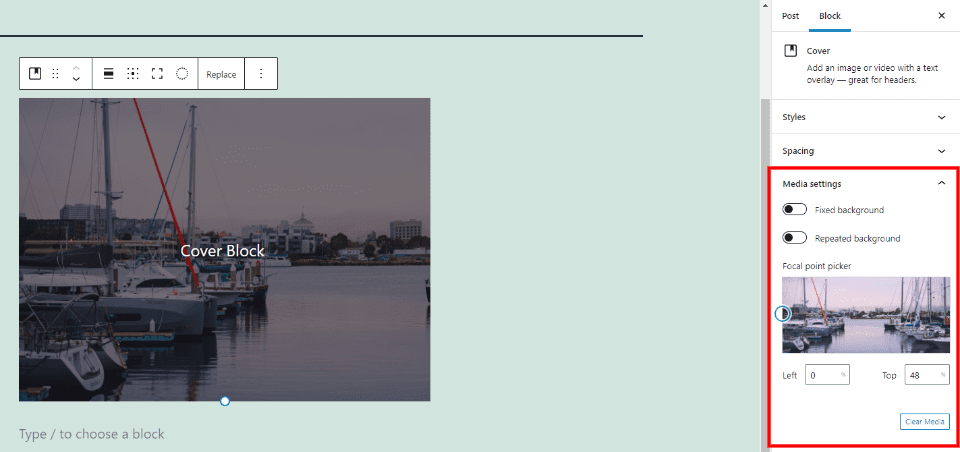
Choose the portion of the image that displays within the block. You can select a fixed background (parallax), to repeat the background if it’s too small for the area, and specify the focal point by moving a circle or specifying the left and top positions. You can also clear the media from here. Only the Focal Point Picker is available for videos.
This example shows Fixed background. The image stays in place as the text scrolls, creating a parallax effect.
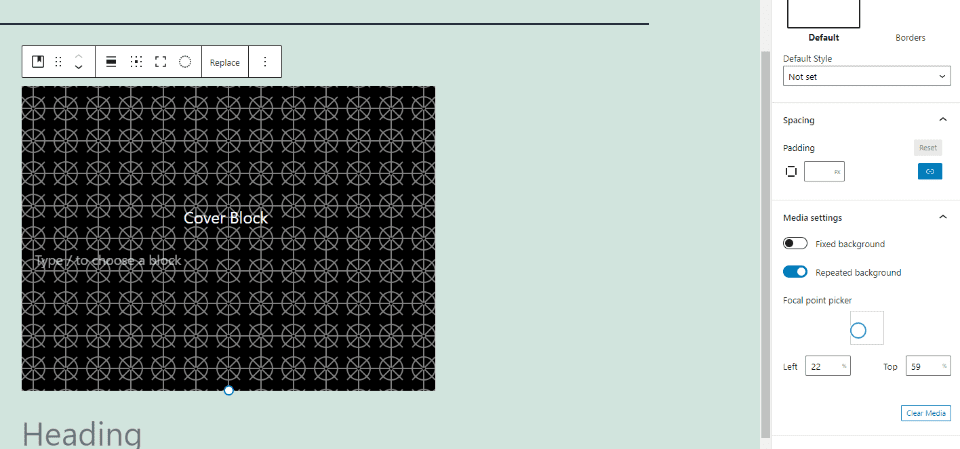
This is Repeated Background. It’s good for creating interesting patterns with small images.
Dimensions
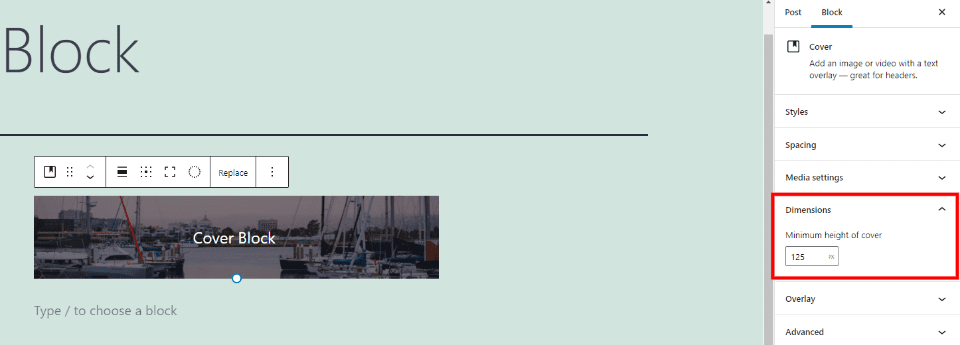
Specify the height in pixels by entering it into the field. This works the same as the drag tool at the bottom of the image.
Overlay
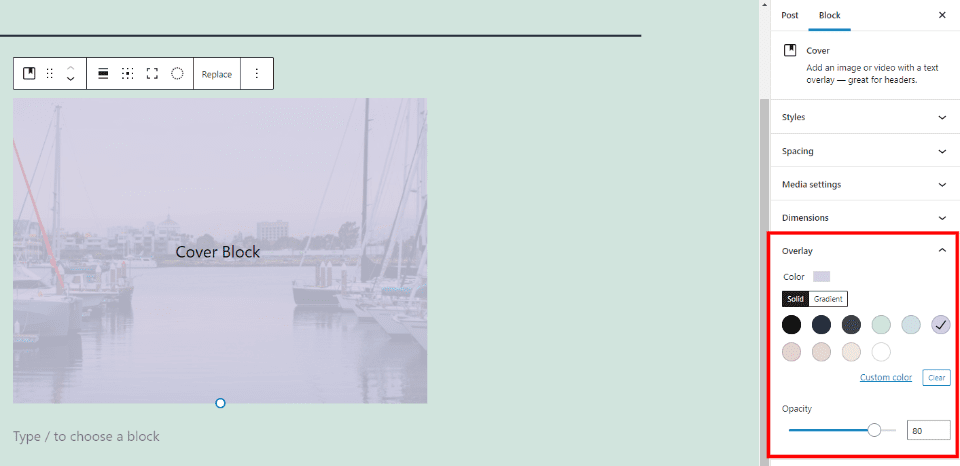
The Cover Block has lots of options for the overlay. Select a premade color and choose its opacity. Choose from a solid color or a gradient. You’ll see the changes in real-time. If you’ve chosen to show a color rather than an image, you can change the color here. This example shows a solid color.
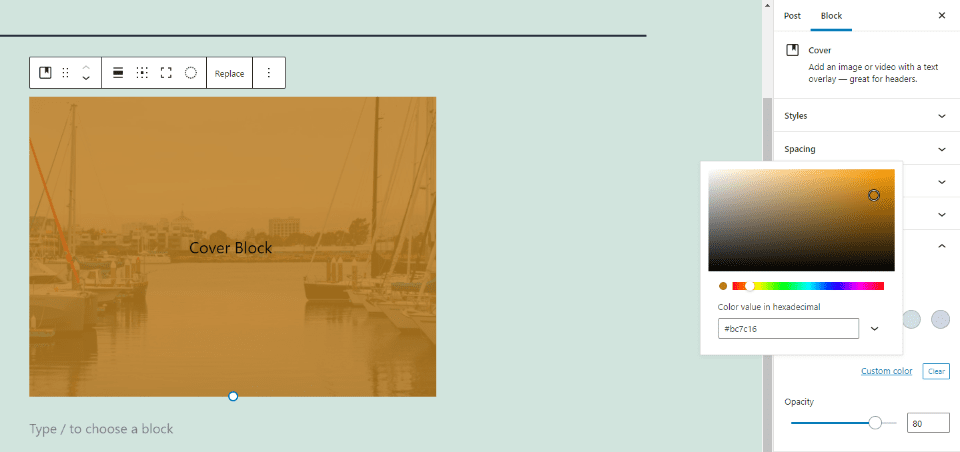
You can also choose a custom color. This opens a color picker where you can souse the color within the window, select the color scale with a slider, or enter the hex, RGB, or HSL codes.
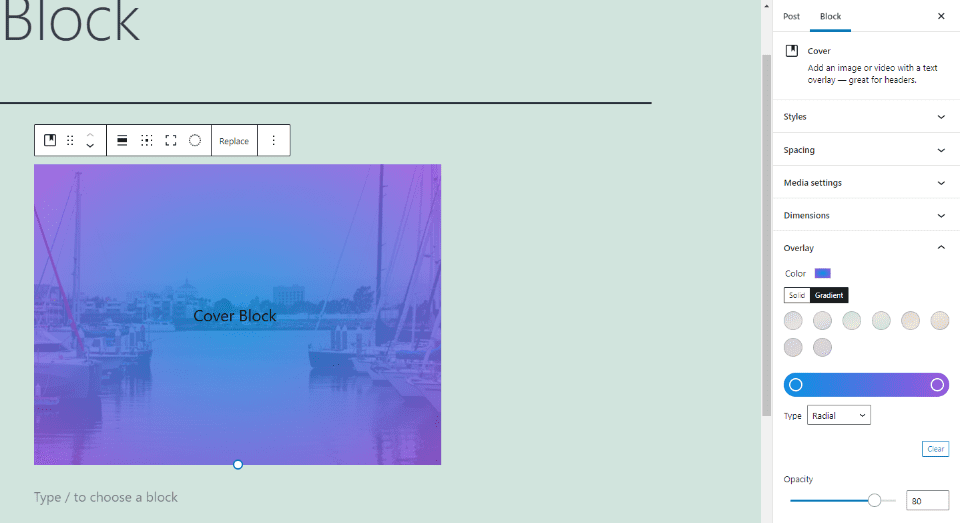
The gradient option lets you select the two colors that will display. Choose between linear or radial. You can also set the opacity of the colors. I’ve selected radial in this example.
Advanced
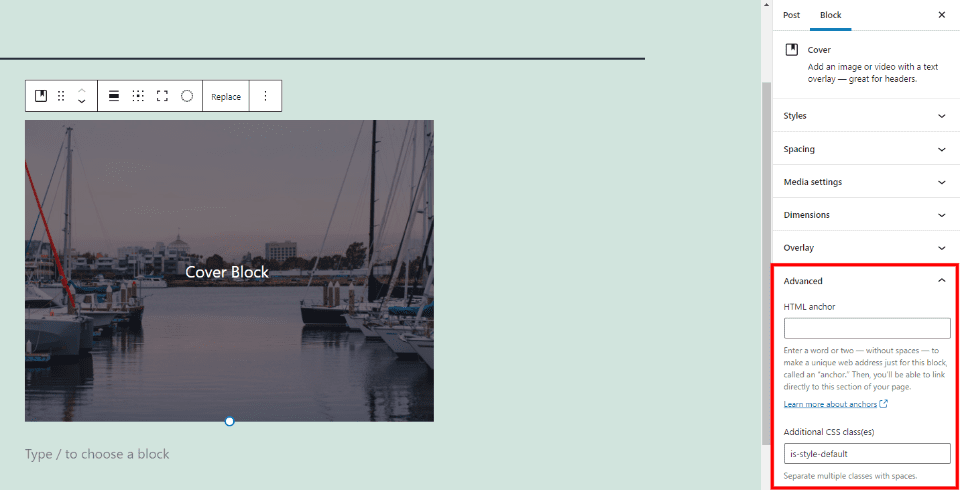
Advanced includes two fields. The first is an option for an HTML anchor. This provides a special web address just for the Cover Block. The second is a field to add additional CSS classes. This allows you to create custom CSS to style your block. The style you’ve selected also appears in this field.
Tips and Best Practices for Using the Cover Block Effectively
For images, use the media settings in the sidebar to show the portion of the image you want to display.
Use large images with the full-width option to create section titles.
Change to multiple columns for the foreground and add images, text, and buttons to create calls-to-action.
Use overlay and text colors that are easy to read over the background image or color.
Transform the block into a group if you want to control the border color.
Use the alignment options to set the Cover Block into your content or set it apart.
Set the content positioning settings to create some interesting visuals and lead the reader’s attention.
Use Fixed Background to create a parallax effect.
Use small images with Repeated Background to create interesting background patterns.
Frequently Asked Questions about the Cover Block
What is the Cover Block?
This is a block that lets you add media or color to the background and other blocks to the foreground.
What makes it different from other blocks?
It can contain other blocks. You can add other blocks to the foreground. It creates parallax, patterns, etc.
Can it be transformed into other blocks?
Yes. It can be transformed into an image block. It deletes any other blocks you’ve added to its content area.
What can it be used for?
You can use the Cover Block to create a background with a call to action, use it to create a title above a section, create posters, hero sections, or anything you want to have an image or video in the background.
Conclusion
That’s our look at the Cover Block. This block has some of the most interesting features and is a great choice for creating headings, titles, CTAs, parallax backgrounds, and more. It’s easy to use and it can make your website stand out more than most blocks. Its ability to create interesting visuals makes it one of my favorite WordPress blocks.
We want to hear from you. Do you use the Cover Block? Let us know about your experience in the comments.
Featured Image via fourSage / shutterstock.com


Good info for those WP users like me who came here via a search engine and do not use Divi. You answered my question as to whether you can add a button to the cover theme. Now I just have to figure out how to make it all work.
BTW, I don’t know if Divi prevents it but you can in the core WP block editor use the Focal Point Picker on images and not just videos.
Coming from Elegant Themes, this article seems pointless and a waste of effort: we buy DIVI exactly to avoid dealing with WP inbuilt design functionality. Your blogging talent would be much better applied writing about other important topics, which are of greater relevance to DIVI users, like plugin reviews or WP security settings, for example,
Hey Sergio, I can understand where you’re coming from. However, we feel that it’s important to cover the core WordPress software as thoroughly as possible on our blog. Divi, as a WordPress theme, is and always will be built on WordPress. Because of that it will always be helpful for Divi users to understand how to use the native WordPress editor. Even as an advanced Divi user and employee of Elegant Themes, I still use a combination of Divi and the WordPress block editor on every site I create.
Nathan, you sure were asked this question many times (Why Block/native WP editor content vs Divi). I am excited myself to use both together. That might be a great peice of conent actually! Like how you have so patiently expressed you use both. I want to try that.
Is there an example of this in use available, please?
I’ve asked this question before on another blog post (it wasn’t answered) but why are ET writing content about wp editing, when we build with divi we can’t use both on one page layout? Can we? I always enable classic builder on divi so maybe I’m behind?? Would love to know if I’m missing something!
We feel it’s important for us to cover every aspect of WordPress, including its native block editor. After all, Divi is a WordPress theme. WordPress Core will always be the base we build upon. That’s why the Divi Builder and WordPress’s native block editor already work hand in hand. Currently, you can use Divi modules and layouts inside a WordPress block layout. As time goes on, we’ll continue to deepen our builder’s compatibility with the WordPress block editor. As neat as it is to use these two builders more and more interchangeably, I think one of the most powerful ways to use them together is already possible. On every Divi site I create, I use the Divi Theme Builder to create my post content templates–including custom post types. Then, I use the native WordPress block editor to populate those pages with content. It’s an awesome experience as a content creator.
I’d sure like to see what this looks like in action. I can’t quite get the full usage from your description. It sounds like a section.
As Sandalsand ask before, I have a similar question, are you promoting more to use this tool than divi’stools?
What’s the target?
Thank you.
Our goal, when publishing content in our blog’s “WordPress” category is to teach folks how to use WordPress. As of the last few years, that means diving deep on the new capabilities of the WordPress block editor. We’re just making sure we cover these features as thoroughly as we can. In our opinion this is a great additional value to our users since knowing and using the native WordPress editor will always be a part of our users’ experience.
Interesting. Would you say that the Cover block is comparable to Divi’s Section, in the Divi Builder. If not, what are the main differences?