")
Google Calendar provides you with a powerful tool to stay organized and keep track of any events you’re hosting (or wish to attend). The problem is, WordPress doesn’t offer you a way to integrate your Google Calendars, or at least not without the right plugin.
Using a plugin, you’ll be able to add a Google Calendar to your WordPress pages and use it to help keep your visitors informed about upcoming events. In this article, we’ll talk about some situations where this functionality can come in handy, then we’ll teach you how to add Google Calendar events to WordPress in four steps.
Let’s get to it!
An Introduction to Google Calendar (And Its Scheduling Prowess)
Google Calendar is one of the tech giant’s most popular services. It can help keep your personal life organized by helping to schedule events you must attend, errands you need to run, and much more.
However, our real interest lies in how Google Calendar applies itself to the working day. When it comes to business, Google Calendar’s main selling point is the assistance it gives you when creating events, inviting guests, checking who’s coming and who’s not, and more.
Those are basic features found in many competitors. However, Google Calendar also enables you to arrange video conferences, schedule venues, and add plenty of detail for each event. Keep in mind, though – a lot of these features are only available for premium-paying G Suite users. If you’re using Google Calendar’s free version, you can still take advantage of its event scheduling functionality, but without some of the advanced perks.
As for why you’d want to use Google Calendar with WordPress, there are two main scenarios where it can come in handy:
- To inform your visitors about upcoming events. With Google Calendar, you can easily create events and show your visitors what’s coming up so they can make plans.
- As an appointment management tool. You can use the tool as a makeshift appointment manager.
There are a lot of plugins you can use to manage bookings through WordPress. However, few of them offer the features Google Calendar does, even if you’re a free user. Furthermore, almost none of them are as intuitive. If you already use Google Calendar to manage your private schedule, it makes sense to expand its functions over to your WordPress website as well, all it takes is the right plugin.
How to Add Google Calendar Events to WordPress (In 4 Steps)
There are several plugins you can use to add your own calendar to WordPress (check out our list of the best WordPress events calendar plugins to see our favorites). However, not all of them support Google Calendar integration, which is what we’re looking for. From those that do, you have two popular options, including Simple Calendar and WP Google Calendar Manager.
For this tutorial, we decided to go with Simple Calendar because it offers a bit more in terms of features and styling, although another option may suit you better. Once you’ve installed and activated the plugin, move on to step number one.
Step #1: Create a New Calendar in WordPress
Once you activate the Simple Calendar plugin, you’ll be presented with a welcome screen:
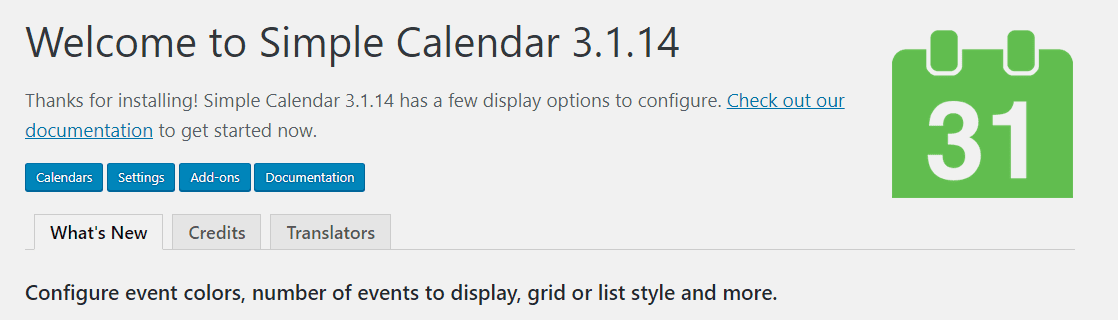
Here, you’ll see the latest changes to the plugin, and you’ll also be able to jump directly to your Calendars, Settings, Add-Ons, and Documentation tabs. You won’t need the latter two tabs for now, so let’s check out the Calendars section first.
Either click on the Calendars button at the top of the screen now or choose the Calendars > Add New tab from your WordPress dashboard. You’ll come to the WordPress editor page, which is populated with shortcodes that govern how your calendar’s events will display:
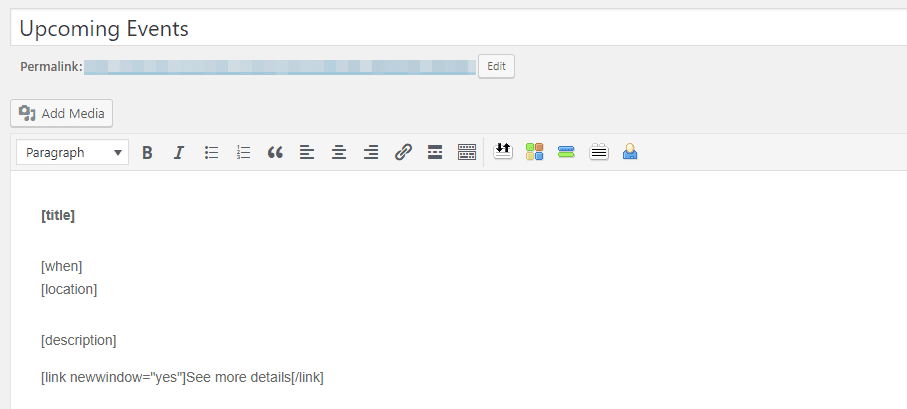
The default structure sets the title first, then displays when and where the event will take place. Finally, it shows you a brief description and enables you to see more details by opening a new window. This structure works rather well, but you can rearrange your event’s elements by switching things around.
We’ll show you how it looks in a minute. For now, go ahead and set a name for your calendar, as well as a category, if you want to. Now scroll down to the widget that says Calendar Settings and move on to step number two.
Step #2: Link Google Calendar as Your Calendar’s Source
The first option you’ll see within the Calendar Settings widget is called Event Source, and it enables you to choose Google Calendar as the source:

Moving onto the Events tab, you can choose when your calendar should start and the date range it uses to display events:
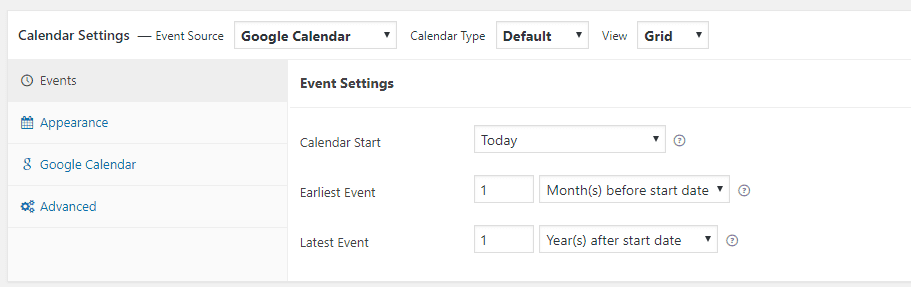
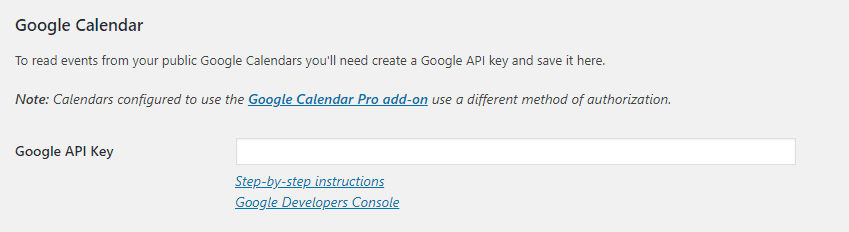
These settings will depend on the number of events you want to show on your pages, so feel free to play around with them. Before you can see your calendar in action, though, you’ll need to link your Google account with the plugin, which requires a Google API Key and a calendar ID. You can get your Google API key by following these instructions, then simply paste it into the Calendars > Settings tab:
Once you save your API key, it’s time to get your calendar ID. To do so, open your new calendar using the editor again. Now jump to the Google Calendar tab within the Calendar Settings widget:

The plugin will now ask you for your calendar ID, so jump to your Google Calendar account. To the left, you’ll see a list of your existing calendars. If you hover over them, you’ll see an options button you can click on. There’s an option inside called Settings and sharing – click on it now. On the next screen, there’s a section reading Access permissions. You need to enable the Make available to public setting right below:

Next, scroll further down until you reach the Integrate calendar section. Your Calendar ID should be right at the top, so go ahead and copy it now:

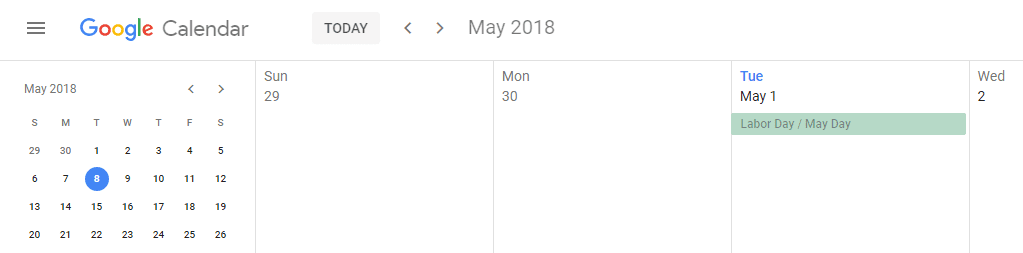
Now return to WordPress and paste your calendar ID within the Calendar Settings widget. If you preview your calendar now, you should see it’s pulling the events from your Google account.
Once you save the changes to your calendar, you’ll need to display it on your pages.
Step #3: Display Your Calendar on WordPress
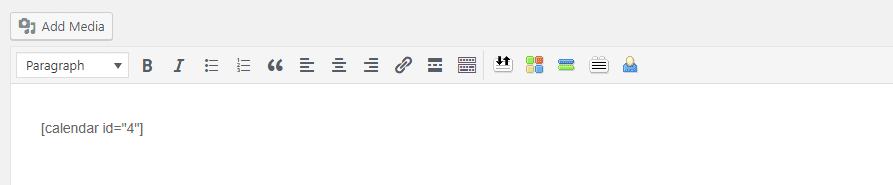
Displaying your new calendar anywhere on your website is simple. If you open the editor for any of your calendars, you’ll see a section called Calendar Shortcode to the right of your Calendar Settings widget:
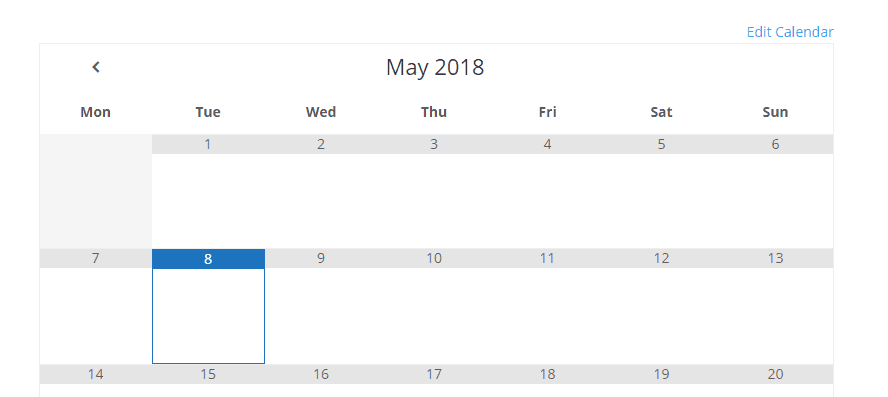
Simply copy the shortcode and paste it into the WordPress editor for any of your other pages. Remember, the location where you paste your shortcode will determine where it shows up on your front end:
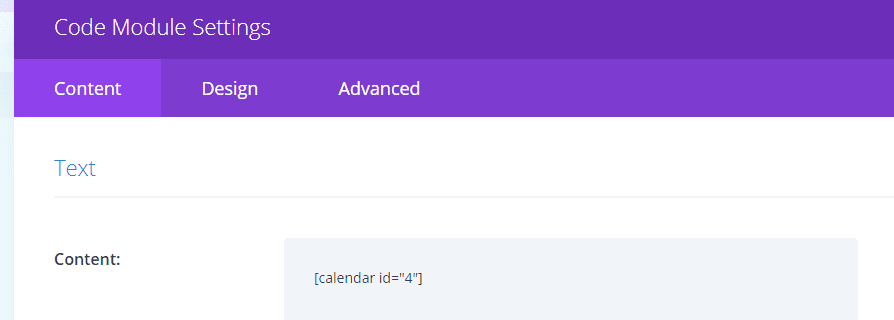
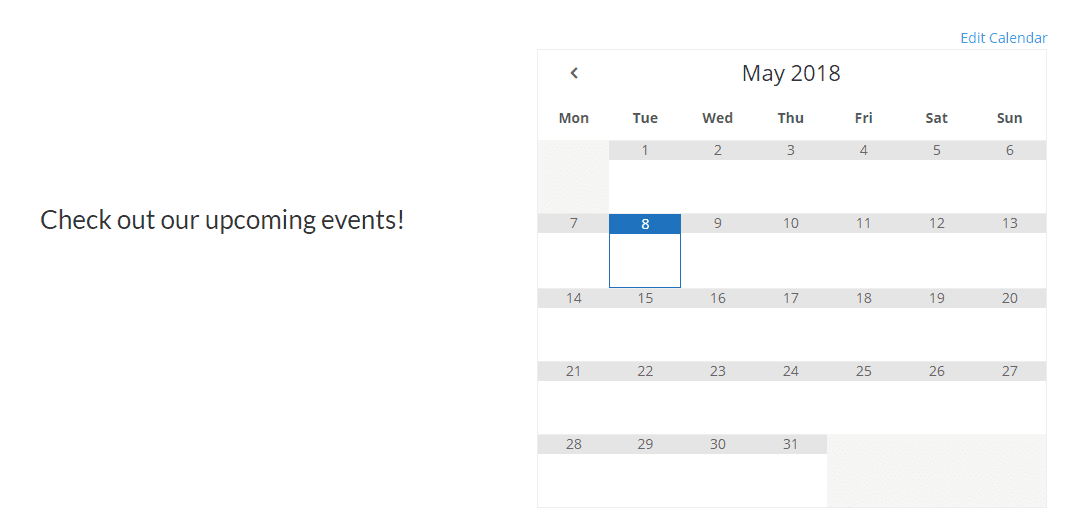
Divi users will also find the calendar works perfectly. However, you’ll need to add a Code module to your desired location. For example, here’s a standard two-column section seen from the Divi Builder:

If we click on the Code module’s settings, you’ll be able to paste your calendar’s shortcode within the Content field and save it:
Now, your calendar will show up wherever you placed it, as it would with any other theme. The difference is, Divi gives you far more control over its placement.
Step #4: Tweak Your Calendar’s Appearance
One of Simple Calendar’s main selling points is it includes several options to customize your calendar’s style. To access them, go to your Calendars > All Calendars tab and open the editor for the calendar you want to customize.
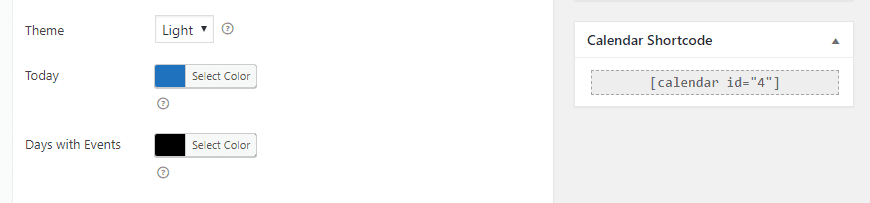
Once you’re in, scroll down to the Calendar Settings widget and jump to the Appearance tab. Here, you’ll be able to choose from among a Light and a Dark theme for your calendar:
Moreover, you can assign a specific color to highlight your calendar’s active day and the dates that hold events:

If you want your calendar to look right at home on your website, we recommend using the latter’s primary colors as part of the former. In most cases, light backgrounds work the best with your calendar since they’re easier to read on:
However, feel free to play with your calendar’s colors as well as the Divi Builder until you find a style that suits you.
Conclusion
Chances are you already use Google Calendar to organize your personal schedule. It can also help you arrange public events, and your WordPress website can help you find attendees. All you have to figure out is how to display your calendar on WordPress in the first place.
If you want to integrate Google Calendar with WordPress, we recommend using the Simple Calendar plugin and following these steps:
- Create a new calendar in WordPress.
- Link Google Calendar as your calendar’s source.
- Tweak your calendar’s appearance.
- Display your calendar on WordPress.
Do you have any questions about how to showcase your events in WordPress? Let’s talk about them in the comments section below!
Article image thumbnail by Bakhtiar Zein / shutterstock.com.


Do you have any suggestions for us arriving in 2026? I see the first plugin has a bunch of one star reviews saying it’s unreliable and buggy, plus it takes over your dashboard with a long ad. The second plugin is no longer active. I am looking to assist with embedding a Google Calendar to show upcoming events and a few recurring events for a pub so that visitors can stay informed. Any recommendations are welcome!
Thanks for pointing this out, Sabrina! 😊
That’s fair feedback; plugin recommendations can definitely become outdated over time.
For a pub events calendar in 2026, I’d probably approach it in one of two ways:
Simplest option: use Google Calendar’s native embed if you mainly need to show upcoming and recurring events with minimal maintenance.
For a more elaborate setup, you can use a dedicated events plugin and import/sync from Google Calendar or an ICS feed. The Events Calendar plugin supports importing from Google Calendar/iCalendar sources through its import tools and is widely used by WordPress users.
very Good the post
If I create a series of activities:
For example, Tuesday and Thursday for two months.
But if a date falls on a holiday (holiday) I try to change it and all the following dates are changed.
How can you solve it?
Right now, we are using Events Calendar. Can you tell me if there is a significant reason why Google/Simple Calendar would be better? Just looking for pros/cons.
Thank you so much John!
So, it will bring the data from Google Calendar, right?
But if I edit/add some event in WordPress it will update the Google Calendar?
Can I edit it in frontend too?
All the best!
Thanks for sharing this. Grateful
I was looking for this for quite a sometime now for our client – oceanicyoga.
Right on time, thanks for sharing.
Right on time, thanks a million for sharing.
Do you know if the calendar events can include a link to a blog article for event details and graphics?
very useful .thanks
You’re welcome 🙂 Glad you found it useful.