
Image filters are currently a very popular method to add a professional-looking sheen to your photos. If you’re on Instagram or Snapchat, chances are almost every image you see will has been run through a filter of some sort. However, image filters can be a lot more than just a gimmick – they can provide a quick and easy way to enhance the visuals on your website.
WordPress doesn’t ship with many image editing capabilities out of the box. However, that doesn’t mean you can’t leverage their benefits within the platform. In this article, we’re going to talk about why you’d want to add WordPress image filters, then explore how to do it using either a plugin or Cascading Stylesheets (CSS). Let’s get to it!
Why You Should Consider Adding Image Filters to WordPress
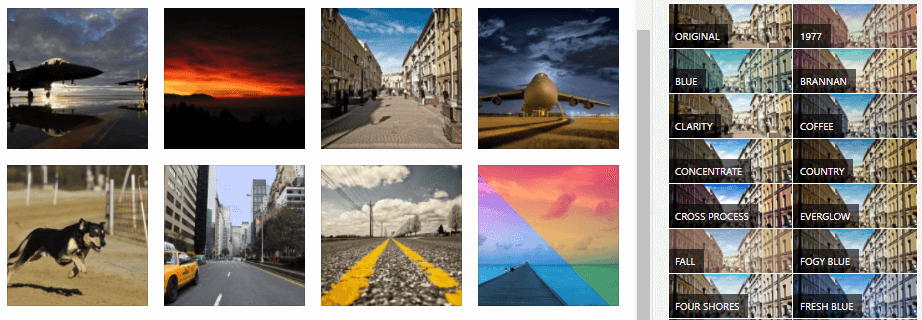
Image filters are a great way to customize your website’s images.
If you’ve never come across them, think of image filters as ‘presets’ to achieve a certain look. While some people dismiss them as simply a social media gimmick, they’re actually a powerful way to customize graphics. Moreover, they’re incredibly useful for WordPress users, since the platform doesn’t enable you to tweak images much beyond resizing and cropping them.
Let’s break down some of the things you can do with WordPress image filters:
- Customize images to fit in with your style. Imagine, for example, you’re a photographer with a WordPress portfolio. You could use image filters to customize your images to create a consistent look without having to deal with third-party tools.
- Brand your media. A lot of websites use specific types of images for their content. For example, you may have noticed most of the featured images on our blog are vector-based. You can use filters to create your own style and stand out too.
- Enhance stock images. Unless you’re a photographer with a lot of free time, at some point, you’ll probably end up using stock images on your website. In most cases, other sites will also be using the same images. You can set yourself apart with the use of filters.
If you’d like more options when it comes to image customization in WordPress, filters are a significant first step. However, you could also add a basic image editor to your dashboard, completely negating the need for any standalone software.
How to Add WordPress Image Filters to Your Website Using Plugins
Considering how popular image filters are, it’s surprising that there are few WordPress plugins in this niche. In fact, after some research, we found only one option we’re comfortable recommending to you – Ultimate Image Filters:
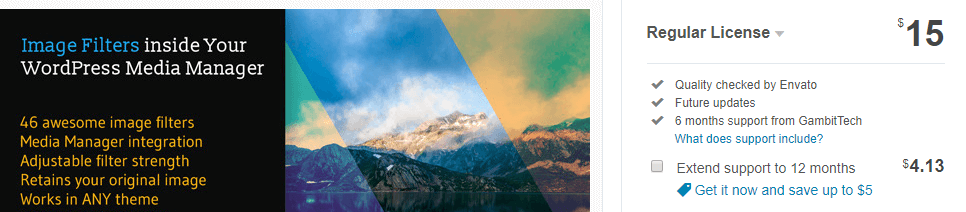
Bear in mind that this is a premium plugin, but it does offer a nearly seamless experience for adding filters to your images. The plugin includes over 40 unique filters you can add to any image on your site. Plus, you can customize the strength of each filter (i.e. control how much your images are affected), and it works seamlessly with Divi to boot.
Key Features:
- Add over 40 image filters to your WordPress media gallery.
- Save your customized images as new attachments.
- Switch between filters seamlessly.
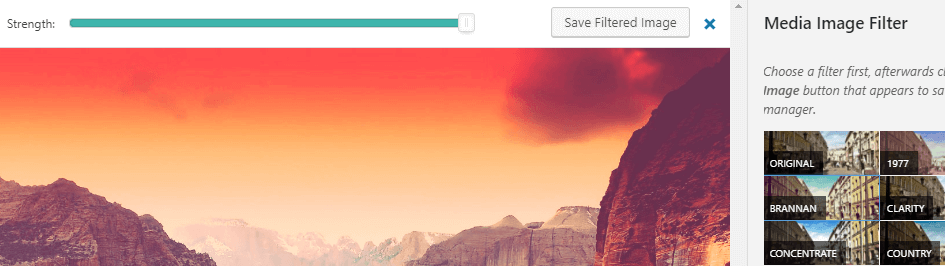
There’s no further configuration needed after installing the plugin either. Simply click any image in your WordPress Media Library, then within the right-hand menu, scroll down until you reach the list of available filters. Each includes an effect preview thumbnail, although unless you’re working on a large monitor, you may get more mileage from applying the effect and viewing the changes. Regardless, simply pick a filter, tweak its strength, and save the updated image if you’re happy with the results:
You can also add filters to your images from within the WordPress editor. Just click on the Add Media button, choose the image you want and repeat the process above:
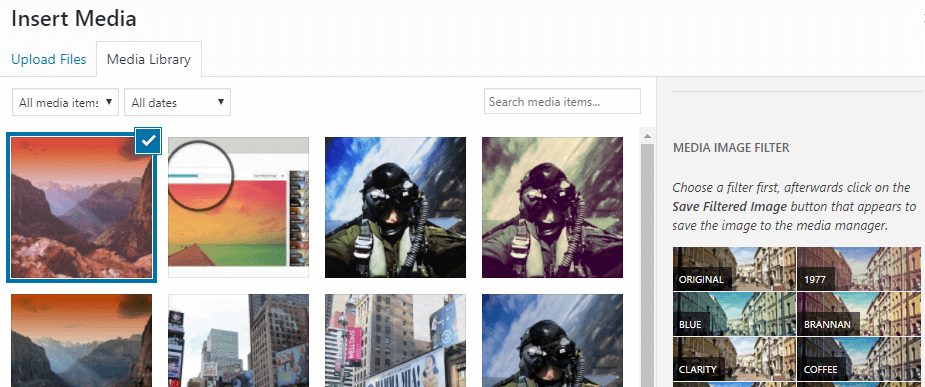
Keep in mind, though – you can’t access the plugin’s filters if you try to edit an image you’ve already added to a post. You’ll need to remove it first, add the filter from your media library, and place the new image in its place. Aside from that small hiccup, the process couldn’t be simpler.
9 WordPress Image Filters You Can Add to Your Websites (Using CSS)
If you’d rather not set up any additional plugins – especially one with a price attached – you could alternatively use some CSS effects to achieve a similar filtered look. In the past, we’ve talked about several ways to customize your WordPress website’s CSS. Divi users will need to head to the Divi > Theme Options tab in your WordPress dashboard, and look for the Custom CSS field at the bottom of the page:
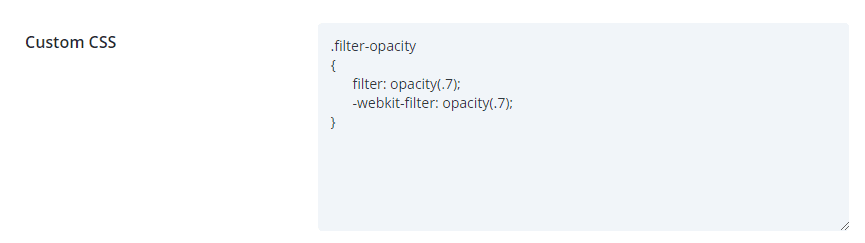
Here, you can paste the CSS code you’ll find in each section in there (for the filters you want to use), save your changes, and you’re good to go.
1. Opacity
For this first example, we’re going to add an opacity filter to one of your images. Think of this as a way to make your images transparent. Often you would use this either to reduce how prominent an image is (for example, if it’s part of the background), or overlay it with other images. Here’s the CSS snippet you’ll want to add to the Custom CSS field:
.filter-opacity
{
filter: opacity(.7);
-webkit-filter: opacity(.7);
}
You’ll notice we’re creating a new CSS class here, called filter-opacity. Inside, we’ve applied an opacity filter with a strength of .7 (which can be changed to any value between zero and one), and we use both the filter property and ‘WebKit’ filter. This is so browsers that use WebKit as their CSS rendering engine (such as Safari on macOS) will recognize the instructions as well.
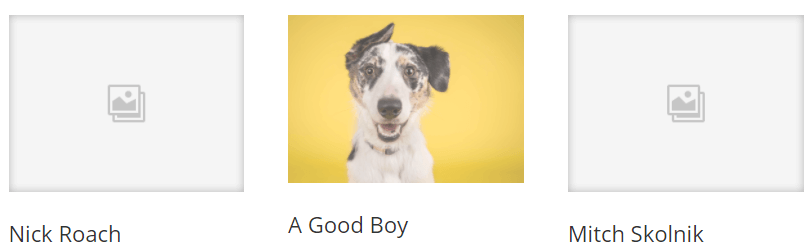
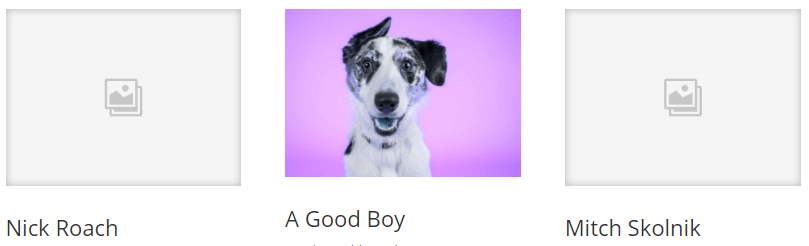
Now, to test our new filter, we’re going to open one of our Divi pages and customize one of our team member’s headshots. Here’s the original image:
To apply the filter, open the page using the Divi Builder and locate the corresponding Image module. Then click on the Module Settings button:

Once you’re in, go to the Advanced tab and look for the CSS Class field, then type the name of your new class. In this case, it’s filter-opacity:
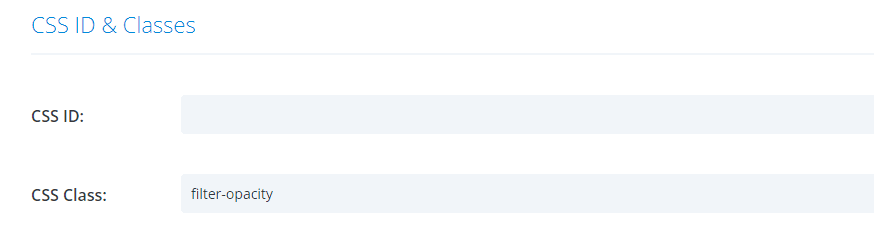
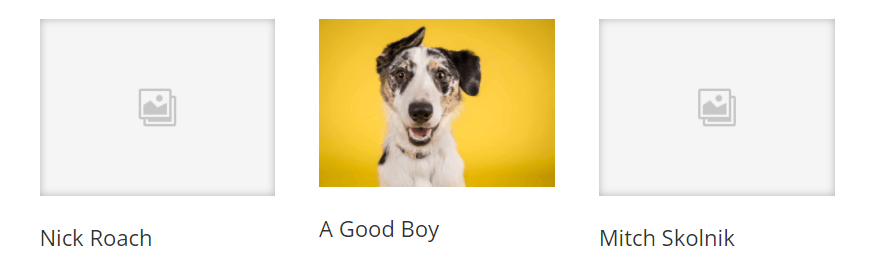
You can name your filter’s classes any way you want. Just try to make them something you’ll easily remember to avoid confusion. Once you save your changes, you’ll be able to see the effects of the filter you’ve applied. Note that this process will be similar for any other CSS filters you want to add. To add filters to your images, simply add the class you’d like to the images you want to customize.
2. Sepia

Sepia filters offer an excellent way to add an ‘old-time’ look to your images, although you should apply it selectively as it’s become a passé look if overdone. This applies a reddish-brown haze over your images, making them look like faded photographs. Here’s the code you’ll need to add the filter to your website:
.filter-sepia
{
filter: sepia(100%);
-webkit-filter: sepia(100%);
}
In this example, we’ve decided to apply the filter using a percentage. You can use this or decimals (or both), although we’d recommend sticking to one or the other to avoid confusion. In this case, the number one equals a filter with a strength of 100%.
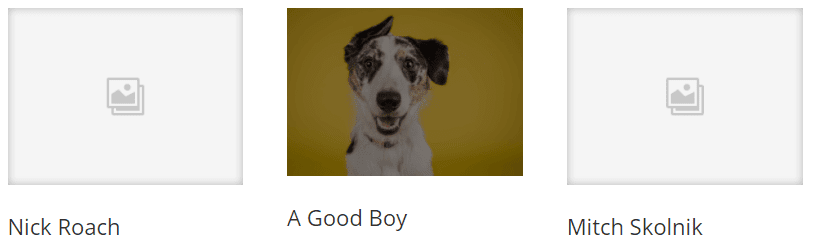
3. Saturate

Saturating an image is an excellent way to liven up dull colors, and this filter increases the intensity of all colors in your image. Take the yellows in the example above, which now pop out a lot more than they used to. Here’s the code you need to add to your Custom CSS field:
.filter-saturate
{
filter: saturate(1);
-webkit-filter: saturate(1);
}
In this case, we went with a value of one to over-saturate our example, but you can (of course) adjust the numbers however you like.
4. Invert

Now for something a bit different – this filter inverts all the colors of your image. For example, black becomes white, and so on. It’s not a filter you often see in photography, but it also serves a practical way to offer visual accessibility to some visitors. Here’s the code snippet you’ll need to copy:
.filter-invert
{
filter: invert(.8);
-webkit-filter: invert(.8);
}
A value of one, in this case, would result in a fully inverted image. This is a tricky filter to set up, so you may have to tweak the value until you find a strength that pleases you.
5. Hue-Rotate
The hue-rotate filter is another wildcard option. If you’ve ever used an image editing tool, you may be familiar with color wheels. They work by displaying all of the available colors within a wheel, which you can then use to select the colors and hues you want. This filter works on this premise, but without a visual representation. Let’s see the code so you can have a better idea how it works:
.filter-rotate
{
filter: hue-rotate( deg );
}
You can replace the deg value with any number going from 0deg all the way up to 360deg. We’ll admit, without a graphic giving you an indication of which color you’re choosing, the results could be a bit hit or miss. It’s a fun filter to use if you want to randomize the colors of your pictures, but it may require some adjustments to get exactly the hues you want.
6. Grayscale
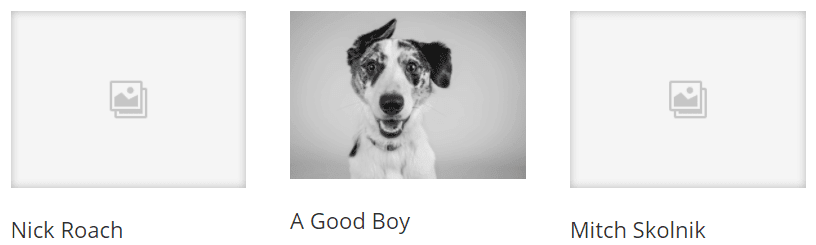
Now for something more traditional – the grayscale filter takes your images and replaces the colors with tones of gray. Think about it as a quick way to turn your photos into black and white old-time pictures. Here’s the code you’ll need:
.filter-greyscale
{
filter: grayscale(1);
-webkit-filter: grayscale(1);
}
Setting a value of one will remove all other colors from your images, whereas smaller numbers will just dampen them. You’ll also notice you can achieve a similar effect with a low saturate value. Whichever you opt for is completely down to personal preference.
7. Contrast

The contrast filter will be the one you’re likely most familiar with. It essentially makes the whites whiter and the blacks darker, enabling you to liven up faded colors. Here’s the CSS you need to use it in WordPress:
.filter-contrast
{
filter: contrast(1);
-webkit-filter: contrast(1);
}
As always, the strength of the filter depends on the value you type in there, so feel free to tweak it to your liking.
8. Brightness
The brightness filter is very straightforward. It enables you to either lighten or darken an image depending on the value you input in the code. Here’s the base CSS snippet:
.filter-brightness
{
filter: brightness(1.5);
-webkit-filter: brightness(.5);
}
In this case, any values above one will increase your image’s brightness, and numbers under one will darken it – so keep that in mind.
9. Blur
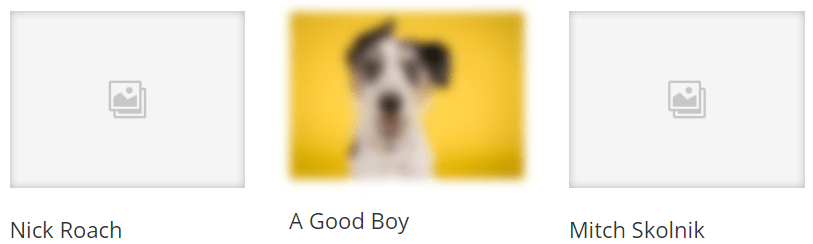
Last but not least, we’ve got the blur filter. This is also a popular one that’s available in most image editing applications. This applies an ‘out-of-focus’ look to your images, and it could be used in a pinch for obfuscating sensitive information. Here’s the CSS you need to implement it:
.filter-blur
{
filter: blur(5px);
-webkit-filter: blur(5px);
}
There are actually different types of blur effects available, and the one built into CSS is a ‘Gaussian’ blur that brings the entire image out of focus with a soft overlay.
It’s Even Easier if You’re a Divi User
We recently released a big design feature update that added color filters, effects and blend modes for all images, modules, rows and sections within Divi. So for Divi users, you’re able to do everything above (and a lot more) with absolutely zero code required.
Conclusion
Image filters can have a lot more uses than you might first expect, given their usage on sites such as Instagram. For example, you can use filters to customize the images you upload to WordPress, or to differentiate stock graphics. Either way, Divi makes it easy to use color fitlers, effects and blend modes for all the images, modules, rows, and sections on your website.
Non-Divi users can always use a plugin to add multiple image filters to WordPress. There aren’t many that meet our standards, although Ultimate Image Filters is one of very few good options. On the other hand, using CSS enables you to have much more control over your filters and how they look. It requires a bit of work to set up new WordPress image filters, but using Divi makes it simpler.
Do you have any questions about how to add WordPress image filters to your website? Let’s talk about them in the comments section below!
Article thumbnail image by Diana Hlevnajk / shutterstock.com


Thank you for the tutorial, Can we add the blur effect to an image and then on hover disable the blur effect on that image.
.et_shop_image:hover, .et_portfolio_image:hover, .et_pb_post img:hover {

    -webkit-filter: grayscale(100%);

    -moz-filter: grayscale(100%);

    filter: url("data:image/svg+xml;utf8,#grayscale");

    filter: grayscale(100%);

}
I think these are some good collection of plugins. Image problem is very common for designers. People who are not familiar with photoshop or does not have enough time to edit photos, these plugins will be helpful for them.
Thanks for the comment Karl. 🙂
This is really fascinating. I love it. A lot of beautiful filter are coming my way.
Thanks Christian. Glad you enjoyed it.
We were looking for a WordPress Image Filter; just what we needed. thanks!
You’re welcome Jeremy 🙂
Way to go guys! Adding these into the Divi theme is just MORE PROOF of why Elegant Themes is the best team out there.
I already have a few clients in mind I can toy around with these features for.
No problem Jon. Glad you found the article useful.
I’m not seeing the headshot images, just the dog. :/
Same here, but then the dog is cuter than either Nick or Mitch.
I love to read this article.