Gone are the days where you could create a website without decent visuals and still hope for success. Today’s website visitors expect gorgeous graphics, and if you’re a WordPress user, it means you’re going to have to learn how to at least do some light photo editing.
While WordPress and photo editing don’t usually go hand in hand, the DigiWidgets plugin enables you to transform your WordPress dashboard into an image editor. What’s more, it also works well with Divi – let’s find out just how effective it is for advanced photo editing tasks!
Introducing the DigiWidgets Plugin
First of all, it’s important to state that DigiWidgets is no Photoshop killer. However, it is a surprisingly full-featured image editor wrapped up within a WordPress plugin.
The plugin provides you with all the tools you’d expect from a basic image editor, including transform options, a layer system, filters, a cropping mechanism, and text boxes. The editor itself is rather rudimentary, but it gets the job done – and anyone familiar with WordPress will be able to get the hang of it quickly.
One of DigiWidgets best features is the ability to create templates for specific image formats. This enables designers to keep track of the dimensions they use for the pictures in each section. If you’re creating a website for someone else, you can even set templates for them too, so they can add new graphics to their site without breaking the proportions you’ve set.
Key Features:
- Provides you with a photo editing tool located on your WordPress dashboard.
- Includes transform options, cropping, zooming, and text functions.
- Enables you to use a layer system.
- Includes a history function to keep track of the changes you make to each project.
- Uses a template-based system to keep track of any dimensions you want to reuse throughout your designs.
- Enables you to add borders to your images.
- Includes an extensive selection of filters (including grayscale and white removal).
- Supports Google Fonts.
Price: Free and $15.99 per year licenses | More Information
How to Install and Activate the DigiWidgets Plugin
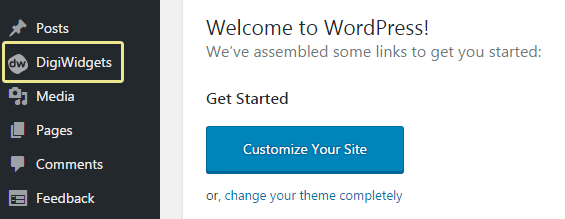
Before we jump into using the DigiWidgets plugin, let’s take a minute to explain how to set it up. For the free version you simply install and activate it as you would any other plugin, and a new tab will appear on your WordPress dashboard:
However, the premium version requires you to copy and paste an API key into the plugin’s settings. You’ll find a link to download the plugin on your DigiWidgets account screen, where you’ll also find an API license key:

Once you’ve uploaded and installed the plugin on your WordPress site, head into Settings > DigiWidgets API Manager where you’ll find two fields. Paste your API key into the first one, and the email associated with your DigiWidgets account into the second:
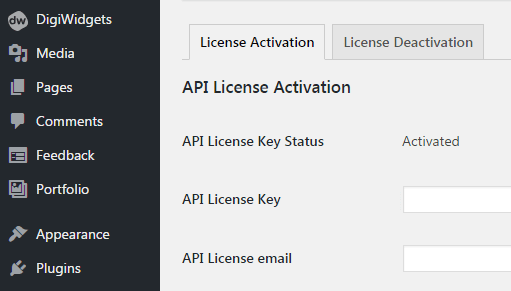
Save the changes, and you’re ready to go! Now it’s time to talk about the photo editing process.
How to Do Advanced Photo Editing in the WordPress Admin
To access the DigiWidgets editor, you’ll firstly need to create a project. Go to DigiWidgets > Projects in your WordPress dashboard, and click on Add New:

Pick a name for your project, then select Add New Size from the drop-down list below:
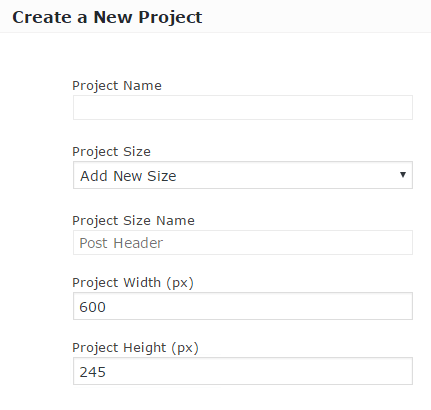
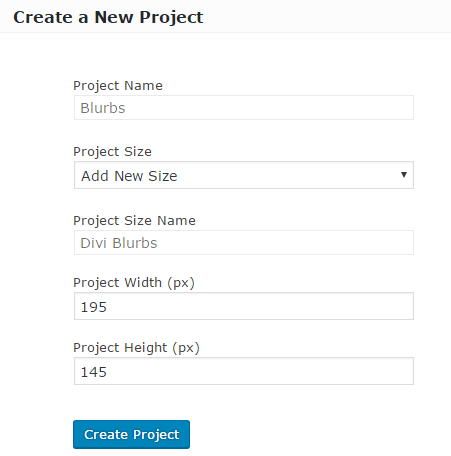
Keep in mind that the dimensions you add at this stage will be saved under Project Size Name, which enables you to reuse them at a later date. That’s the template system we discussed earlier in action. Later on, we’ll talk about how to use it effectively.
The DigiWidgets Editor and Tools
Now it’s time to begin editing!
In your new project, select an image from your Media Library, or upload a new one to work with – you’ll see the following screen:
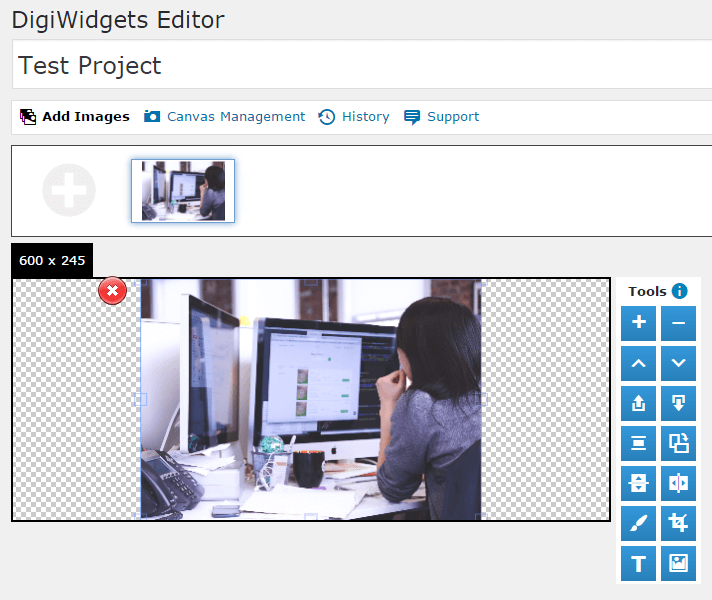
To work on your image, click it – you’ll enable the tools at the right side of the editor. Here’s a brief list of the tools included, from top to bottom:
- The zooming functions.
- An option to flip your image vertically or horizontally.
- The filter controls.
- A cropping tool.
- The Insert Text function.
Aside from these, there are also a few other tools including options to switch layers around, rotate your images, and add simple colored borders. However, the vast majority of these tools are self-explanatory – so let’s move on to discussing DigiWidget’s advanced features.
The DigiWidgets Layer System
Modern photo editing utilizes a system of layers to place graphics or on above one other. Here’s an example – notice the difference from our previous screenshot of the editor:
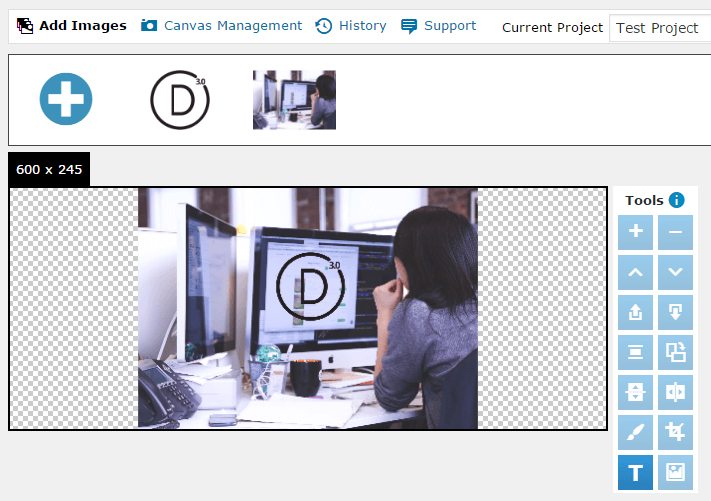
We’ve added the Divi logo right in the middle of our test project, and you can see it displayed on both on the main image and in the layer section, enabling you to select the exact element you want to edit:
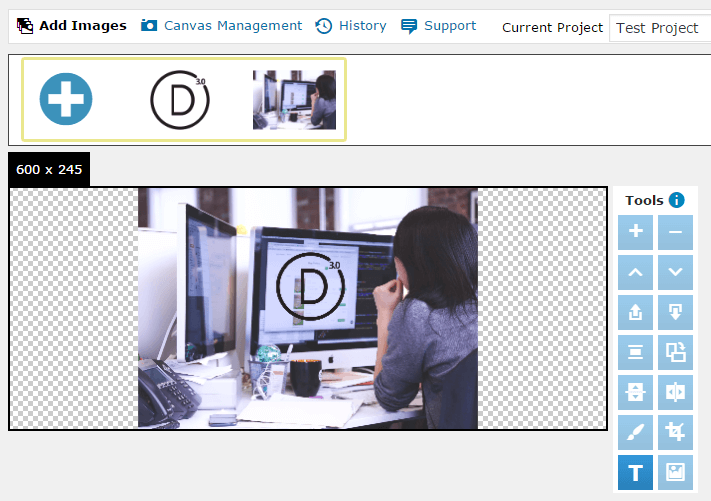
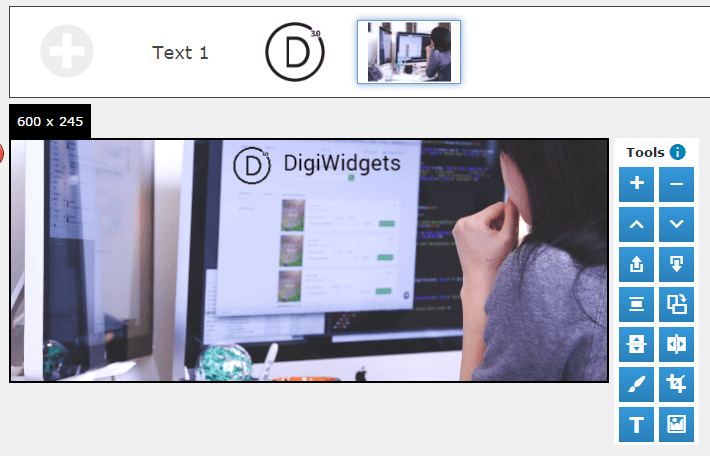
You can click on either the Add Images button above, or on the blue plus sign at the far left side of the layer selector to add new images. To better illustrate what you can achieve using DigiWidgets, we’ve used the zoom function to focus on a portion of the image, relocated the Divi logo, then added a text layer next to it:
The DigiWidgets History Feature
If you’ve ever edited photos before, you’ll likely already be familiar with the History feature. Essentially, it enables you to roll back any of the changes you’ve made to an image to a previous setting. The DigiWidgets editor includes this too, and it’s located right above your images during the photo editing process:

Once you click on the History button, you’ll find a list that details every single change made, right from the moment you created the project. It even keeps tracks of dates and times – and these are saved after you close a project too.
The Filter and Border Functions
DigiWidgets doesn’t include an extensive collection of filters, but they are suitable for light photo editing. To apply a filter to any image, select the desired layer in the editor, and click on the Filter tool:
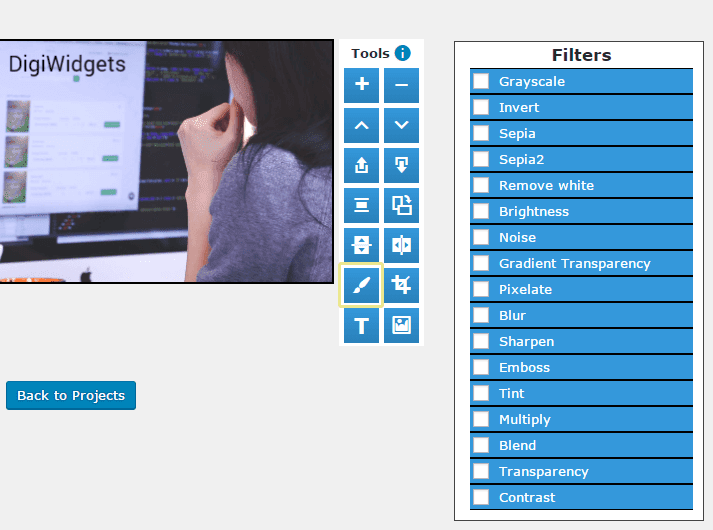
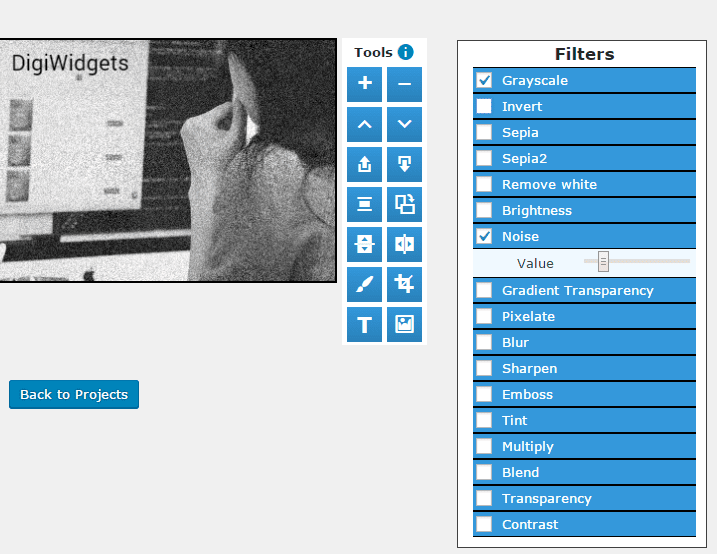
You can use multiple filters simultaneously, and some of them offer the option of modifying their intensity (as seen below with Noise):
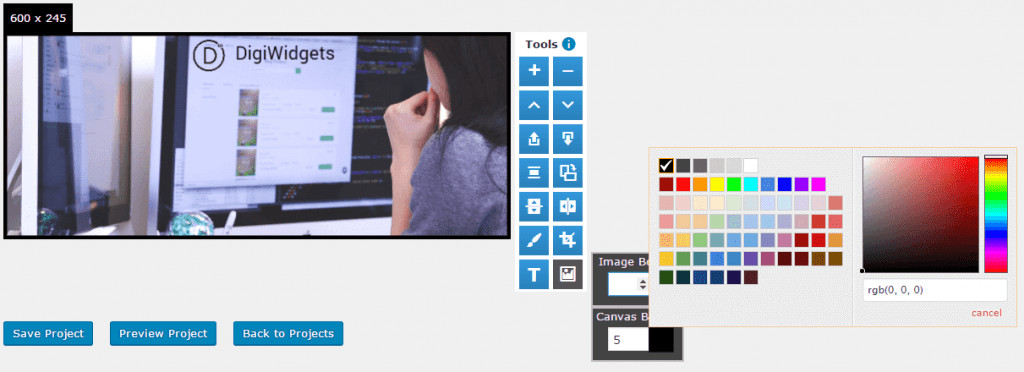
Moving on – the Border tool enables you to apply borders to either the canvas or your image. You can specify the width of each border, and select its color from a palette:
How to Use DigiWidgets Templates With Divi
The DigiWidgets plugin works great alongside Divi. In fact, you can see its developers using the theme during some of their DigiWidgets video tutorials. As far as we’re concerned, there’s no limit to what you can do in tandem with Divi and DigiWidgets, but experimenting with templates is a good place to start. Take the Divi Blurb module for example:
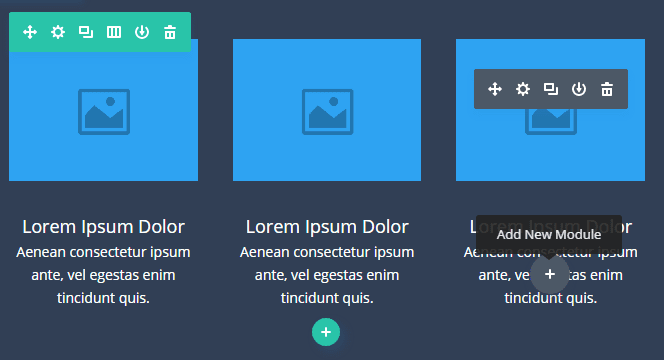
Blurbs usually come in multiples, and use images with the same dimensions. With DigiWidgets, you can create a unique template for these modules:
You can also add any image you want to your new Blurbs project, and perform the same edits as with other images:
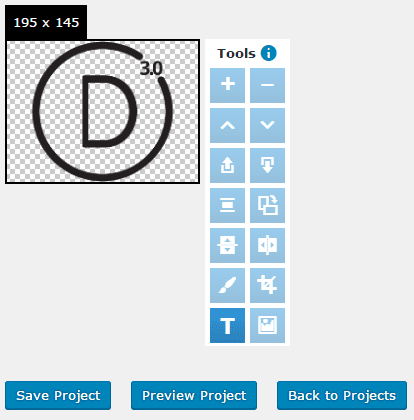
Then, once your project is saved, you can simply duplicate it from your DigiWidgets project list. This enables you to take the same image and save it as a different project to make modifications:

There’s a great degree of synergy between visual themes such as Divi and DigiWidgets templates – all you need is a little imagination!
Conclusion
Learning how to edit photos using the DigiWidgets plugin doesn’t take much time. Because you can do it all from within WordPress, it can enable you to overhaul the style of your Divi website, and improve your productivity. That means less back and forth between programs, and more time spent focusing on your Divi site.
Let’s recap the steps you’ll need to take to edit your photos:
- Install and activate the DigiWidgets plugin.
- Get to know the photo editor and its tools.
- Get to know the layer system.
- Learn how to use the History feature to correct mistakes.
- Check out the Filter and Border tools.
- Get acquainted with the template feature, and learn how to use it alongside Divi.
Do you have any questions about using DigiWidgets and Divi? Subscribe and share your wisdom with us in the comments section below!
Article thumbnail image by TarikVision / shutterstock.com.


I find a lot of my clients don’t really like leaving the admin panel. Going to be recommending they try this.
Nice work!
It should be ideal for them, Zackary. 🙂
Thanks for your comment!
Can i use it on my shop (under PrestaShop) is it compatible?
I don’t have an answer for you, I’m afraid. The best course of action is to try it out and let us know. 🙂
Why not just use Canva?
You could absolutely use Canva, or any number of tools available, but given the option to edit images is there in WordPress, why not consider it?
Thanks for your question. 🙂
While I like the idea of more advanced image editing inside a WordPress install, I can’t see the benefit of this plug-in.
I am in the fortunate position that I have Photoshop at home (legally, through my employer) but if I didn’t have Photoshop, I would rather spend $50 on Affinitiy Photo — for example — once and use a local program for all sites I maintain plus my other photo editing needs, than pay an annual fee of $15 per site or $60 for up to 20 sites.
There are positives and negatives of both approaches – although we’re glad you have a solution (and fallback) you’re happy with!
Thanks for your comment, Roland. 🙂
I’ve been using Photoshop i hope this works for me.nice one
Give it a try and let us know how you get on!
Hi John. This is helpful information and well explained. I personally prefer using photoshop elements but what interests me about DigiWidgets is how it can help clients. Many of my small-biz clients arent photoshop users. A plugin with predefined templates could make a big difference to them.
dawn
That’s great, Dawn. 🙂 Anything that can bridge the gap is a great solution in our book!
You guys are awesome.
Thanks Jeff. 🙂
Looks like a great idea. Once you complete a ‘project’ do you save that to your media file or are these images now saved as projects in DigiWidgets?
I am currently using Canva, which has a nice library of free images that you can incorporate into your design or sometimes I pull something from pixabay.
If I create a project with DigiWidgets, can I also download the image for use elsewhere?
Heather, they should be saved in DigiWidgets, and we didn’t see a download image button. However, check out the free version, and maybe even feedback your needs to the developers – let us know how you get on. 🙂
When I try to use the free tool , it is slow and get constant hourglass for cursor. Maybe I will try it on a different computer. Plus I do not like plugin with annual fees
Stick with it David – we found no issues. Good luck. 🙂