

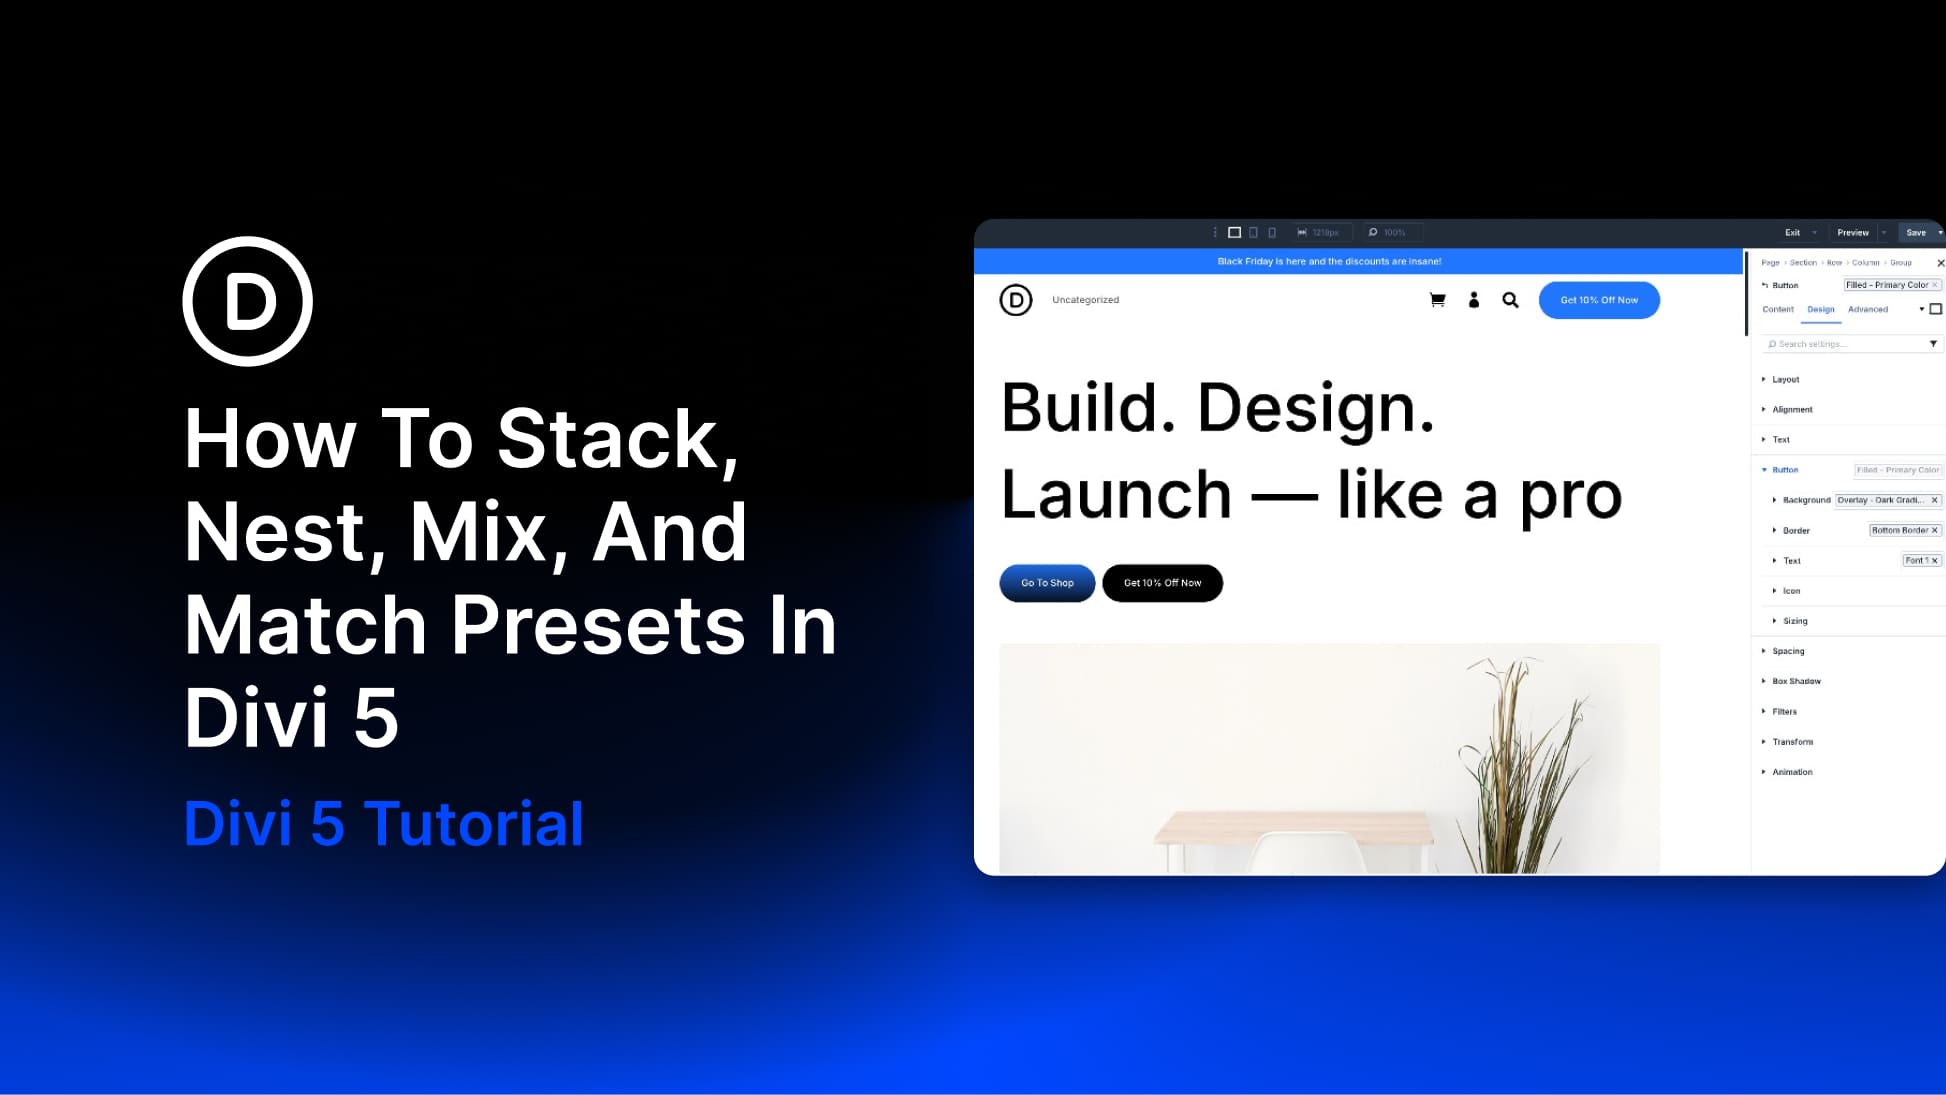
Most Divi 5 users start with presets by saving one complete style at a time. That works for simple reuse, but it can quickly turn into a long list of similar presets: one card preset for a light version, another for a dark version, another with a different border, another with different spacing, and so on.
Divi 5 lets you build presets in a more connected way. Instead of saving every finished variation as a separate preset, you can break styles into smaller pieces, stack those pieces on the same element, nest them inside larger presets, and reuse compatible presets across different parts of a site.
That is where the system becomes powerful. A border preset can be used inside a button preset. That button preset can live inside a full Call To Action preset. A background preset can be shared across a button, a testimonial, a footer, a row, and a column. Change the shared preset once, and every connected element updates with it.
In this tutorial, we’ll explain how stacked presets, nested presets, and nested option presets work in Divi 5. Then we’ll build a small preset system that shows how to stack, nest, mix, and match presets across a page.
- 1 Understanding Stacked And Nested Presets In Divi 5
- 2 Mixing And Matching Presets Is The Strategy
-
3
How To Build A Preset System In Divi 5
- 3.1 Step 1. Start With Design Variables
- 3.2 Step 2. Create Your Core Option Group Presets
- 3.3 Step 3. Nest A Preset Inside Another Preset
- 3.4 Step 4. Combine Everything Into An Element Preset
- 3.5 Step 5. Mix Presets To Create Variations
- 3.6 Step 6. Match Presets Across Different Modules
- 3.7 Step 7. Change One Value And Watch It Travel
- 4 Small Presets, Whole Websites
Understanding Stacked And Nested Presets In Divi 5
Before building the system, it helps to separate the preset concepts. Stacking and nesting solve different problems, and mixing and matching are the strategies you use once those features are in place.
Stacking Presets
Stacking means applying more than one preset to the same element or option group.
In earlier preset workflows, one element often carried one preset. If you wanted a variation, you had to create another full preset, even when most of the design stayed the same. Stacked Presets remove that limit. You can apply multiple presets to the same element, and Divi combines them into one final style.
This changes how you save styles. Instead of building one large preset that controls everything, you can keep each preset focused:
- Base preset: Handles foundational typography or layout values.
- Spacing preset: Handles padding and gaps.
- Surface preset: Handles background, border, or shadow.
- Variant preset: Handles the one thing that changes, such as a dark background or seasonal accent.
A Blurb module, for example, could carry a base preset, spacing preset, border preset, and background preset at the same time. Because each preset owns a different part of the design, they can sit together without turning every variation into a separate full preset. When a shared style changes, you update the smaller preset that owns that decision. Every element using it updates too.
Learn Everything About Divi 5’s Stacked Presets
Nested Presets
Stacking is about multiple presets sitting on the same element or option group. Nesting is about presets living inside other presets.
When you save an Element Preset in Divi 5, any Option Group Presets applied to that element come along with it. They are not flattened into disconnected copies. They stay nested inside the Element Preset as live references.
That means you can create a Blurb module, apply several Option Group Presets to it, then save the whole module as an Element Preset. When you apply that Element Preset somewhere else, the full component arrives with its smaller preset parts still connected.
If the background preset, border preset, or button preset changes later, the Element Preset reflects that update.
Learn Everything About Divi 5’s Nested Presets
Nested Option Presets
Nested Option Presets take the same idea deeper. You can apply presets to nested option groups inside modules, such as the Border settings inside a Button group. You can also nest one Option Group Preset inside another Option Group Preset.
For example, a Border 100% preset can live inside a Button Global preset. That Button Global preset can live inside a complete CTA – Global Element Preset. Each layer stays connected to the one below it.
This matters because small decisions can travel through bigger systems. Change the border preset once, and that change can move through the button preset, into the Call To Action preset, and out to every module using it.
Learn Everything About Divi 5’s Nested Option Presets
Mixing And Matching Presets Is The Strategy
Stacking and nesting are the features. Mixing and matching are the strategy.
Mixing means using preset stacks to create variations without duplicating everything. You keep the shared layers in place and swap only the layer that needs to change.
For example, two cards can share the same spacing preset and border preset. One uses a light background preset, and the other uses a dark background preset. The difference between the two cards is one layer, not two completely separate component presets.
Matching means reusing a preset wherever the same option group exists. An Option Group Preset is not locked to the module where it was first created. A background preset can be applied to a section, row, column, testimonial, button, or other element that has a compatible Background option group.
Together, mixing and matching keep your preset library small. Instead of saving every possible combination, you create focused presets with clear jobs and combine them when needed.
The mindset is simple: make each preset small, give it one job, and let Divi combine the pieces.
How To Build A Preset System In Divi 5
Now let’s build a small preset system from the ground up. We’ll start with Design Variables, create focused Option Group Presets, nest presets inside a button preset, save everything inside an Element Preset, create light and dark variations, reuse presets across different modules, and then update one value to prove the system works.
Step 1. Start With Design Variables
Design Variables hold the raw values your presets will reference, such as brand colors, background colors, spacing amounts, font sizes, and other reusable values.
Starting with variables keeps the system connected from the bottom up. A preset that uses a Design Variable does not carry a random hardcoded value. It points to a shared source. If that source changes later, every preset and element using it can follow.
Open the Variable Manager from the Builder Bar and create the values this build will use. For this example, create a primary color, a dark background color, a light background color, and a few spacing values for padding and gaps. Name each variable by its role, such as Primary Color, Background Dark, Background Light, or Padding Medium. Role-based names are easier to understand when the variable list grows.
We’re keeping this step short because Design Variables are a full topic on their own. Our guide to Design Variables in Divi 5 covers all variable types in detail, and Part 3 of our Divi 5 Mastery Series shows how to create a global design system with variables from scratch.
Step 2. Create Your Core Option Group Presets
With variables in place, create the small presets that will appear throughout the site. These should be focused styles you expect to reuse often. Border, background, and spacing presets are a strong starting point because they appear across many elements and modules.
Add a module to the page and open its settings. In the Design tab, expand the Border option group. Style the border using your variables where they apply. Then hover over the option group title, click the Preset icon, and choose New Preset From Current Styles.
Name the preset something clear, such as Border Basic, and click Save Preset.
Repeat the same process for a background preset and a spacing preset. Reference your color and spacing variables as you go. For example:
- Background – Overlay Dark
- Padding Large
- Padding Medium
- Padding Small
- Rounded Regular
The click path is the same each time: style the option group, click the Preset icon, and save the preset under a name that describes its job. Three focused presets can do more work across a site than one oversized preset that tries to control everything.
For the fundamentals, Part 4 of our Divi 5 Mastery Series walks through the preset workflow, and our guide to Option Group Presets in Divi 5 explains how smaller presets work across option groups.
Step 3. Nest A Preset Inside Another Preset
Small presets become more useful when they can live inside larger ones. Divi 5 lets you apply presets to nested option groups, such as the Border settings inside a Button group. It also lets you nest one Option Group Preset inside another Option Group Preset.
We’ll use that to build a reusable button preset from smaller parts. Open a module that contains a Button option group, such as a Call To Action module. Hover over the Button option group title, click the Preset icon, and create a new preset for the button styles.
Name it Button Global. Inside the Button group, nest the smaller presets that should define the button. For this example, use:
- Border 100% for the rounded corner style.
- Button Spacing for the button padding.
To nest each one, expand the nested option group inside the Button group, click its Preset icon, and choose the preset from the list. Save the Button Global preset when both nested presets are in place.
Button Global now contains those smaller presets as live references. Any button using Button Global carries the shared corner and spacing styles. If either nested preset changes, every button using Button Global can update too.
Step 4. Combine Everything Into An Element Preset
Element Presets sit at the top of the structure. They capture the full style of an element, and any Option Group Presets applied to that element are nested inside automatically. In this example, the Call To Action module already uses the smaller presets from the earlier steps. That means the main work is saving the complete module as an Element Preset.
Hover over the top of the module’s settings panel, click the Preset icon, and choose New Preset From Current Styles. Name it CTA – Global and save it.
When the preset settings appear, you’ll see the Option Group Presets embedded inside it. Apply CTA – Global to another Call To Action module, and the full component arrives in one click with its preset layers included.
The important detail is that each piece still exists as its own preset underneath. The Element Preset brings the component together, but the smaller presets still control their own parts.
Step 5. Mix Presets To Create Variations
Now use the preset layers to create variations. In this example, we want a light and a dark version of the same container. Instead of building two completely separate components, we’ll keep the shared layers and swap only the background layer.
A row holds two columns side by side. The first column uses an Element Preset named Contained – Dark. The second uses Contained – Light. Underneath, both columns share the same Padding – Medium spacing preset and Rounded – Regular border preset.
The only difference is the background: dark on one side and light on the other.
That is mixing in practice. Every shared style lives in a shared layer, so if the padding or corners ever change, both columns update together. The variation itself only requires one swapped preset. Adding a third or fourth version works the same way: keep what is shared, swap what is different.
Step 6. Match Presets Across Different Modules
So far, the presets have stayed close to the module or element they were created from. Matching is where the system spreads across the site. Option Group Presets are not locked to a single module type. Any element with a compatible option group can use the preset.
In this example, the same Background – Overlay Dark preset appears across six different places:
- A button
- A footer
- A testimonial
- A countdown timer
- A row
- A column background
The process is familiar. Open the element, hover over its Background option group, click the Preset icon, and select the Option Group Preset from the list.
Six different element types now share one visual treatment, and none of them needed a new background style built by hand. When that background treatment changes, every element using the preset can update in the same moment.
Step 7. Change One Value And Watch It Travel
The final step is the test. Open the Background – Overlay Dark preset and change its color to purple. Every element connected to that preset updates at once: the button, footer, testimonial, countdown timer, row, and column from the previous step.
The update works because those elements were not manually styled one by one. They all point to the same preset. The same idea applies to Design Variables. Change a color or spacing value in the Variable Manager, and every preset referencing that variable can update along with every element using those presets.
That is the goal of the system: one edit reaches every place it should, without searching through the site by hand.
Small Presets, Whole Websites
Everything in this tutorial came from a small set of connected parts in Divi 5: a few Design Variables, focused Option Group Presets, a nested button preset, and an Element Preset that pulled the pieces together.
Stacked presets let multiple layers sit on the same element. Nested presets let smaller presets stay connected inside larger ones. Mixing presets creates variations without duplicating shared styles. Matching presets reuses the same design decision across different modules and elements.
That is how a small preset library can reach a full website.
You do not need to rebuild your entire site to work this way. Start with the next component you build. Save the reusable parts first, nest them where they belong, stack them when you need variation, and let each preset do one clear job.




Leave A Reply