
In modern web design, off-canvas design elements such as mega menus, slide-in sidebars, and interactive pop-ups are essential for creating engaging, user-friendly experiences without overwhelming the main layout. Divi 5’s Canvas system is a powerful new feature that lets you create off-canvas designs, manage them with ease, and place them anywhere in your layouts via the Canvas Portal Module.
In this post, we’ll cover what the Canvas Portal Module is, how to use it, and its key benefits to help you master this new feature in Divi 5.
Let’s get started.
What Are Divi 5 Canvases?
Divi 5 Canvases introduce separate, detached workspaces within the Visual Builder, completely detached from your main page content. These canvases serve as dedicated areas for building and organizing off-canvas elements, keeping your primary layout clean and uncluttered during editing.
Subscribe To Our Youtube Channel
Canvases come in two types: Local Canvases, which are tied to a specific page or post, and Global Canvases, which are reusable across your entire site.
On the front end, canvas content works normally once it’s appended, while remaining separate in the Visual Builder for a cleaner editing experience. For mega menus and pop-ups, users can create Interactions with triggers like Click, Mouse Enter, Mouse Exit, Viewport Enter, Viewport Exit, or Load to dynamically show, hide, or animate them.
Divi 5 can automatically append canvases to the page when needed (such as when an Interaction targets them), while keeping them separate in the builder.
This foundation enables sophisticated off-canvas behaviors without cluttering your Main Canvas. For even greater control over precise placement, you can use the Canvas Portal Module, which I’ll explain in greater detail next.
What Is The Canvas Portal Module?
The Canvas Portal Module is a new feature in Divi 5 that enables you to insert content from a detached canvas directly into a specific location on your main page or Theme Builder template. The module works by linking to your chosen Canvas and pulling in that Canvas’s layout content, rendering it inside that location on the page.
For example, a load-triggered newsletter pop-up (optionally with a delay) can be positioned perfectly on the page while maintaining the Interaction behavior tied to the elements inside the canvas.
Technically, the canvas stays detached and is edited from the Canvas dropdown or Canvas Grid View. When you inject a canvas via the Canvas Portal Module, its content is displayed in that spot in the builder and on the front end, while edits still happen inside the original canvas.
How To Use The Canvas Portal Module
Using the Canvas Portal Module is straightforward and unlocks powerful ways to insert reusable or dynamic content from detached canvases into your pages. Below is a step-by-step guide to get you started.
Create And Build A Detached Canvas
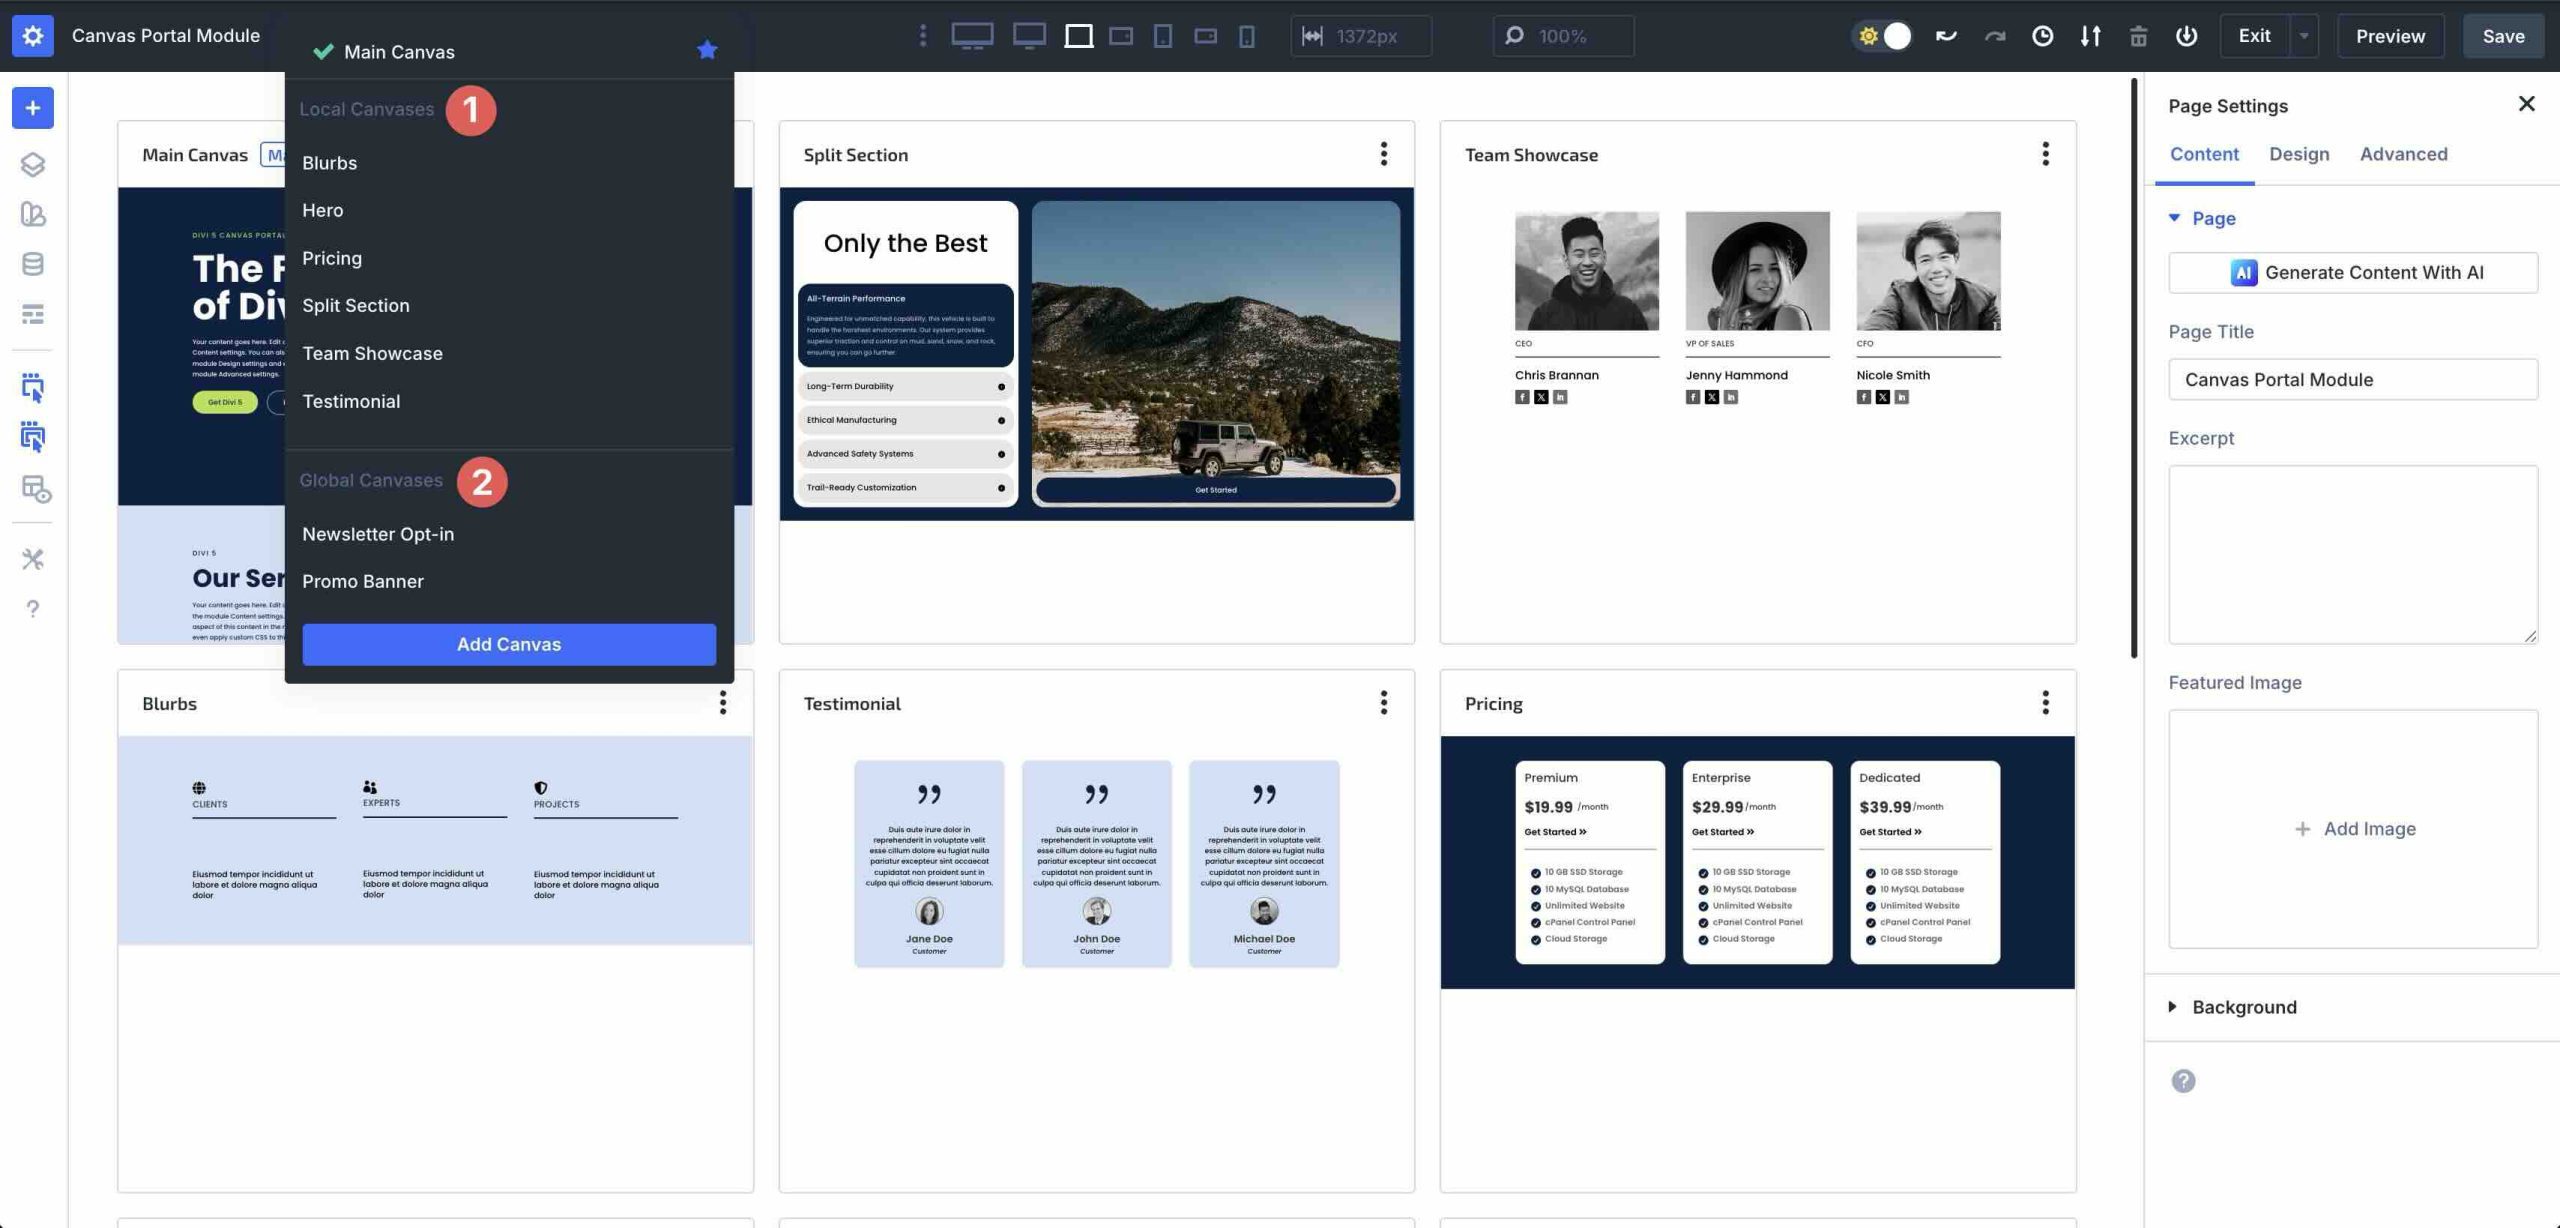
Before you can use the Canvas Portal Module, you must first create a new Canvas. The Visual Builder now features new tools that make it easier to get started. The Canvas dropdown menu, located to the right of the page title, allows you to either select an existing Canvas or create a new one.
Alternatively, the Canvas Grid View icon, located to the right of the Canvas dropdown menu, allows you to create a new Canvas.
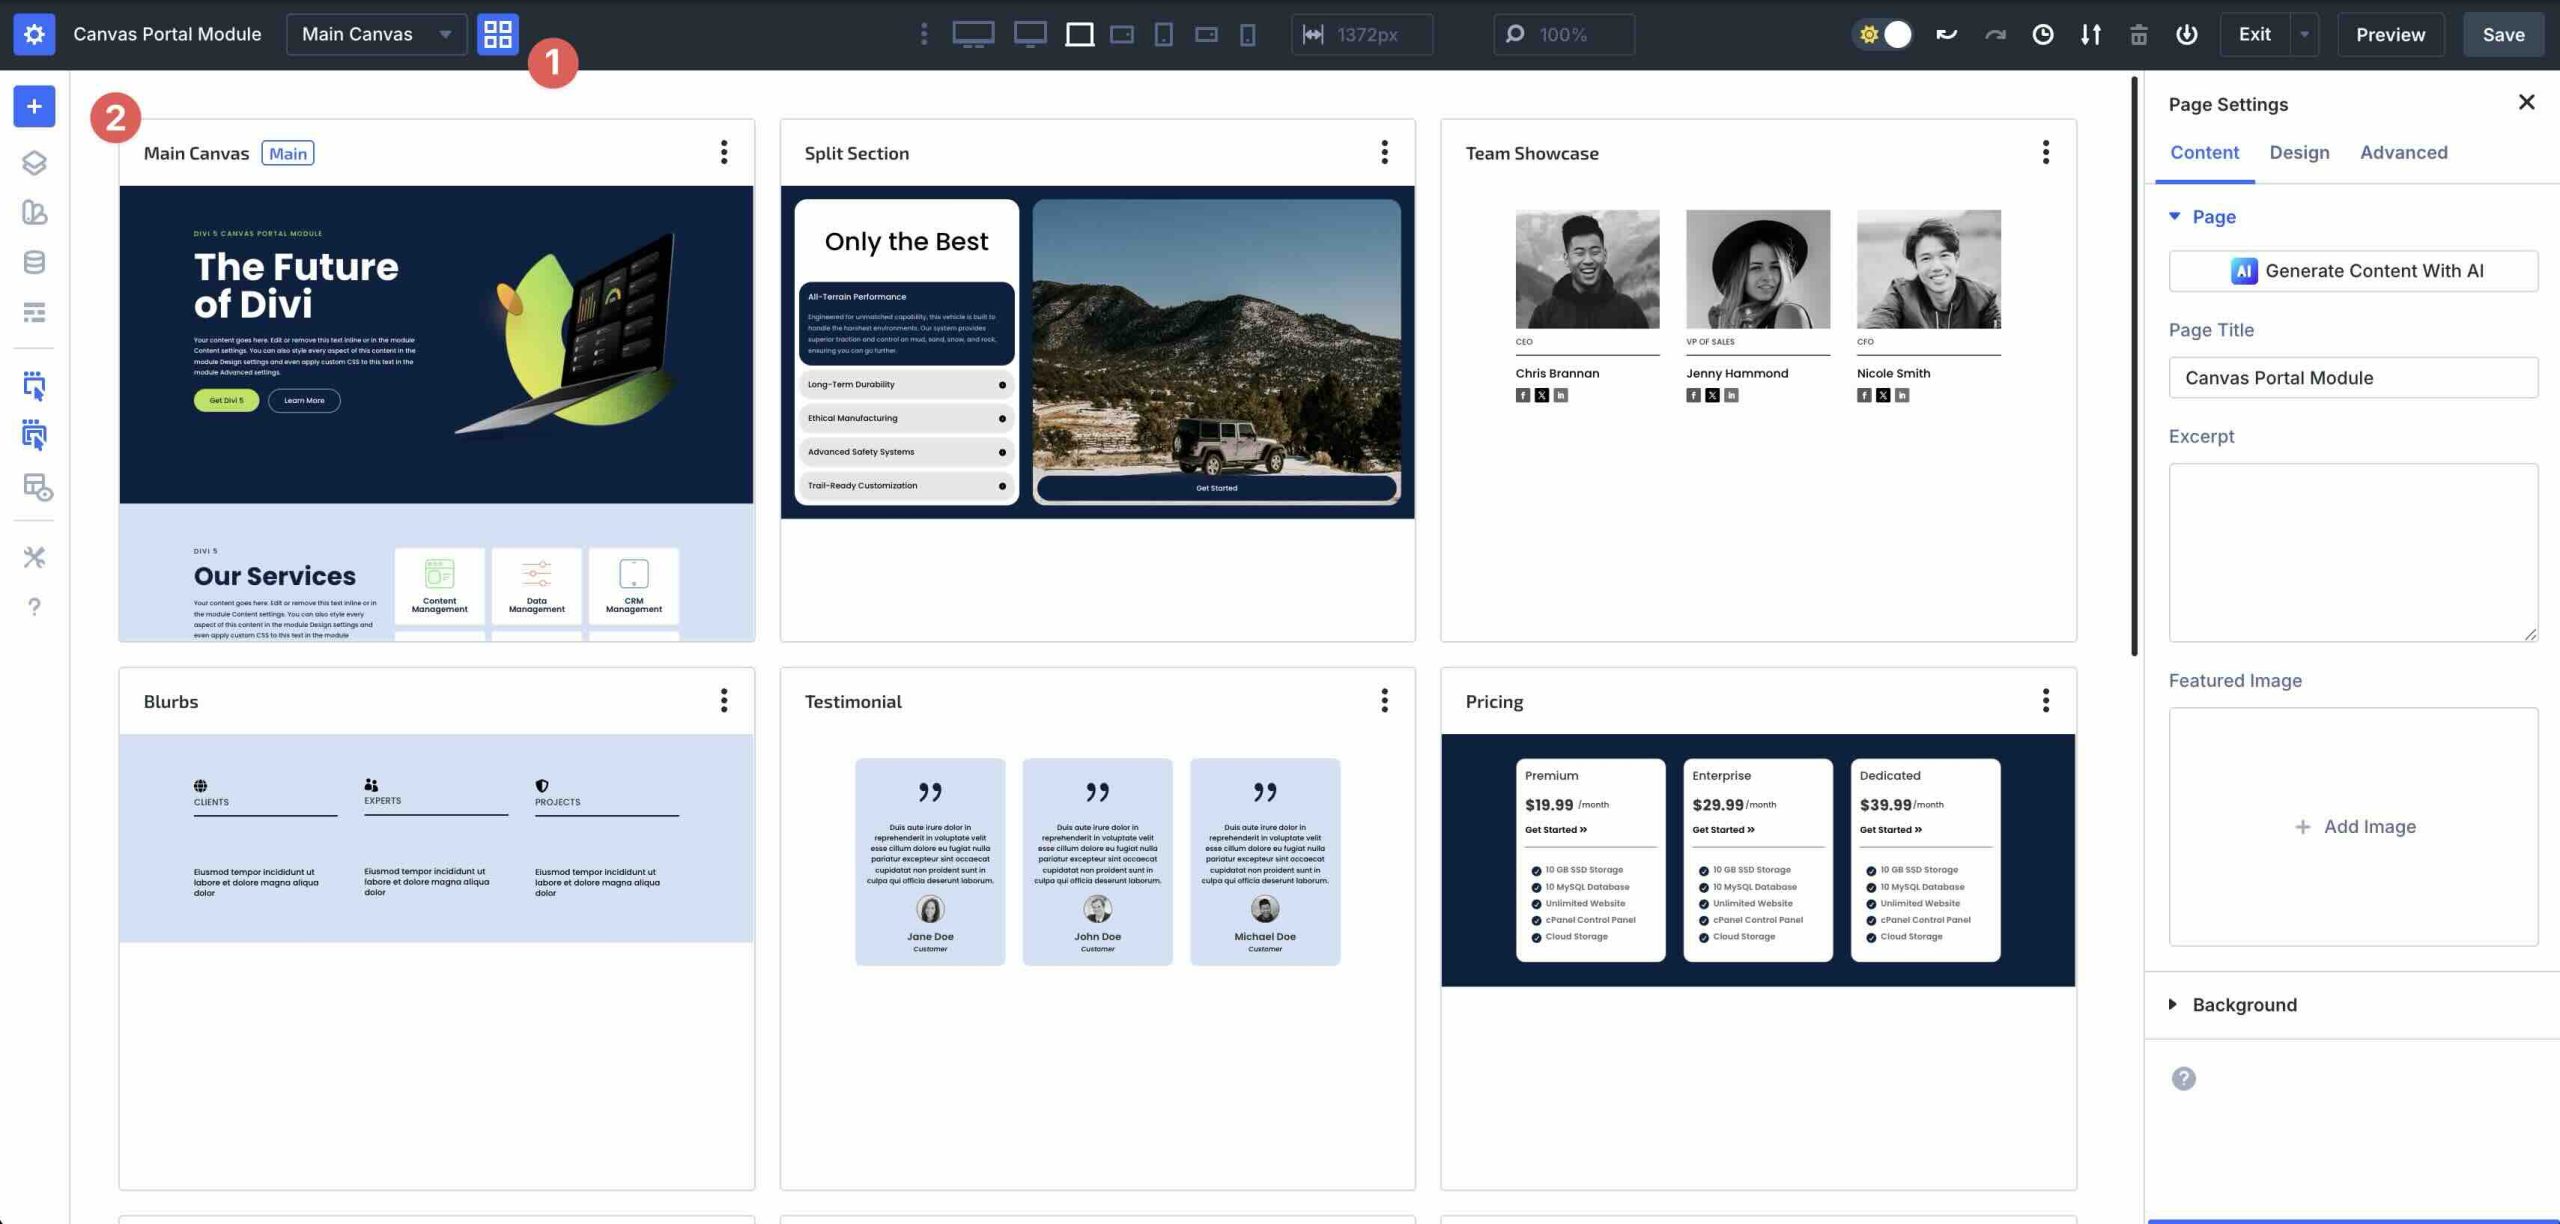
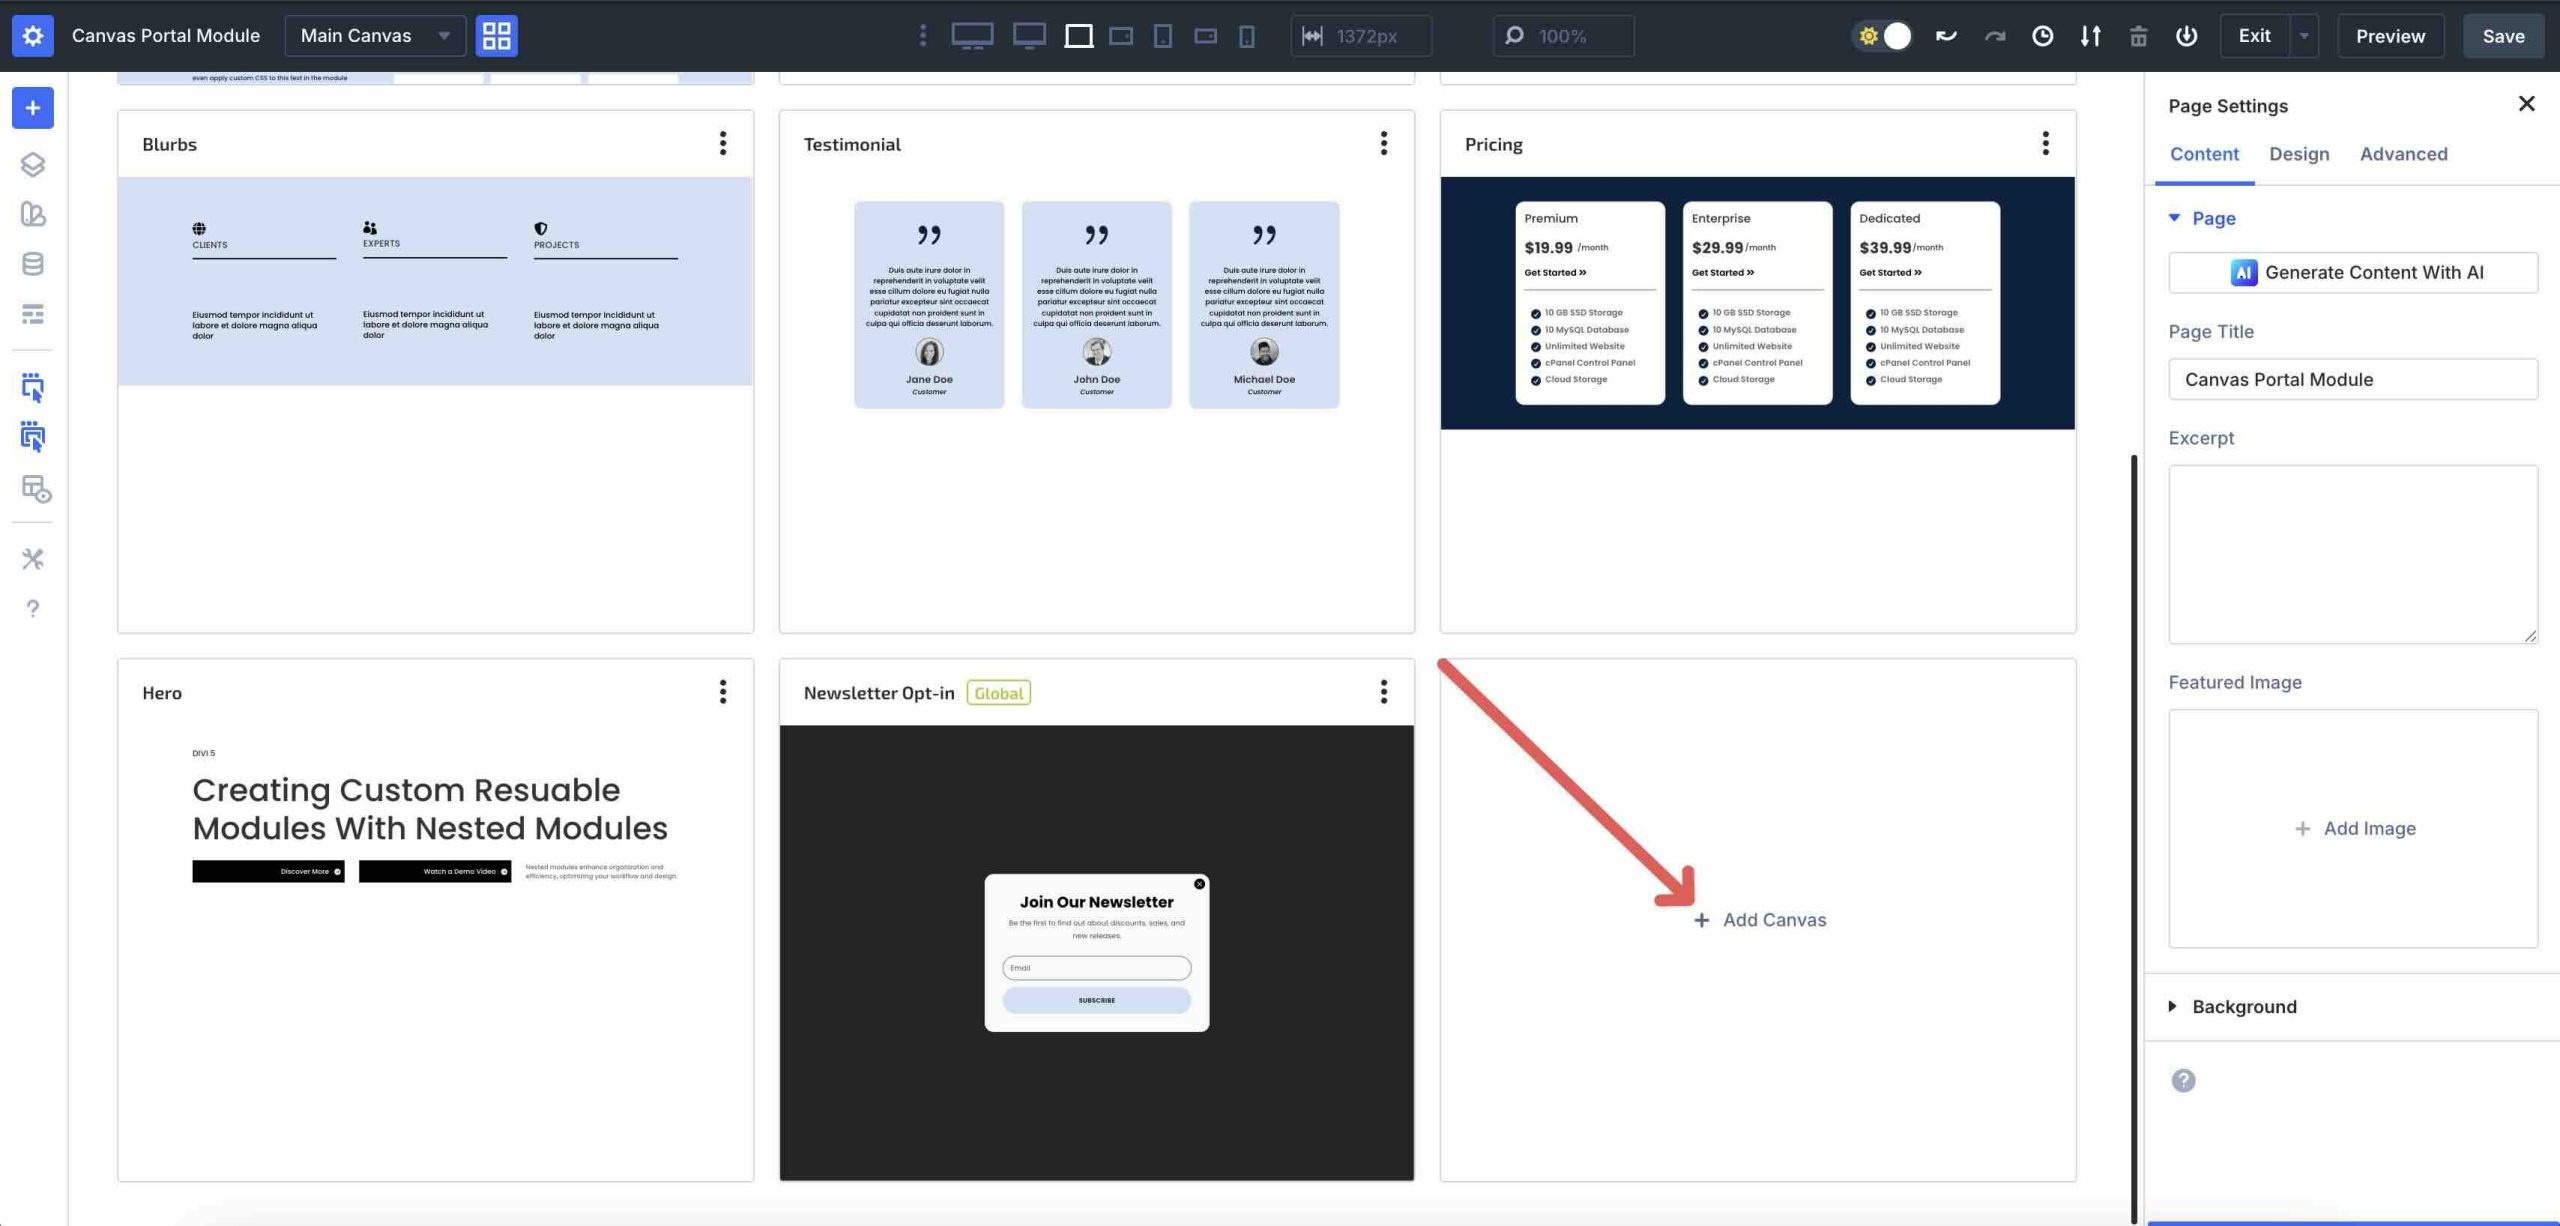
Once you click the icon, you’ll see an overview of every Canvas on your site. You can access Canvas settings, as well as export, edit, duplicate, or delete Canvas content, or designate any Canvas as the Main Canvas.
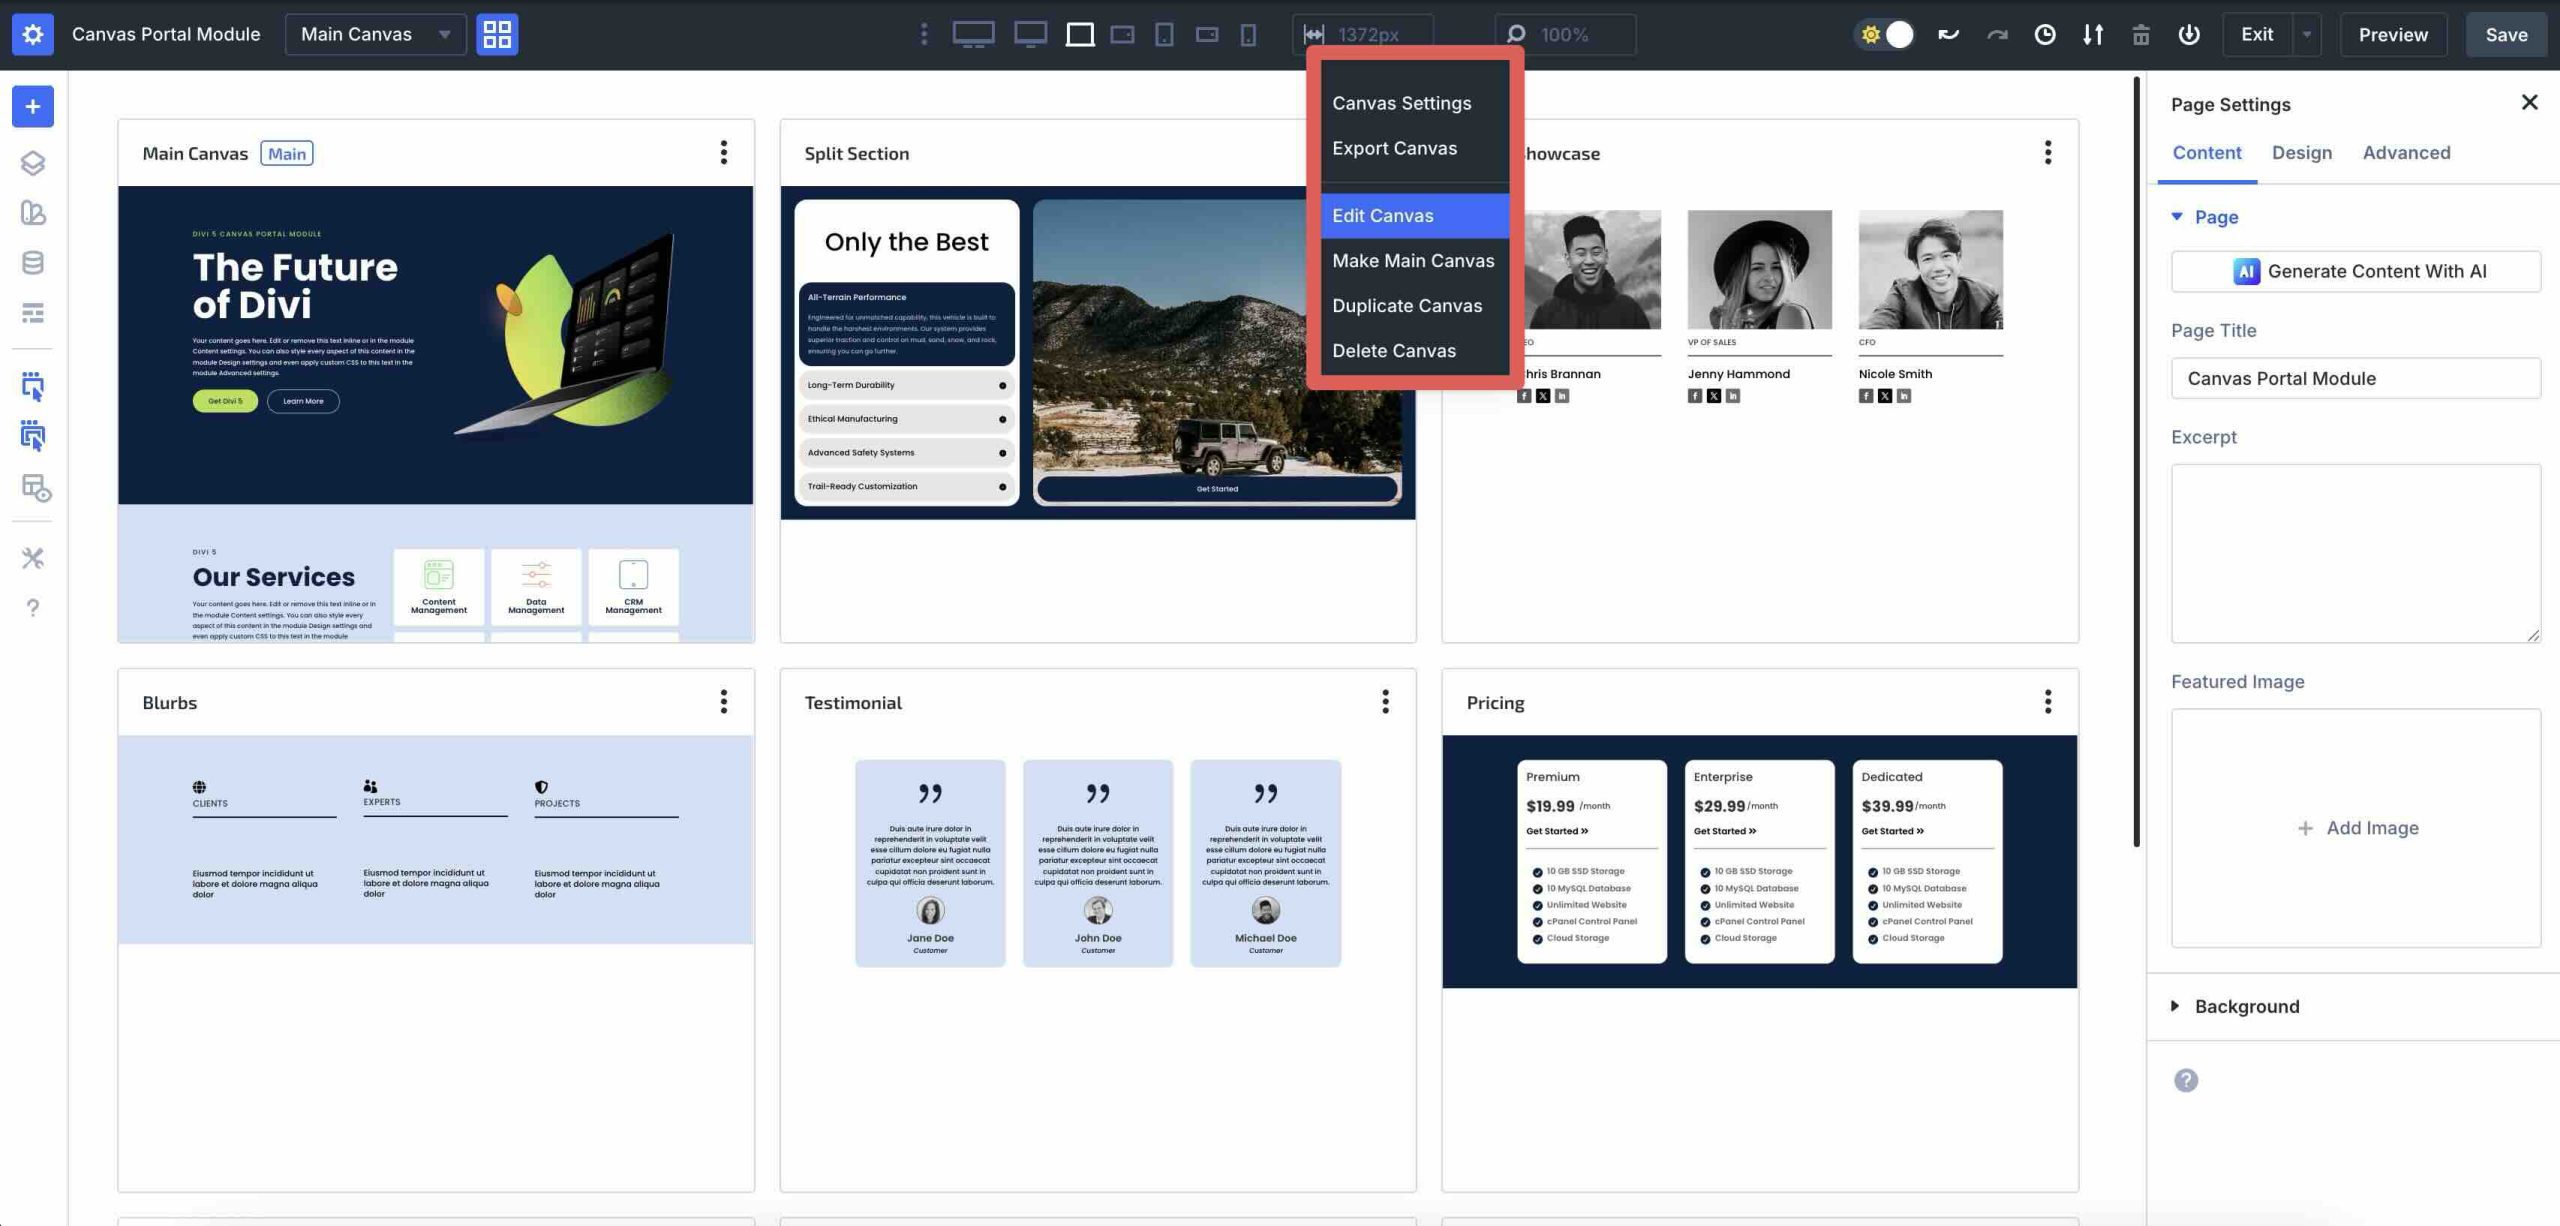
To add a new Canvas while in Canvas Grid View, click the + Add Canvas button.
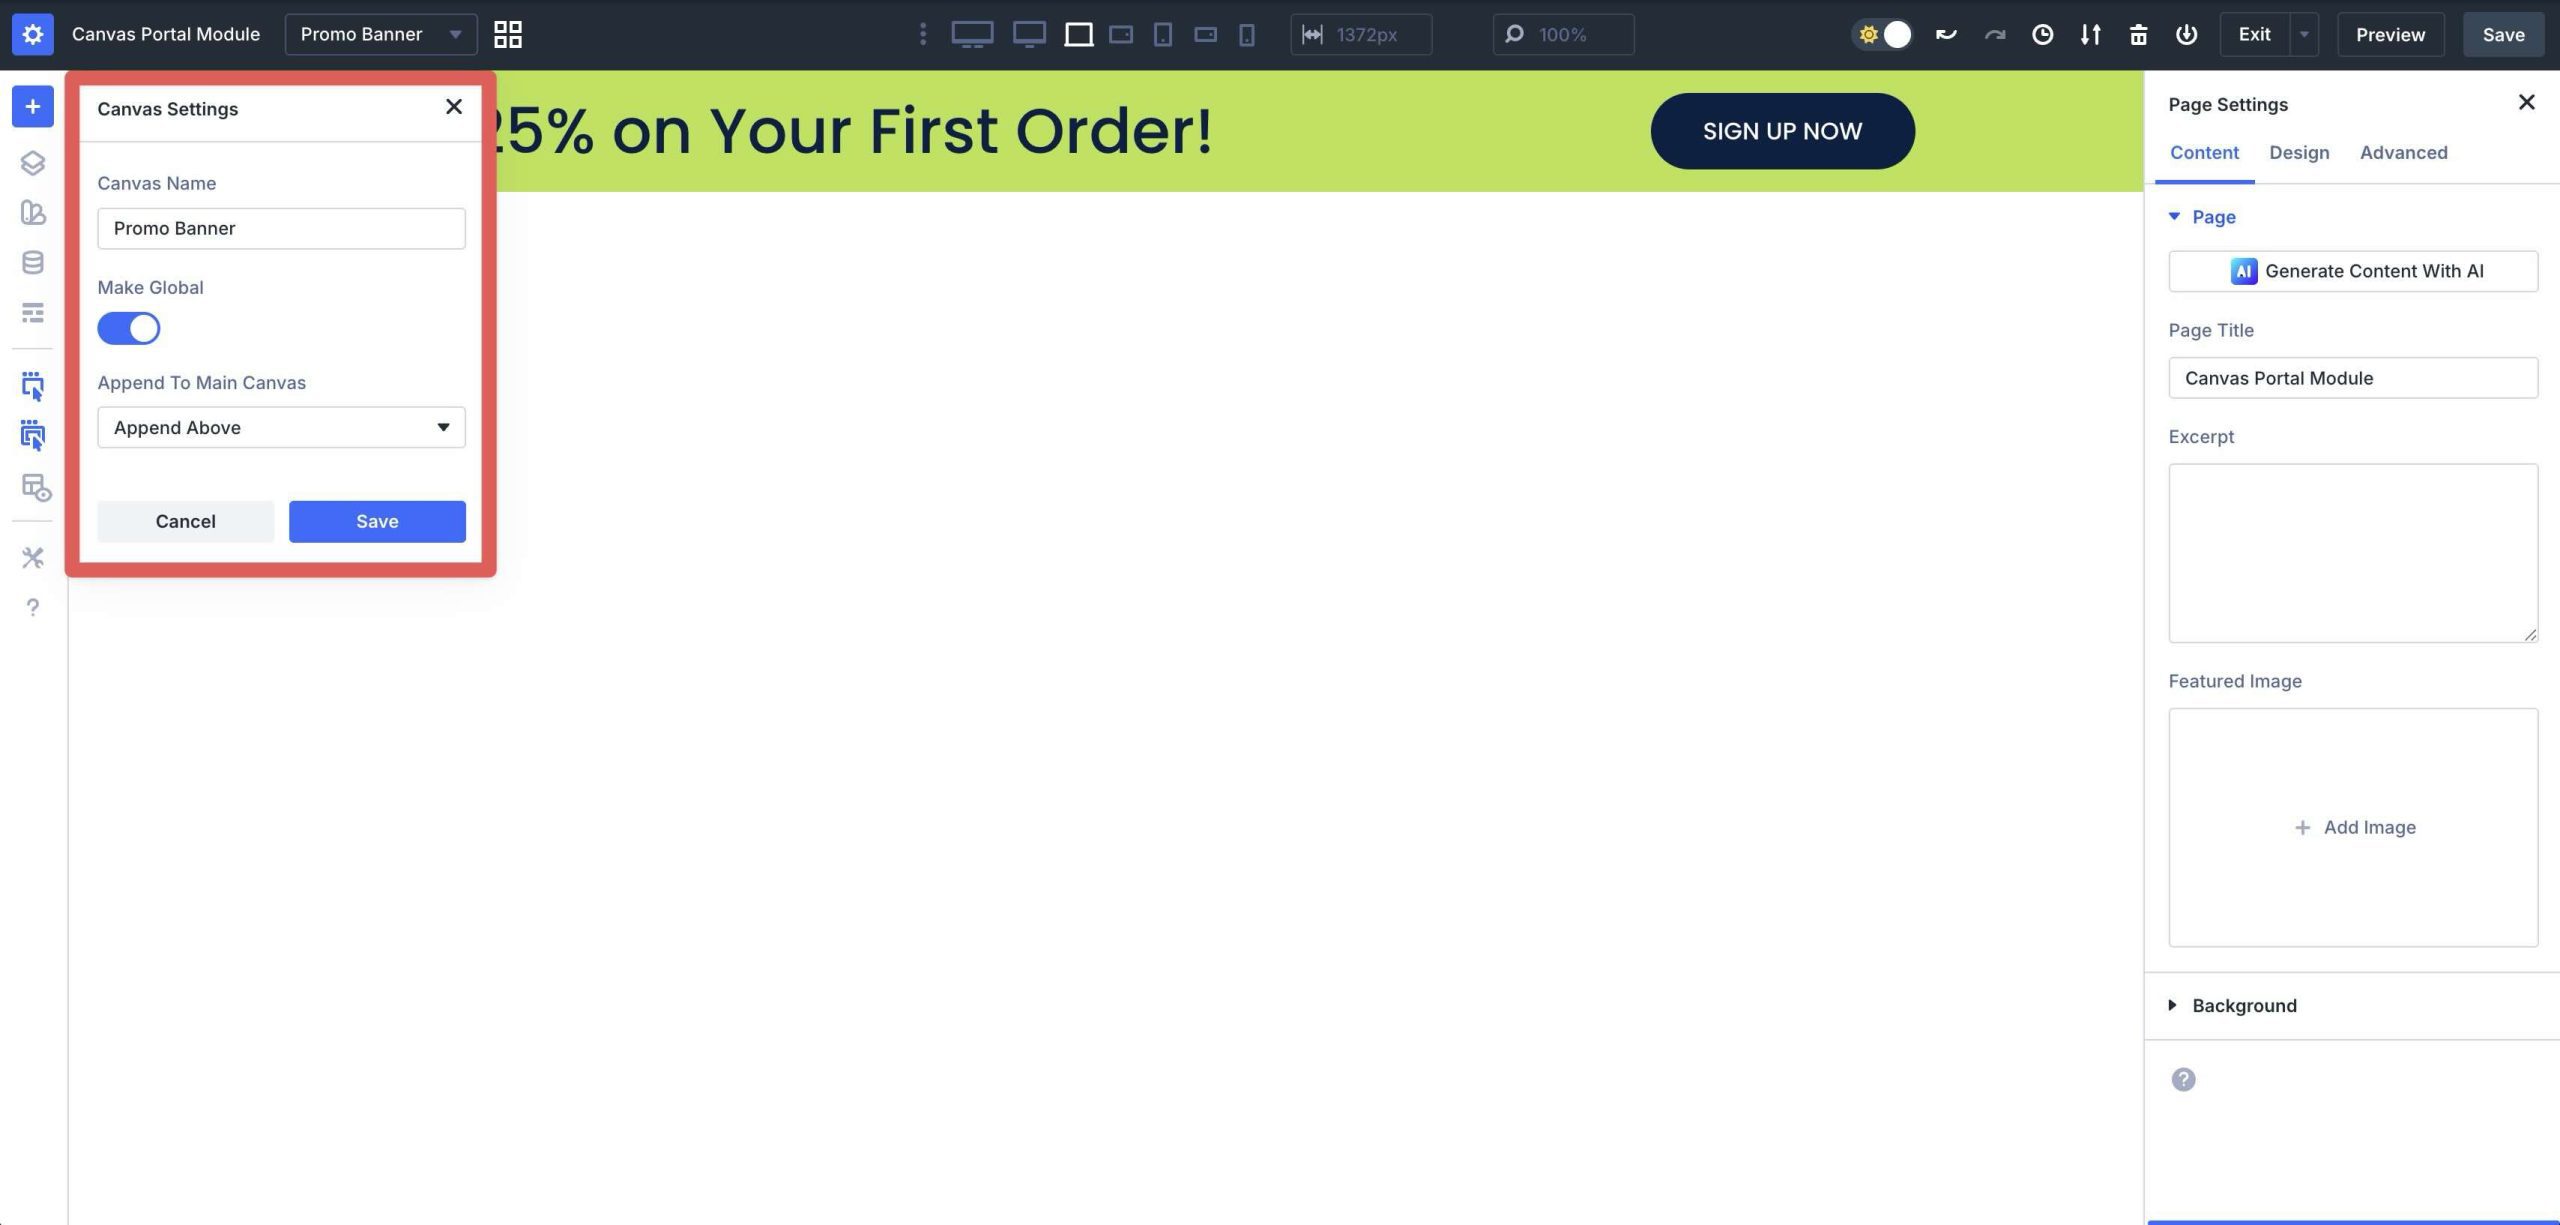
When the Add Canvas modal appears, give your Canvas a name, enable or disable the Global option, and decide whether to append it to the Main Canvas. Once all selections are made, click the Add Canvas button to create the Canvas.
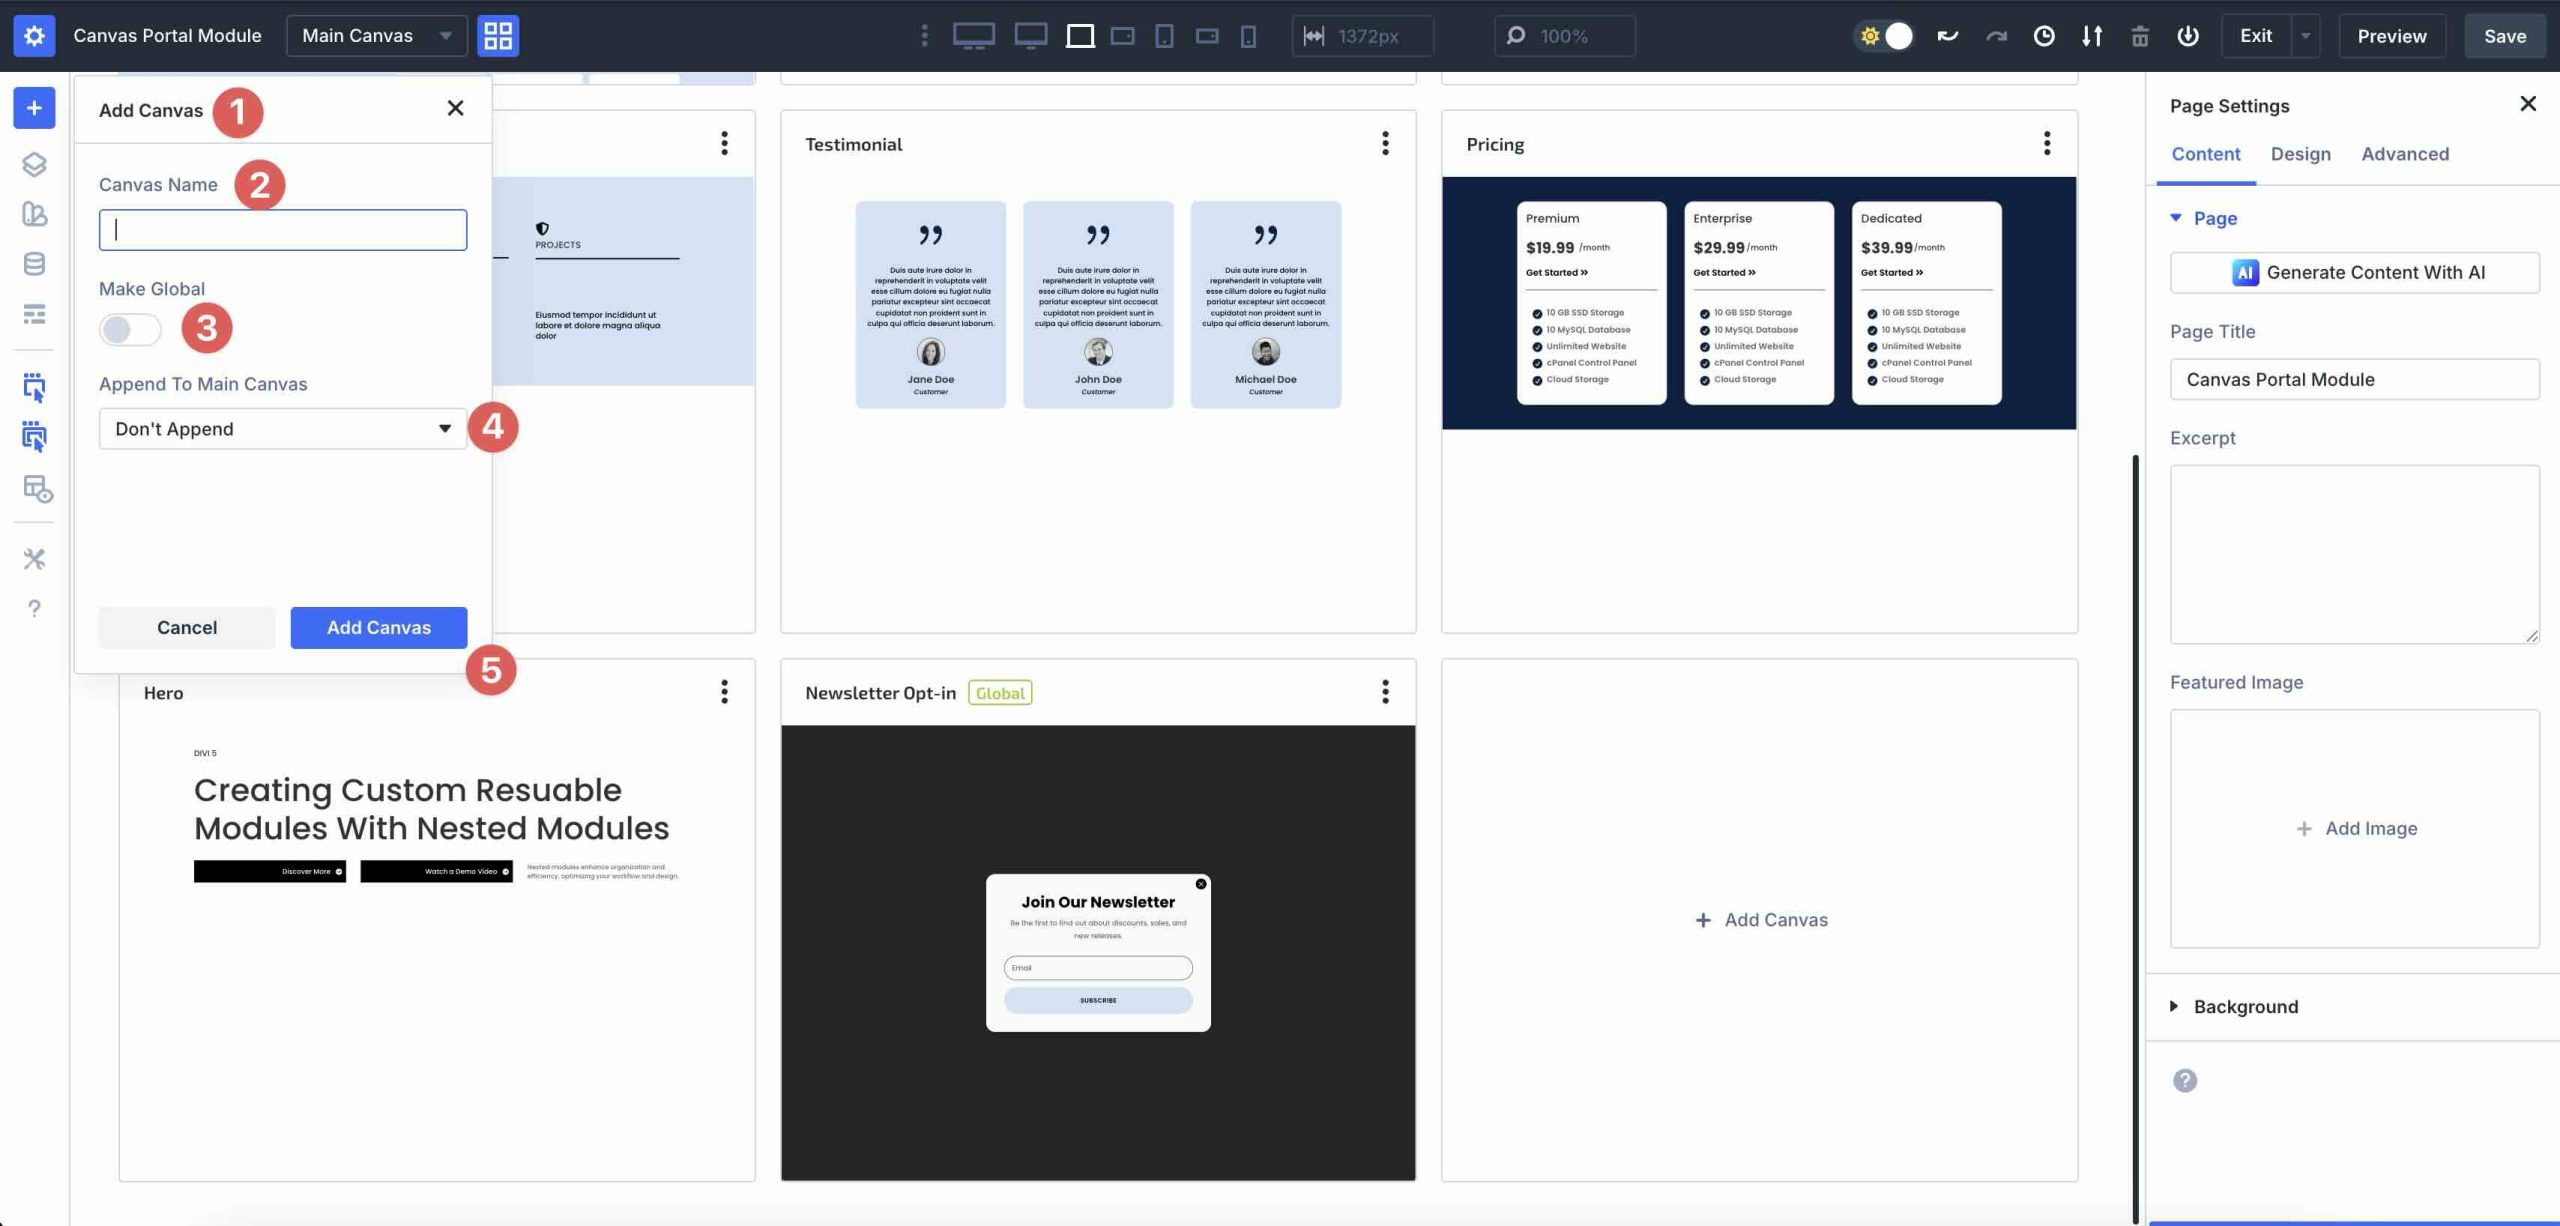
Divi 5 will open a blank Canvas, allowing you to build a completely new layout, separate from the Main Canvas.
Saving The Canvas
I won’t go through the steps to create a layout. Instead, I’ll focus on how to save it. Once you create a new Canvas, saving it works the same way as when you are working on the Main Canvas. Simply click the Save button at the top right corner of the Visual Builder.
Now, when you open the Canvas Grid View, your new Canvas will appear with the other options.
Add The Canvas Portal Module
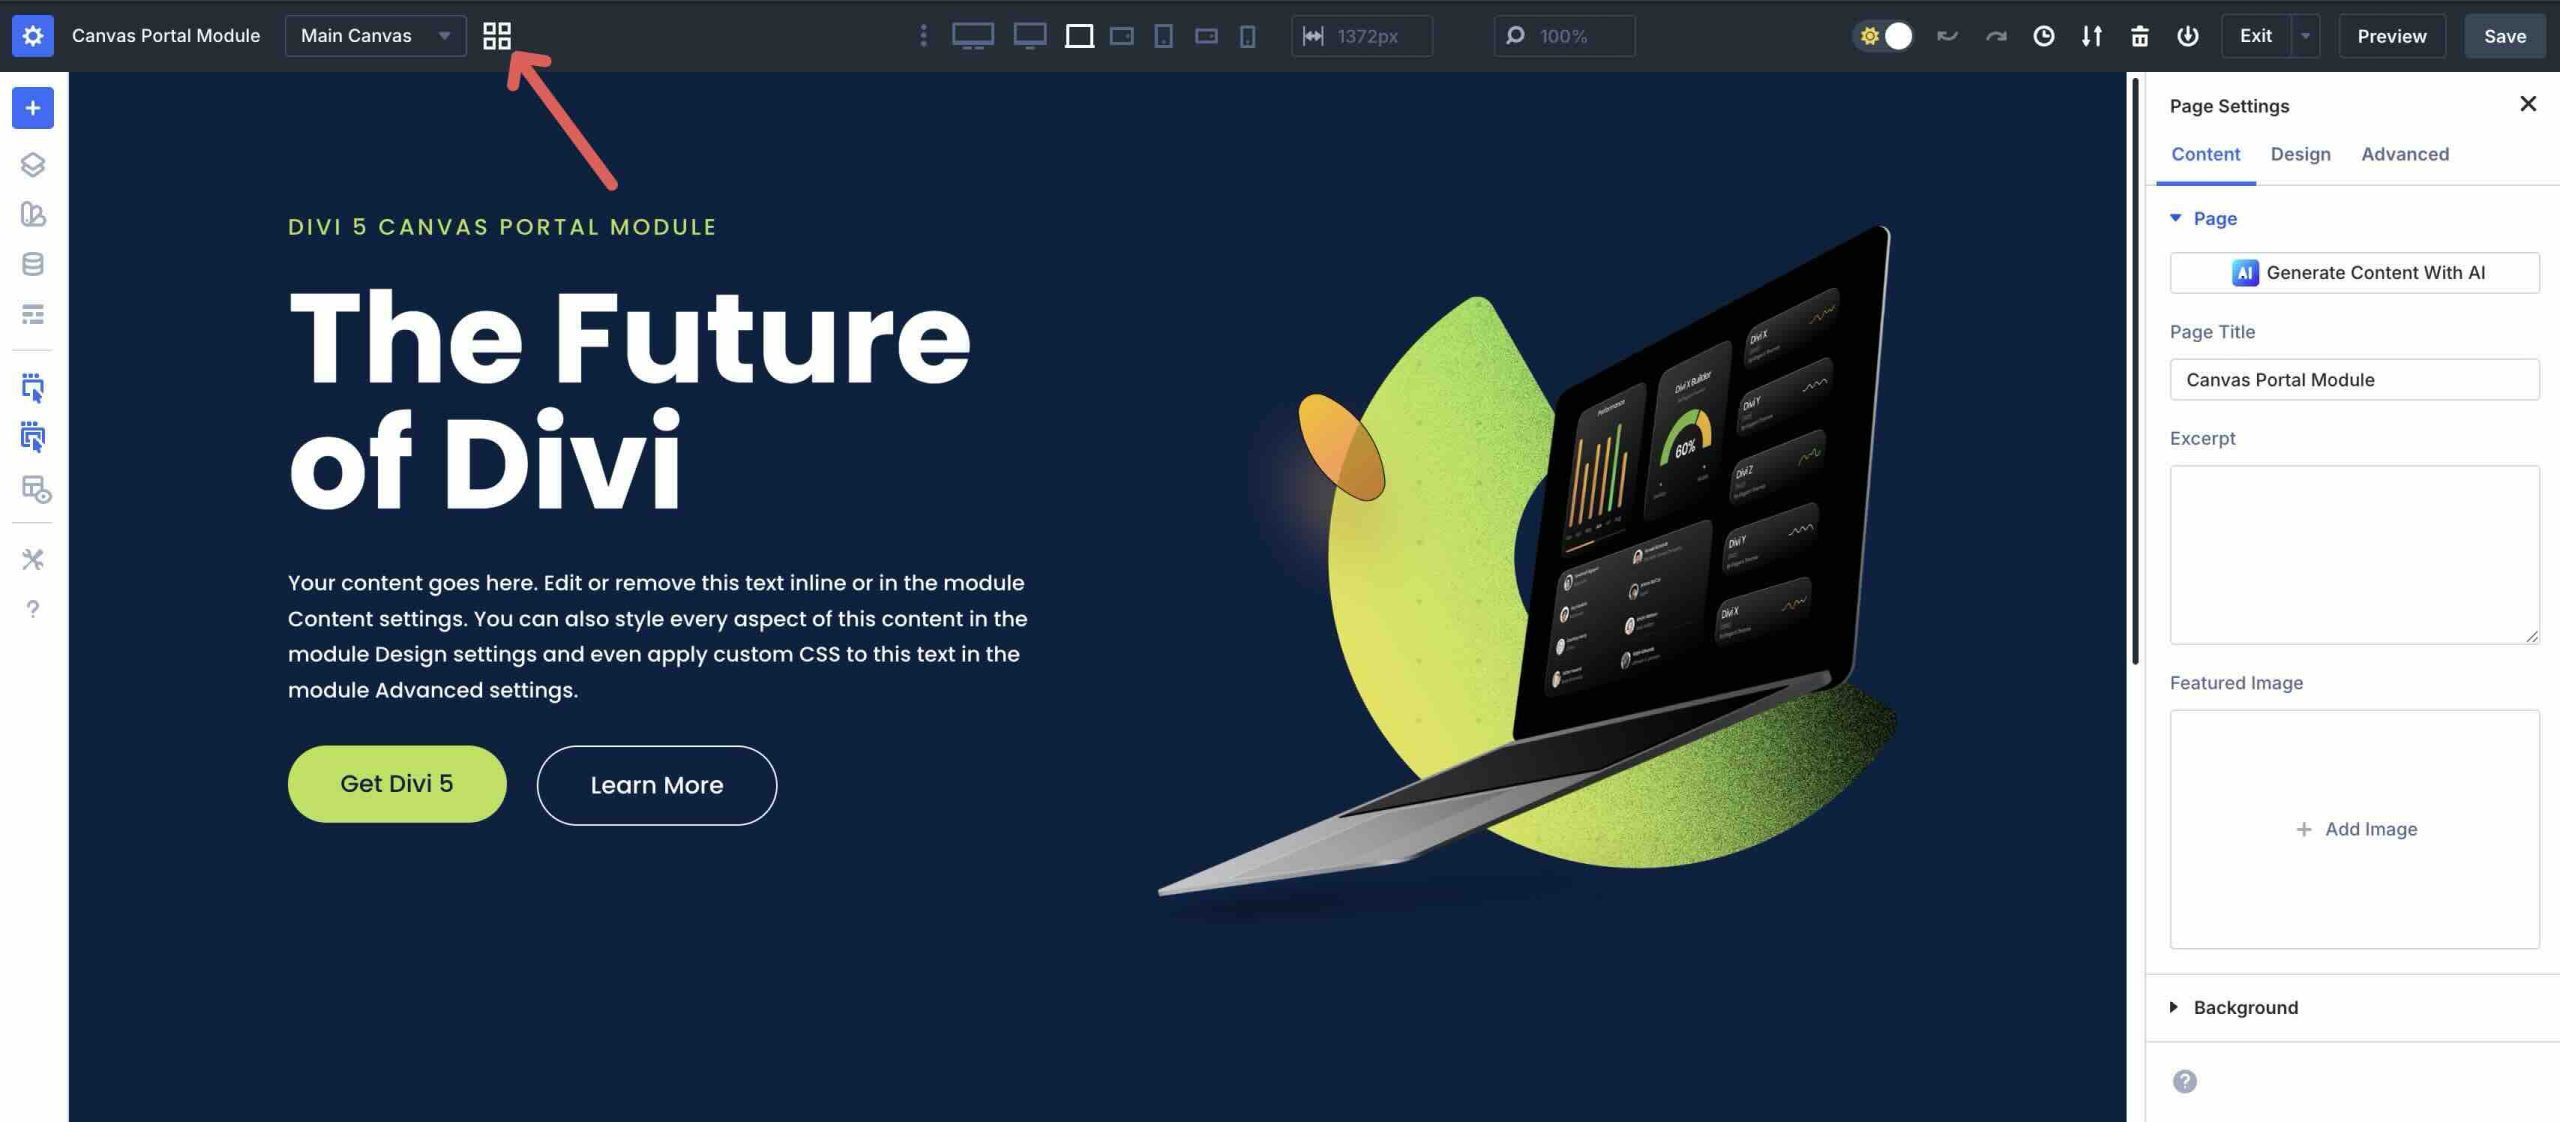
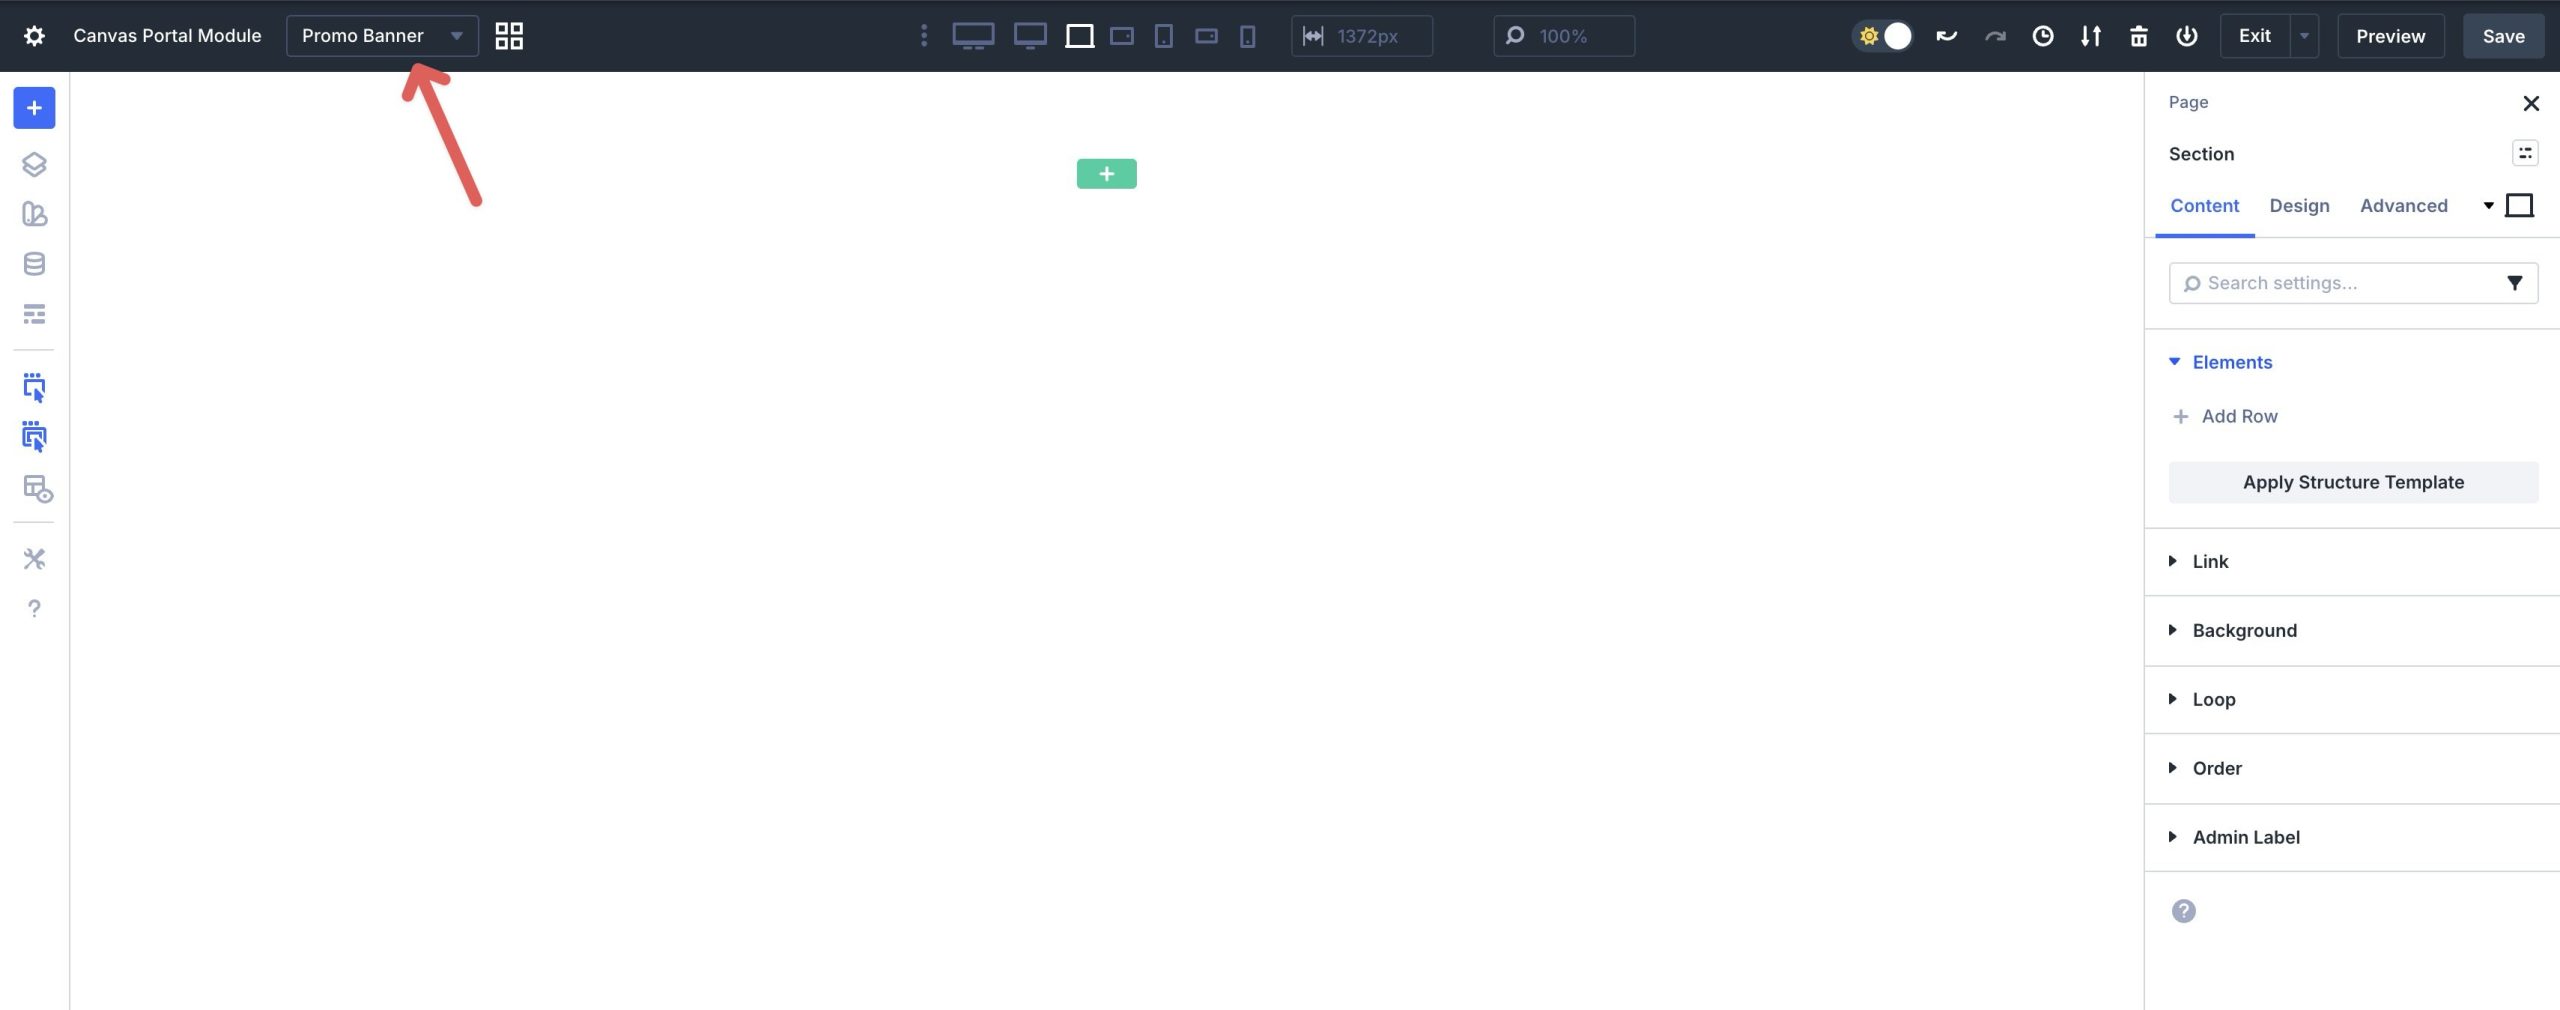
Now that you understand how to create and save a Canvas, let’s walk through how to add one to the Main Canvas. Use either the Canvas dropdown menu or the Canvas Grid View to select the Main Canvas.
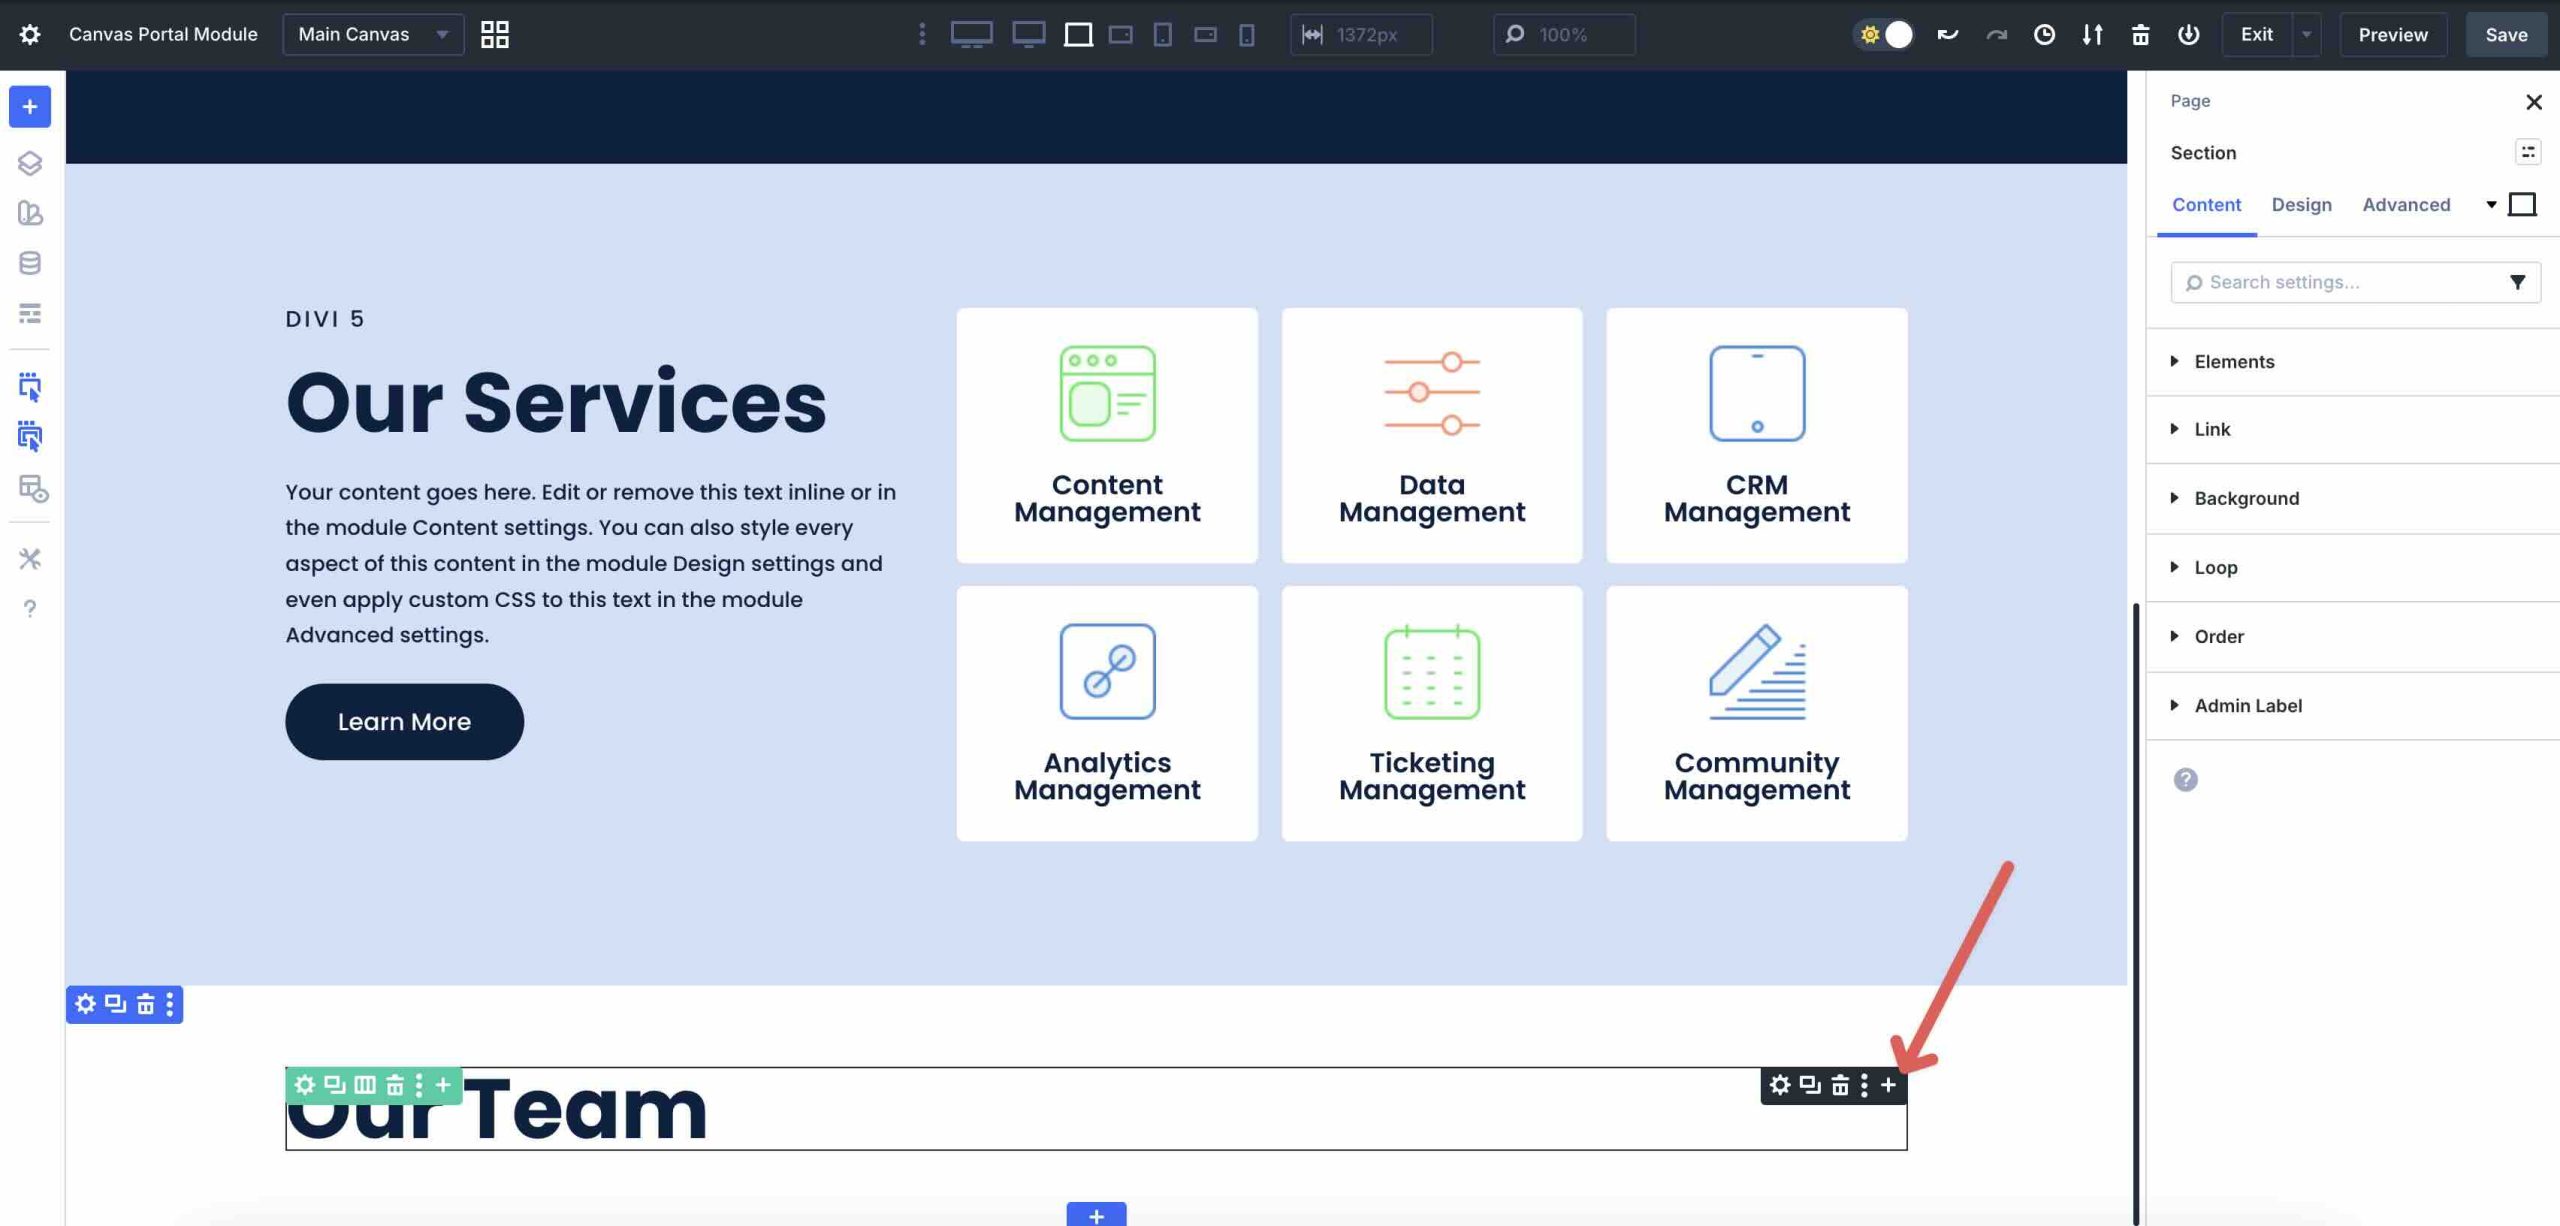
Next, add a new Section to your Main Canvas.
Add a new Row, then click the Black + icon to add a new Module.
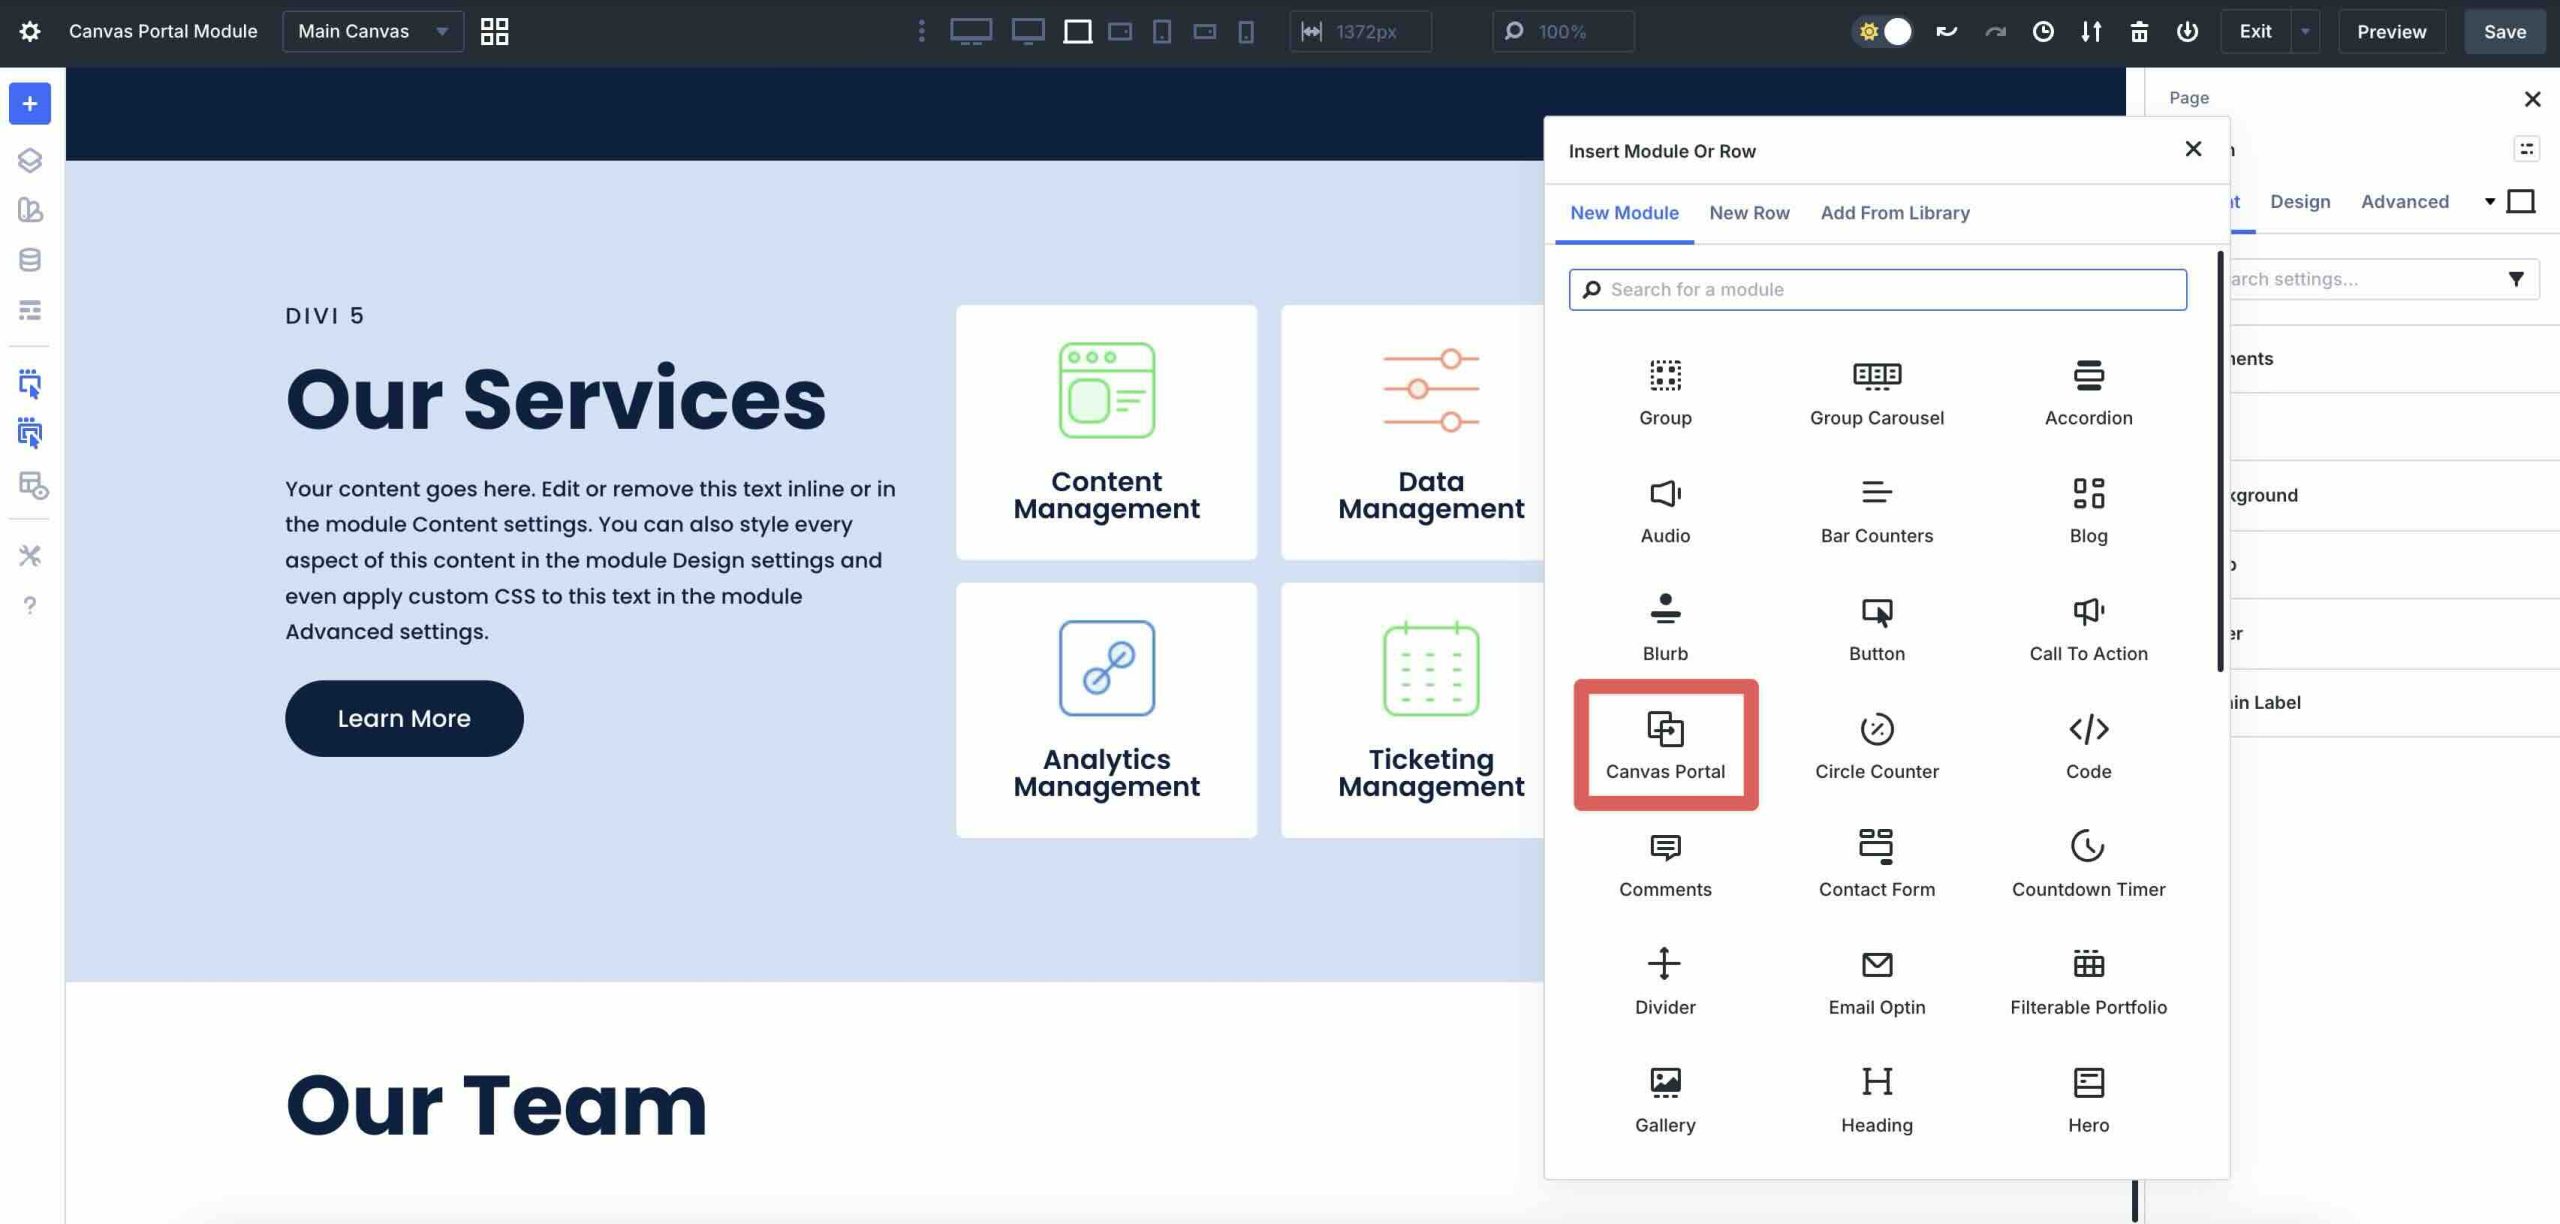
When the Insert Module Or Row modal appears, locate and add the Canvas Portal Module.
With the Canvas Portal Module settings open, expand the Canvas dropdown menu in the Content tab.
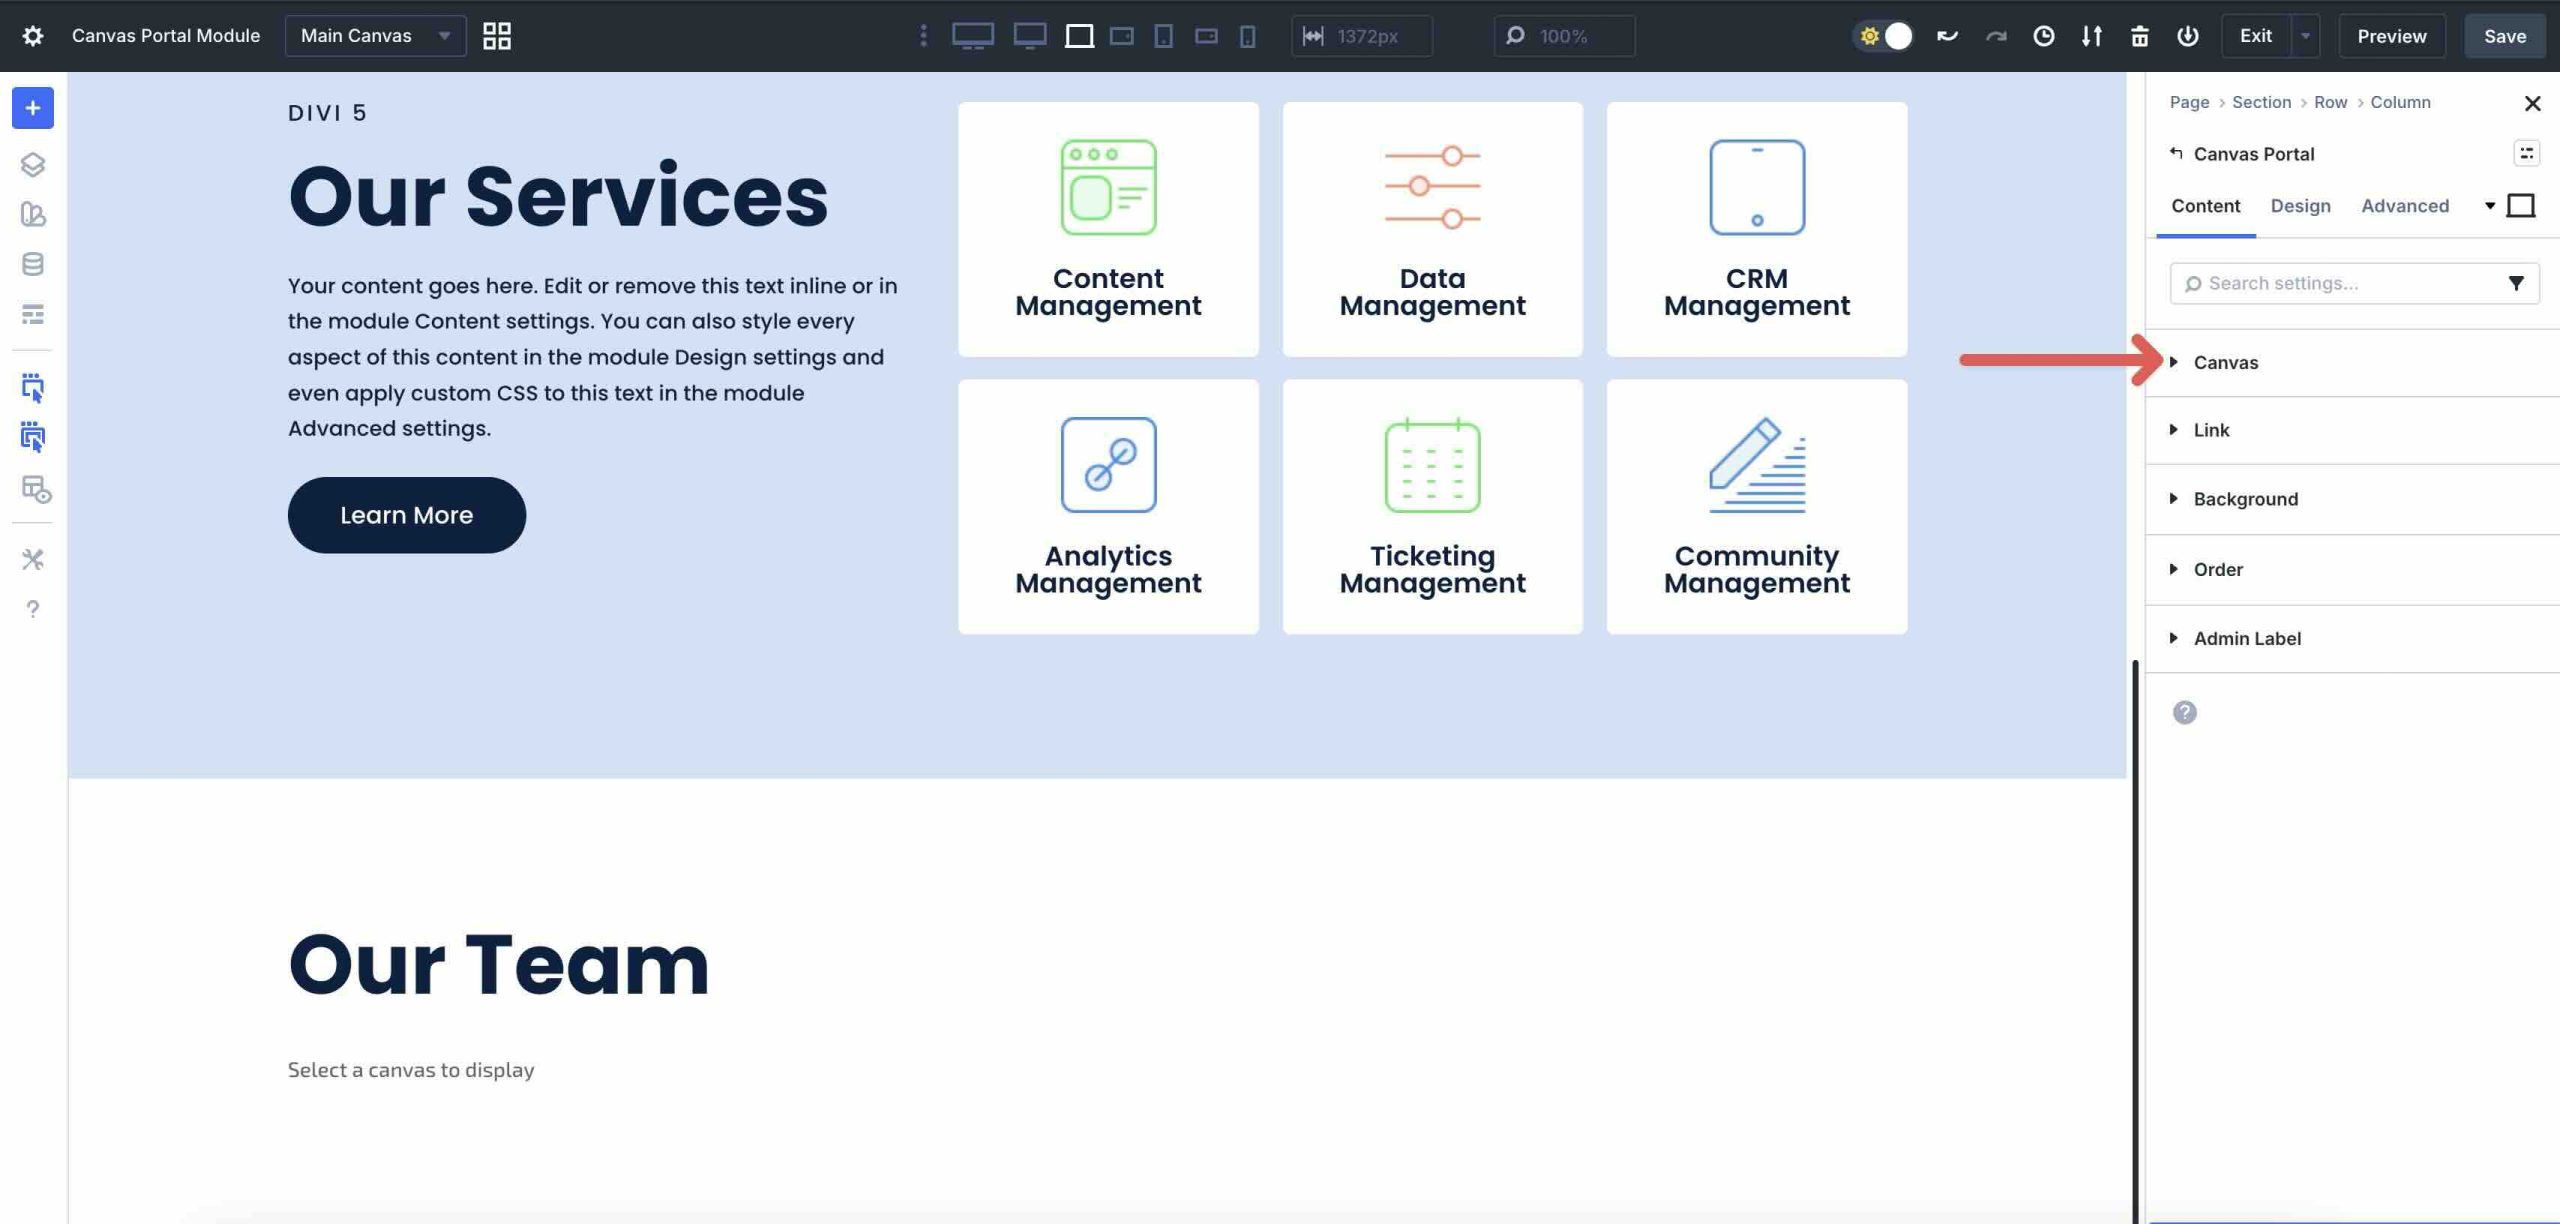
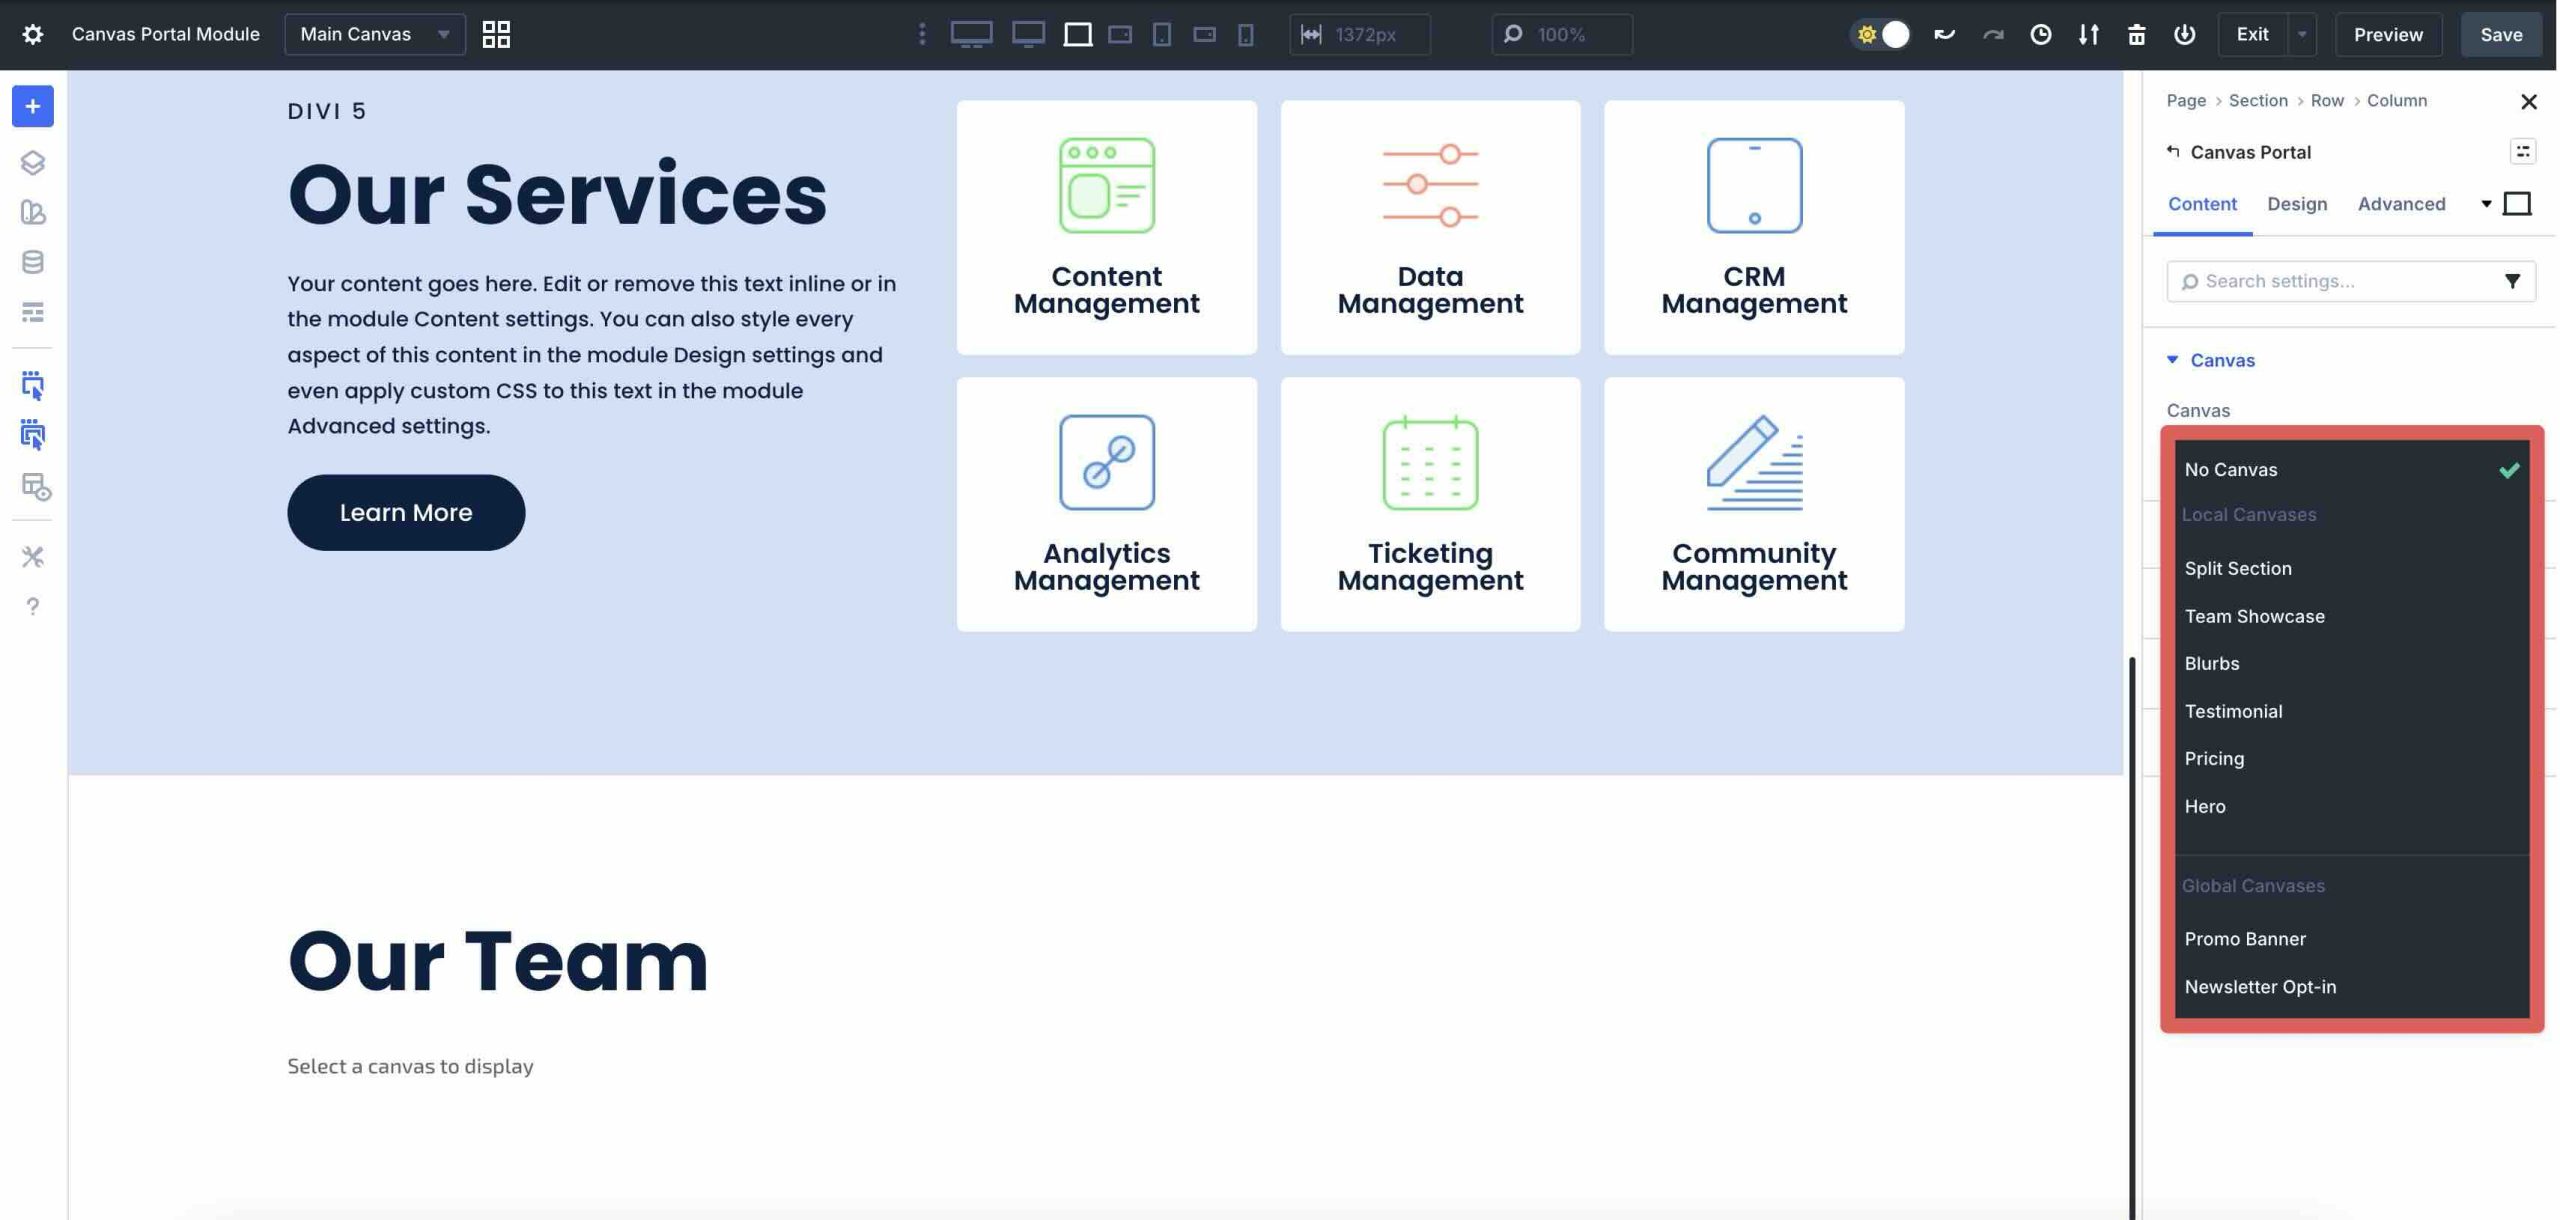
Click the arrow in the Canvas dropdown field to bring up the available Canvas options.
![]()
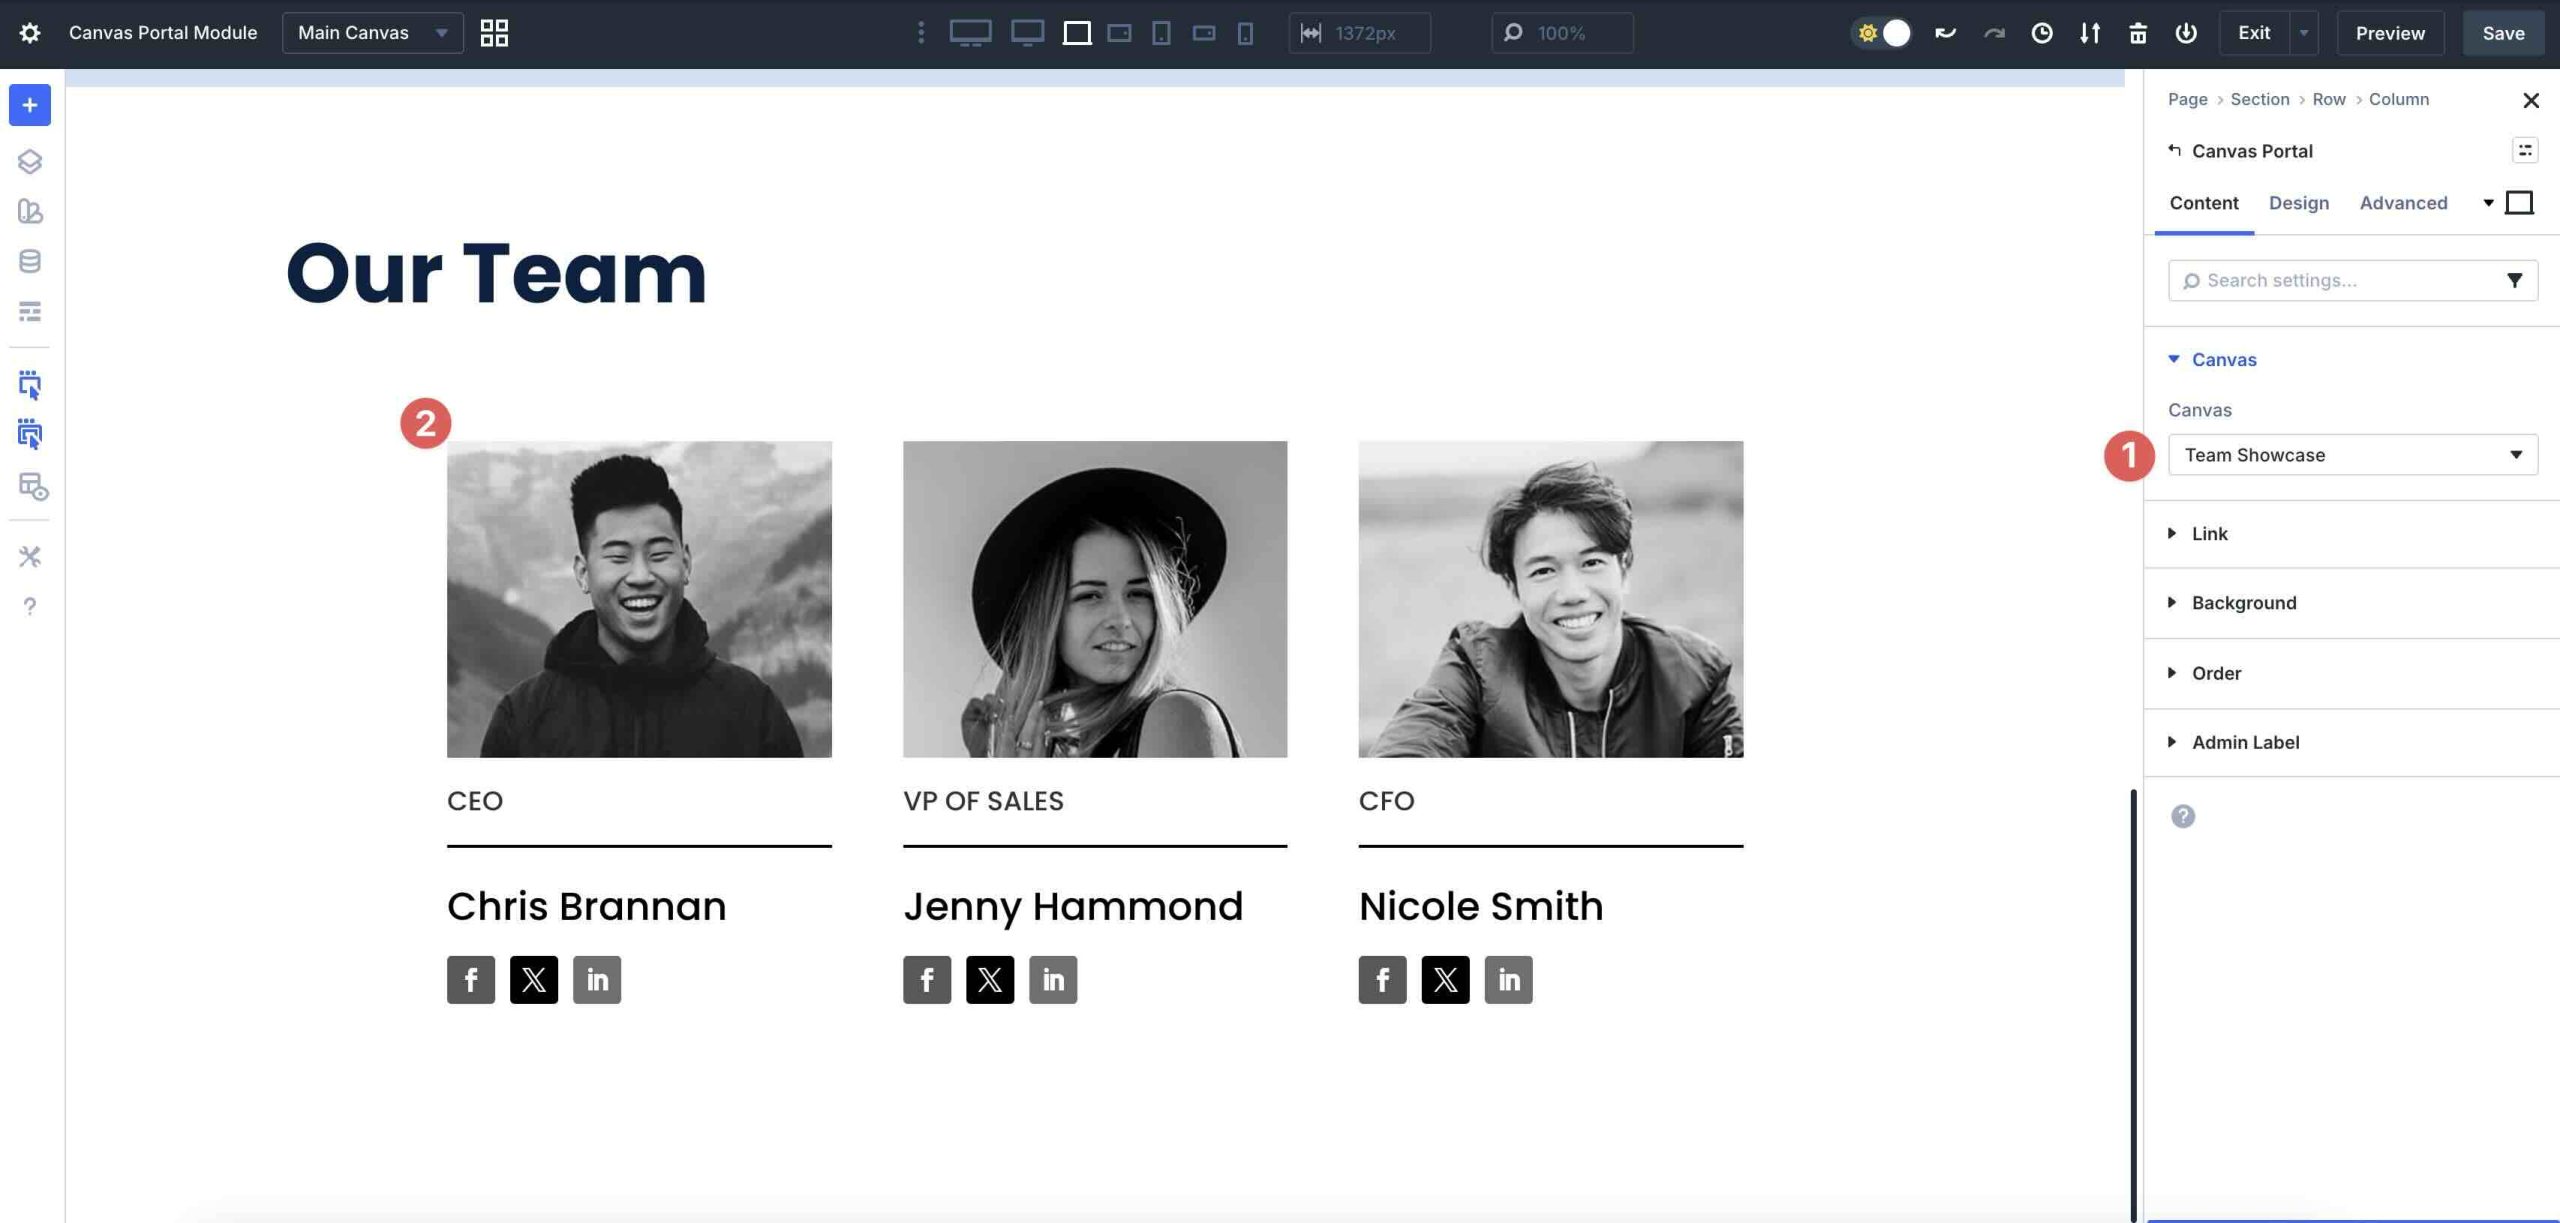
Select the Canvas you’d like to inject into the Main Canvas.
Divi 5 will insert the Canvas of your choice into the section.
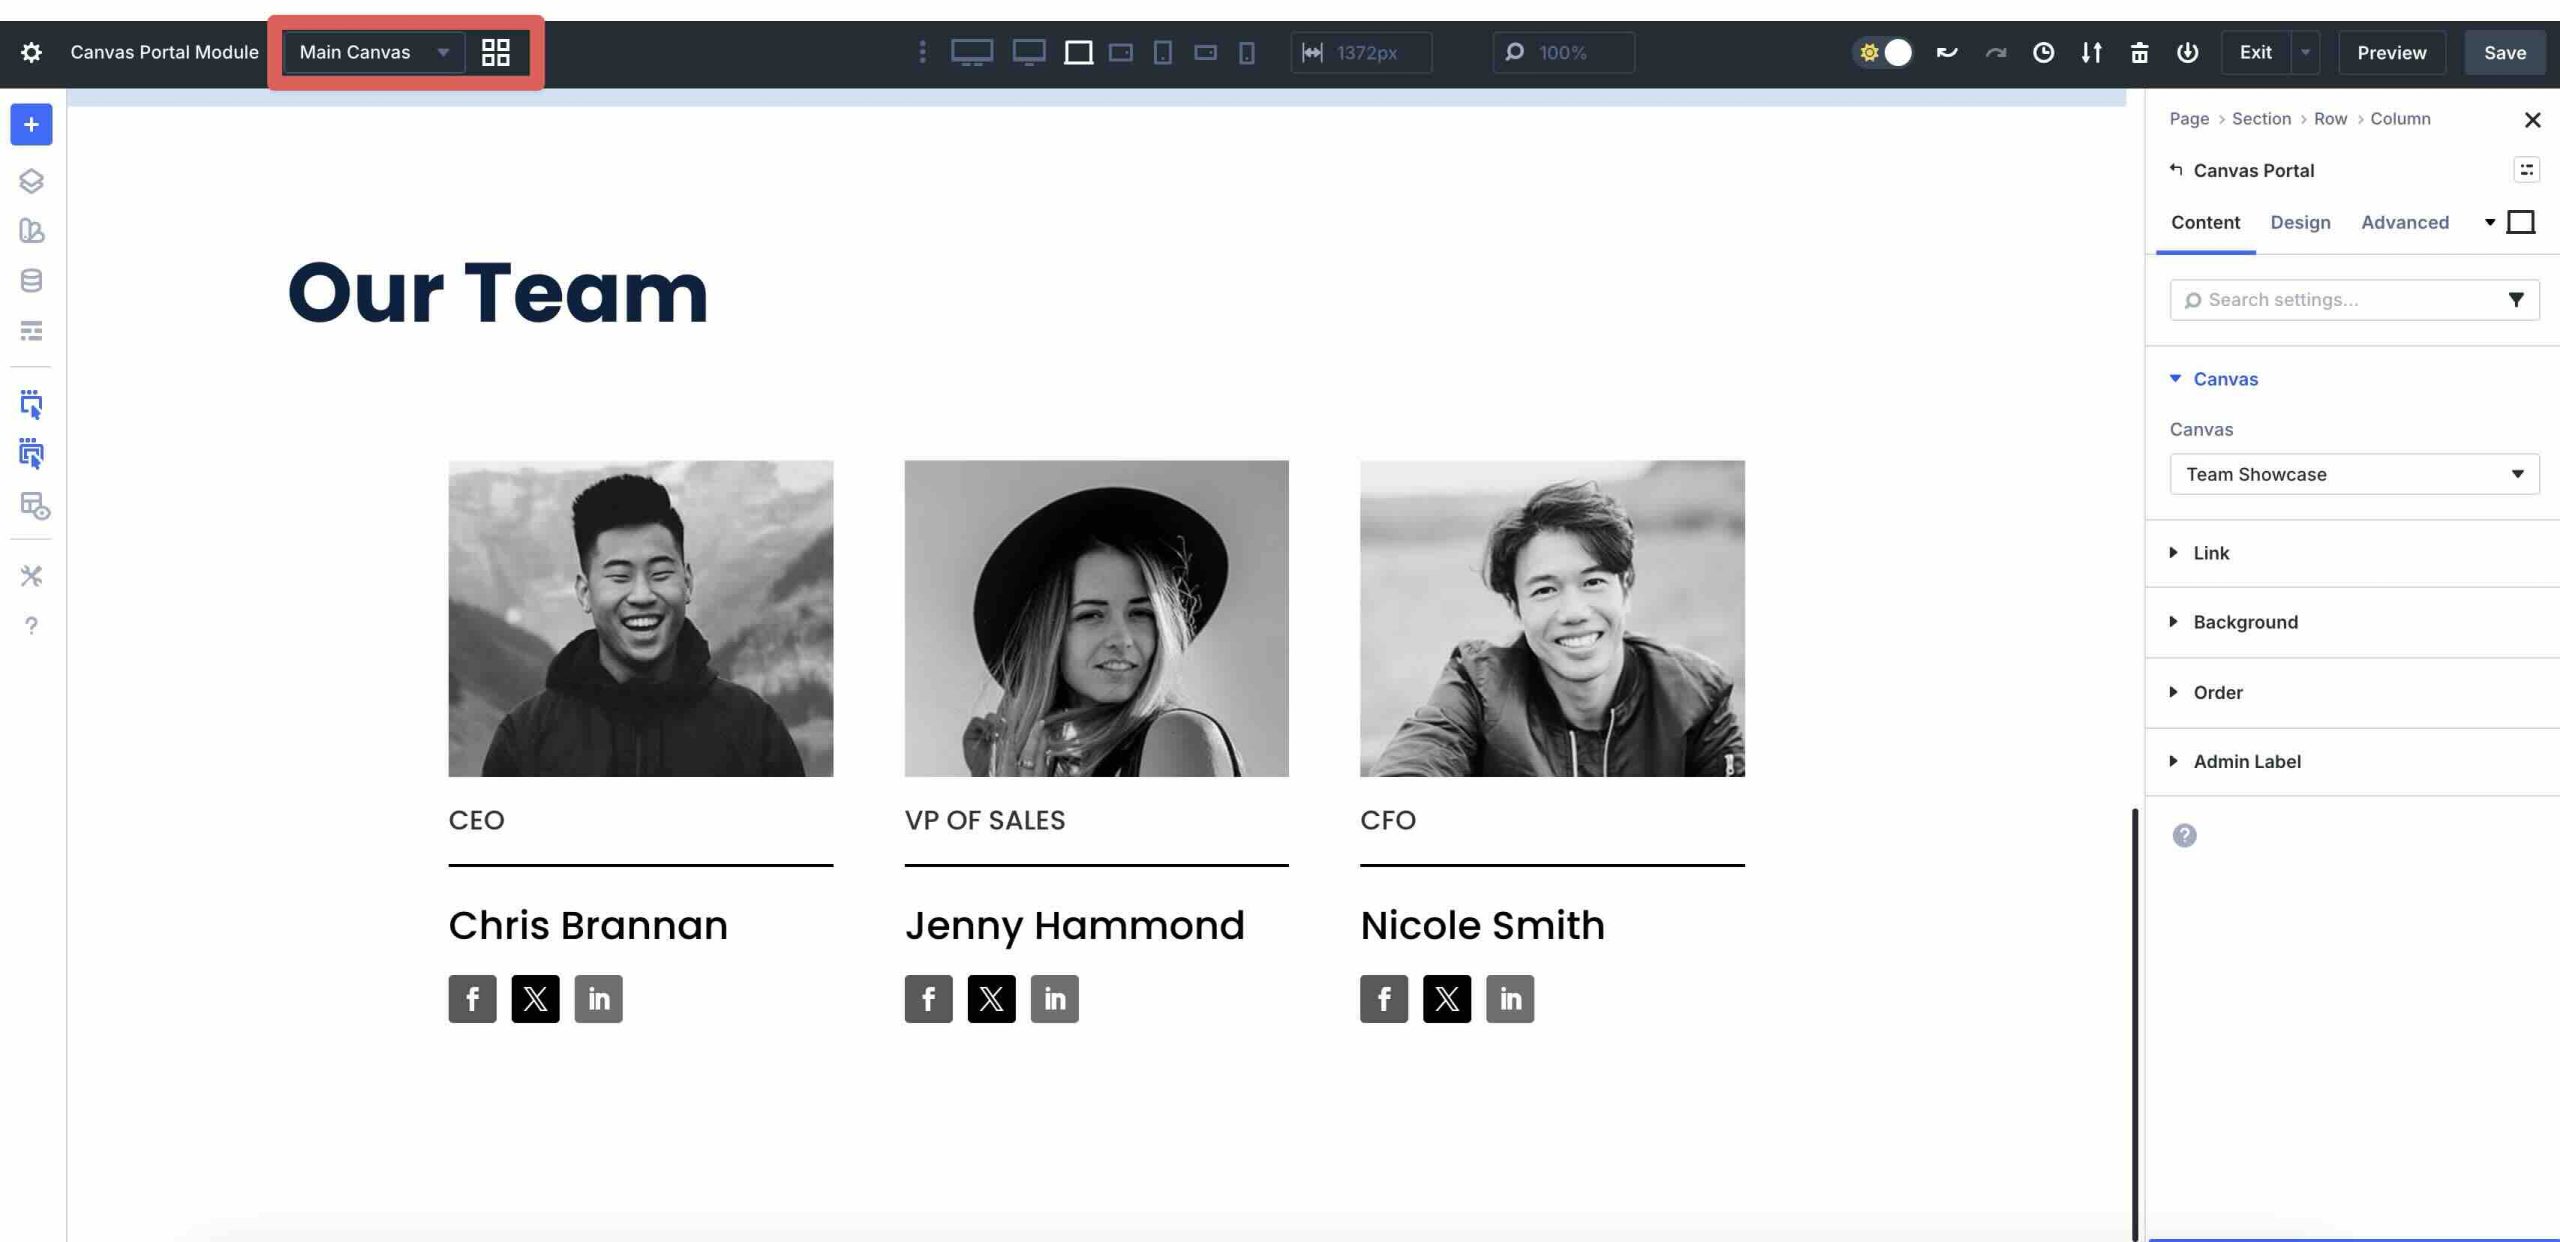
One thing to note: If you want to edit an inserted Canvas, revisions are made via the Canvas Grid View or the Canvas dropdown menu in the main Divi 5 toolbar.
Benefits Of The Canvas Portal Module
The Canvas Portal Module elevates Divi 5’s Canvas system by giving you complete control over where and how detached Canvas content appears on your pages. Whether you’re injecting off-canvas elements or full reusable layouts, here are the standout advantages that make it a highly effective tool.
Targeted Content Injection On The Page
As a standalone module, the Canvas Portal can be added directly to any section, row, column, or module on your main canvas. This lets you embed content from any detached canvas exactly where you need it, from dynamic pop-ups and side panels to team showcases, product carousels, or promotional sections.
Precise Relative Positioning
When paired with Divi 5’s Nested Modules feature, you can achieve perfect alignment. Mega menus drop down directly under navigation items, tooltips appear next to buttons, or contextual panels align seamlessly with triggers, all without custom code or positioning workarounds.
Cleaner, More Organized Workflow
Complex layouts stay isolated in their own canvases, preventing clutter on your main page while you edit. The Canvas Portal Module acts as a clean window to pull in that content only where desired, keeping your primary workspace focused and efficient.
Greater Design Versatility And Creativity
You can build intricate components once in a canvas, then inject them strategically across pages. This opens doors to advanced layouts, such as interactive reveals, modular content blocks, opt-ins, or on-page experiences.
Powerful Reusability Across Your Site
Create a component once, then use multiple Canvas Portals to consistently inject it into headers, sidebars, footers, or page sections throughout the site. Updates to the canvas reflect everywhere automatically, saving time and ensuring consistency.
Try Canvases In Divi 5 Today!
The Canvas Portal Module enhances Divi 5‘s off-canvas system, offering precise placement of detached canvas content directly within your main layouts. By allowing you to inject pop-ups, mega menus, sidebars, and reusable components, the entire Canvas system achieves high levels of flexibility and control. With the Canvas Portal Module, you can create more sophisticated, dynamic, and modular designs than ever before.
If you’re ready to explore Divi 5 Canvases and the Canvas Portal Module, download the latest Divi 5 Public Beta and start experimenting with it. Dive into detached canvases, build your off-canvas components, and see how it transforms your web design process.


Finally decided to take a couple of hours and dive into this concept and it’s glorious. I love it. The learning curve is a little steep but it is great. Very much looking for forward to a simple menu module, but love the canvas feature. Thanks ET. Divi 5 is awesome.
Yes, really not understanding why with such a huge product release and change, that you’re persisting in doing screenshots which are very hard to read, rather than just produce some video tutorials for the insane amount of changes in Divi 5. I like it overall but seriously, this is not a user first way to handle such a major changeover at all. Plus, as you’re upgrading it all the time, in the early days when you were doing more videos, going back now, things have changed. Perhaps you’re all just so stretched getting it finally out, but you’re a big provider, can’t cost all that much to do these as looms/videos instead of screenshots. I’m frequently tearing my hair out with Divi 5 and though I’ve supported you guys from the very beginning of elegant themes, long before Divi, I’m honestly wondering if I wouldn’t be better to just go to elementor at this stage, if I’m going to have to learn a whole new product, sorry it’s sad but it’s true. The issue is the communication – you need to be producing step by step videos/tutorials on Divi 5, as it is now close to final launch, and you’re not, instead piecemeal new feature blog posts are being produced on new features, and it’s extremely hard for the user to get a sense of workflow start to finish, or indeed, a cohesive view of the whole product.
Thanks for the honest feedback! We hear you loud and clear. Because Divi 5 is still in Beta and the feature-set is evolving, we’ve held off on a full library of permanent video tutorials to avoid them becoming obsolete instantly. However, as we approach the final launch and beyond it, comprehensive video documentation and step-by-step workflow guides are absolutely part of the plan! 👍
I agree with the comments and frustration of my fellow users. In Nick’s videos about the new features, everything always seems so easy. Specific tutorials would be useful for mega menus, pop-ups, etc. I have encountered the same difficulties as you. The idea seems good to me, but more clarity is needed. I look forward to hearing from you.
Plus one to the above.
Love the concept of canvases, but this is insanely complicated.
Also seems to be a canvas persistence bug caused by a clash with Woocommerce (reported), which isn’t helping.
10-year Divi user and I’ve so far wasted 2 evenings just trying unsuccessfully to get one megagmenu dropdown to work reliably and be correctly positioned.
TBH you could create this much more easily if the Don Divi plugin (now owned by ET) was actually working…
Any chance of that before the BETA tag comes off guys?
Update on the ‘bug’ above. Actually turns out that since latest updates, the site (in dev) needed min 512M php mem limit to run even an empty Woocommerce with Divi5.
I’m pretty proficient in Divi 5 and I’ve been absolutely struggling to get this mega menu to work right… I’ve watched the video with Nick doing this like 20x I can inject the layout but then when I hover down to the mega menu it disappears… & thats after drowning in settings of setting positions and sizes.
Can you please make a step by step tutorial for setting up a mega menu?
I want to love this feature but man… it’s not user friendly at all right now…
How is this different from a Global Library module/row/section?
Great question! 😄 The Canvas Portal Module is all about injecting an entire detached canvas layout into a specific spot on your page – perfect for clean separation, precise positioning (like pop-ups or side panels), and embedding complex off-canvas designs.
Unlike Global Library items, which sync individual modules, rows, or sections directly within your main layout, the Canvas Portal Module pulls in a full standalone canvas while keeping it detached and editable separately. Updates automatically reflect everywhere they’re portaled, which is a similarity and functional overlap with global elements. Happy building!
Can I create additional canvases that display the same page in both tablet and mobile views, allowing me to view them simultaneously?
I’m still not entirely clear on the process for mega menus – do you have to add parent item as individual links (rather than a wordpress menu) and then add a portal to each of them? And then add 2 interactions to each to show/hide them?
With interactions, it would be sensible to have some sort of child/parent relationship going on. For example if I have a module which shows when the parent module is hovered, and then I duplicate the parent module, the new parent’s interaction currently targets the old child. It’s one thing for me to go in and change this for each new parent, but my clients would never get their head around it – and I don’t really want them to have to access the Advanced tab anyway!