

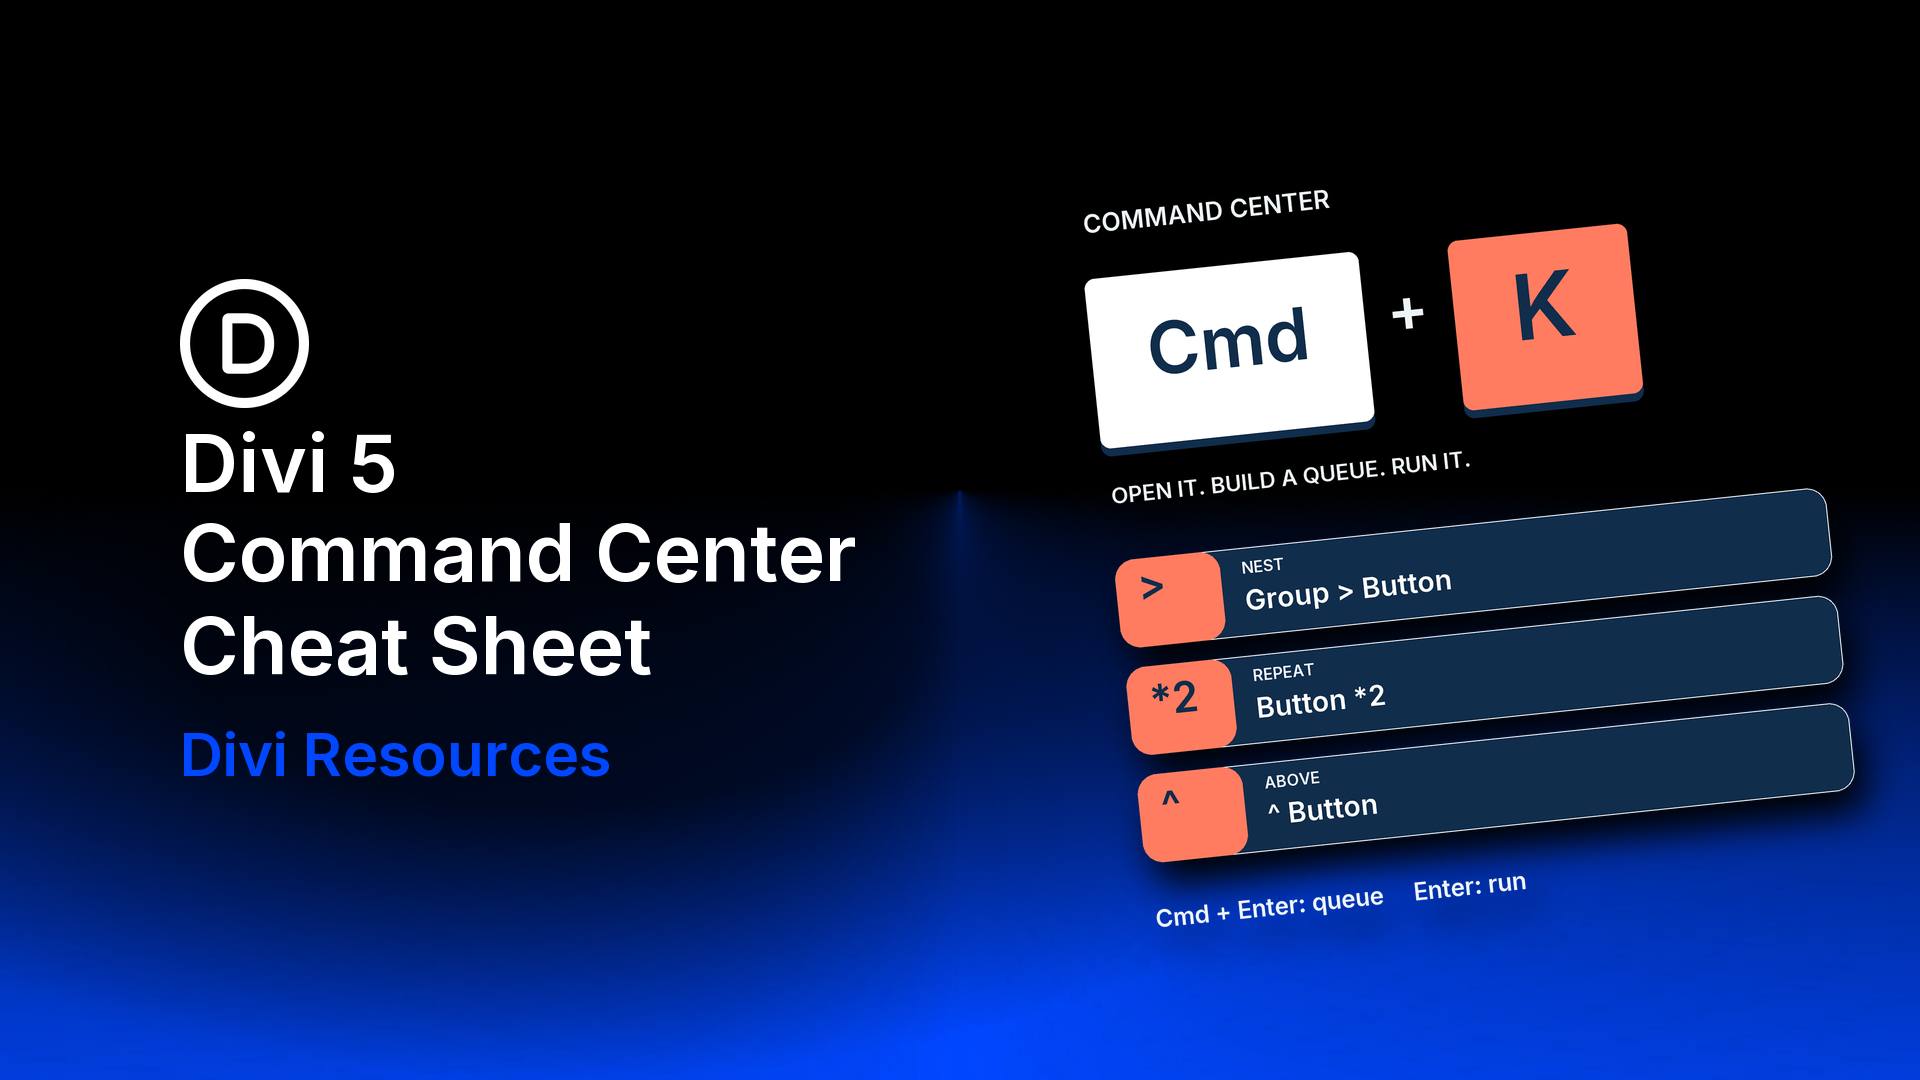
The Command Center becomes easier to use once we know which shortcut queues a command, which key runs it, and where the result will land. This cheat sheet brings those controls together, with three small exercises to practice them.
We’ll cover useful command categories, operators, and Mac and Windows shortcuts in Divi 5. Keep it beside the Visual Builder while you practice. You can use any practice layout; the final exercise also requires a saved Button preset.
- 1 Open Command Center And Run A Command
- 2 Essential Commands At A Glance
- 3 Operators And Placement Cheat Sheet
- 4 Keyboard Shortcuts For Mac And Windows
- 5 Practice The Essentials In Three Small Examples
- 6 When A Command Does Something Unexpected
- 7 Put Command Center To Work In Your Next Divi 5 Layout
Open Command Center And Run A Command
Press Cmd+K on a Mac or Ctrl+K on Windows, or click the lightning-bolt icon in the Builder’s left sidebar. The panel opens with a searchable list of commands.
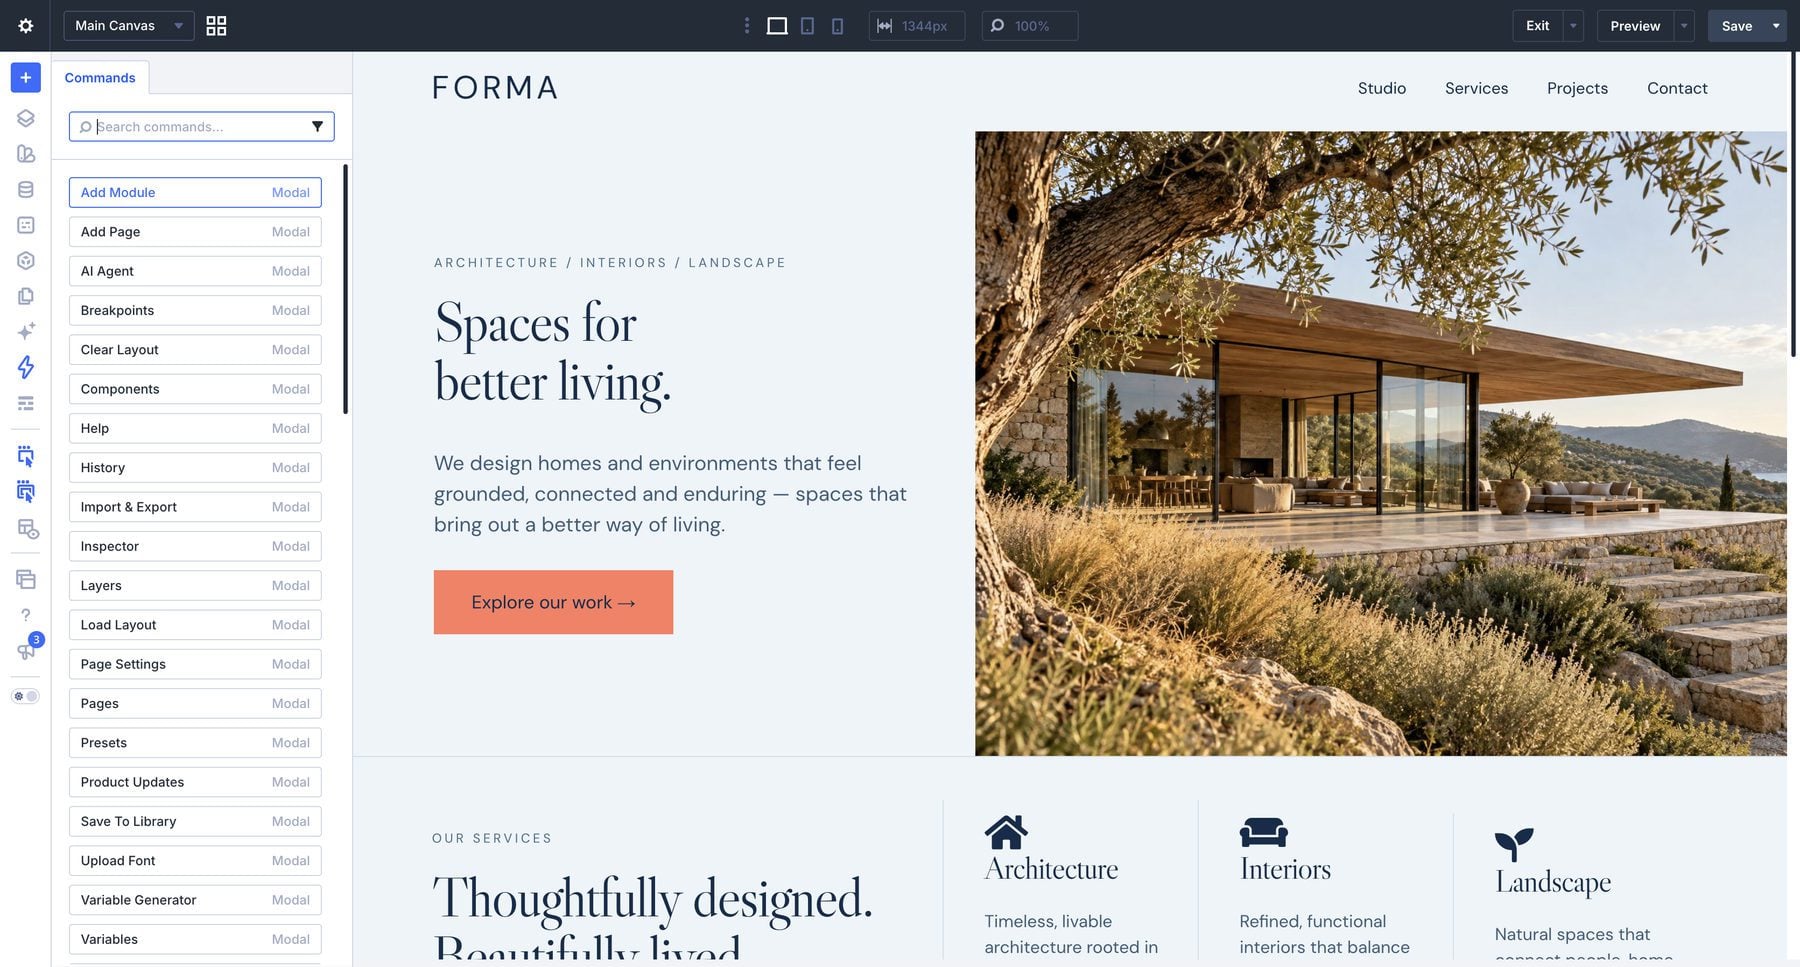
Type export, highlight the Import & Export result, and press Enter. That opens the import/export controls without changing your layout. Close those controls when you have finished looking.
The distinction to remember: Cmd+Enter or Ctrl+Enter queues a compatible element or preset. Enter executes the queue. Queueing gives you time to define the structure before inserting it.
Essential Commands At A Glance
Check the category beside each result before running it. Button under Element adds a module; a result under Preset represents a saved preset.
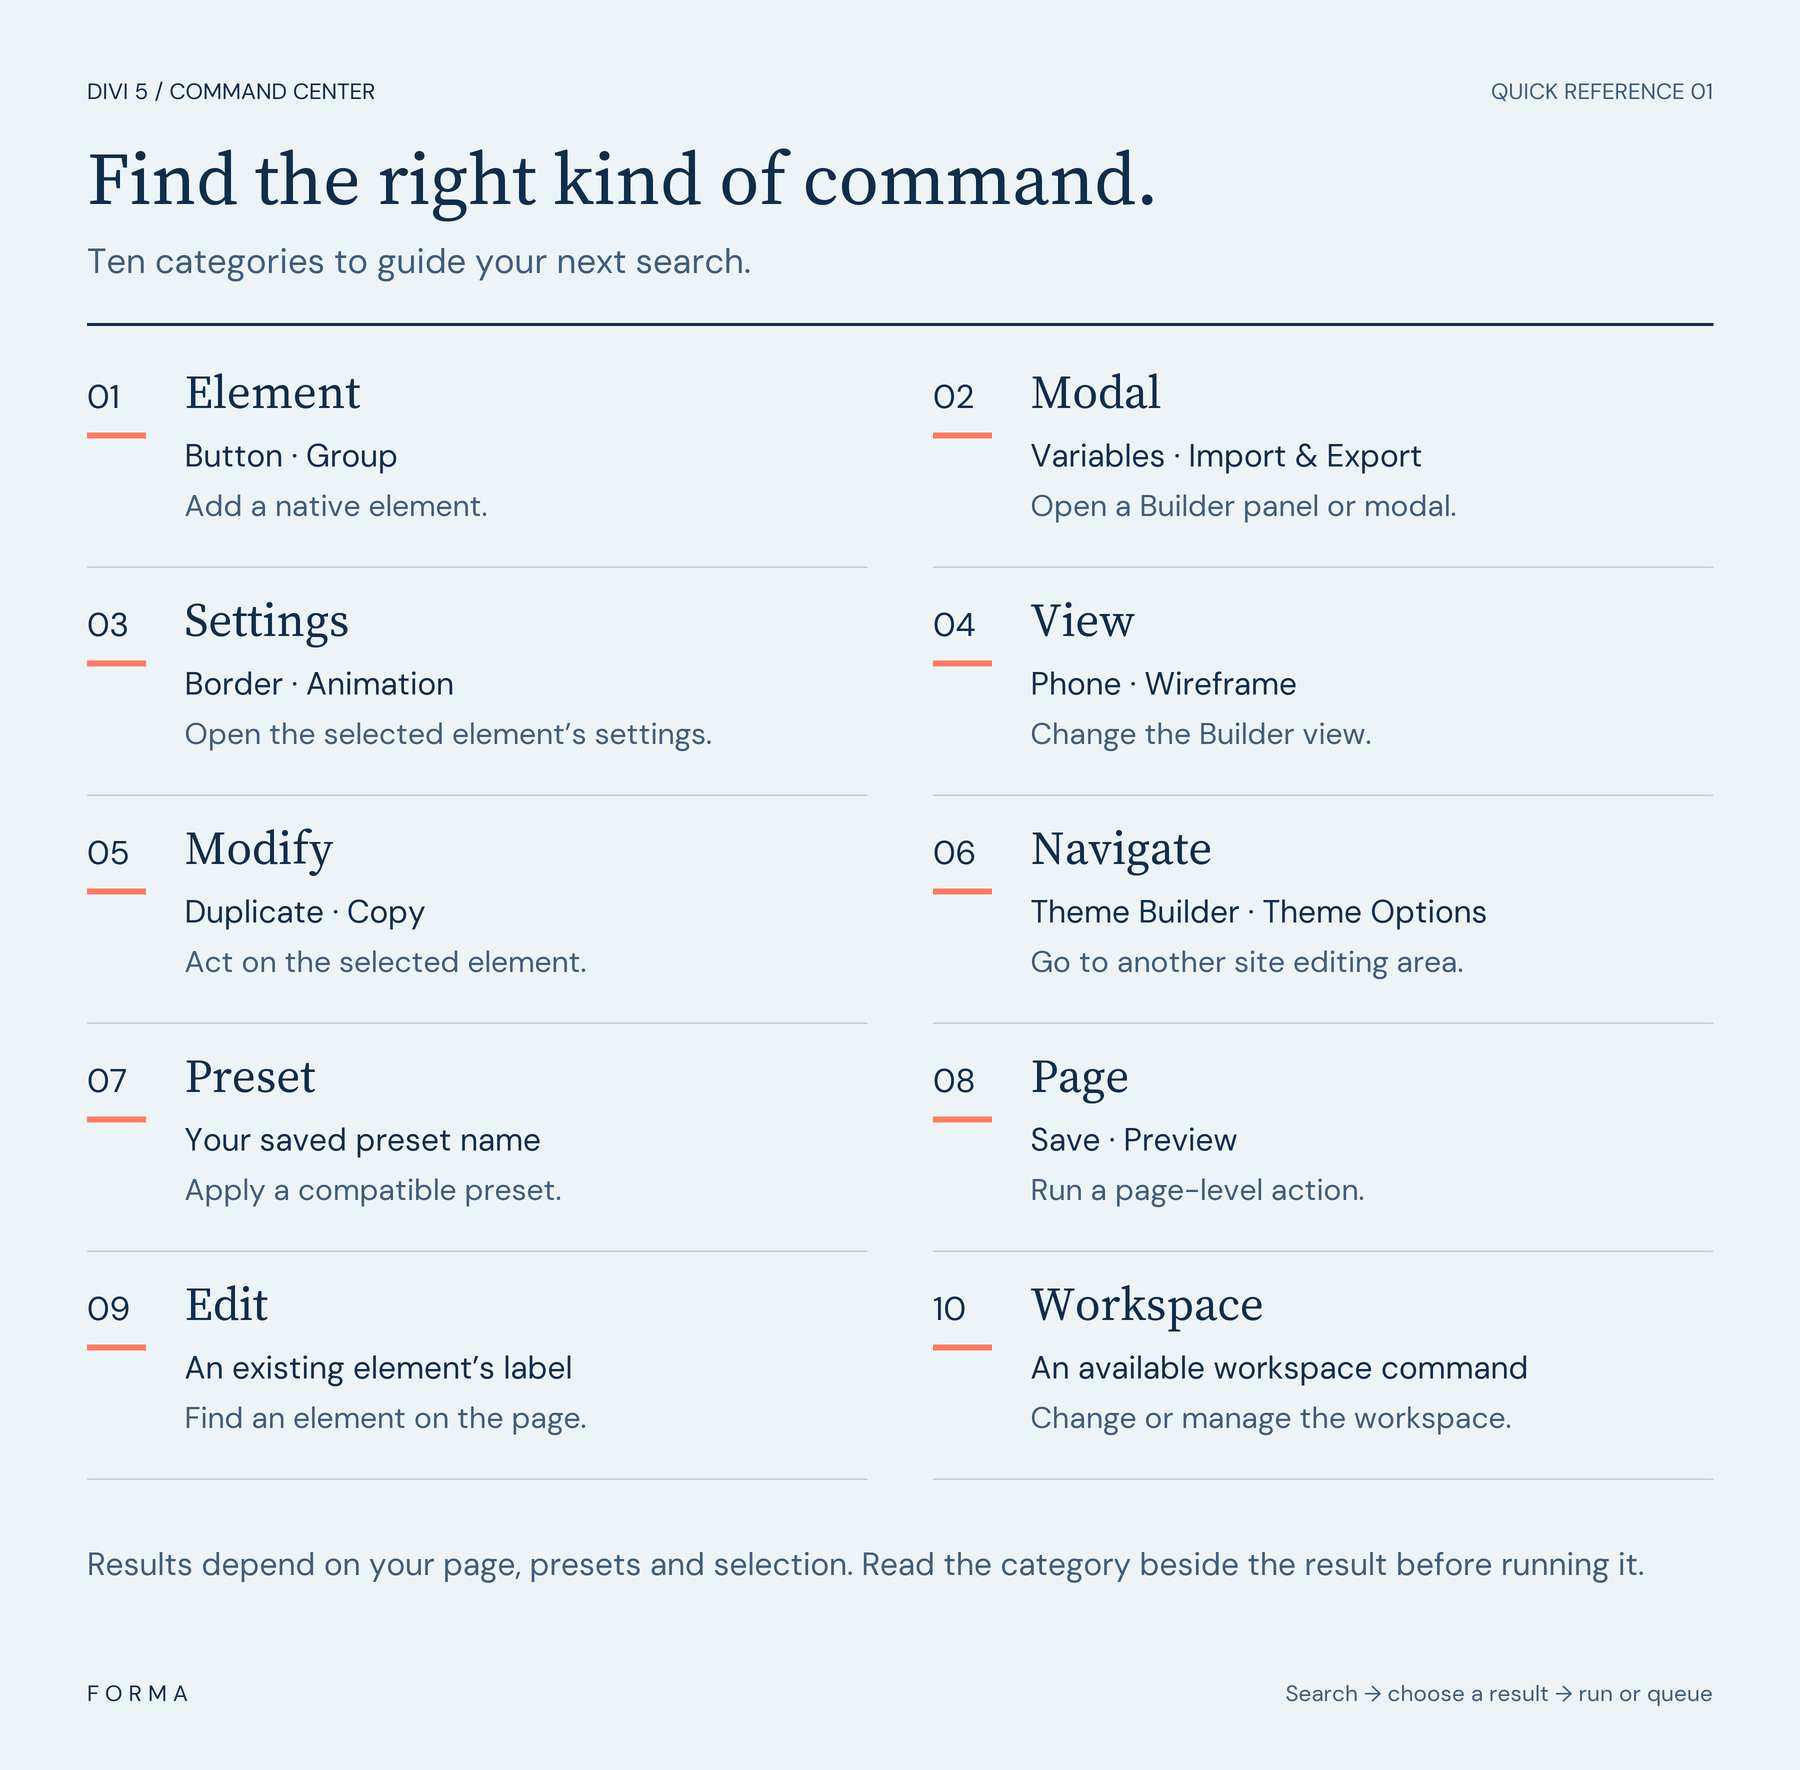
Use these categories as starting points for your searches:
- Element: Find elements to insert, such as a Group or Button.
- Modal: Open Builder panels and dialogs, such as Variables or Import & Export.
- Settings: Find settings related to the current selection.
- View: Find commands that change the Builder view.
- Modify: Find actions that modify the selected element.
- Navigate: Find destinations to navigate to.
- Preset: Find saved presets to apply or include in a queue.
Results depend on the page, available presets, and your current selection. Select the relevant module before looking for its settings or modification commands.
Use Category Filters To Narrow The List
Type :modal to limit the results to modal commands. The search field shows an active Modal filter. You can then search within that category, such as looking for Variables.
The filter stays active while you continue searching. Click the active category control beside the search field to choose another category, or use its clear control to remove the filter.
If you move from adding elements to finding a preset, change or clear the Element filter first. Otherwise, a saved preset can appear to be missing because the filter excludes it.
Operators And Placement Cheat Sheet
Operators control the relationship between the elements you add. The examples below describe queues assembled by selecting search results and queueing them. Build each queue one command at a time, checking the displayed structure as you go.
- > — Nest: Add the next element inside the preceding container. Group > Button creates a Group containing a Button.
- * — Multiply: Repeat the queued structure. Start with Button *2 to insert two sibling Button modules.
- ^ — Insert Above: Begin the queue with ^ to insert above the selected element. For example, ^ Button inserts a Button above a selected module.
- + — Attach A Preset: Follow a queued element with +, then find and queue a compatible saved preset. Button + Your Button Preset assigns that preset to the new Button.
- : — Filter Results: Use a category filter such as :modal to narrow your search. This changes the results list rather than the layout structure.
Select your starting point before inserting anything. The selected element affects where Divi adds the result. For the exercises below, select an existing module inside the area you want to edit. This gives you a clear reference for checking placement.
With a multiplier, inspect what the queue is repeating. A longer nested queue can repeat a container together with its children. Practice Button *2 on its own before combining repetition with nesting and presets.
Keyboard Shortcuts For Mac And Windows
Start with opening, queueing, and executing. Those three actions are enough to build the practice examples.
- Open Command Center: Cmd+K on Mac; Ctrl+K on Windows.
- Move Through Search Results: Use the Up and Down arrow keys to highlight a result.
- Queue The Highlighted Element Or Preset: Cmd+Enter on Mac; Ctrl+Enter on Windows.
- Run A Highlighted Command: Press Enter when you are searching without an existing queue.
- Execute A Queue: Press Enter after checking the queued elements, operators, and presets.
On Mac keyboards, Return is the key referred to here as Enter. You can also refer to the official Command Center documentation while practicing.
Practice The Essentials In Three Small Examples
Open a practice page containing at least one existing module. Open Layers so you can inspect the order and nesting after each exercise.
The recordings use an architecture layout and a saved coral Button preset. You can follow along with another layout and substitute a Button preset saved on your own site.
A Group gives the new Button a container. Select an existing module where you want to add the example, then open Command Center.
- Search for Group and highlight the Group result in the Element category.
- Press Cmd+Enter or Ctrl+Enter to queue it.
- Type >, then search for Button. Highlight the Button result in the Element category.
- Press Cmd+Enter or Ctrl+Enter again to queue the Button.
- Check that the queue shows Group > Button. Press Enter to insert the structure.
The result is one Group containing one Button. Inspect it in Layers to confirm that the Button is nested inside the Group. You can then edit the Button’s text and link using its settings.
Select an existing module inside the container where you want two new sibling Buttons. Use a single Button in this queue so you can see the multiplier’s effect without also managing a nested container.
- Open Command Center and search for the Button result in the Element category.
- Press Cmd+Enter or Ctrl+Enter to add it to the queue.
- Type *2. Check that the queue displays Button * 2.
- Press Enter to insert both Buttons.
You now have two sibling Button modules. The multiplier controls the number of modules; the parent container’s layout controls whether they sit beside each other or stack. Set their labels and destinations after inserting them.
This example combines placement with an existing preset. The recording uses a Button preset named FORMA — Coral Button. Substitute the name of a Button preset saved on your site.
If you do not already have one, open a styled Button’s settings, open its preset selector, and choose New Preset From Current Styles. Give the preset a name and save it before continuing.
- Select the existing module that should appear below the new Button, then open Command Center.
- Type ^, then search for Button.
- Highlight the Button result in the Element category and queue it with Cmd+Enter or Ctrl+Enter.
- Type +, then search for your saved Button preset. A distinctive word from its name is enough to narrow the results. Change or clear the category filter if it limits results to elements.
- Highlight the matching result in the Preset category and queue it with Cmd+Enter or Ctrl+Enter.
- Check that the queue shows ^ Button + followed by your preset’s name. Press Enter to execute it.
The new Button appears above the module you selected and has the saved preset assigned. Open the new Button’s settings to confirm the preset, then enter the Button’s content and link.
When A Command Does Something Unexpected
Check your selection, the displayed queue, and the active category filter:
- The element appeared in the wrong place. Check which module was selected before you opened Command Center. Use ^ when you need insertion above that element, or inspect the queued > relationship when nesting.
- Nothing has appeared yet. Queued elements wait until you press Enter to insert them. Cmd+Enter or Ctrl+Enter adds to the queue without executing it.
- The wrong command ran. Check the highlighted result and its category before pressing Enter or the queueing shortcut.
- The preset does not appear. Confirm that the preset exists and is compatible with the module you are adding. Clear an Element filter if it excludes preset results, then search using a distinctive word from the preset’s name.
- The preset was not attached. Queue the preset itself with Cmd+Enter or Ctrl+Enter before the final Enter. Its name should appear after the queued Button and + operator.
- The repetition changed more than expected. Inspect the container and child structure. Try the single-element Button *2 exercise before expanding the queue.
Put Command Center To Work In Your Next Divi 5 Layout
Start with one useful command on a practice page: open the panel, find the result, and run it. Then build a small queue, inspect its structure, and check where Divi inserts the elements.
Keep this cheat sheet beside the Builder as you practice nesting, multipliers, placement, and presets. When those basics feel familiar, explore queueing commands to build layouts and put a longer sequence to work in your next Divi 5 design.








Leave A Reply