
There are a lot of email marketing services you can choose from as a WordPress user. Although many are fantastic, they also force you to leave the WordPress admin space. To design and send emails, you have to log into another platform and learn how to use it. That’s not the case with MailPoet.
Using the MailPoet plugin, you can design and schedule marketing emails right from within your dashboard. In this article, we’ll introduce you to the plugin, talk about its features, and show you how it works.
An Introduction to MailPoet

MailPoet is an email and newsletter plugin, but that definition hardly does it justice. It enables you to create email list signup forms, design campaigns, schedule messages, and more.
In a nutshell, MailPoet can accomplish most (if not all) of the same tasks as other email marketing services (such as Mailchimp and AWeber). What sets it apart, though, is that you interact with MailPoet mostly from within your WordPress dashboard (it is a plugin, after all!). The plugin includes support for WooCommerce transactional emails out of the box, and you can also use it to send abandoned cart emails and follow-up messages.
With MailPoet, you get access to an intuitive email builder that works with the Block Editor. The plugin also comes with a library of templates you can use to kickstart your next email campaign. As far as deliverability goes, MailPoet enables you to use its own service or connect the plugin with other SMTP providers (such as SendGrid).
Those features are available for free, but you can also access MailPoet’s Premium plan at no cost if you have fewer than 1,000 subscribers. With the premium plan, you can remove the plugin’s logo from your email footer and check who’s opening and clicking on your emails.
Key Features:
- Set up email subscription forms on your website.
- Use an intuitive builder to design email newsletters, welcome series, and more.
- Get access to email templates for your campaigns.
- Send email notifications when new posts go up on your site.
- Send transactional emails for WooCommerce.
- Configure the plugin to work with multiple SMTP providers.
- Monitor key email engagement metrics.
Price: Free with premium plans available | More Information
How to Run Your Entire Email Campaign from Your WordPress Dashboard With MailPoet (In 4 Steps)
‘Running’ an email campaign involves setting up an email list, designing at least one message, and sending it. In this section, we’ll cover all those steps and a few more, including how to configure the MailPoet plugin. Let’s take it from the top!
Step 1: Configure the MailPoet Plugin
Once you install and activate MailPoet, if you try to access the MailPoet tab, the plugin’s configuration wizard will pop up. Let’s go ahead and use it, since it’s the simplest way to get the plugin ‘ready’.
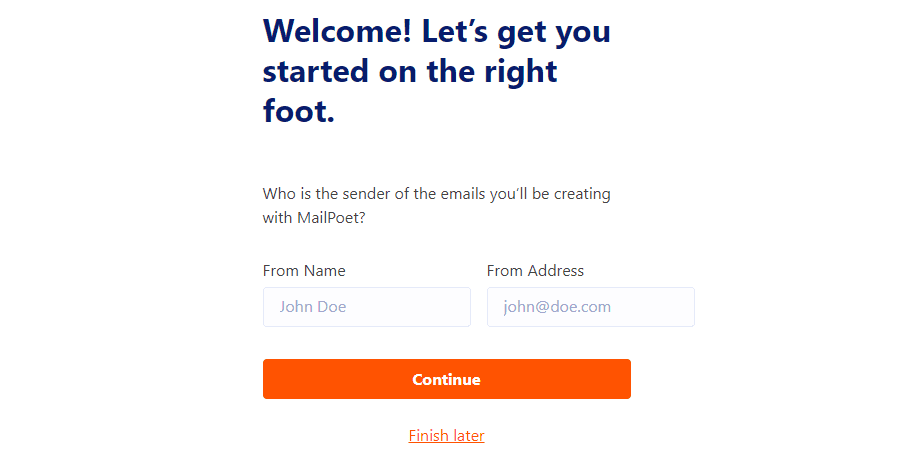
The first thing you need to decide is which email address will appear on messages from your site. By default, the plugin will use your admin name and email address:
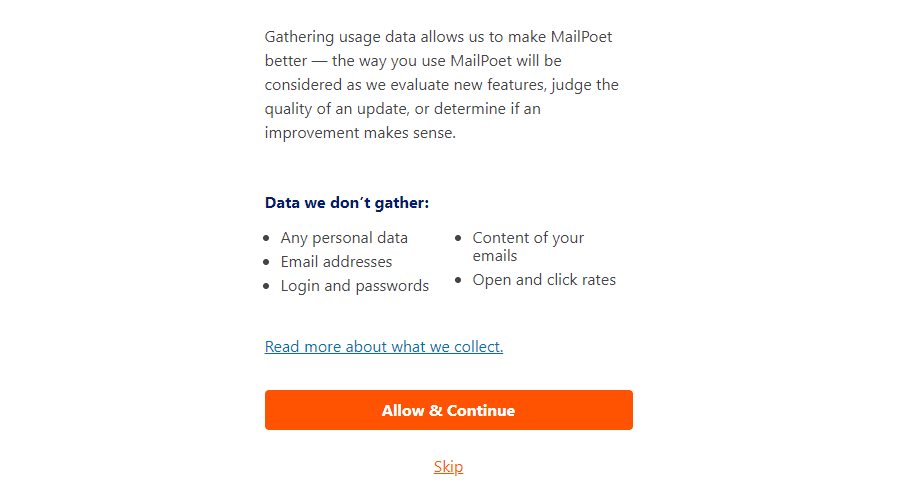
Next up, MailPoet will ask if you want to contribute anonymous data to the plugin’s development. The decision is up to you and it won’t affect any of the plugin’s features:
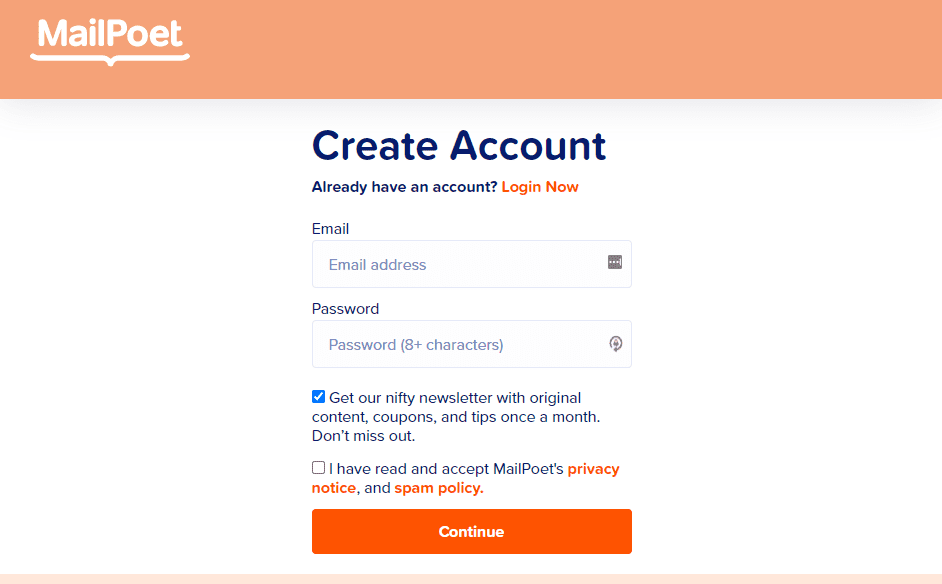
Finally, you get to decide whether you want to take advantage of using MailPoet’s premium features for free. As we mentioned before, the plugin enables you to use its Premium plan at no cost if you have less than 1,000 email subscribers. To take advantage of the offer, you’ll need to sign up for a free MailPoet account, which the plugin will automatically prompt you to do:
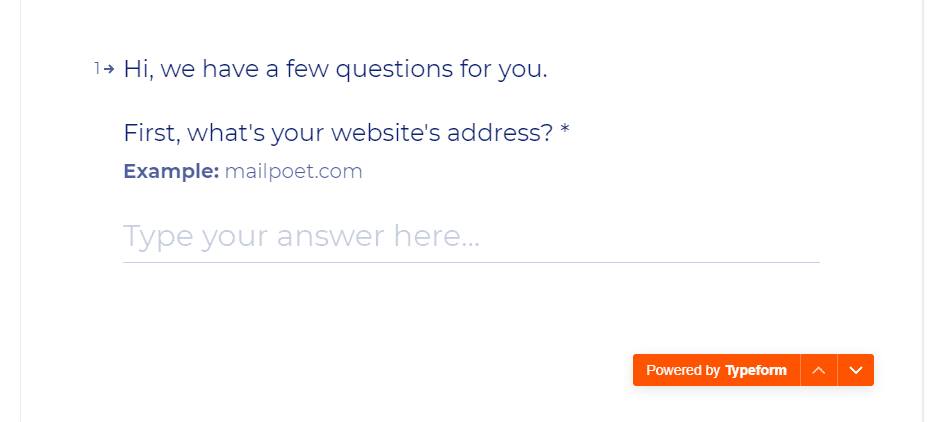
You don’t need to use MailPoet Premium, although this article will run through that signup process goes in case you decide to go for it. After you confirm your email address, MailPoet will ask for your website’s URL (notice it’s using Typeform):
The service will ask you some questions about how many marketing emails you send, and when that’s done, you’ll get access to your free account. Within your MailPoet dashboard, you’ll see a key for the plan you’re using. Copy this key and return to WordPress:
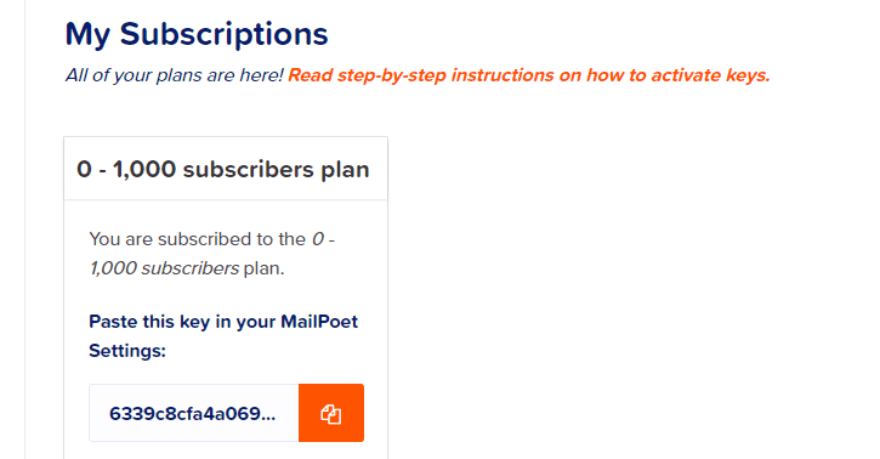
Go to MailPoet > Settings > Key Activation and paste your key in the field within, then click on Verify:
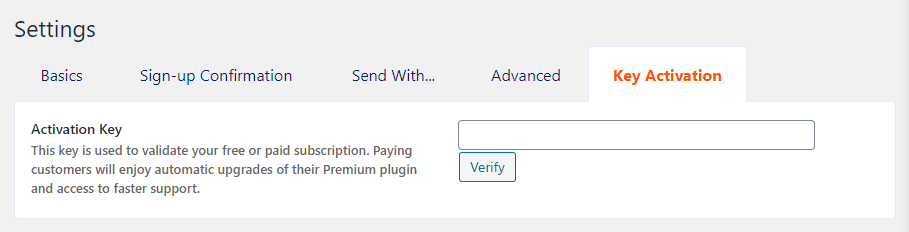
Validating your key should take a few seconds, and that’s it—you have access to the full set of premium MailPoet features. Let’s get to know the rest of the plugin now.
Step 2: Set Up an Email List
When you activate MailPoet, the plugin automatically creates two email lists for you. One is for all your existing WordPress users, and the other is a brand-new list you can use for your campaigns:
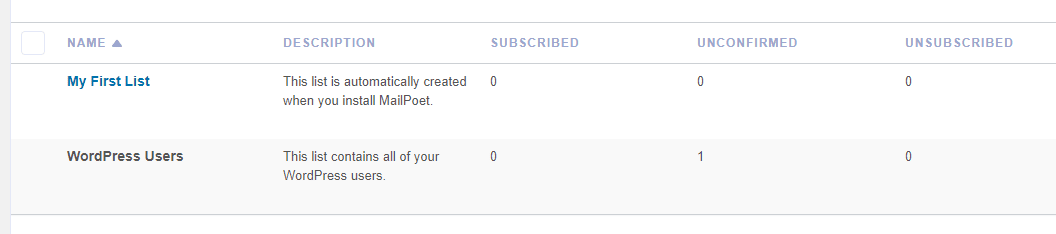
You can go ahead and use that new list without needing to do anything else. If you ever want to set up another list, you can do so by going into MailPoet > Lists > New List. All you have to do is enter a name and description, and you’re good to go:

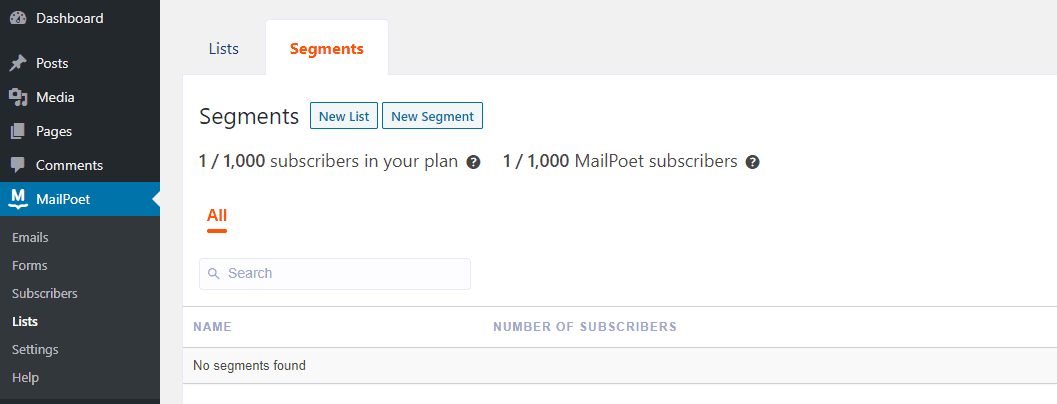
Keep in mind that you can also set up new email segments from the Lists tab by clicking on New Segment. All your existing segments will show up under the Lists > Segments tab:
With your brand new list ready, you can get to work on your first email campaign.
Step 3: Create a New Email Campaign
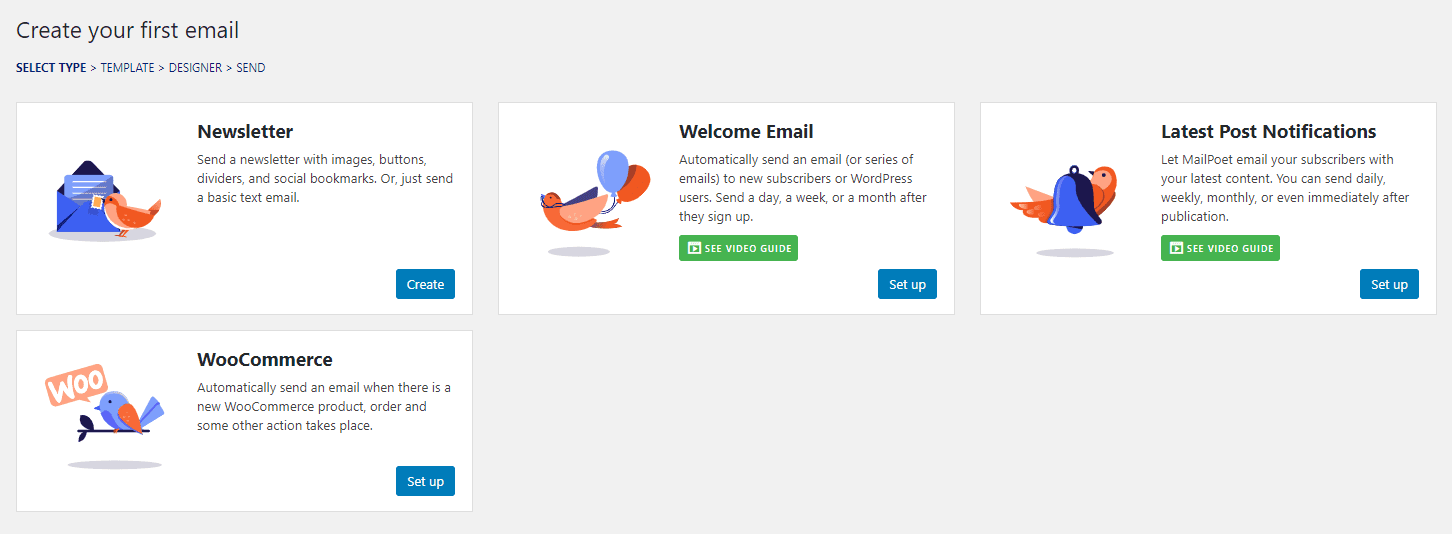
We recommend you go with a welcome email for your first campaign, but you’re free to experiment as you wish. You can create many types of recommended email campaigns. To create an email, go to MailPoet > Emails and select the template you want to use:
Now, MailPoet will ask you to configure when to send your email. Since we’re talking about a welcome message, we’ll select the When someone subscribes to the list option and our new email list. You can also configure a delay for any emails you create:
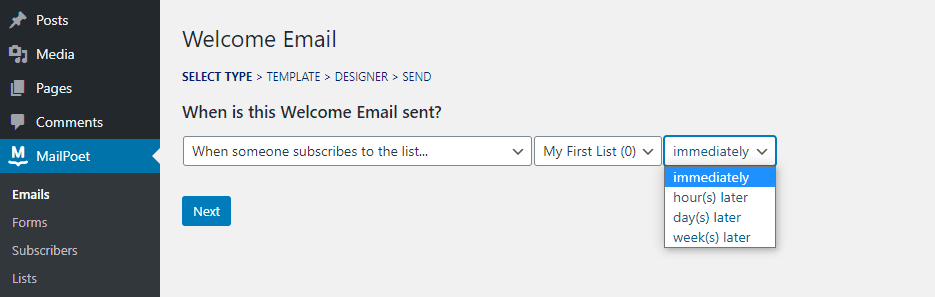
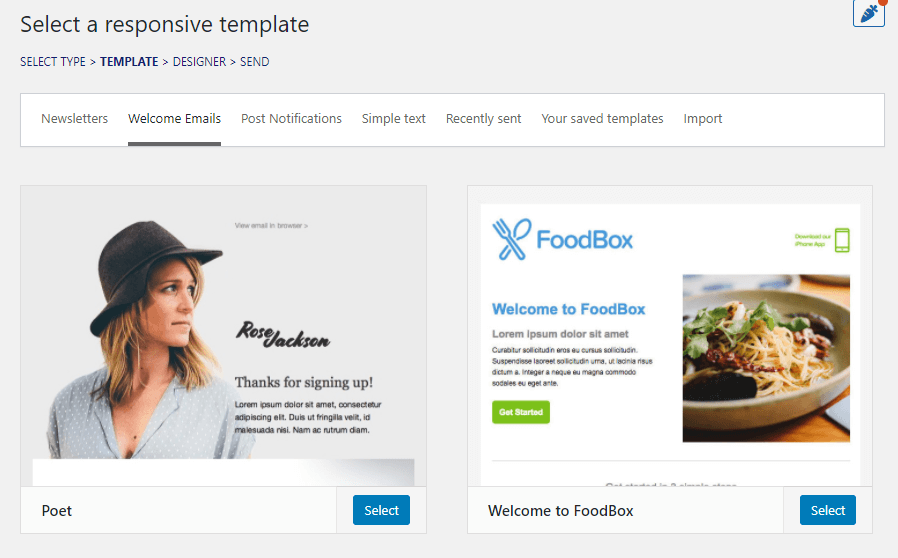
For a welcome email, you can set an immediate delivery window or delay by an hour or two. Once those settings are ready, you can choose if you want to use one of MailPoet’s templates for your welcome email:
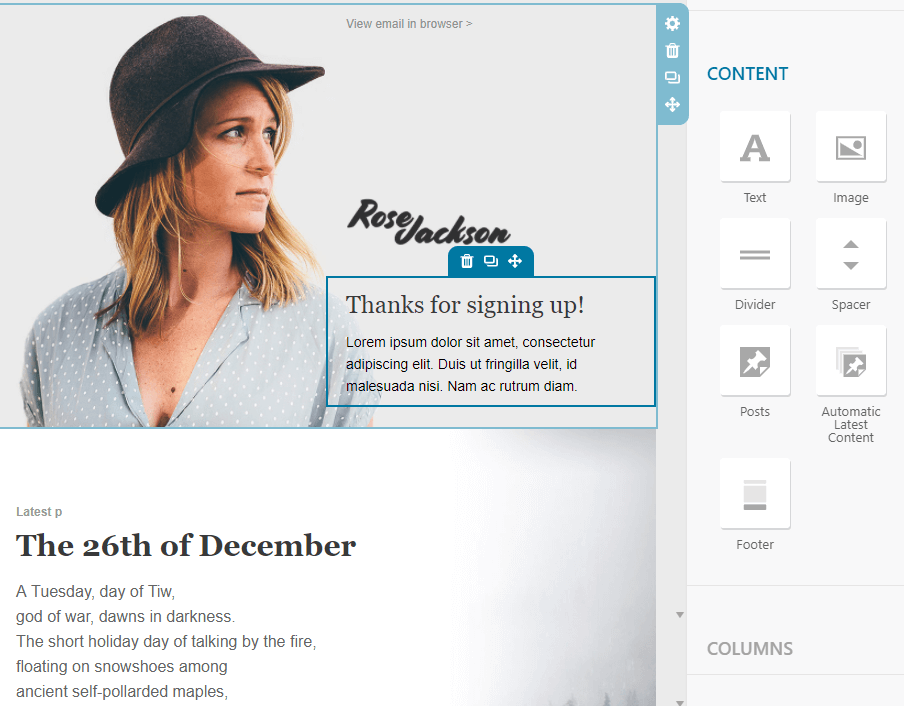
Whether you use a template or not, you can still access MailPoet’s intuitive drag-and-drop builder. On your left, you have a preview of the email you’re designing, while on the right, you can see all the elements at your disposal, including modules and column options:
If you’ve ever used the Block Editor or a page builder plugin, you should be able to learn MailPoet’s editor in minutes. Here’s where the plugin’s most notable downside comes into play, though.
Although the editor itself is incredibly easy to use, the selection of design elements available is a bit lackluster. Likewise, most elements don’t offer many customization options.
Overall, MailPoet may not offer the most advanced email builder in the market, but it’s more than capable of designing simple campaigns and transactional emails.
At this point, you should spend some time tinkering with the MailPoet builder to see if it’s to your liking. When you’re done, click on the Save button under the editor, then hit Next.
Now you get to choose a subject line for your email and review the rest of its settings:
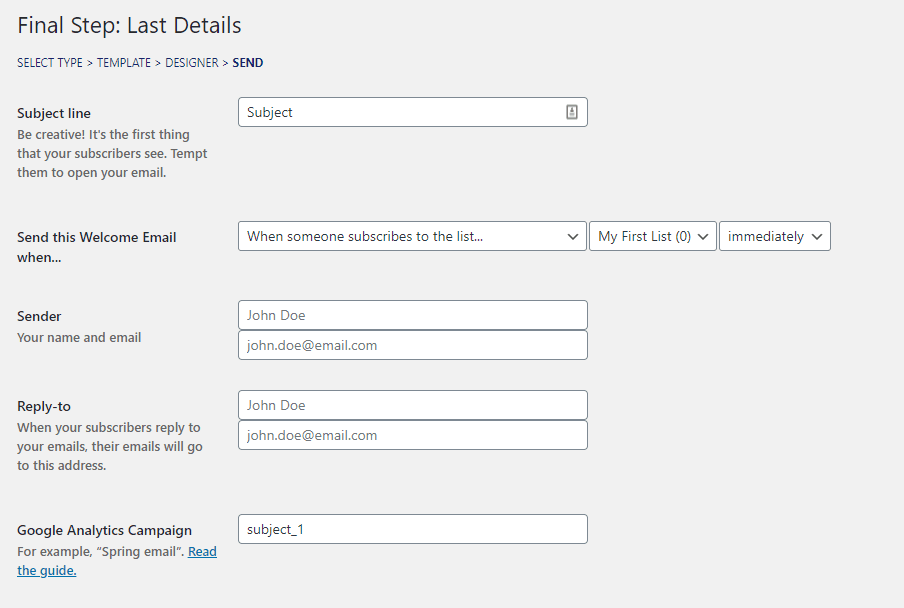
You can connect your Google Analytics account with MailPoet using the option. You can read about that integration here, but for now, save your campaign, and let’s set up an email signup form for your list.
Step 4: Set Up an Email Signup Form
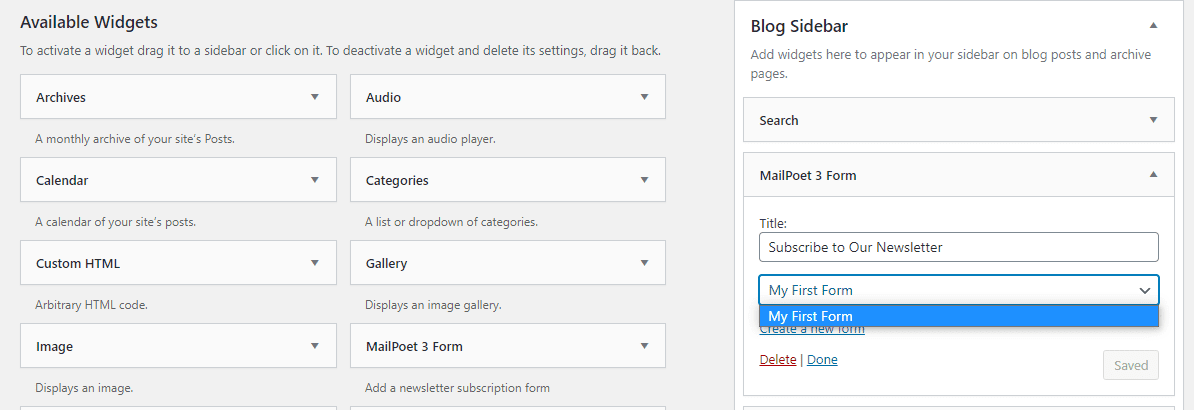
When you set up an email list using MailPoet, the plugin automatically creates a signup form for it. To display that signup form on your page, you can either add it to the page you want manually or use a widget:
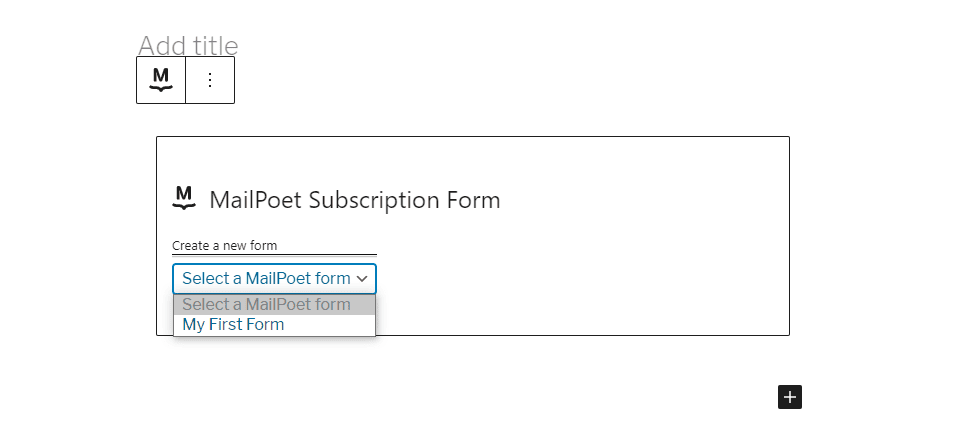
For the ‘manual’ approach, open the Block Editor and choose where you want to place your email signup form. Select the MailPoet Subscription Form block option and which list to use:
That’s it! Keep in mind that MailPoet email subscription forms look a bit bare by default. You can customize yours using CSS, though:
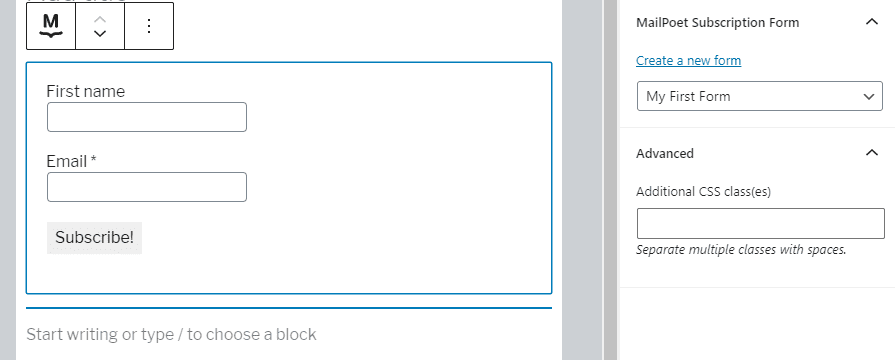
MailPoet works with other plugins, such as Bloom and other top newsletter opt-in plugins. This helps you design gorgeous forms that connect to your MailPoet mailing lists. In any case, once your email signup form is up, you’re in business. Once your email list starts growing, you can go ahead and design as many emails as you want and send them to your list at will. In the meantime, you can think through some email automation strategies so you can use both automated emails and email blasts with MailPoet.
Conclusion
MailPoet is both an SMTP plugin and an email marketing service. Using the plugin, you can design and send emails to your subscribers without leaving your dashboard. As for the emails themselves, MailPoet takes care of delivery for you, so you don’t need to worry about setting up a different SMTP service.
Getting started with using MailPoet is pretty simple, and it only takes four steps:
- Configure the MailPoet plugin.
- Set up an email list.
- Create a new email campaign.
- Set up an email signup form.
Do you have any questions about how to use MailPoet with WordPress? Let’s talk about them in the comments section below!
Article thumbnail image by vasabii / shutterstock.com


I’ve not used MailPoet till now. I have been using ActiveCampaign for my email campaigns. MailPoet is interesting, I’m going to give it a try as well.
Thanks for the complete guide.
You’re welcome, Simon! Good luck with your trial run.
I’m curious about 3 things:
1. What is the cost for the premium service if you’re over 1,000 subscribers?
2. What kind of deliverability or bounce rate does the service provide?
3. How long has the MailPoet plugin been in operation? Will updates cause issues?
Hi, Ruth – thanks for your comment. To answer your questions:
1. You can see Mailpoet’s pricing information here: https://account.mailpoet.com/
2. Mailpoet doesn’t promise specific deliverability or bounce rates, since these can vary from user to user based on various factors. However, it does have some information on its sending service infrastructure available (https://www.mailpoet.com/email-deliverability/) as well as a blog post that details some data from past years (https://www.mailpoet.com/blog/how-the-mailpoet-sending-service-helps-you-avoid-the-spam-box/).
3. According to its WordPress.org page, the Mailpoet plugin has been out since 2011. There is always the chance that plugin conflicts may occur, but I would say it’s unlikely that Mailpoet will cause issues with WordPress core. I can’t speak for the other plugins or themes you may have installed. Mailpoet has documentation on what to do if such a problem does arise: https://kb.mailpoet.com/article/204-how-to-test-for-plugins-conflict
Hi Ruth
Mailpoet was on Appsumo a few month ago, i bought it, it is good and here is my full review about and how it compares with other options:
3 Newsletter Plugins for WP
In my opinion there are 3 serious newsletter plugins for WP.
And i have and used then all.
I am not consider standalones like SendFox or Sendy.
– Newsletter Plugin. Most active installs in WP. Very hard to use, not intuitive, strange workflow and bad UI/UX
– Mailster. Best Selling on Codecanyon. This is the best Newsletter Plugin for WP in my opinion. The best functionalities and you can do almost everything if you creative to go around some minor limitations.
You may need a little better than average technical knowledge to set it up the right way to do all things you need for marketing
Sometimes we get some issues/bugs that get resolved in time. But still the best in my opinion
– Mailpoet
Mailpoet might be the best choice for 80% of all people
It is simple and very, very easy to setup and use
It is so good to find a theme, plugin or software that you do some minor set up and just work without issues
And i think that has the most integrations of all: Forms, Membership, Woocommerce, etc
Advice, use Mailpoet to send Woocommerce emails so you can easly customize the design
About the “issues” with accounts being pause due to spam sending, don´t use their sending server
It is the best option for everybody
For Mailpoet, you make the deal more profitable for Mailpoet because of the non use of their servers
If Mailpoet sees it as it was profitable, might comeback or share experience with other great developers and that great developers with great software that we might already use, come to AS
It is better for YOU not use their sending servers, because you will get better delivery with companies that their main service/focus is email deliverability
Email is a serious and hard thing to deliver even for good senders
If you have some tech knowledge with Imap, SMTP and a little Javascript, instead choose companies like:
(Ordered by best delivery in my opinion with my experience)
1) Amazon AWS SES
2) Sendgrid with a private IP ( Got issues with shared IP´s being black listed )
3) Elastic Email with a private IP ( Got issues with shared IP´s being black listed )
4) Postmark (You have to be smart and good sender to use then or they will kick you out)
5) Mailgun
Some got free tiers and the best one (Amazon AWS SES) is very, very cheap
And just like David Swift from Profitable Tools says, it is better to not rely on Life Time Deals of services like email sending service, email marketing or hosting because they have high recurring costs for service that they got paid only once.
Conclusion
Buy it for a blog, a affiliate site or a small to medium online store
I got no links, just my honest opinion to help Sumolings and keep AS a good and profitable place for Great Developers, like Mailpoet.
Final words
Be smart with your sending reputation
Setup Postmaster accounts with Google and MS Outlook / Hotmail
Check the reputation of your sending IP with SenderScore
And test your emails with – mail-tester.com – the best and it it is free for 3 tests a day
hello, when you install mailpoet, when you click on divi builder, a serious error has occurred in the admin panel. Disabling mailpoet fixes it. How can I get this problem? thanks