
WordPress makes it easy to share media files on your website. However, using elements with large file sizes can slow down your loading times. Fortunately, the Cloudup embed block enables you to upload images, videos, music files, and documents to the cloud and share them with simple links. This means you can display them in WordPress without taking up any server space.
In this article, we’ll show you how to add the Cloudup embed block to your pages and configure it. We’ll also share some tips and best practices for using this WordPress element.
Let’s get to it!
How to Add the Cloudup Embed Block to Your Post or Page
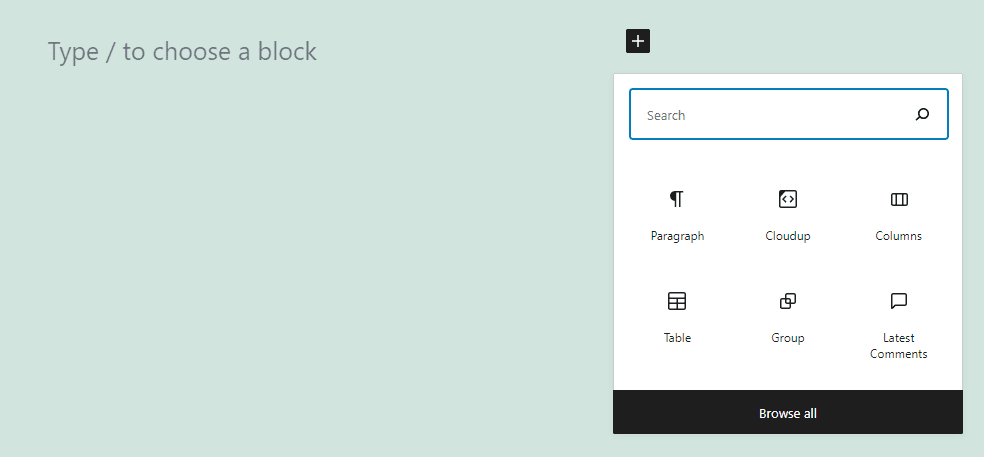
Adding a Cloudup link to WordPress is simple. Go to the post or page where you want to embed your media file, open the Block Editor, and click on the plus (+) symbol to insert a new element. Use the search feature to look for the Cloudup block and click on it:
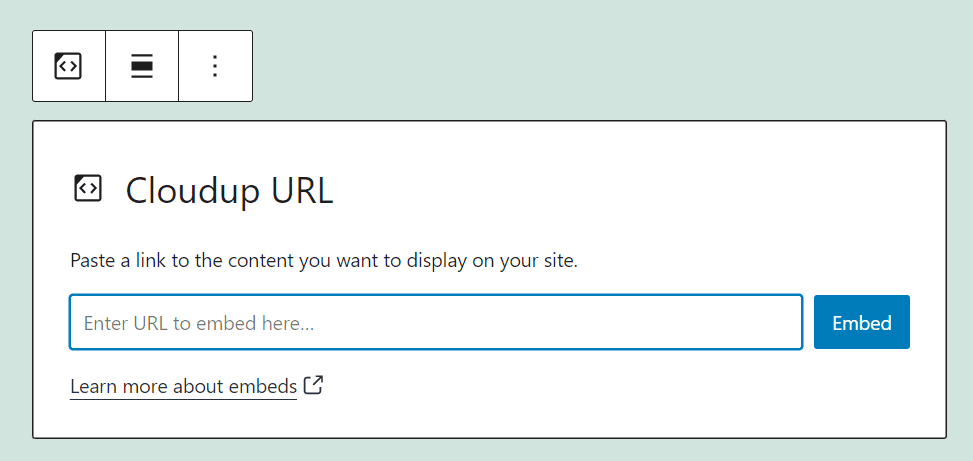
The block will display an embed box where you can enter a Cloudup URL:
If you’re already using Cloudup, you should be familiar with how its URLs look. Here’s a quick example of what a Cloudup link will look like for any media file you want to share:
![]()
Copy the link for the file you want to embed in WordPress, and paste it in the Enter URL to embed here… field. Click on Embed, and the media will display on your page:
Alternatively, you can paste any Cloudup URL into the Block Editor using a Paragraph block. If the link is valid, WordPress will automatically embed the corresponding file. As such, you won’t need to look for and use the Cloudup embed block manually.
As we mentioned before, embedded media files don’t take up any local storage space on your server. Therefore, they should load incredibly quickly, making the Cloudbed embed block ideal for sharing large images and videos on your website.
Cloudup Embed Block Settings and Options
Like most embed blocks, the Cloudup element doesn’t come with many customization options. Since you’re linking to external files, you can’t modify the images, videos, or documents on your WordPress site.
When you use the Cloudup embed block, you can access both a formatting menu and a settings tab. The formatting menu includes the following options:
- Transforming the block into another element
- Moving the block into a different position
- Changing the element’s alignment
- Editing the Cloudup URL you entered

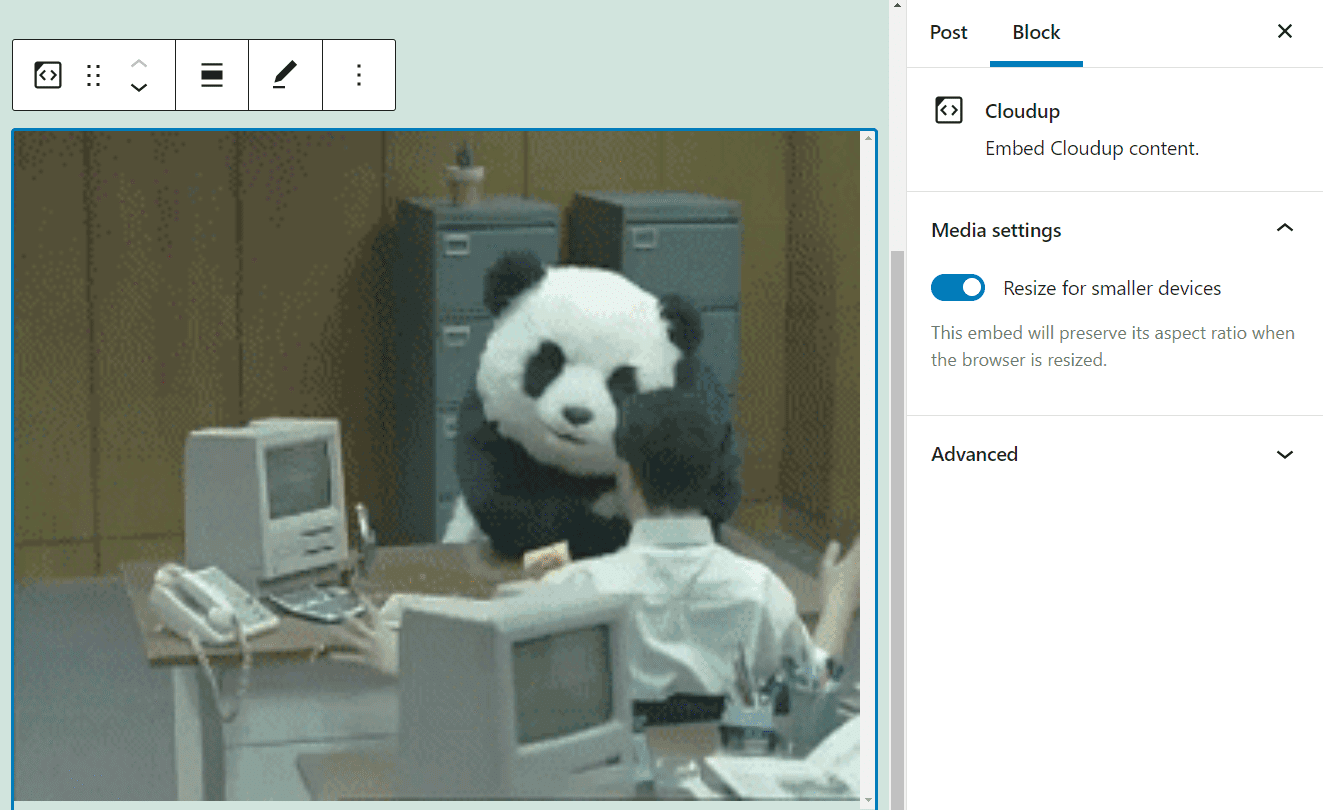
To see the rest of the options, select the Cloudup block and click on the gear icon in the top-right corner of the screen. Here, you’ll get access to its Settings menu. This tab includes a single option that enables WordPress to resize the media file when displaying it on smaller devices:
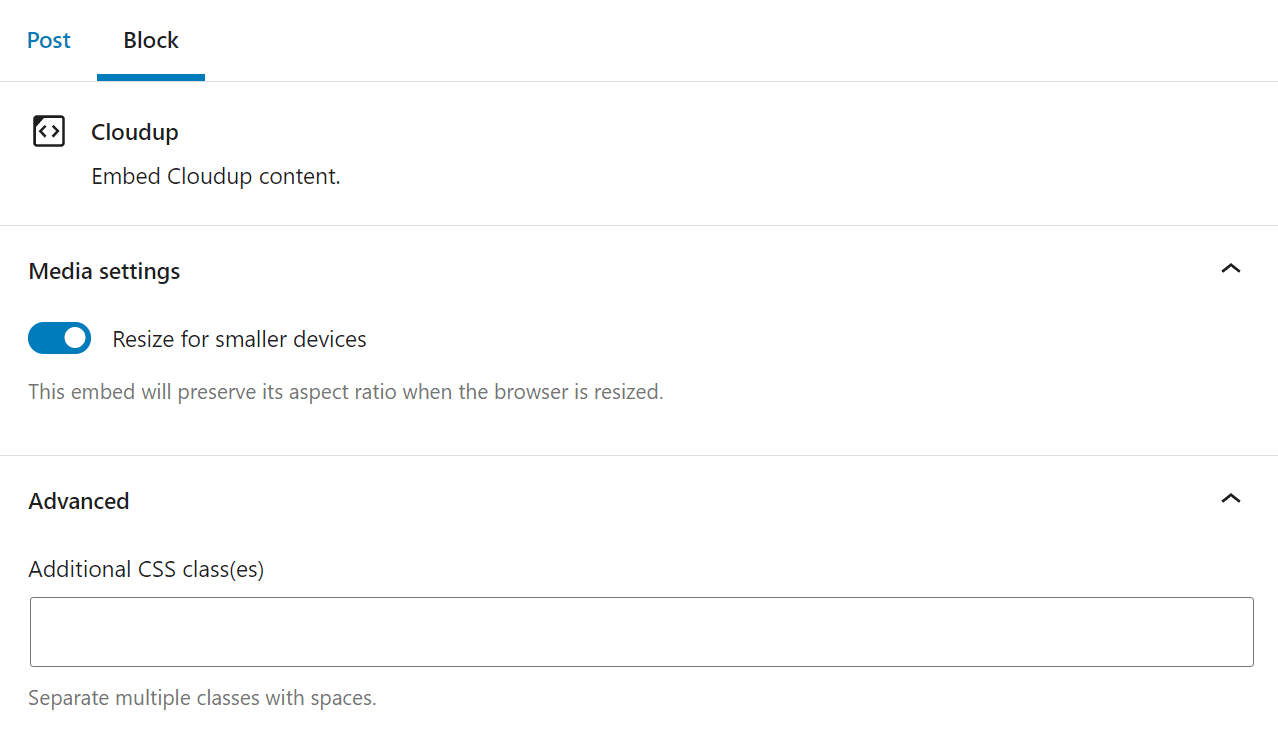
You can also use the Additional CSS class(es) field under the Advanced tab to add custom CSS classes to the block. If you want to make any other type of change or customization to your files, you’ll need to do so before uploading them to the Cloudup platform and embedding them in WordPress.
Tips and Best Practices for Using the Cloudup Embed Block Effectively
Services such as Cloudup can be lifesavers when you need to share large media elements. You can use them to add items to your website without taking up a lot of server space.
Most modern web hosts offer plenty of storage. Even so, uploading large files means that visitors will have to load them from your site’s server.
In many cases, large videos or high-resolution images can severely slow down your website’s loading times. The files themselves might look amazing, but no one likes a slow site.
Using Cloudup solves that problem. However, that doesn’t mean you should rely on third-party storage for uploading all of your media files. You can use the Cloudup embed block more effectively by saving it for large media files or documents that will get many downloads.
For example, GIFs tend to be very sizable, making them perfect candidates for hosting on Cloudup.
Aside from those considerations, if you’re using the Cloudup block to embed media files, we also recommend that you enable the Resize for smaller devices setting. That way, your visual elements will look right even on smartphone screens.
Frequently Asked Questions About the Cloudup Embed Block
By now, you know pretty much everything about the Cloudup block and how to use it. However, if you still have any pressing questions, this section will answer them. Let’s start by talking about storage.
Do Cloudup Files Take Up Server Storage Space?
If you embed a Cloudup element in WordPress, it won’t take up any of your server storage space. The original file remains on the Cloudup servers. All you’re doing is displaying the content on your website.
How Do I Sign Up for a Cloudup Account?
Currently, Cloudup is an invite-only service. You can leave your email address on the home page to get an invitation. However, there is a queue that determines how long you will wait to receive an account.
Can I Embed Any Cloudup File in WordPress?
If Cloudup supports the file type that you want to upload to its servers, WordPress will embed it. However, the service is particularly effective at hosting large media files. As such, we recommend using the Cloudup embed block for high-quality photos, GIFs, and videos.
Conclusion
Many cloud storage services also enable you to share files. However, Cloudup stands apart from the competition thanks to its user-friendly platform, and how simple it is to share your content using links. As we’ve seen, WordPress enables you to take your Cloudup files and embed them on your website, helping you save storage space.
Even better, using the Cloudup embed block is simple. All you have to do is insert a working Cloudup URL, and WordPress will embed the media file it points to. This element supports images, videos, music files, and even documents, making it an incredibly versatile addition to your site.
Do you have any questions about how to use the Cloudup embed block? Let’s talk about them in the comments section below!
Featured image via 0beron / shutterstock.com


Sorry but all your news on wordpress blocks is painful and I don’t think I’m the only one in this case, we want articles that cover divi and development not on wordpress blocks!
I find it refreshing to learn new stuff. I combine divi with blocks odten. Depending on the page I wish to create. So I really appreciate to learn some of the features of blocks I’m too lazy or too buzy to research myself.
I’m surprised there are no replies. Does that mean there are already alternatives for cloudup out there?