 Google Domains")
There are a lot of services you can use to register your next domain. Aside from dedicated registrars, plenty of web hosts can also help you set up domains too. In fact, you have so many options, figuring out which one to use can be complicated – and that was before Google threw its hat in the ring.
Google Domains has been around for a while now, but the service is still in beta. In this article, we’re going to talk about whether it makes a difference what domain registrar you use. Then we’ll talk about Google Domains itself, and walk you through the process of registering a domain through them in three steps.
Let’s jump right in!
Why The Domain Registrar You Use Matters

Registering a domain is simple, but the experience can vary depending on which service you use.
Every registrar can help you accomplish the same task, which is (of course) registering a domain. However, the experience can vary a lot depending on the service you choose. For example, here’s what it looks like when you find a domain name using HostGator, which doubles as a web host and a registrar:
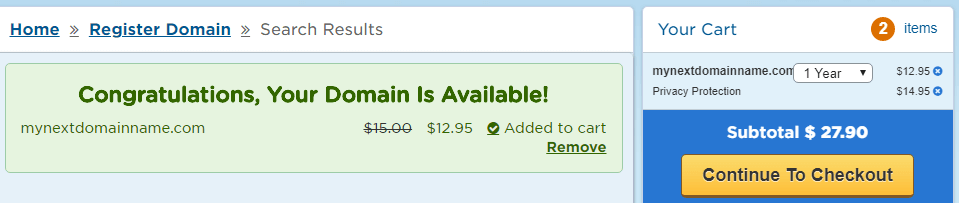
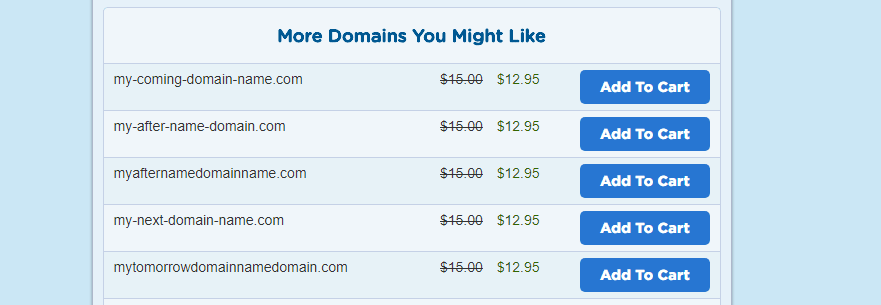
We’re not big fans of the interface, but it works. In this case, the domain we want is available for $12.95 per year, and there are plenty similar options below:
Now let’s try out Namecheap instead. While they offer web hosting too, in this case, they’re a lot more focused on choosing a domain. The same domain is a couple of dollars cheaper here:

Moreover, they show you a lot of alternative Top Level Domains (TLDs) right off the bat, which gives them an edge over HostGator. Finally, let’s check out Google Domains:
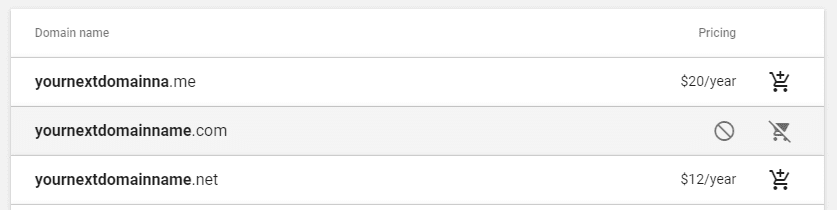
In this case, the domain we want is about one dollar cheaper than it was on HostGator, but more expensive than if we used Namecheap. This is a common theme when it comes to .com domain names. They vary somewhat depending on the registrar you choose, but the difference tends to be small. However, prices for other less-known TLDs tend to swing a lot more.
For example, registering mynextdomainname.me using Google Domains would cost you $20 per year. Namecheap, on the other hand, offers it for $3.88. Savings like this mean it’s often good business to look up the same domain name using multiple registrars if budget is your only consideration. However, price isn’t the only factor you should be on the lookout for.
Ideally, the registrar you use should have an excellent interface and offer you all of the options you need to manage your domains. Generally speaking, platforms that focus on web hosting don’t provide the best domain management experiences. This is why a lot of people use one service for hosting their sites and another to manage their domains. Plus, this approach means if something goes wrong with one platform, you won’t need to migrate as many properties.
Speaking about migration, if you find out there’s another registrar that provides a better experience, you can move your domains there. The only limitations are you usually have to pay for an additional year of registration upfront, and you won’t be able to migrate the domain again for at least 60 days.
An Introduction to Google Domains

Google Domains is a registrar that launched in 2015 to residents of the US. Technically, the service is still in beta. However, in practice, it works much as you’d expect any other registrar to. With it, you’ll be able to find available domains, then register and manage them.
Since we’re talking about a Google service, you can expect a high-level of polish and additional features. For example, Google Domains offers one-click configuration options for Google Sites (among others). It also enables you to forward your emails to any Gmail address, protect your personal information, manage your Domain Name System (DNS) settings, and more. Instead of talking up the service non-stop, we’re going to show you how it works in the next section, so you can compare it with your current registrar.
Key Features:
- Register domains using over 60 TLDs.
- Get free WHOIS protection for free with any domain you purchase.
- Set up custom emails using G Suite.
- Forward emails to any existing accounts.
- Get access to top-tier support.
Price: Varies depending on the specific domain | More Information
How to Register (And Configure) Google Domains (In 3 Steps)
For this tutorial, we’re going to assume you already have a Google account set up. Also, keep in mind that Google Domains is only available for US customers at the moment. However, they’ll probably expand at some point, so feel free to take a look at the service in action.
Step #1: Choose a Domain Name and a TLD
The first part of this process works much the same regardless of the registrar you’re using. You’ll need to come up with the domain name you want to use and check out if it’s available. In this case, you just need to type it into the search bar in the middle of the Google Domains home page:

For this example, the domain we want to register is available with the .com TLD, so we went ahead and added it to our cart clicking on the icon to the right:
If this isn’t the case for you, Google Domains offers a lot of other TLDs you can choose from. You can also check out additional options by jumping over to the ALL ENDINGS tab:
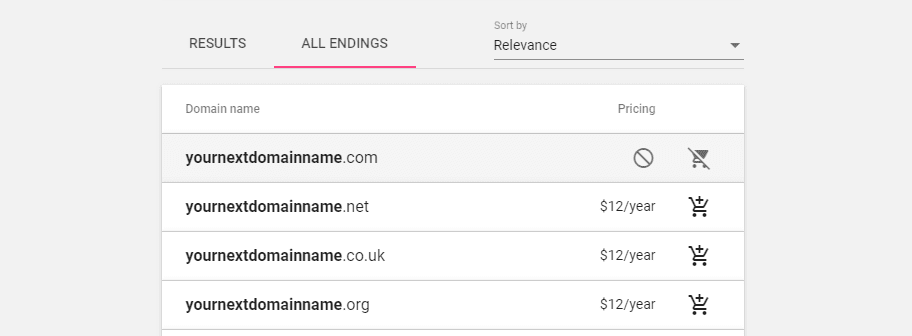
The TLD to choose is up to you, but we recommend you read our article on the subject if you want to use something aside from .com. When you’ve added the domain you want to your cart, move on to step number two.
Step #2: Register and Pay for Your Domain
When you jump to your cart, you’ll see the domain you chose earlier, how much it costs to register, and a couple of extra options:
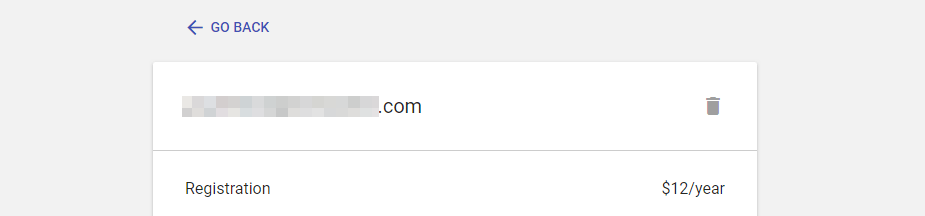
The first one covers WHOIS protection, which hides your personal information from public searches. We recommend leaving it on by default since Google Domains doesn’t charge any extra for it and it protects your privacy:

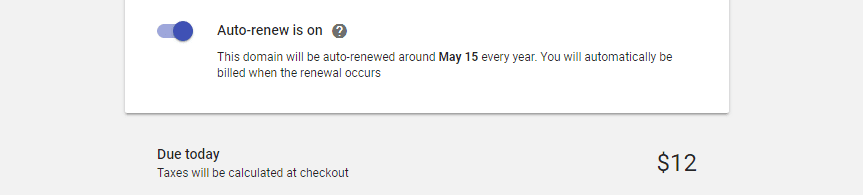
Moving on, Google Domains will also turn on auto-renewing by default. The $12 we’re paying, in this case, only covers one year of domain management. When the time is up, we can renew the domain or let it go, in which case someone else might snatch it up. We recommend leaving auto-renewal on by default since Google will inform you when the next charge is coming up regardless. This means you’ll have more than enough time to cancel the auto-renewal if you want to:
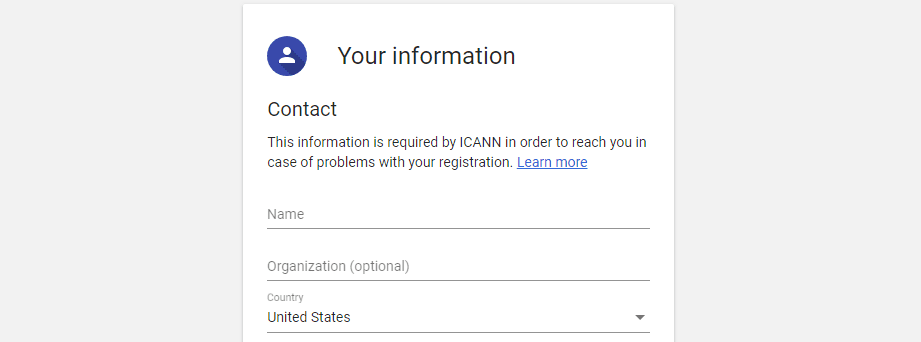
Now click on the CHECK OUT button and Google will ask you to fill out a form with your personal information. Remember, this data won’t be public, but your registrar still needs accurate information to stay on the right side of the law:
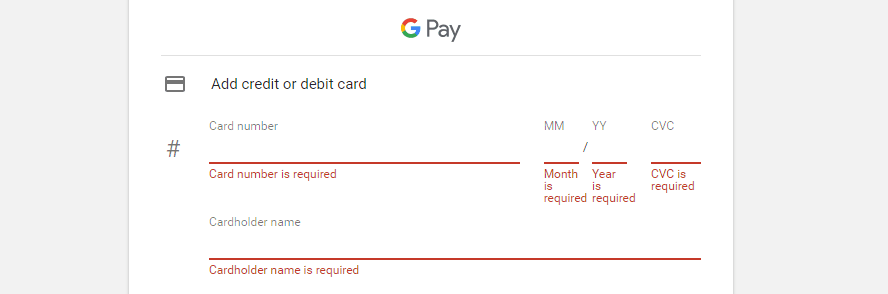
Finally, Google will ask you for payment information to complete the process:
Once they process your payment, you’ll see a success message:

Now, Google will send a verification email to the address you linked to your domain. Once you confirm you own the email, you’ll be able to start making changes to your domain’s settings.
Step #3: Configure Your New Domain Name
When you access your Google Domains dashboard, you’ll see a list of all your existing domains. Next to each one, there are several options you can click on, including Website, Email, DNS, and Settings:

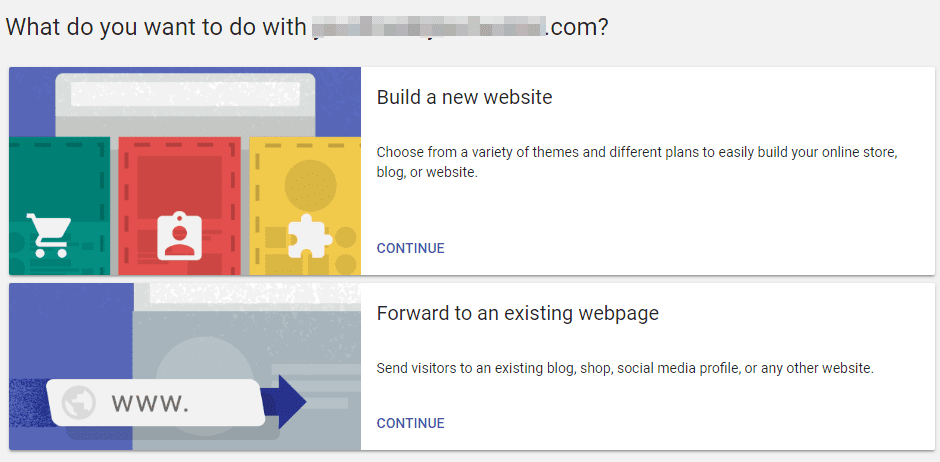
If you click on the Website button, you’ll be able to use Google’s tools to create a new site. We’ll skip this since we’re using WordPress. However, keep in mind there’s also an option here enabling you to forward your new domain to an existing site:
While you’ll definitely want to redirect your Google domains, let’s firstly check out the other settings you have access to. If you return to your dashboard’s main screen and click on the Email button, you’ll see two options. First off, you can create custom emails using G Suite, which you can learn how to do by reading this article. Just keep in mind each account will cost you $5 per month:

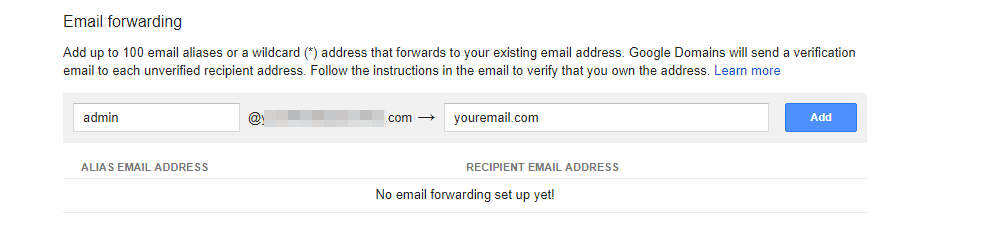
Secondly, you can create email aliases that forward emails to existing accounts. Google Domains enables you to set up to 100 free aliases for each domain. All you have to do is choose an alias, type which email it should redirect its messages to and you’re set!
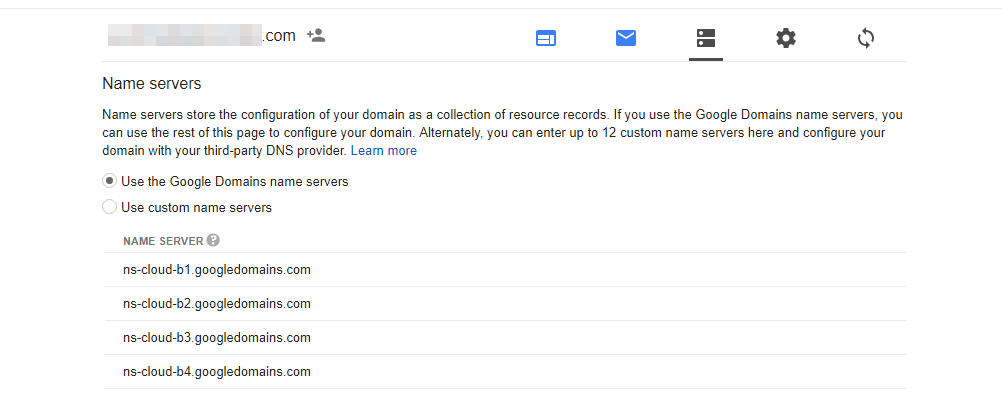
Now, let’s jump to the DNS tab from your domains dashboard. This section packs in a lot more settings, so you’ll want to check out Google’s DNS documentation if you need a primer on them. Changing the settings themselves is rather intuitive, which is another pro for Google Domains:
Finally, if you move to the Settings tab next to your domain name, you’ll have access to a few other options. For example, you can add other users to your domain, who will be able to change its settings with your authorization:

You can also turn off privacy protection from this tab, although there really isn’t a good reason to do so:

Finally, you can make changes to your contact information here as needed. Although keep in mind, none of it will be available to the public unless you disable WHOIS protection.
Conclusion
Domains work just the same, no matter which registrar you use. However, the experience itself can vary a lot depending on which service you choose. Some will save you money, while others will provide you with a better overall experience. In any case, it doesn’t hurt to shop around a bit, particularly if you intend to register more than one domain.
As far as Google Domains goes, the overall experience is very smooth, and it offers an excellent interface. The process of registering a domain through them works similarly to other registrars:
- Choose a domain name and a TLD.
- Register and pay for your domain.
- Configure your new domain name.
Do you have any questions about how to use Google to set up your next domain? Let’s talk about them in the comments section below!
Article thumbnail image by VectorsMarket / shutterstock.com


This doesnot work for many countries though since google is not in support or partners (Fiji)
I’ve used Google Domains since they arrived in 2015 and have moved all my domains there, to be under one roof. I’ve been very happy with them.
Although other registrars may offer cheaper prices initially, they will charge full-price after a year, and often be more expensive than the others. I’ve bought many domains from GoDaddy for .99 or 1.99, and then after a year moved them to Google. Same with Namecheap and other services that offer low initial prices, but jack them up after that period expires.
Google DOmains is also very easy to use. There are fewer screens you have to click through compared to some other registrars for managing them, and it integrates with a lot I already use.
No Thank you. Too much Google all ready…
Use a dedicated domain registrar, one located in your country.
Then it’s easy to point domain(s) to different hosts for different sites.
I never use a hosting company to register my domains. I have had a hosting company disappear overnight leaving me without my site or email — but I still had control of my domain…
My two cents. Thanks for your review.
My 2 cents.
“In fact, you have so many options, figuring out which one to use can be complicated – and that was before Google threw its hat in the ring”.
“Google Domains offers one-click configuration options for Google Sites (among others). It also enables you to forward your emails to any Gmail address, protect your personal information, manage your Domain Name System (DNS) settings, and more”.
Great article & well covered topic. Many thanks