
")
There are many situations where using a chatbot can be beneficial. You can use chatbots to deal with customer support, help users figure out what product to buy, and even just to route inquiries faster. However, if used correctly they can also be implemented on your landing pages to drive more conversions.
That’s where services such as Landbot.io come in. This particular platform is both easy to use, and nails conversational design, which makes for a better experience. In this article, we’re going to take a closer look at Landbot.io and break down how to use it. Before that, let’s talk a bit more about conversational design and landing pages!
What a Conversational Landing Page Is (And How It Can Help You)
As you may know, landing pages are one-page websites designed to drive conversions. In turn, a conversational landing page is one built around interacting with a chatbot. These days, it’s easy enough to add a chatbot to WordPress, but using it as the centerpiece for a landing page is rather more involved.
Our goal then is to take the basic landing page and use conversational design to improve it. This will create a more engaging experience, as the site’s visitors can interact directly with your chatbot, rather than passively taking in static information. You can provide the same information through your chatbot in a way that feels more organic that also enables you to get your brand’s personality across at the same time.
Creating a conversational landing page that’s engaging and effective enough to drive conversions can take some time. You’ll need to put work into customizing how your chatbot responds to visitors if you want them to walk away happy. Some chatbots are more difficult to use than others, so you’ll need one that’s both simple to configure, and also lets you create a visually engaging result. Let’s look at one right now!
An Introduction to Landbot.io
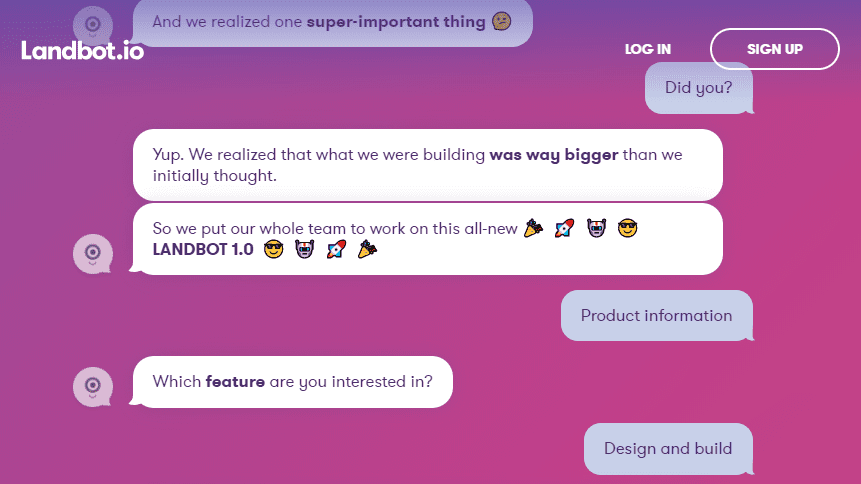
If you want to see what a conversational landing page looks like in the wild, go ahead and visit Landbot.io now. The design itself is simple and it’s all built around a chatbot that provides information and helps funnel you towards their signup page.
As for the service itself, it makes the process of creating a chatbot simpler than many other tools we’ve tried. Signing up is simple, and you can create a free account in minutes. Once you’re registered, you can get right to work on your chatbot using an intuitive flow-based chatbot builder.
On top of being easy to use, Landbot.io also enables you to play with the design of your chatbot, enabling you to use it on almost any website. Plus, integrating it with WordPress is simple, as we’ll show you in the next section.
While the platform does offer a free plan it only supports up to 100 free chats. That means if you intend to use it for a website that receives even a moderate amount of traffic or to set up a serious landing page, you’ll probably want to shell out for a premium account.
Key Features:
- Use a visual builder to create your chatbots.
- Design complex conversational flows using mind maps.
- Tweak your chatbot’s design using several settings and pre-built templates.
Pricing: Free plan supports up to 100 chats and premium options start at €20 (roughly $23) per month | More Information
How to Use Landbot.io With WordPress (In 3 Steps)
We’re now going to teach you how to create a basic chatbot using Landbot.io and integrate it with WordPress. While we’re focusing on WordPress here, we should point out that you can also use Landbot.io to create standalone landing pages. We’ll talk more about that later, but for now, let’s get down to business!
Step #1: Set Up Your Landbot.io Account
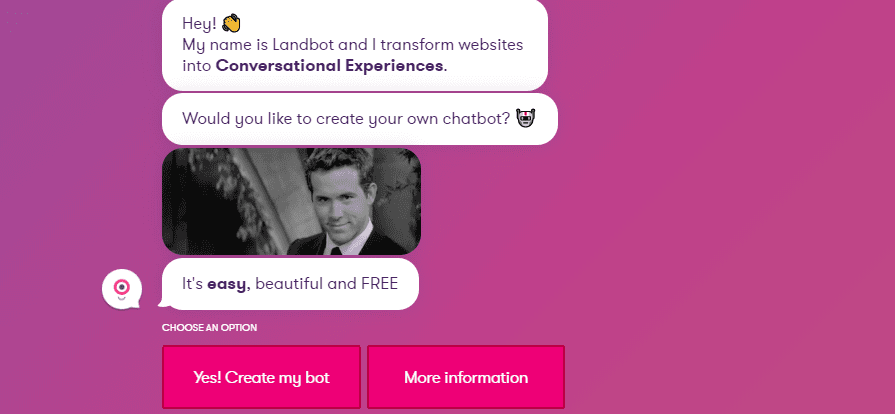
If you’re anything like us, you’re probably tired of having to go through lengthy signups for new services you want to try. However, Landbot.io manages to keep the process fun by using a chatbot to funnel you through the entire thing. To get started, just visit the Landbot.io home page and click Yes! Create my bot below Ryan Reynold’s handsome mug:
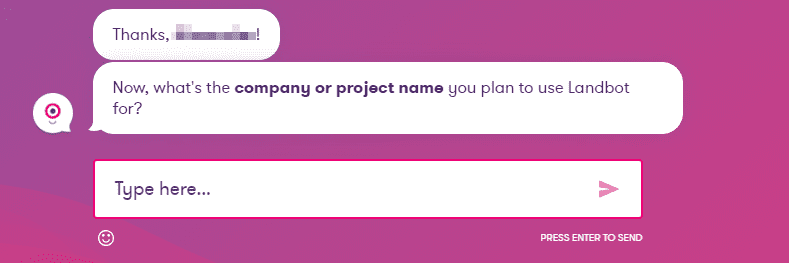
Next up, the bot will ask you a few quick questions, including your name and what your site is:
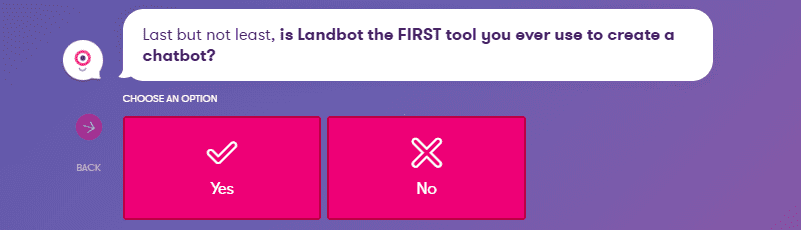
Finally, you can tell Landbot.io if you’re a chatbot novice. If you’ve never created a chatbot before, we recommend you select Yes so you’ll get a few tips for how to use the platform:
Once that’s done, you’ll be able to log into your new Landbot.io account and access your dashboard.
Step #2: Create a Basic Chatbot
Let’s now look at the practical aspects of creating a chatbot. In the case of Landbot.io, it works using a ‘block’ system. Each block can contain multiple messages that’ll show up in order. Furthermore, you can configure unique ‘flows’ or actions for each item within your blocks.
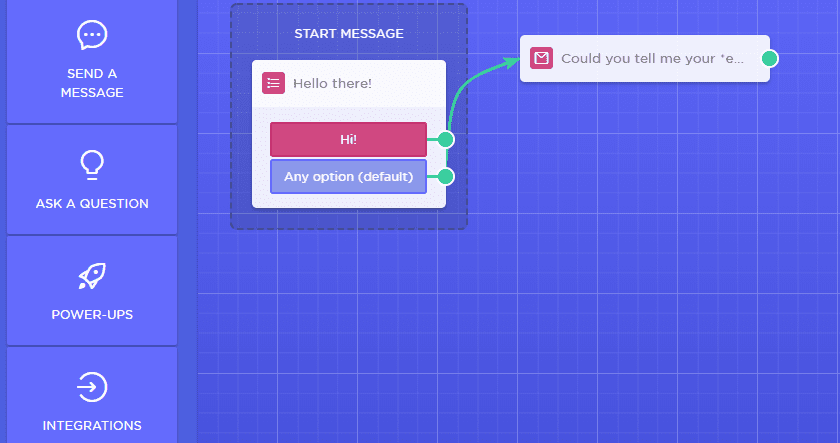
Here’s a quick example. Every chatbot starts with a welcome message, which you can see to the left. Next up, we configured a second block asking users for their email. Then, we linked that to a Slack notification and added a brief ‘Thank you!’ message afterward:

That’s about as simple as a chatbot gets. However, it’s ideal for a conversational landing page since you can use that flow to help you collect leads. Once you have your visitor’s emails, then you can keep the conversation going any way you want. Let’s show you how we got to that point.
Right now, your chatbot flow should look something like this:
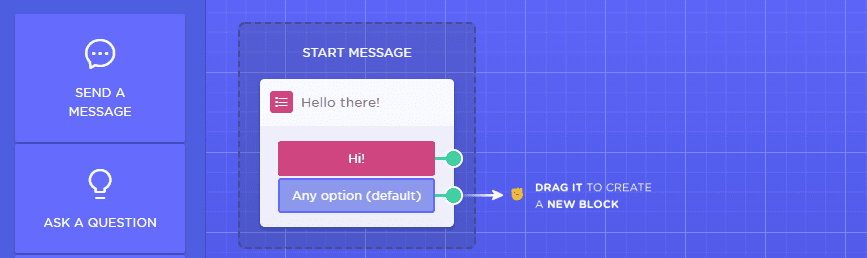
Go ahead and drag the green line next to the bottom element to any point of the screen now and you’ll get the option to add either a message or a question:
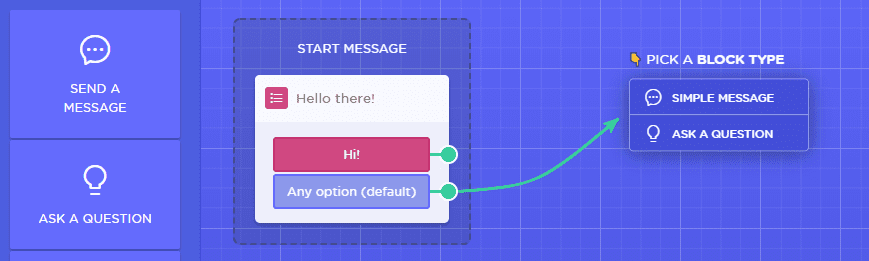
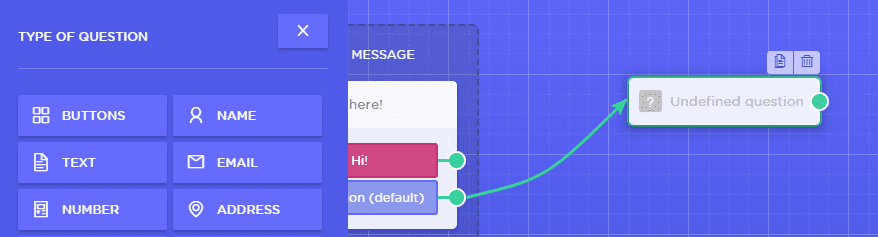
Let’s go with the question and you’ll see a whole lot of options to choose from. For this example, let’s go with the Email option:
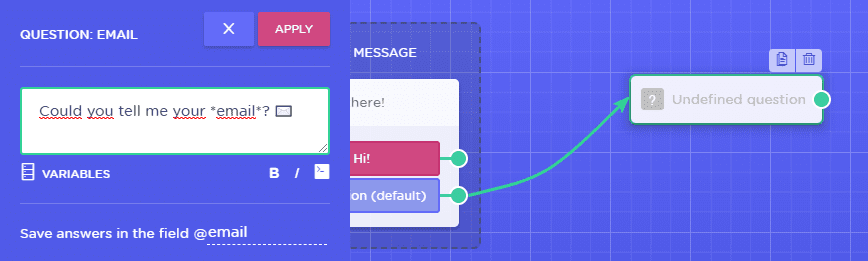
Landbot.io will show you a predetermined message, but you can change it to anything you want, then Apply those changes:
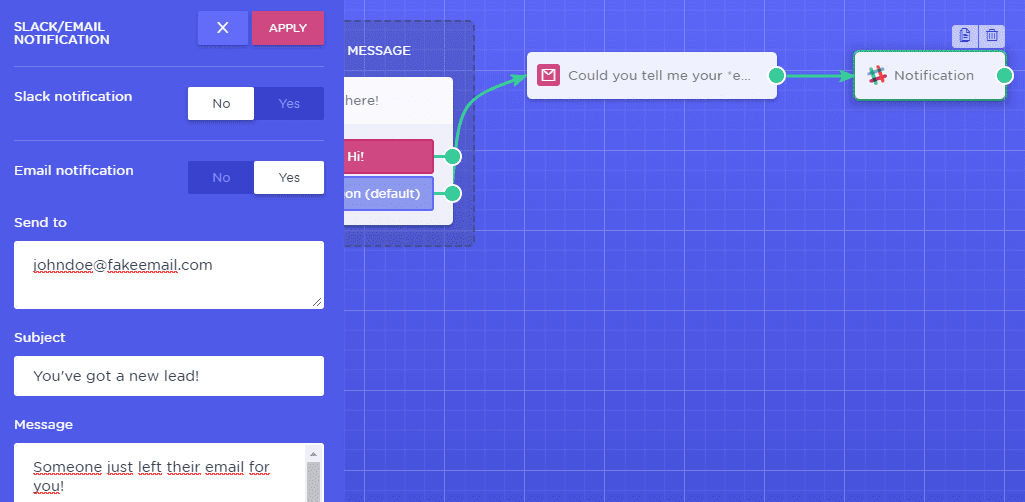
Our question is ready now, but we also want to receive notifications when we get a new lead, so let’s click on the Integrations button to the left:
Go ahead an pick the Slack/Email option now, then connect it to the question you set up a minute ago. For this example, we’ll set up a simple email notification instead of a Slack integration.
To do that, click on the Notification element, disable the Slack option and enable the Email Notification setting. Then, add the email where you want to receive notifications below as well as the text they should include:
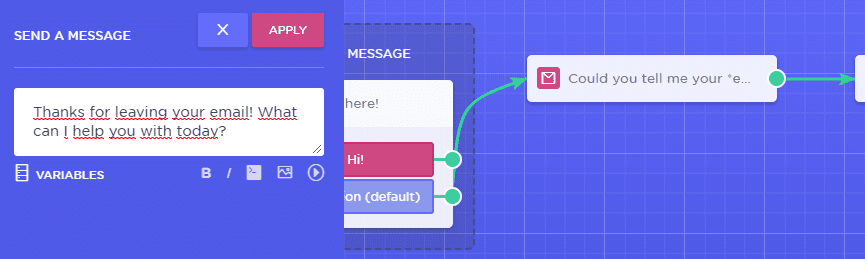
Apply the changes to the element as usual, then close the settings. Finally, we should add a thank you message that appears when someone is kind enough to share their email. To do that, drag the green line from the Notification element to another point and choose the Simple message option:

Now, add the message you want to show and note you can also include images, GIFs, YouTube videos, and even HTML code if you want to spice things up:
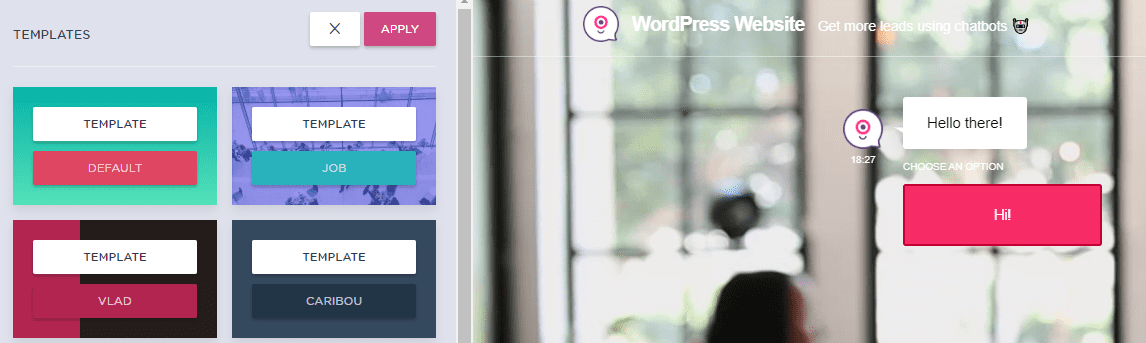
Our basic landing page chatbot is ready now, but before we add it to WordPress, let’s make it look pretty. Landbot.io chatbots look great out of the box, but you can improve things by clicking on the Design tab at the top of the screen. From this tab pick the Design Templates option:
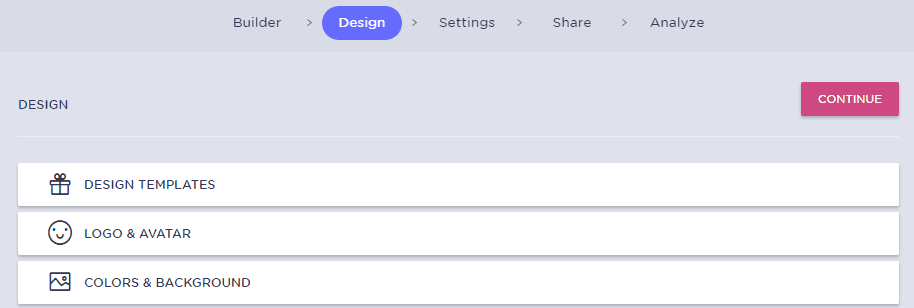
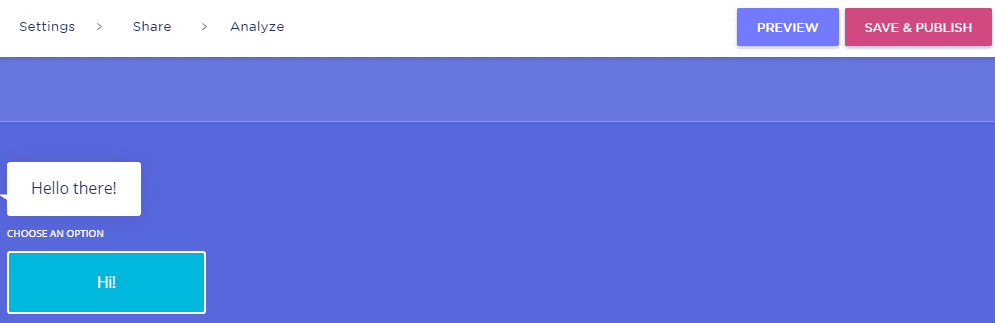
Now, try out any template you want and check out how your chatbot would look with it to the right of the screen:
There’s plenty of other design tweaks you can make to your chatbot. If you want to learn more about them, you can check out Landbot.io’s full documentation. For now, pick a template you like and then click on the Save & Publish button on the top-right side of the screen:
Now, you’ve got a basic chatbot ready to go. It’s now time to integrate Landbot.io with WordPress.
Step #3: Embed Your Chatbot Into WordPress
Go ahead and click on the Share button at the top of your Landbot.io dashboard now. You’ll now be shown a link you can use to send people to your chatbot on their platform:
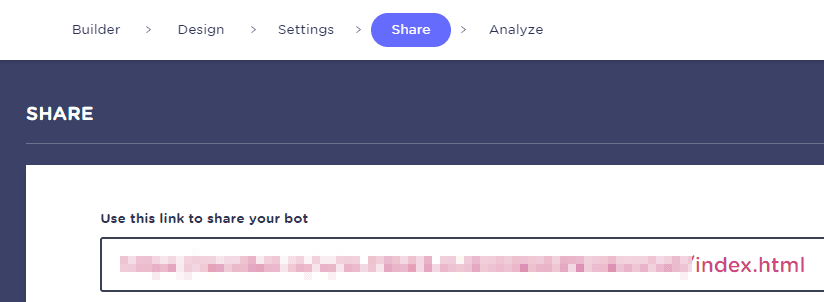
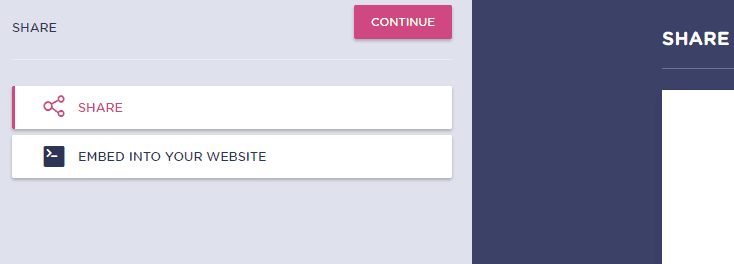
If you want to use Landbot.io as a full landing page option, you can simply point a domain towards this URL. However, we want to integrate our chatbot with an existing WordPress site. As such, click on the Embed into your website option to the left:
On the next screen, you’ll see an HTML snippet which you’ll use to embed your chatbot into any of your WordPress pages. You can also choose whether the chatbot should show up as a full page, a widget, or live chat. For this example, we’ll use the live chat option
We’ve got a basic Divi page all ready to go, as you can see in the example below:
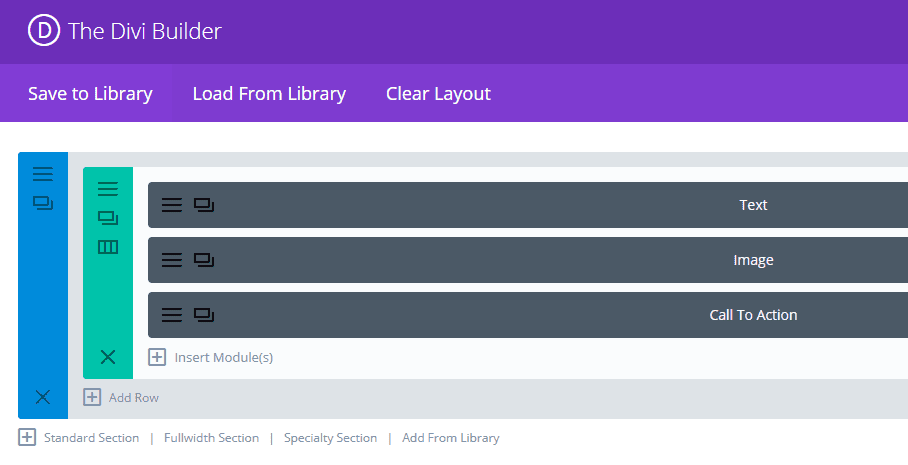
Let’s go ahead and add a Code module somewhere in there, which will include our live chat code. It doesn’t matter where the module goes. After all, the live chat will show up minimized to the right of your screen:
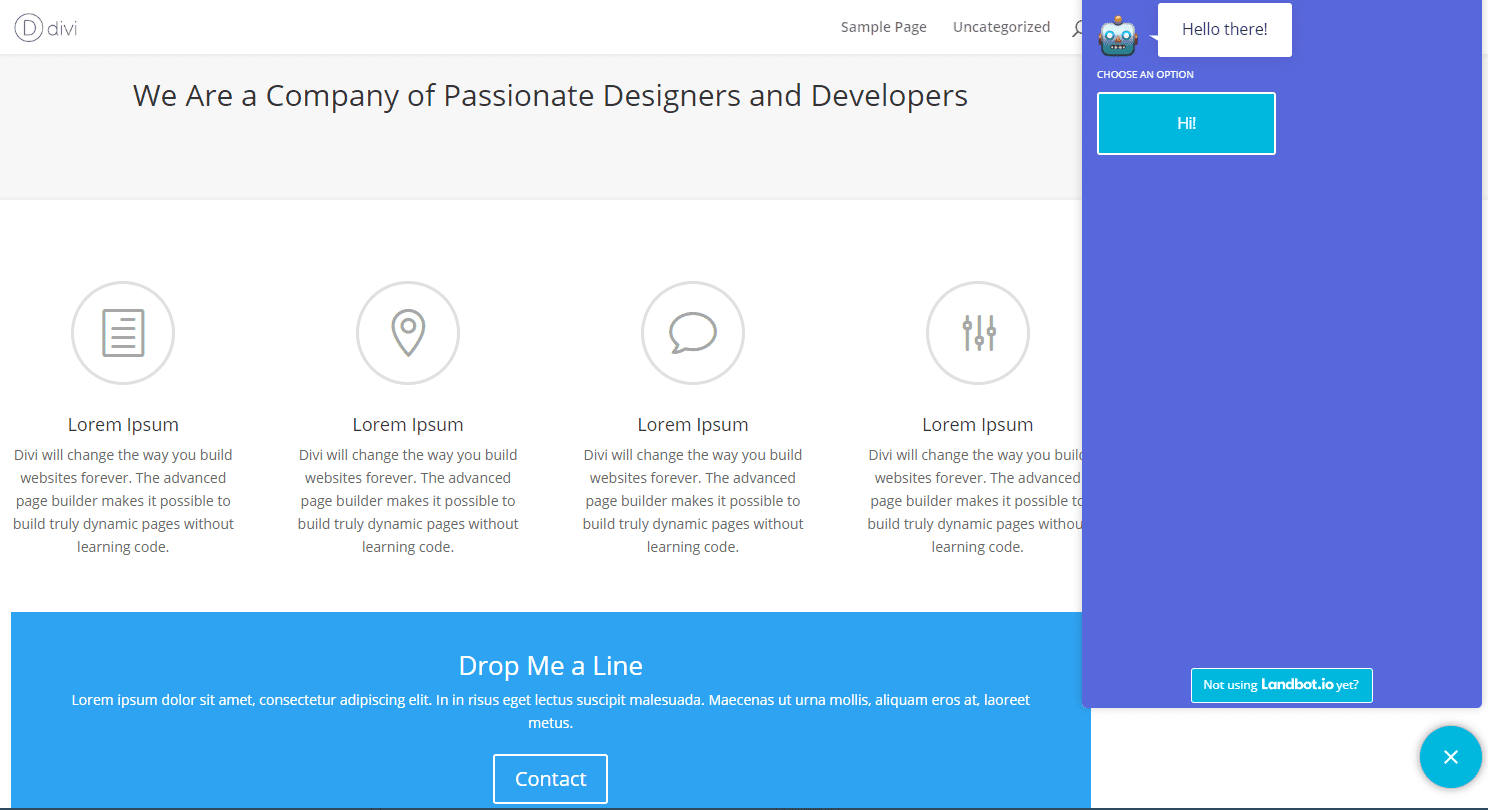
If you want the chatbot to be the centerpiece of the landing page, you can also use the full page option. However, keep in mind that doing so will cause the bot to appear over the entire page, meaning it will cover anything you set up using Divi. As such, you should design the site around the chatbot first, so you’re not accidentally obscuring other content. If you want to set up a full conversational landing page while using WordPress, this is the best way to do it!
Conclusion
Conversational landing pages are still a somewhat unexplored field in web design, but they can be an effective tool for increasing conversions. Using a chatbot as your landing page’s centerpiece may even help set you apart from the competition, which is why you should consider trying out services such as Landbot.io.
In this article, we’ve shown you how to integrate Landbot.io with WordPress using the following steps:
- Set up your Landbot.io account.
- Create a basic chatbot.
- Embed your chatbot into WordPress.
Looking to further connect with your customers and empower them? Check out these customer knowledge base plugins that can help you scale your knowledge operation.
Do you have any questions about creating a better chatbot experience? Let’s talk about them in the comments section below!
Image article thumbnail by Iryna Sunrise / shutterstock.com


I suppose you could limit the chat box to mobile devices only?
I’ve personally not tried that, so I unfortunately can’t tell you if it’s possible or not. I suggest you reach out to the developers or consult the official documentation for more information: https://landbot.helpdocs.io/
I love landbot. I discovered this a few months ago. I didn’t want the bot to take my whole screen so I embeded into a so that I can still show privacy policy, TOS and disclaimers at the bottom. But like this side solution very much!
Excellent is already published on my WEB. The design is very intuitive. With the use they are shortcuts to design fast and easy different chat. Very good contribution!
I’m glad you found it useful, Nicolas!
thank you so much john it’s awesome I will integration this on my site thank you so much for such a great information
You’re very welcome, Ashish. 🙂
It’s very interesting, I’ll try it. thank you John!
You’re welcome, Agustin!
Hey John, thanks for the intro to Landbot! I was wondering if you did any analysis of the impact it has on page loading times.
Hi Jules! Personally, I haven’t seen any noticeable effect on load times. 🙂