
A slow website can harm your search engine rankings and turn visitors away. Furthermore, having large image files is one of the main causes of slow loading times. Fortunately, there are several ways you can optimize images for web performance.
In this post, we’ll discuss the impact of images on your site’s performance. We’ll then share a few different ways to optimize your pictures effectively.
Let’s get started!
How Much Do Images Affect Web Performance?
Images can significantly affect your site’s overall performance. To provide the best possible User Experience (UX), you’ll need to ensure that your content is optimized for Google’s Core Web Vitals.
The Core Web Vitals are metrics that Google uses to evaluate the performance of your website. When you run a page speed test, Google will generate a report based on several factors, including:
- First Contentful Paint (FCP): When the browser renders the first Document Object Model (DOM) element on your page.
- Largest Contentful Paint (LCP): The time it takes your website to render the largest element on your page (typically an image or video).
- First Input Delay (FID): The amount of time from when a user first interacts with your page (such as clicking on a button) to when the browser responds to that action.
- Cumulative Layout Shift (CLS): How much of your website’s content shifts around the page as it’s loading. For example, elements such as images and buttons may move around the screen, preventing users from interacting with your site.
You can check to see how your site fares in these areas by using an online tool such as PageSpeed Insights or GTMetrix. All you have to do is enter your URL, and you’ll then receive a report with your scores:
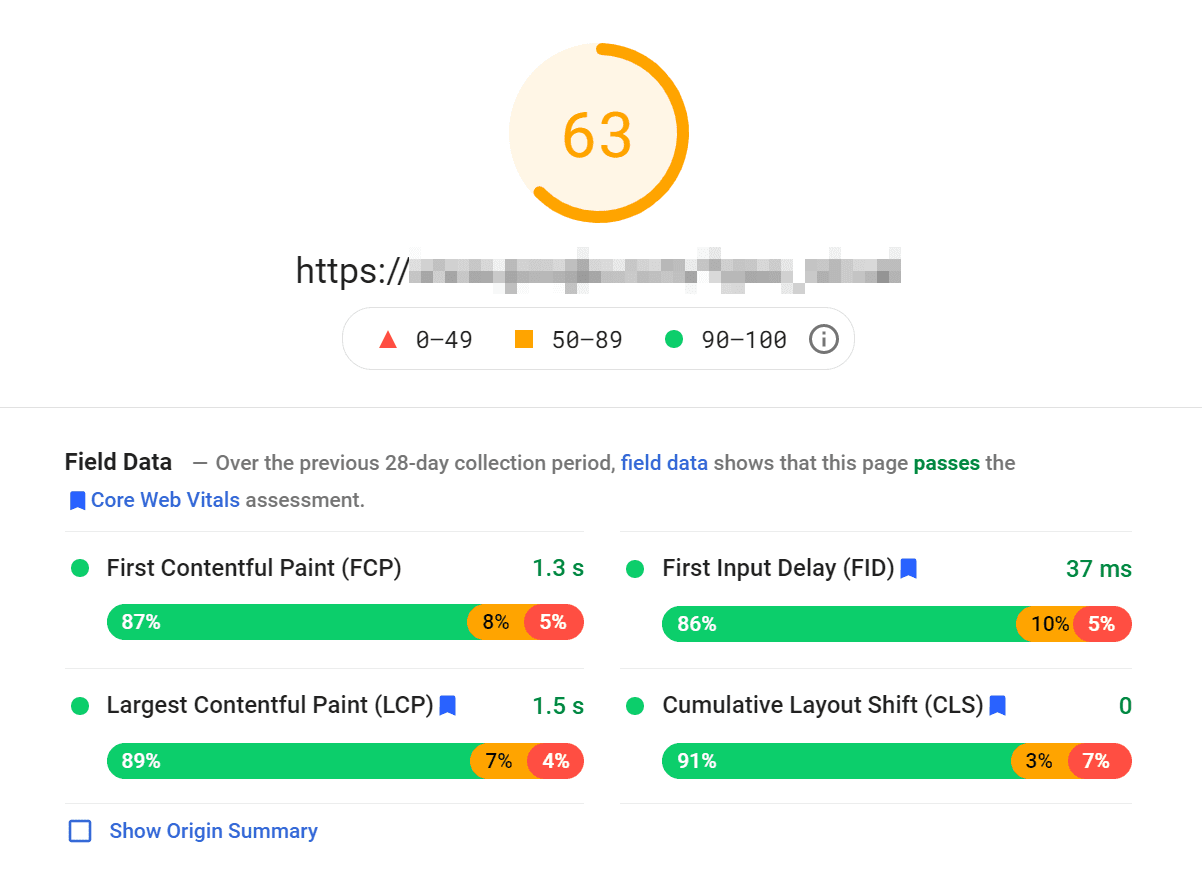
The report also gives you suggestions on how to improve your performance. This advice may include images that need to be optimized for faster loading times.
For instance, the report might identify the largest contentful element on your page as the hero image. If that’s the case, you can resize and compress the image file to improve your LCP score.
Images can also impact your CLS score. A high CLS score suggests that your site contains images without specified height and width attributes.
The browser is therefore spending time trying to resize images appropriately. This process leads to shifting elements as your page loads, disrupting the user experience. You can easily fix this by setting dimensions for every photo you upload on your site.
2 Ways You Can Optimize Your Images
As we have seen, images can affect your Core Web Vitals scores. Let’s look at two effective ways to optimize images for web performance!
1. Compress Your Images
Compression is the process of reducing the file size of your image. There are two main types of compression methods:
- Lossy: This method removes large amounts of data from your image, significantly reducing the file size.
- Lossless: This compression technique reduces your file size without removing any data from the image.
Large image files can put a lot of strain on your loading times, leading to a slow website. They can also take up a lot of space on your server.
Therefore, we recommend that you compress any images that you upload to your site:
Lossy compression tends to be more effective than lossless. This is because it gives you more flexibility with size reduction. The only downside is that lossy compression could impact the quality of your images.
2. Resize Your Images and Use the Right Dimensions
Another effective way to optimize images for web performance is to resize them. Typically, the larger the dimensions, the larger the file size.
Therefore, you may want to consider cropping your images before uploading them to your website. You can do this with an image editing software of your choosing.
Furthermore, when you upload an image to your site, WordPress will automatically generate different sizes for it. These typically include large, medium, and small versions, as well as thumbnails:
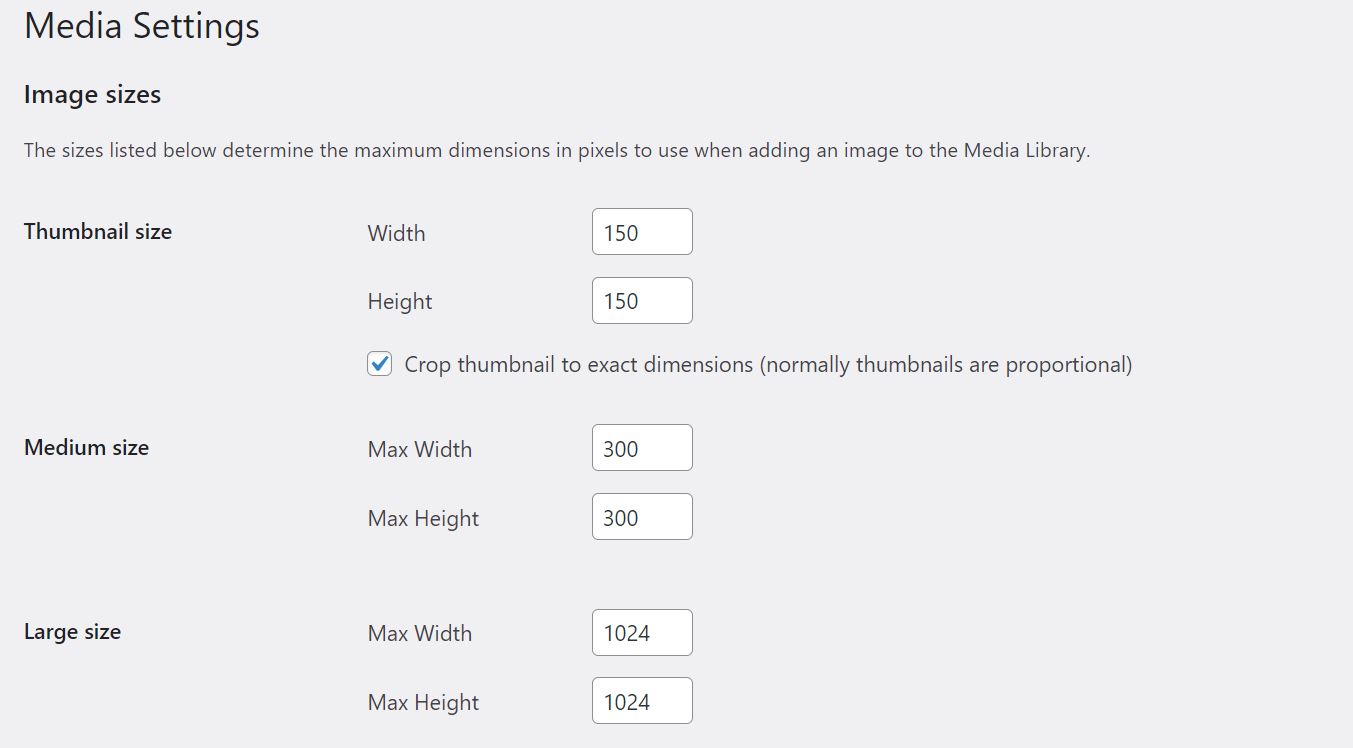
This way, WordPress enables you to serve the most appropriate image size to your readers. It also helps the browser show the correct image dimensions based on your visitors’ devices. As such, these settings make your website more responsive.
When adding an image to your posts, you may want to set the size to large rather than full size. Likewise, if you’re designing a blog feed, you can select thumbnails instead of larger image sizes for your featured pictures.
If you use a larger dimension than necessary, you’ll be putting needless pressure on your site’s speed. You’ll also be taking up more space on your server.
How to Optimize Images the Right Way
Fortunately, there are several tools you can use to optimize images for web performance. This section will look at some best practices to help you get started.
1. Use an Image Compression Tool or Plugin
As mentioned earlier, compression helps reduce the file size of your images. You can use many tools to compress your photos, including image editing software such as Adobe Photoshop or Microsoft Photos.
You can also use an online tool like TinyPNG:
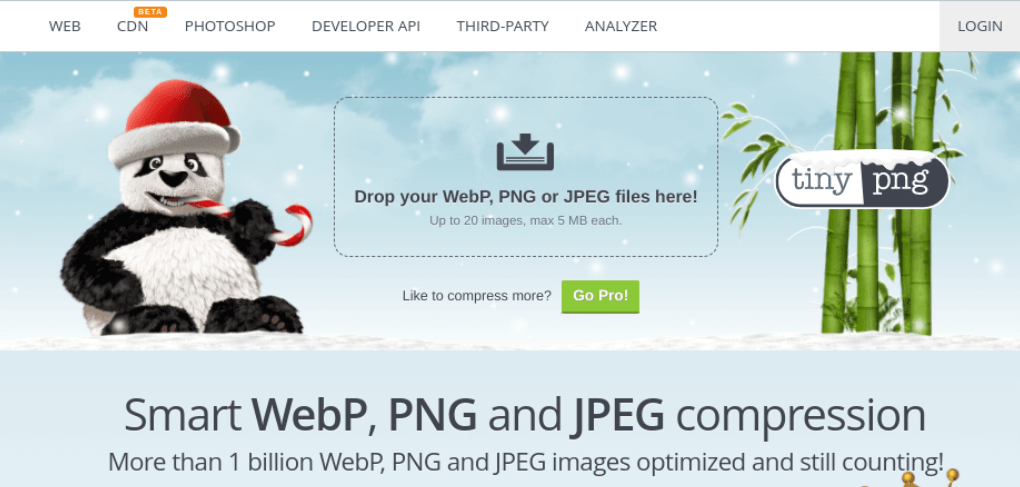
This tool uses lossy compression to reduce the size of your WEBP, JPEG, and PNG files. All you have to do is upload your images, and TinyPNG will compress them for you.
Alternatively, you could use a powerful image optimization plugin such as Imagify:
Once you’ve installed and activated the plugin on your site, you can go to Settings > Imagify to set your compression preferences:
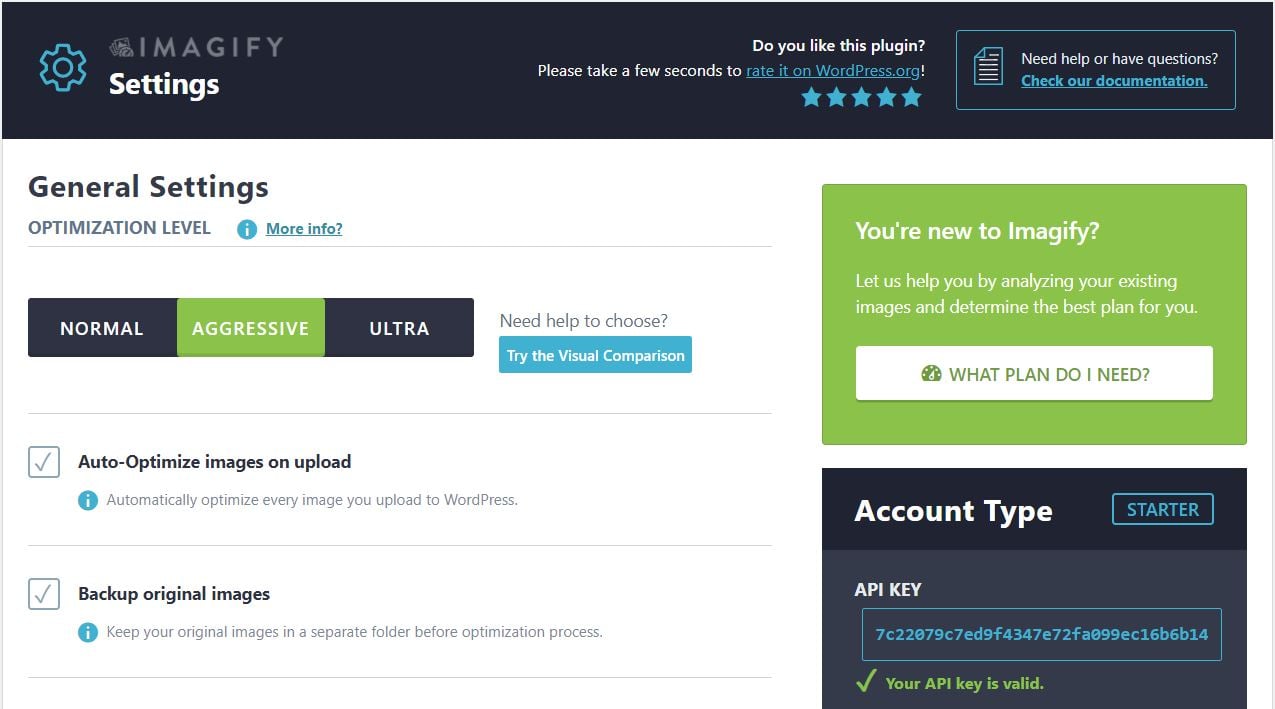
We recommend setting the compression level to Aggressive. This setting will reduce the file size by a significant amount without any noticeable differences in image quality.
When you’re ready, click on Save Changes. Imagify will now automatically compress any images that you upload to your site.
2. Resize Images in the WordPress Editor
We’ve also talked about the importance of resizing your images for faster loading times. You can resize your photos on your computer before uploading them to your WordPress site.
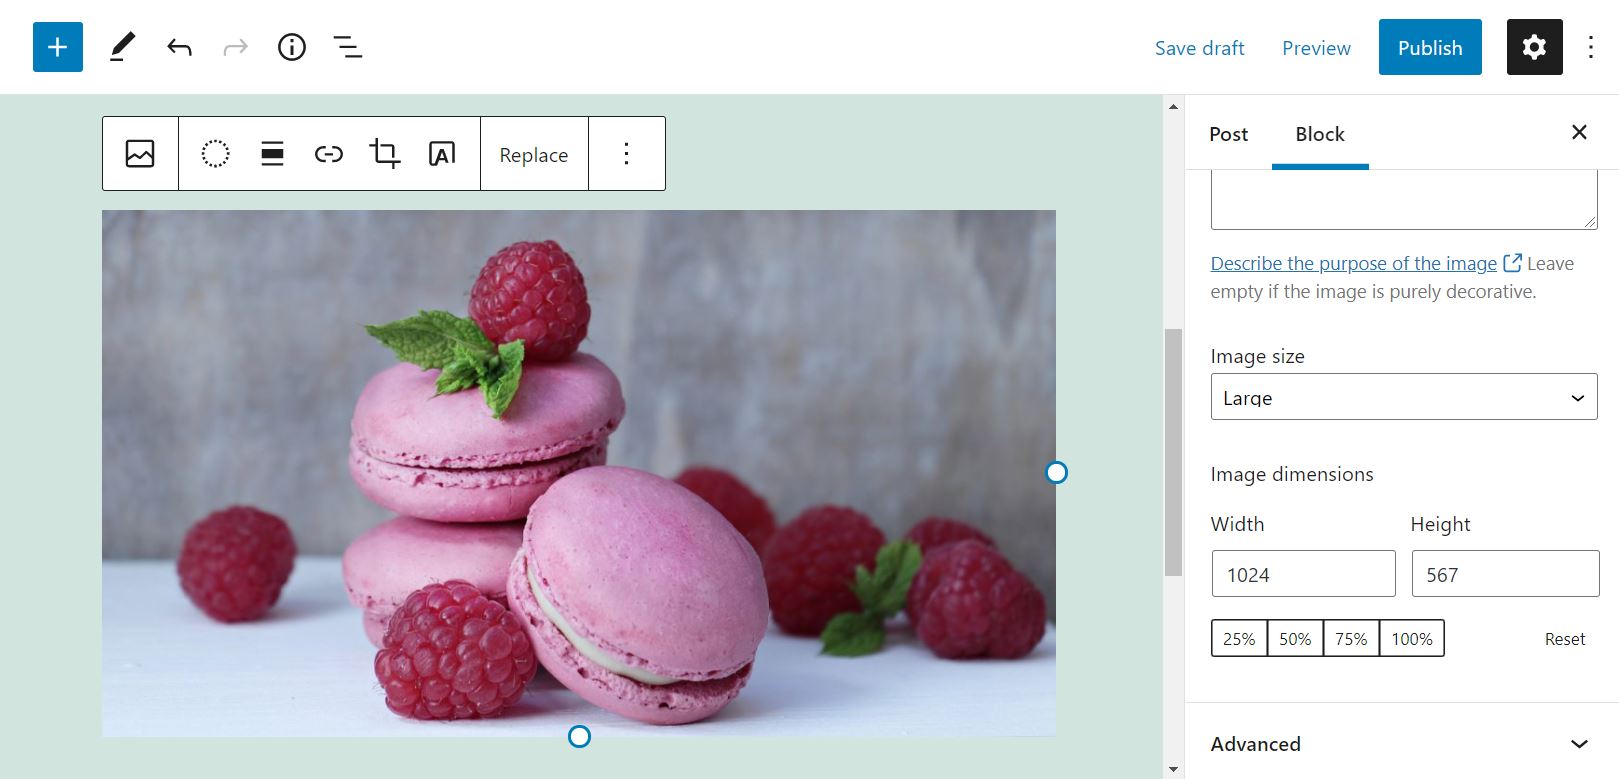
However, you can also resize your pictures within WordPress. Simply select the image in your post or page, and adjust the width and height from the settings panel on your right:
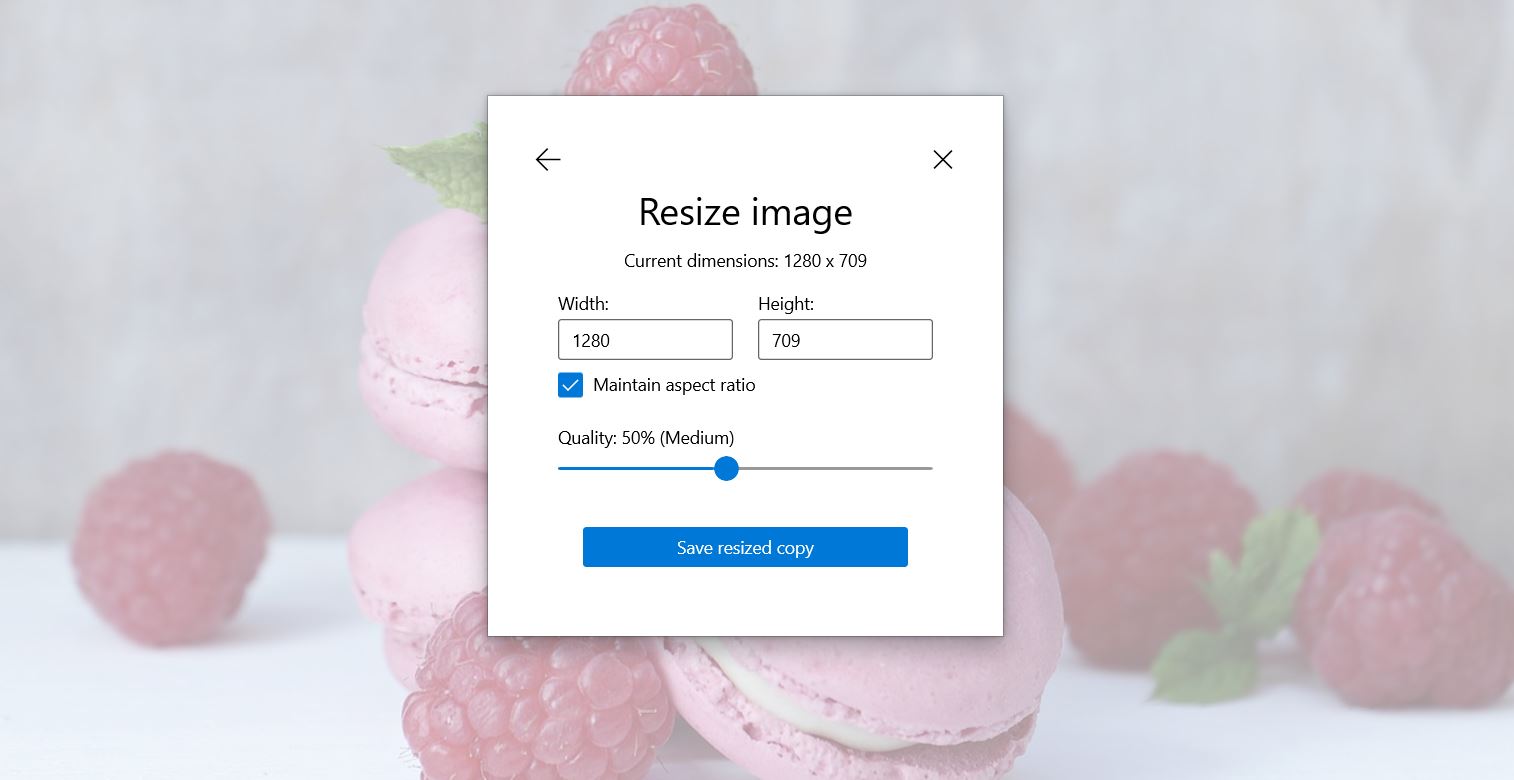
Alternatively, you can locate the image in your Media Library and select Edit Image. This action will take you to a window where you can crop your image and set new dimensions:

As you can see, the WordPress editor also lets you choose one of the automatically generated image sizes. If you’re using graphics in blog posts, we recommend opting for large rather than full size. This setting will render smaller image sizes without compromising on quality.
3. Change Your Maximum Upload Limit
WordPress comes with a maximum upload file size. This amount can vary depending on the resources allotted by your hosting provider.
To check your current maximum file size, navigate to Media > Add New in your WordPress dashboard. On this page, you’ll see your upload limit:
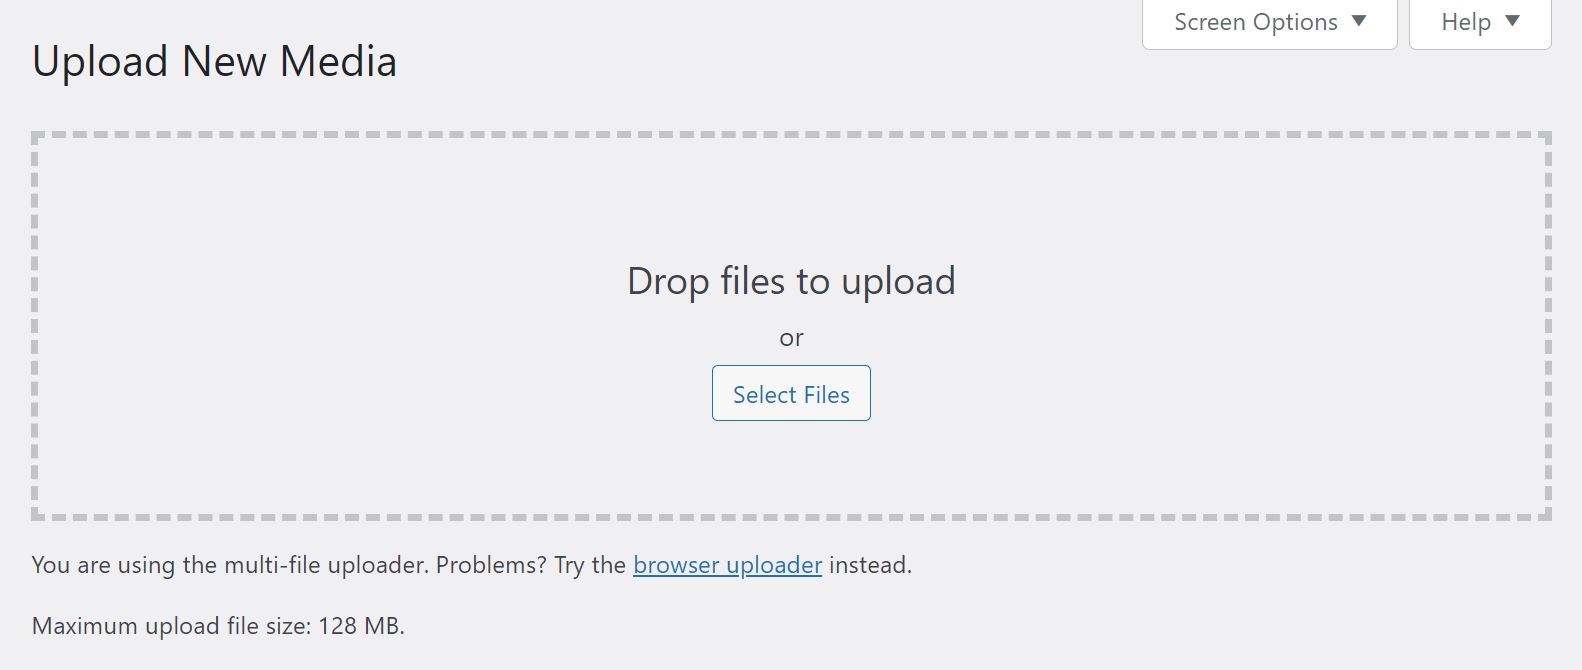
Typically, you won’t need to change this value unless you upload larger files. However, you may want to decrease the file size limit to prevent other users from uploading larger images than necessary. This setting can be handy if you run a multi-author blog.
To do this, you can simply contact your hosting provider and ask them to change the maximum upload file size. Alternatively, you can change the WordPress upload limit by editing your php.ini file.
4. Delay Resizing Scripts
Another way to optimize images for web performance is adjusting the placement of your scripts within your HTML code. JavaScript is very resource-heavy, and any form of interactivity embedded within your HTML can cause a delay in loading.
It is standard practice to link to external JavaScript pages at the bottom of your code. This allows the Document Object Model (DOM) to fully load before any interactive elements are activated.
However, some JavaScript snippets are commonly used throughout the DOM. One example is the event listener “onclick”, which tells a button what to do when a user clicks on it.
Therefore, if you’re using a script to optimize your images, its timing can affect the load time of your page. You can solve this issue by using a plugin such as Flying Scripts:
This tool enables you to delay running specific scripts until there is no user activity. This setting can help reduce the time it takes for your page to load.
Conclusion
Optimizing your images can speed up your site and improve the UX. Furthermore, Google’s Core Web Vitals take image sizes into account when evaluating the quality and performance of your site.
In this post, we looked at several effective ways to optimize images for web performance. These methods include compressing images with a plugin and resizing your photos in the WordPress editor.
Do you have any questions about how to optimize images for web performance? Let us know in the comments section below!
Image Source: pixel2013 / pixabay.com, Featured Image via elenabsl / shutterstock.com


Thank you, this is the article I was looking for. Btw may I know what you use for your great and fast website? I’m also planning to create a simple website for my business, but I need a domain and hosting recommendation. I hear asphostportal has a good reputation for that. Can you recommend them or are there any alternatives?
My site is so slow, it’s painful. But as it turns out, my images are not the problem at all. When I went to check the loading speed as you suggested, it says my page is making 86 requests and it also says something about needing to use “expires headers”. Where is the tutorial on eliminating all the requests and adding the headers?
Usually, the cause of this issue is either a caching system/plugin or incorrect server configuration. I suggest that you disable any caching running on the site, from the server level (ask your hosting provider about this) down to the caching plugin installed, and then check if the issue is fixed. If the issue persists, contact your hosting provider, provide all the details you have regarding the issue, and have them check the server configuration and server logs.