")
Blog Loops make it easier than ever to design article listings that look clean, adapt beautifully to different screen sizes, and are simple to customize in Divi 5. In this free pack, you’ll find 16 unique Blog Loop designs, each built with Divi 5’s Loop Builder for precise control over layout, metadata, and responsive behavior. Whether you want to use your site’s existing global styles or start with a ready-made design, you’ll find both options here.
Preview
Let’s take a look at all 16 Blog Loops in this pack. This pack is free for you to download further down the post.

Download 16 Blog Loops For Divi 5
Get all 16 Blog Loops for free, including both Default and Prestyled versions. Each loop is ready to import into your Divi Library and can be used on any page or inside Theme Builder templates. Just download and start building.

What’s Included (34 Exports)
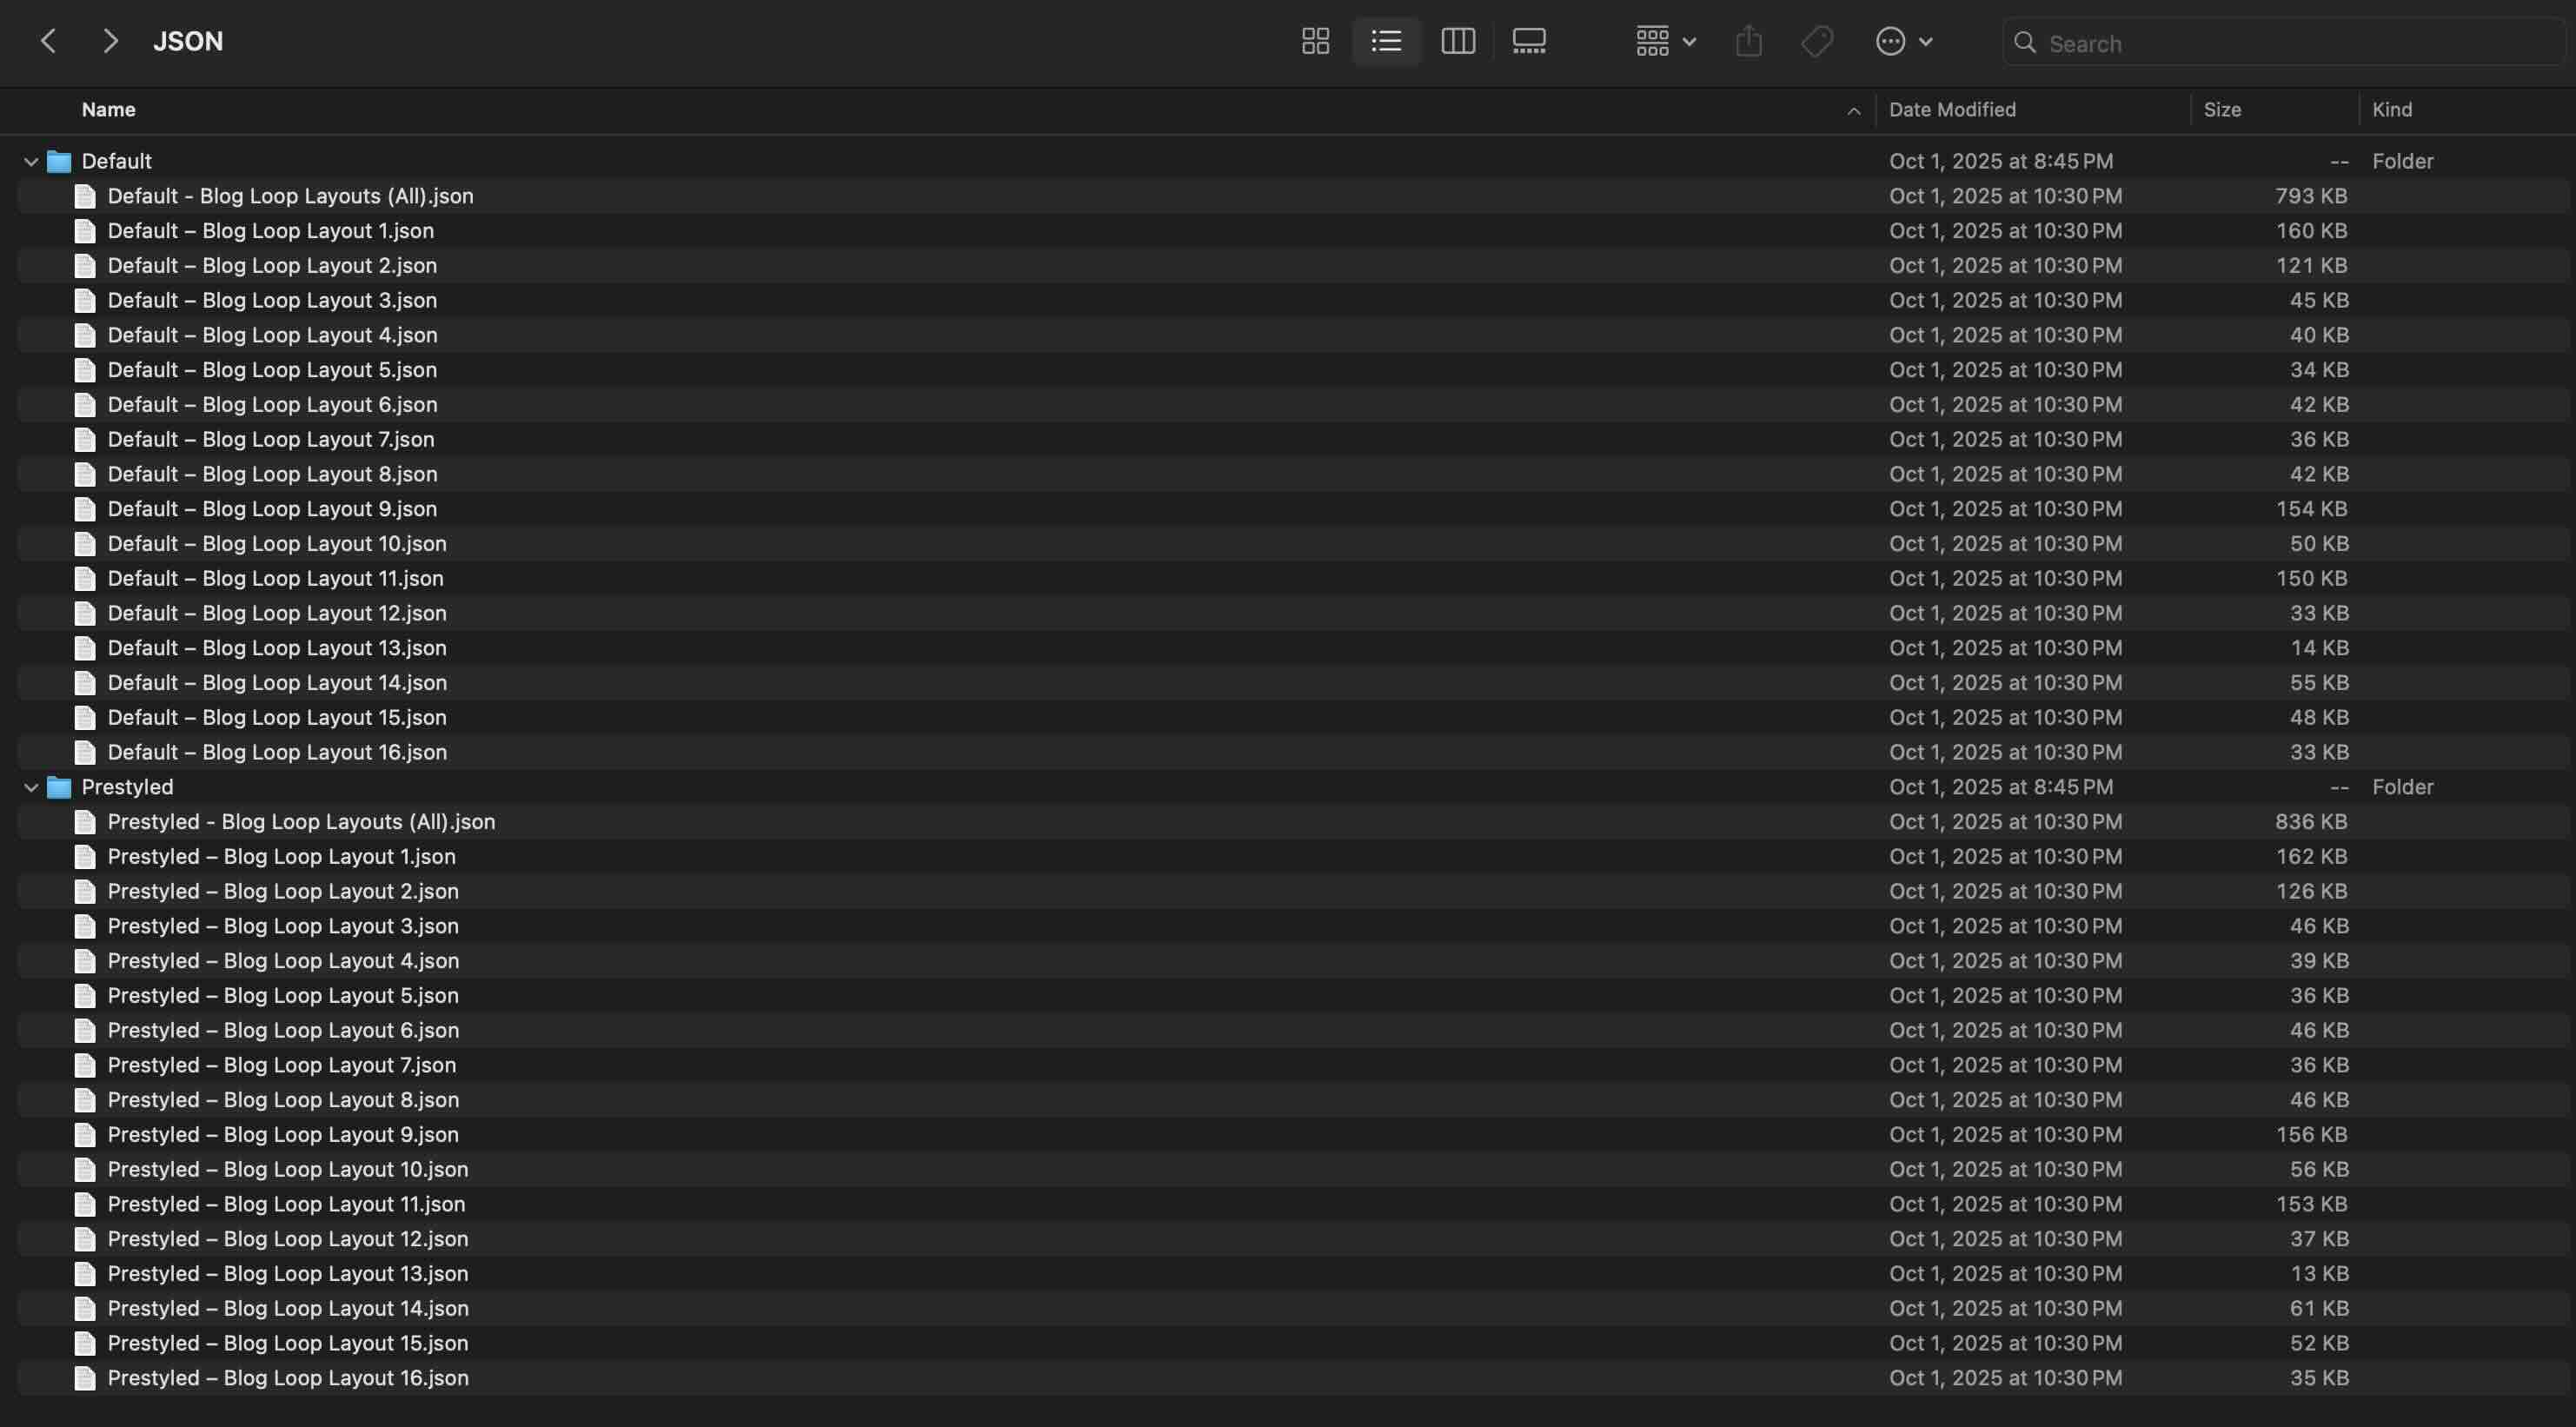
Once you download and unzip the folder, you’ll find all 34 layout exports neatly organized into Default and Prestyled versions as individual loops and as full “All Loops” packs.
Default – Individual Loops (16) → Uses your global styles.
Default – All Loops (1) → Full pack using your global styles.
Prestyled – Individual Loops (16) → Includes inline styling for an instant, ready-made look.
Prestyled – All Loops (1) → Full pack with inline styling applied.
How To Install The Layouts
Keep your download folder close by to start importing them to your Divi website.
1. Import Layouts Into The Divi Library
Go to Divi → Divi Library.
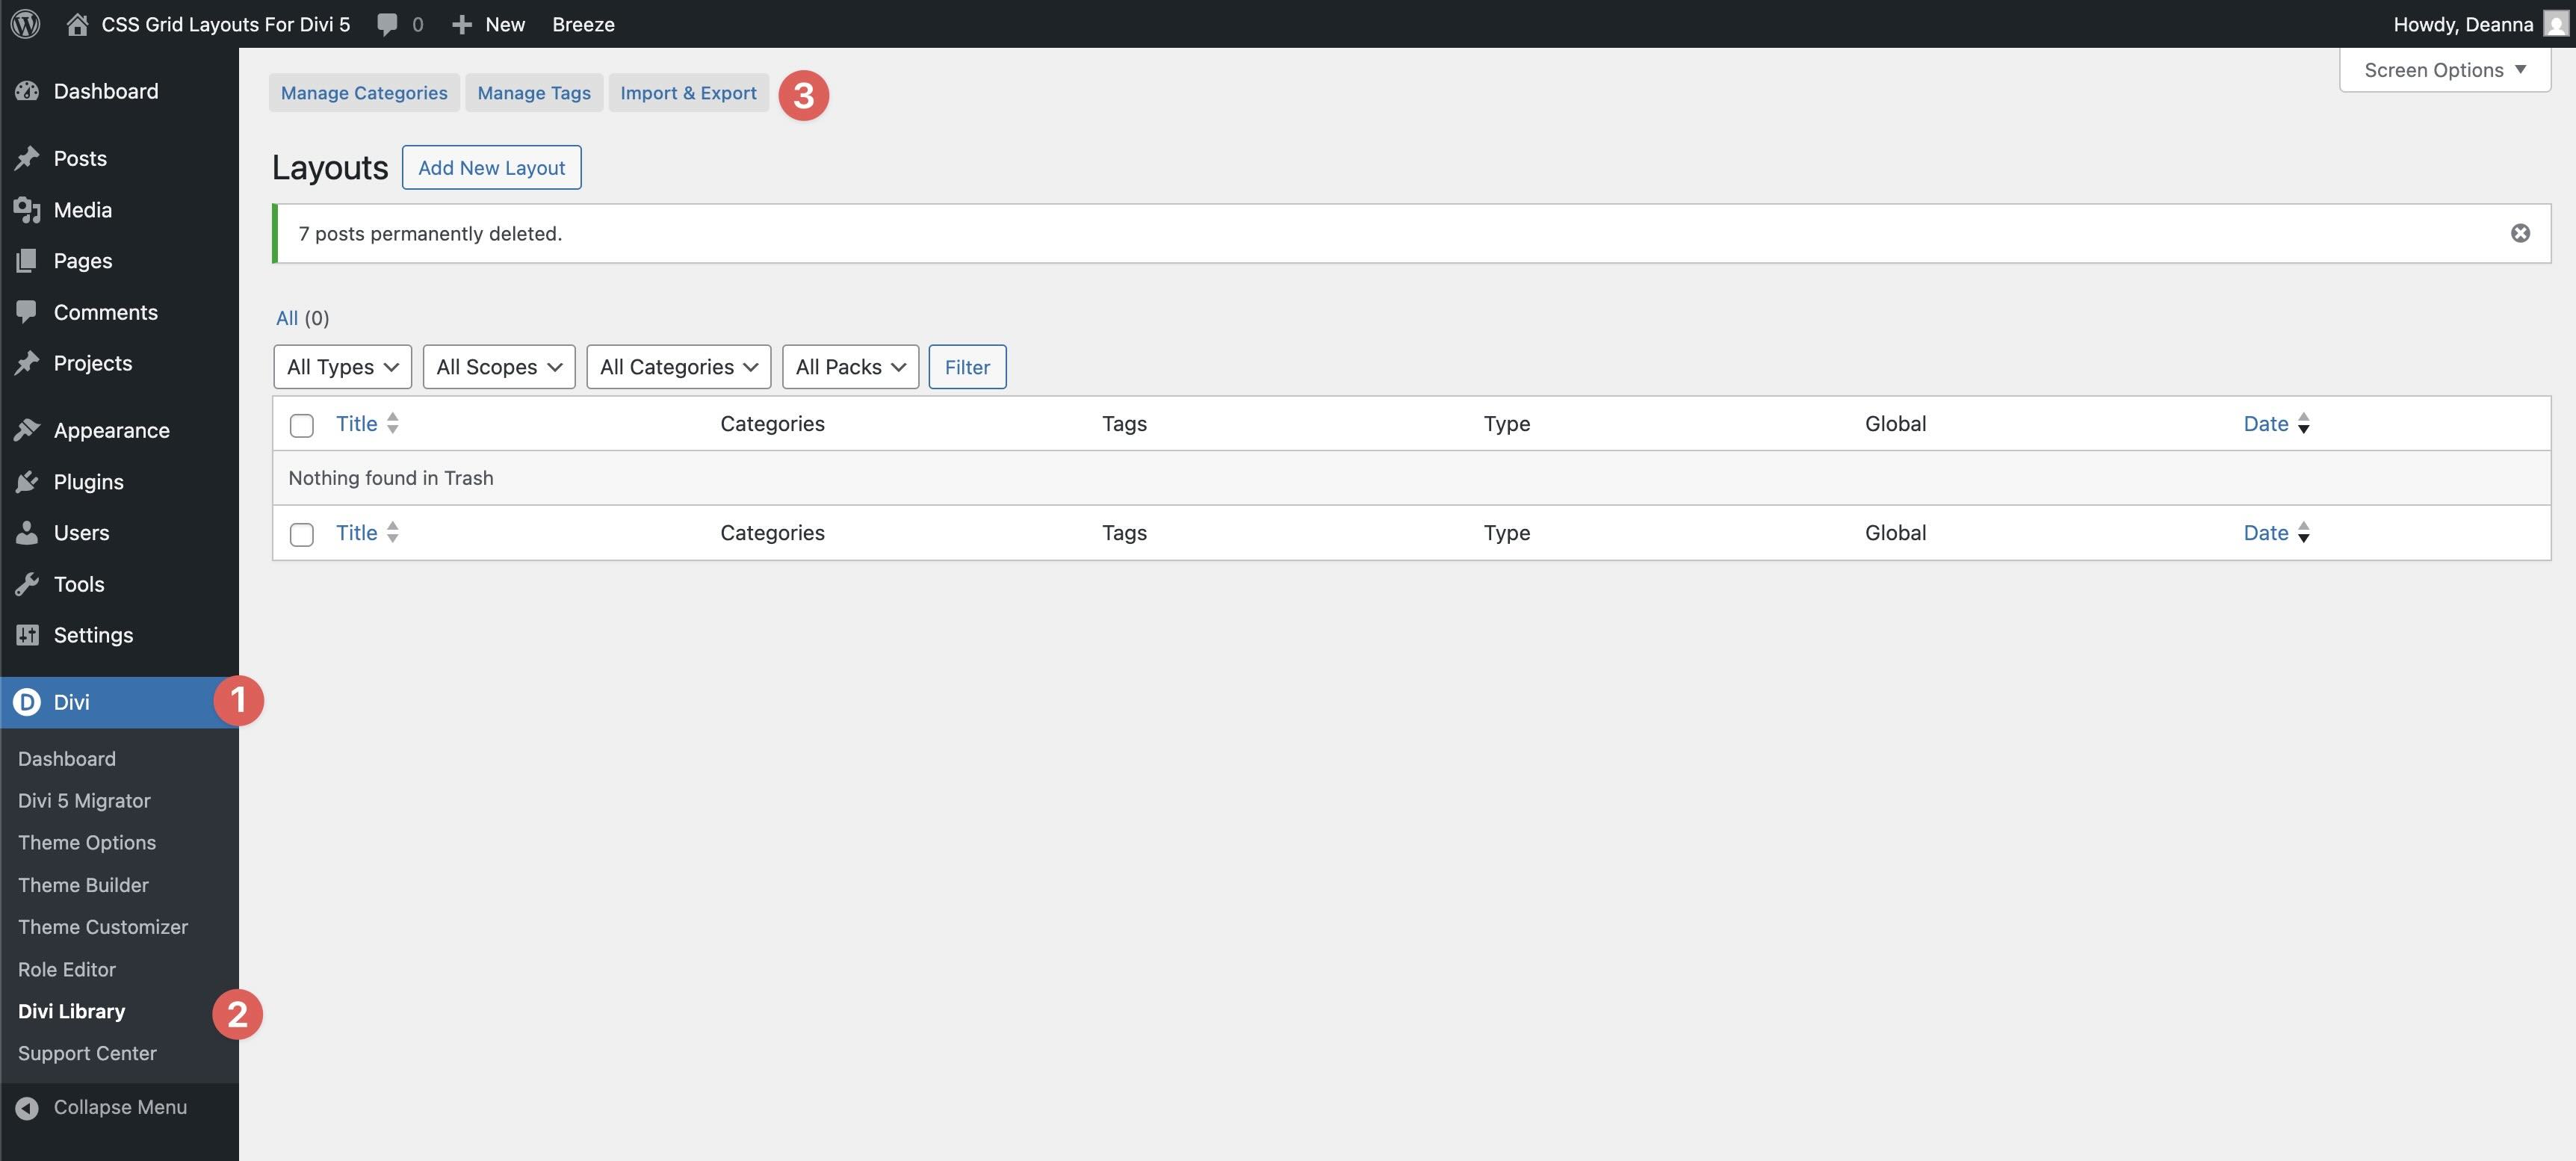
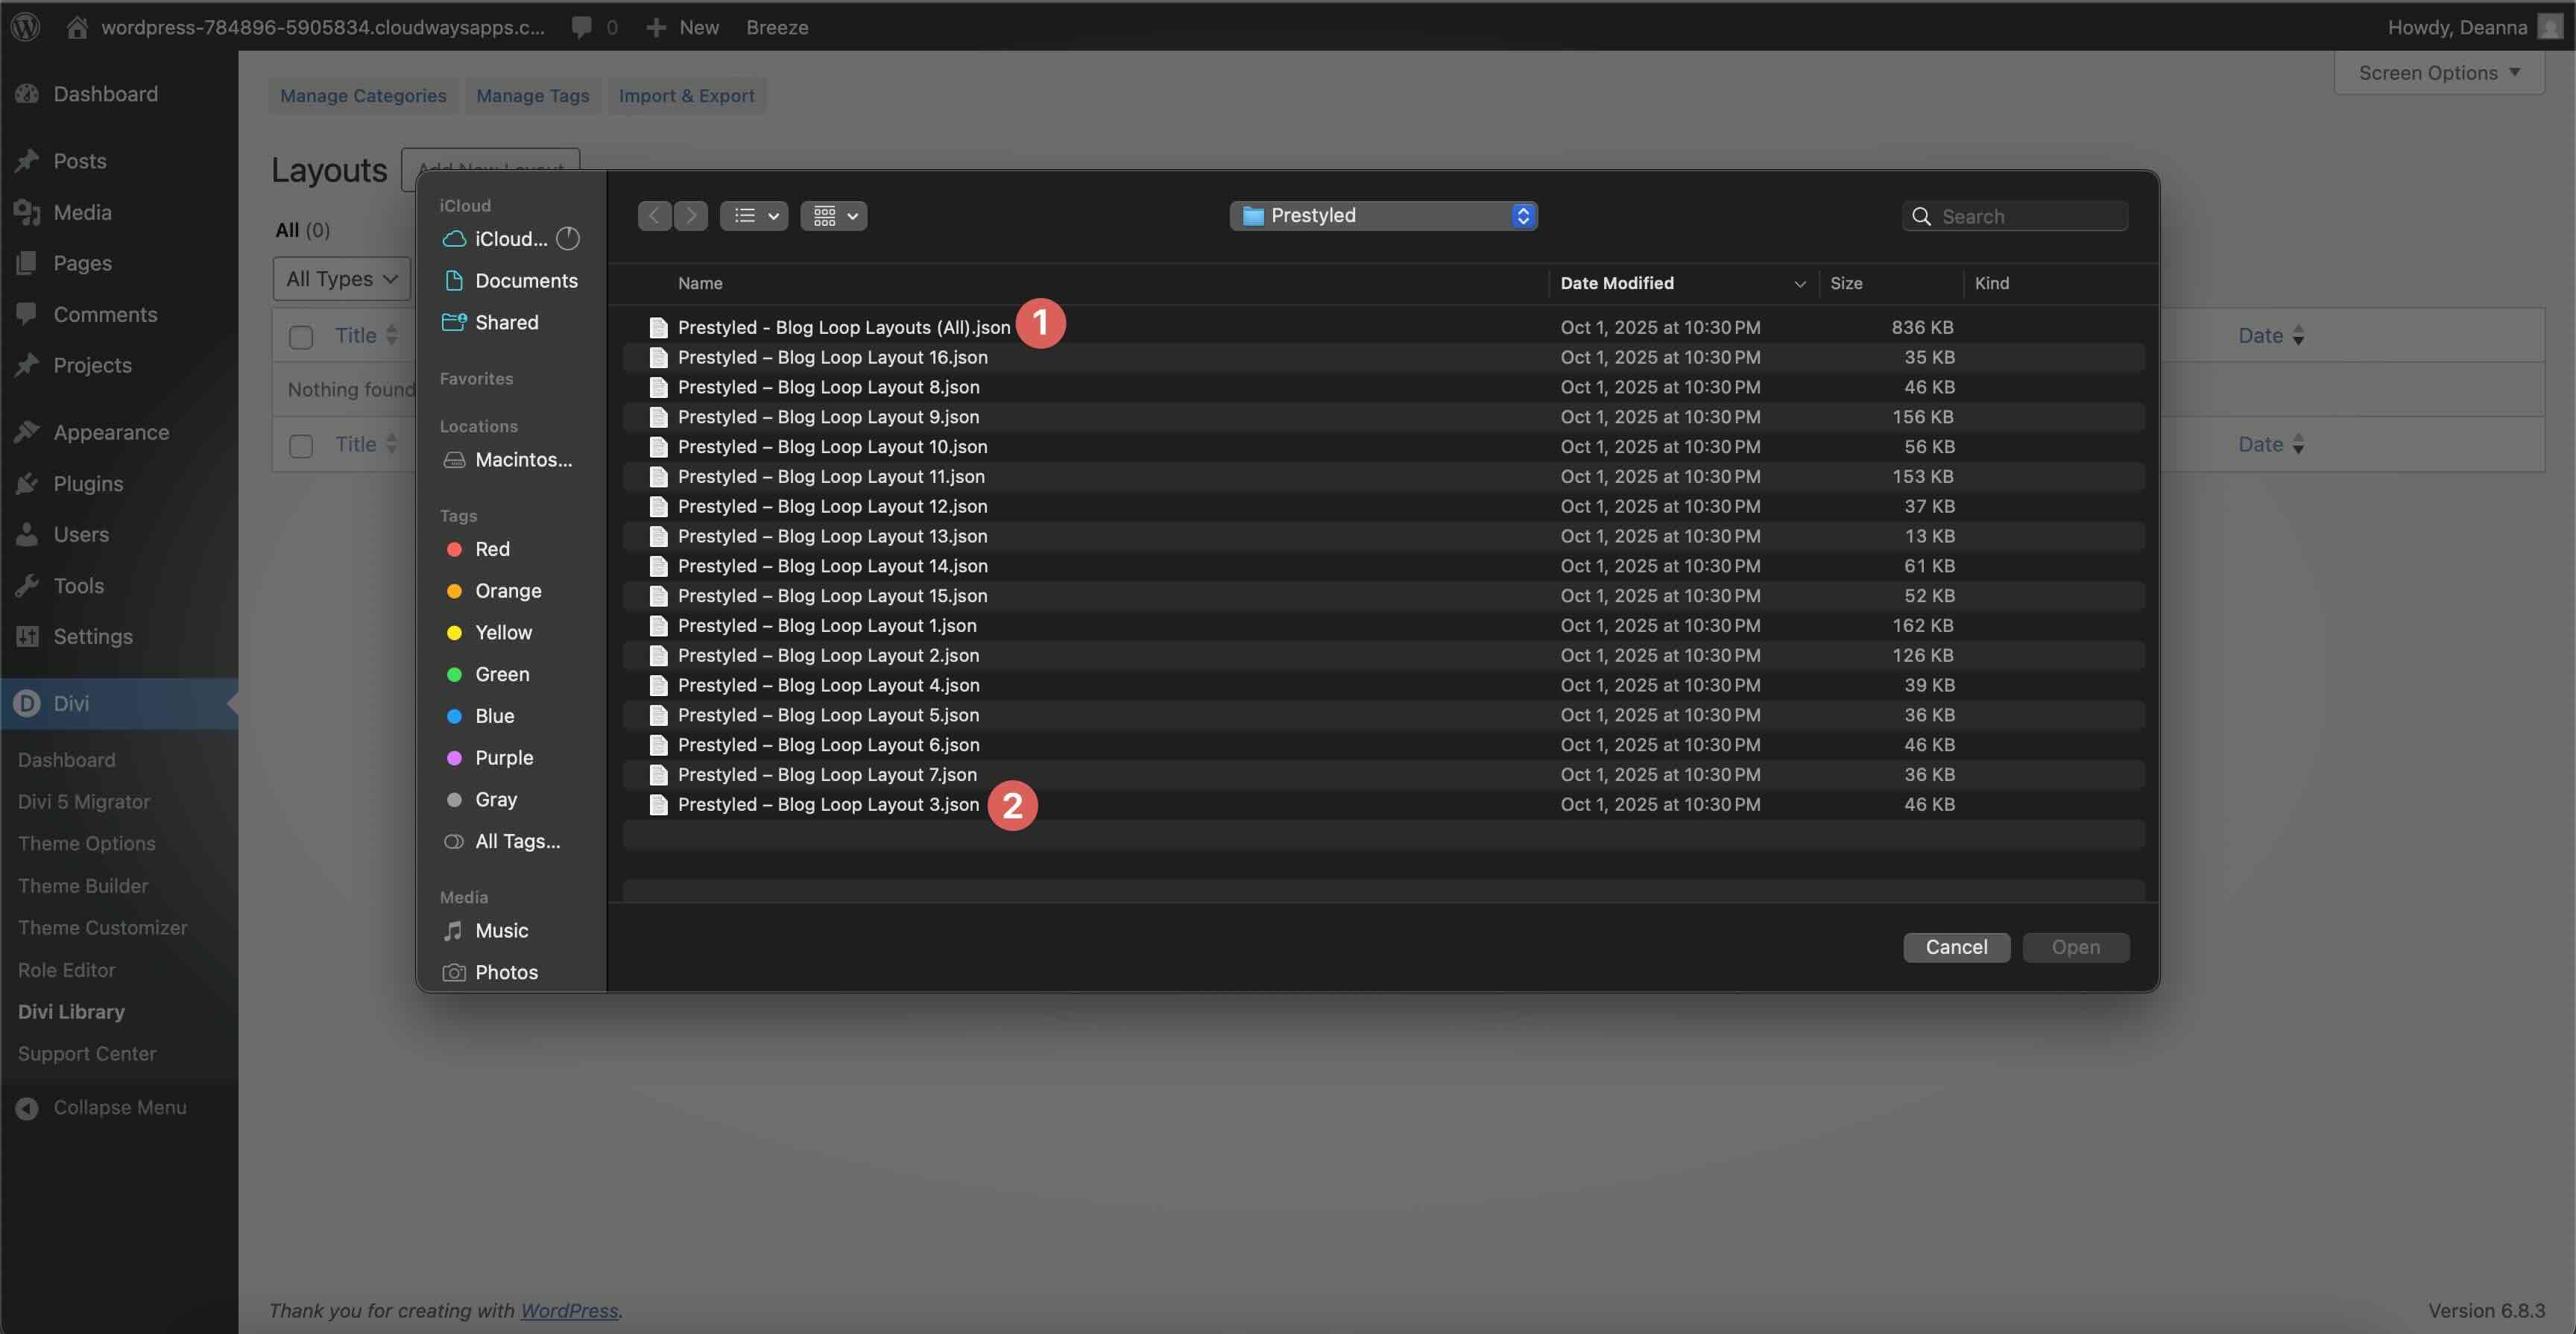
Click the Import & Export button and upload the JSON files from the pack.
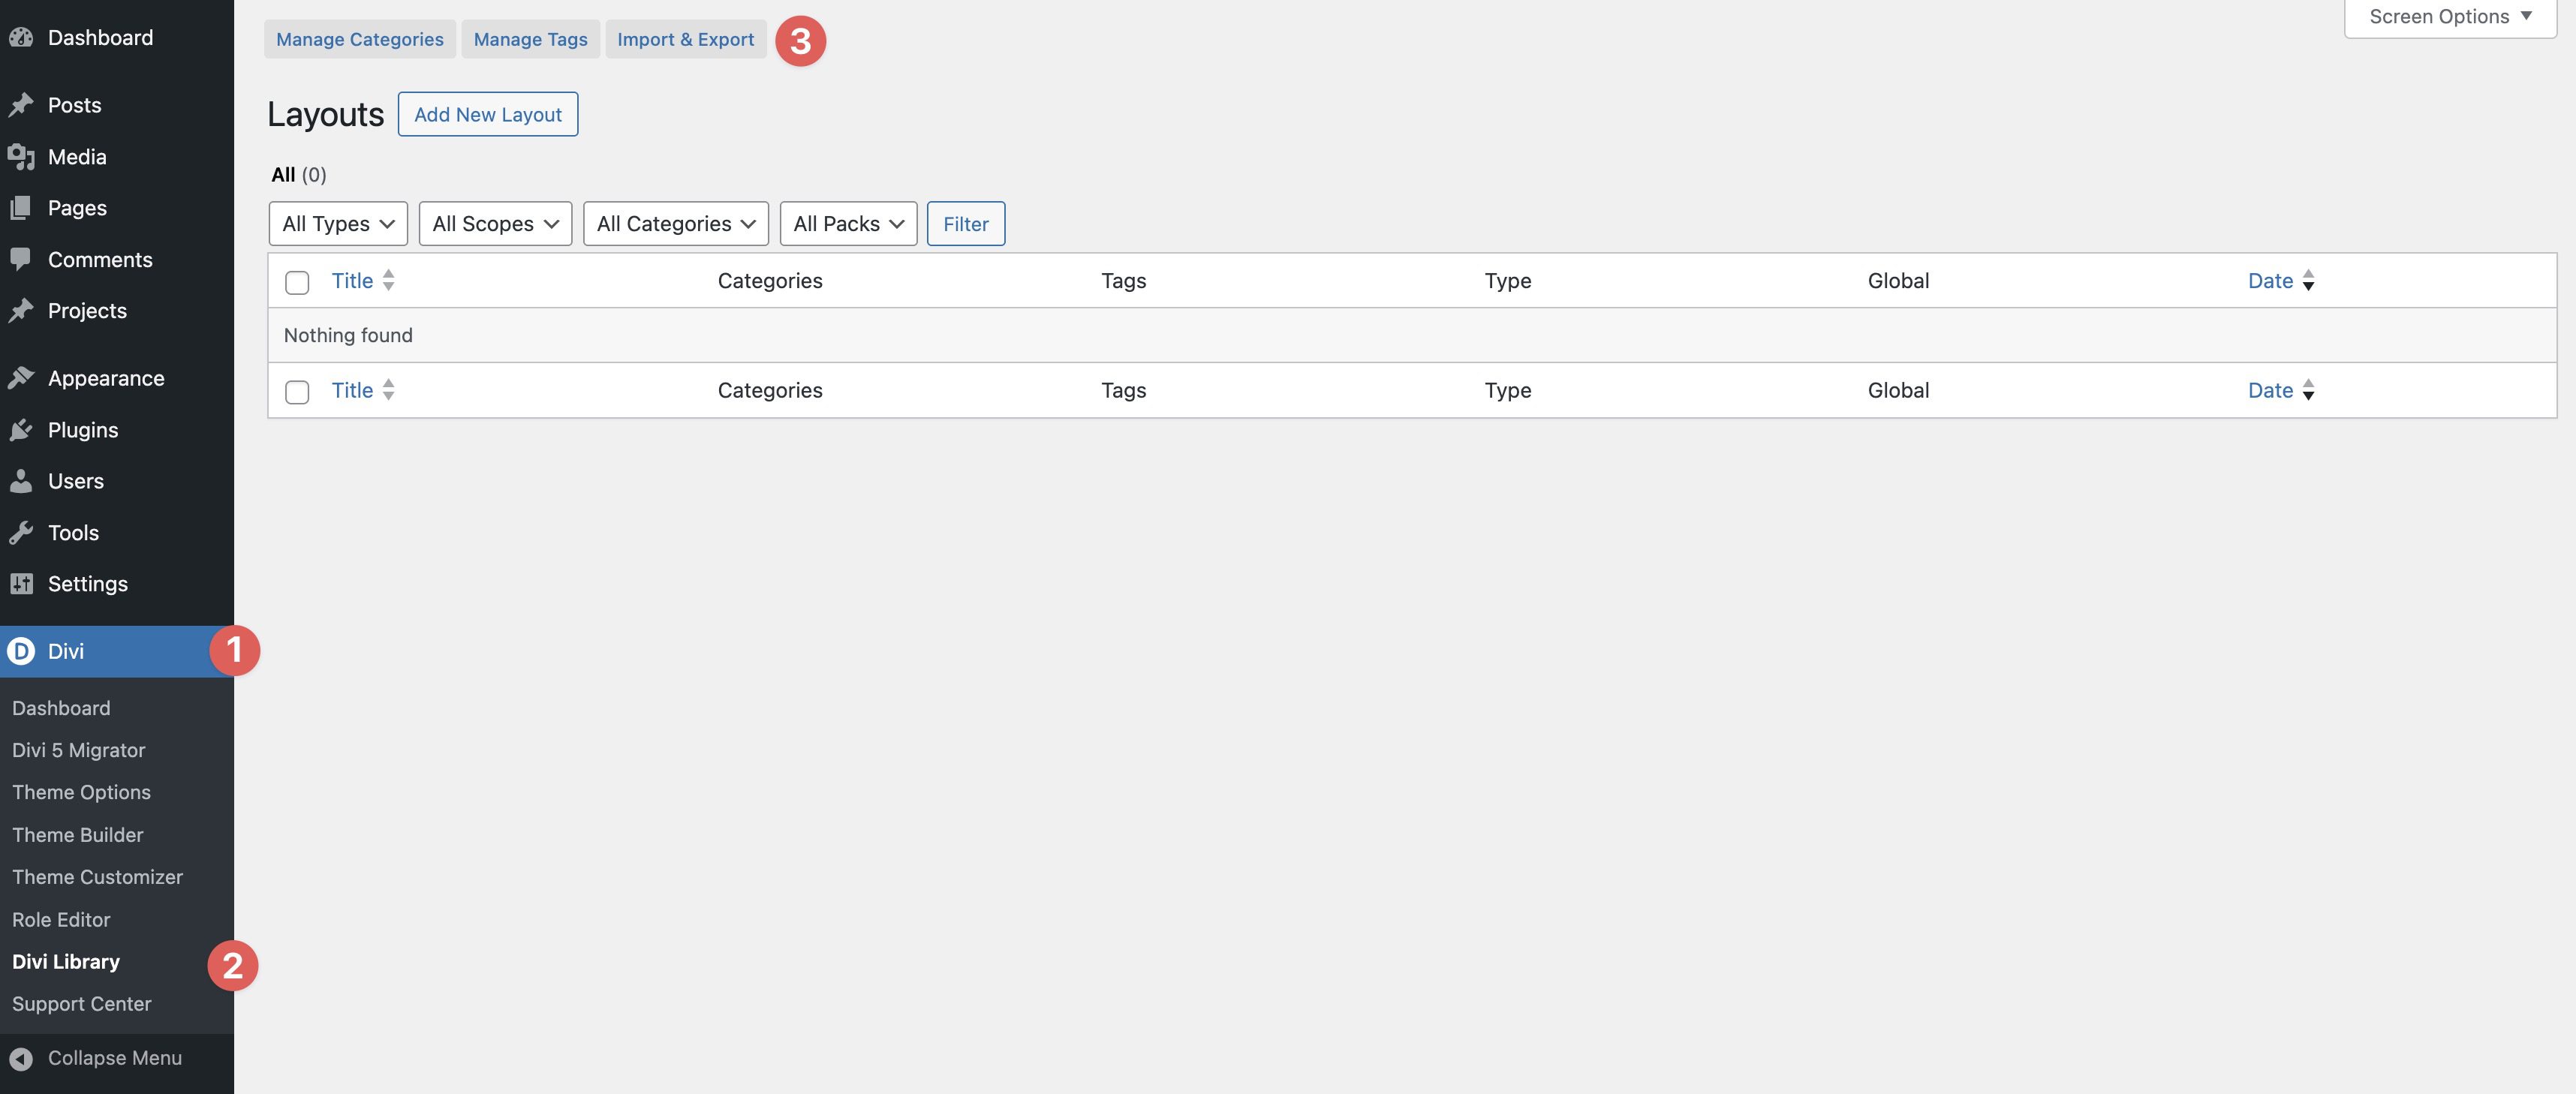
You can import an individual loop or the Blog Loops (All) file to grab the entire pack in one go.
2. Use A Blog Loop On A Page Or Template
You can place these loops on any page, or inside Theme Builder templates for archives, categories, tags, authors, and search results.
On a page: open the Visual Builder, click Add From Library, choose Saved Layout, and then insert a saved Blog Loop layout.
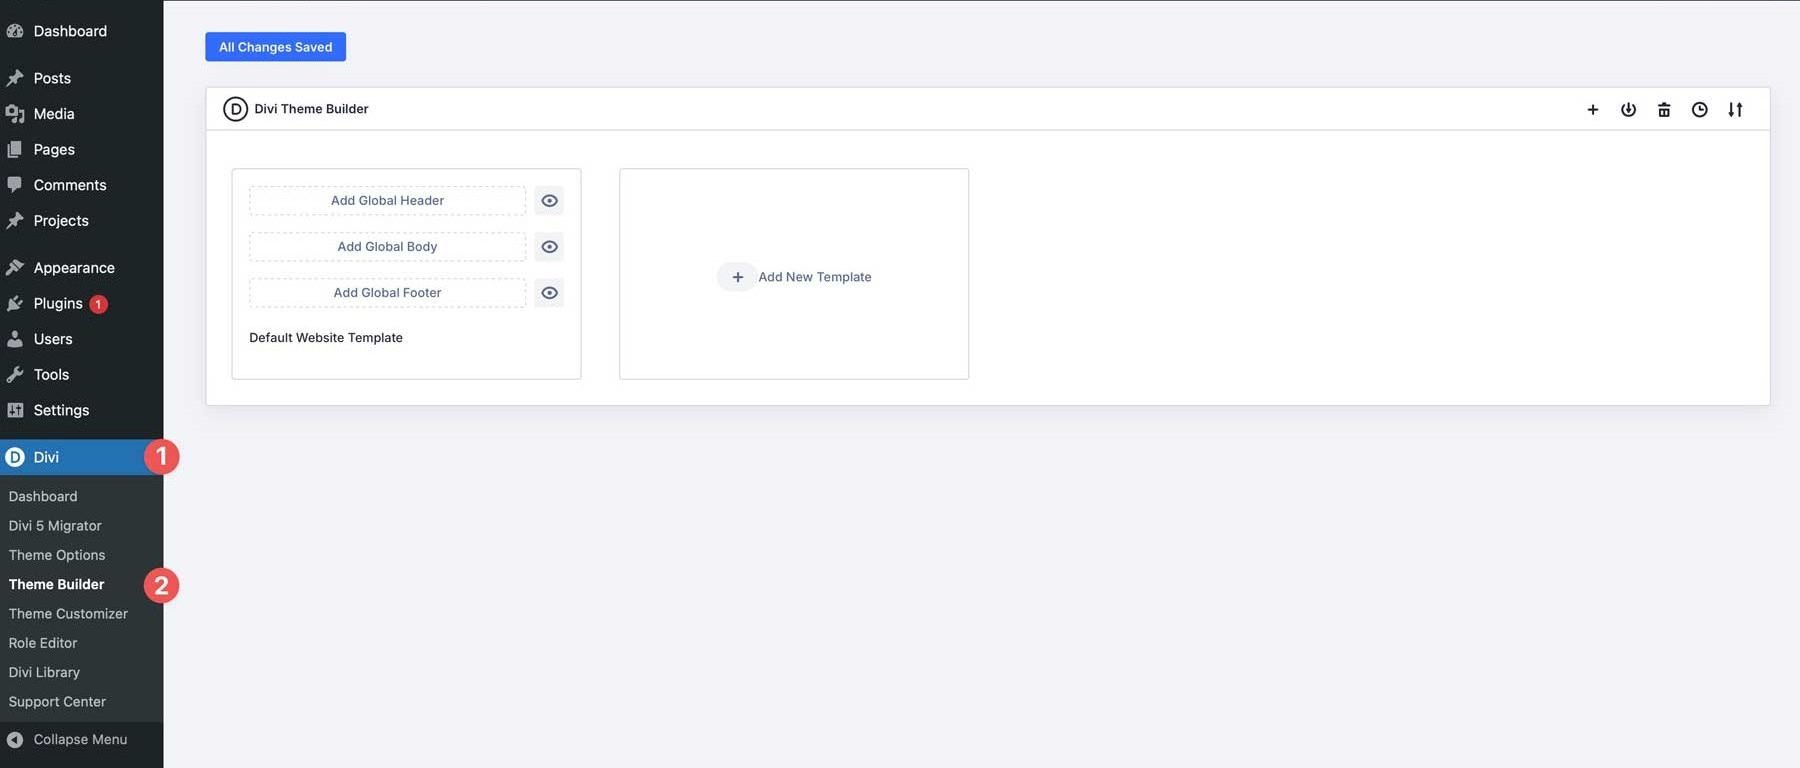
In Theme Builder: create or open a template (e.g., All Posts, Category Pages), click into the Body, then choose Saved Layout and pick your Blog Loop. Click Use This Layout to load it.
Save the page or template when you’re done.
Default vs Prestyled: Which Should You Pick?
When you open the download folder, you’ll see two versions of every loop: Default and Prestyled. They’re built the same way — the difference is styling.
Default loops inherit their look from your global styles and any template-level design variables. Your brand colors, typography, and button styles apply automatically. If you’ve already set up global styles, Default is the fastest way to plug in these loops and match your site.
Prestyled loops come with inline styles baked in — colors, fonts, spacing — to match the previews right away. Great for quick demos, prototypes, or when you want the exact look shown in the screenshots without adjusting variables.
In short, choose Default to blend into your system. Choose Prestyled to instantly achieve the showcased look.
Customizing The Blog Loops
Divi 5’s Loop Builder gives you control over both the query and the layout. Here are the essentials to tailor each loop to your needs.
1. Set The Query
Open the Loop section, row, or module and set the Query Type to Post Type.
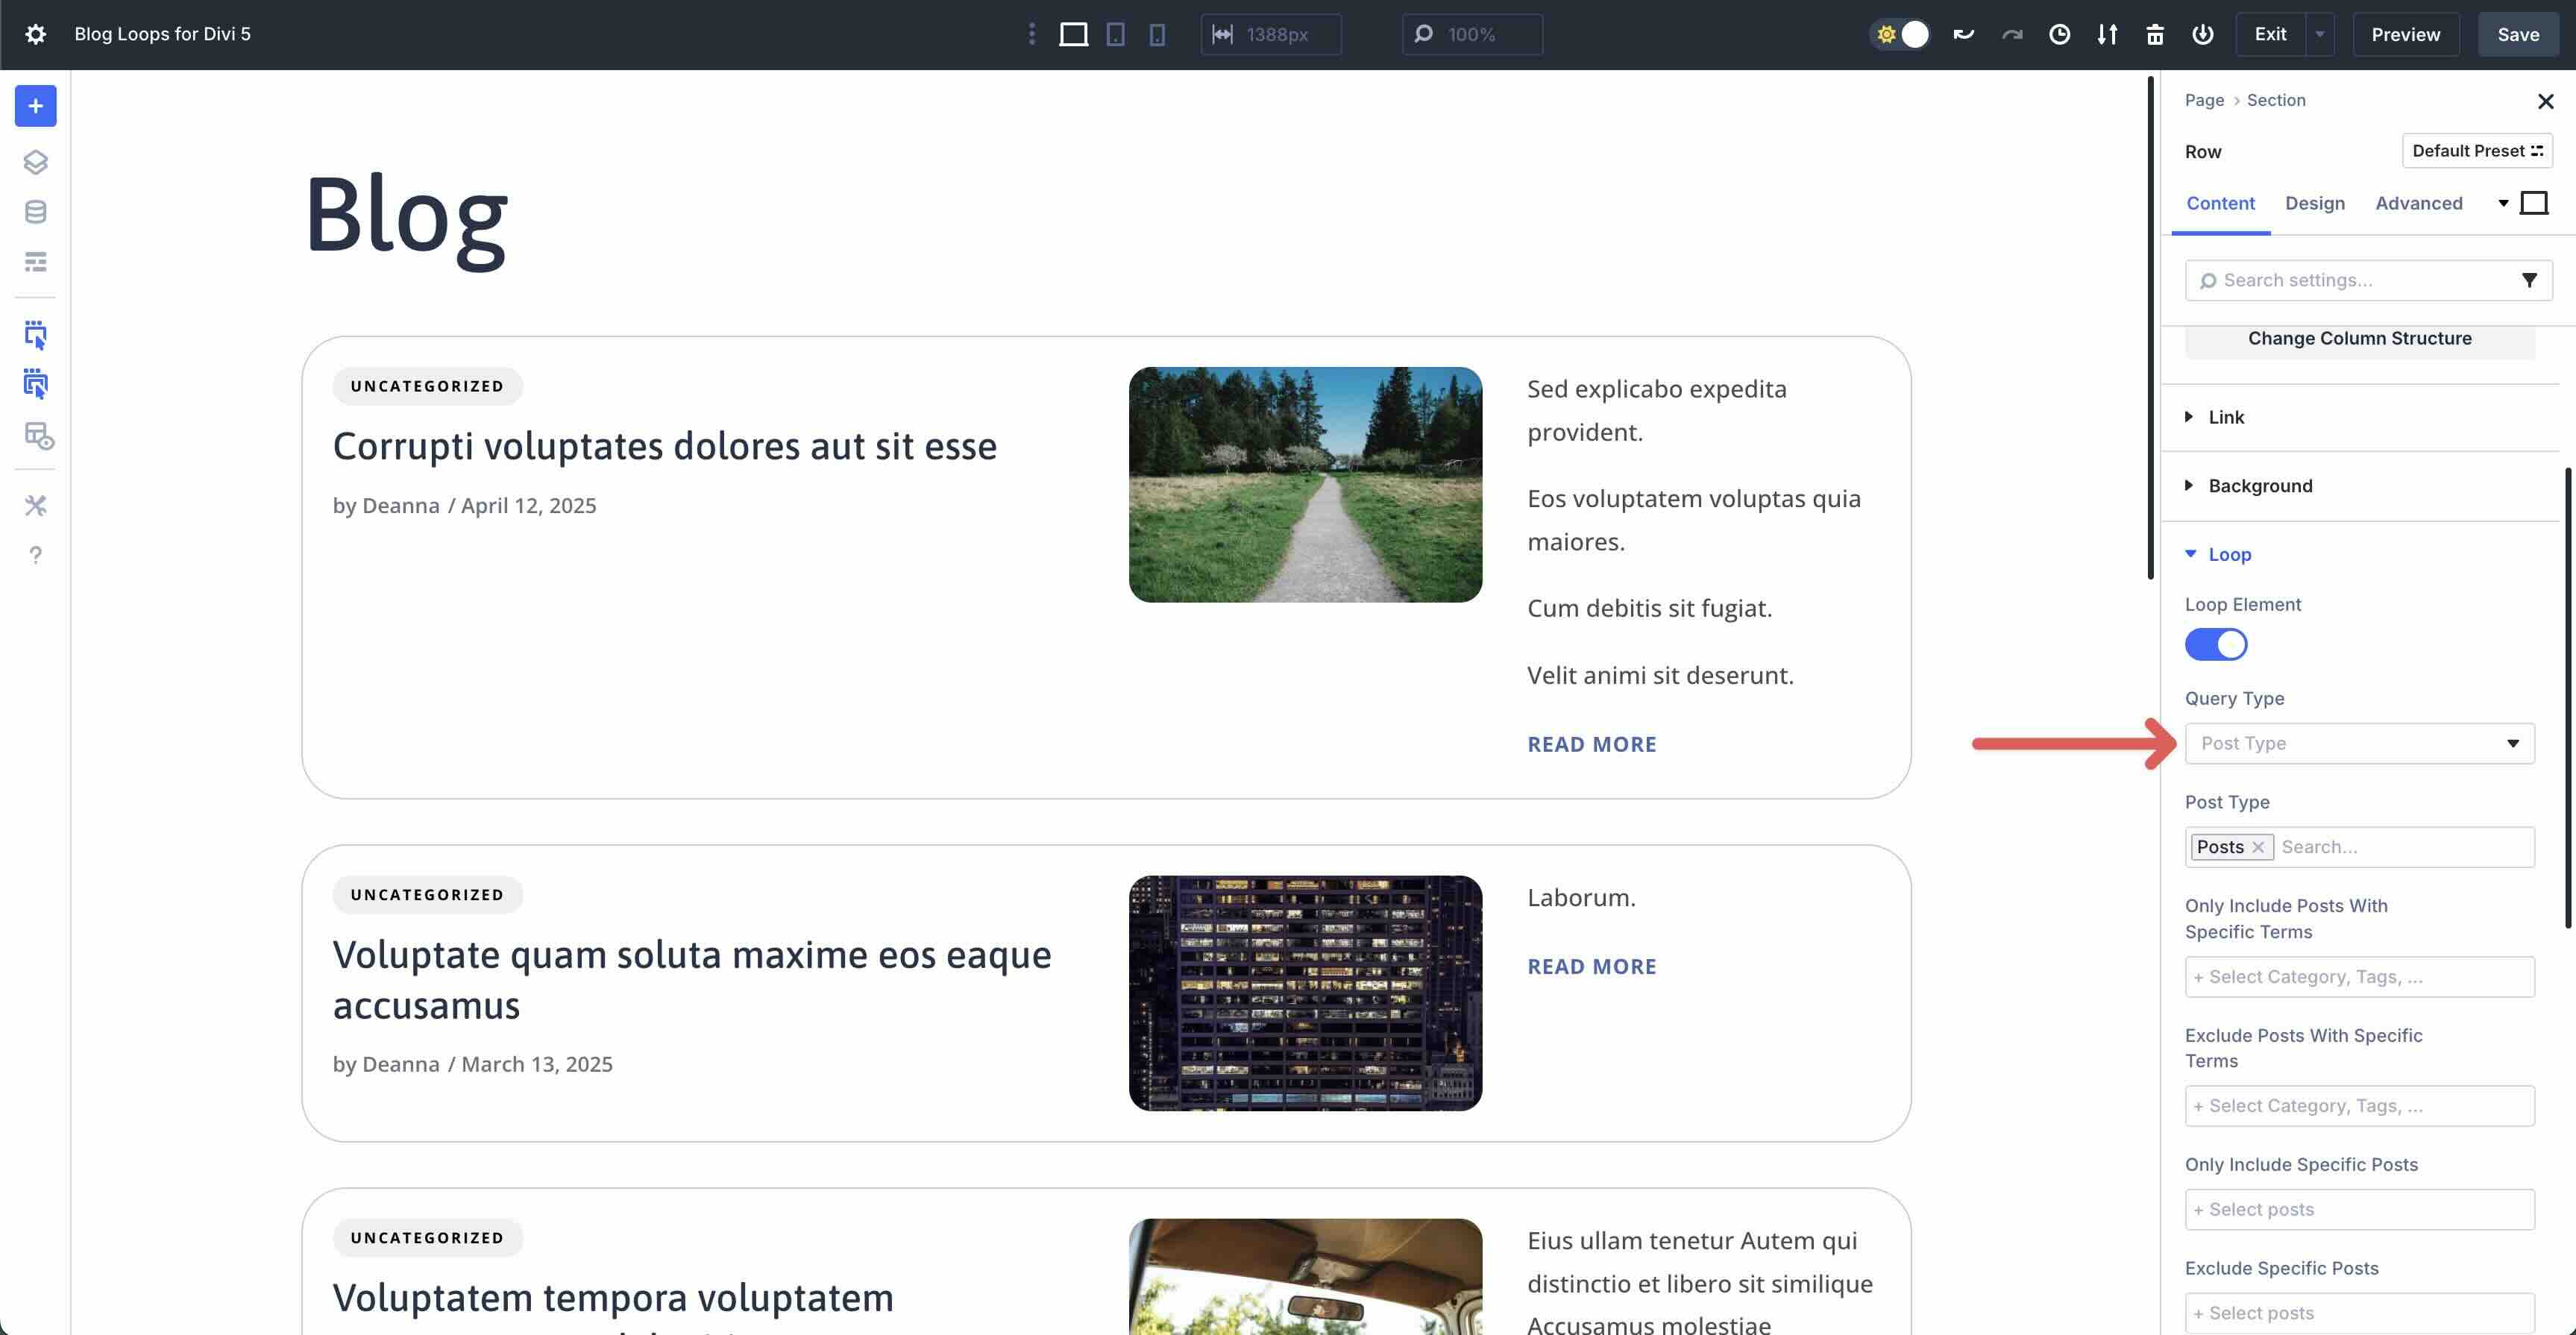
Divi 5 allows you to choose posts with specific terms, only include specific posts, or exclude posts with specific terms, like categories or tags.
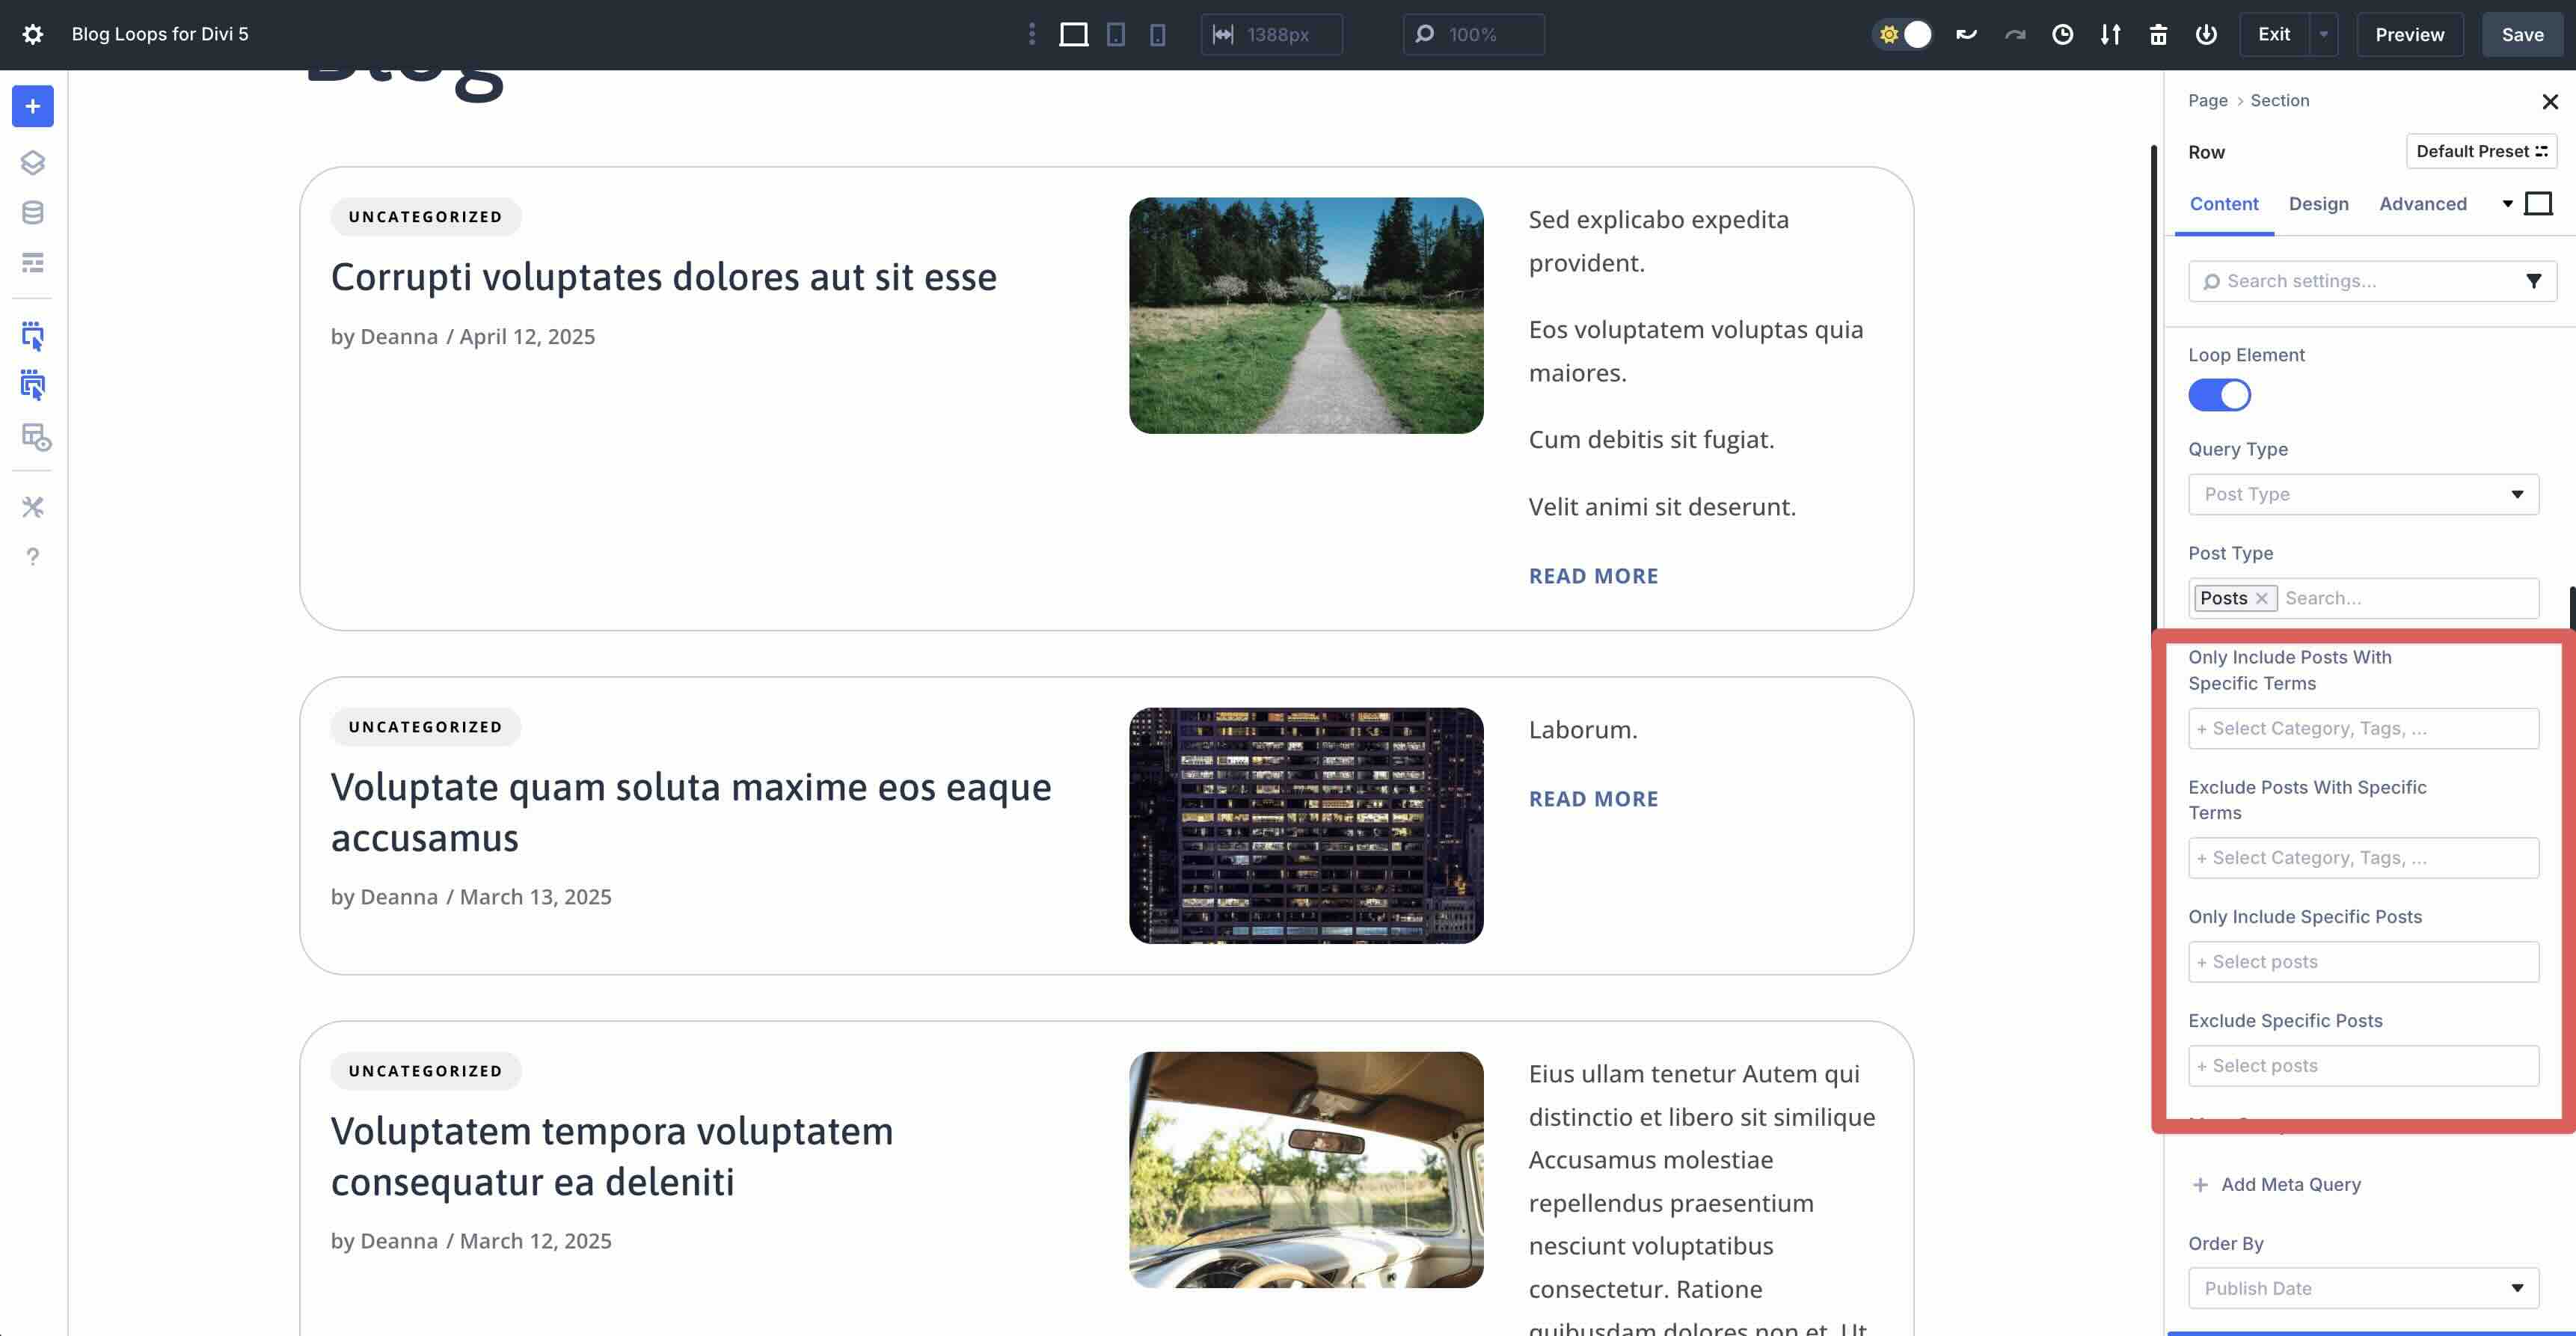
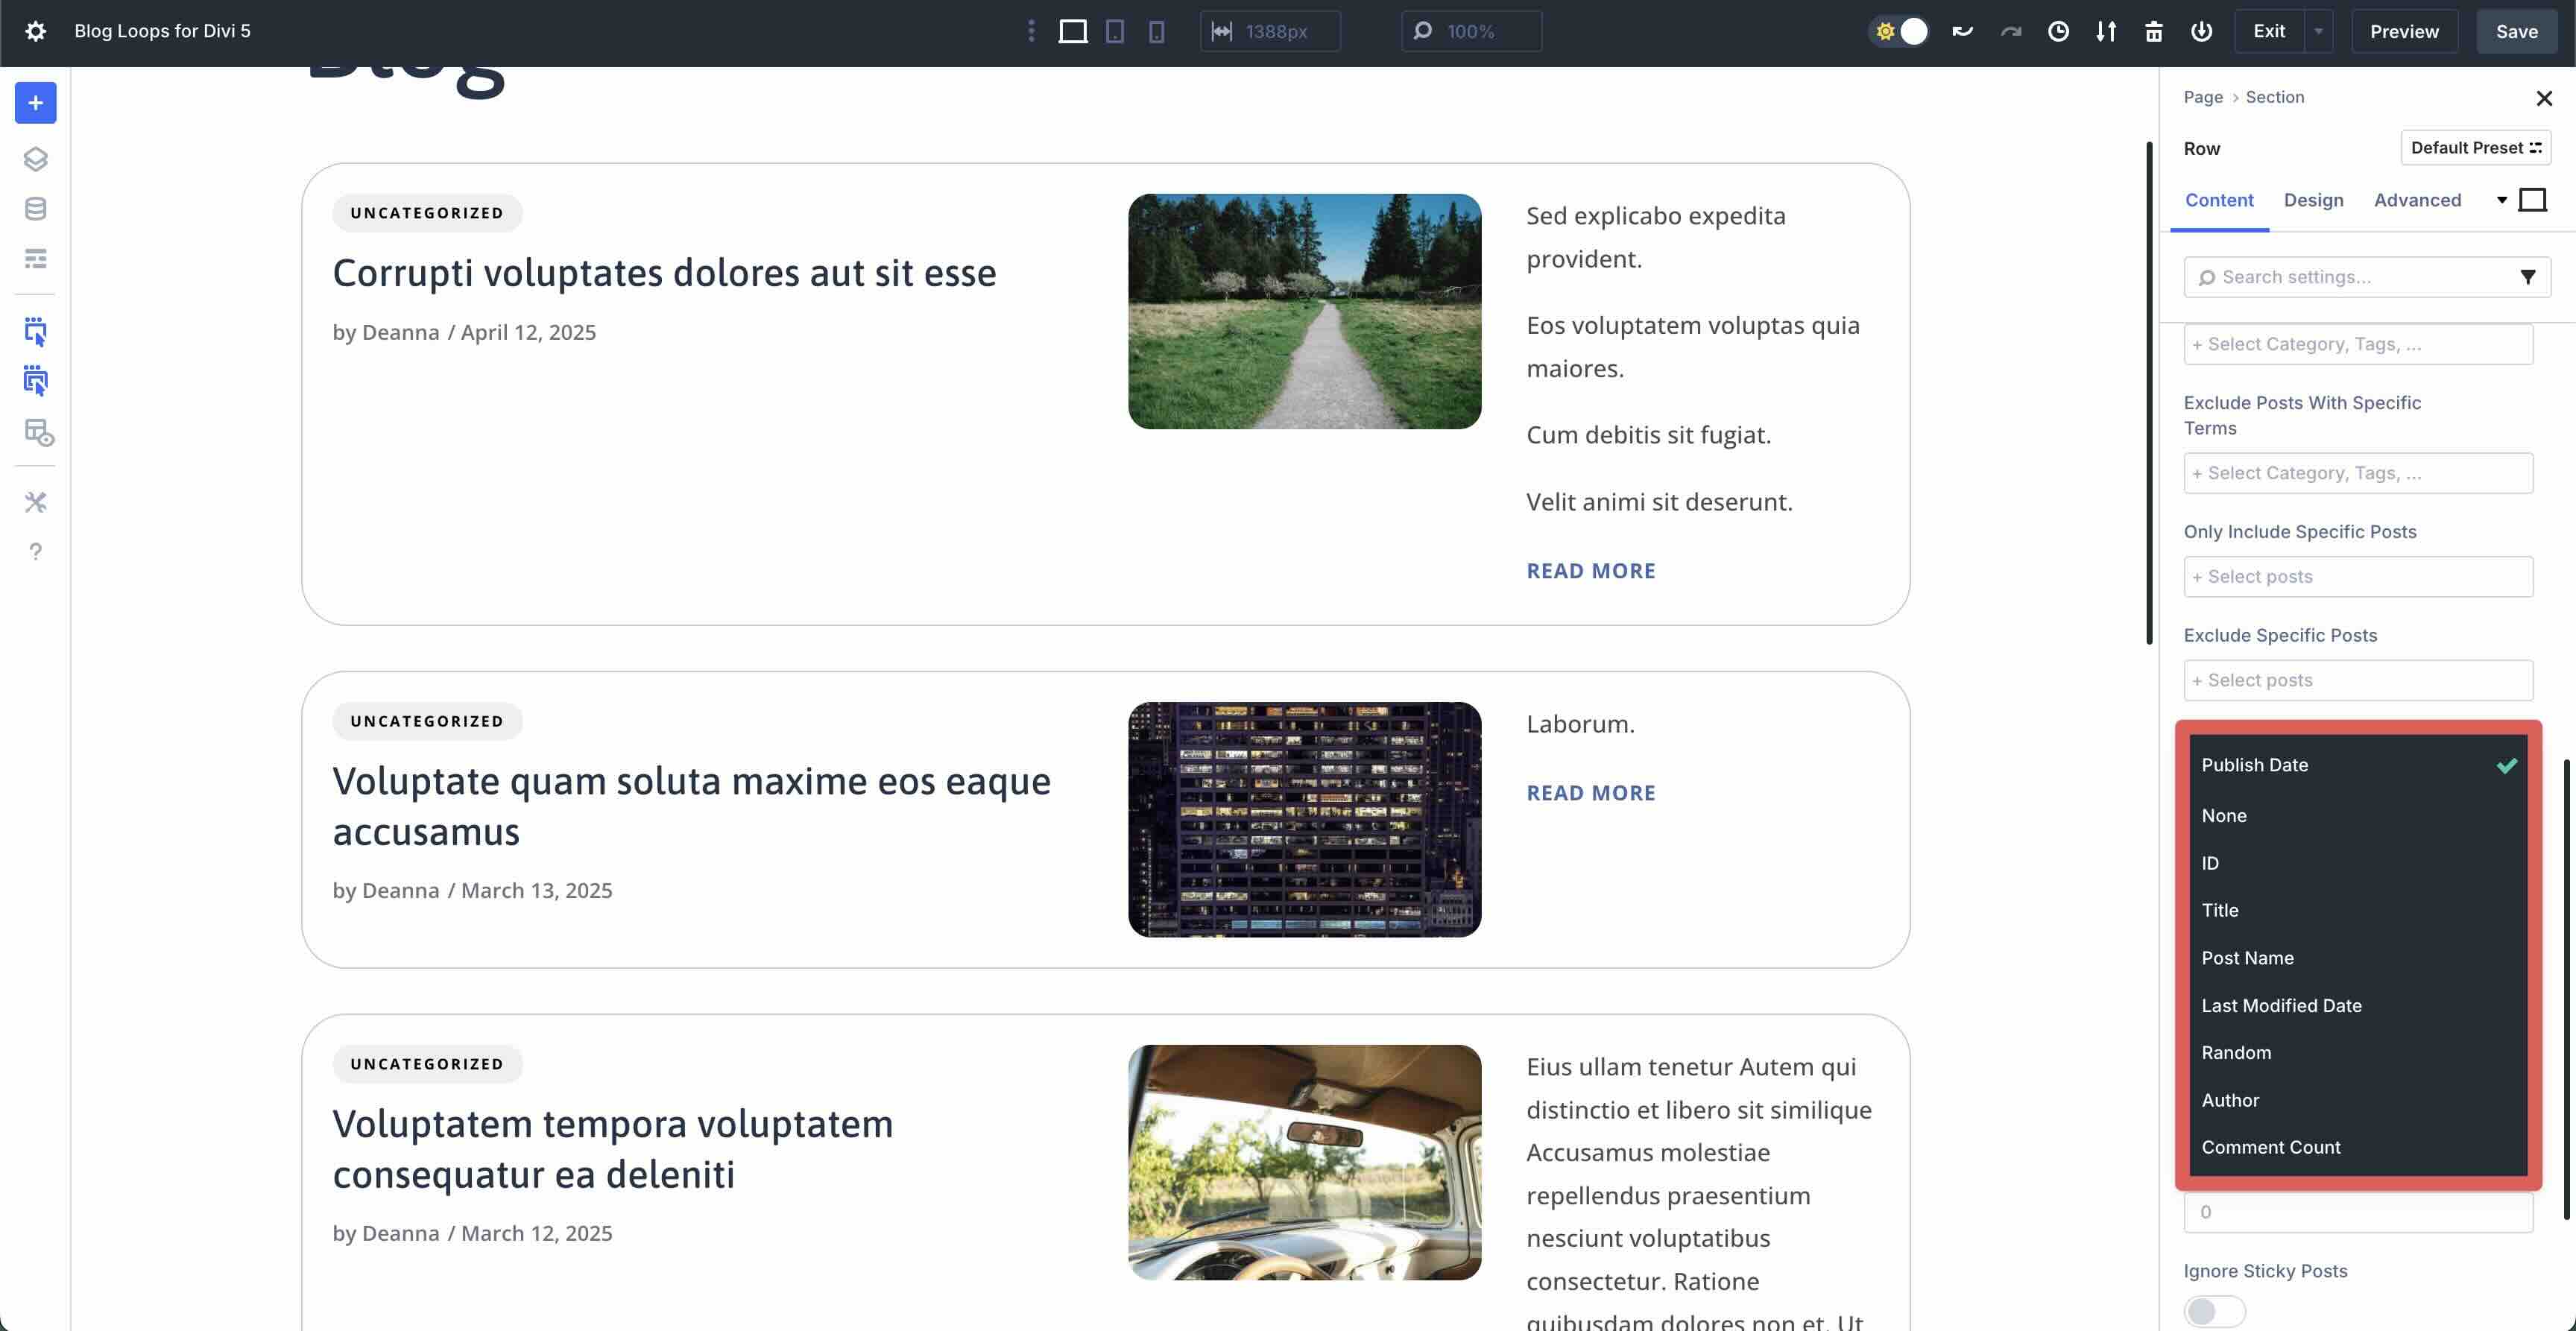
You can also order the results by publish date, ID, Title, Post Name, Last Modified Date, or other options, making it easy to tailor the display to your liking.
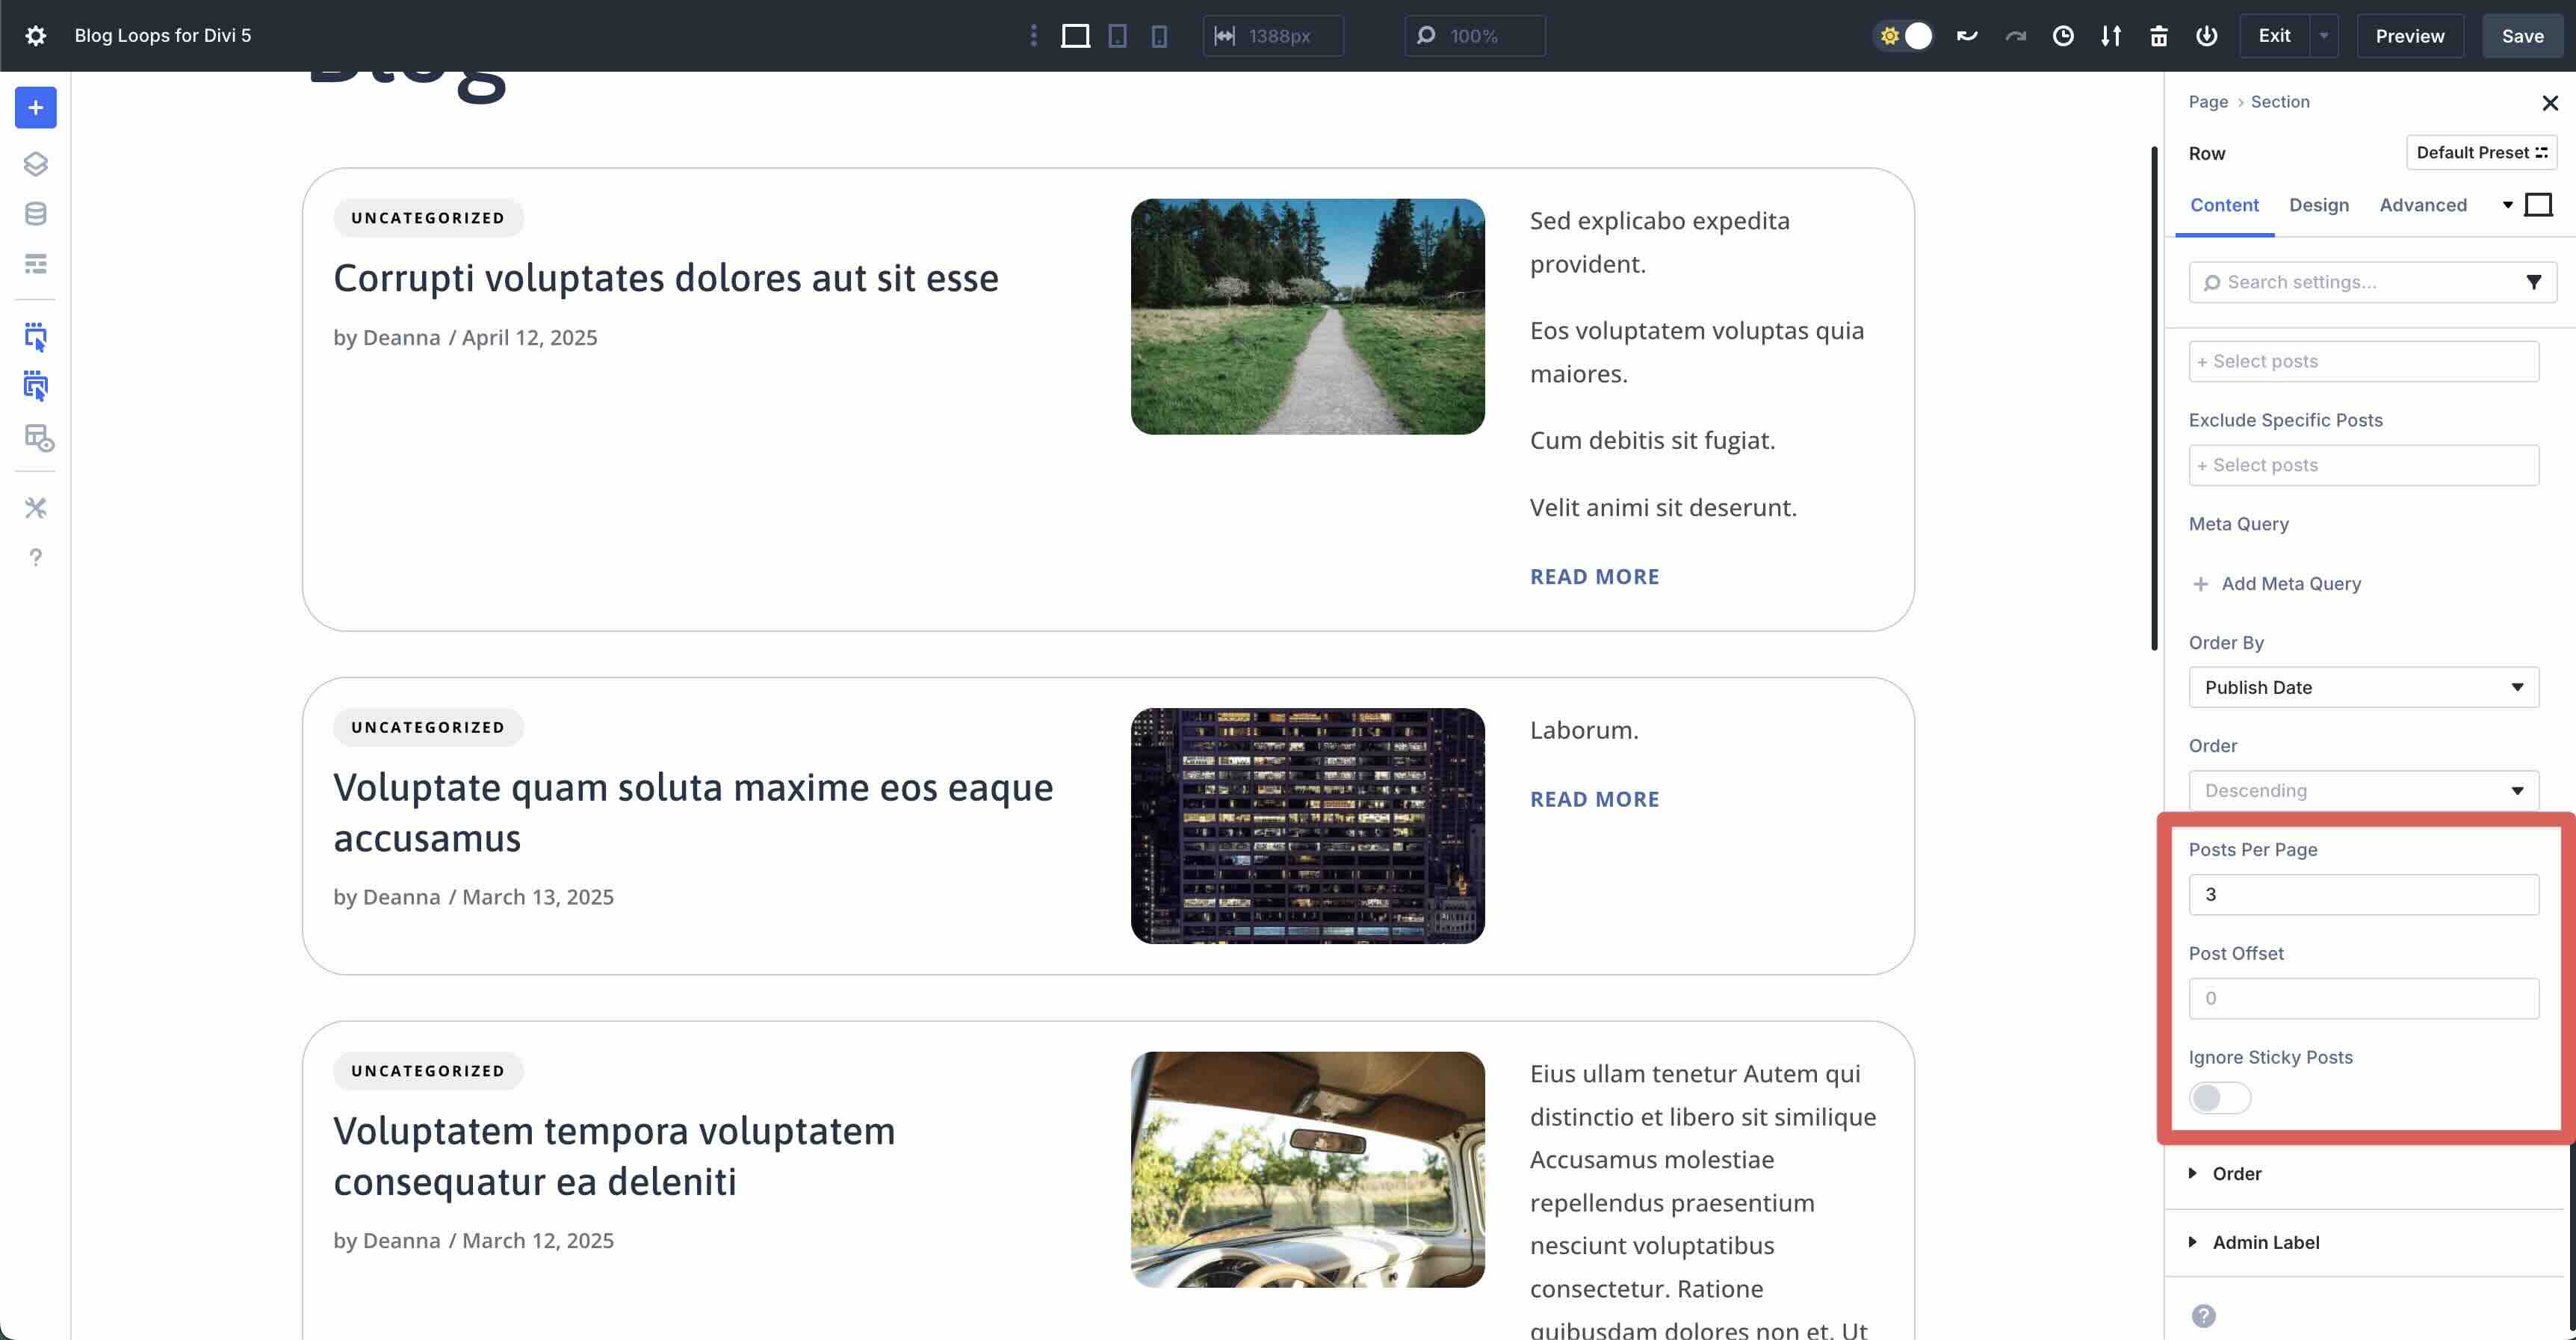
You can also define how many Posts Per Page to display and select a Post Offset (ex. 1) to leave out any posts you don’t want to display.
2. Card Styling & States
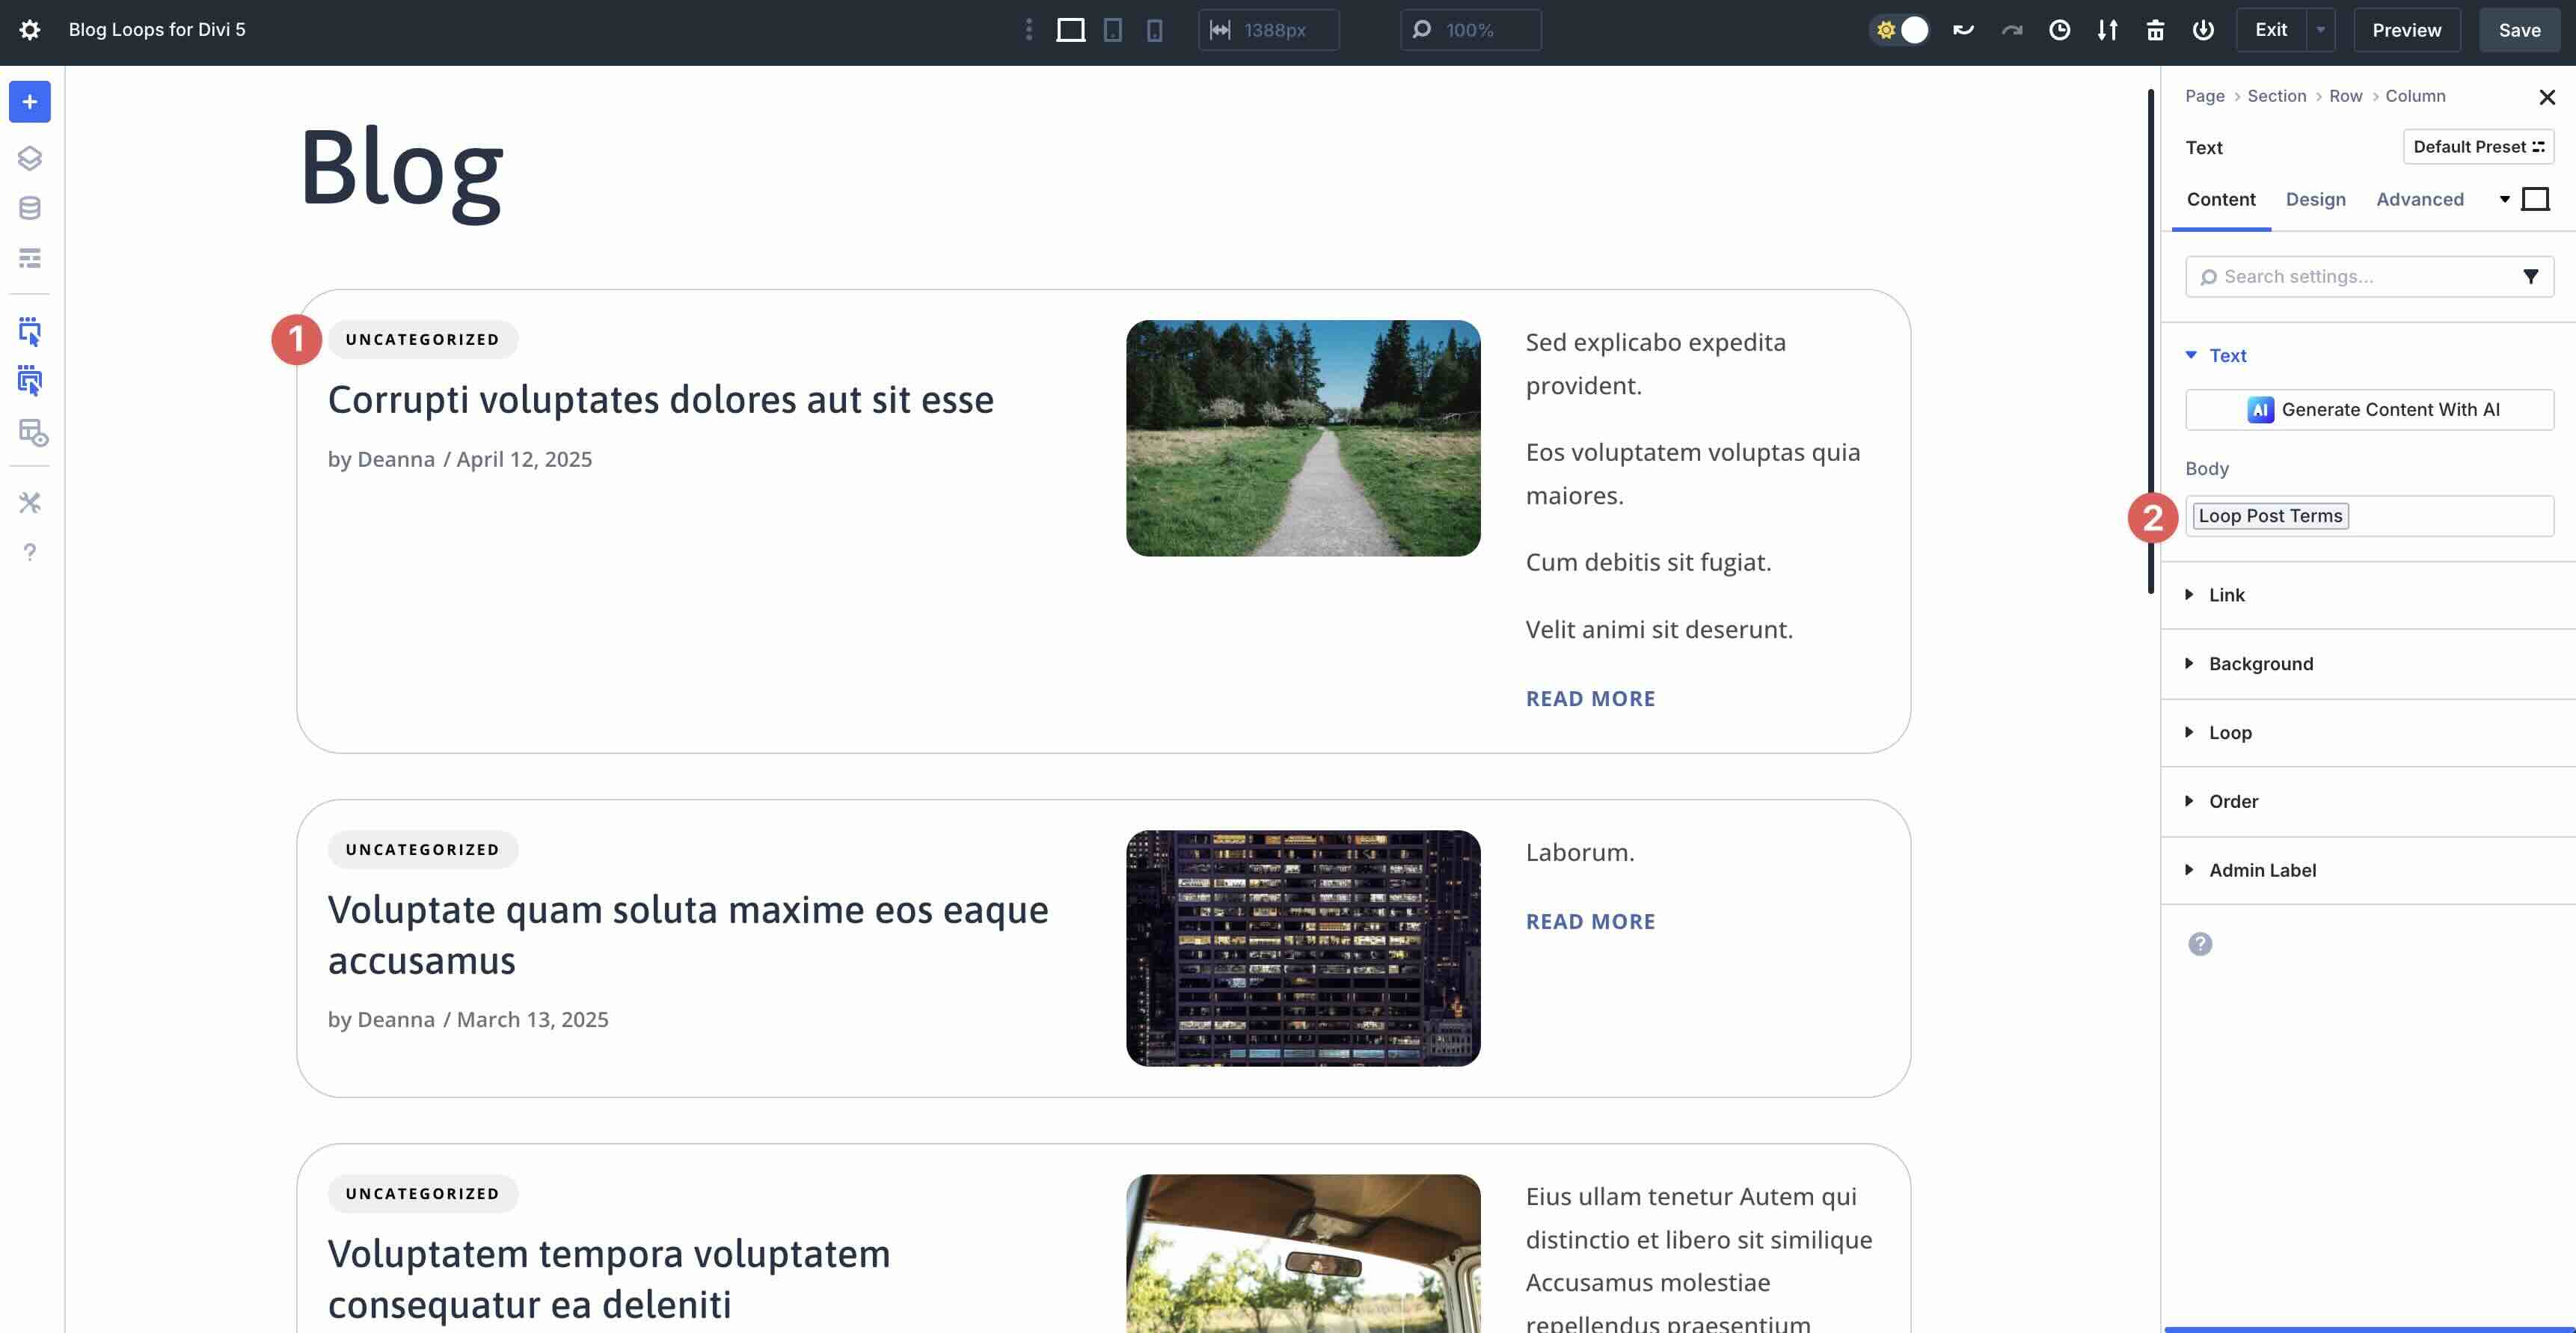
In each of the Blog Loop layouts, you can change the styling as you’d like, just like any other Divi 5 layout. Keep in mind that the Loop works by selecting custom fields for each module. In this example, the first text module is assigned to the Loop Post Term field, which selects the post’s category.
Using the Visual Builder, you can keep the styles as is, or customize the settings to match your branding.
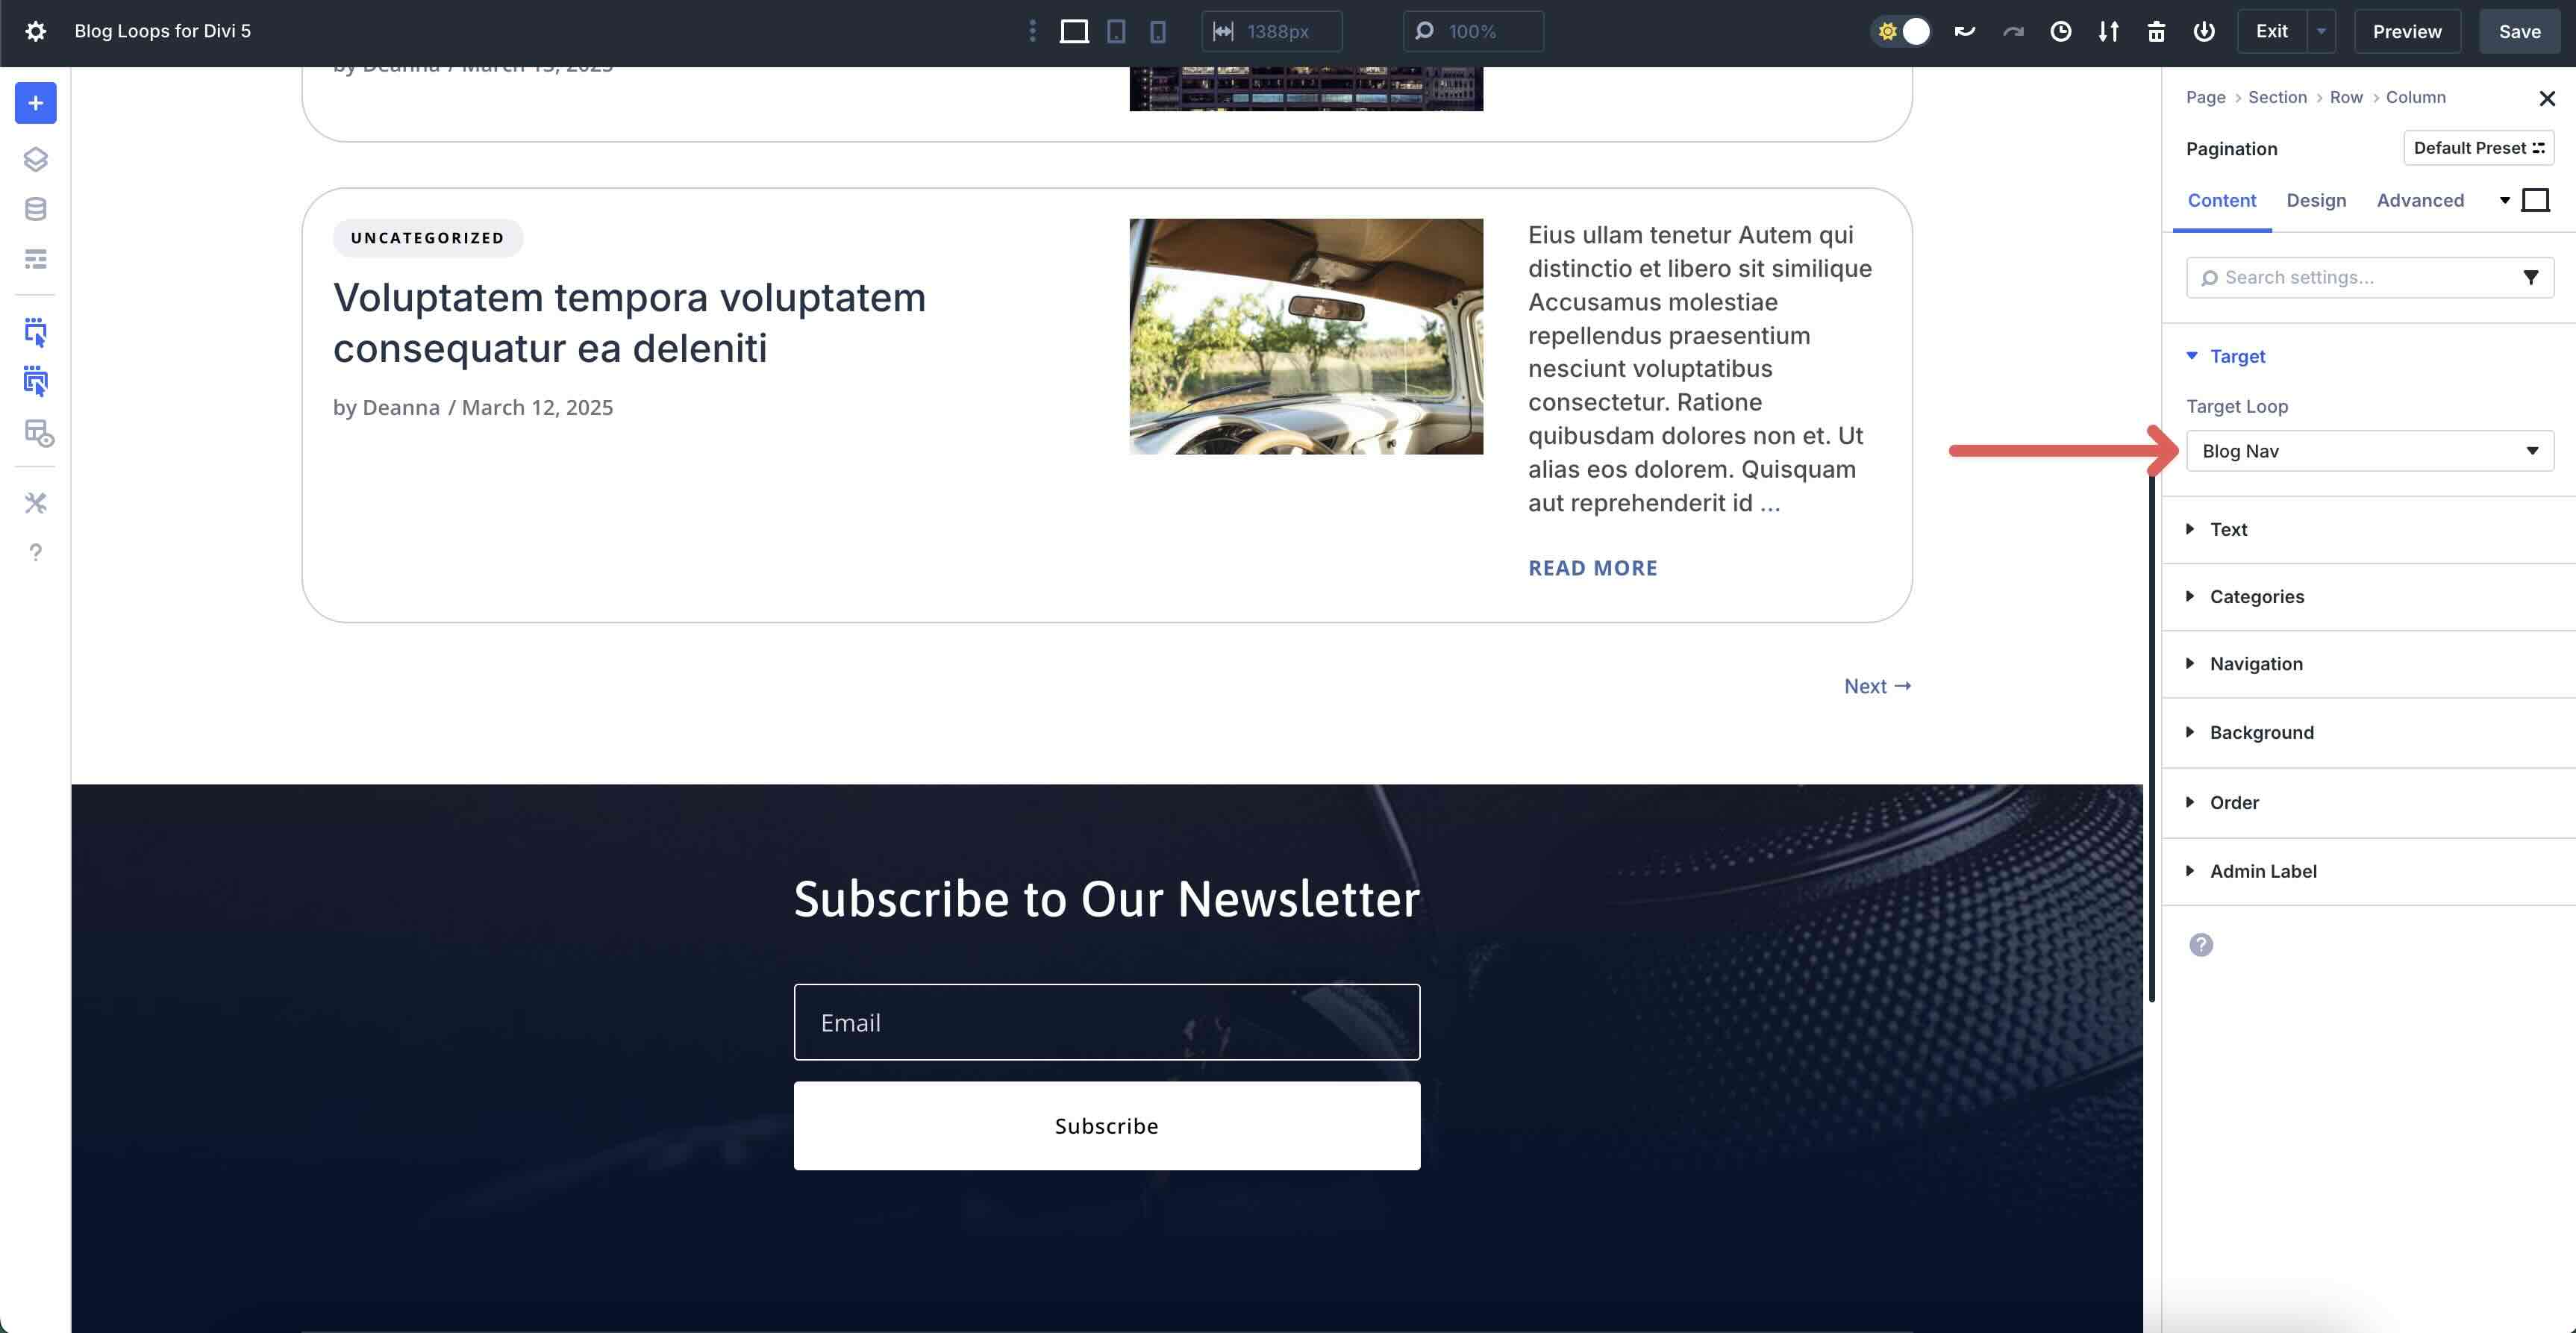
3. Pagination
Divi 5 comes with a Pagination module that allows users to scroll through your posts. This module is typically placed outside of the Blog row and into a new row.
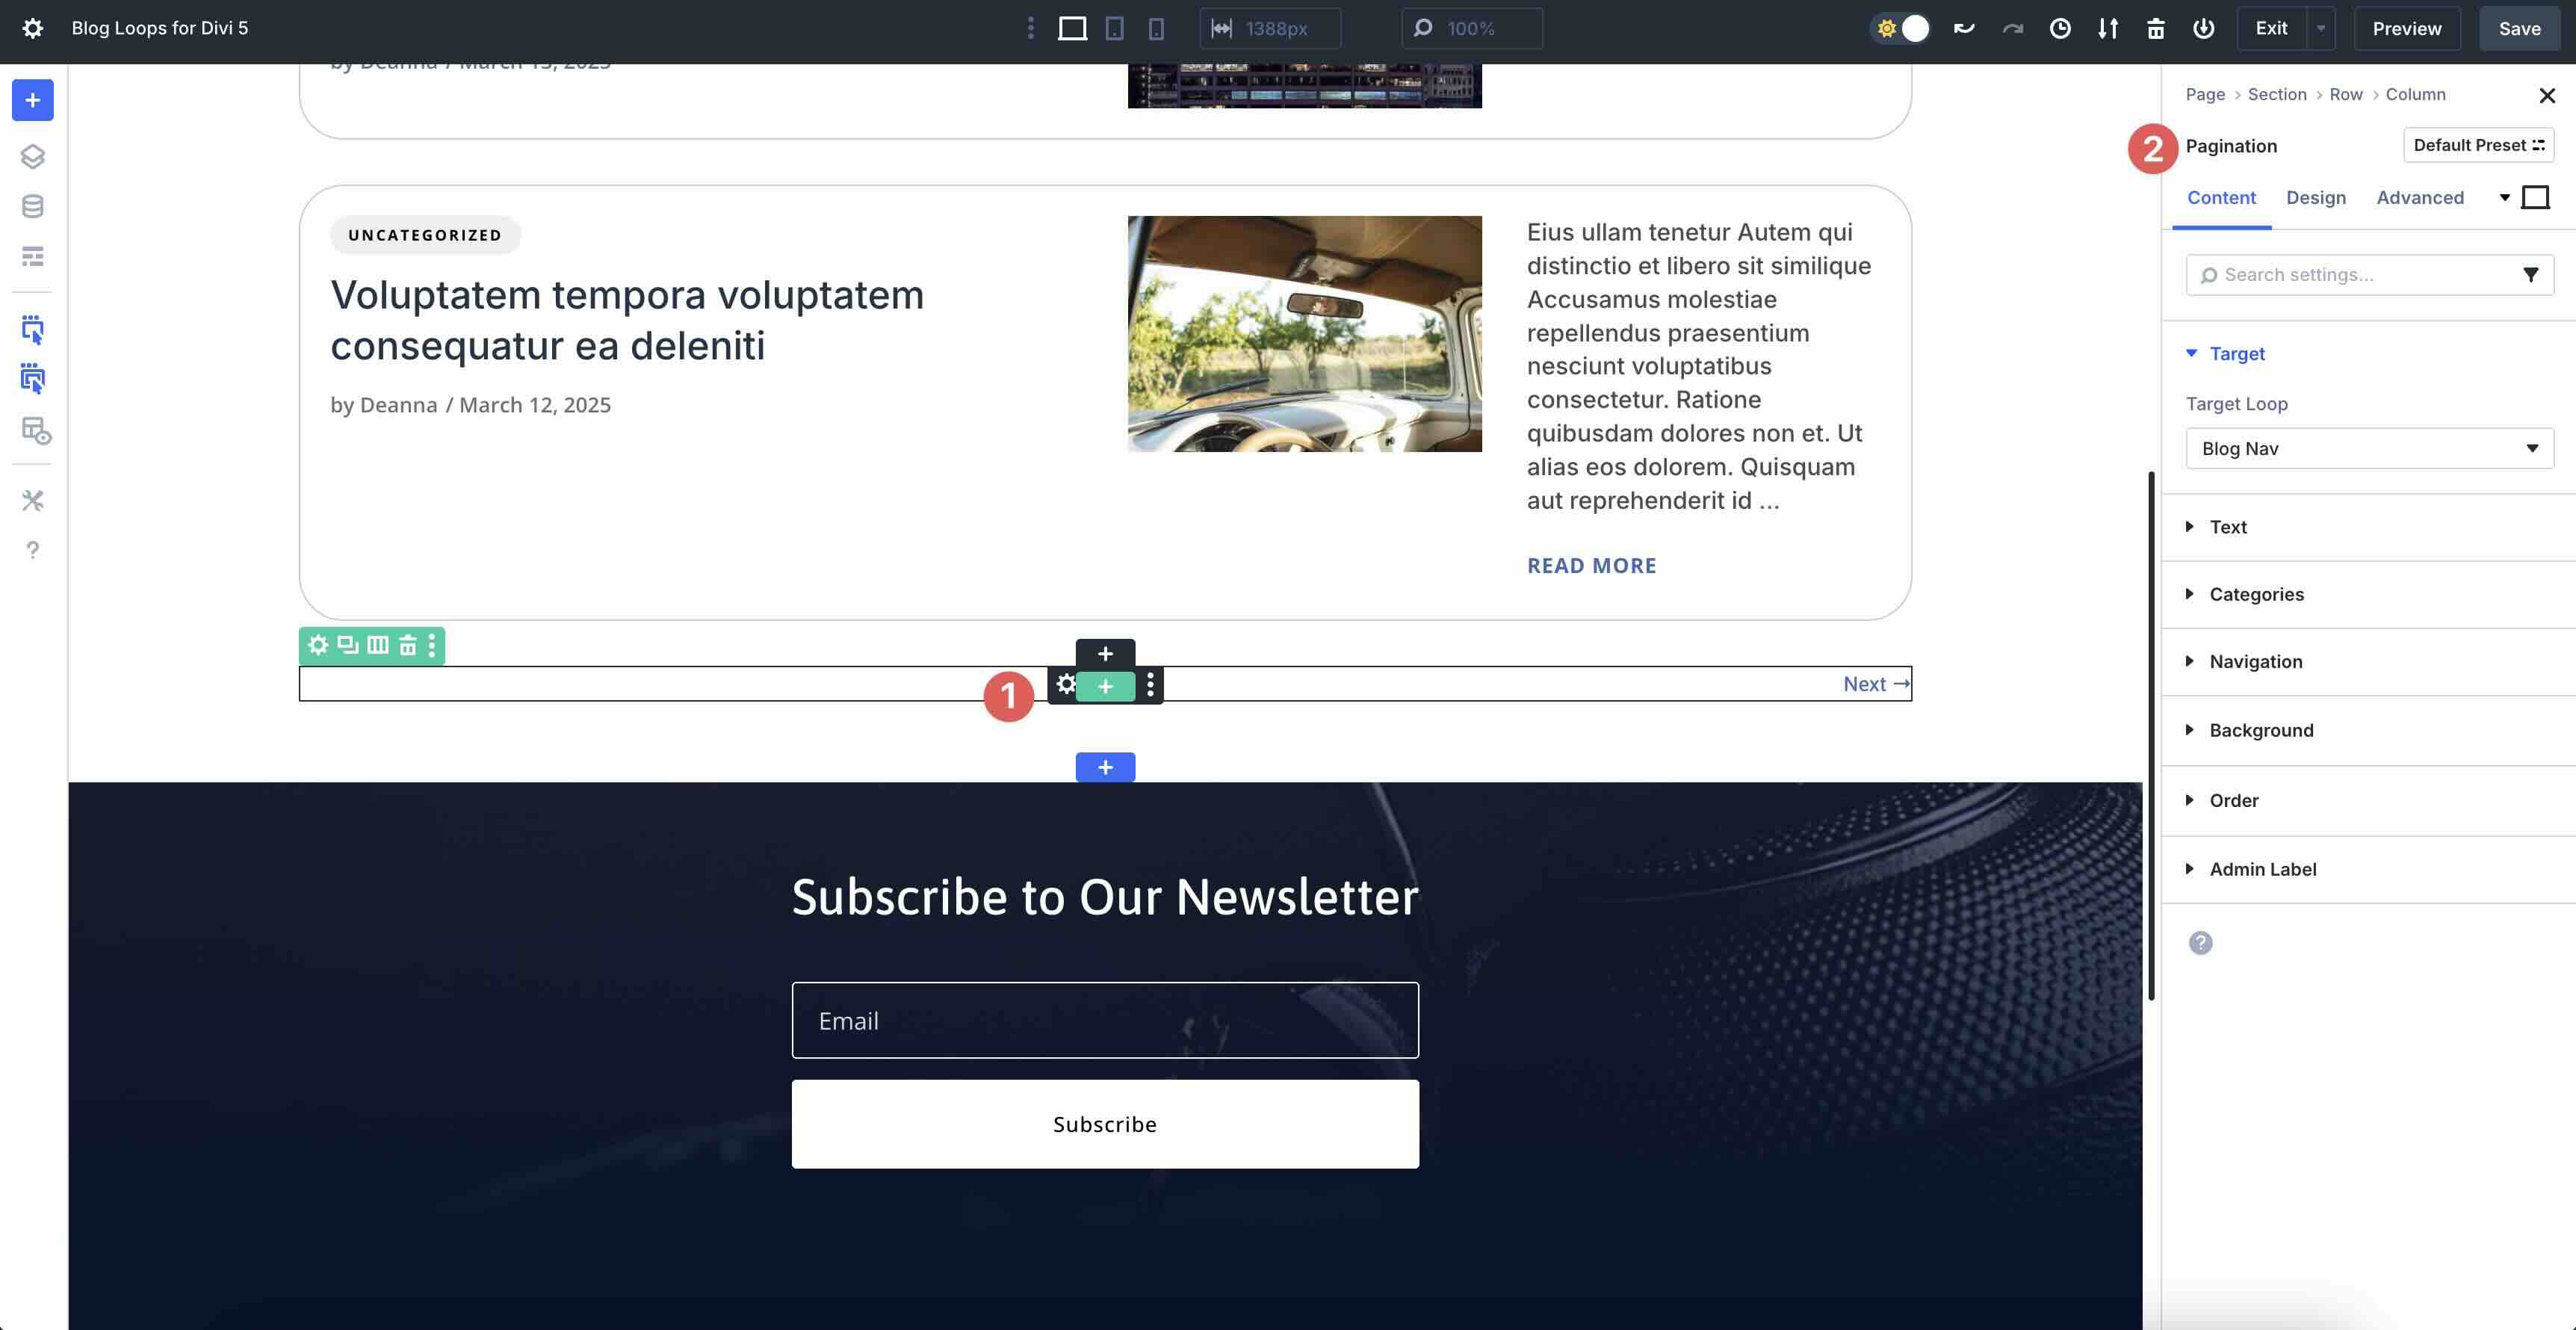
It works by specifying a Target for the loop. In this case, the Blog Nav.
4. Preview And Save The Layout
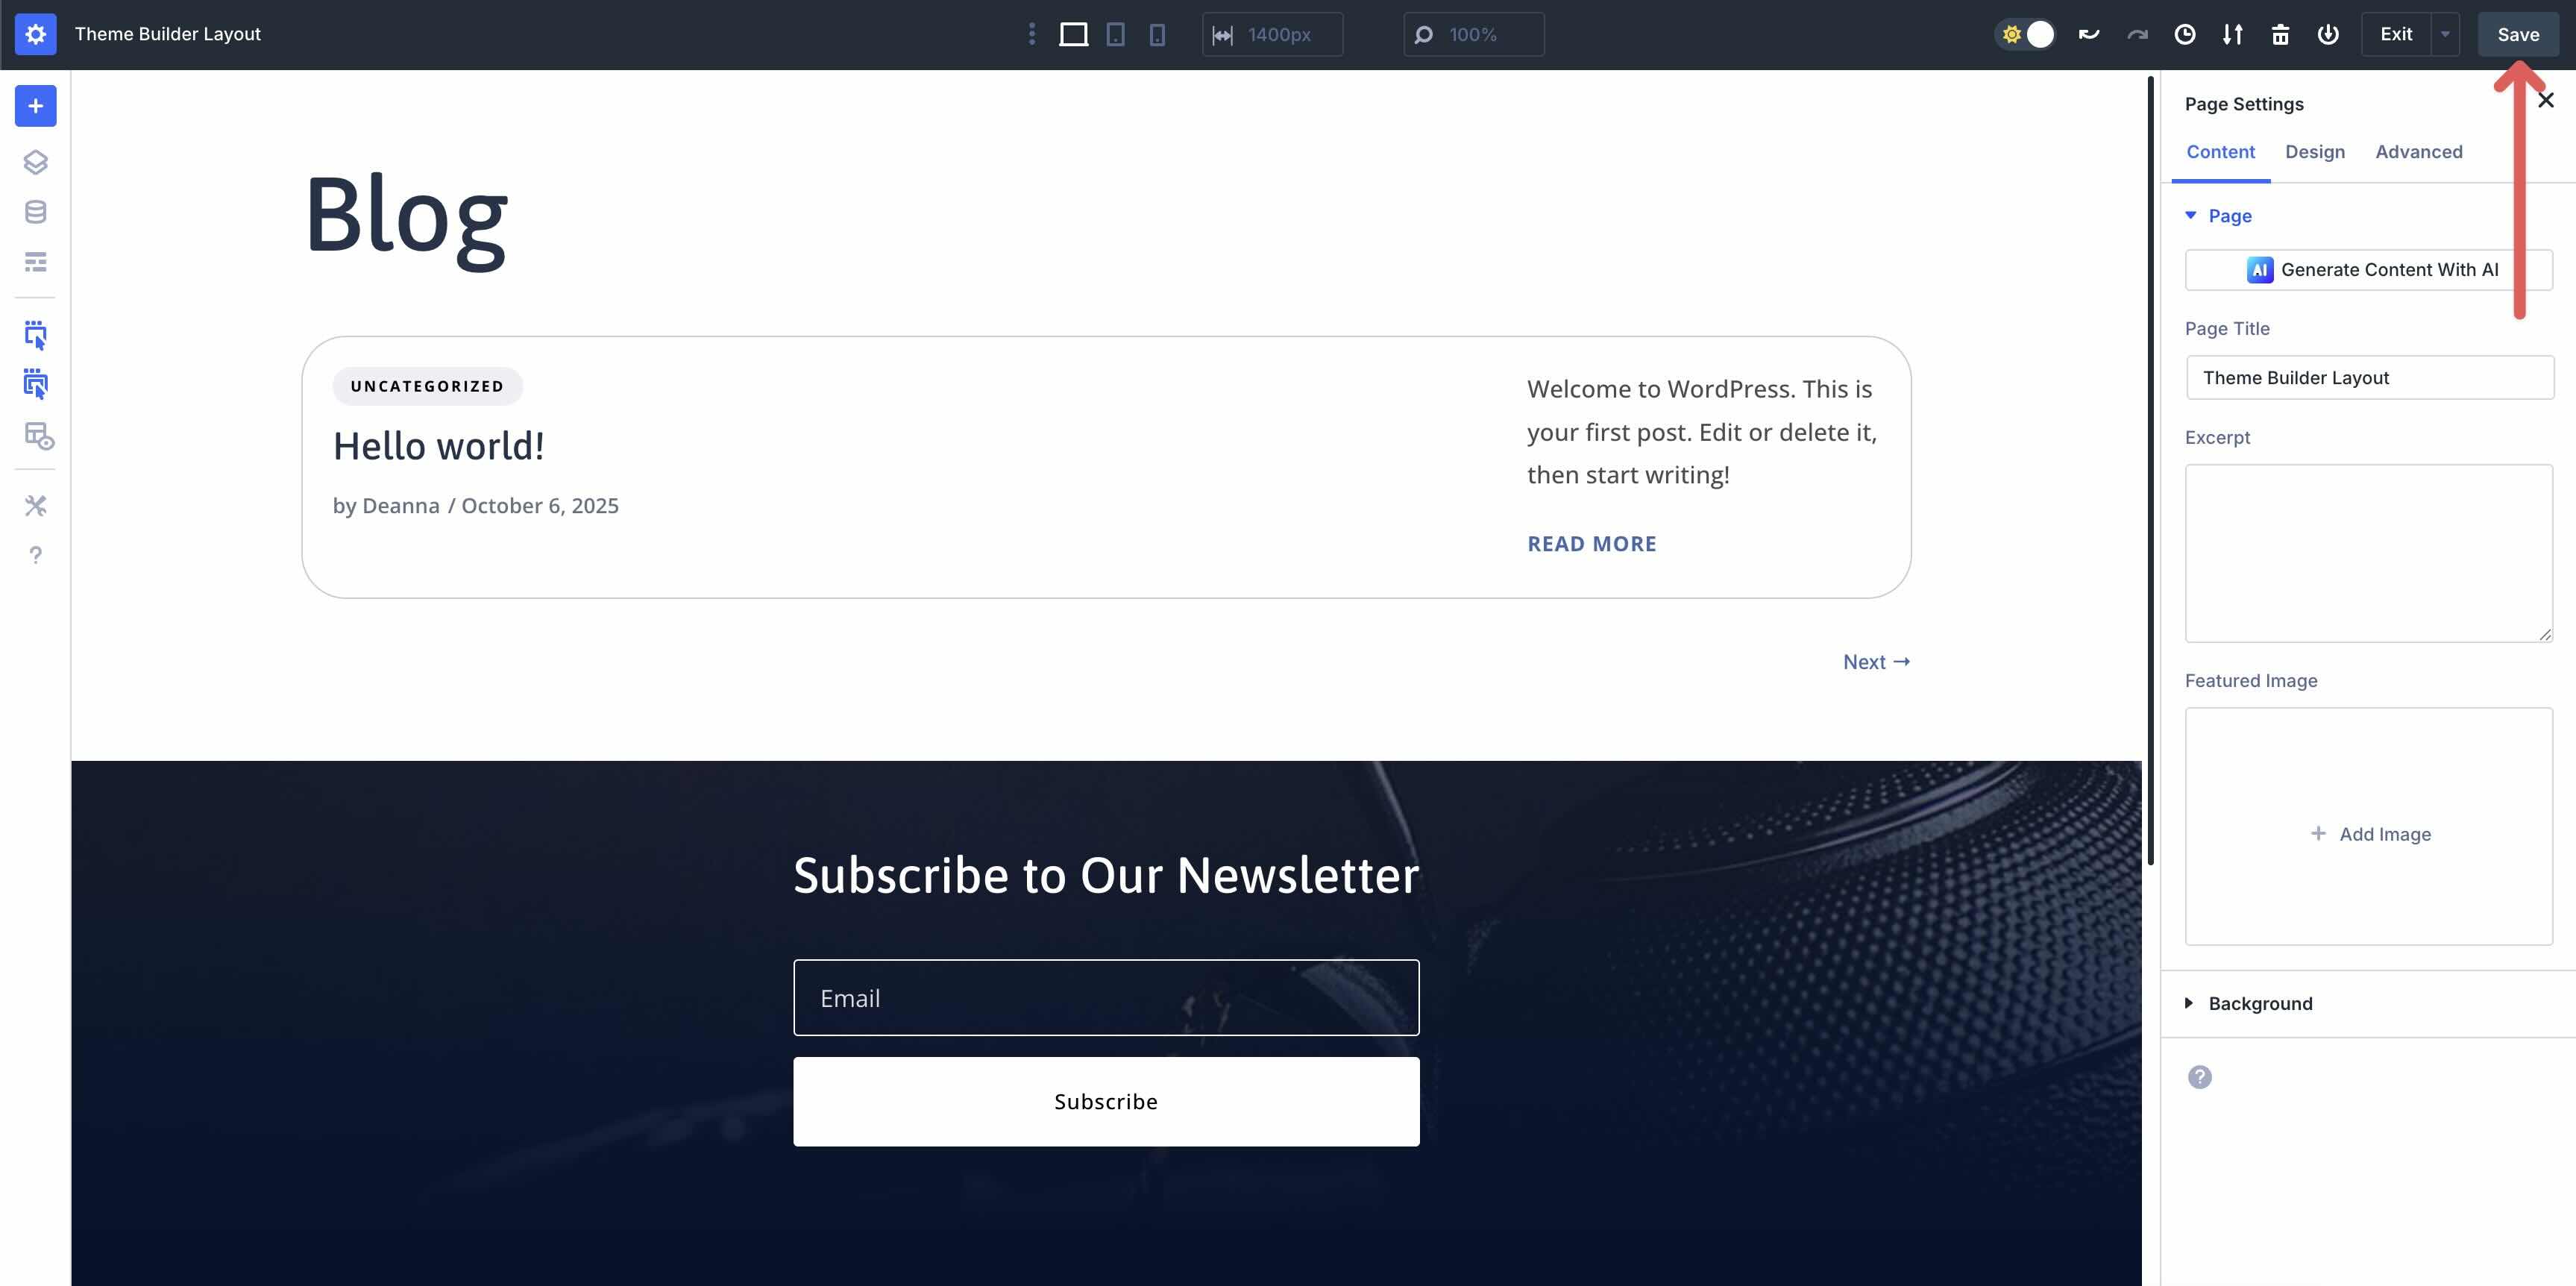
Once you have the layout styled the way you want, click the Preview button at the top right corner of the Visual Builder.
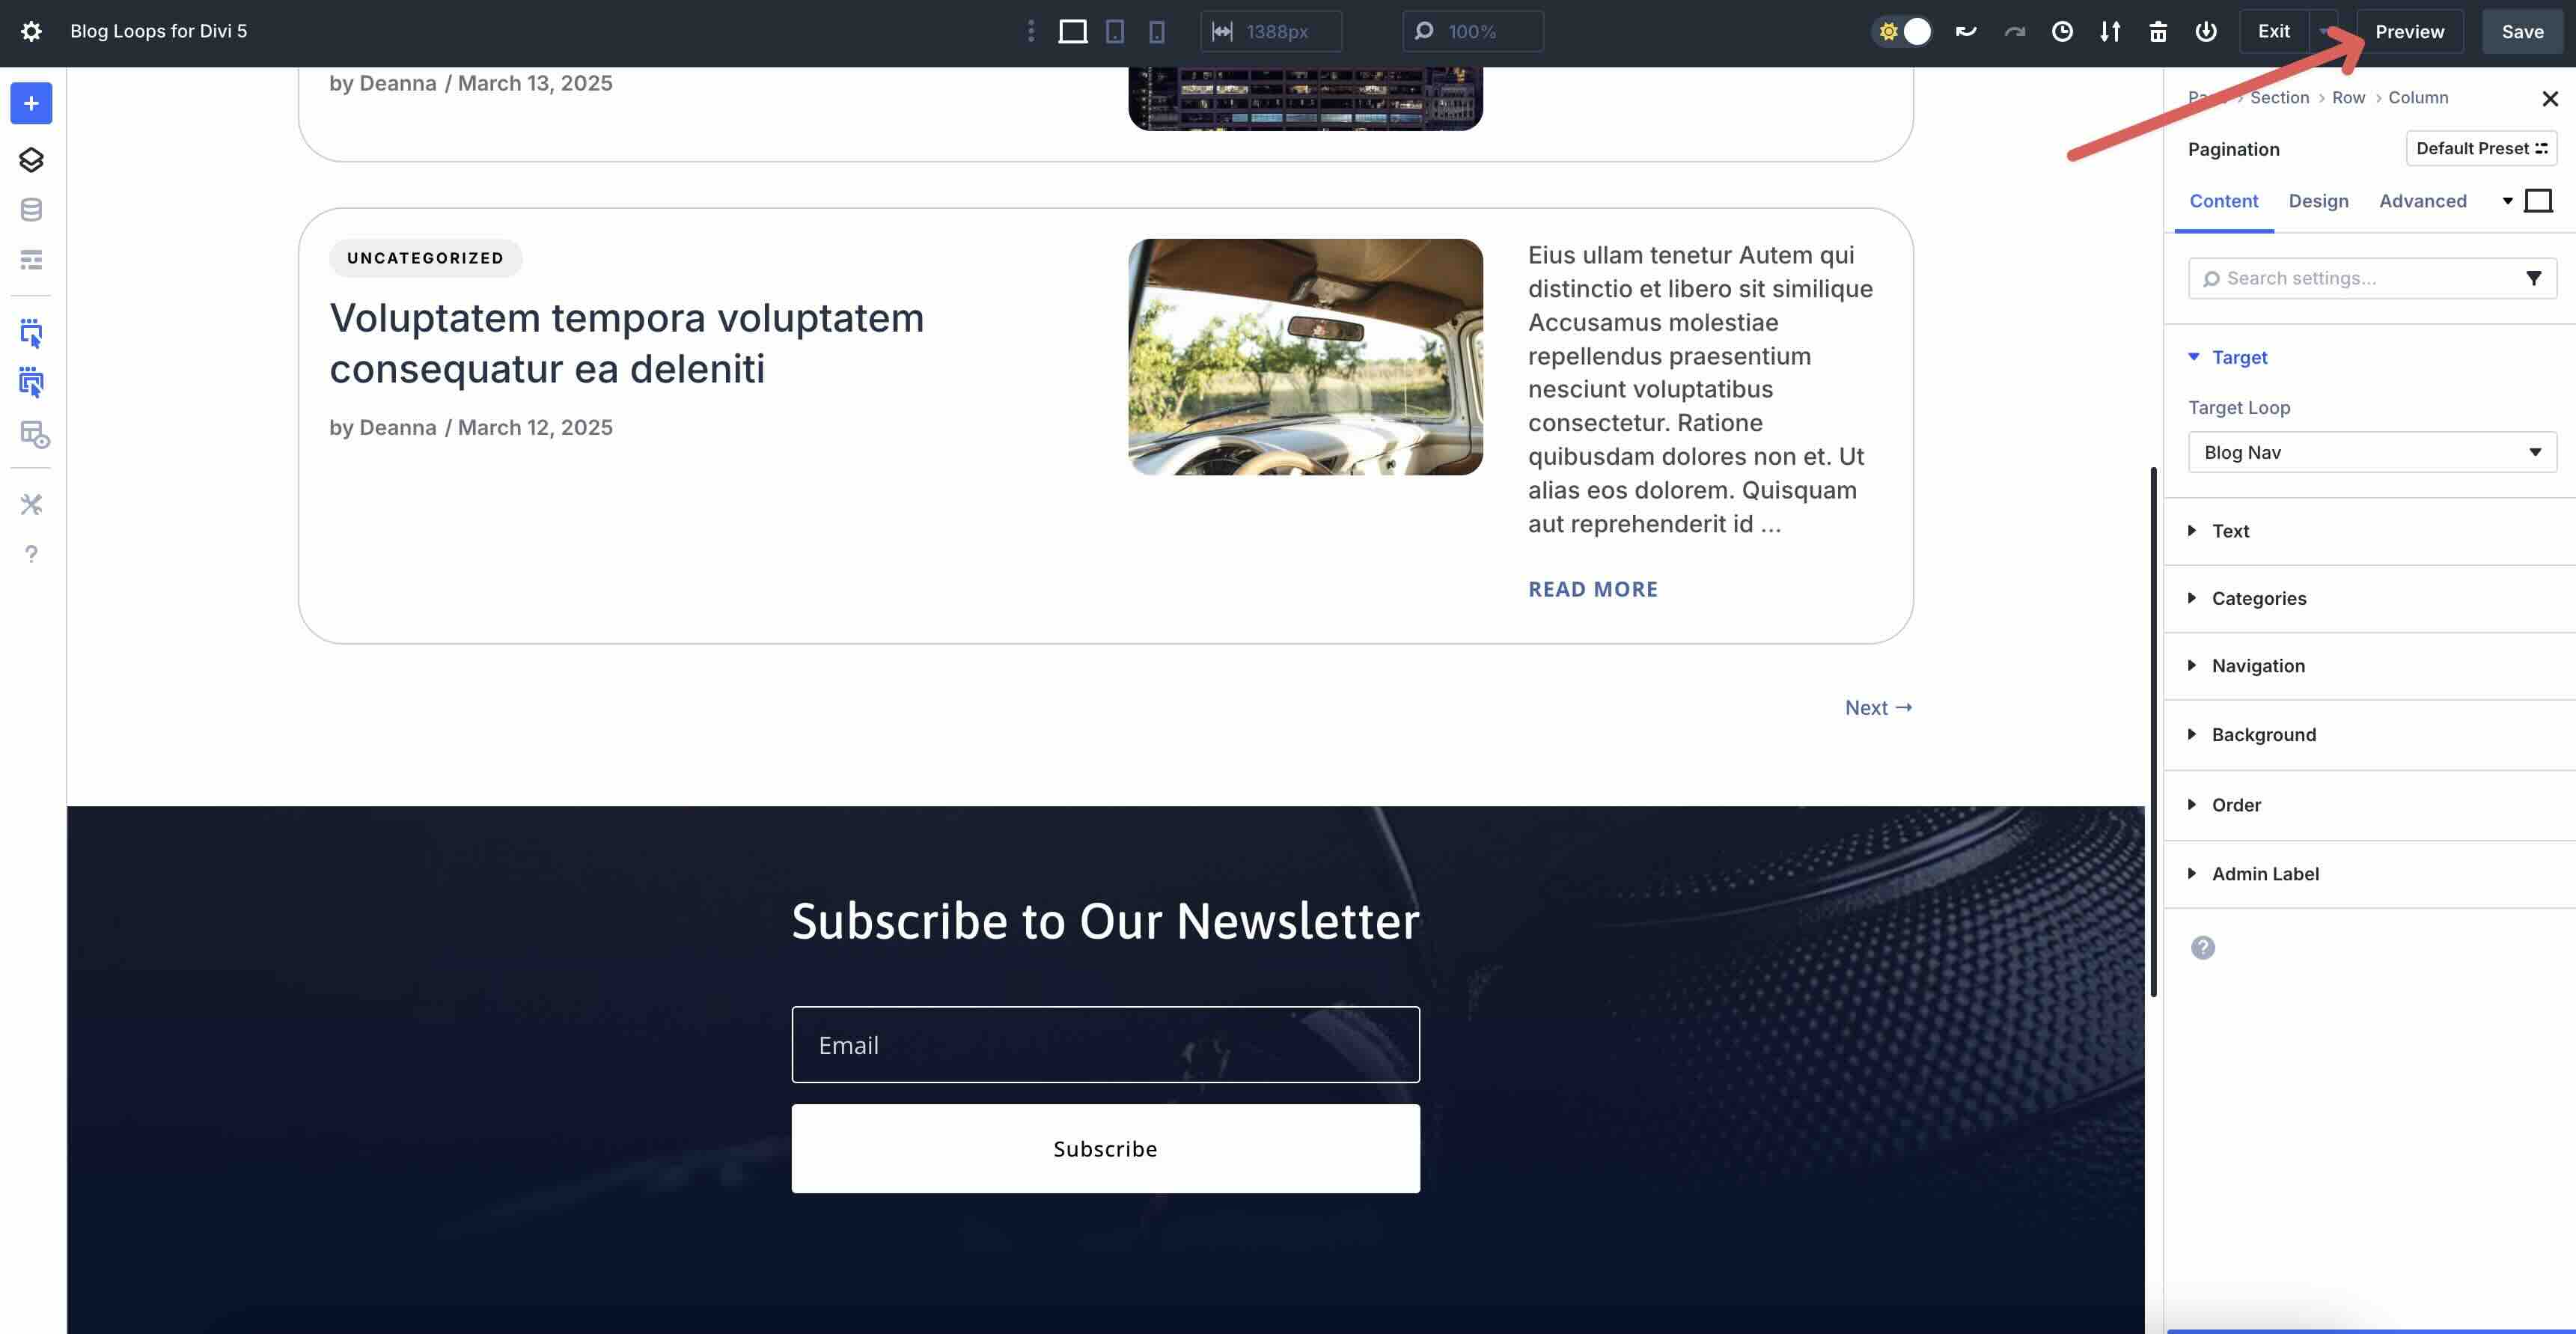
The page will open in a new tab, allowing you to view the layout.
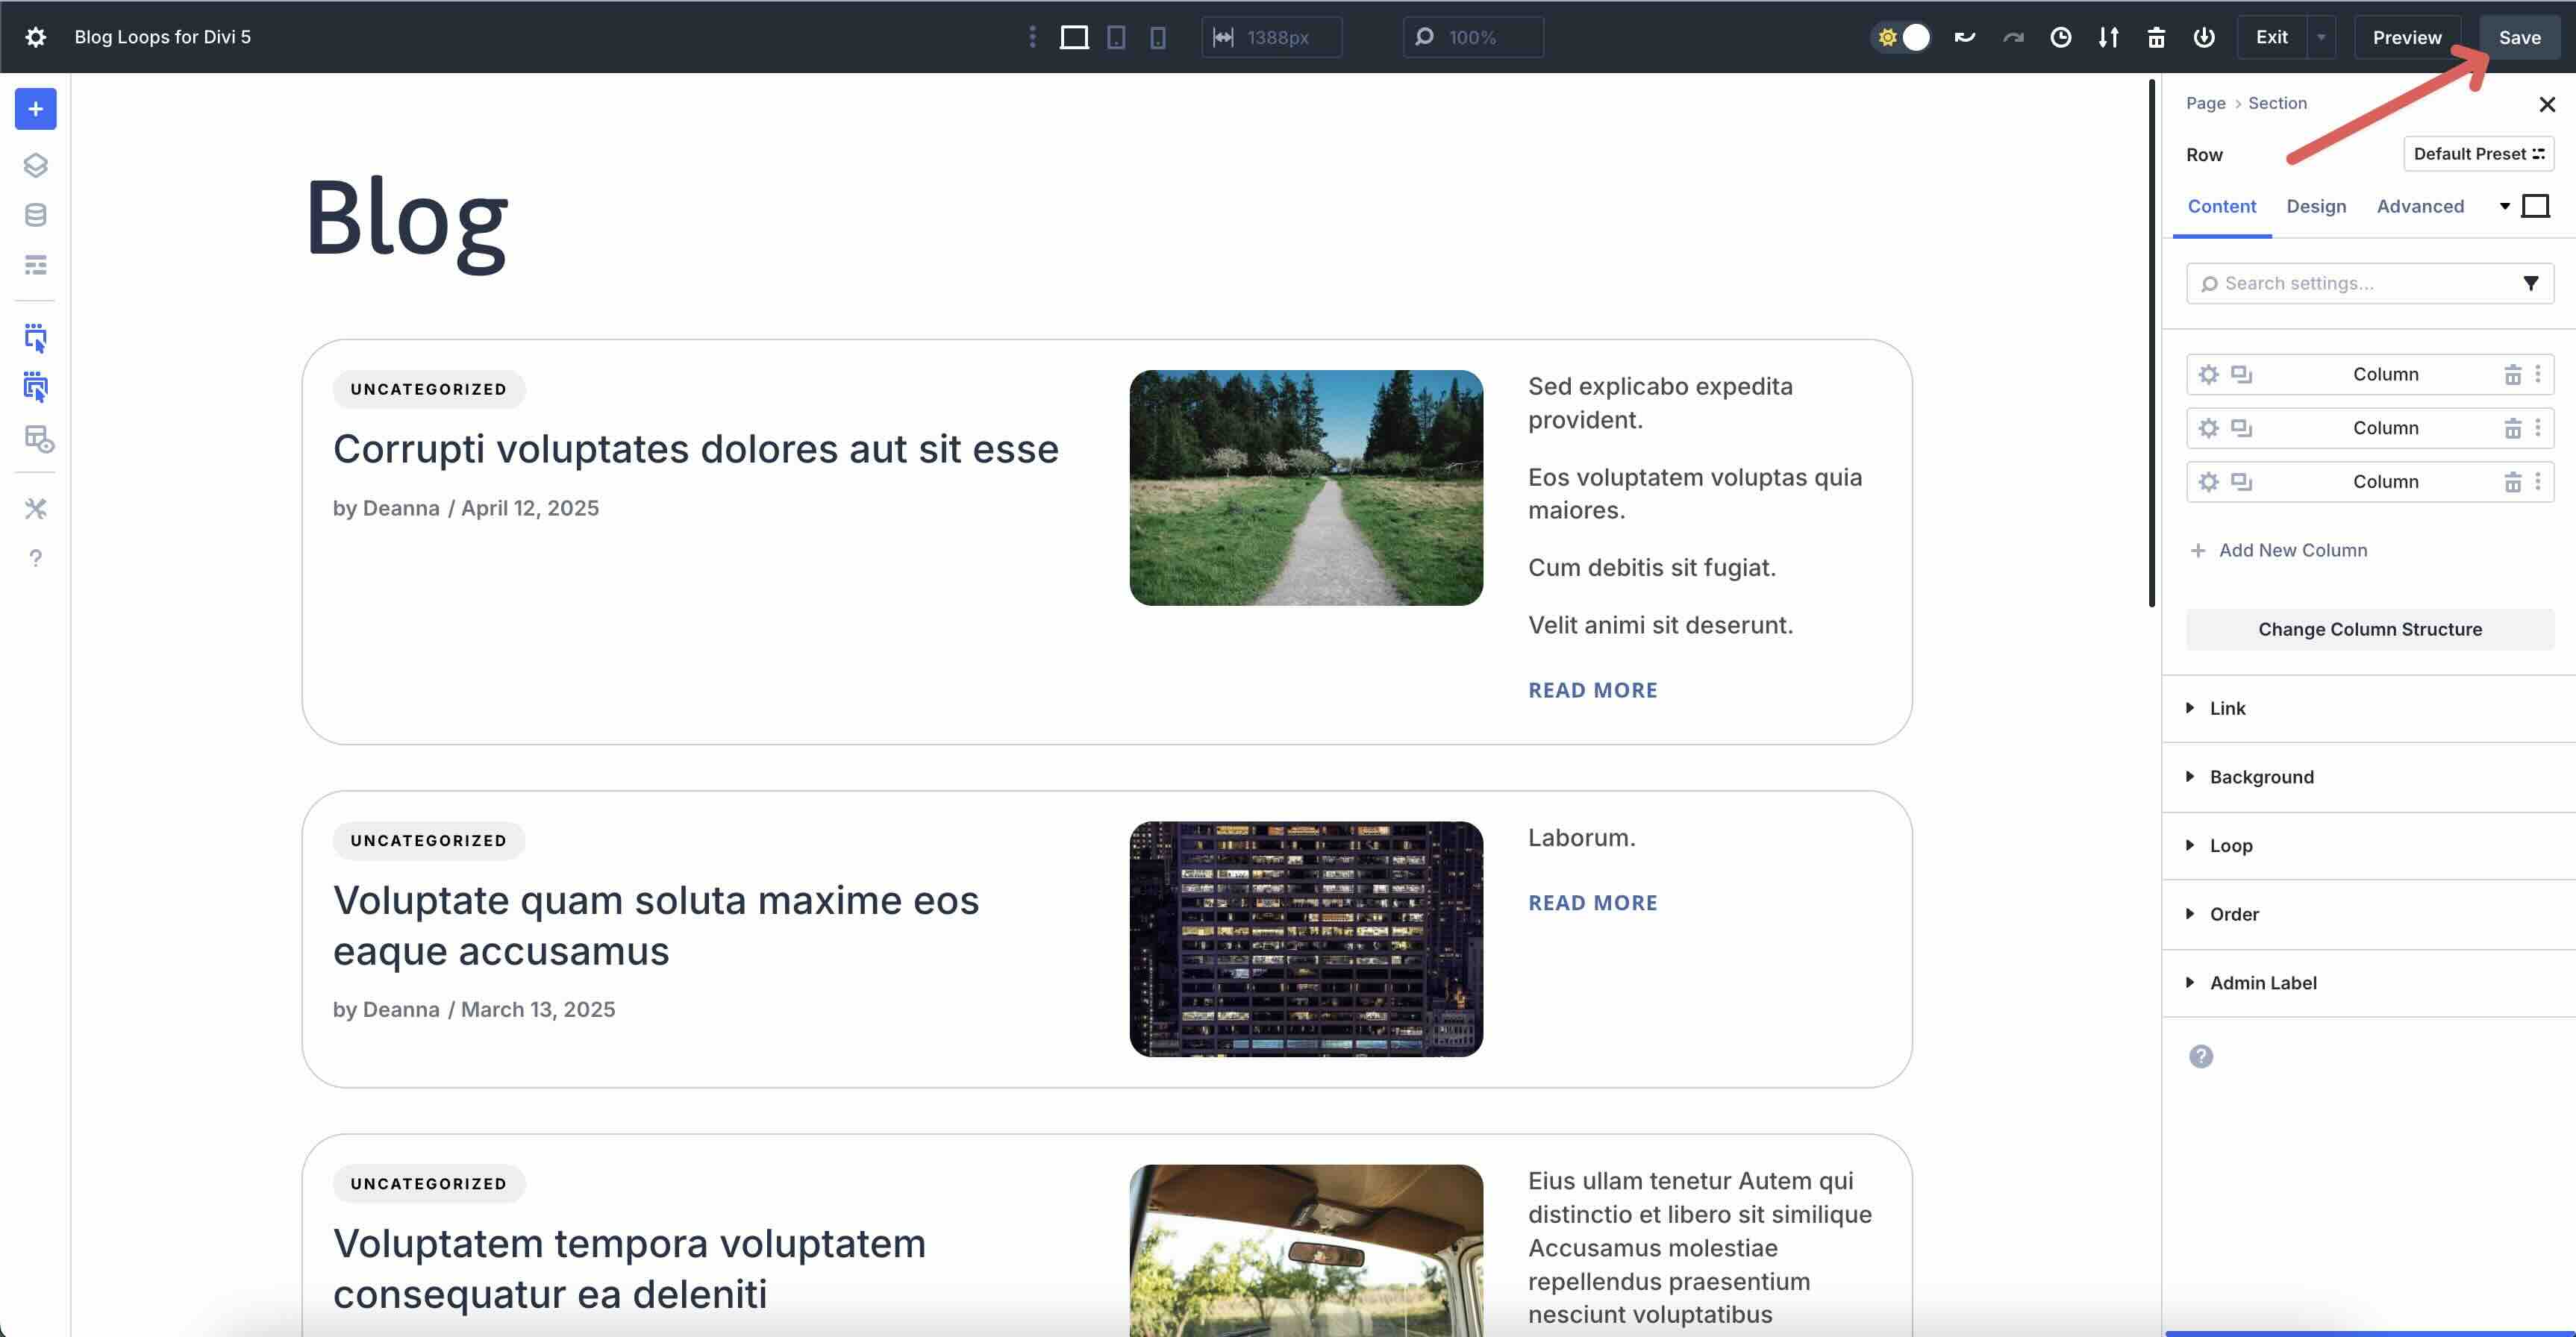
Use Divi 5’s Responsive Editor to make any necessary changes and save the layout.
Use Divi 5 For Building Your Blog Loops Today
These 16 Blog Loops are a quick way to speed up your Divi 5 builds — whether you’re leaning on your global styles or starting with a predesigned look. Drop them into pages or templates, fine-tune the query, and publish. The Loop Builder handles the structure, allowing you to focus on design.


These look brilliant, the ‘bento box’ grid one is just what I need for my current project – thanks as always for the freebies.
Do the images and text only line up cleanly on these samples because the base images are all the same height and the titles are short?
If they don’t do it for you, make sure your Loop Image has aspect ratio set (Image settings > Design > Sizing > Aspect Ratio). That will keep images consistent. As for the whole container, you can set Container settings > Design > Layout > Justify Content = Space Between.