
The WordPress Video Block makes it easy to upload and add videos to your pages and posts. It gives you plenty of options to control the size and features. Adding video with this block makes the content look more professional and desirable. Fortunately, the Video Block is easy to use.
In this article, we’ll explore the Video Block. We’ll also see its settings and options, see some tips and best practices of how to use it, and see the frequently asked questions.
Subscribe To Our Youtube Channel
How to Add the Video Block to your Post or Page
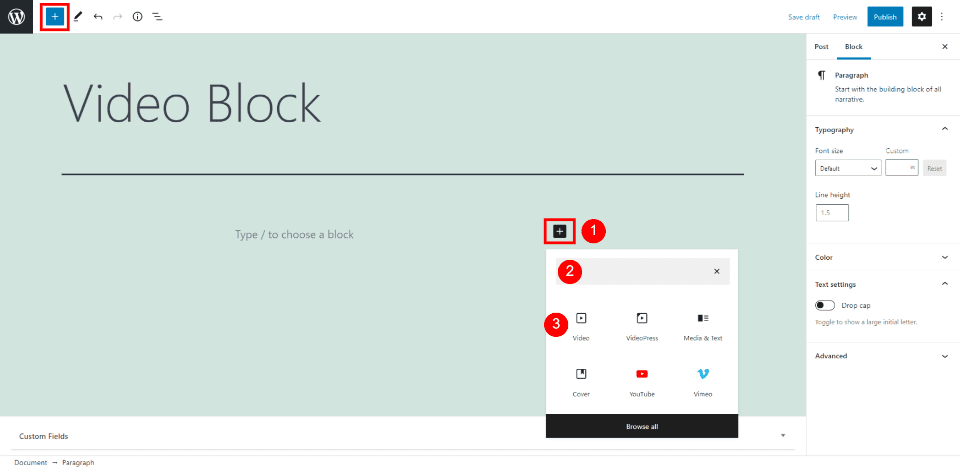
To add the Video Block to your content, first, place your cursor where you want the block to appear and select the Inserter tool. Next, a search box will open where you can search for the block or scroll through to see the options. Search for video and select it when it’s displayed in the results.
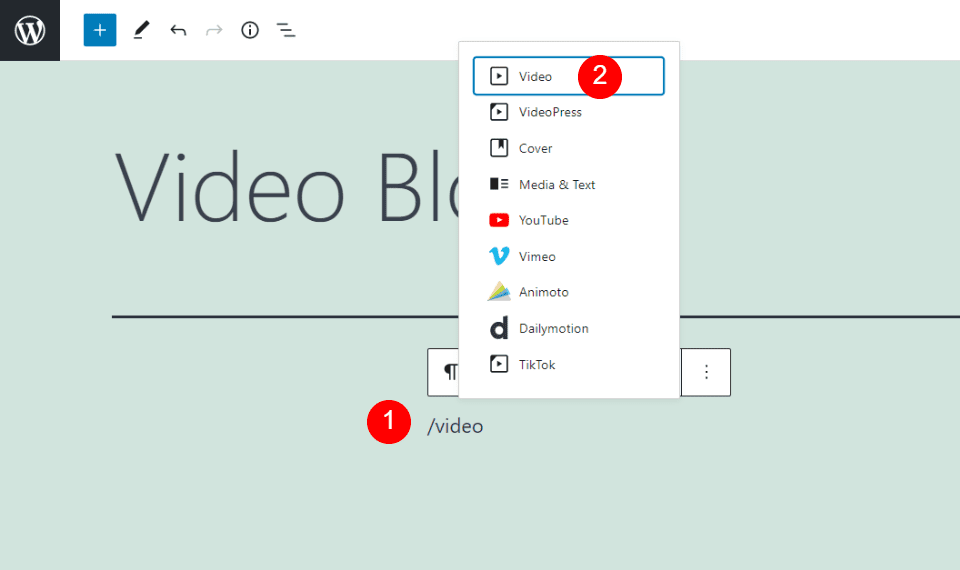
If you prefer, you can type /video where you want to place the block and hit enter or select it from the options.
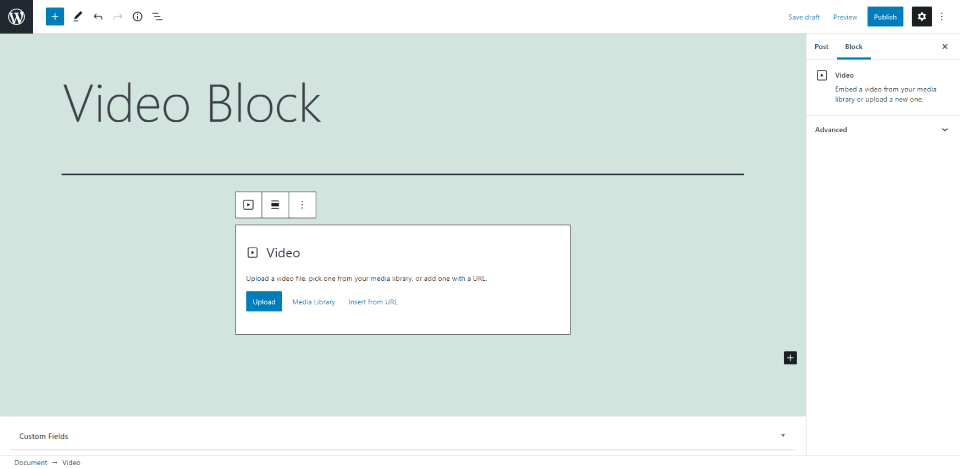
The Video Block will be placed within the content area. Inserting media works the same as an Image Block. Upload a video, choose a video from the library, or insert a URL for the video you want to display. If the URL is from a source such as YouTube, the block will be converted that that type of block. The options are minimal until you upload a video.
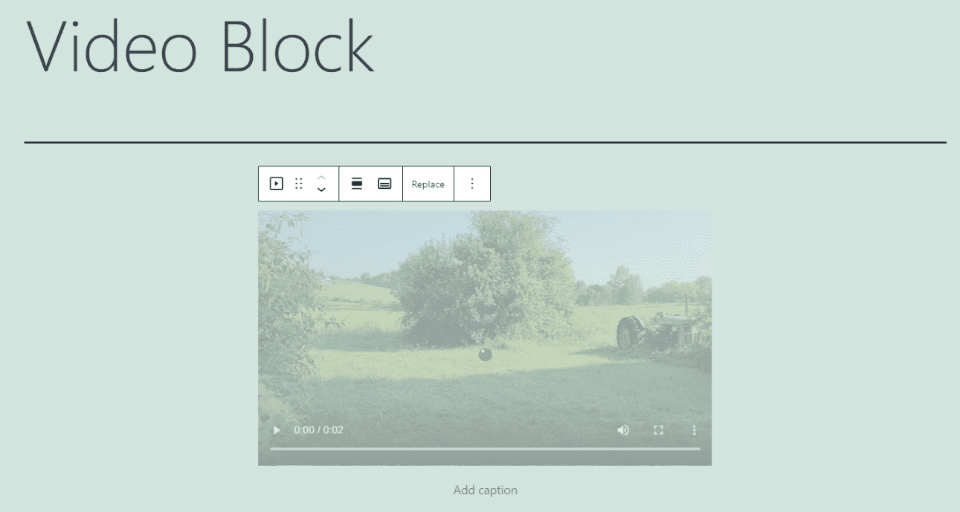
The video player includes all the basic playback options including play/pause buttons, a progress bar, audio, full screen, and download and picture-in-picture buttons. The picture-in-picture places the video in the lower right corner so it can play while the user scrolls through the website. You can place a caption under the video.
Video Block Settings and Options

Options and settings include the toolbar and sidebar. You won’t see all these settings until you upload the video.
Video Block Toolbar
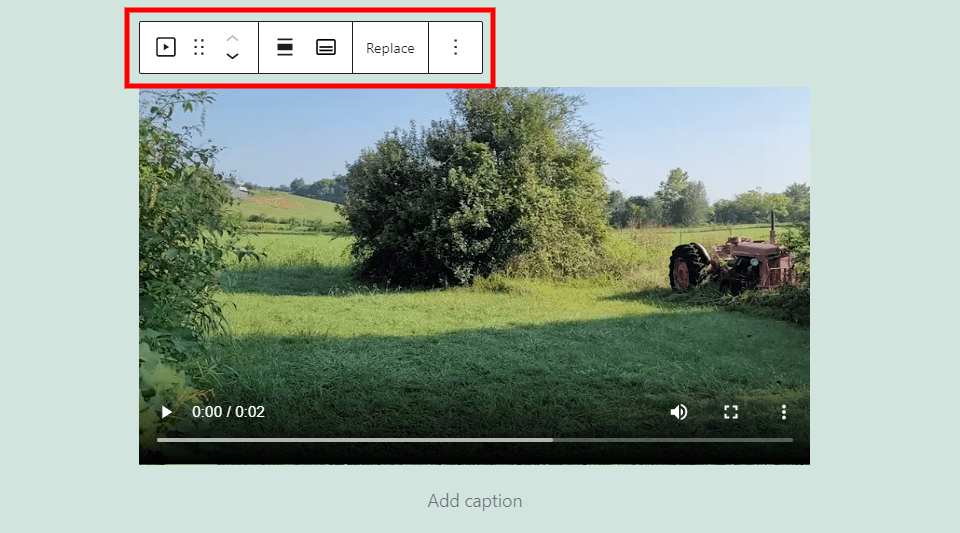
Click anywhere within the Video Block to see the tools. Some tools might not display until you add a block area under this block. Let’s look at each setting in detail.
Video Change Block or Style
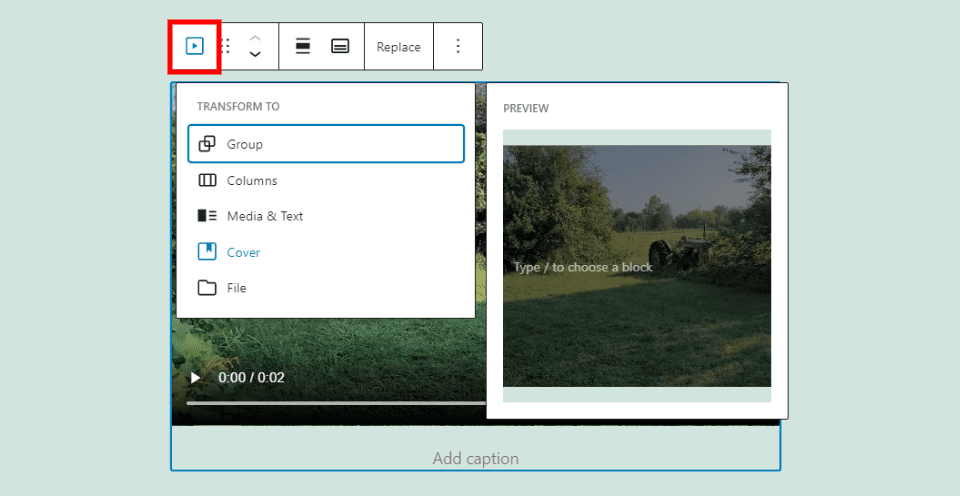
Selecting the video play icon opens a dropdown box where you can transform the block to other types of blocks. This example shows Cover.
Group – this adds the block to a group so you can adjust them as a single block.
Columns – this places the block within columns.
Media and Text – this adds text beside the media, creating two columns.
Cover – this places a caption over the video. You can change the caption from a paragraph block to other types of text blocks or a button.
File – this changes the video to a button with a caption, allowing the user to download the video instead of playing it from the website.
Video Block Drag Tool
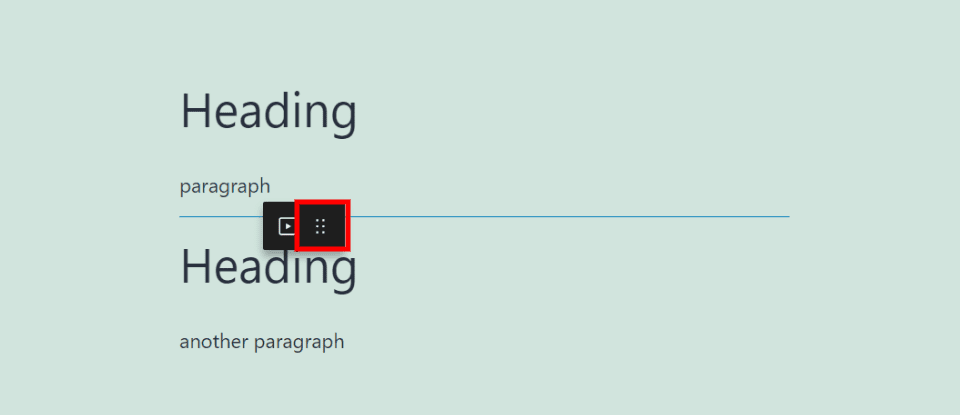
Grab the drag tool with your mouse to move it anywhere within your content. A blue line will appear to indicate where the block will be dropped as you drag it around.
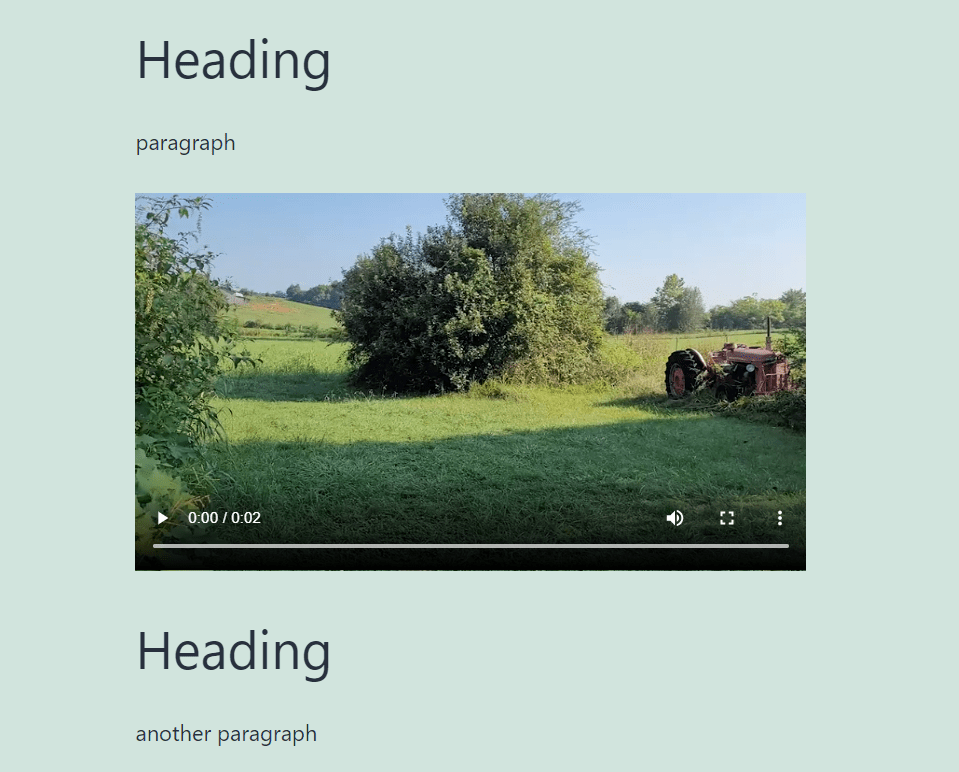
The Video Block will then be placed in its new location.
Video Block Move
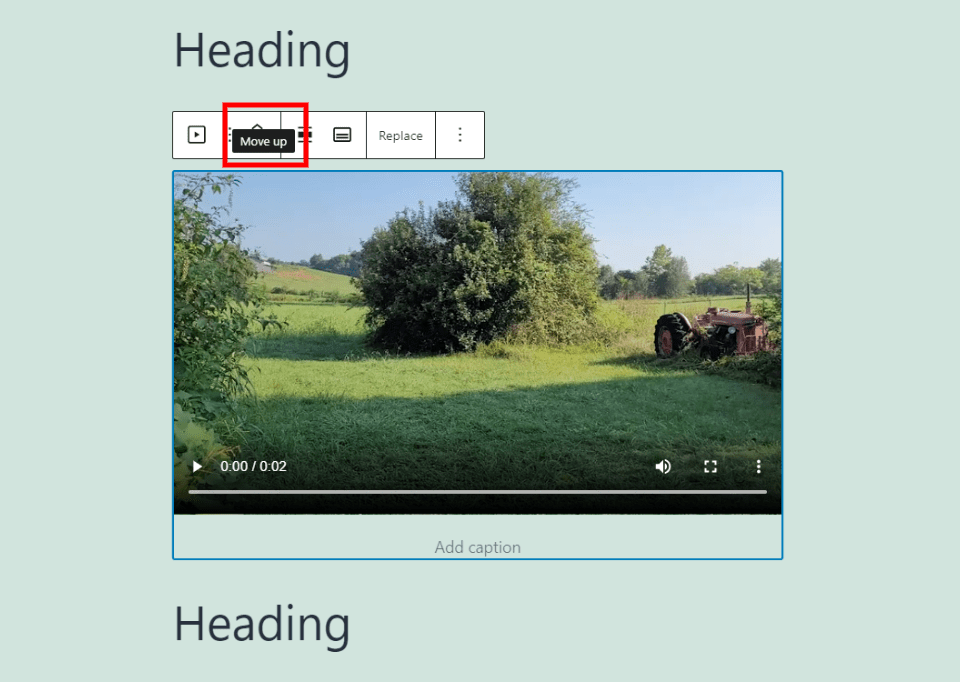
Move the Video Block by one content section using the up and down arrows.
Video Block Change Alignment
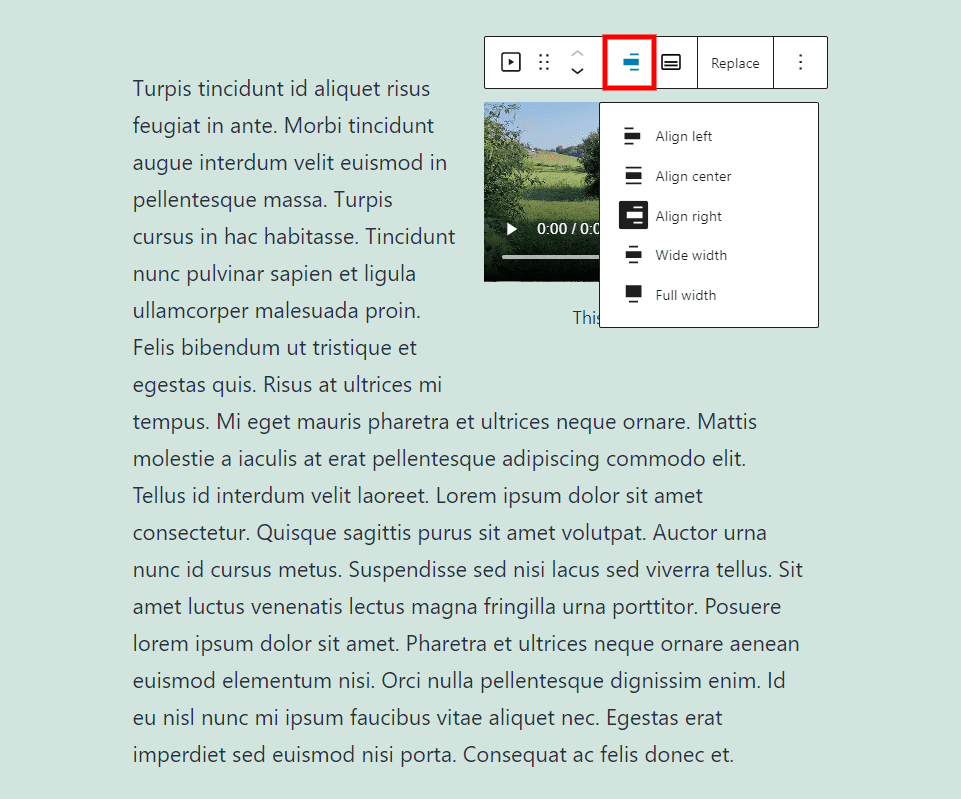
The alignment options include left, center, right, wide, and full width. The right and left alignment wraps the text from the next block around the video. I’ve set this example to align right.
This is wide width. It takes most of the screen.
Video Block Text Tracks
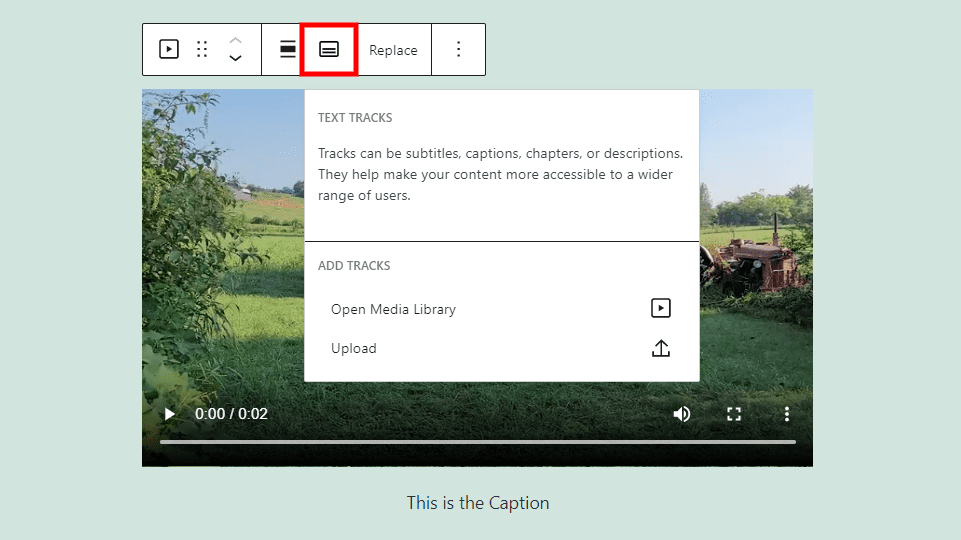
Text Tracks shows subtitles and captions when the video is playing. They’re formatted as WebVTT (Web Video Text Tracks) .vtt files. The files are loaded from the media library.
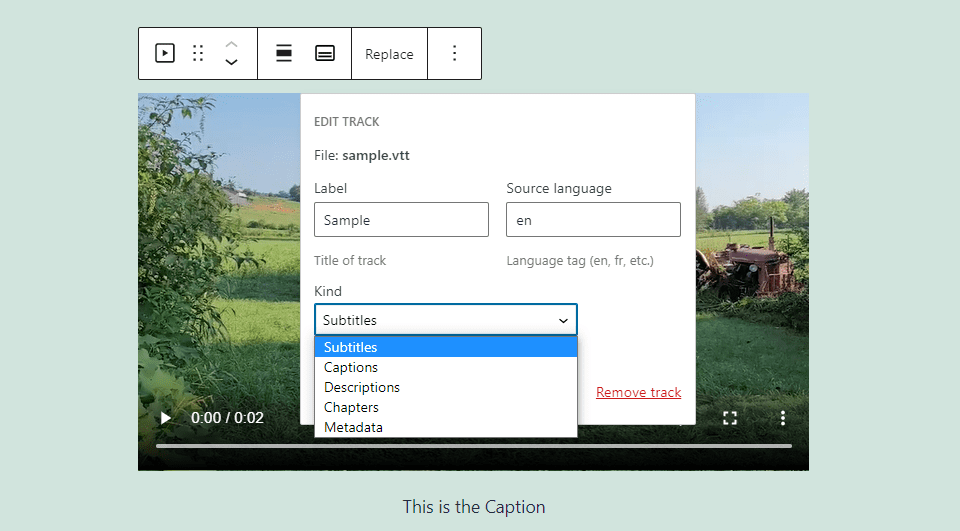
Once you’ve uploaded a .vtt file you’ll see options to edit the track. Add a label, choose the language, and select the kind of track.
The label is the title of the text track that the user will see when they look at the available tracks.
The source language is the language of the text track.
Kind refers to the type of track that will display. Options include:
- Subtitles – translation of the dialog.
- Captions – transcriptions of the dialog, sound effects, music, etc.
- Descriptions – text that describes what’s happening.
- Chapters – chapter titles for navigation.
- Metadata – data for JavaScript to use.

Captions are then added to the player’s options that users can select.
Video Block Replace

This lets you replace the video with a different video.
Video Block Options
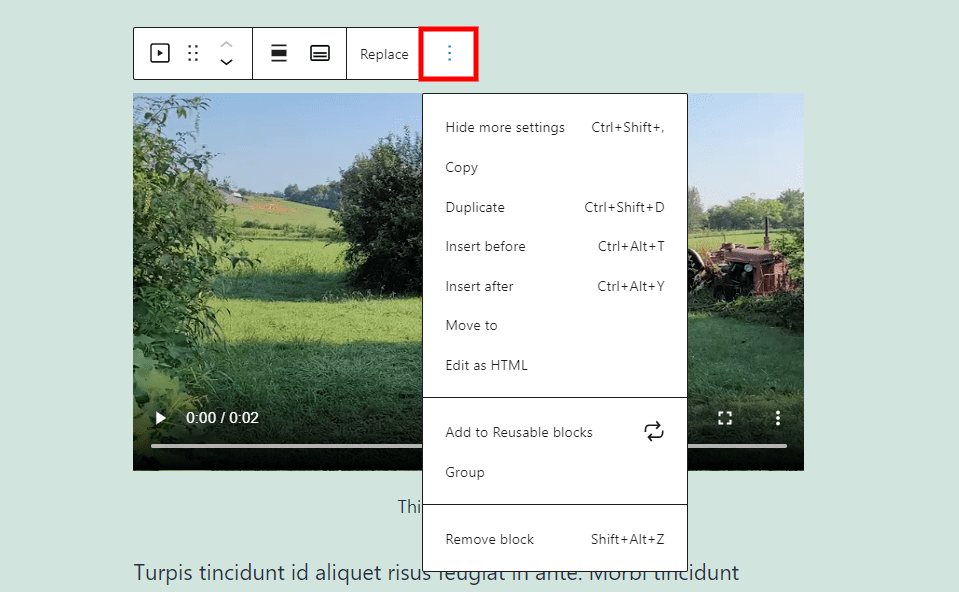
Options include hide more settings, copy, duplicate, insert before or after, move to, edit as HTML, add to reusable blocks, group, and remove the block.
Here’s what the options do:
Hide More Settings – this hides the right sidebar, removing distractions and expanding your workspace.
Copy – this copies the Video Block to your clipboard so you can paste it anywhere within your content.
Duplicate – this adds a duplicate of the block under the original.
Insert Before – this adds a block area above this block so you can place another block.
Insert After – this adds an area below this block where you can place another block.
Move To – this lets you move the block up or down. It’s moved by using the arrow keys to place a blue line where you want the block and hitting Enter.
Edit as HTML – this shows the HTML of just this block, leaving all other blocks as normal.
Add to Reusable Blocks – the adds the block to your reusable blocks so you can reuse it on other pages or posts.
Group – this adds the block to a group so you can adjust all the blocks as a single unit.
Remove Block – this deletes the block.
Video Block Caption Options
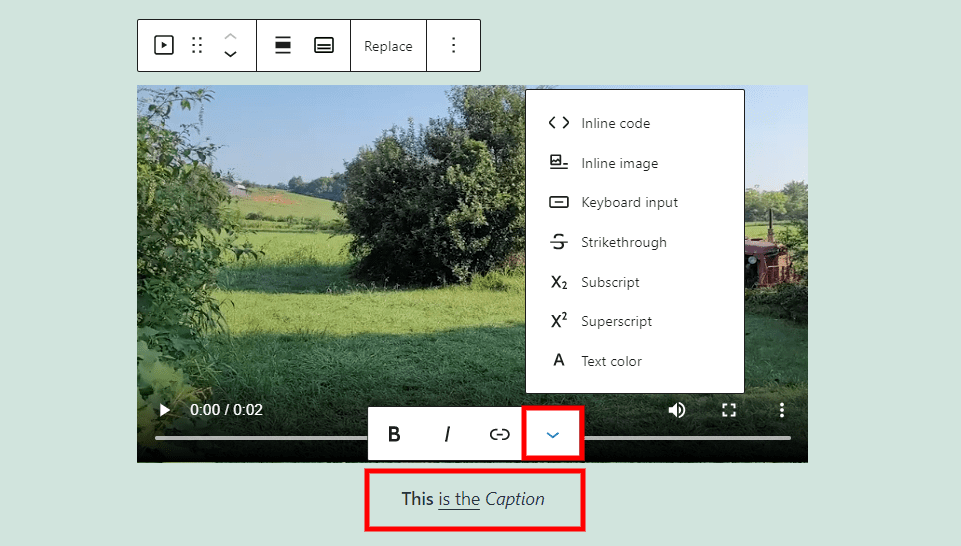
The caption also has a set of options. Clicking anywhere within the caption area opens a small toolbar with bold, italic, and link options. It also includes options for formatting. Options include:
- Inline code
- Inline image
- Keyboard input
- Strikethrough
- Subscript
- Superscript
- Text Color
Each affects the text you have highlighted.
Video Block Settings
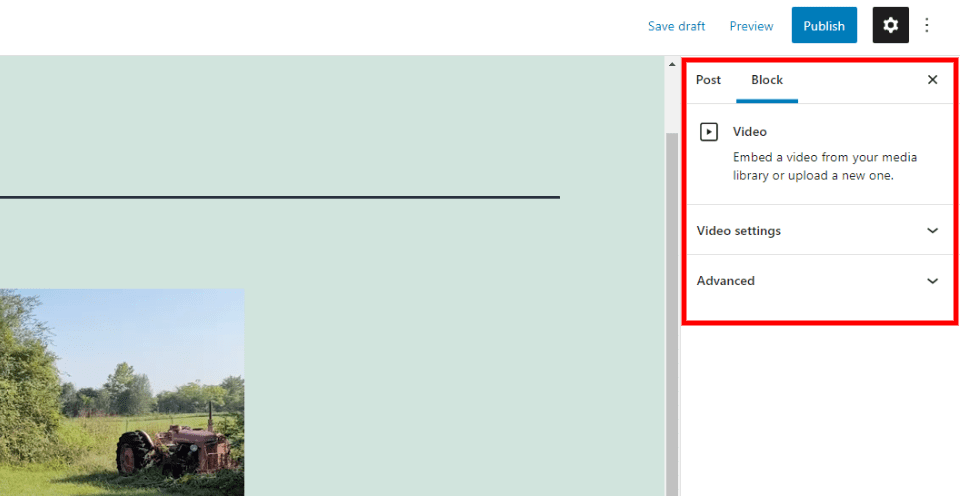
The settings for the Video Block include video and advanced. Let’s look at both.
Video Settings
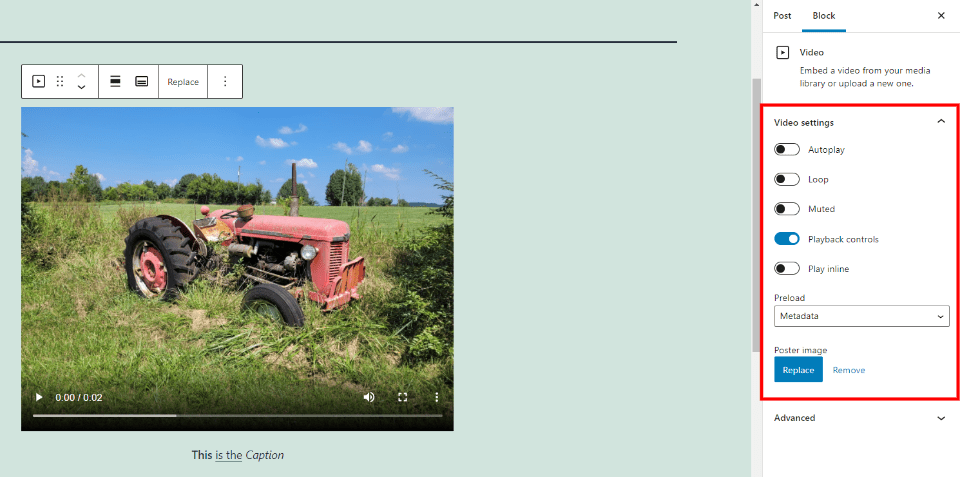
Video Settings let you control how the player works. Options include:
Autoplay – plays the video automatically when the page is loaded.
Loop – plays the video on a continuous loop.
Muted – mutes the audio.
Playback Controls – hides or shows the player controls. When the controls are hidden, the user will not have control over the video. Autoplay will have to be enabled.
Play Inline – plays the video within the element’s playback area.
Preload – sets how much of the video is downloaded when the page is loaded. Choose auto (the entire video), metadata (only the basic information), or none (nothing is downloaded automatically).
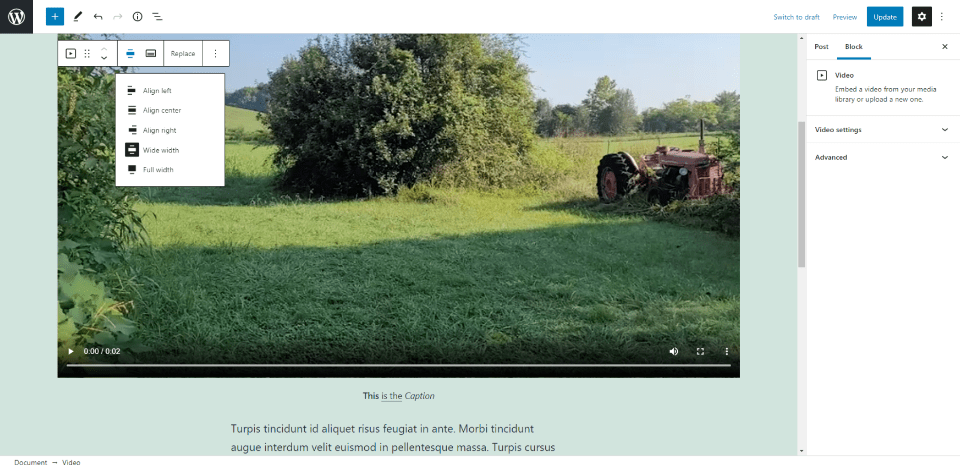
Poster Image – lets you replace the screenshot from the first frame of the video with a featured image. It still displays the player controls unless you deactivate them. I’ve added a new image in the example above.
Advanced
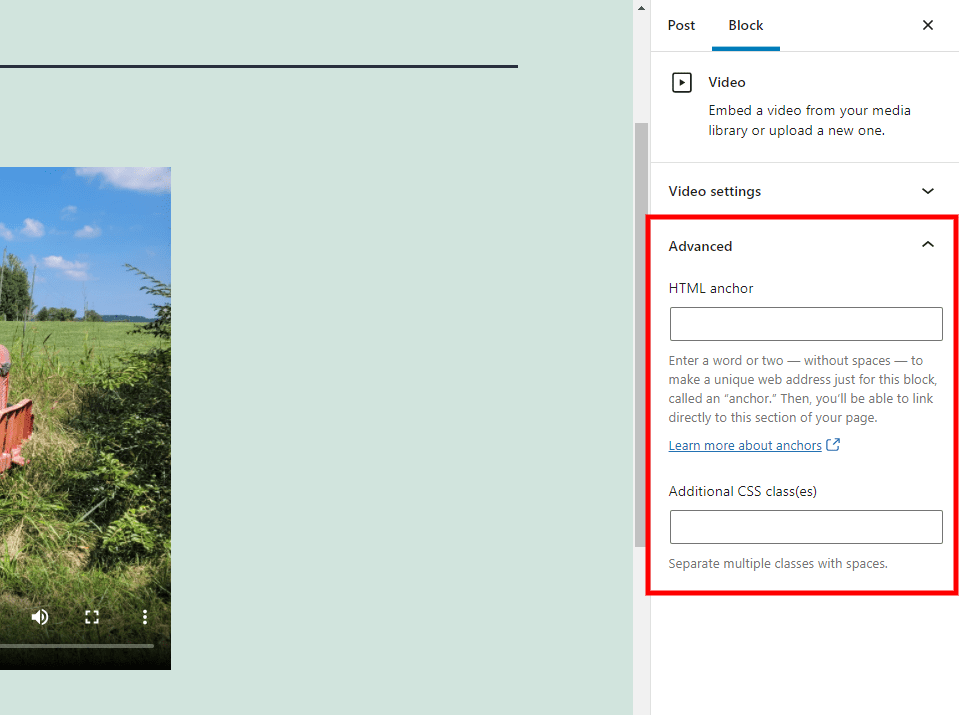
The advanced video settings include the HTML anchor and additional CSS classes.
HTML anchor – lets you specify the text to use as a custom URL for this specific block.
Additional CSS classes – provides a field to add any CSS classes you want to use for this block.
Tips and Best Practices for Using the Video Block Effectively
If you’re embedding videos from sources such as YouTube or Vimeo, then use their block rather than a Video Block.
Compress the video and reduce its size and load time.
Create .vtt tracks using online caption generators or similar apps.
Set preload to None if you want to increase your page speed. The amount that is downloaded automatically will have an impact on your page loading speed.
Use the right and left width options to place the text around your video to make it look interesting visually. Use wide and full-width options to emphasize the video.
Instead of using the first frame for the video’s image, create a featured image that you’d like to click on.
Frequently Asked Questions about the Video Block
What’s the purpose of this block?
This block makes it easy to host the videos on your website and gives you control over how the player works.
What’s the difference between a Video Block and a video embed?
Embedded video from sources such as YouTube and Vimeo do not give you control over the player’s features.
What are the best ways to use this block?
Use autoplay with looping and remove the player controls for product demonstrations and short tutorial clips. For longer videos, disable autoplay and keep the controls enabled.
Conclusion
That’s our look at the WordPress Video Block. I like the level of control it provides. The left and right alignment especially look good with content around it and the wide width is a great way to draw attention to the video. Adding a poster image can grab the attention of users. This block is a great choice for product demonstrations, tutorials, music, and lots more.
Just needing more options? Check out the popular Youtube and video embed plugins for WordPress sites.
We want to hear from you. Do you use the Video Block? Let us know about your experience in the comments.
Featured Image via PD99 / shutterstock.com


Leave A Reply