
WordPress enables you to add Paragraph and Image blocks separately. However, you can also place both types of elements side by side, thanks to the Media and Text block. It even includes several layouts that you can choose from, if you know how to navigate its settings.
In this article, we’ll show you how to add this versatile block to your posts and pages. We’ll go over configuration options, and discuss tips and tricks to get the most out of this element.
Let’s get to work!
Subscribe To Our Youtube Channel
How to Add the Media and Text Block to Your Post or Page
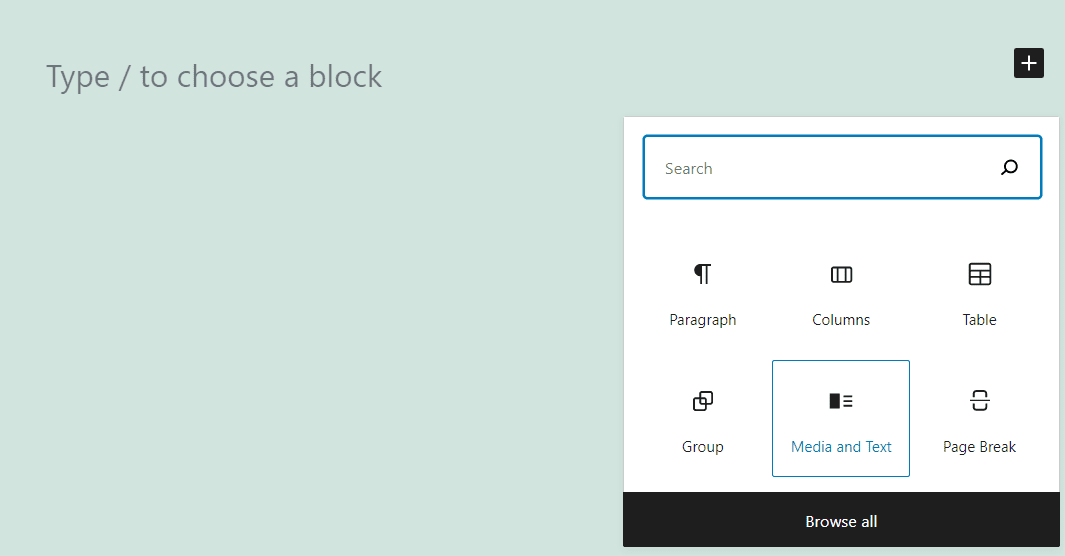
The Media and Text block enables you to add written content, videos, and image files side by side using multiple layouts. To use it, open the post or page you want to edit. Click on the plus sign and select the Media and Text option:
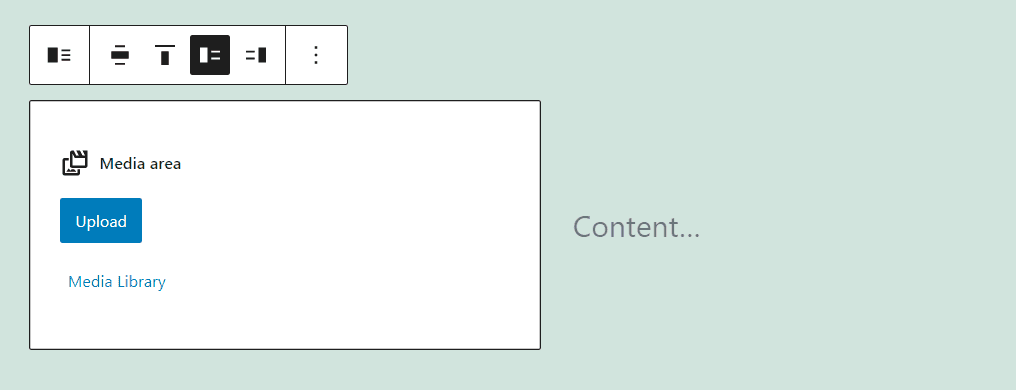
By default, the Media and Text block will use a layout that places image or video files to the left and written content to the right. You can click on the Upload or Media Library options to select a file:
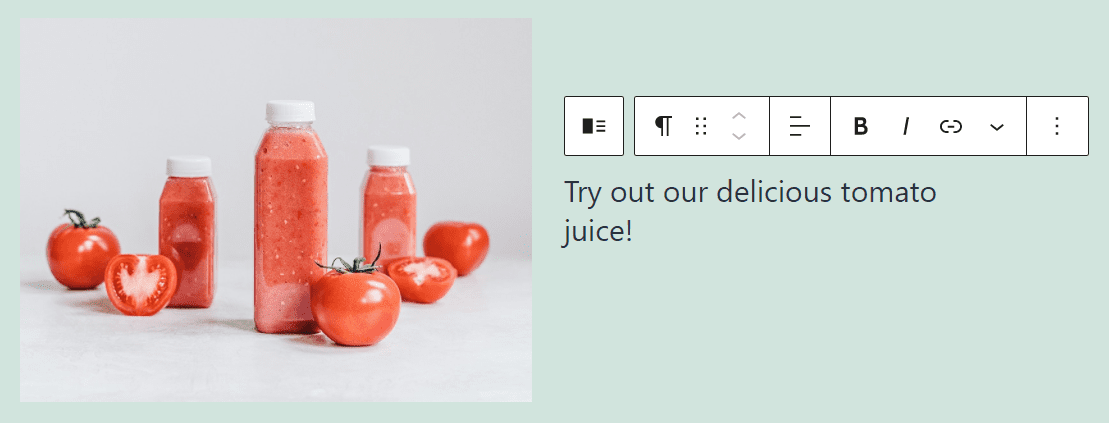
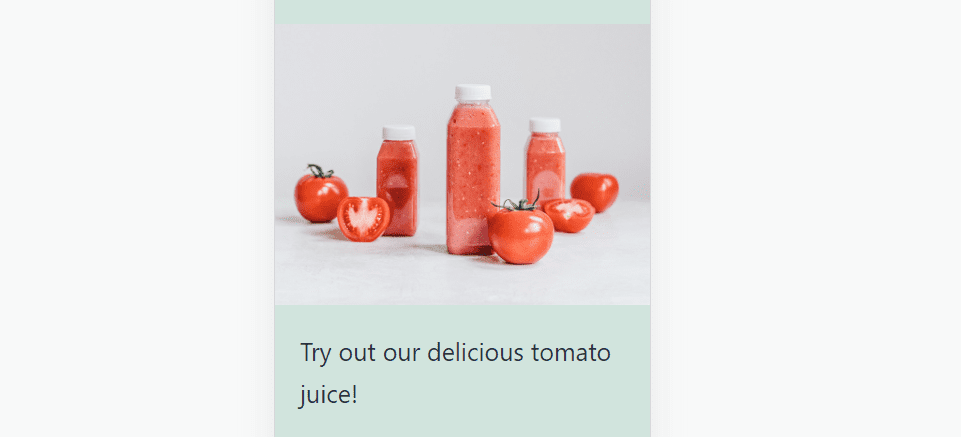
Once you place an image or a video file, you can move to the Content… side of the block and start writing. Here’s a quick example of what it might look like after you add some content:
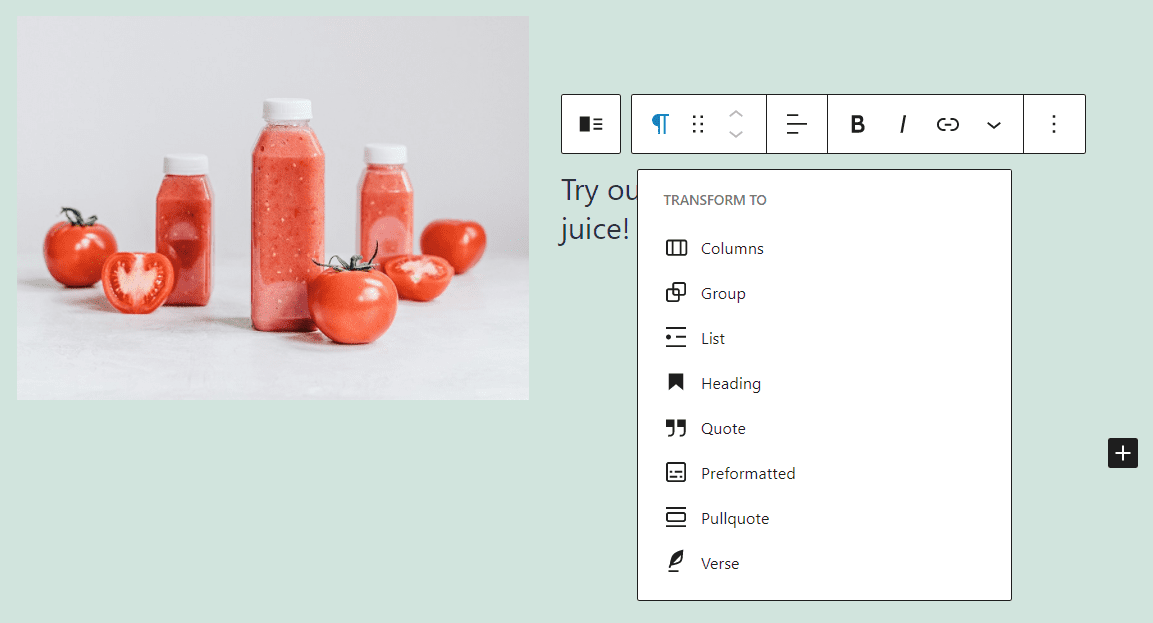
Notice that there are individual formatting menus for each part of the block. By default, WordPress places a Paragraph element next to your media file. However, you can replace it with other text-based elements:
The ability to choose between multiple types of written elements makes the Media and Text block an incredibly versatile option. In the next section, we’ll show you how to configure its settings.
Media and Text Block Settings and Options
When working with the Media and Text block, you can use two sets of configuration options. One is a formatting toolbar with custom options for every block you use. The second is a settings menu with more comprehensive styling adjustments. Let’s start with the formatting toolbar.
Toolbar Settings
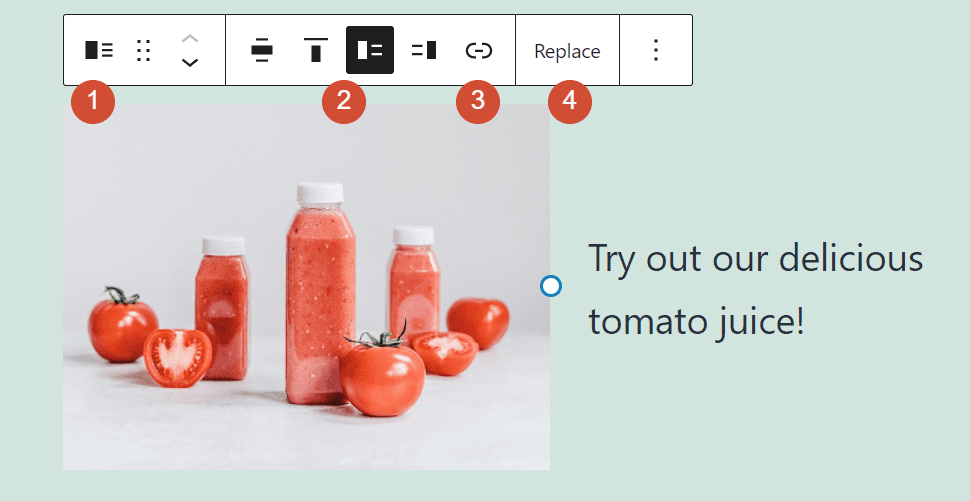
If you hover over the image or video portion of the Media and Text block, you’ll see a formatting menu that includes the following options:
- Transforming the block into another type of element
- Changing the block’s layout by choosing from two options
- Adding a link to the media file within the block
- Replacing the media file with a different option
Here’s a quick cheat sheet that shows where each of those options is within the formatting toolbar:
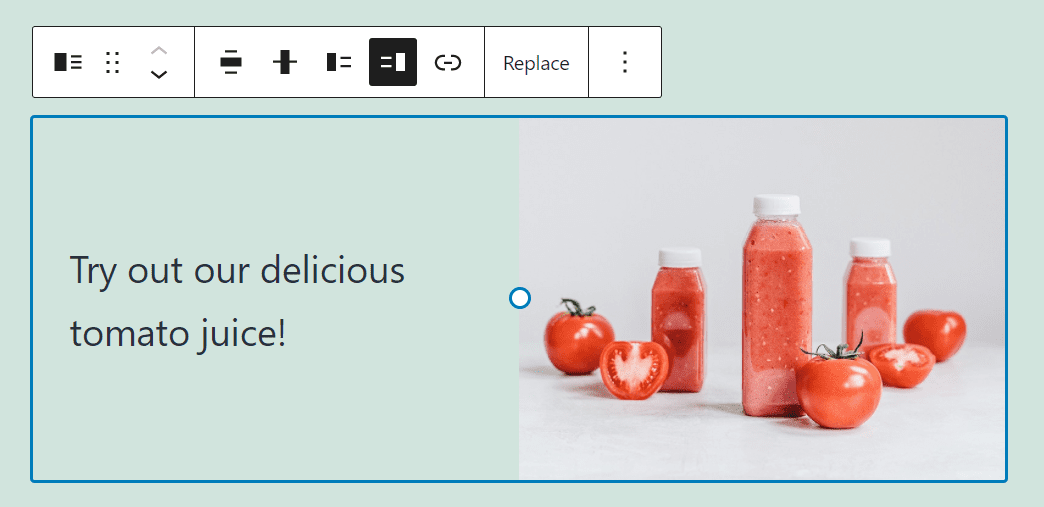
As you can see, the Media and Text block enables you to choose between multiple layout options. The primary difference in each case is the placement of the video or image:
Unlike with the Image block, the formatting toolbar for the Media and Text element doesn’t include options for editing images. However, we’ll show you how to further adjust your pictures in a minute.
For now, let’s turn to the written portion of the Media and Text block. By default, it will use a Paragraph element, but you can change that to any other text-based option supported by the Block Editor.
The text-based block you choose will alter the formatting options that appear when you mouse over it. Here you can see the settings that correspond to a Paragraph block:

If you want to learn more about the different formatting options for each type of text element, we recommend that you check out our blog archives. We have full guides for the most important Block Editor elements that show you how to add and configure individual blocks.
Additional Options
Next, click on the gears icon in the top-right corner of the editing main menu while selecting the Media and Text block. There, you’ll gain access to a sidebar with additional configuration options:
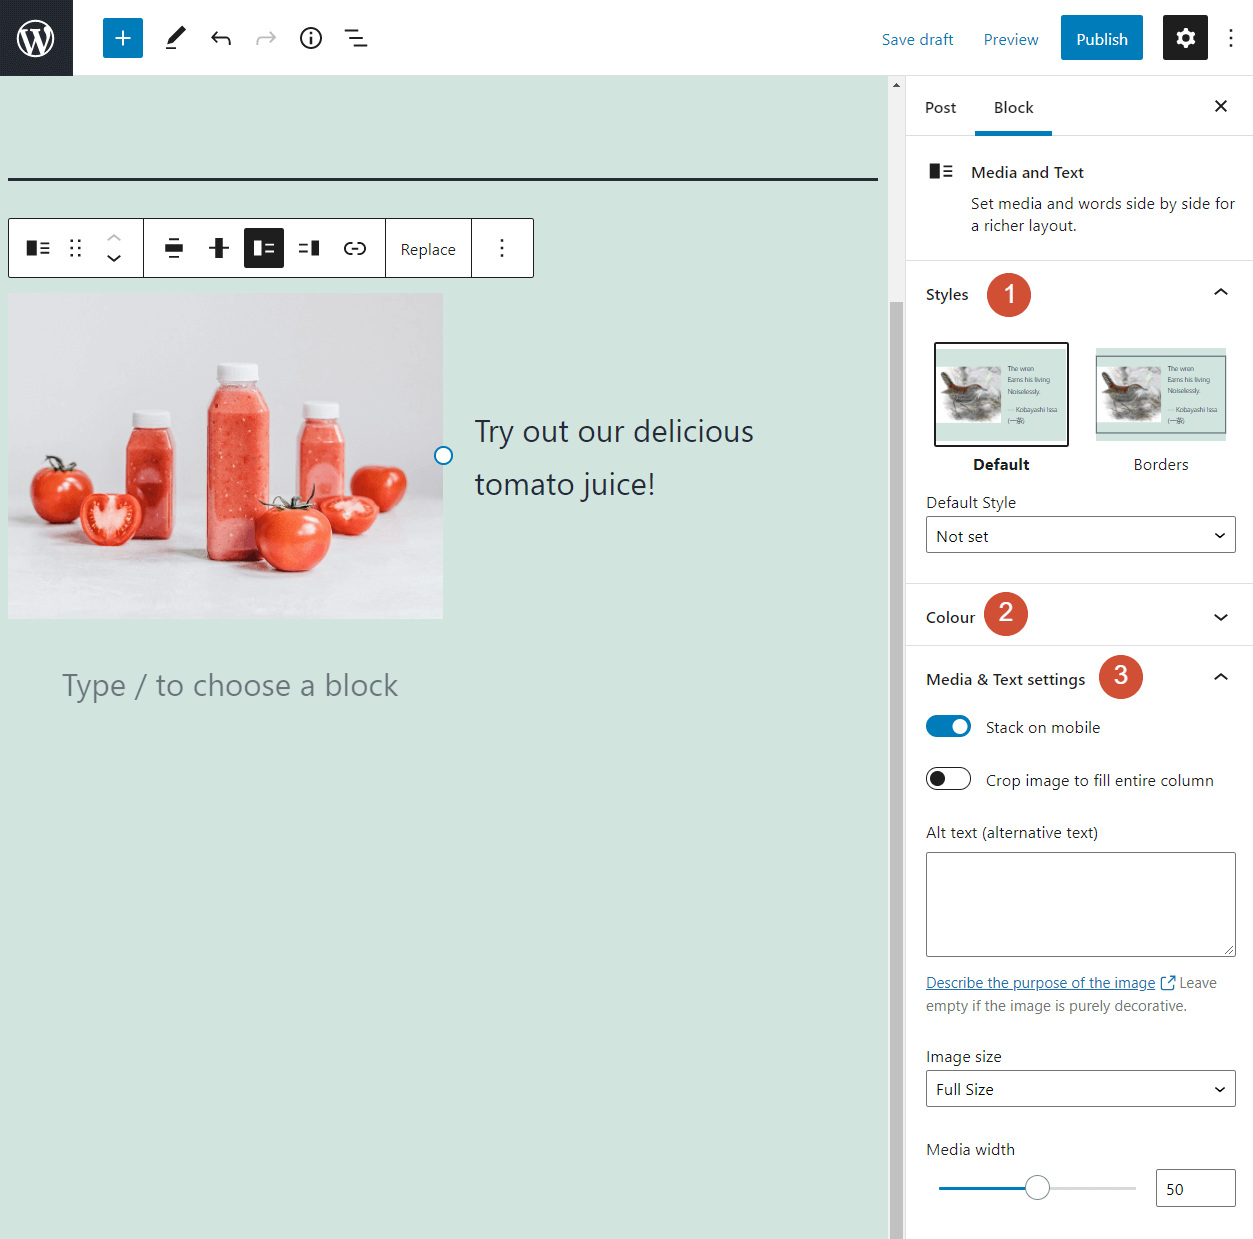
Let’s go over what each of those settings covers:
- Styles: This enables you to add a border to the block. Keep in mind that the boundary’s formatting will depend on your theme’s settings.
- Color: This enables you to change the text and link colors within the block and its background.
- Media & Text Settings: You can add alt text to your image file and resize it here. This section also includes options for adapting the block for mobile displays and cropping the image.
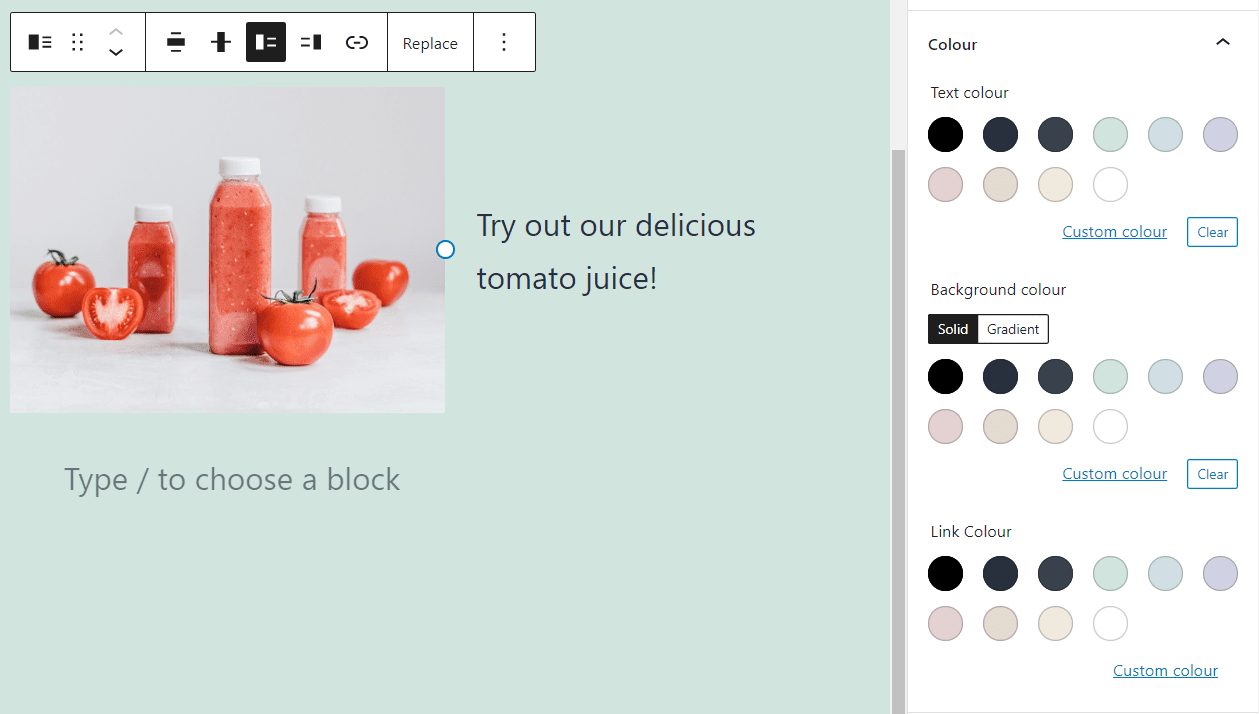
Here’s a quick look at the color options for the block:
Moving on, if you enable the Stack on mobile option within the Media & Text settings tab, it will collapse the block when visitors view your site from a mobile device. Here’s how that looks:
This covers everything you need to know about changing the formatting and settings for the Media and Text block. Now it’s time to talk about practical applications for this element.
Tips and Best Practices for Using the Media and Text Block Effectively
The Media and Text block is straightforward to use, and it incorporates seamlessly into most posts and pages. Essentially, you’re dealing with two grouped blocks and two layout choices.
You can replicate the look and style of the block using columns to add Image and Paragraph block side by side. However, there’s little reason to opt for that approach when the Media and Text feature exists.
Since this is such a straightforward block, our only recommendation is to format the written portion of the element to pair well with the media file you choose. For example, you probably wouldn’t want to put a massive photo next to a single-word paragraph or a small list. You’ll want the two elements to appear balanced. Remember that you can resize the image within the block.
Finally, keep in mind that any images you add using the Media and Text block still count for Search Engine Optimization (SEO) purposes. That means you should still consider following basic image SEO guidelines.
Frequently Asked Questions About the Media and Text Block
Although using the Media and Text block is relatively simple, you might still have some questions about this particular element. With that in mind, let’s go over some of the most commonly asked questions concerning this feature.
When Should I Use the Media and Text Block?
The Media and Text block can be a great way to showcase an image or video next to written content. Remember that the Block Editor enables you to choose between multiple types of text-based elements.
Can I Separate the Media and Text Portions of This Block?
You can transform Media and Text blocks into columns. Doing so separates the two elements into individual blocks, but preserves the original layout.
Can I Change Font Settings for the Media and Text Block?
The Media and Text block doesn’t enable you to change font settings. However, you can change the color of the text and any included hyperlinks. If you want access to more advanced font-related configurations, you’ll need to transform the block into columns.
Conclusion
The Media and Text block may become one of your most-used elements in WordPress. Images and text pair together beautifully, and this block enables you to put them side by side with a simple layout that fits into any theme and page.
While using this feature, remember that you don’t have to stick with simple paragraphs. By default, the block adds a Paragraph element next to your image or video file. However, you can swap it out for other text-based options within the Block Editor’s library (such as a list or heading).
Do you have any questions about how to use this WordPress block? Let’s talk about them in the comments section below!
Featured Image via PureSolution / shutterstock.com


Leave A Reply