
As you may already be aware, WordPress websites running on the same server each require separate plugin and theme installations. It makes sense, but does come with some drawbacks, especially if your sites use similar plugins and themes. Updating each site individually in this instance can become a ‘timesink’, not to mention the potential impact on your storage.
If you want to share the same plugins and themes among websites, there’s a neat trick you can use called a ‘symlink’. In this article, we’ll talk more about what symlinks are and the ways you can use them in WordPress. Then we’ll teach you how to implement a symlink in three steps.
Let’s get to it!
An Introduction to Symlinks
Symbolic links – or symlinks – can be considered shortcuts on steroids. Some applications require you to store data in specific directories so they can access it. Using symlinks, you can fool those apps into thinking the files it’s looking for are there, while you store them somewhere else.
Take Dropbox or Google Drive, for example. Both apps require you to place the files you want to backup within specific directories. Using symlinks, you can connect external folders to those directories, but still have Dropbox or Google Drive act as if they were located inside.
In practice, there are two types of symlinks. You have ‘soft’ symlinks, which act like run-of-the-mill shortcuts, and ‘hard’ symlinks (this ‘tricks’ apps requiring files and folders to be within specific directories, as per our example). Our focus in this article is going to be on hard symlinks, so let’s talk about how you can use them in WordPress.
Why You’d Want to Use Symlinks in WordPress
The main benefit of using symlinks is that you can store files anywhere you want, even if they need to be in a specific location to work. All you have to do is install a symlink between two directories, and your Operating System (OS) will treat them the same.
When it comes to WordPress, this is useful in a variety of ways:
- You can link several sites to the same plugins and themes. With symlinks, you can use the same plugin and theme files for multiple sites, as long as they’re all on the same server.
- They’re perfect for testing environments. If you’re developing a theme or a plugin and you want to test it using several websites, symlinks enable you to do it without having to change each installation.
- You can save on server space. To be fair, plugins and themes often don’t take up much room, but extra space is always good.
Symlinks, while very cool, are mostly useful for WordPress development purposes. If you’re running a live website, there’s little reason to use them, even if you’re hosting more than one installation on the same server. The reason is since you’re sharing the same files among multiple websites, you can’t set up unique plugin and theme configurations for each site. It’s perfect for a development environment, but it can create a lot of headaches in real-life scenarios.
Finally, it’s also worth mentioning you’ll need full server access to set up symlinks in WordPress. This is because you need to use the command line to create a symlink, which we’ll discuss in the next section.
How to Implement Symlinks in WordPress (In 3 Steps)
For this tutorial, we’re going to include commands that work on both Windows and UNIX-based systems. The commands themselves are rather simple in either case, so don’t worry.
Step #1: Move Your Plugins or Themes Folders Using File Transfer Protocol (FTP)
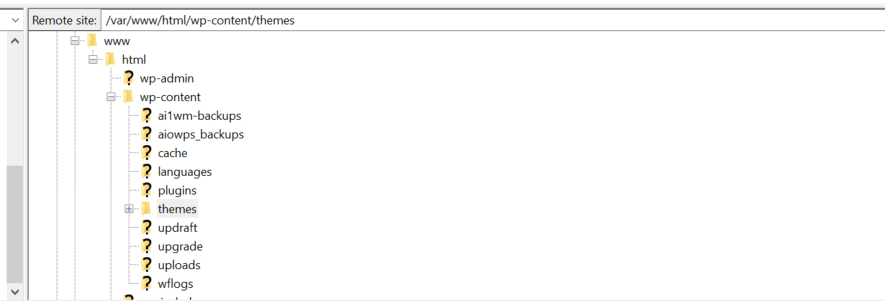
Usually, WordPress stores your plugins and themes within the wp-content directory, which is inside your WordPress root folder. Once you open wp-content, you’ll find two folders called plugins and themes, among others:

By default, WordPress usually sets up a unique folder for each plugin or theme you install. For example, here’s the folder for the Divi theme we set up on our test site:
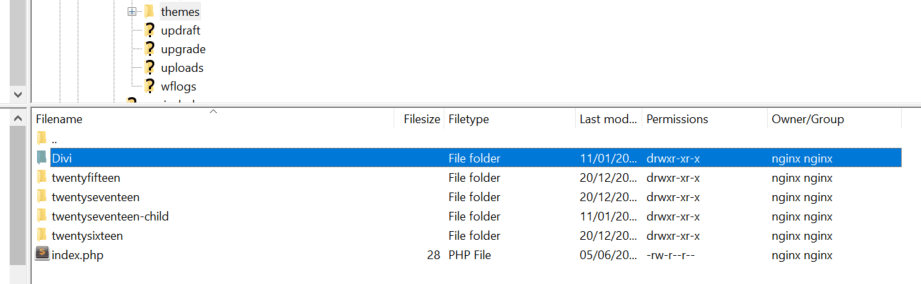
Within the folder, you’ll find all of the files powering the theme. If you move the folder elsewhere, WordPress won’t be able to find it, and it won’t display the theme among your installed options. What we’re going to do now is move the folder to a new location using the command line. Our current path is var/www/html/wp-content/themes/Divi, but let’s say we want to move the Divi folder to our server’s root directory, while creating a new folder to store it (i.e. wp-themes/Divi).
Technically, you can move your plugin or theme folders to any location on your server. Furthermore, your server might not share the same structure, depending on your OS. In any case, go ahead and access your website via FTP. If you need a client, we recommend using FileZilla.
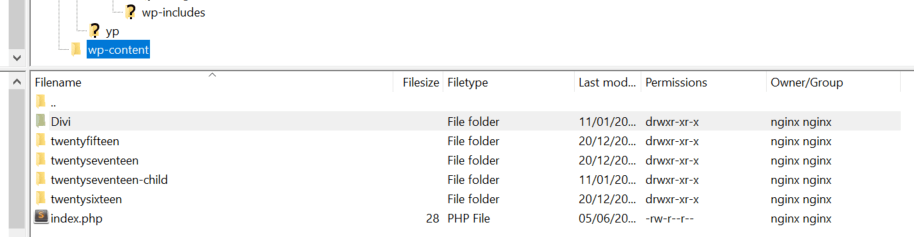
Once you’re in, find the folder you want to move, which in our case, is Divi. There should be a section of FileZilla that shows your current location:
Simply find the directory you’d like to move the Divi folder to and drag it into place (i.e. into the bottom quadrant):
Wait until FileZilla moves all of the files within the folder and you’re good to go. If you access WordPress now, you won’t see Divi within the Themes tab. To restore it, you’ll need to create a symlink, which will require you to use the command line.
Step #2: Access Your Server’s Command Line Via Secure Shell (SSH)

SSH enables you to connect to your server and use its command line.
If you’re using a local development environment, open your command line, and move on to step number three. However, if you’re trying to create a symlink for a remote server, you’ll need to connect to it via Secure Shell Access (SSH).
SSH is a protocol similar to FTP in that it enables you to connect to your website. However, unlike FTP, SSH provides you with more control over what you can do. More importantly, it enables you to use your server’s command line.
Rather than run through the steps again here, we encourage you to take a look at a previous post, in which you’ll find step-by-step instructions to connect to your site via SSH. The process shouldn’t take you more than a few minutes, so check it out and come back once you establish a connection.
Step #3: Create a Symlink and Test It
You only need use a single command to set up your symlink, although it varies depending on the operating system you’re using. If you’re on a Linux server, you’ll need to navigate to your wp-content directory and open the themes folder. There shouldn’t be a Divi folder inside anymore since we moved it earlier. Once you’re inside the directory, type ln -s /wp-themes/Divi Divi into the Command Line Interface (CLI).
This command simply links the wp-themes/Divi directory we set up in step number one to a new folder called Divi, inside wp-content. All of the theme’s files will remain in the former location, but WordPress will act as if they were inside wp-content. If you’re on a Window server, on the other hand, the command changes (mklink C:/yourthemesnewlocation my-theme), but its structure remains the same.
You always need to specify the location of the folder you’re linking to first. Then, you create a new symlinked folder in the second part of the command, regardless of whether you’re using Linux or Windows.
To test your new symlink, open your WordPress website and take a look at the Themes tab:
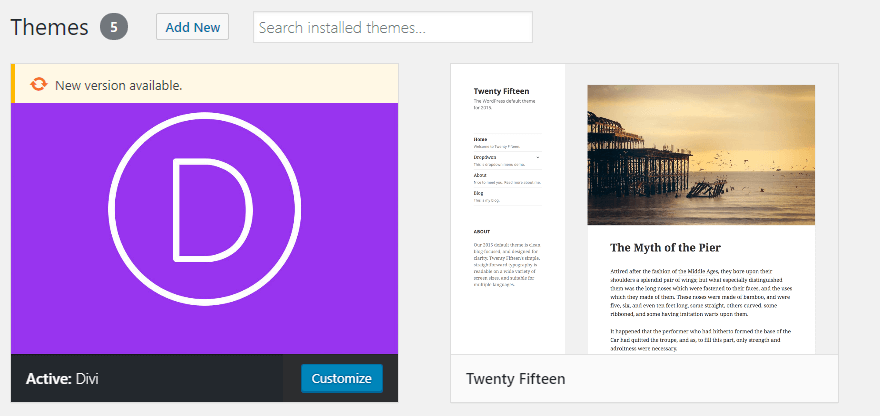
If WordPress doesn’t recognize the plugin or theme you moved, there’s probably an error with your symlink command. In most cases, it’ll be because you weren’t located within the wp-content/plugins or themes directory when you used it, which means your new symlink folder was set up elsewhere.
Conclusion
Symlinks enable you to use WordPress plugins and themes without storing them in your wp-content folder. You can take advantage of them in several scenarios, such as for testing custom plugins. They’re also ideal if you’re hosting several websites on the same server and you want to share resources among them.
Setting up symlinks isn’t complicated, but you’ll need access to your server’s command line. Here’s how to do it from the beginning:
- Move your plugin or theme folders using FTP.
- Access your server’s command line via SSH.
- Create a symlink and test it.
Do you have any questions about how to use symlinks in WordPress? Let’s talk about them in the comments section below!
Article image thumbnail by Dmitry Guzhanin / shutterstock.com.


Great idea…but will this cause problems with insecure content errors if using on websites with https?
John, thanks for the very helpful article. I design websites for local businesses and sometimes I do not want my clients to know what plugins I use, I wonder if Symlinks can help. Please advise!
thanks John, good tip!
Are there plugins that write back to the file system (like to store temp/cache/config data in instead of the database)?
You did recommend against production use. And this situation would be one big no-no scenario.
John, Thanks for a great and explaining article! We have different websites with the same plugins and we might try sharing them with symlinks solution.
Regards
This trick can save hosting space. Very good.