
Divi’s Blurb Module is versatile and can display text and an image or icon in your designs. This module makes highlighting services, features, and steps in a process more accessible. One of the benefits of using a Blurb Module is that you can customize all of the design settings in one place and apply styling to all of the blurb content effortlessly.
The Blurb Module offers a wide range of design options, allowing you total creative control over the design. In this post, we’ll look closer at the Divi Blurb Module and the extensive options you can use to customize the content and design. Additionally, we’ll go over three design examples that demonstrate the versatility of the blurb module.
Let’s dive in!
Understanding How the Divi Blurb Module is Structured (& What You Can Use it For)
The Blurb Module is a simple yet very versatile module that you can use to display an image or icon along with header and body text. You can use the Blurb Module to present some highlights or features, services, processes, key products or pages, and more. It’s a helpful way to break up content that might otherwise be a longer text block with some graphics that draw visual interest and make your information easier to scan. Now, let’s take a closer look at the Blurb Module settings.
Content Settings
The content tab is where you can add any content to your blurb. You can also add a link, set the background, and add an admin label.
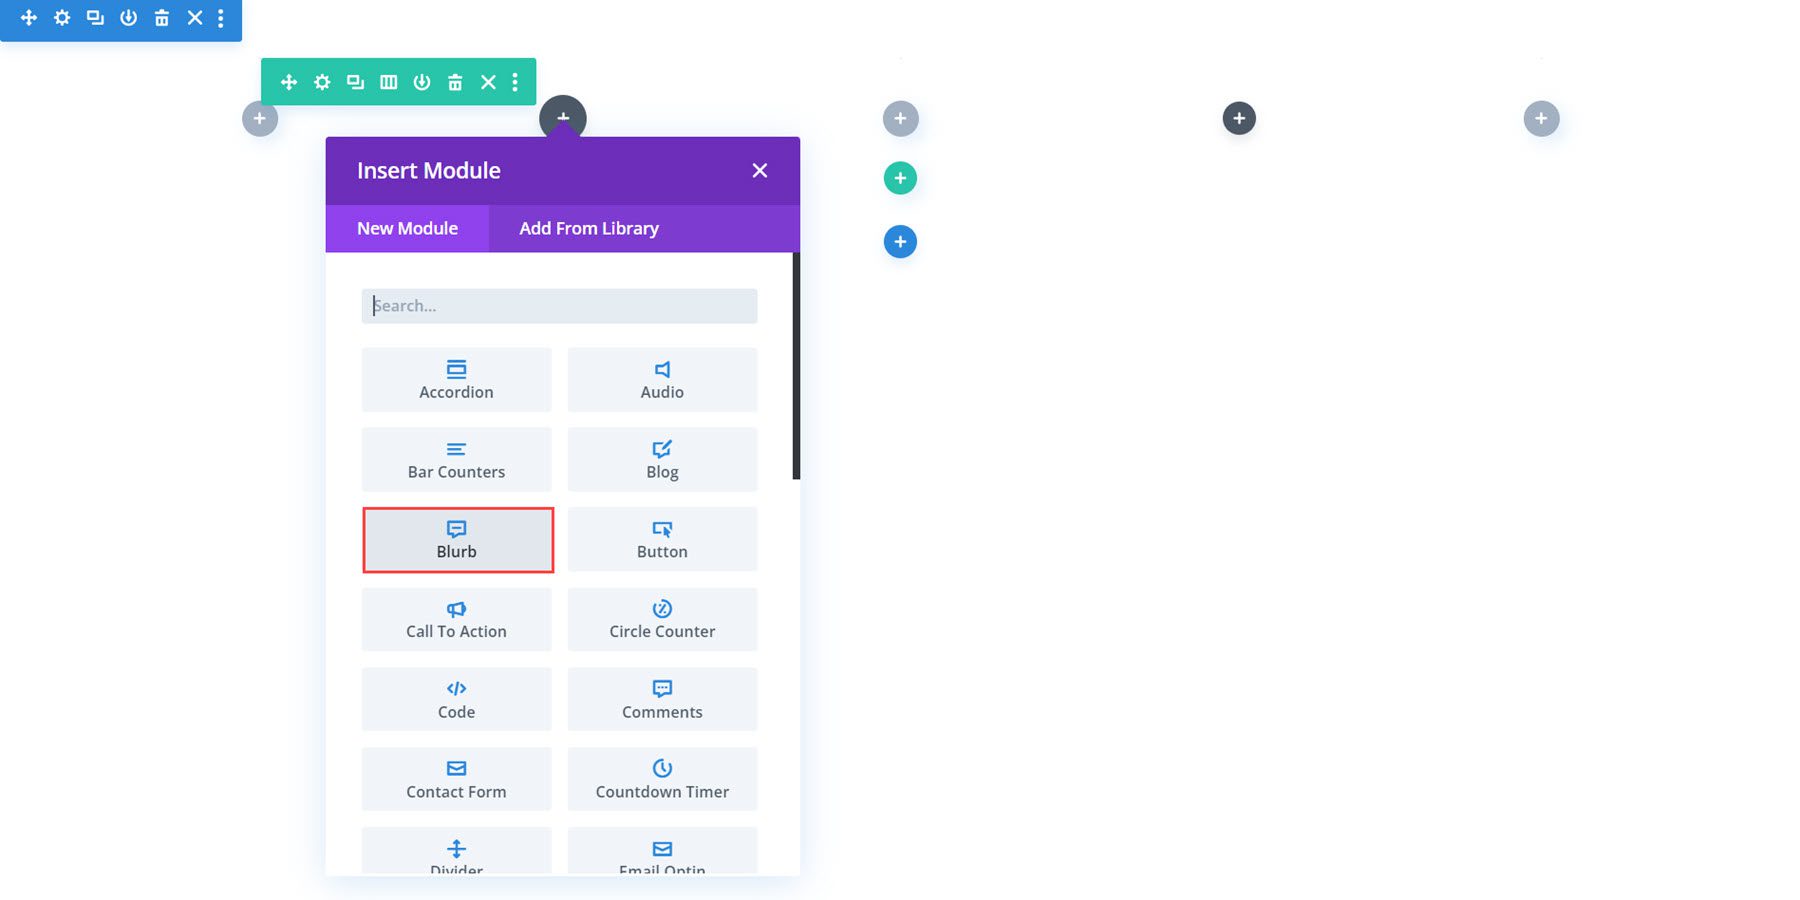
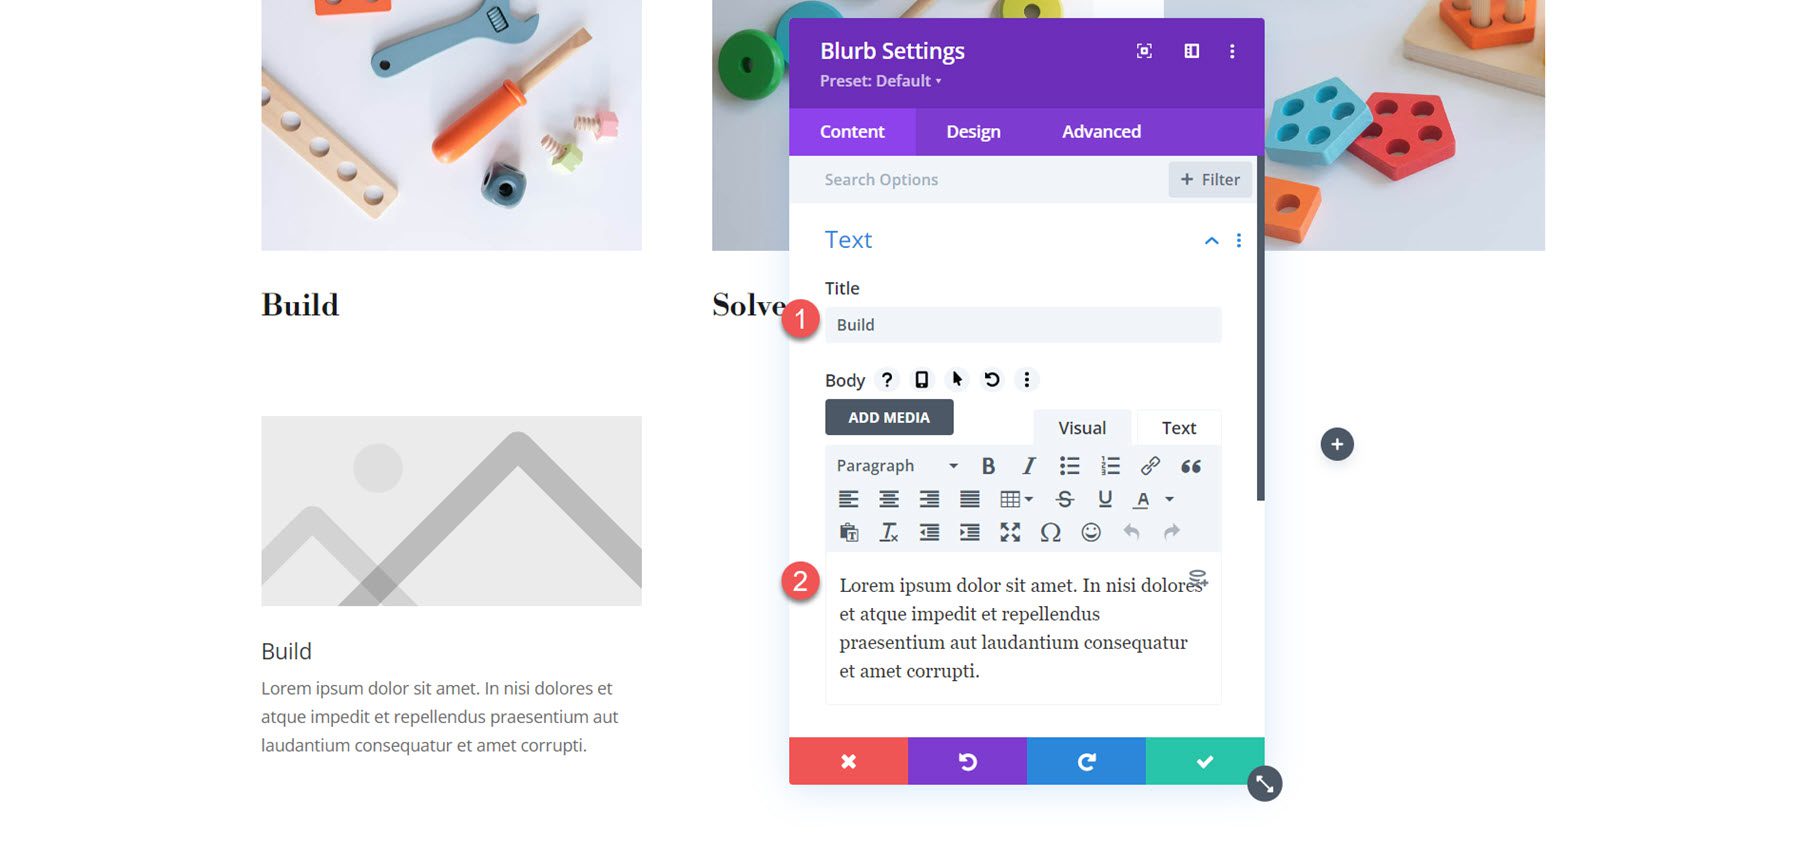
Text
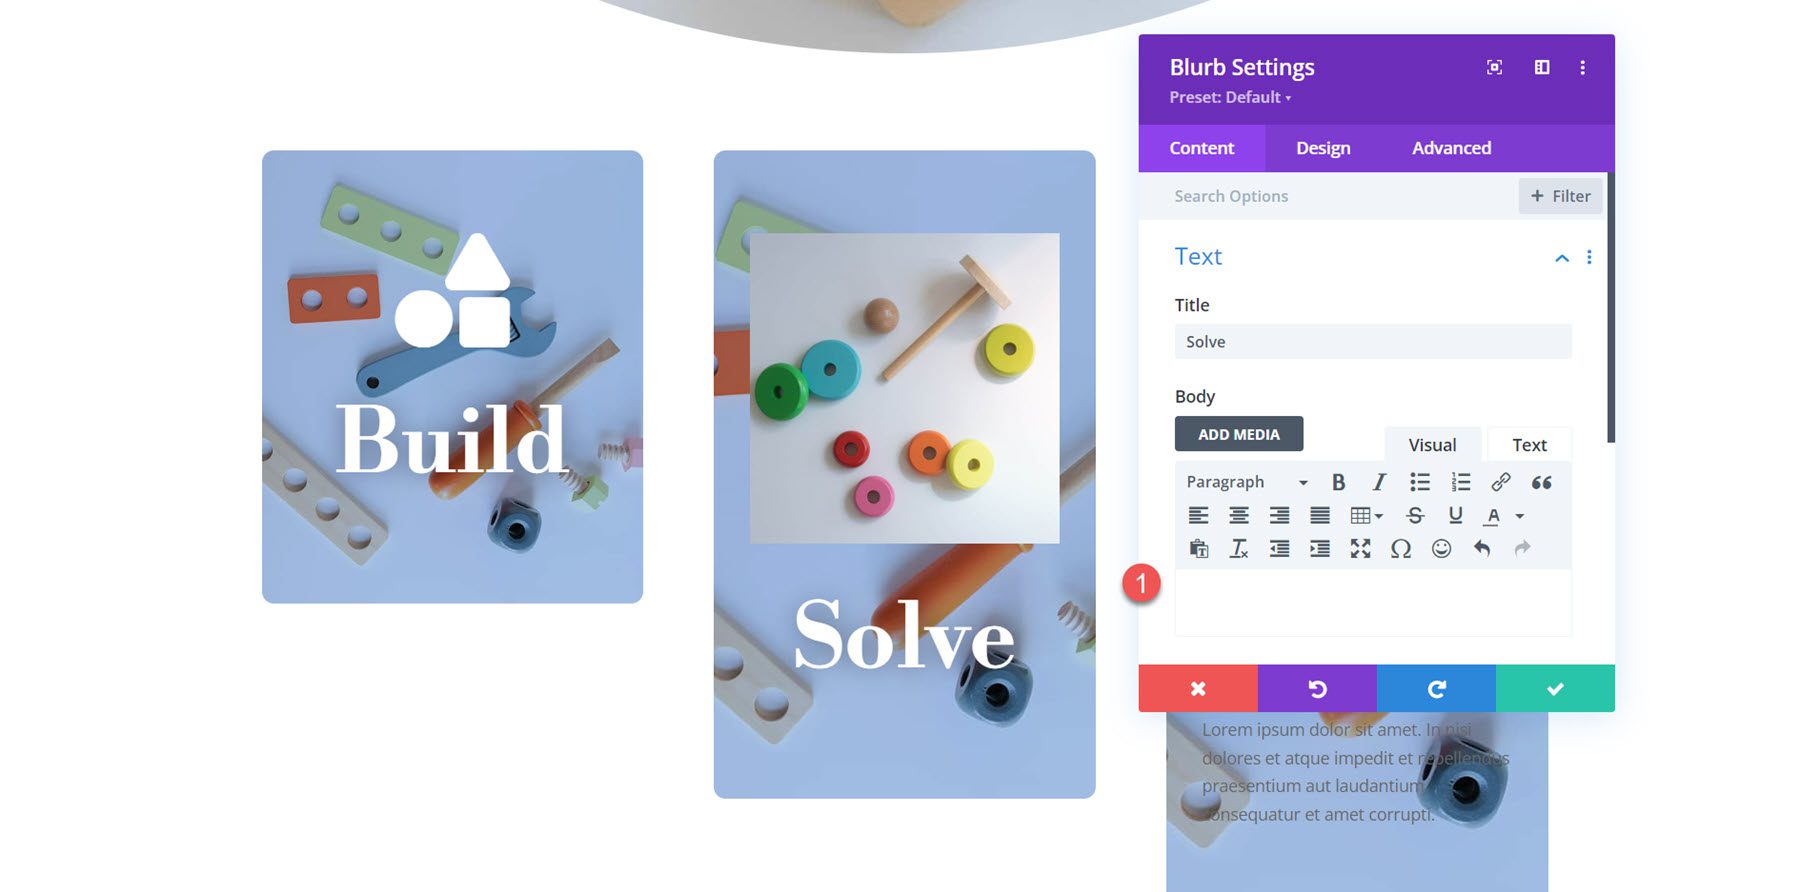
Here is how the blurb looks by default when you add it to your layout. Here, you can set the title and add body text to your Blurb Module.
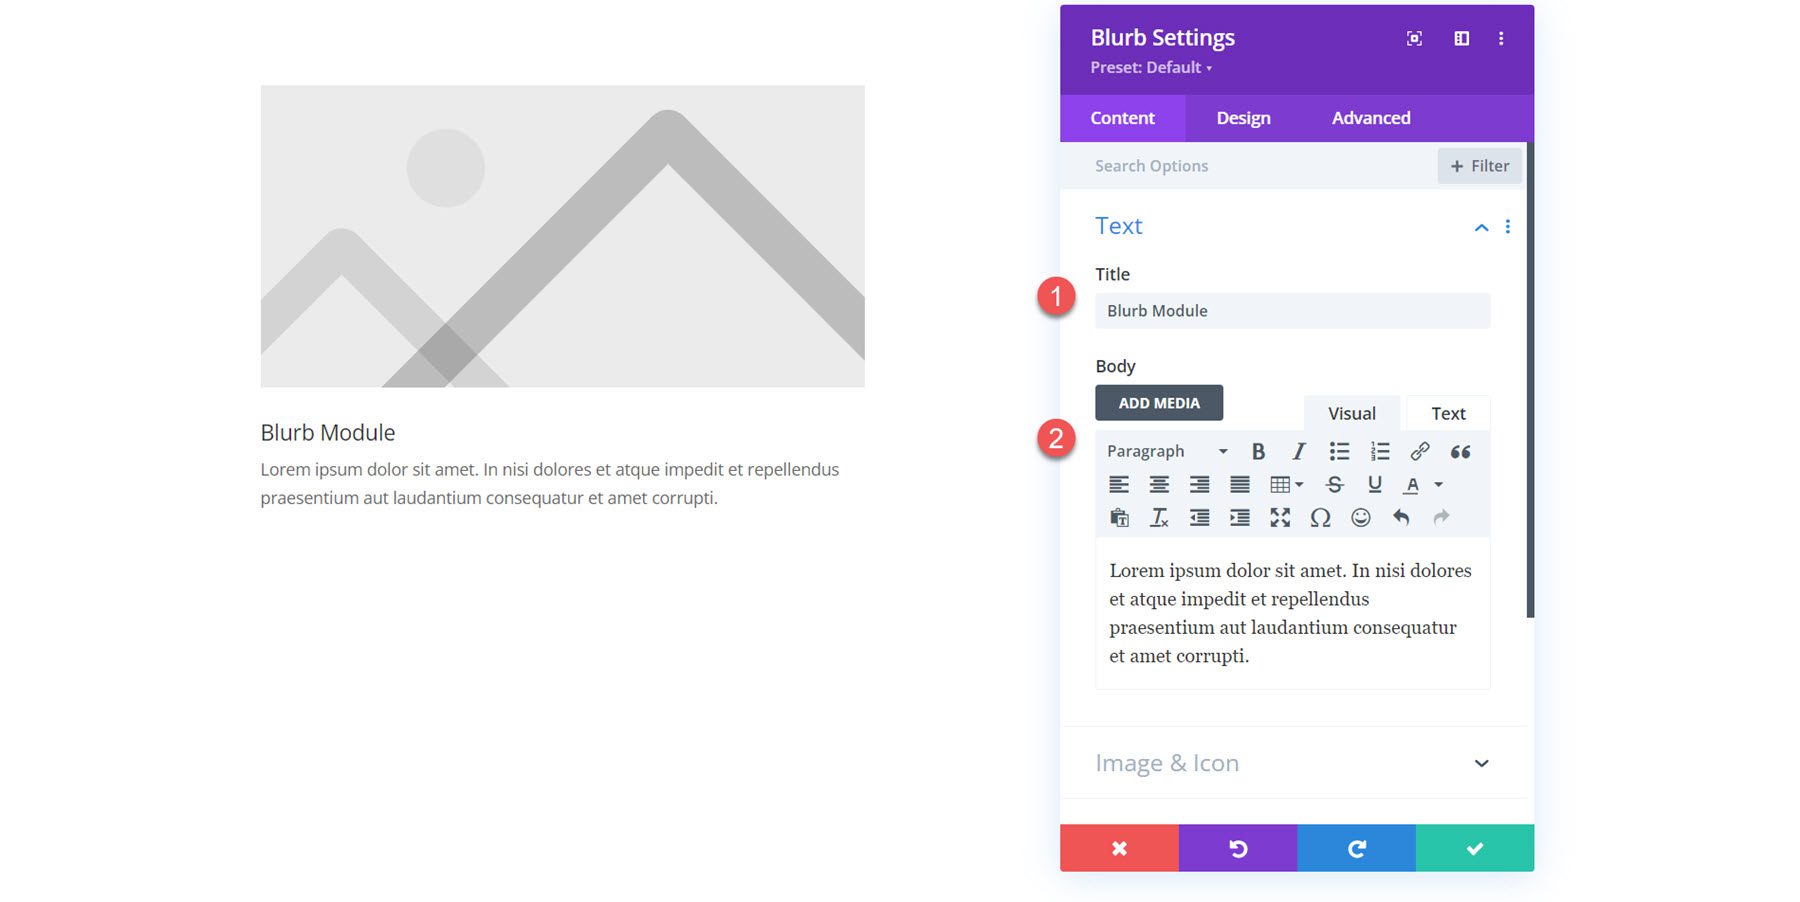
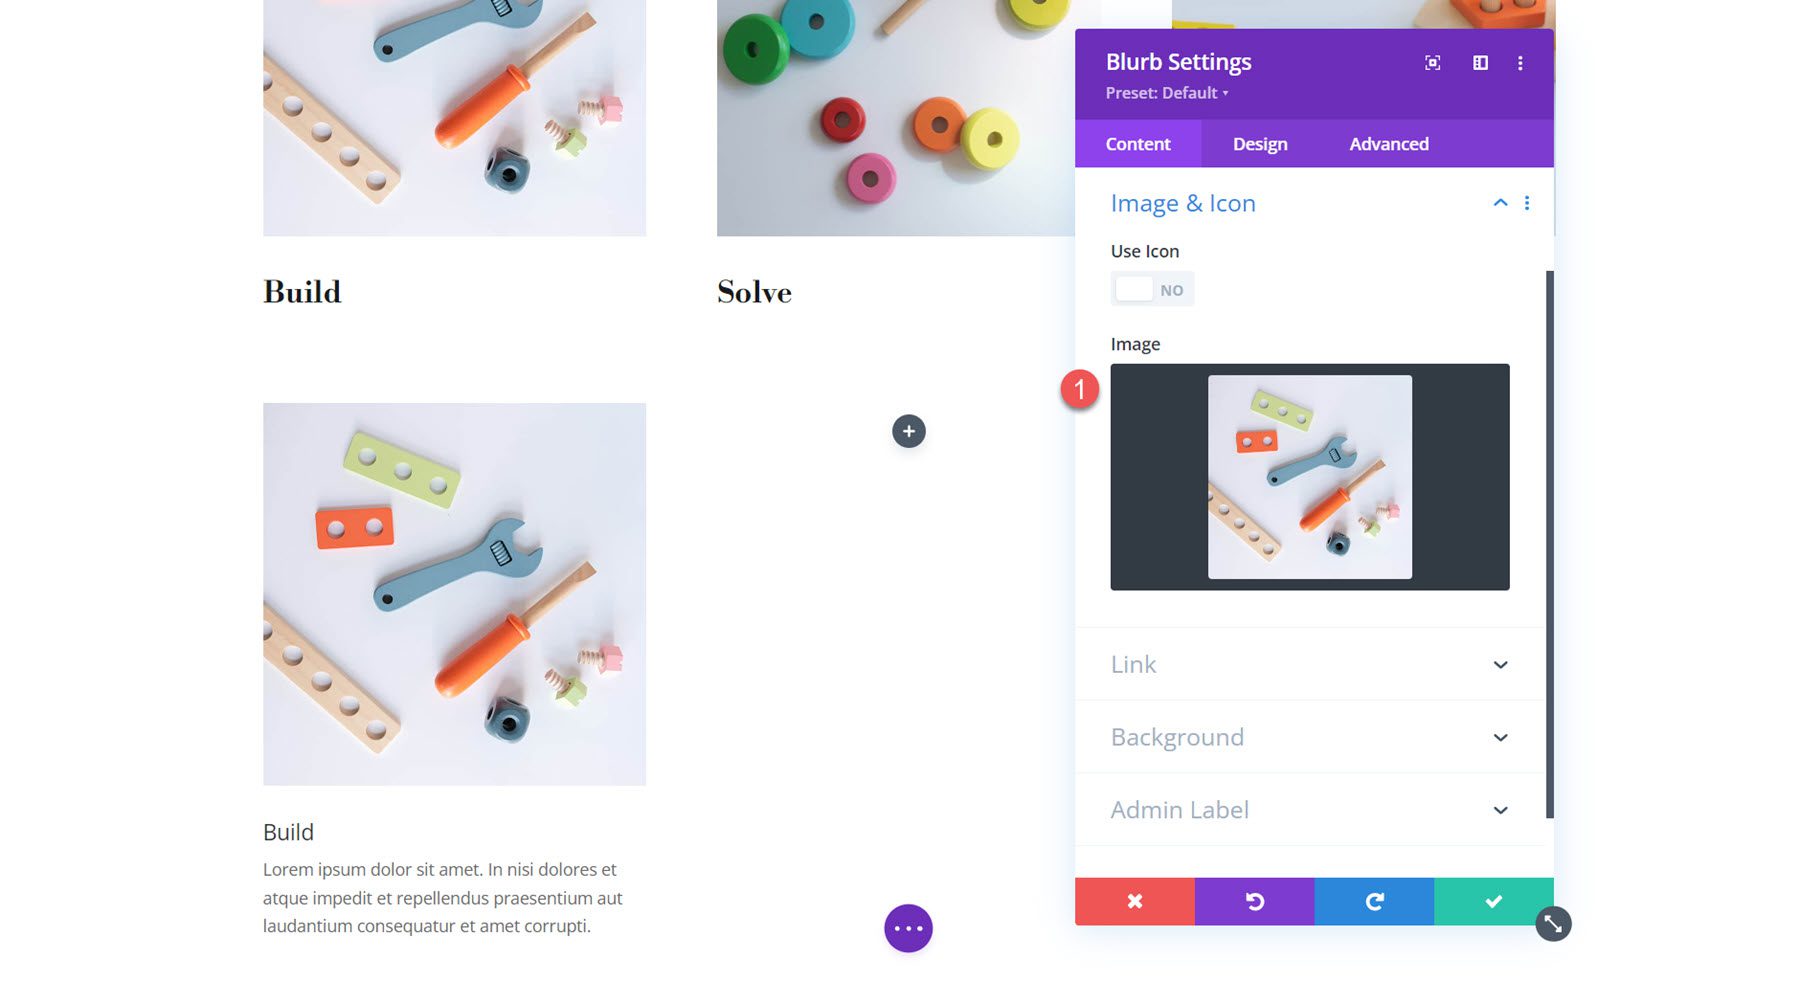
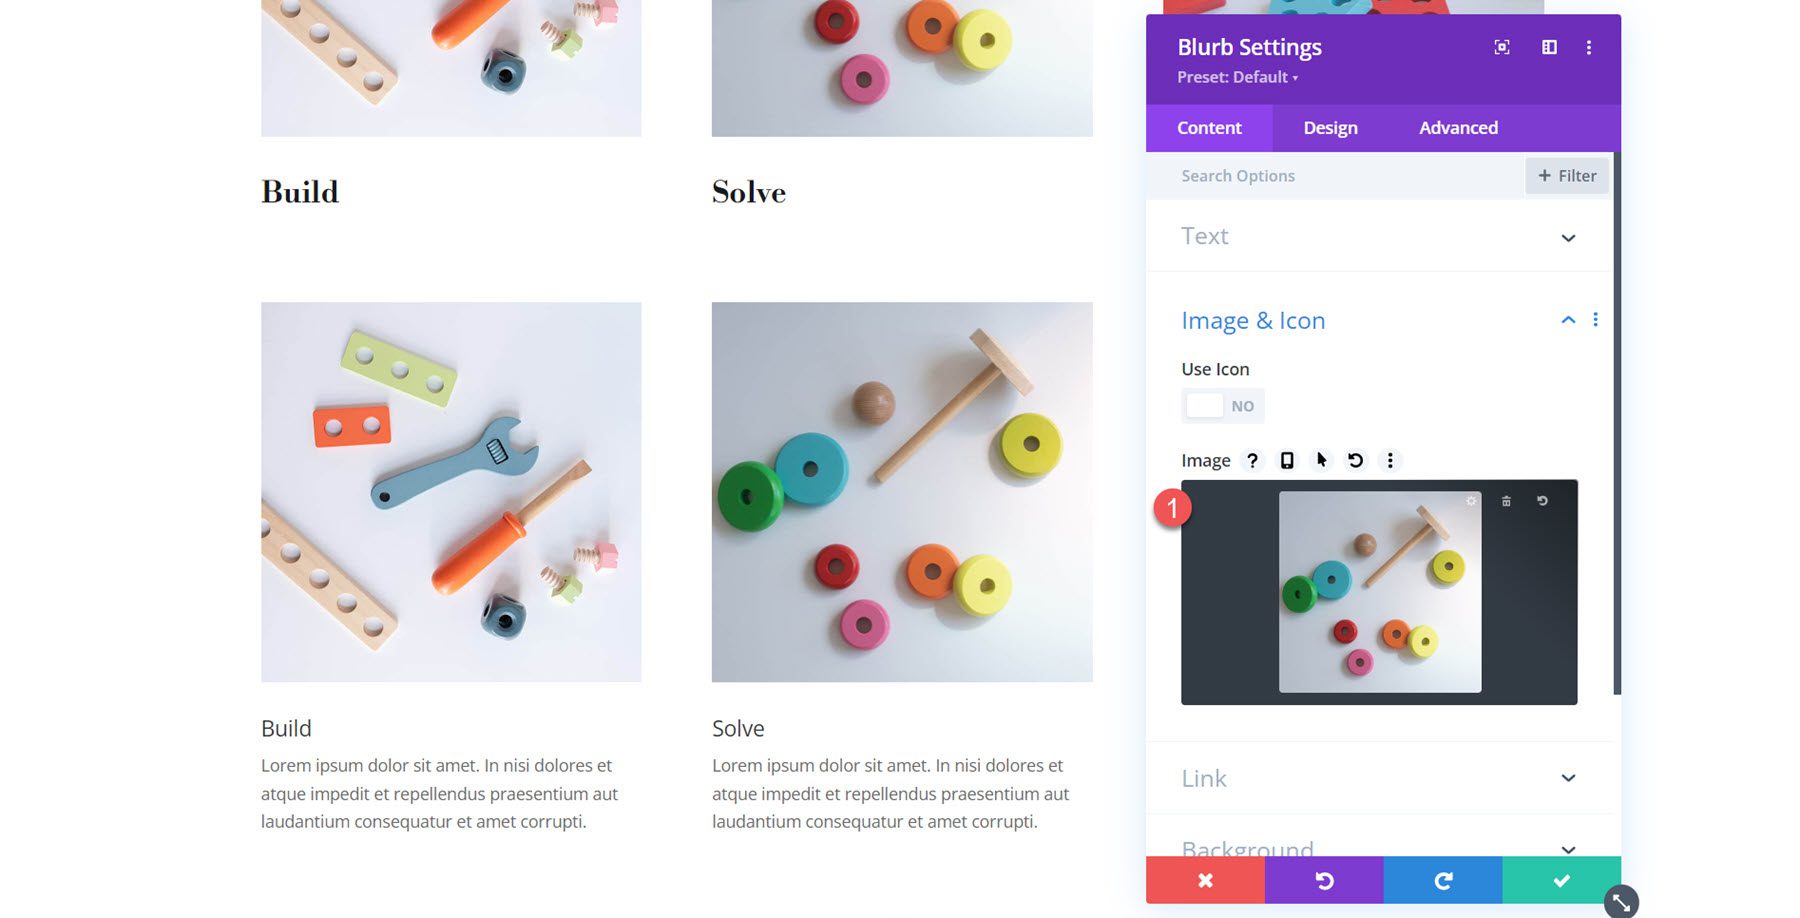
Image & Icon
You can add an image or an icon to your Blurb Module. If you enable Use Icon, the icon picker will be displayed below.
![]()
Alternatively, you can display an image in your blurb.
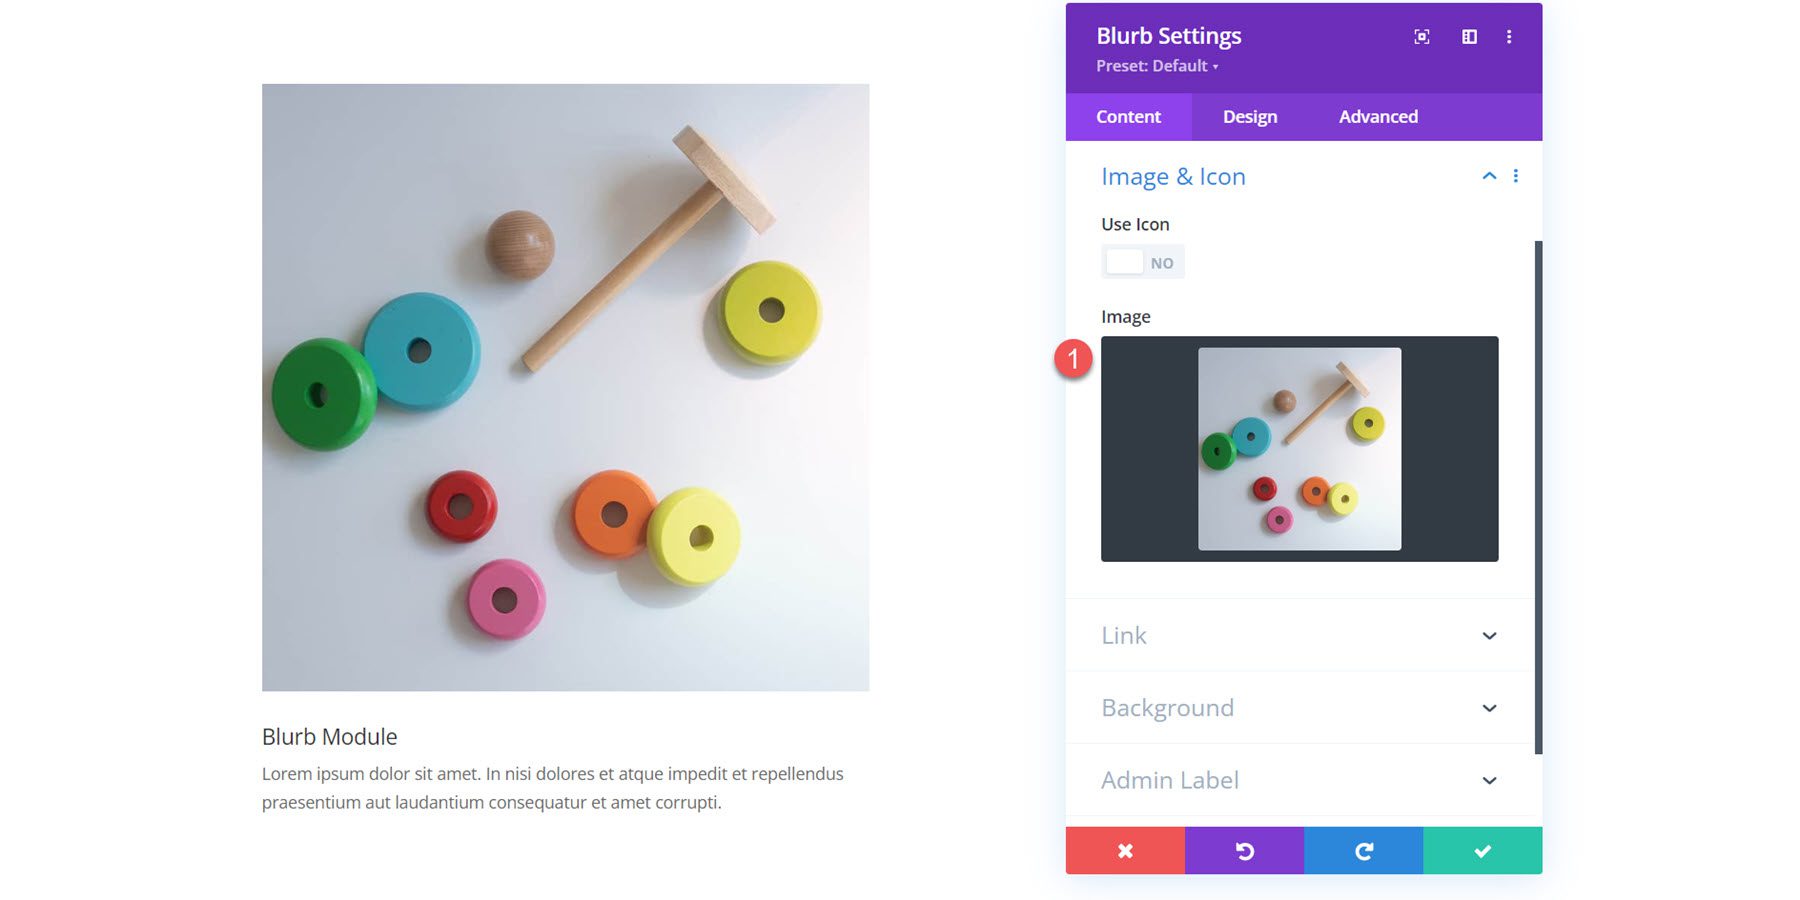
Link
Next is the link settings. You can set a link for the blurb title or the entire module. You can also set the link to open in the same window or a new tab.
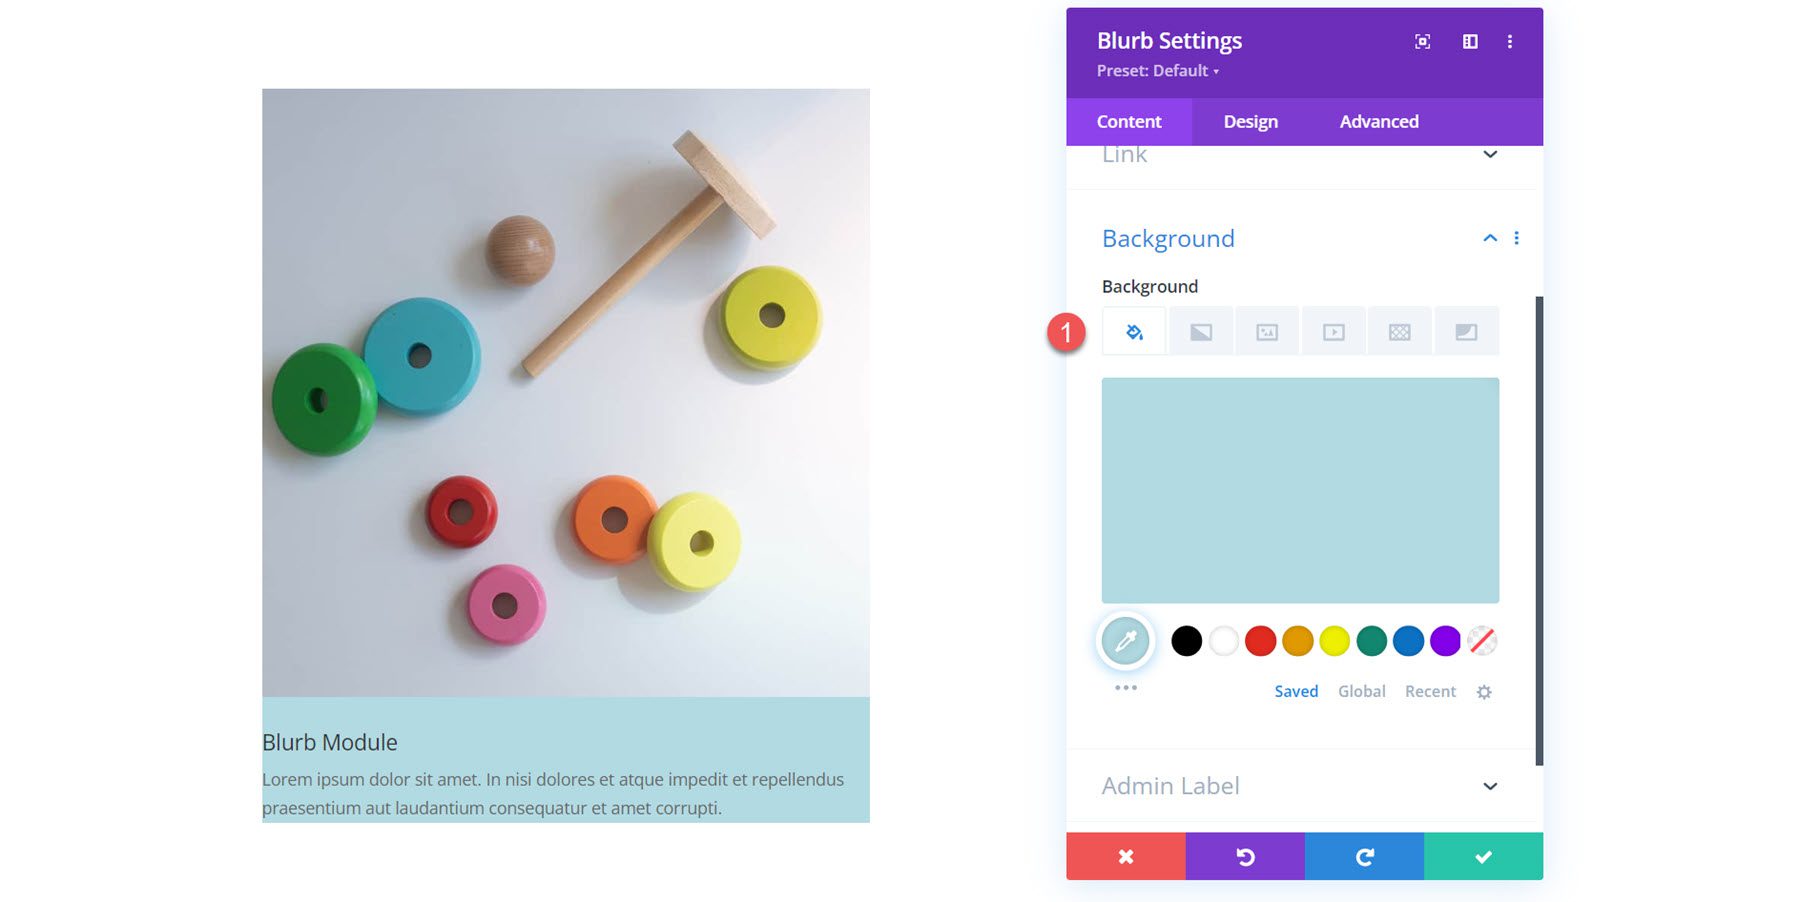
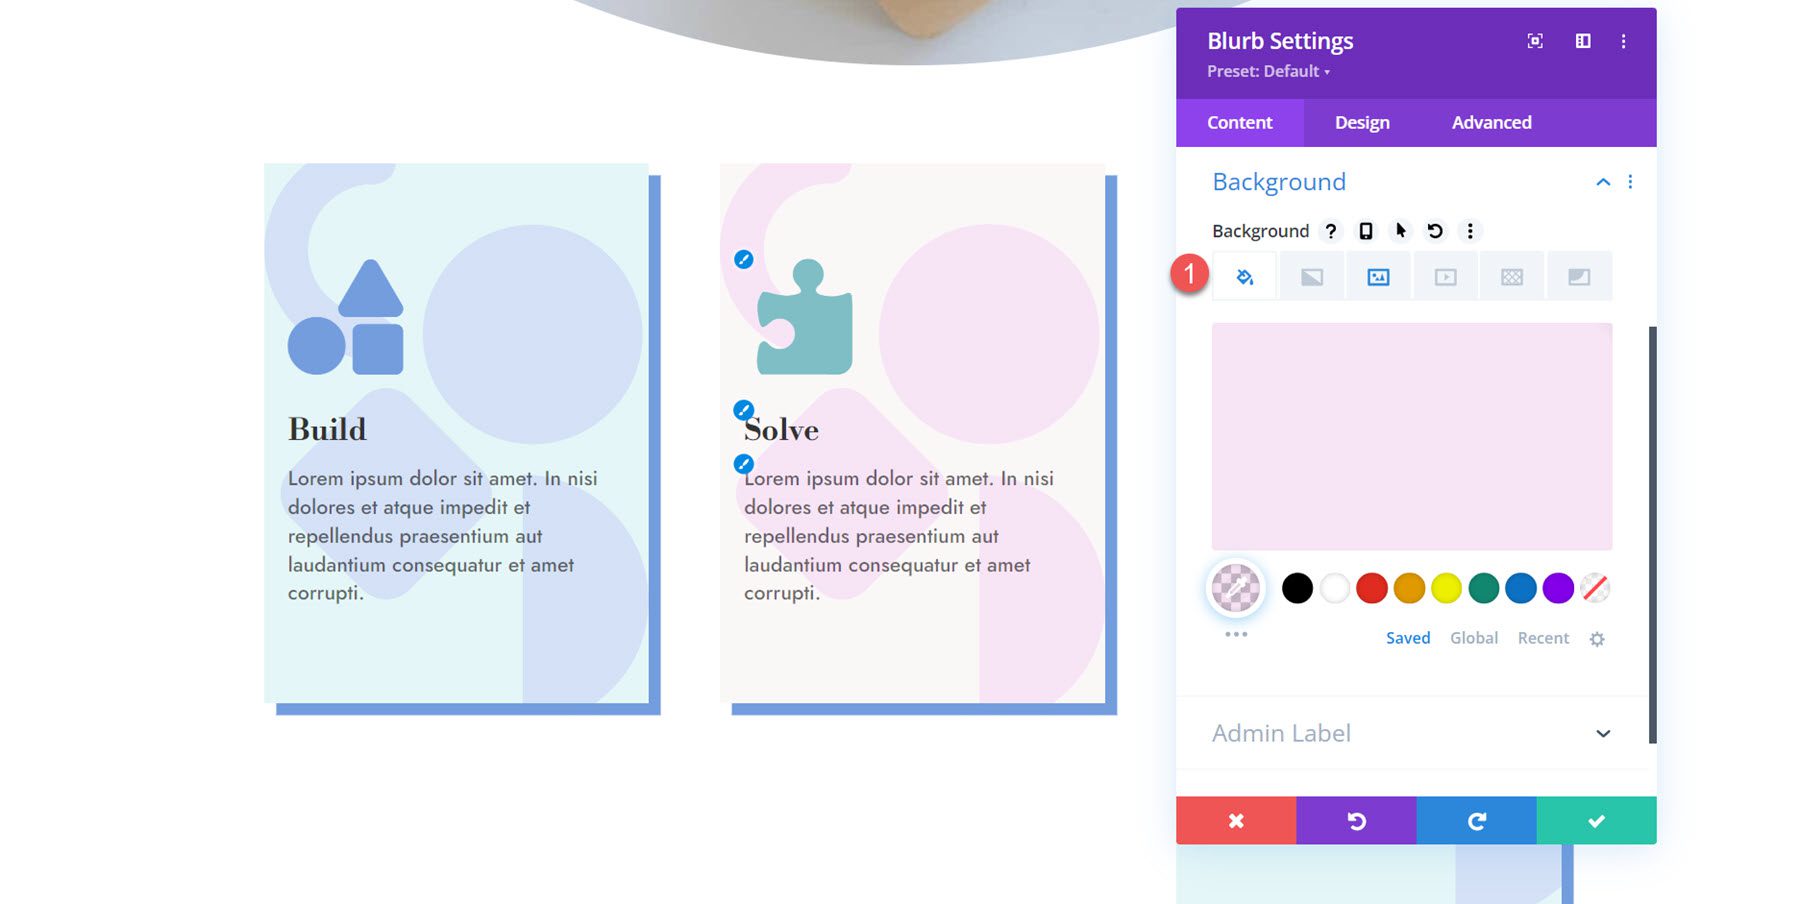
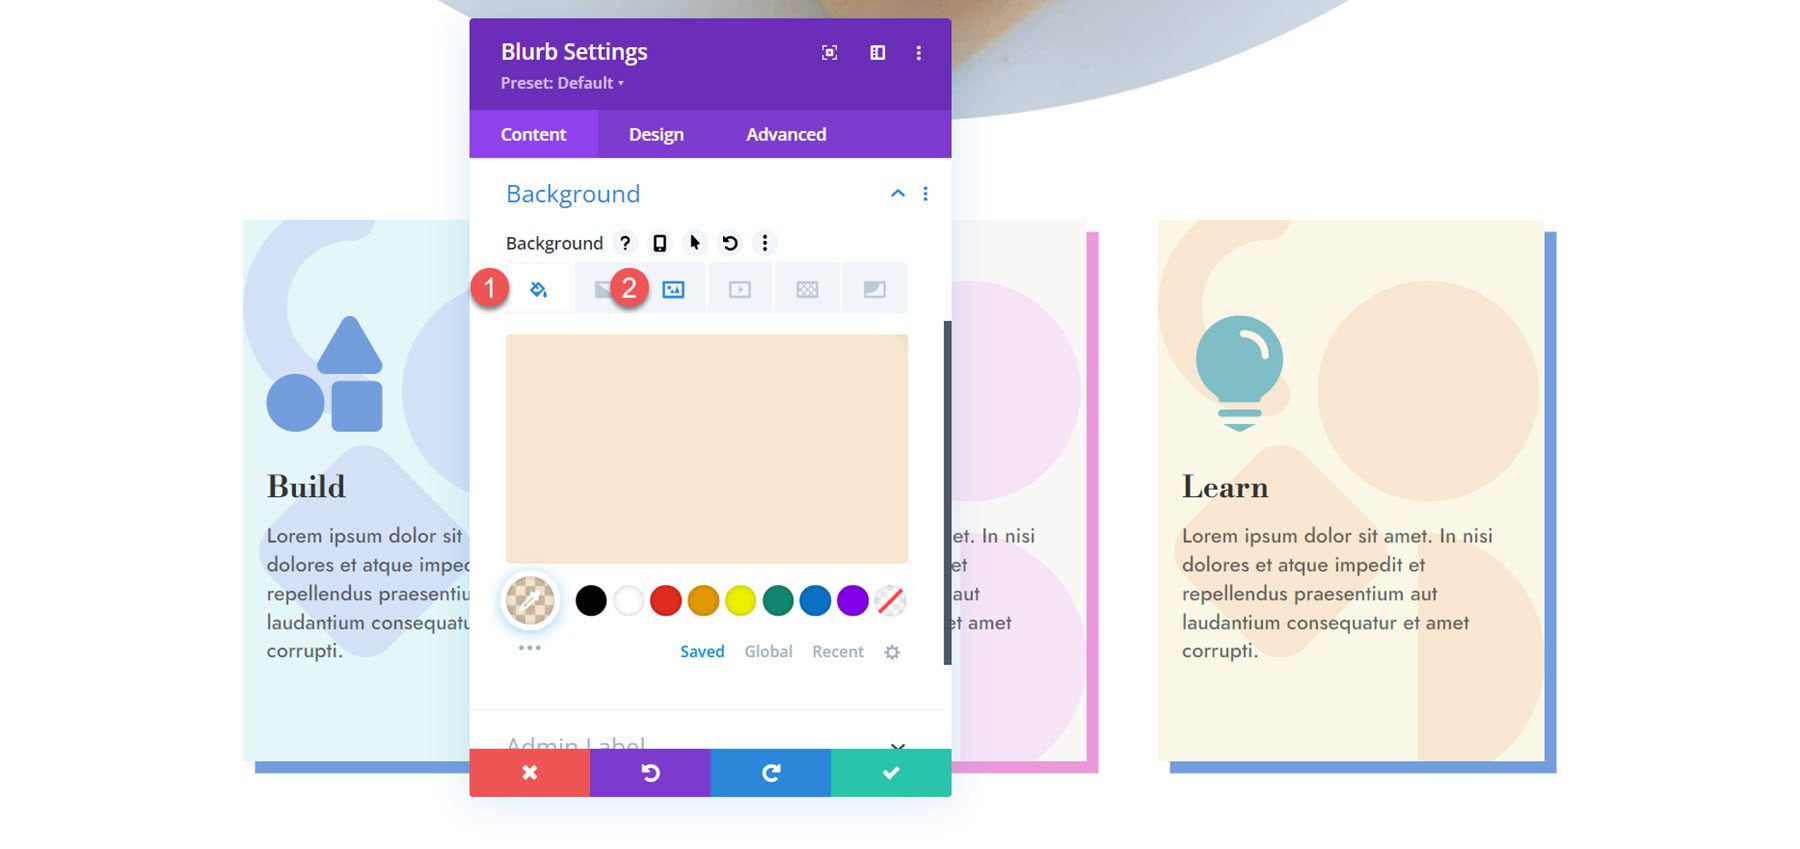
Background
In the background settings, you can set a background color, gradient, image, video, pattern, or mask that will appear behind your blurb content. You can even combine multiple background types to create interesting effects.
Design Settings
Now, let’s move over to the design tab. Here, you can customize the design of every aspect of the Blurb Module.
Image & Icon
The first settings section allows you to customize the image or icon you enabled for the blurb. If enabled, here is where you set the icon color. You can also add a background color to the image or icon, select the placement (top or left), set the width, and add rounded corners.
![]()
Additionally, you can add a border to the image or icon. You can specify the border width, border color, and border style.

Finally, you can add a box shadow and apply image filters to the image.

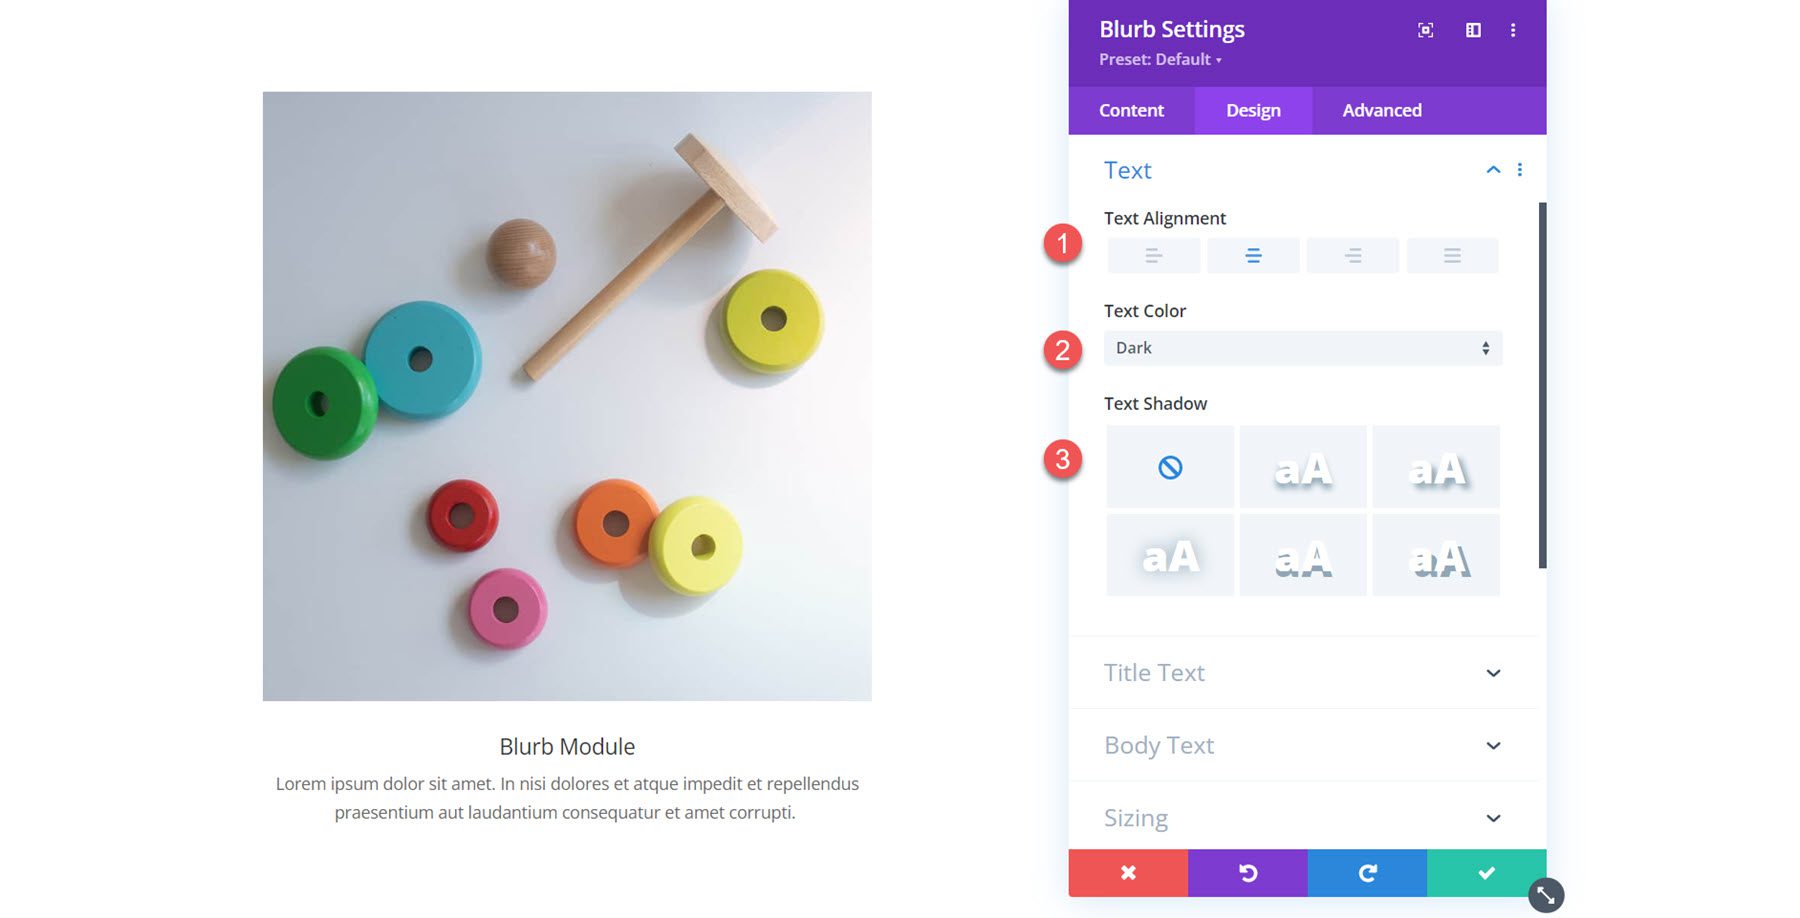
Text
In the text settings, you can set the alignment for the blurb text, select the text color, and enable a text shadow.
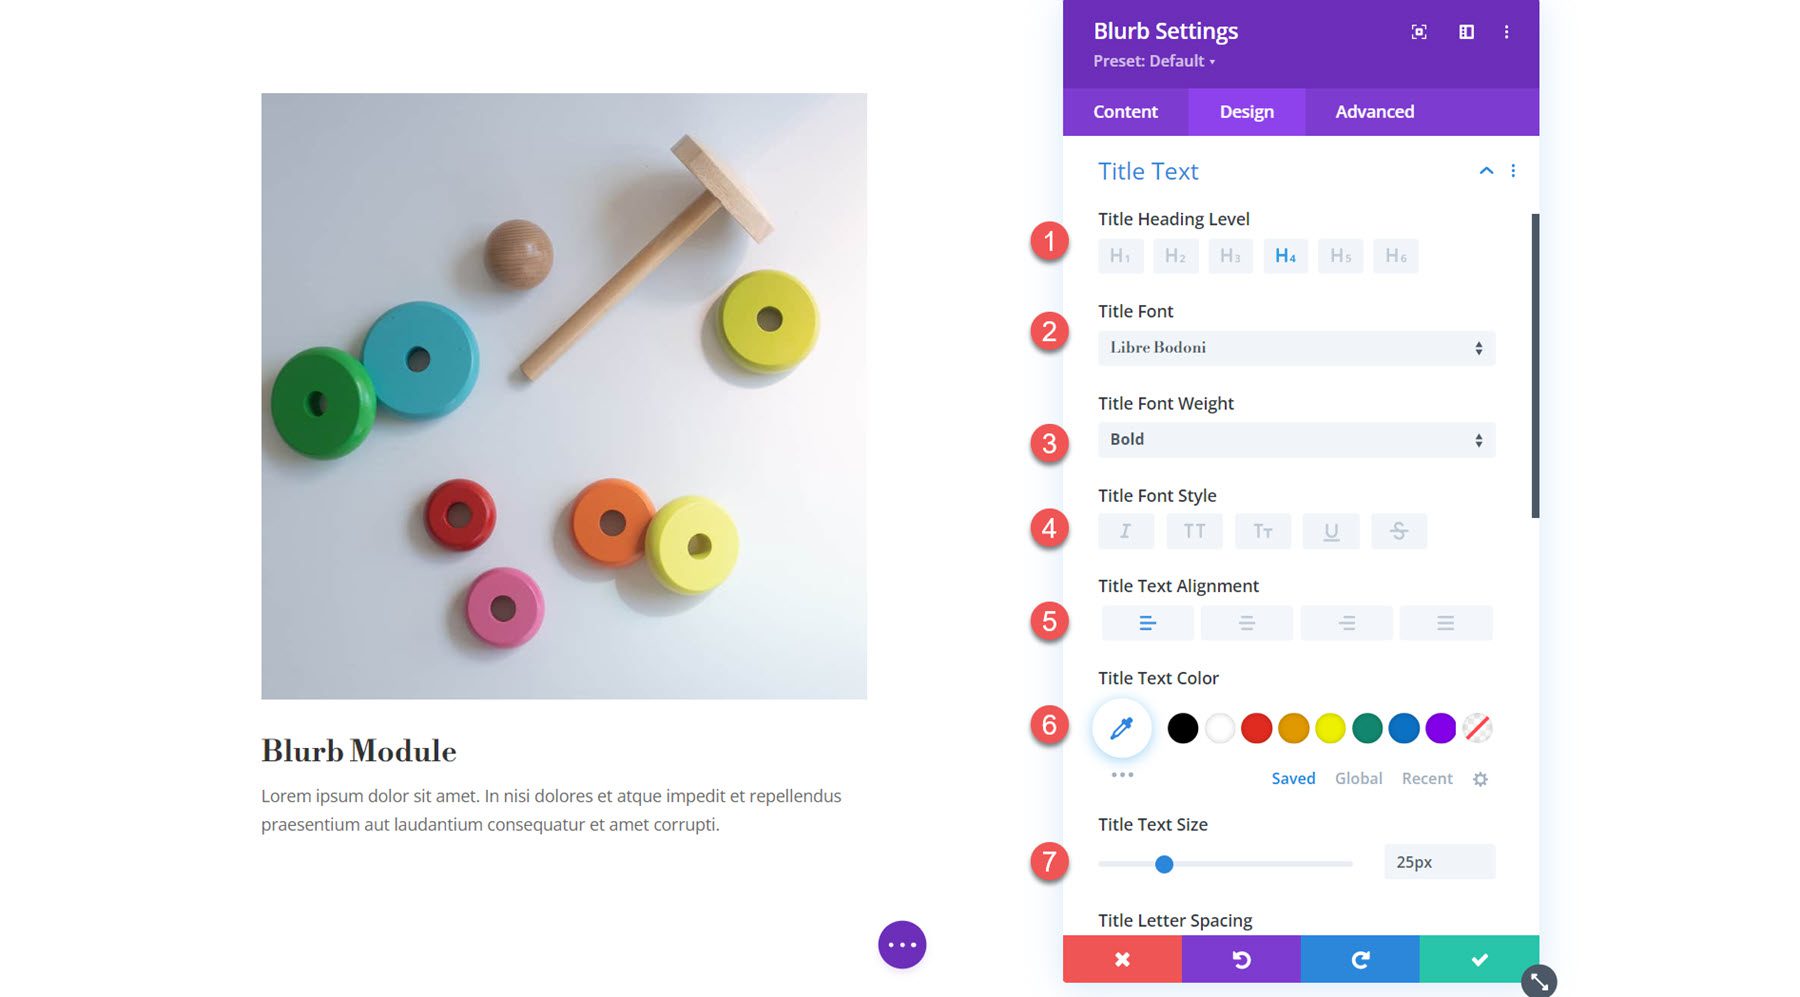
Title Text
Here is where you can customize the styling of the title text. You can specify the heading level and set the font, font weight, font style, alignment, color, size, spacing, line height, and shadow.
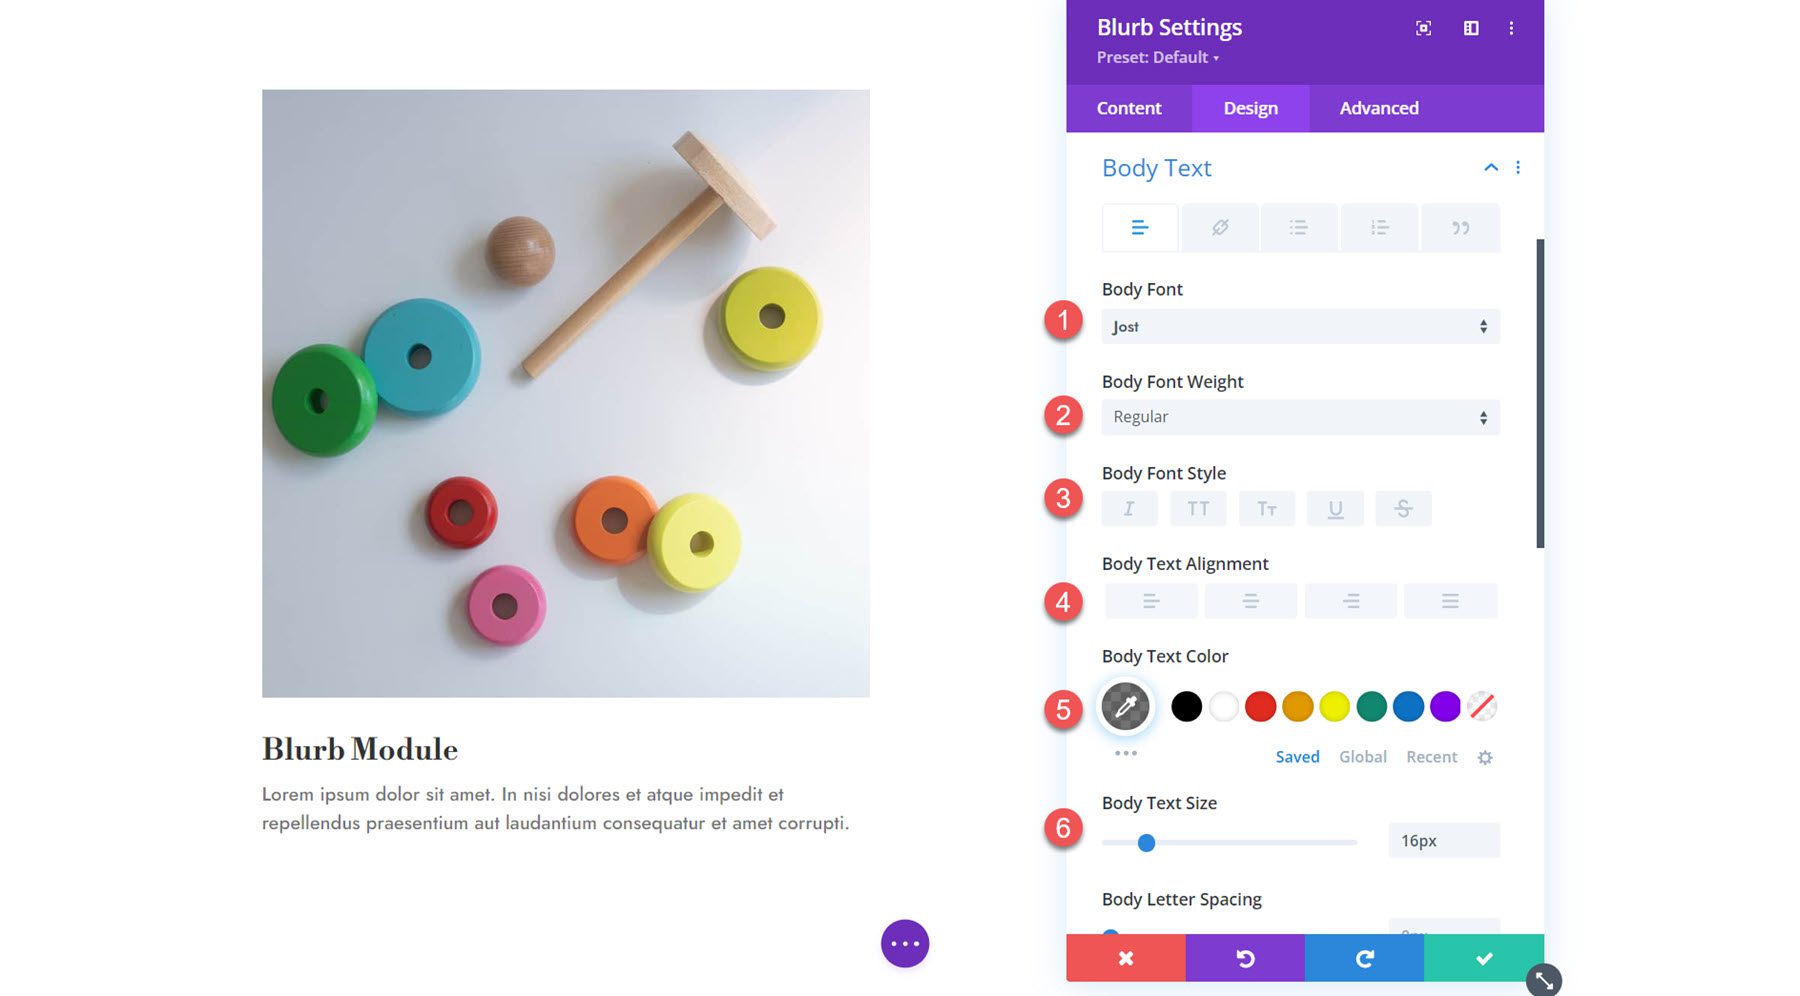
Body Text
Next is the body text settings. Like the title text settings, you can customize the font, font weight, font style, alignment, color, size, spring, line height, and shadow.
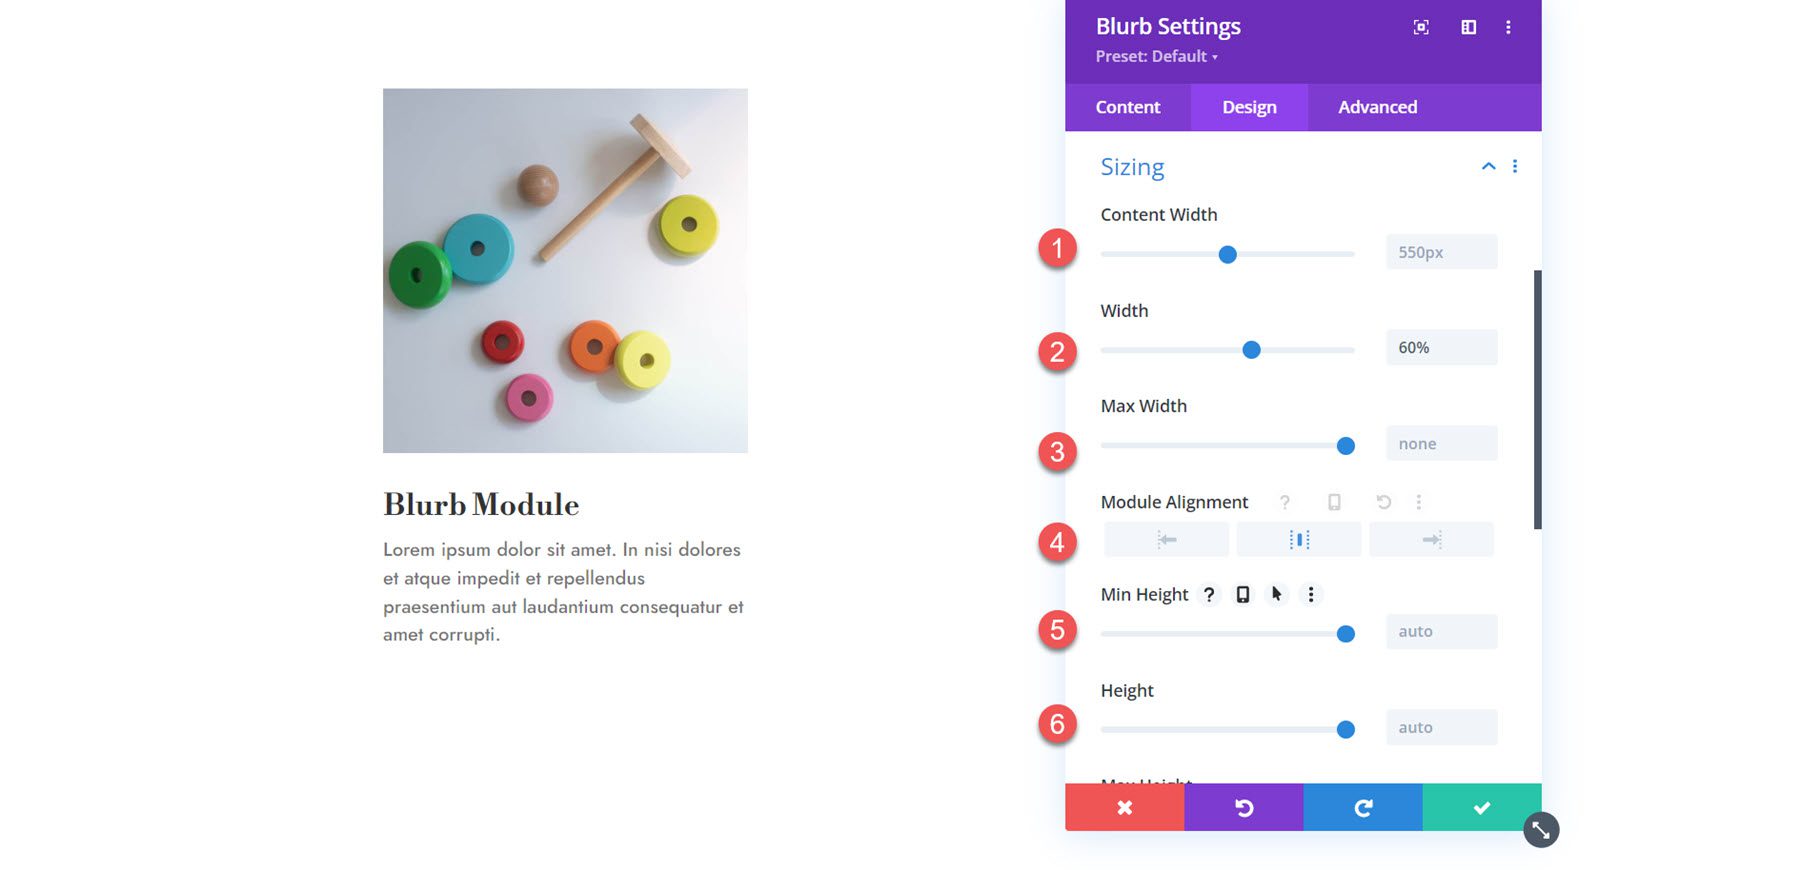
Sizing
In the sizing settings, you can set the content width, width, max width, alignment, min height, height, and max height.
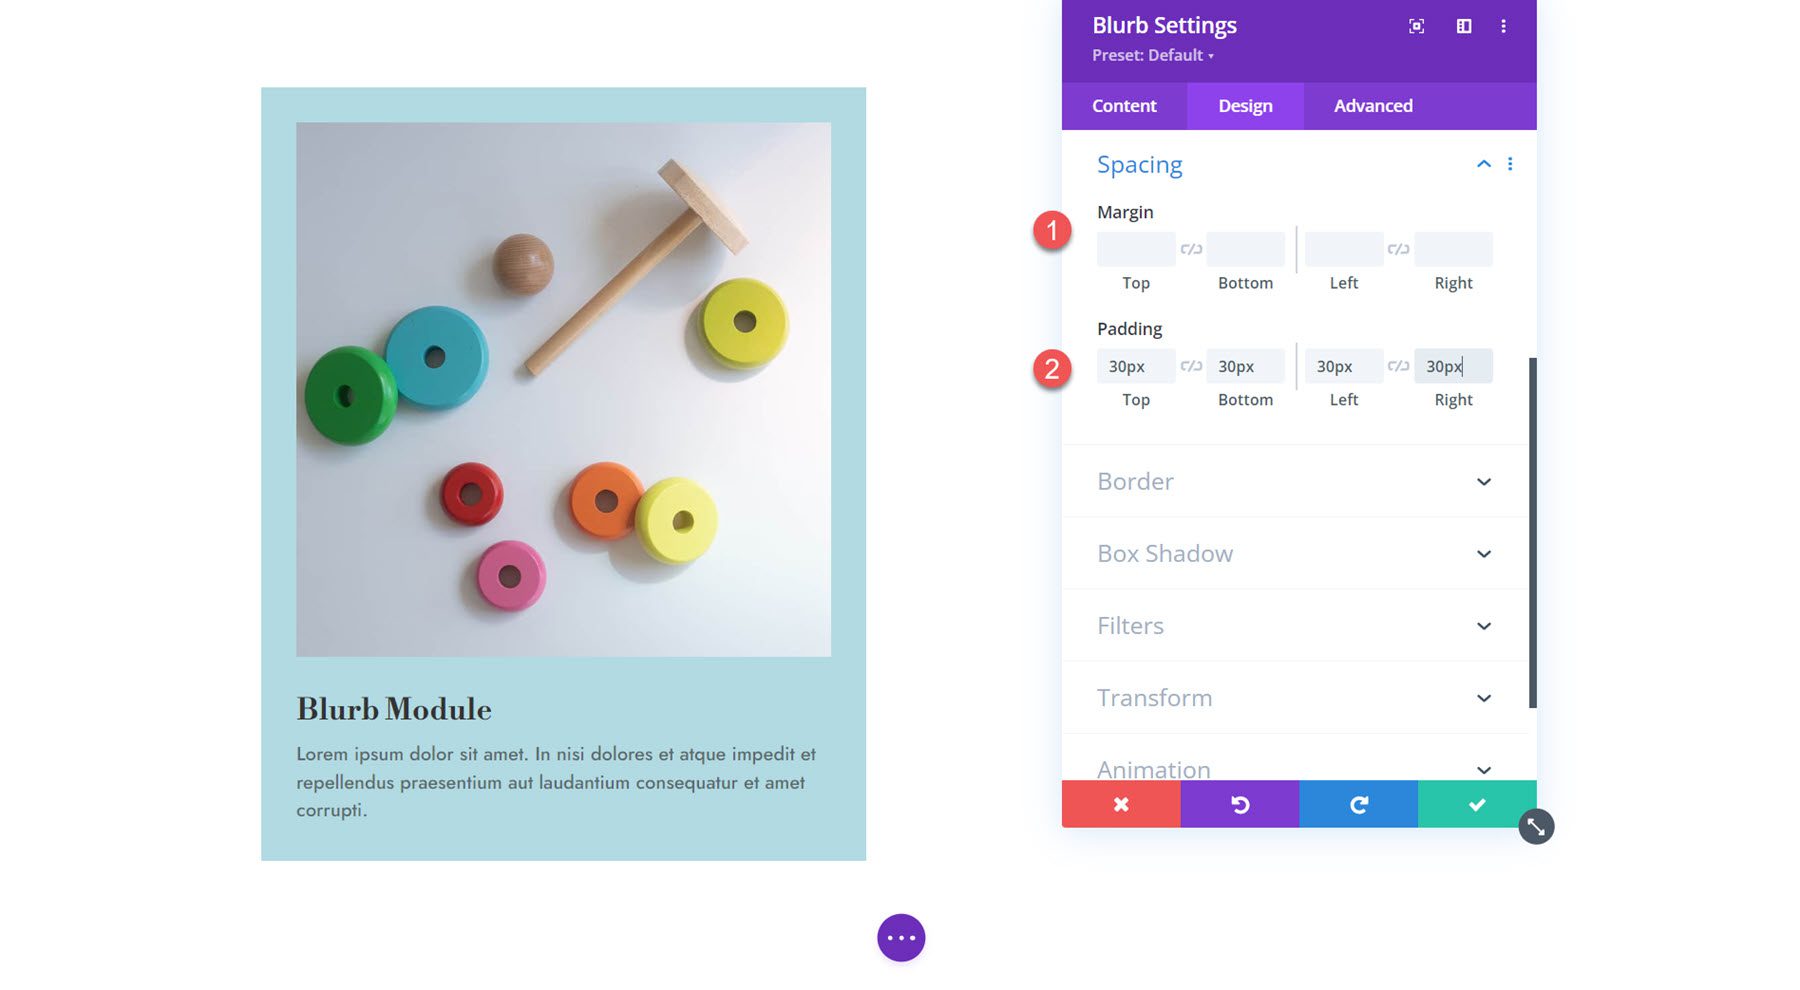
Spacing
Next, the spacing section is where you can set the margin and padding for the Blurb Module.
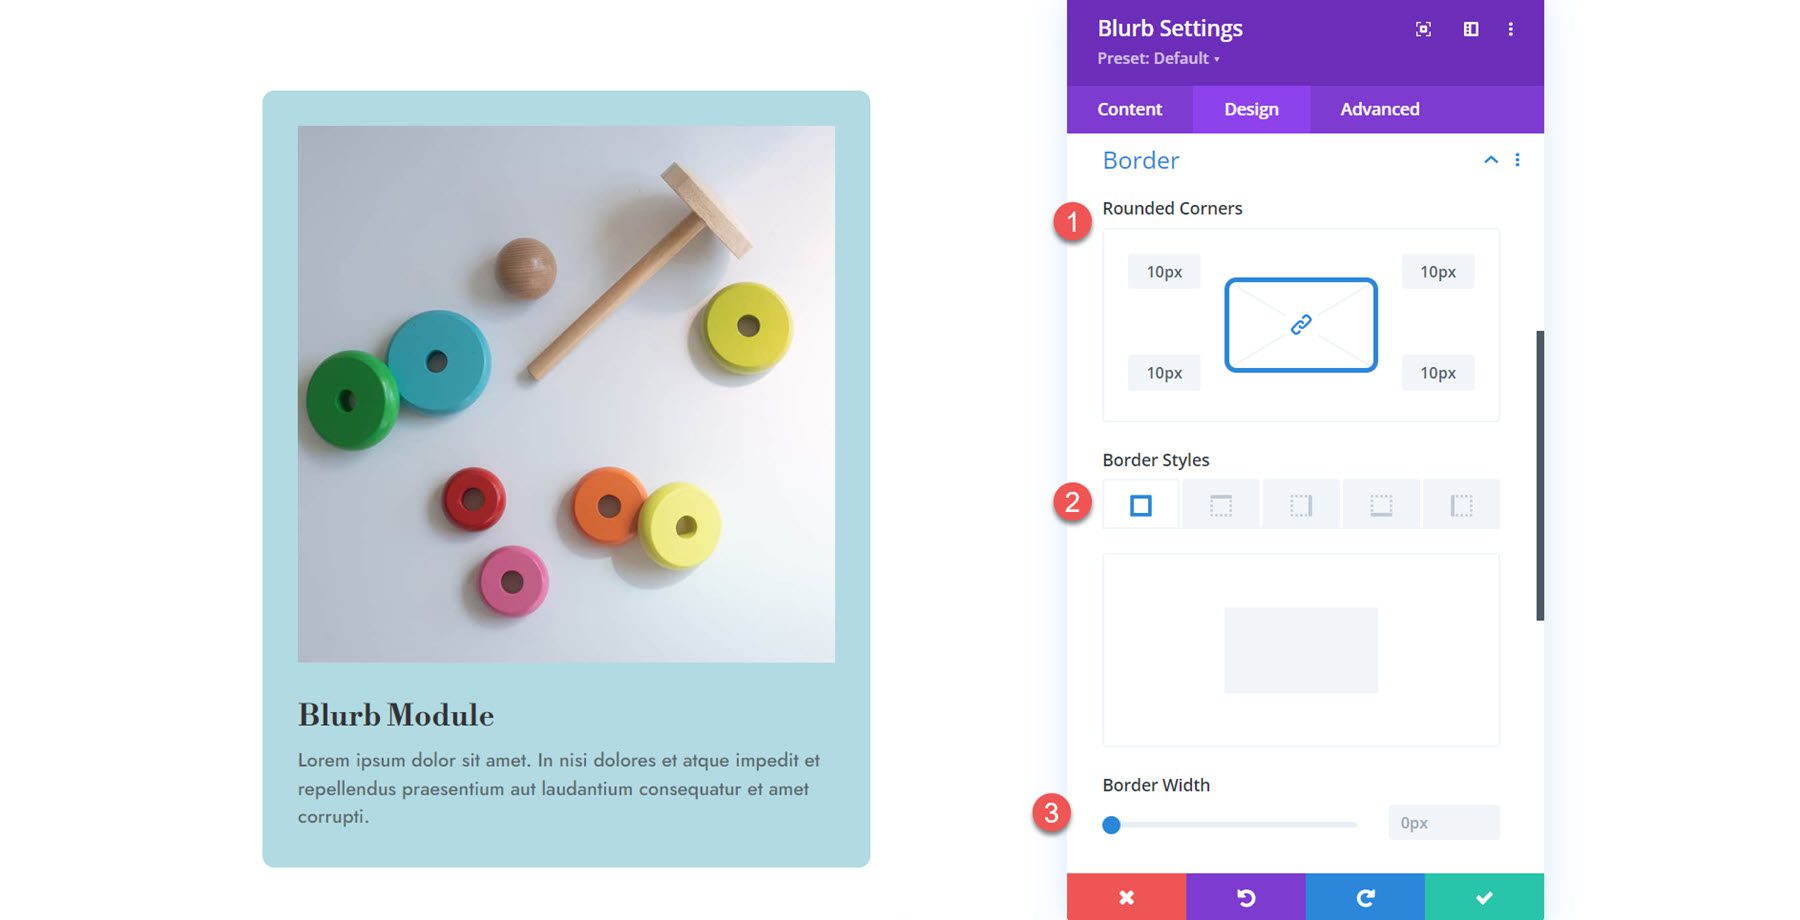
Border
You can add rounded corners to the blurb in the border settings and enable a border. You can specify the border width, color, and style.
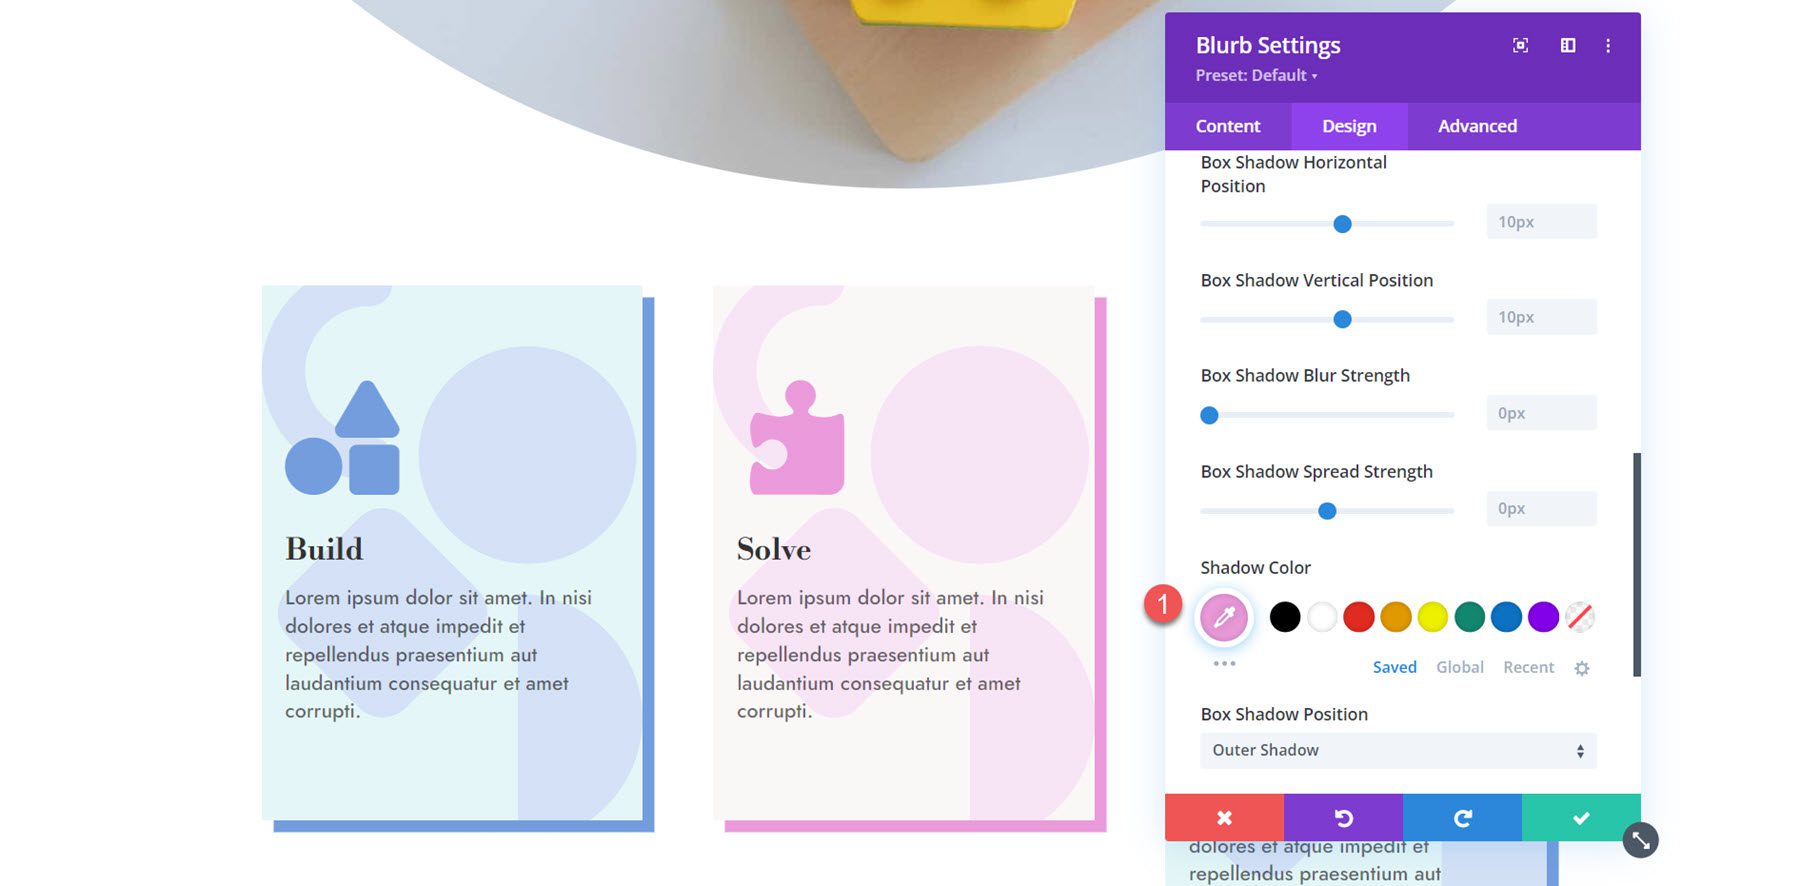
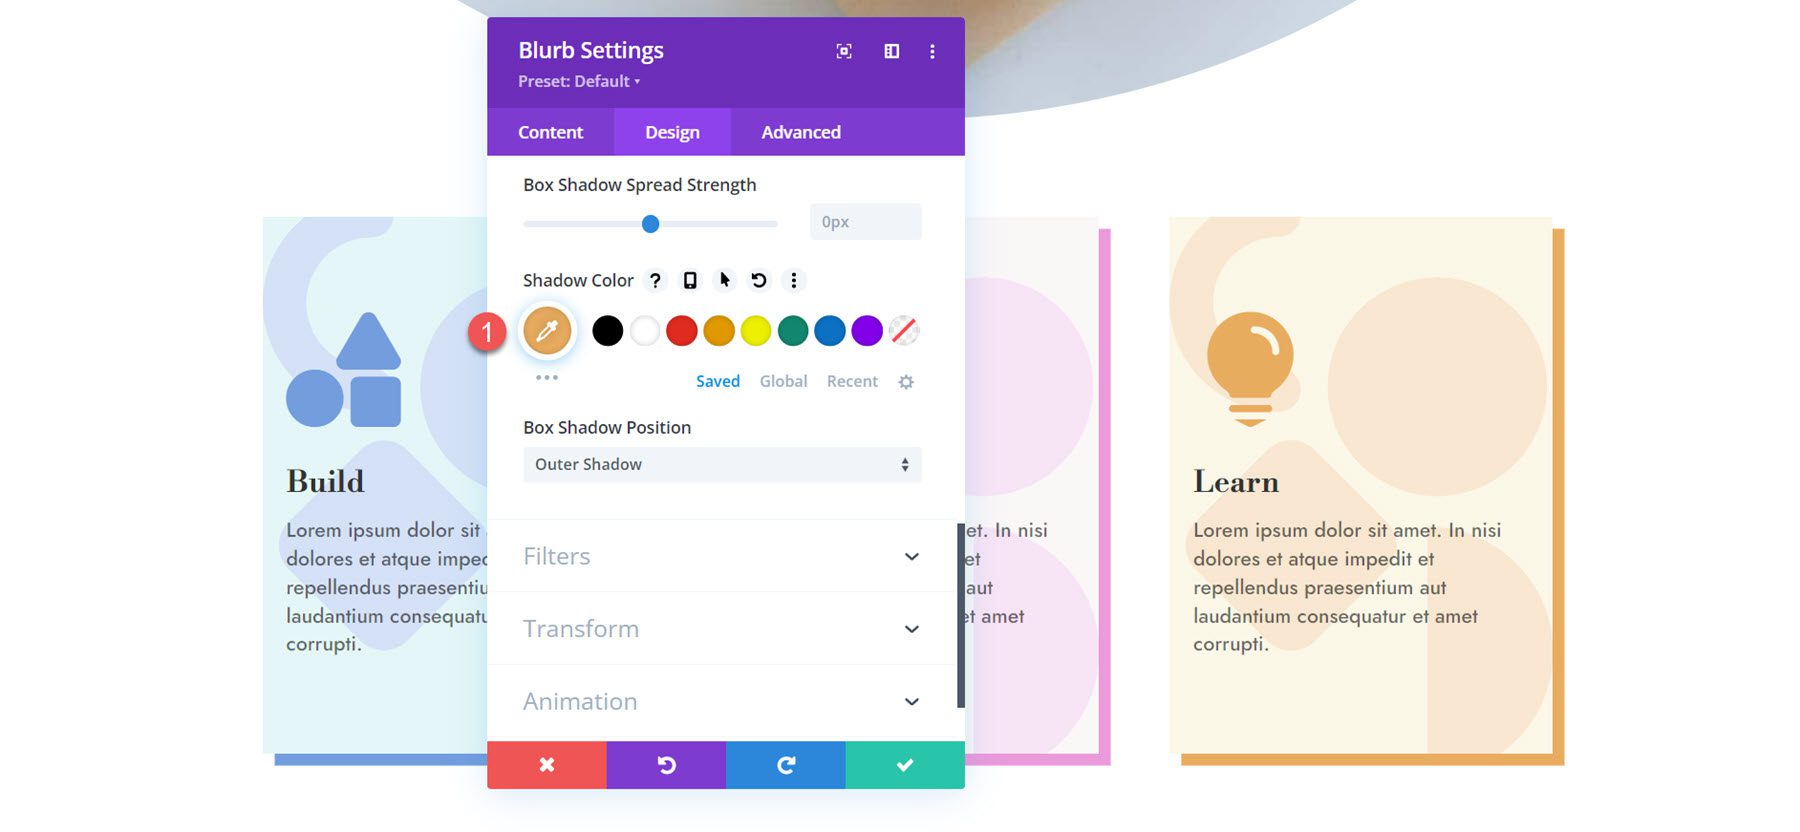
Box Shadow
Here, you can set a box shadow for the entire blurb. With the box shadow enabled, you can set the positioning, blur and spread strength, shadow color, and shadow position.

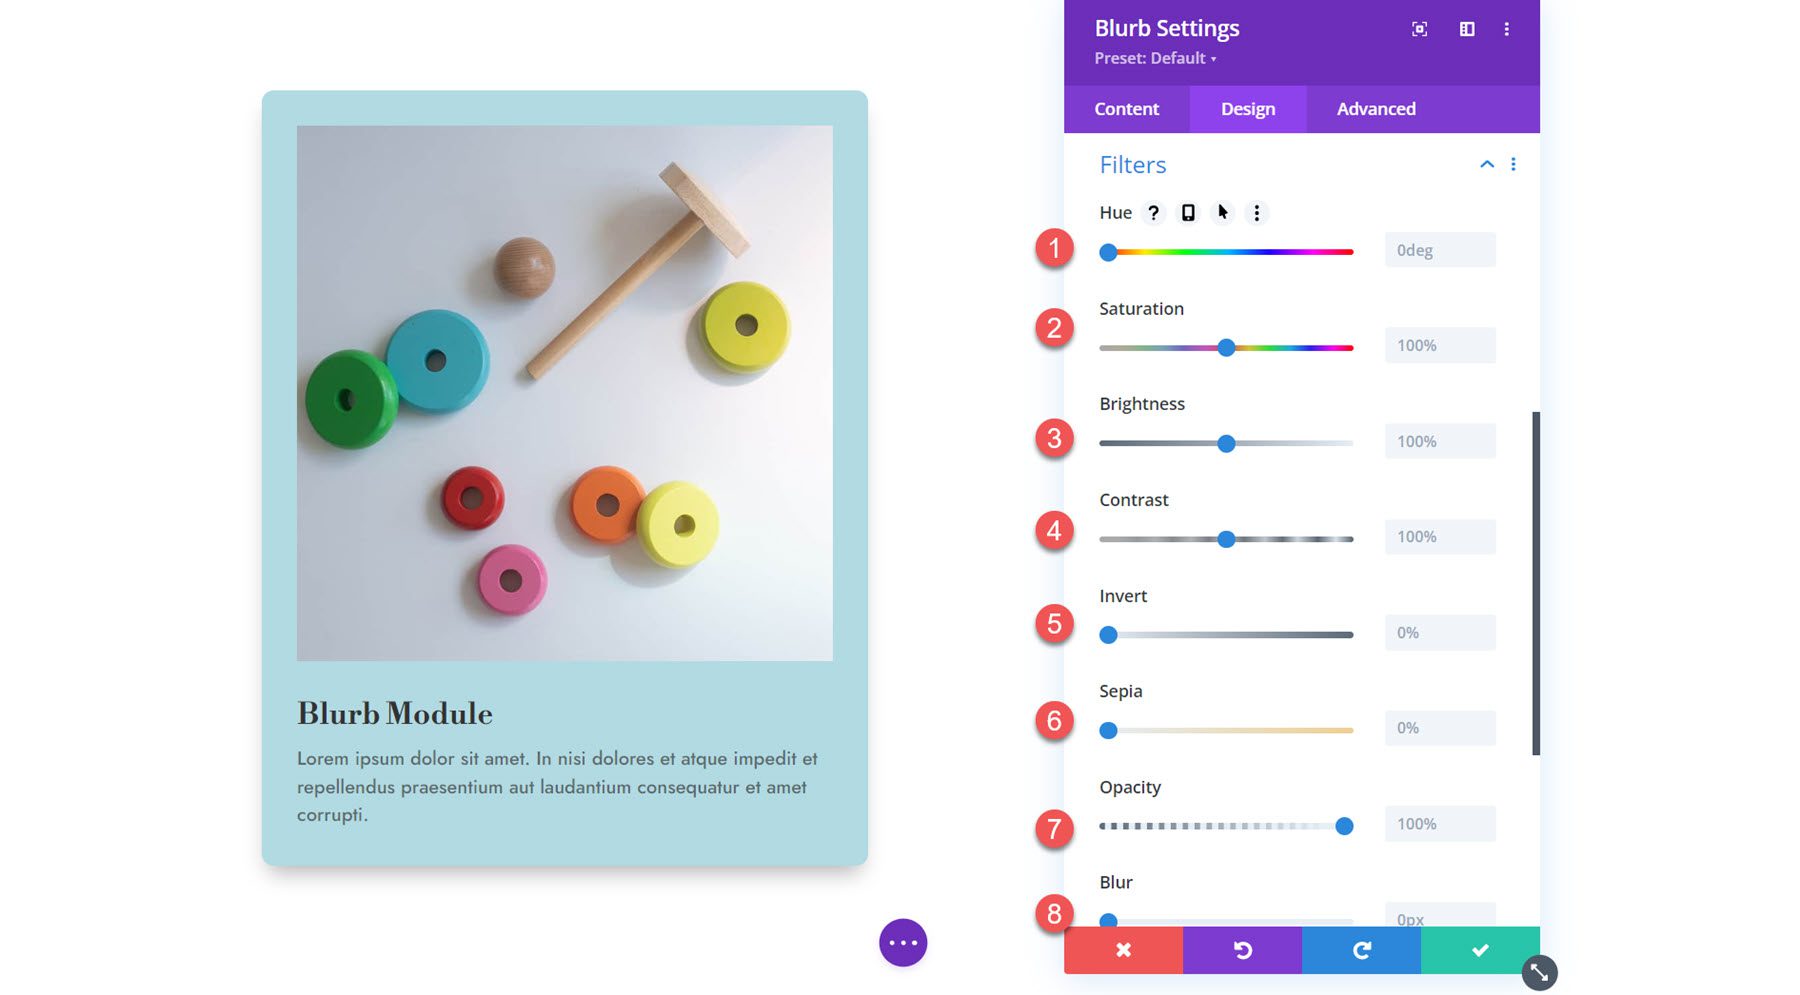
Filters
Next are the filters settings. You can use these options to modify the blurb’s hue, saturation, brightness, contrast, invert, sepia, opacity, and blur. You can also select a blend mode.
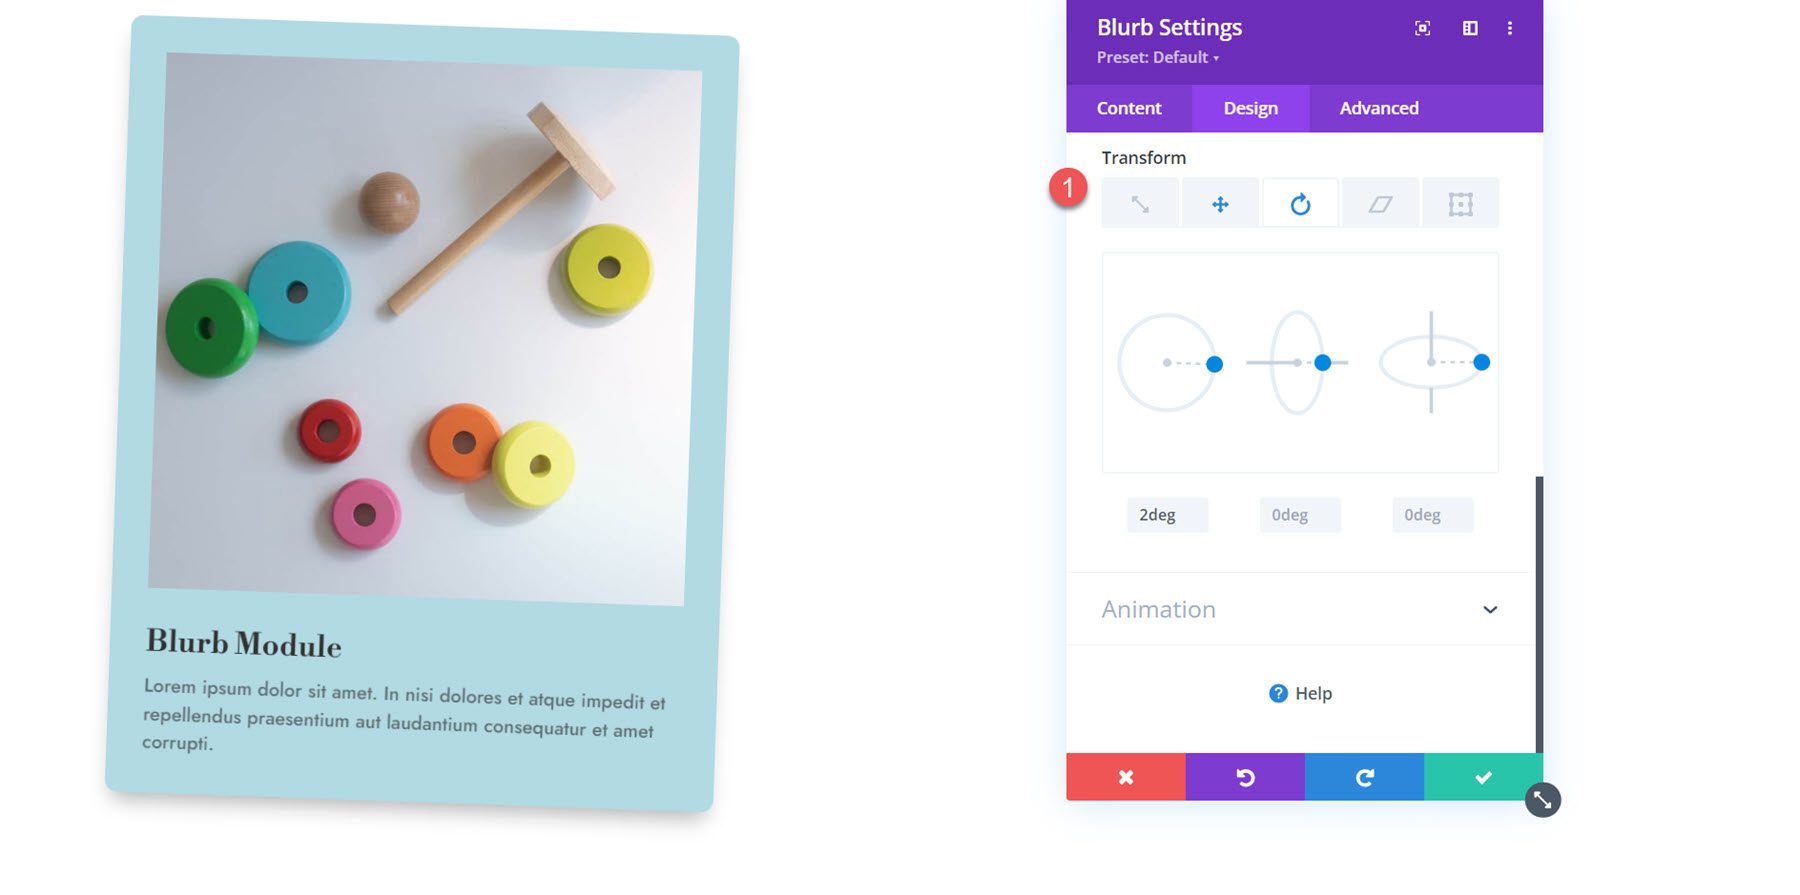
Transform
Here, you can scale, translate, rotate, skew, and set origin points to transform how your Blurb Module appears in the design.
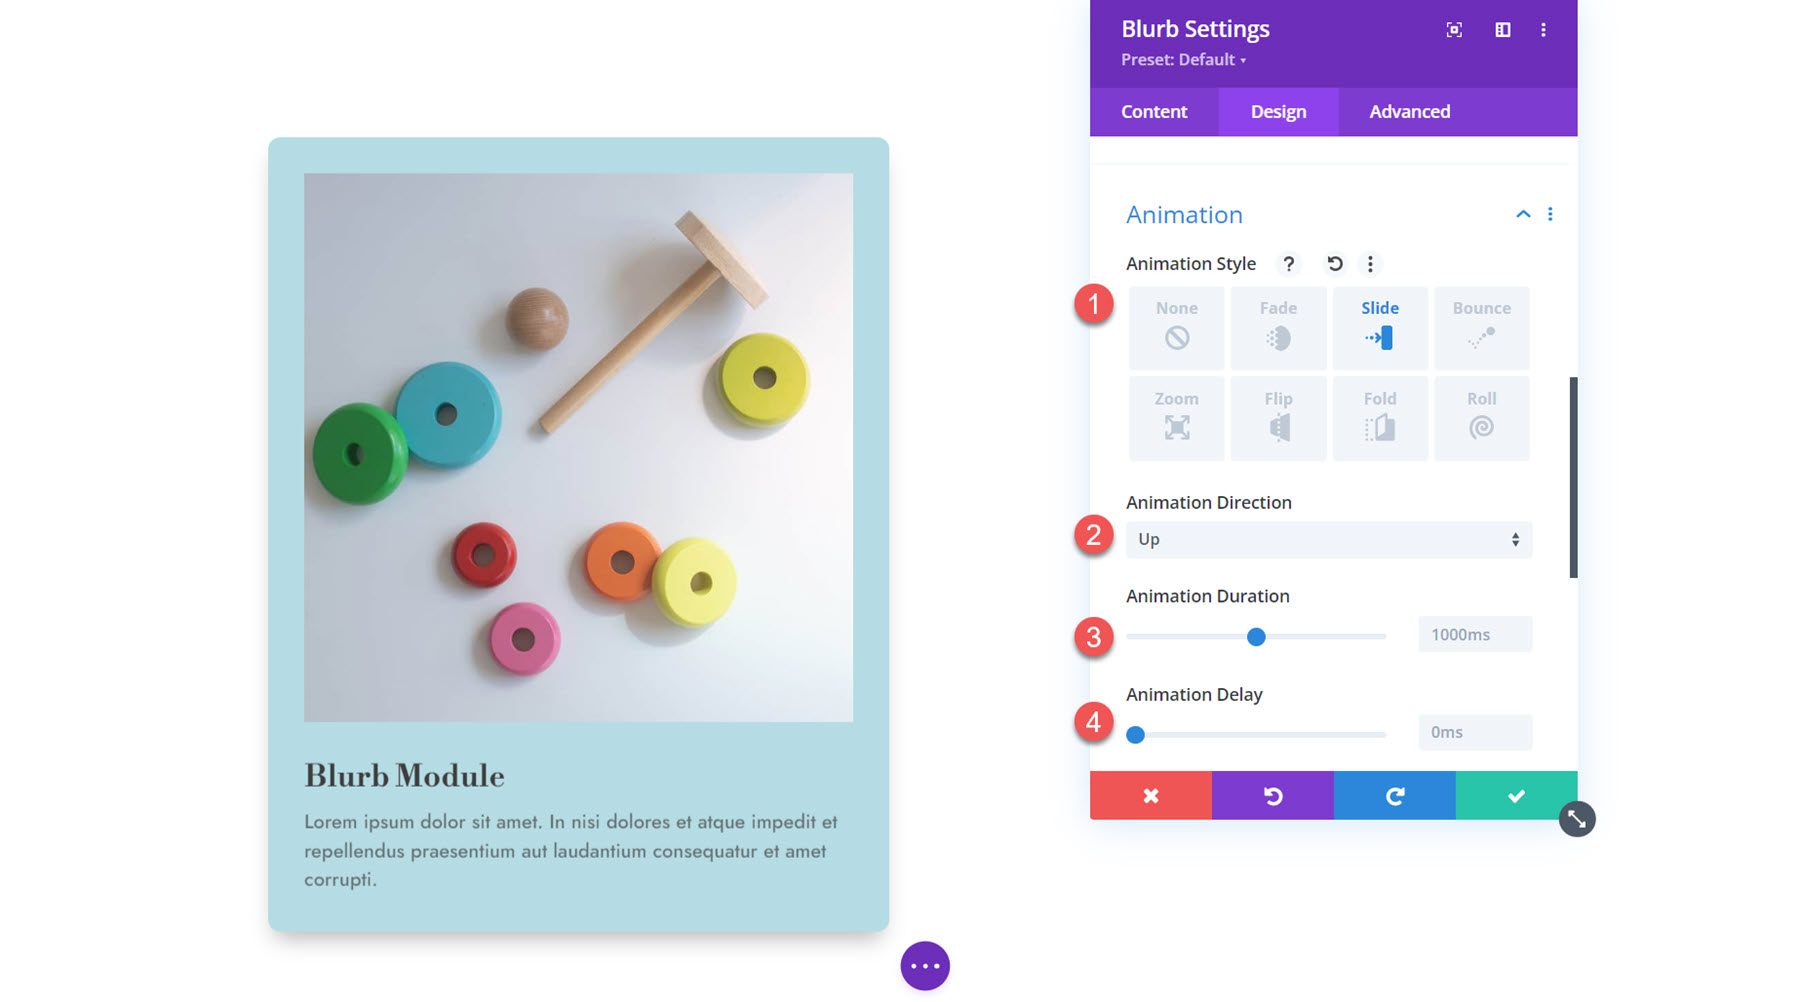
Animation
The final section in this tab is the animation settings. You can select from seven different animation styles: Fade, Slide, Bounce, Zoom, Flip, Fold, and Roll. Each animation style can be further customized by modifying the animation directions, duration, delay, intensity, starting opacity, speed curve, and repeat. In this section, you can also set the image/icon animation.
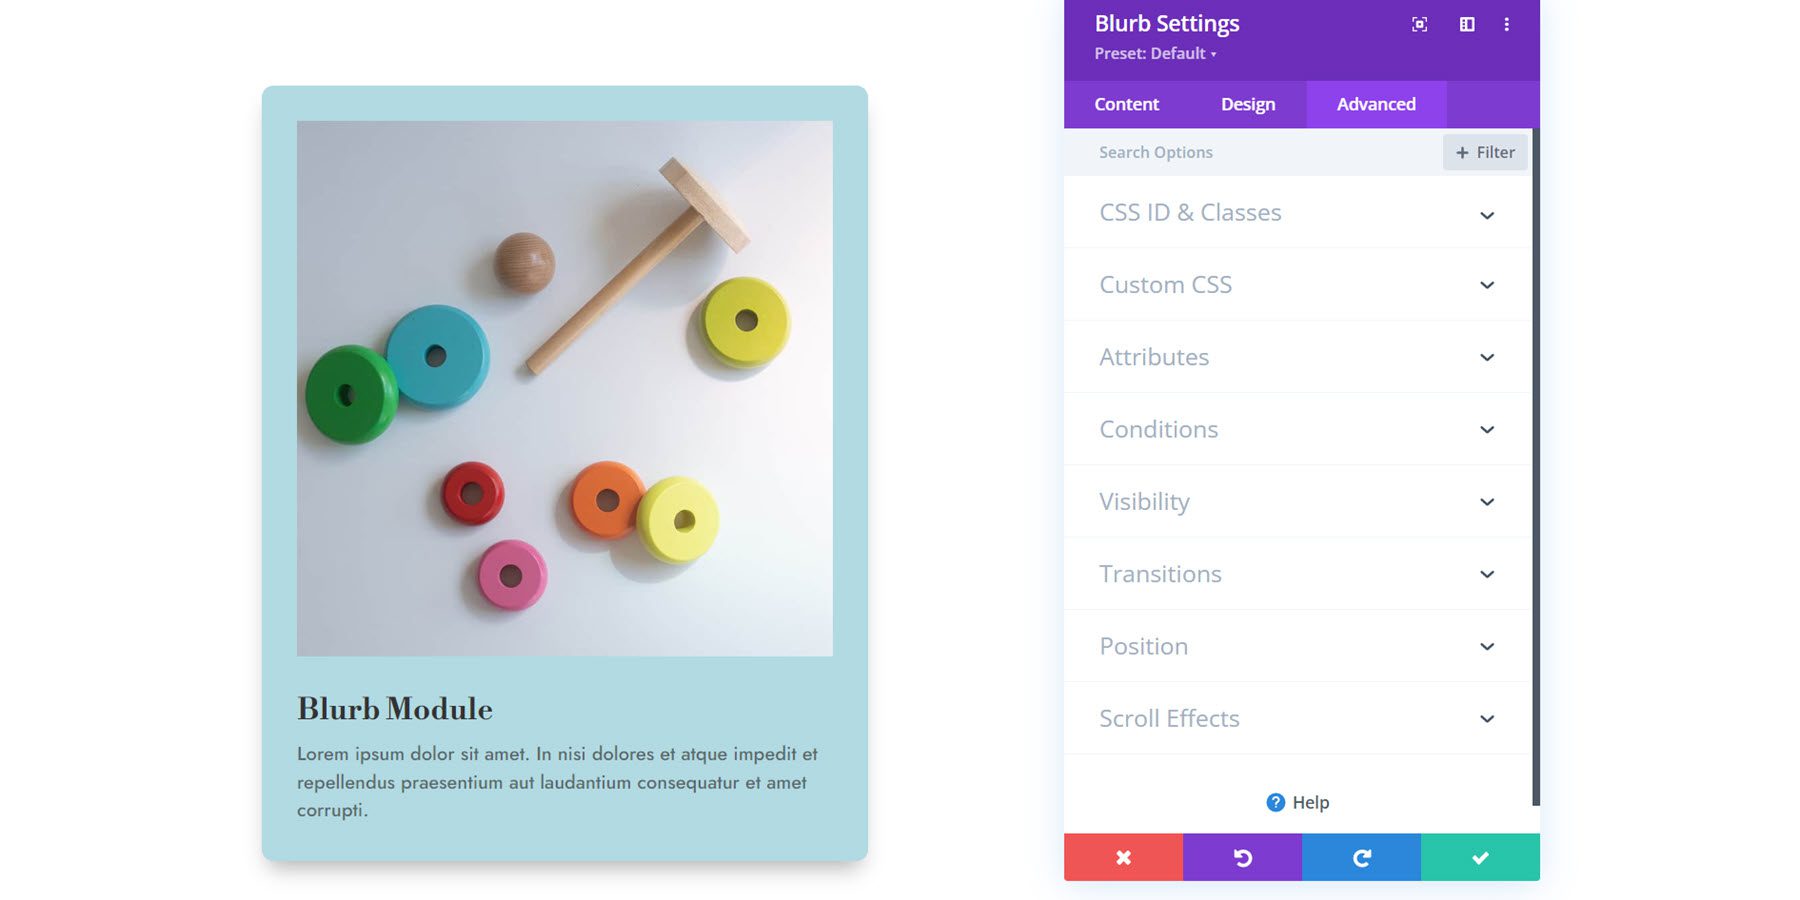
Advanced Settings
Finally, let’s take a look at the advanced tab. Here, you can set the CSS ID and Class, add custom CSS, set the image alt text, set display conditions and visibility settings, modify transitions, set an advanced position, and enable scroll effects. These settings can take your designs to the next level with advanced customizability and dynamic effects.
Using the Blurb Module in a Design
Now that we have explored the options in the Blurb Module settings, let’s move on to some practical examples. We will create three different designs using Blurb Modules.
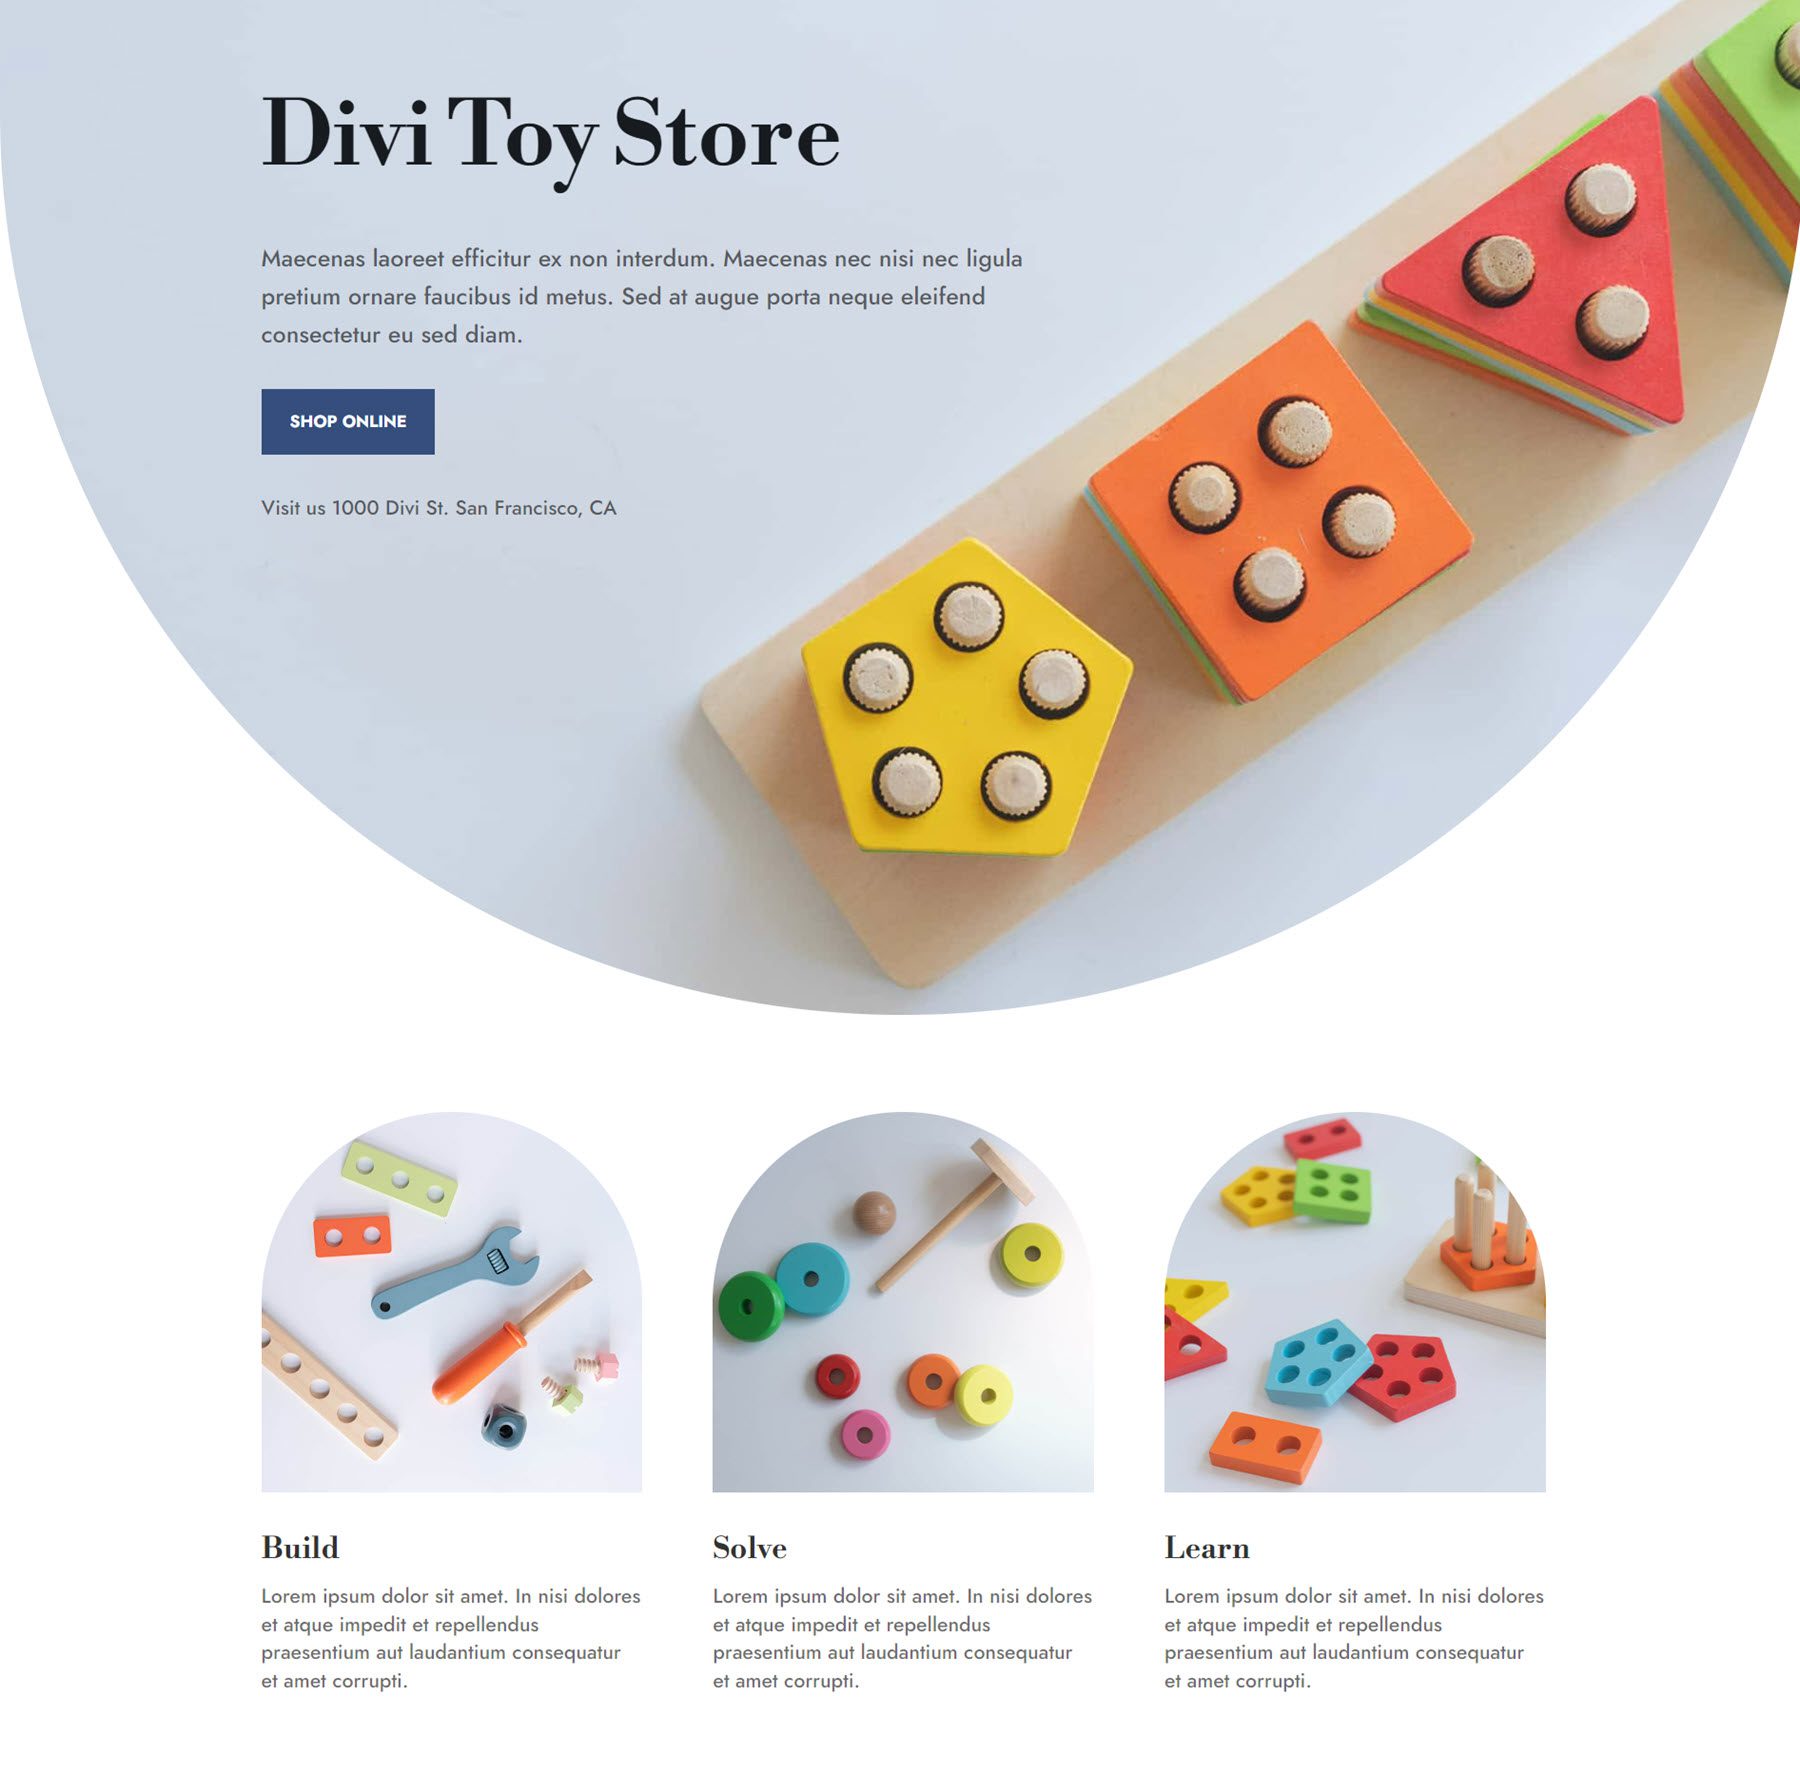
Preview
Here is a preview of what we will design.
Blurb Design 1
Blurb Design 2
Blurb Design 3
Create a New Page with a Premade Layout
Let’s start by using a premade layout from the Divi library. For this example, we will use the Toy Store Home Page layout from the Toy Store Layout Pack.
Add a new page to your website and give it a title, then select the option to Use Divi Builder.
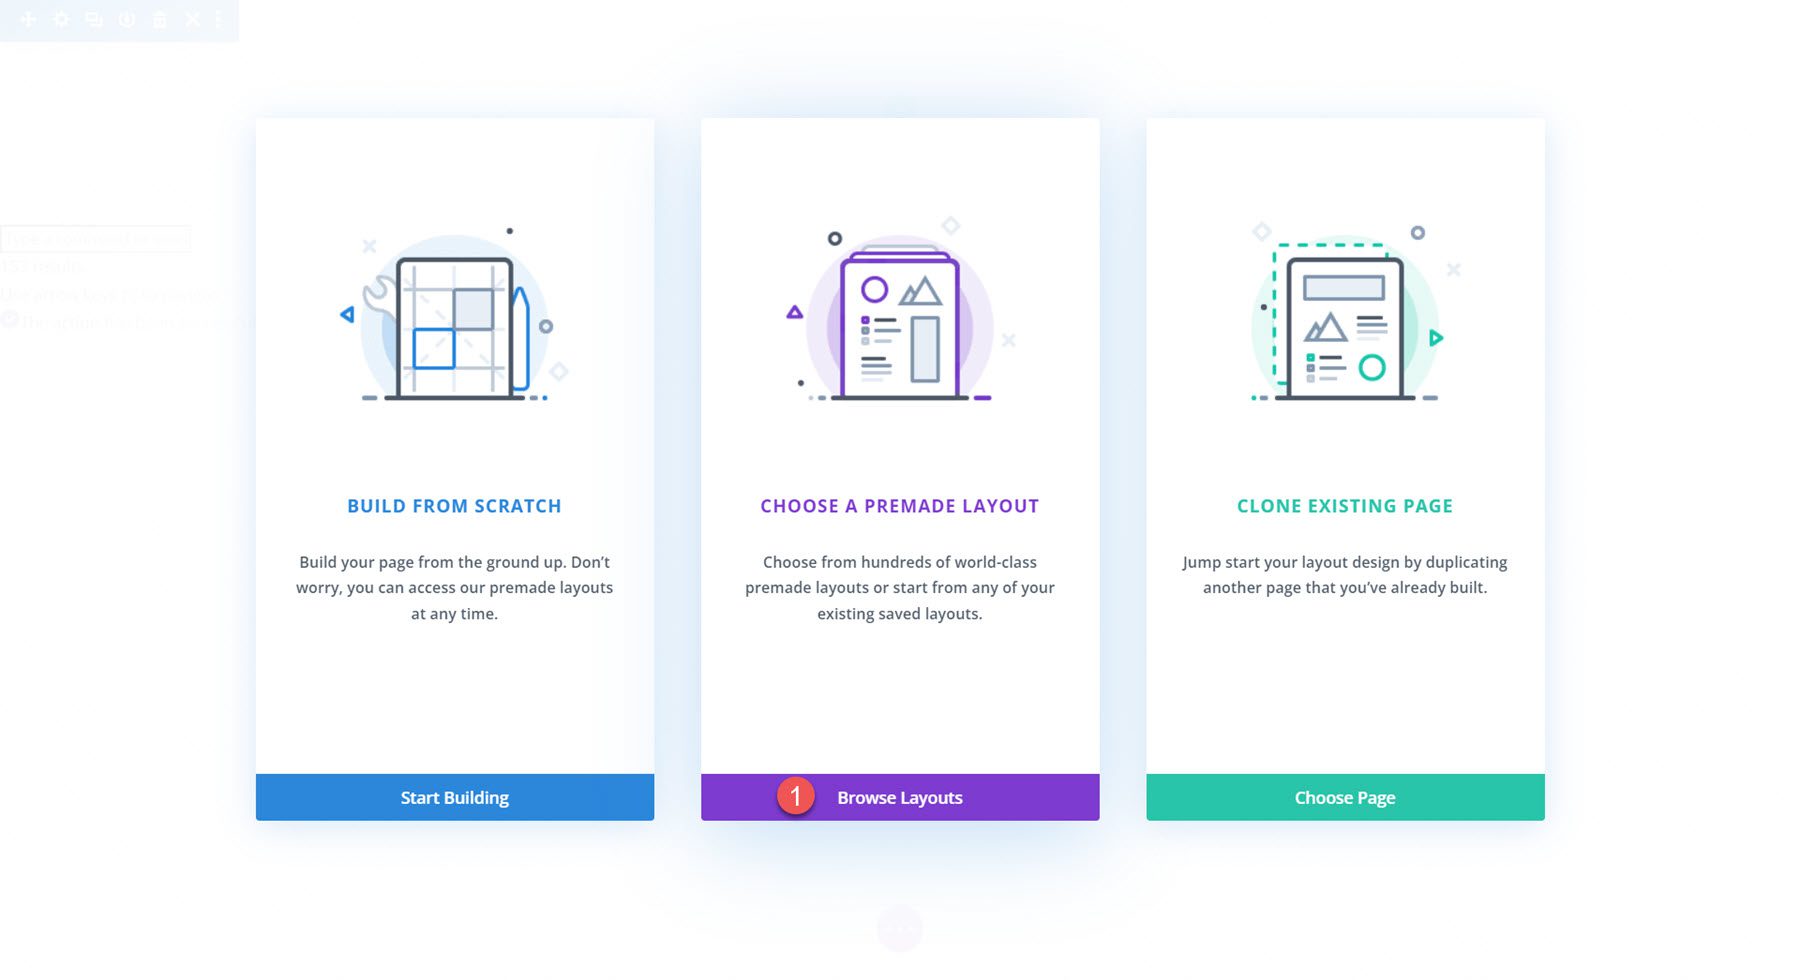
We will use a premade layout from the Divi library for this example, so select Browse Layouts.
Search for and select the Toy Store Home Page layout.
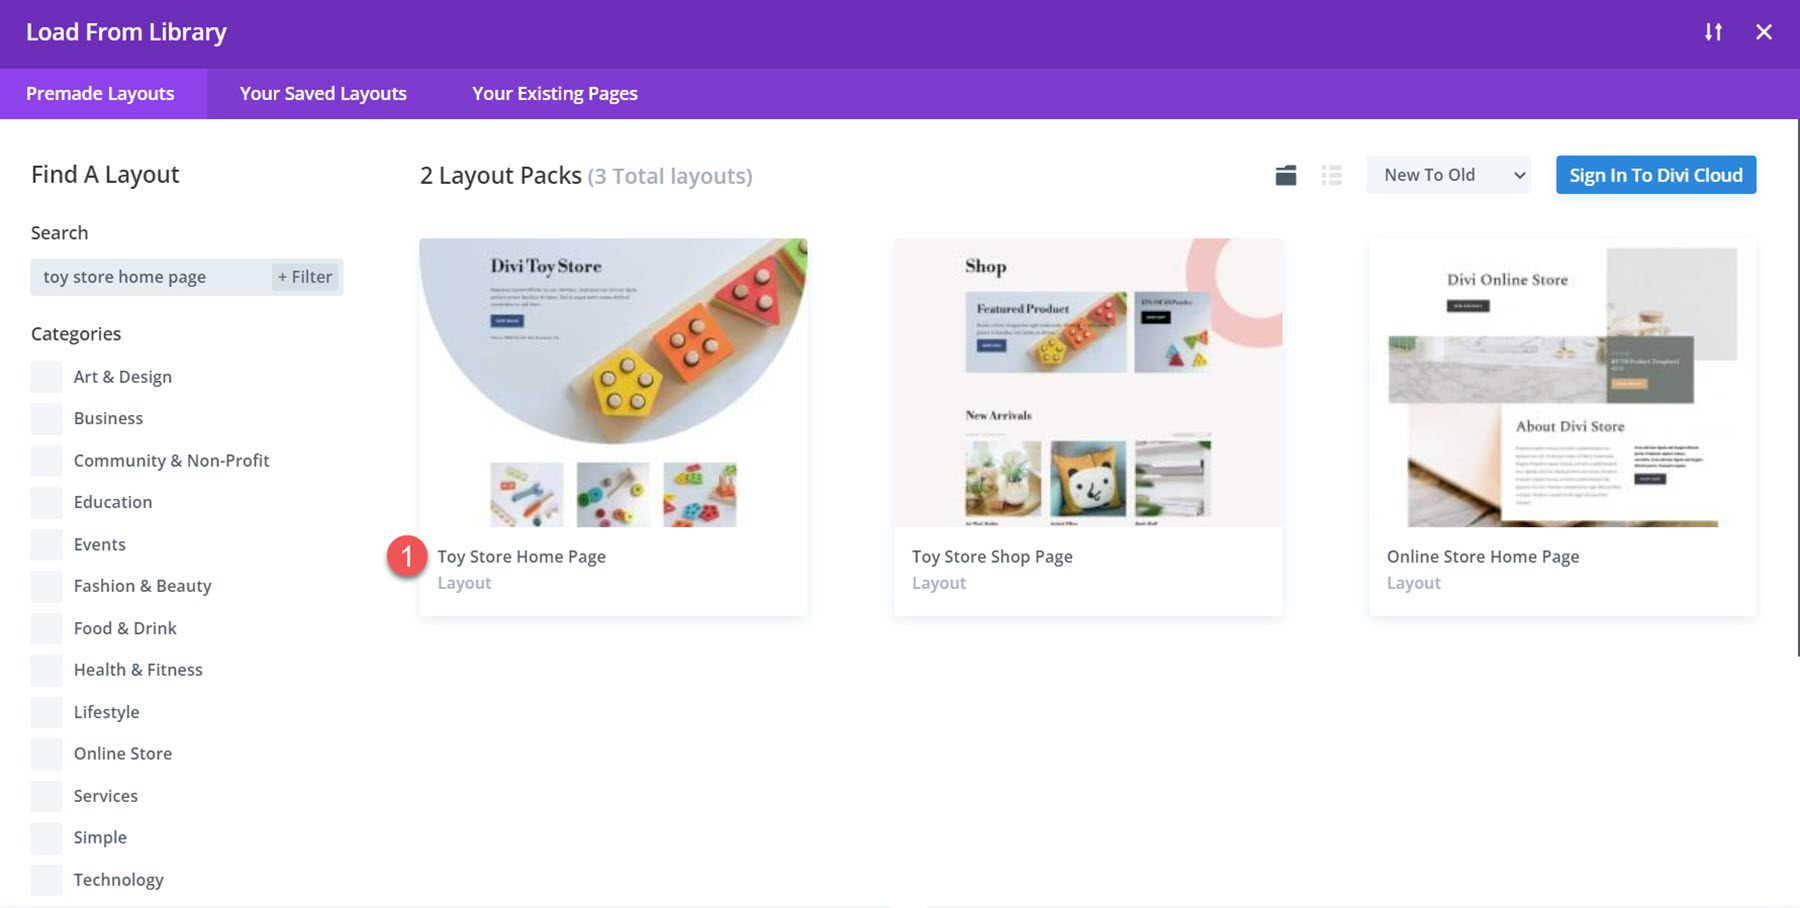
Select Use This Layout to add the layout to your page.

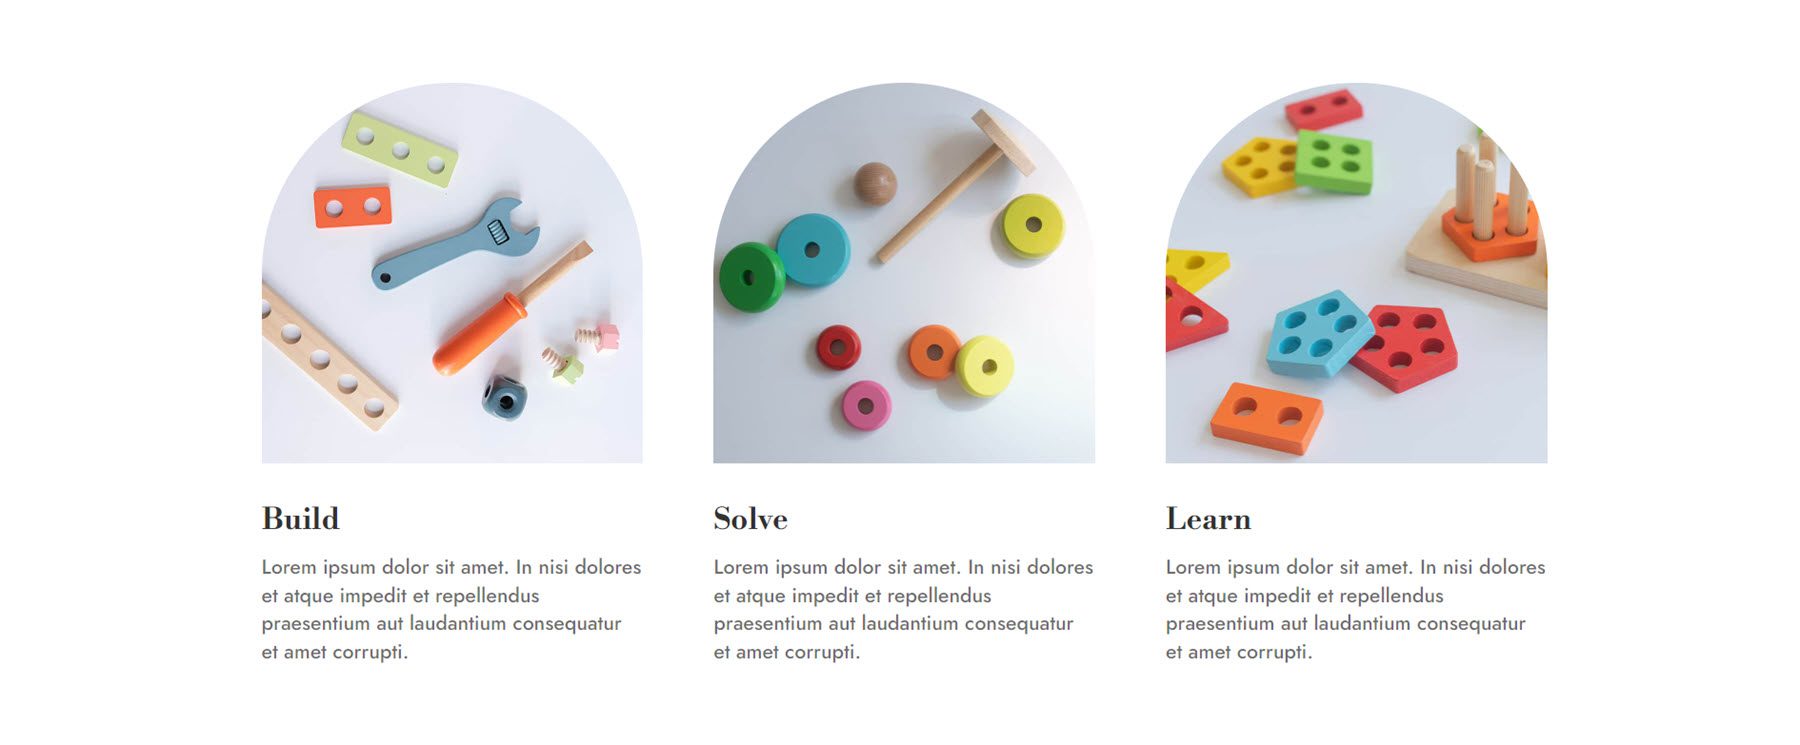
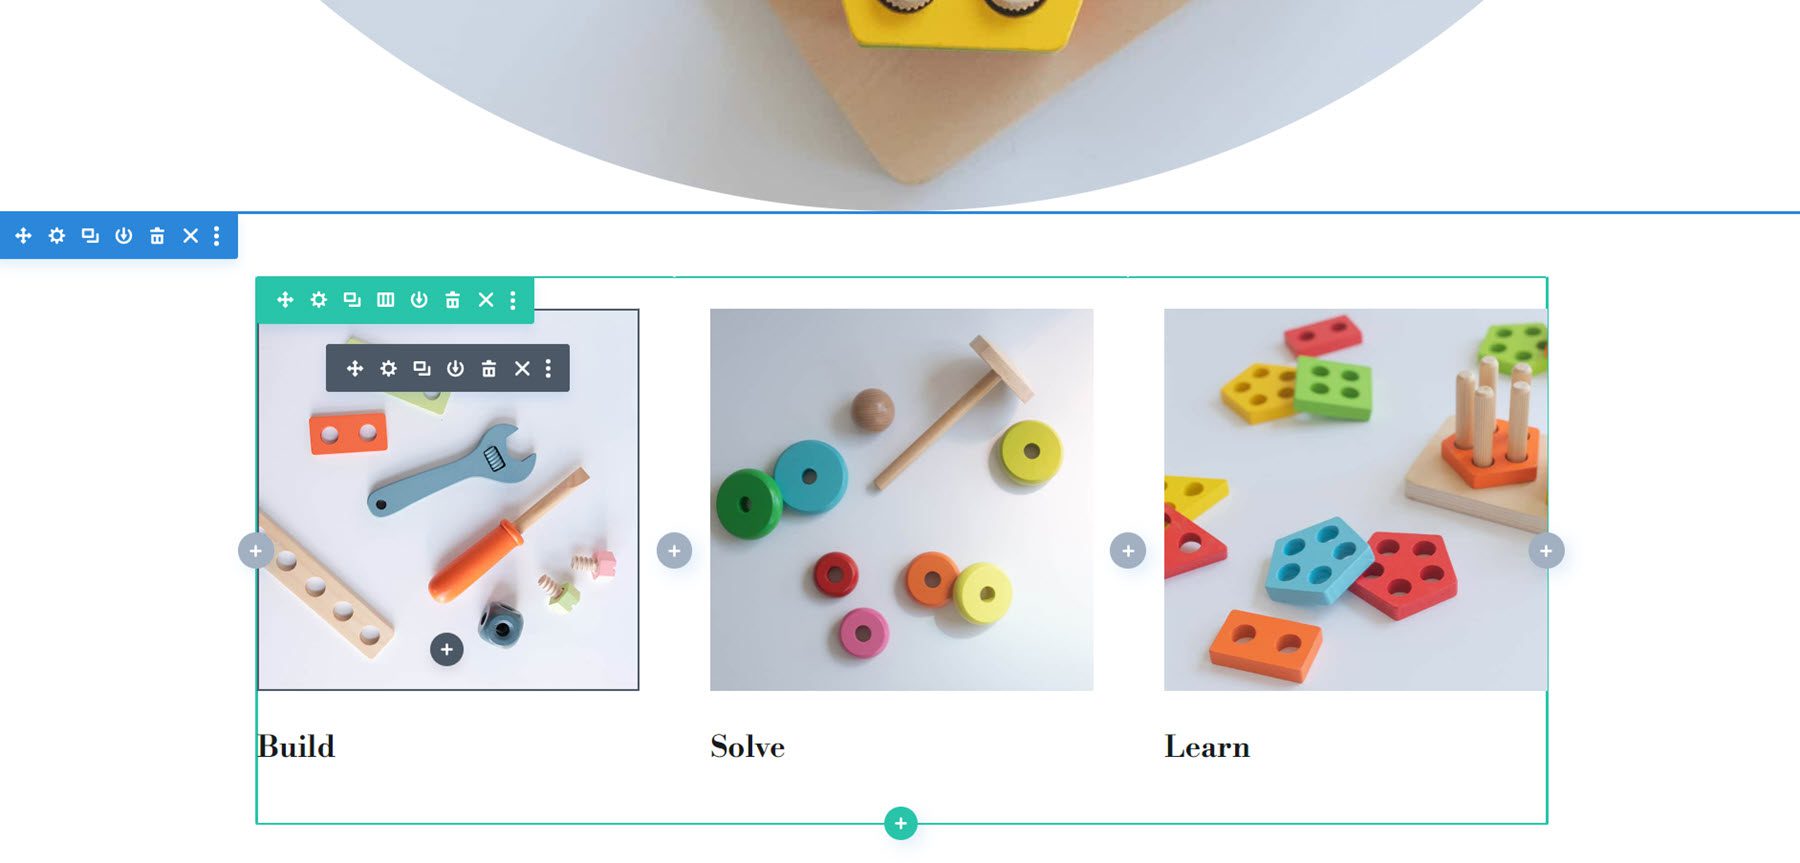
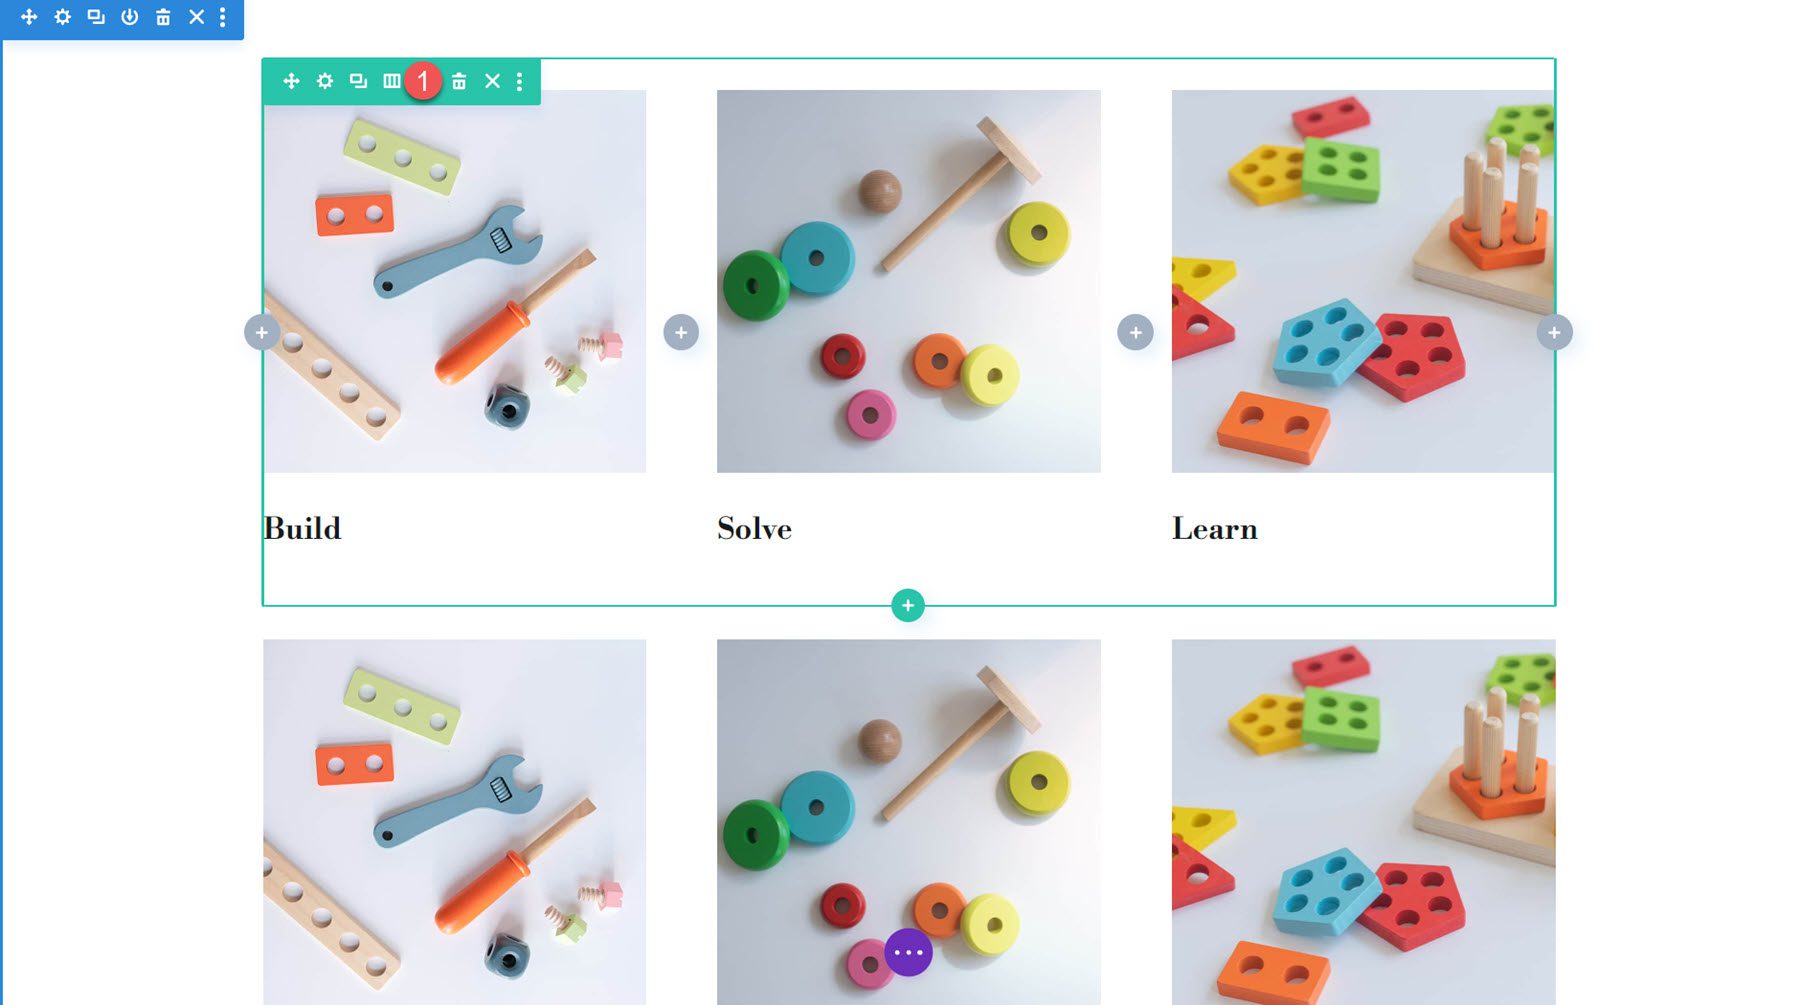
Now, we are ready to build our designs. We will redesign the Build, Solve, and Learn section for this tutorial using Blurb Modules. The layout is created with image and text modules, but we can use the Blurb Module to combine the elements into one module and style them together. Let’s get started!
Recreating the Layout with a Blurb Module
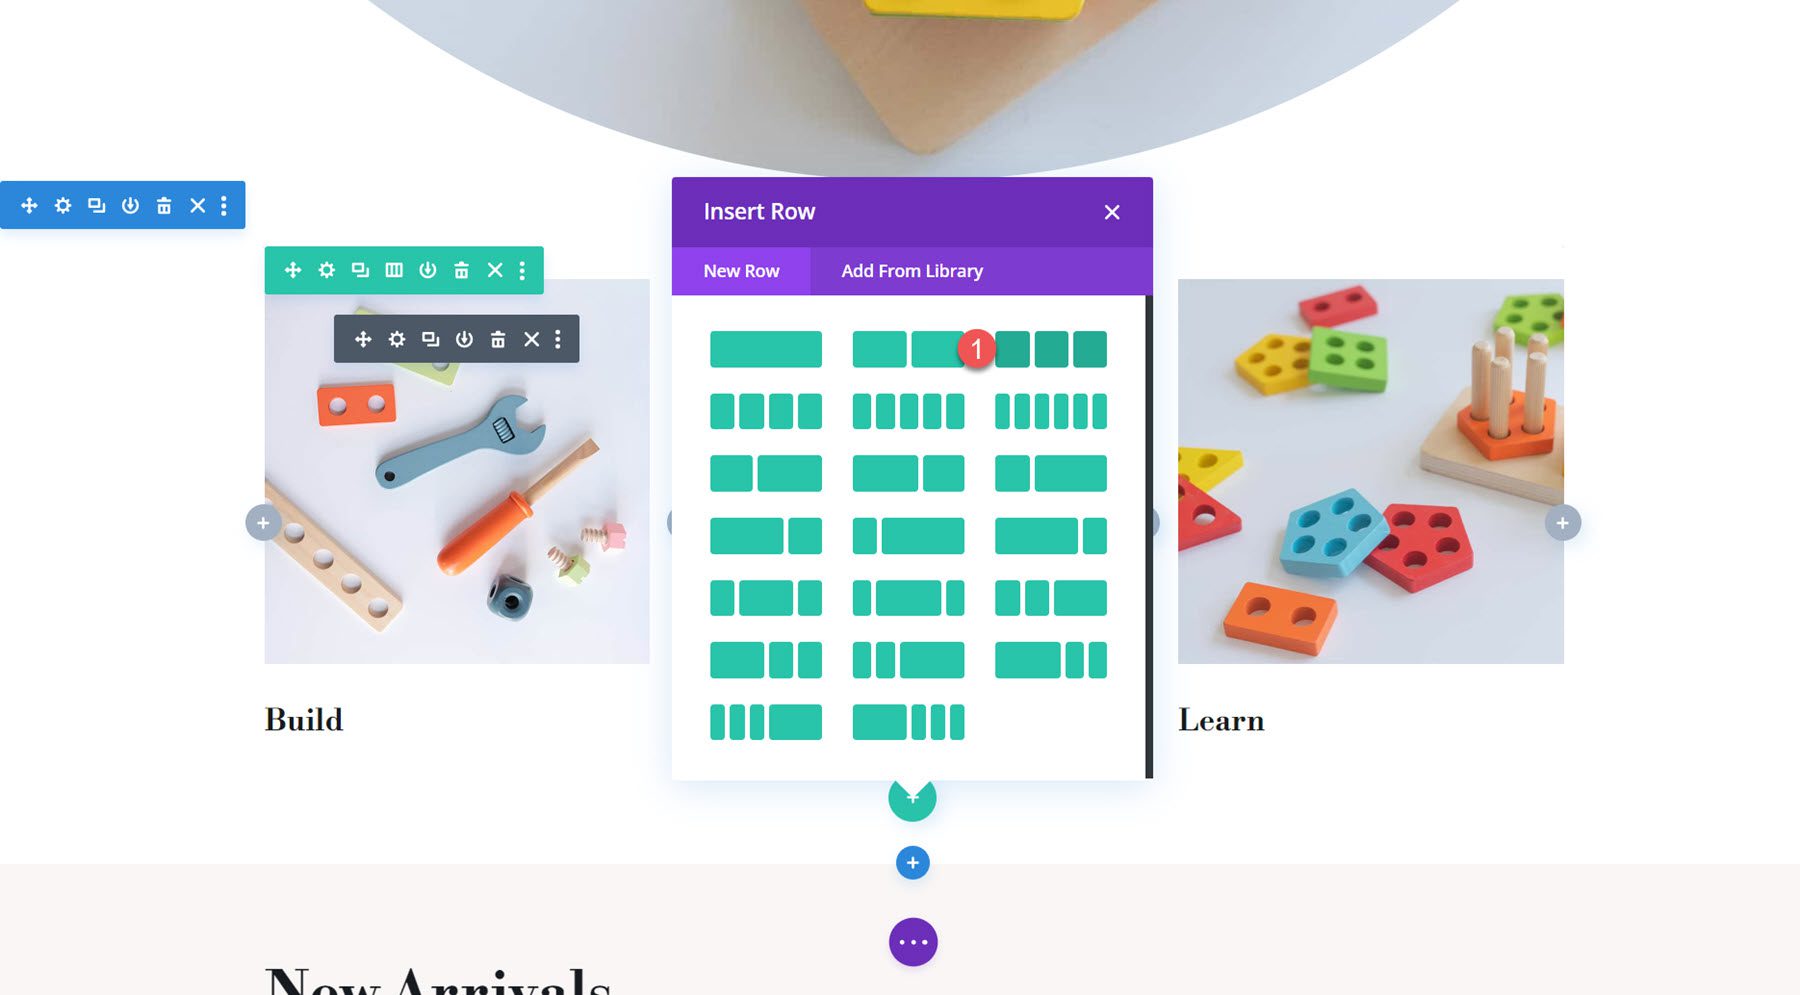
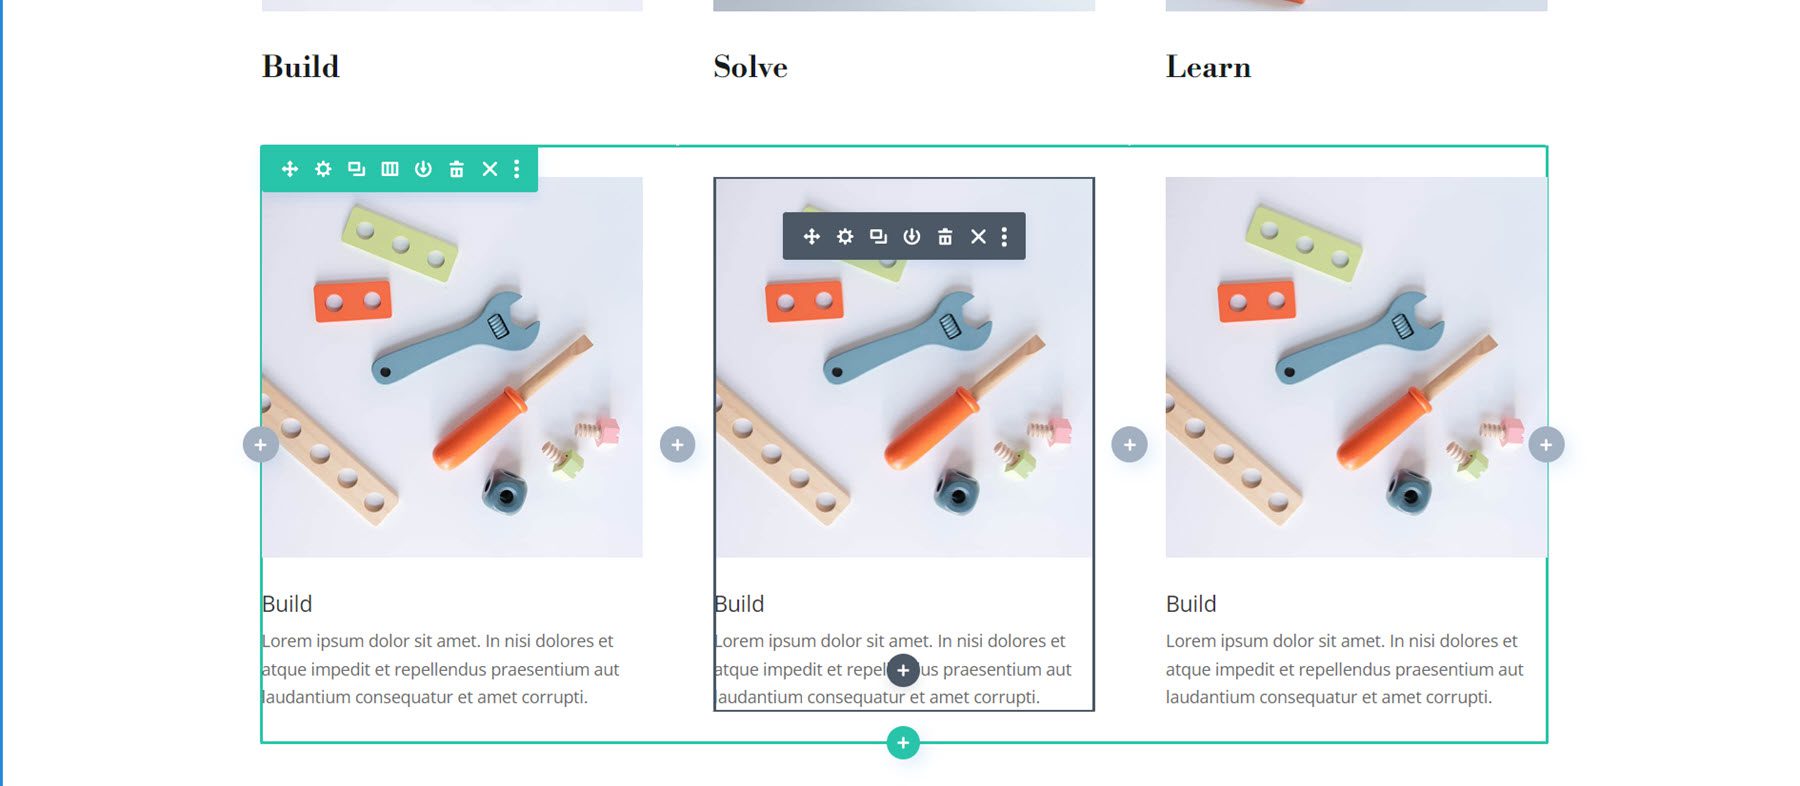
Each of our three designs will begin with the same basic layout. Start by adding a new row with three columns to the section.
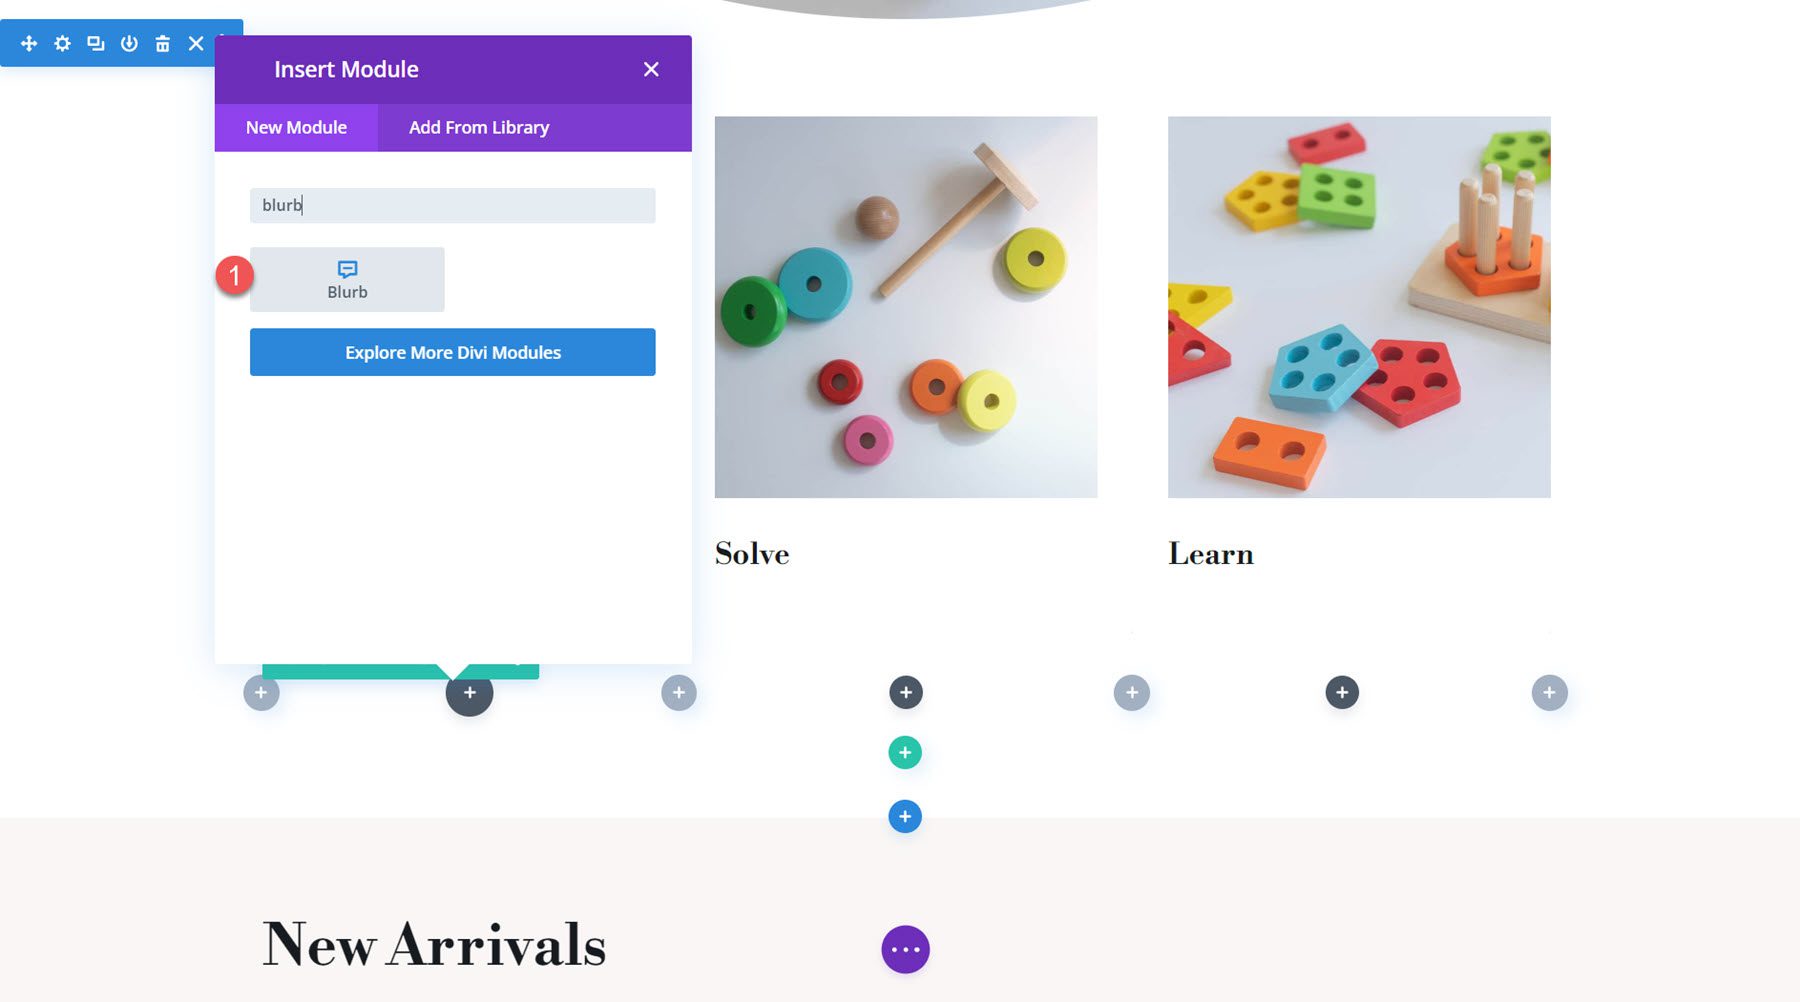
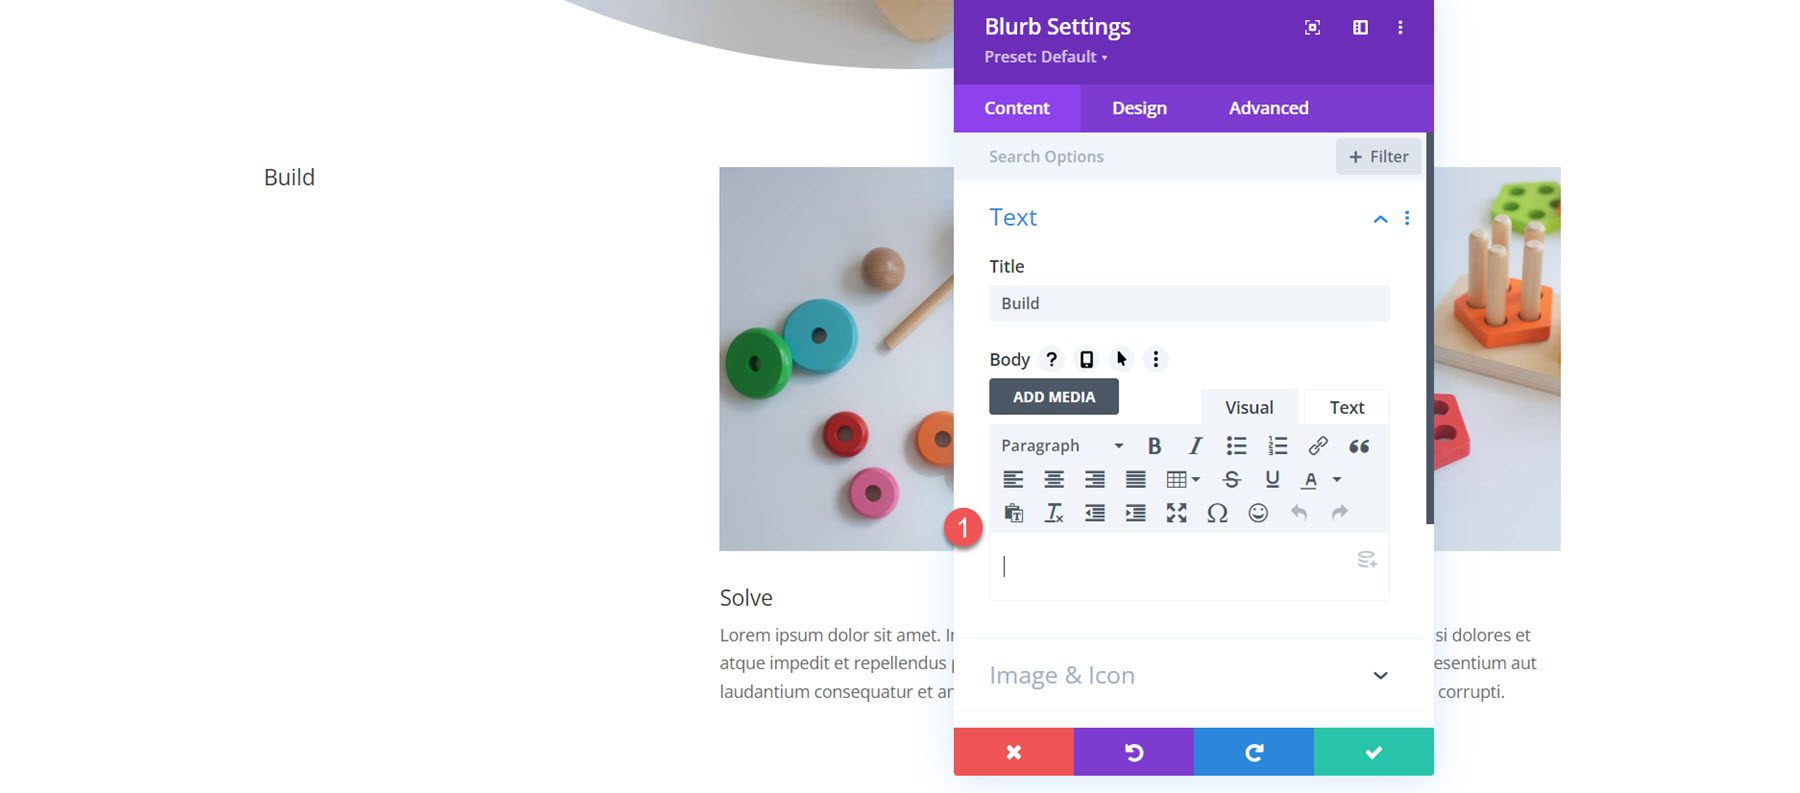
Next, add a Blurb Module to the first column.
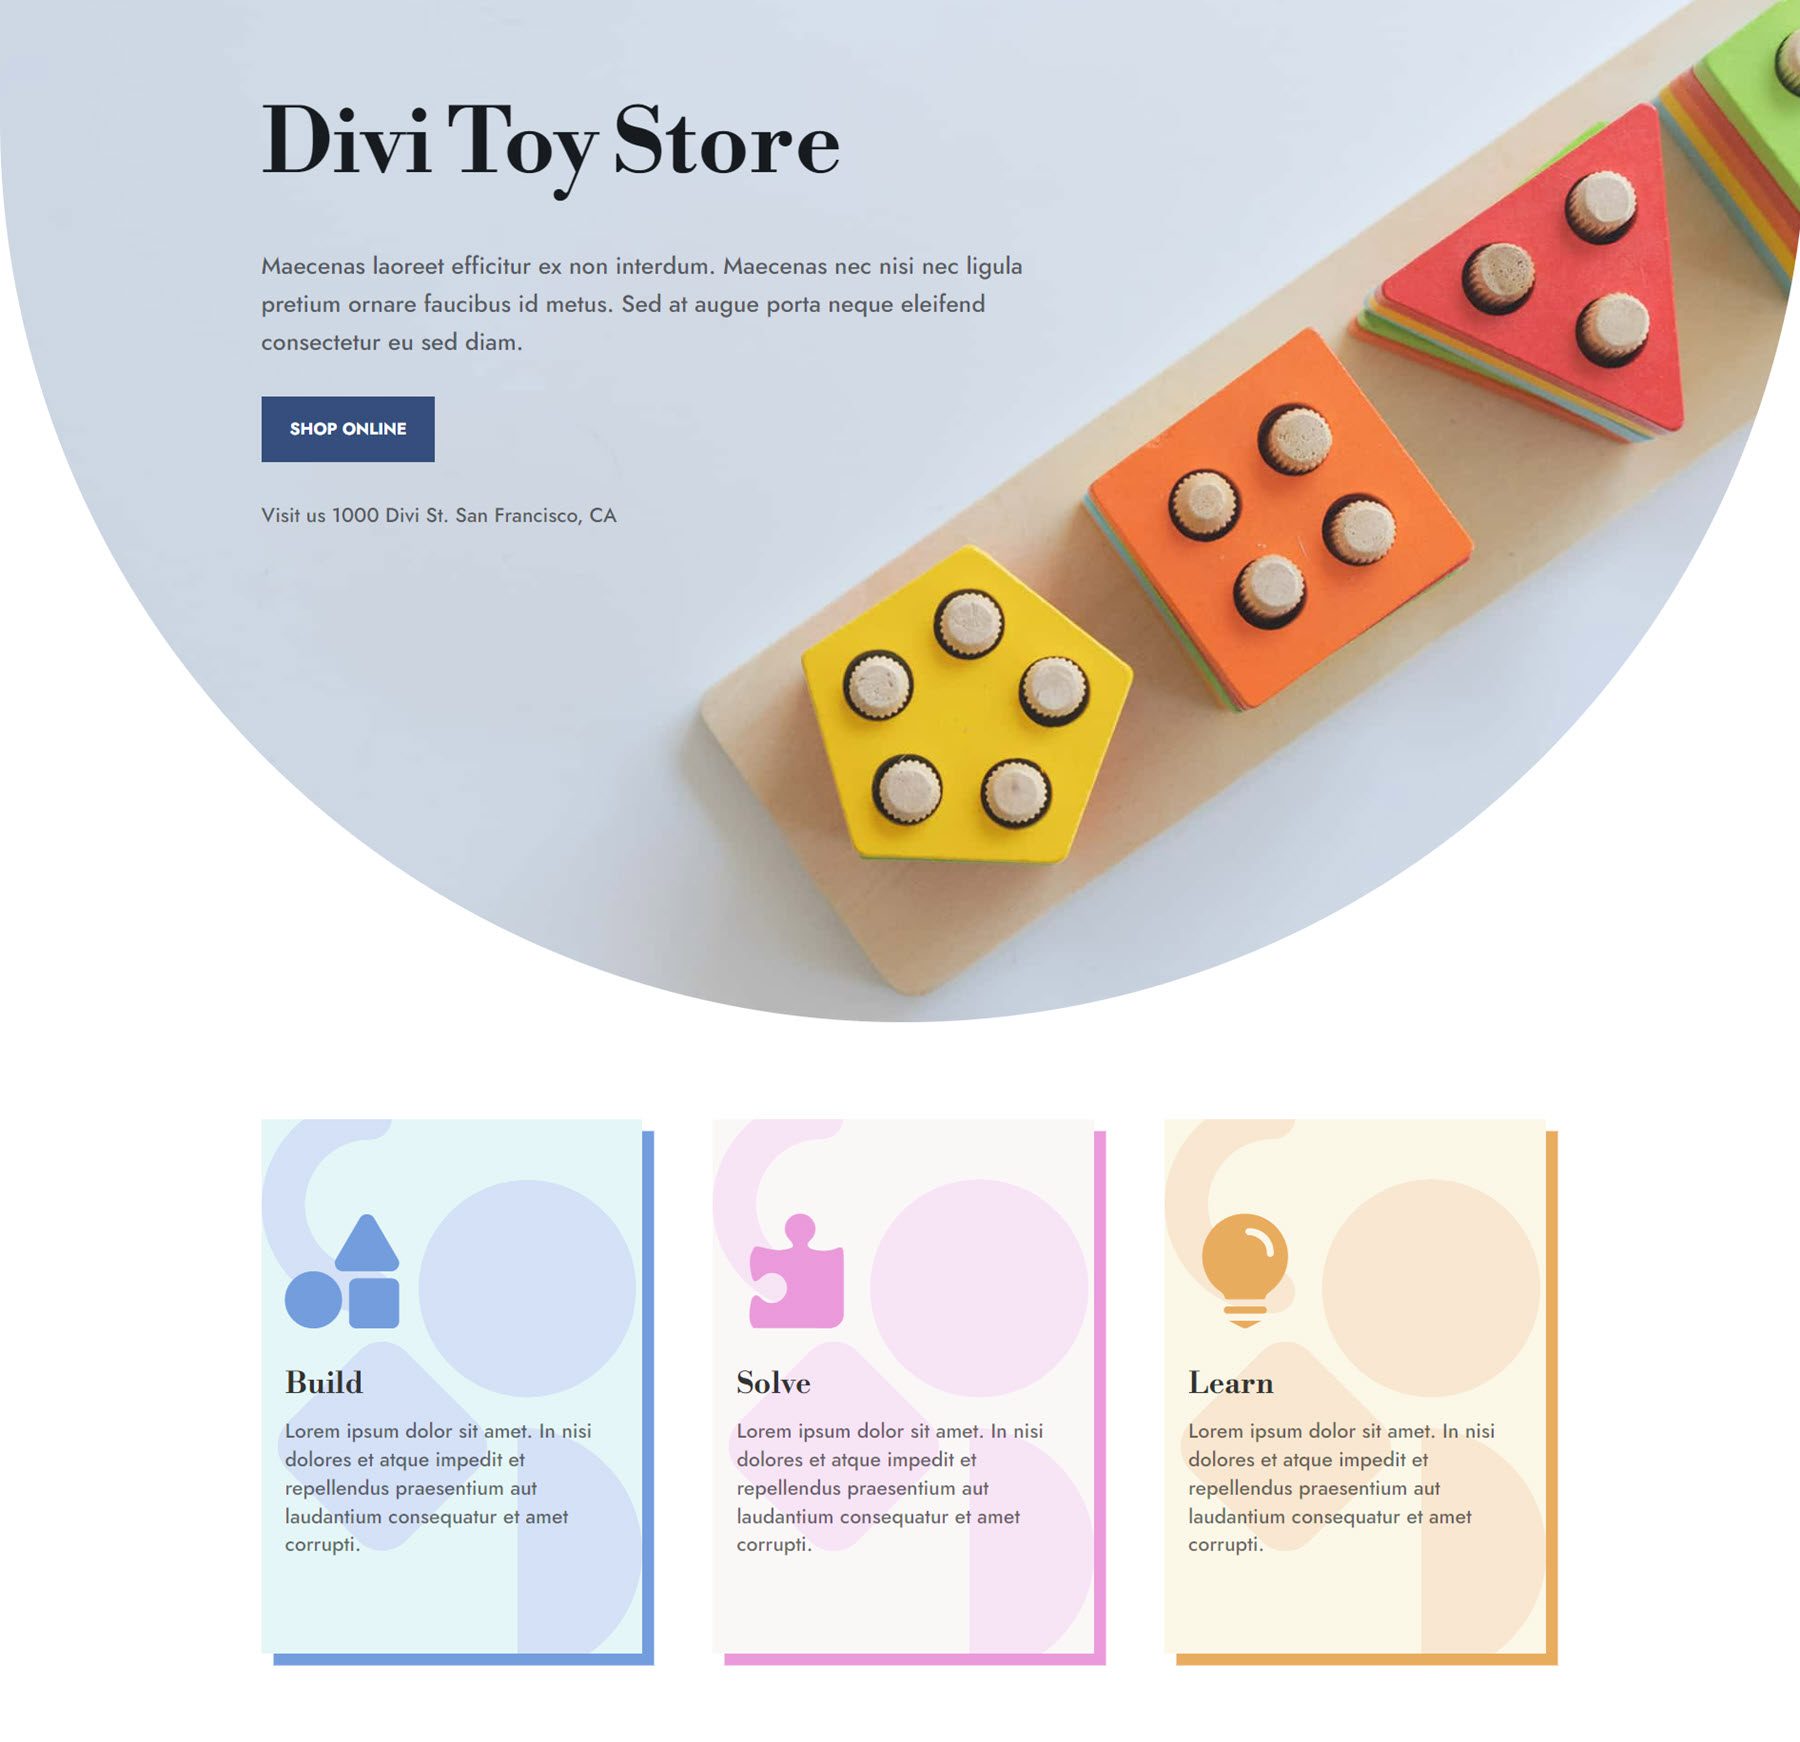
Add a title and some body text to the blurb.
- Title: Build
- Body: Lorem ipsum dolor sit amet. In nisi dolores et atque impedit et repellendus praesentium aut laudantium consequatur et amet corrupti.
In the image settings, add the image for the first blurb.
- Image: toy-store-24.jpg
Next, duplicate the Blurb Module twice to create three Blurb Modules. Rearrange the modules so there is one in each column.
Open the settings for the second and third Blurb Modules and modify the content.
For blurb 2:
- Title: Solve
- Image: toy-store-19.jpg
For blurb 3:
- Title: Learn
- Image: toy-store-27.jpg
Once the three blurbs are set up, delete the original row.
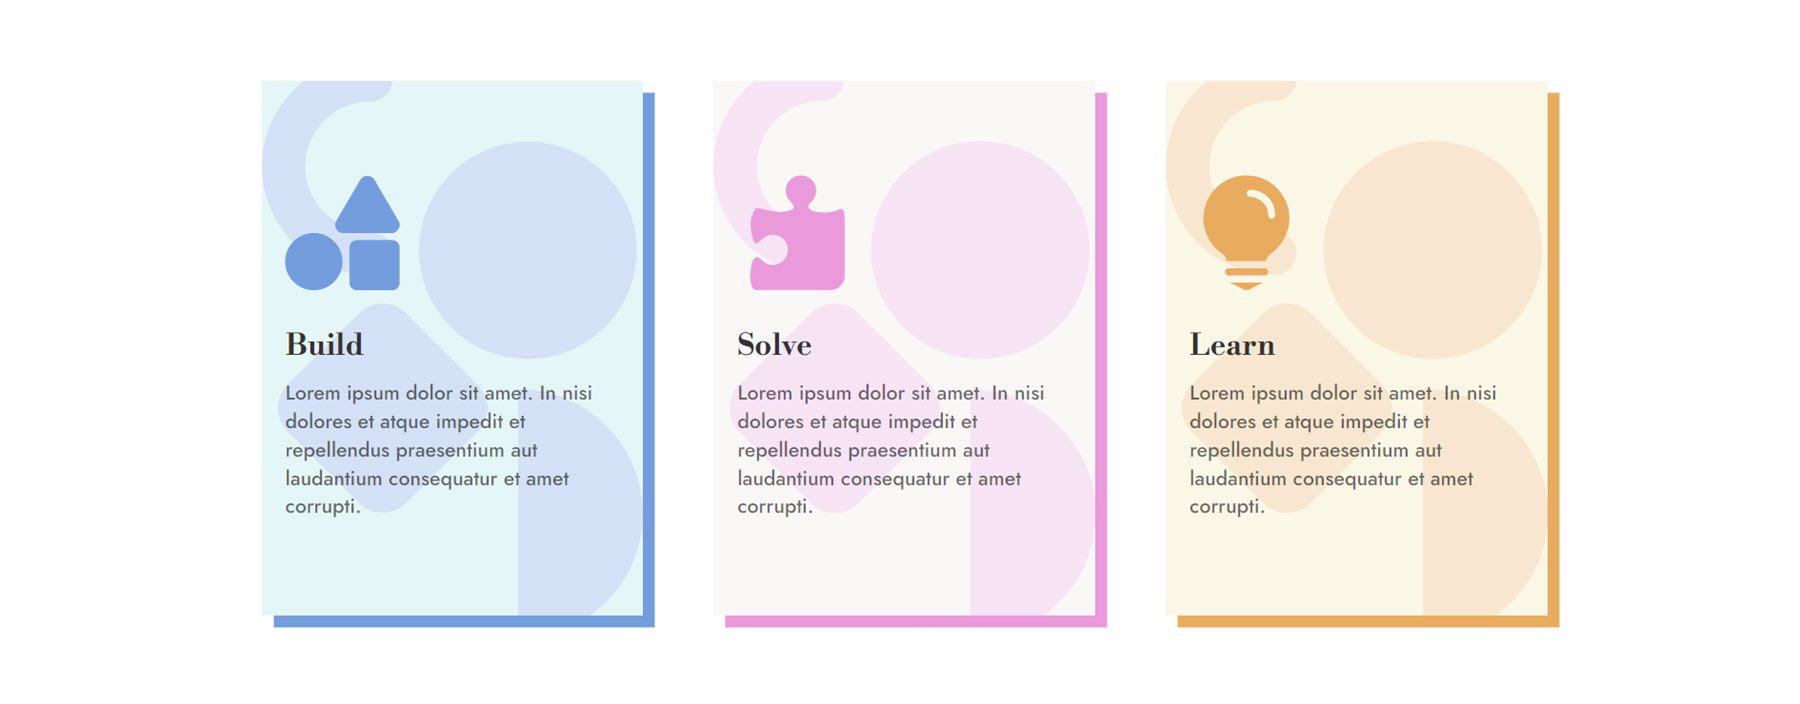
Blurb Design 1
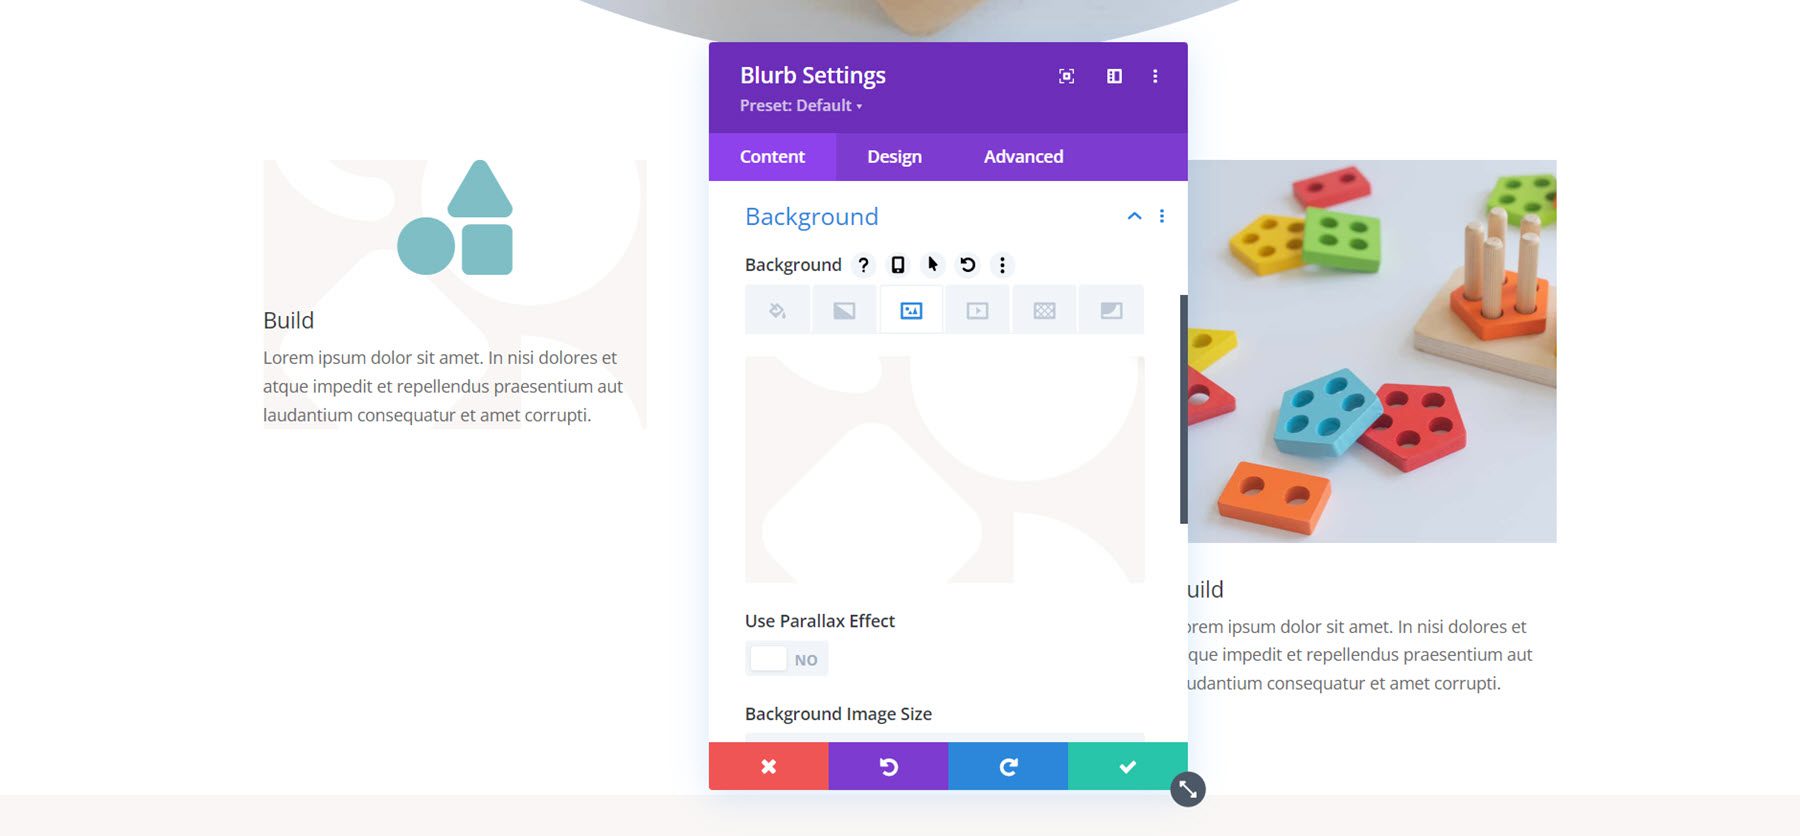
With the blurb layout set up, let’s start designing the first blurb layout. This example will be a simple layout with a rounded image that adds an interesting design element. Navigate to the design tab of the Blurb Module and add rounded corners under the Image & Icon settings.
- Image/Icon Rounded Corners: 250px top right and left
![]()
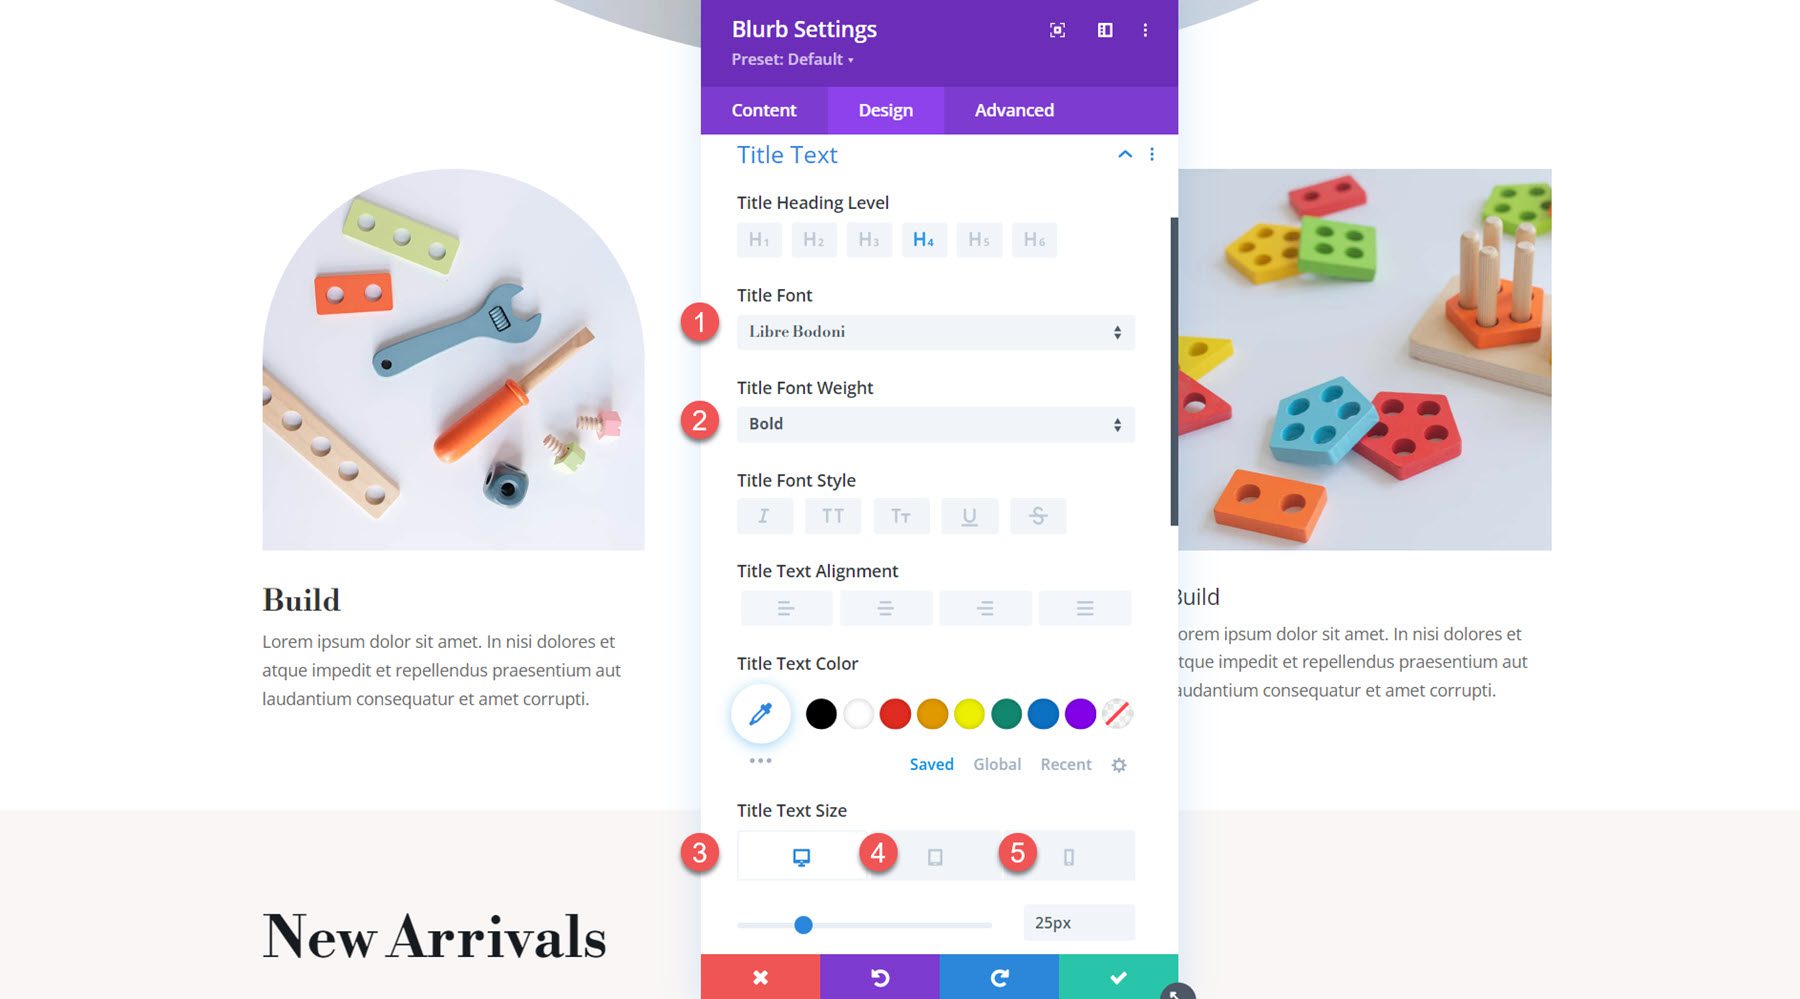
Next, open the title settings and customize the font as follows:
- Title Font: Libre Bodoni
- Title Font Weight: Bold
- Title Text Size: 25px desktop, 20px tablet, 16px mobile
- Title Line Height: 1.4em
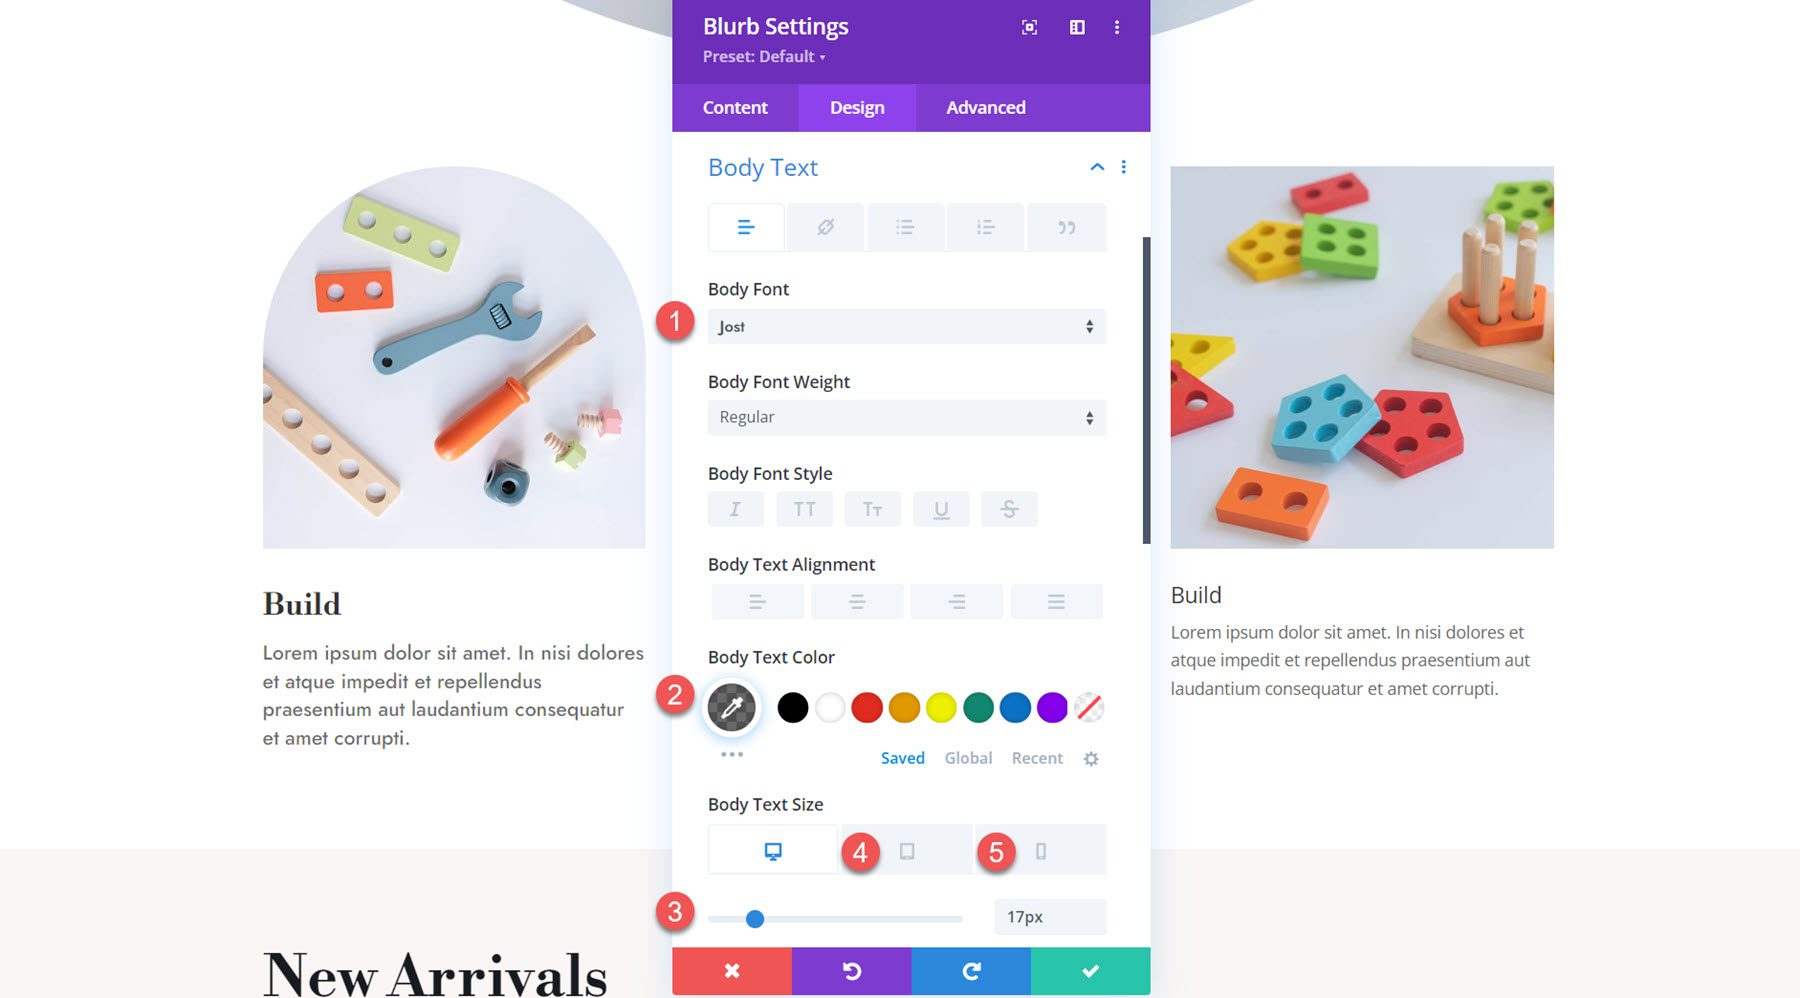
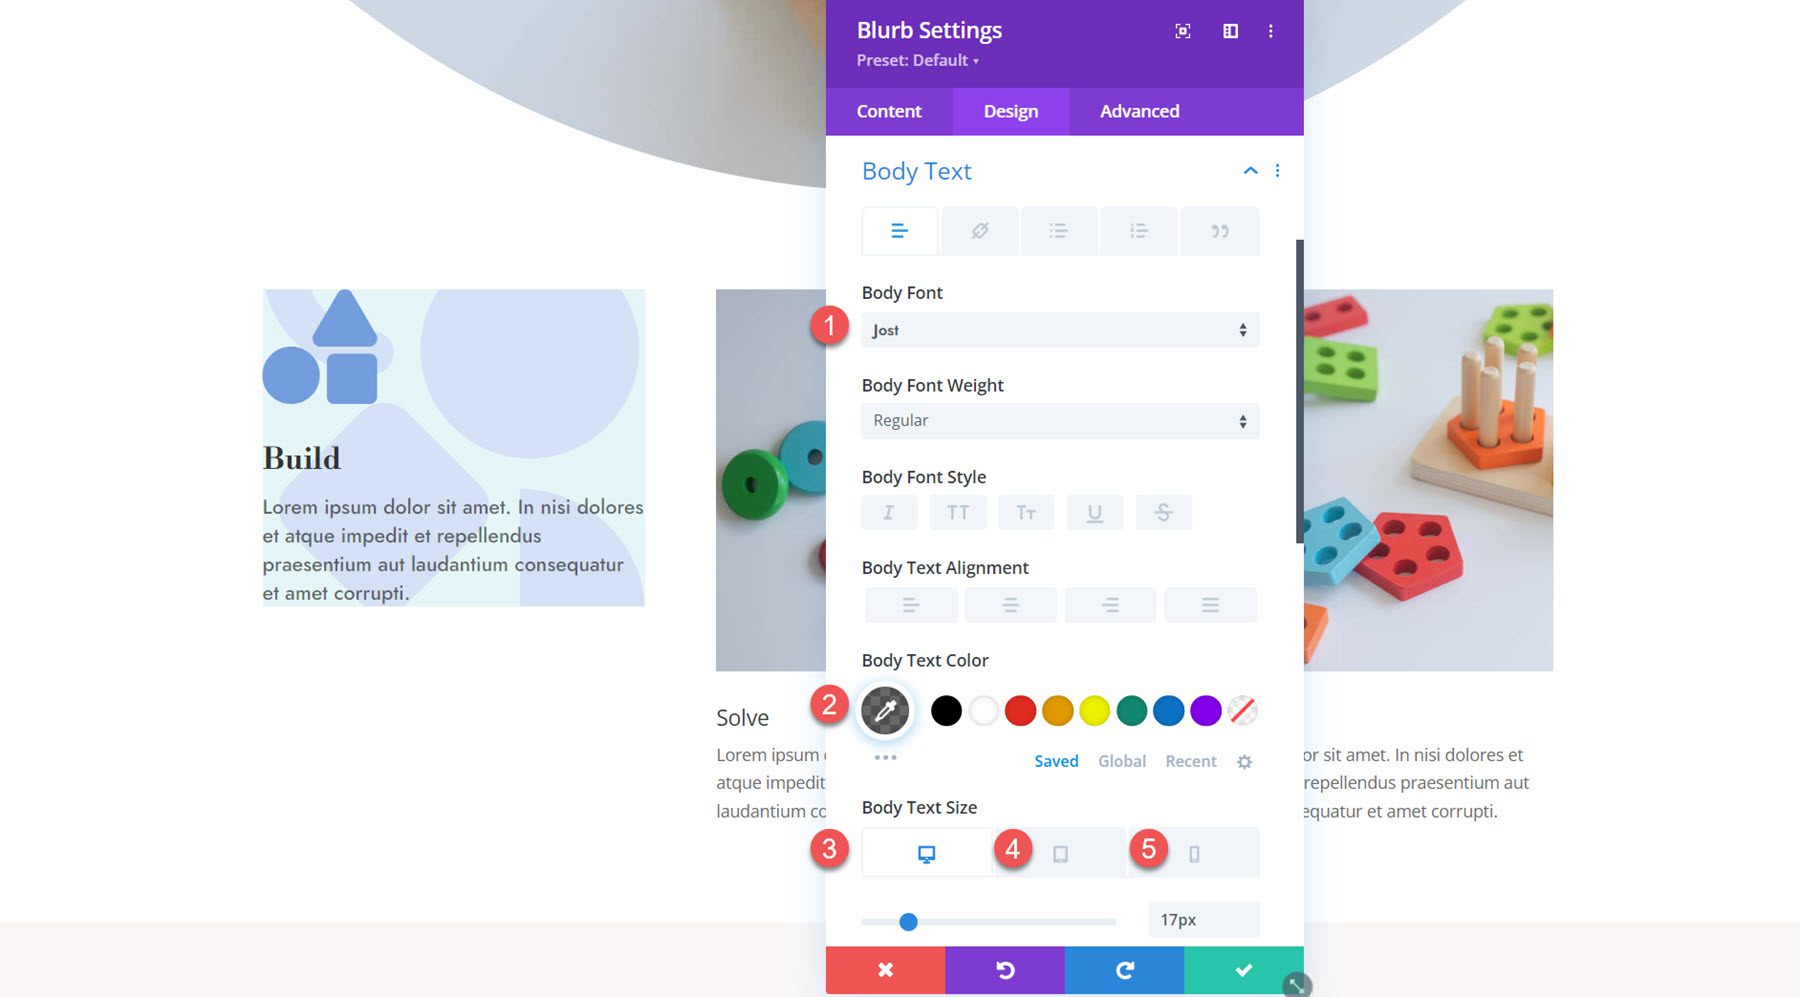
In the body text settings, set the following options:
- Body Font: Jost
- Body Text Color: rgba(0,0,0,0.58)
- Body Text Size: 17px desktop, 15px tablet, 14px mobile
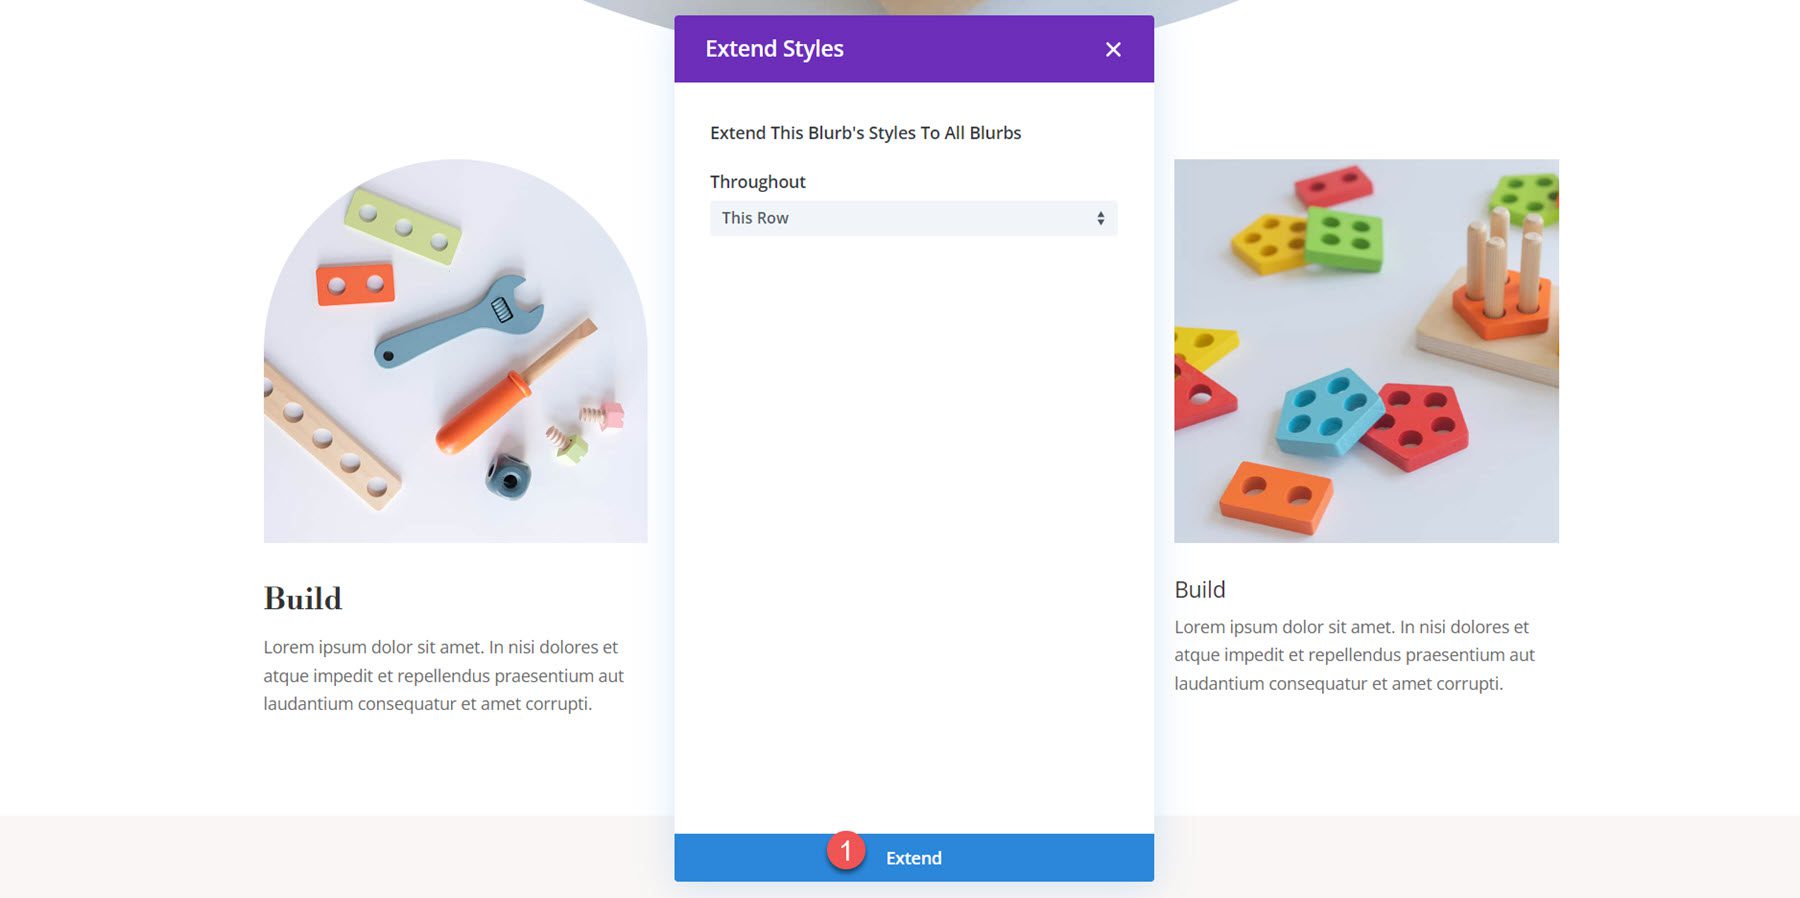
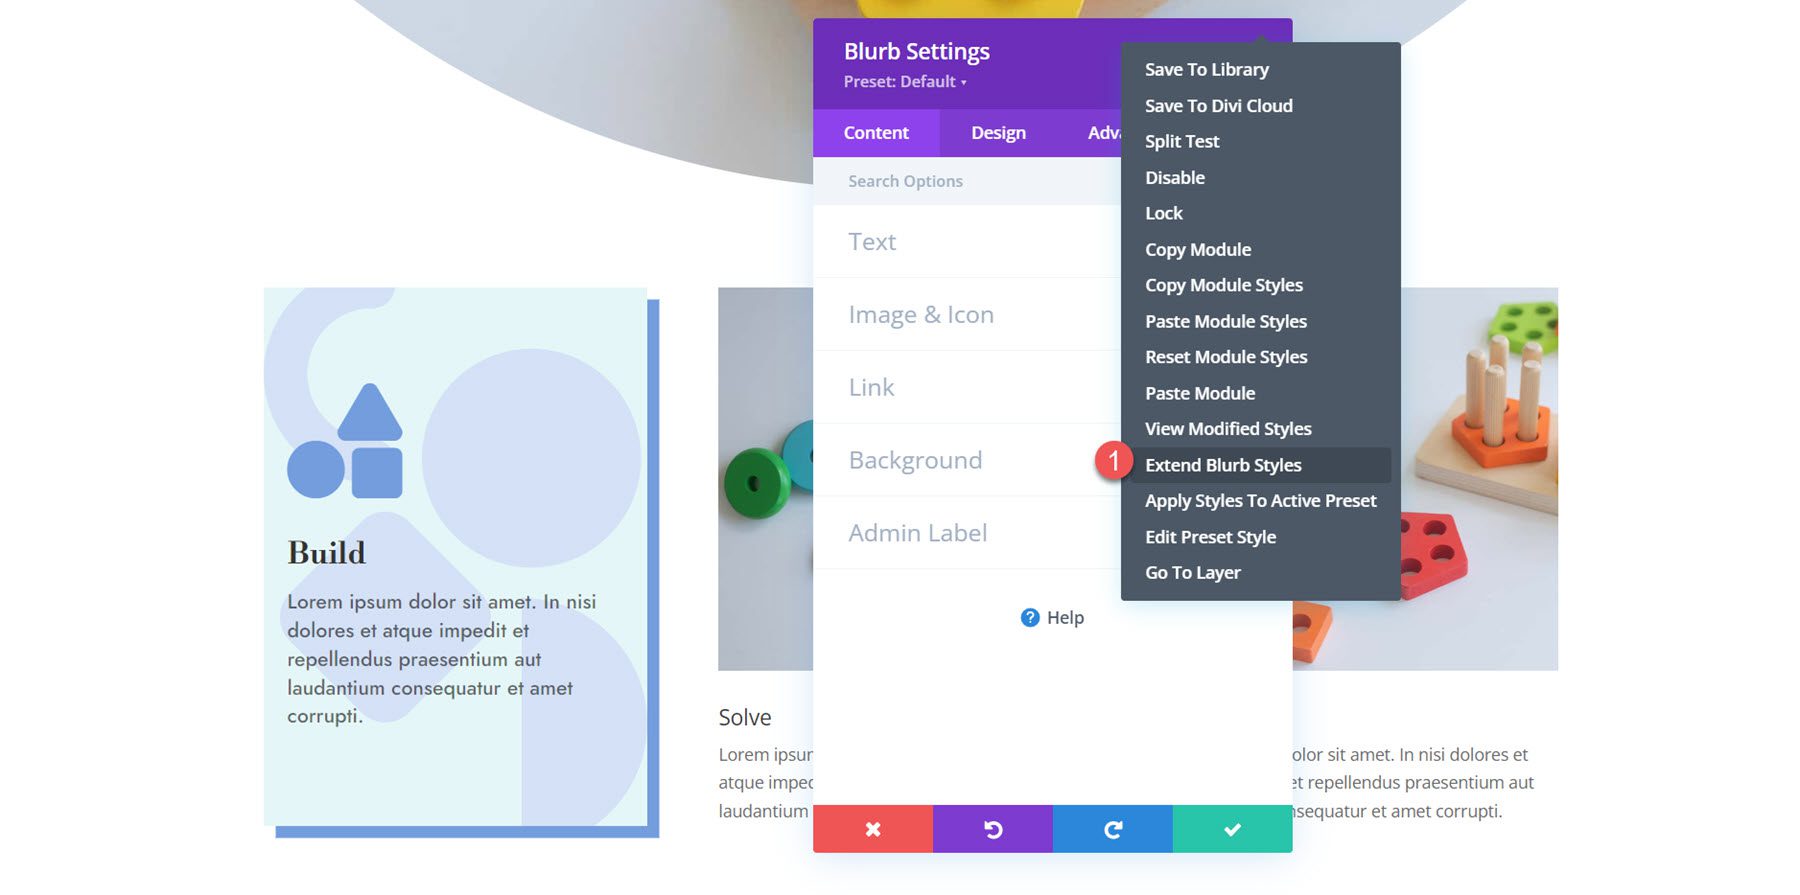
Now, the design for the first blurb is complete. To apply the styles to the rest of the blurbs, simply click the three dots at the top of the settings window and select Extend Blurb Styles.
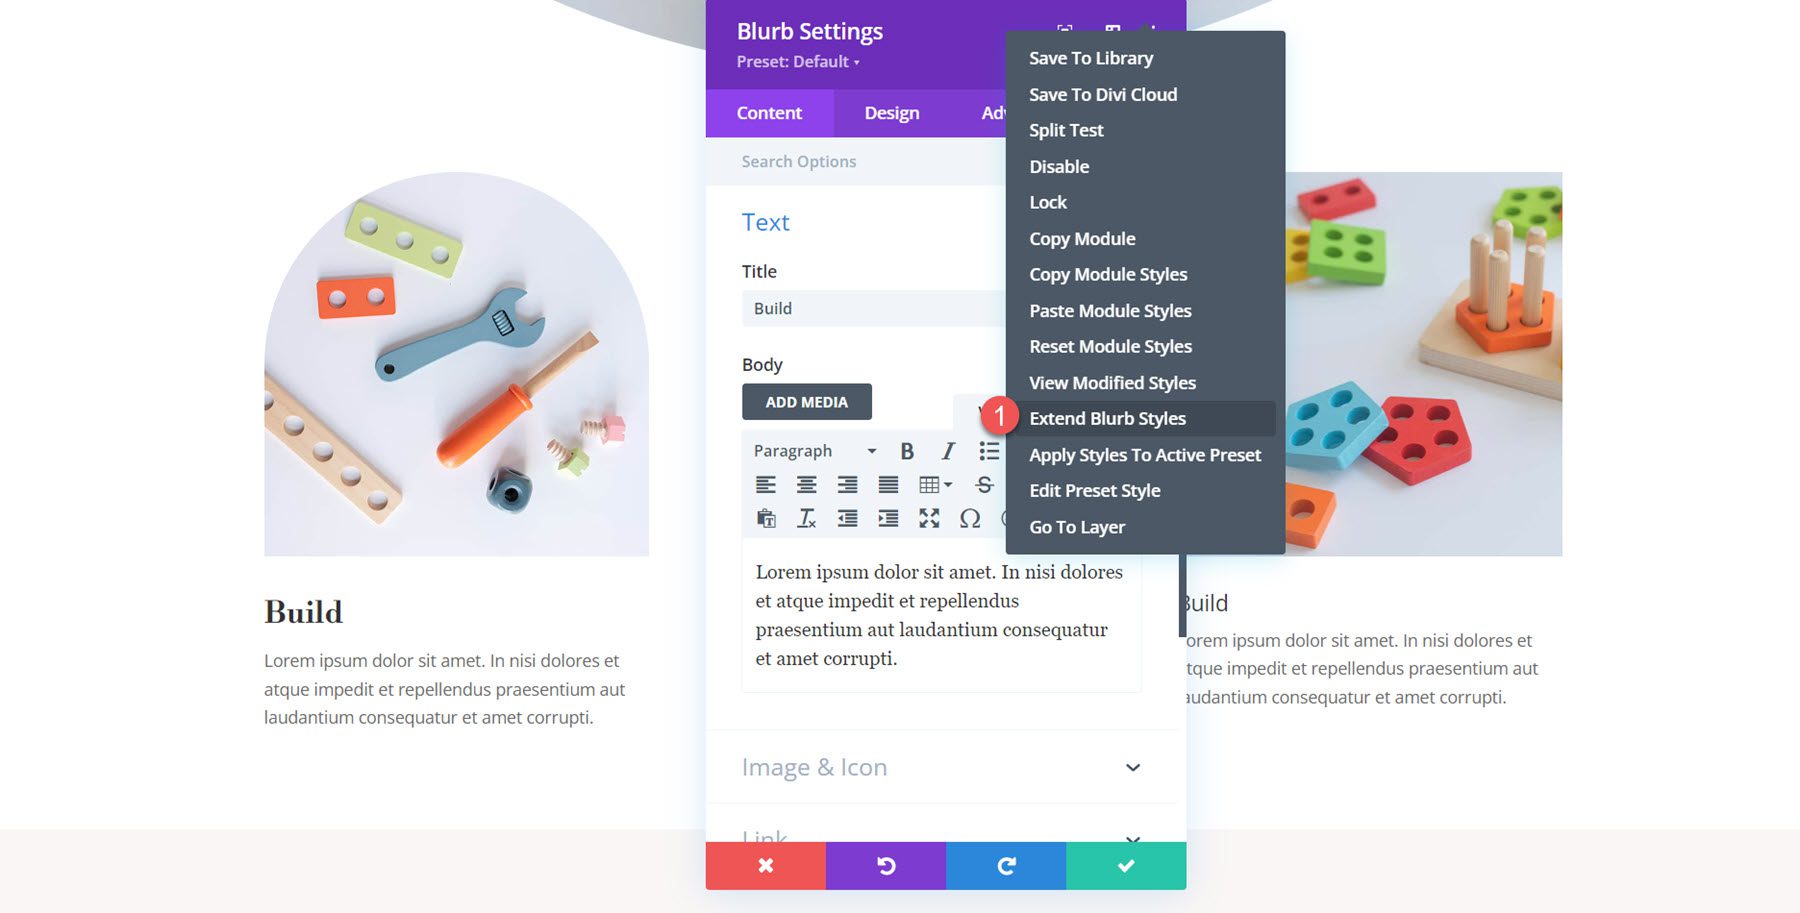
Select the option to extend styles to all blurbs throughout the row.
Final Result
Here is the completed design!
Blurb Design 2
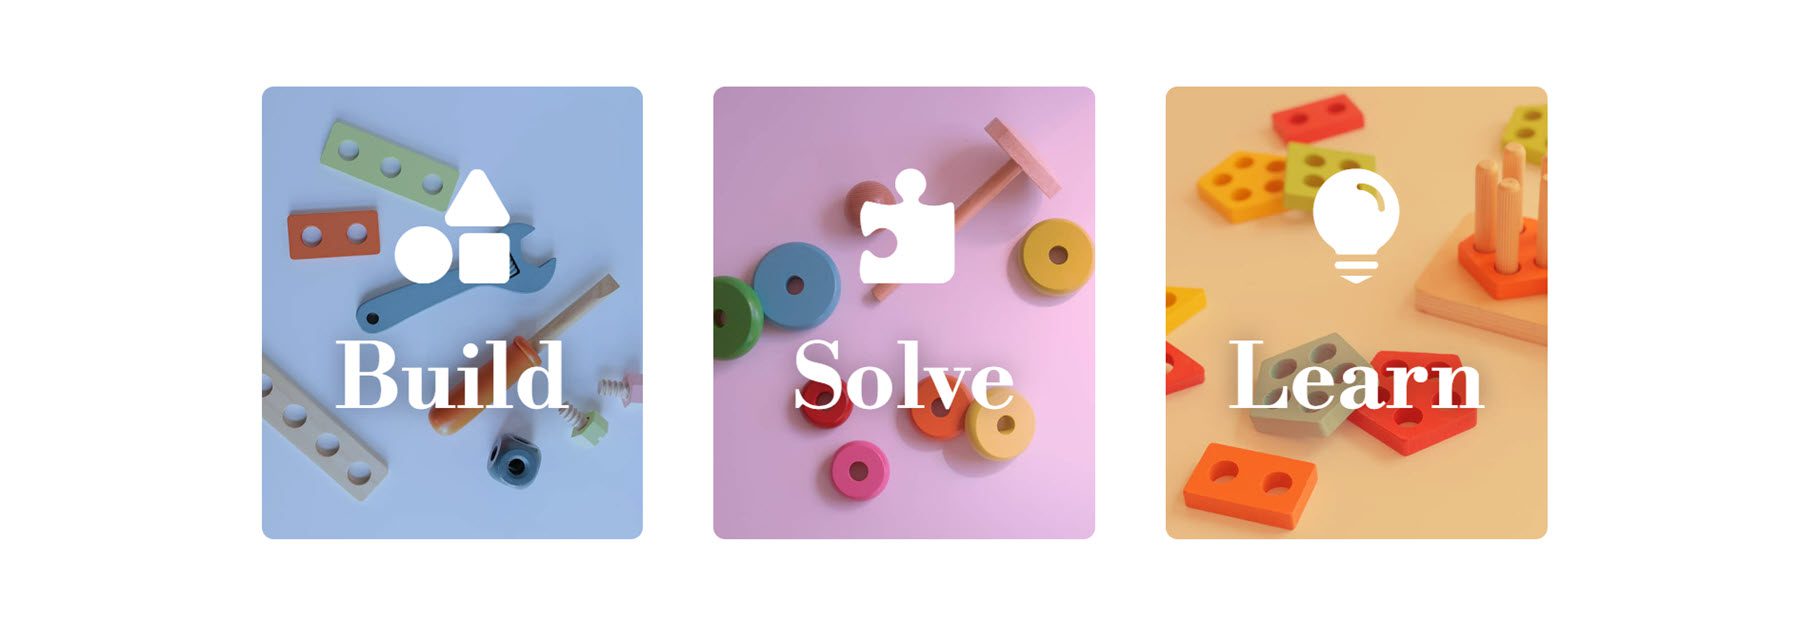
For the second blurb design, we will create a colorful layout with a background graphic and an icon. Begin by opening the Image and Icon section in the content tab and enable Use Icon. For the first blurb, select the building blocks icon.
![]()
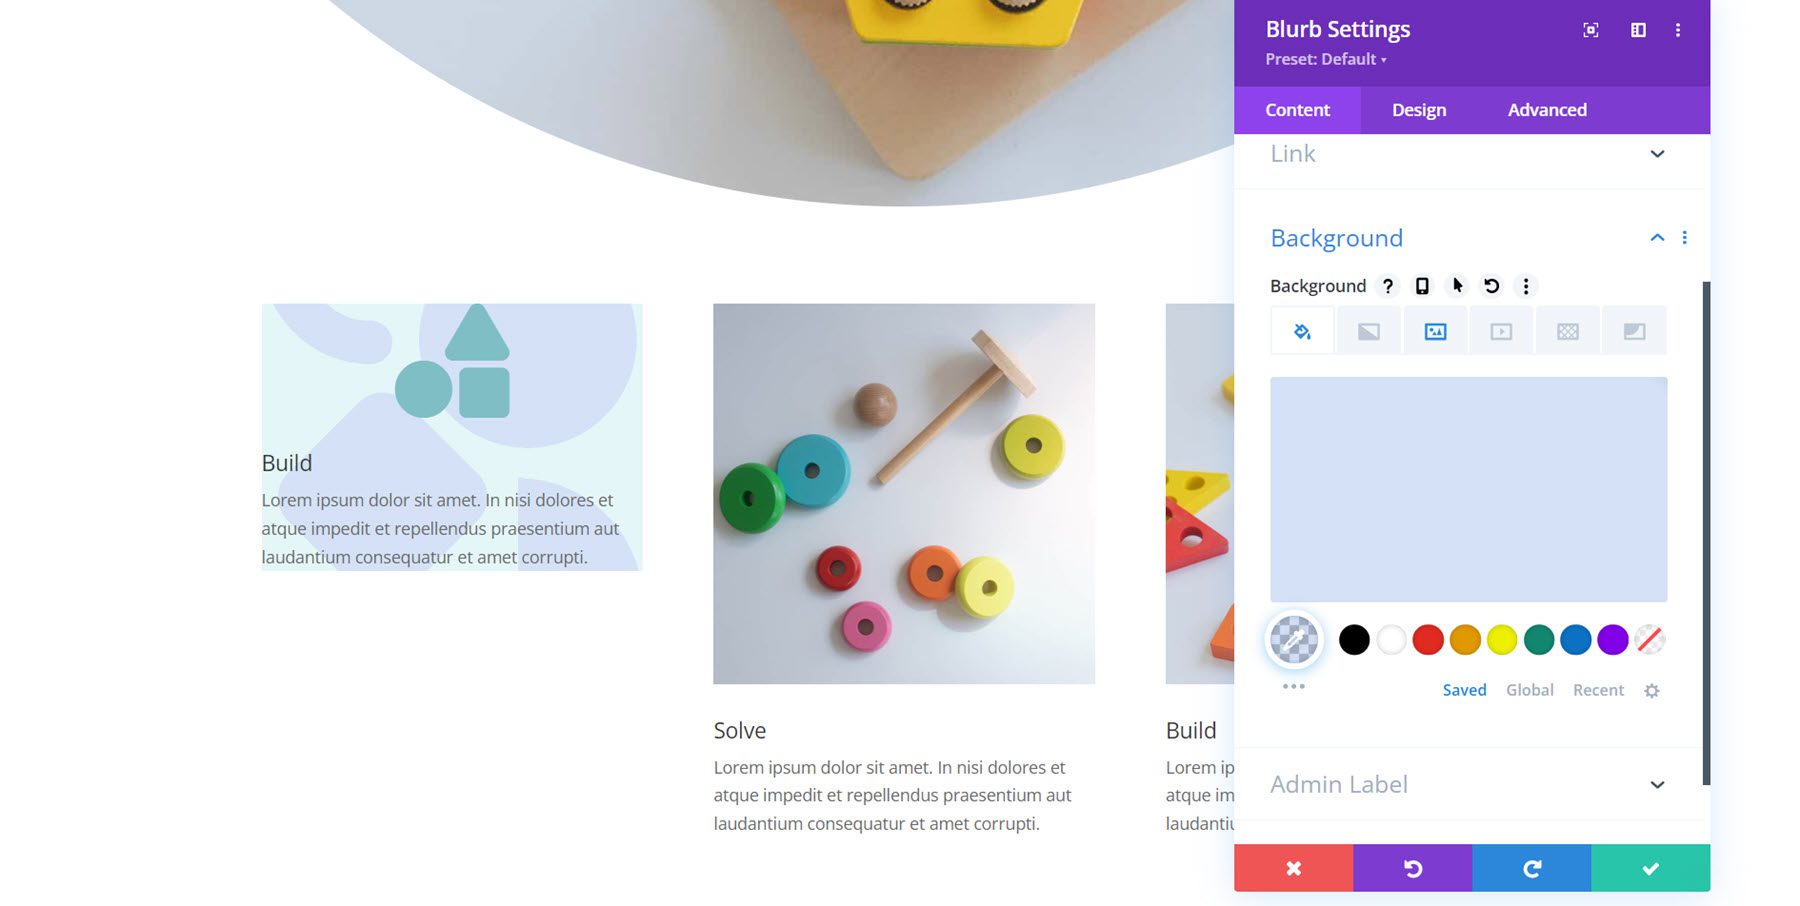
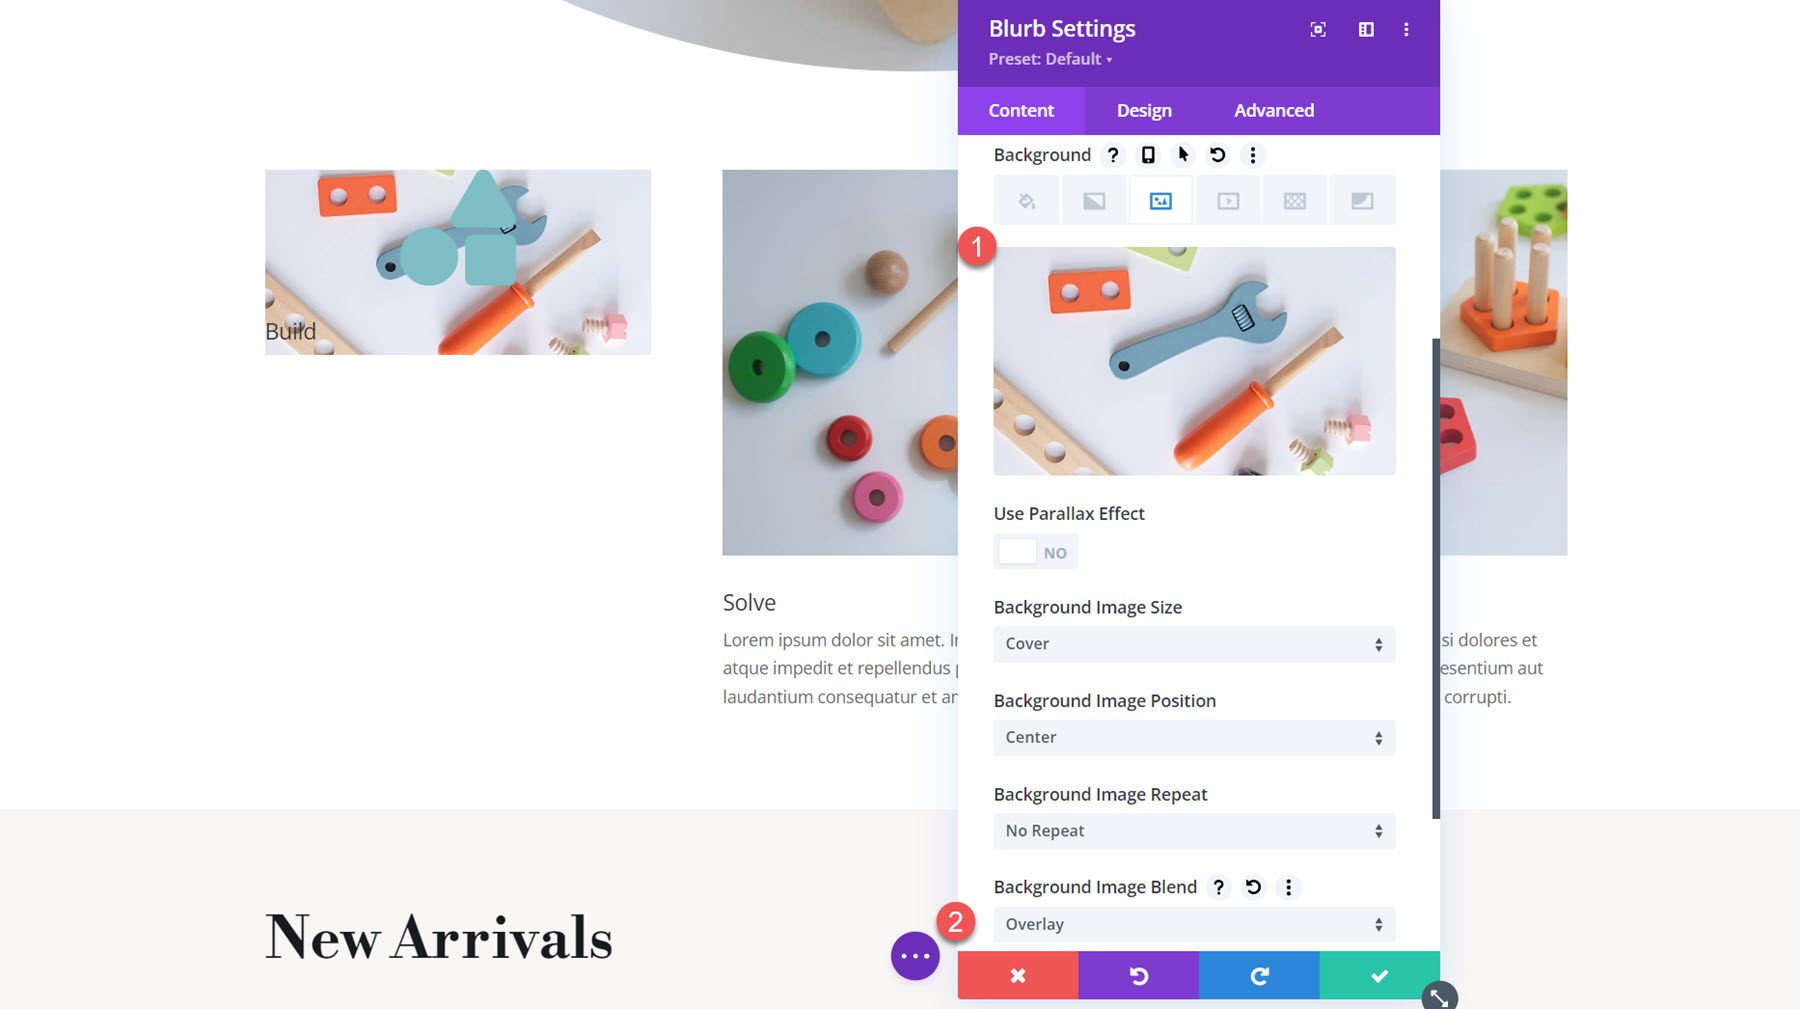
Move to the background settings. Begin by adding a background image. Since we will combine this graphic with a color overlay, make sure to select the overlay blend mode.
- Background Image: toy-store-7b.png
- Background Image Blend: Overlay
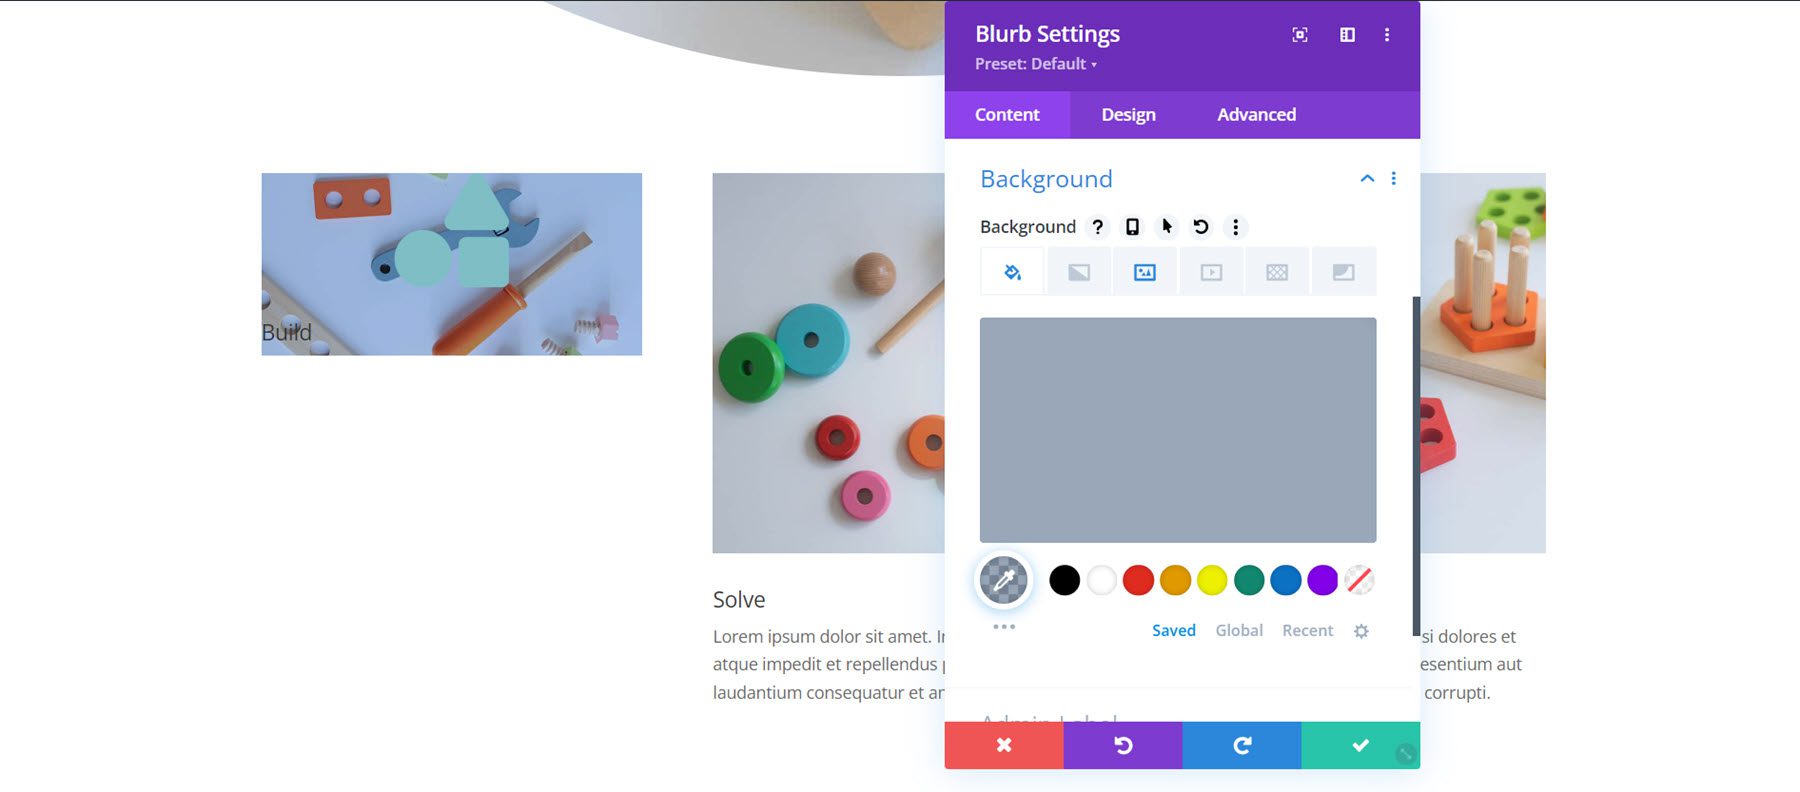
Next, set the background color. For the first blurb, we will add a blue color.
- Background: rgba(82,137,221,0.25)
Now, move over to the design tab. In the image and icon settings, set the icon color and alignment.
- Icon Color: #739ddd
- Image/Icon Alignment: Left
![]()
In the title text settings, modify the following:
- Title Font: Libre Bodoni
- Title Font Weight: Bold
- Title Text Size: 25px desktop, 20px tablet, 16px mobile
- Title Line Height: 1.4em

Next, modify the body text.
- Body Font: Jost
- Body Text Color: rgba(0,0,0,0.58)
- Body Text Size: 17px desktop, 15px tablet, 14px mobile
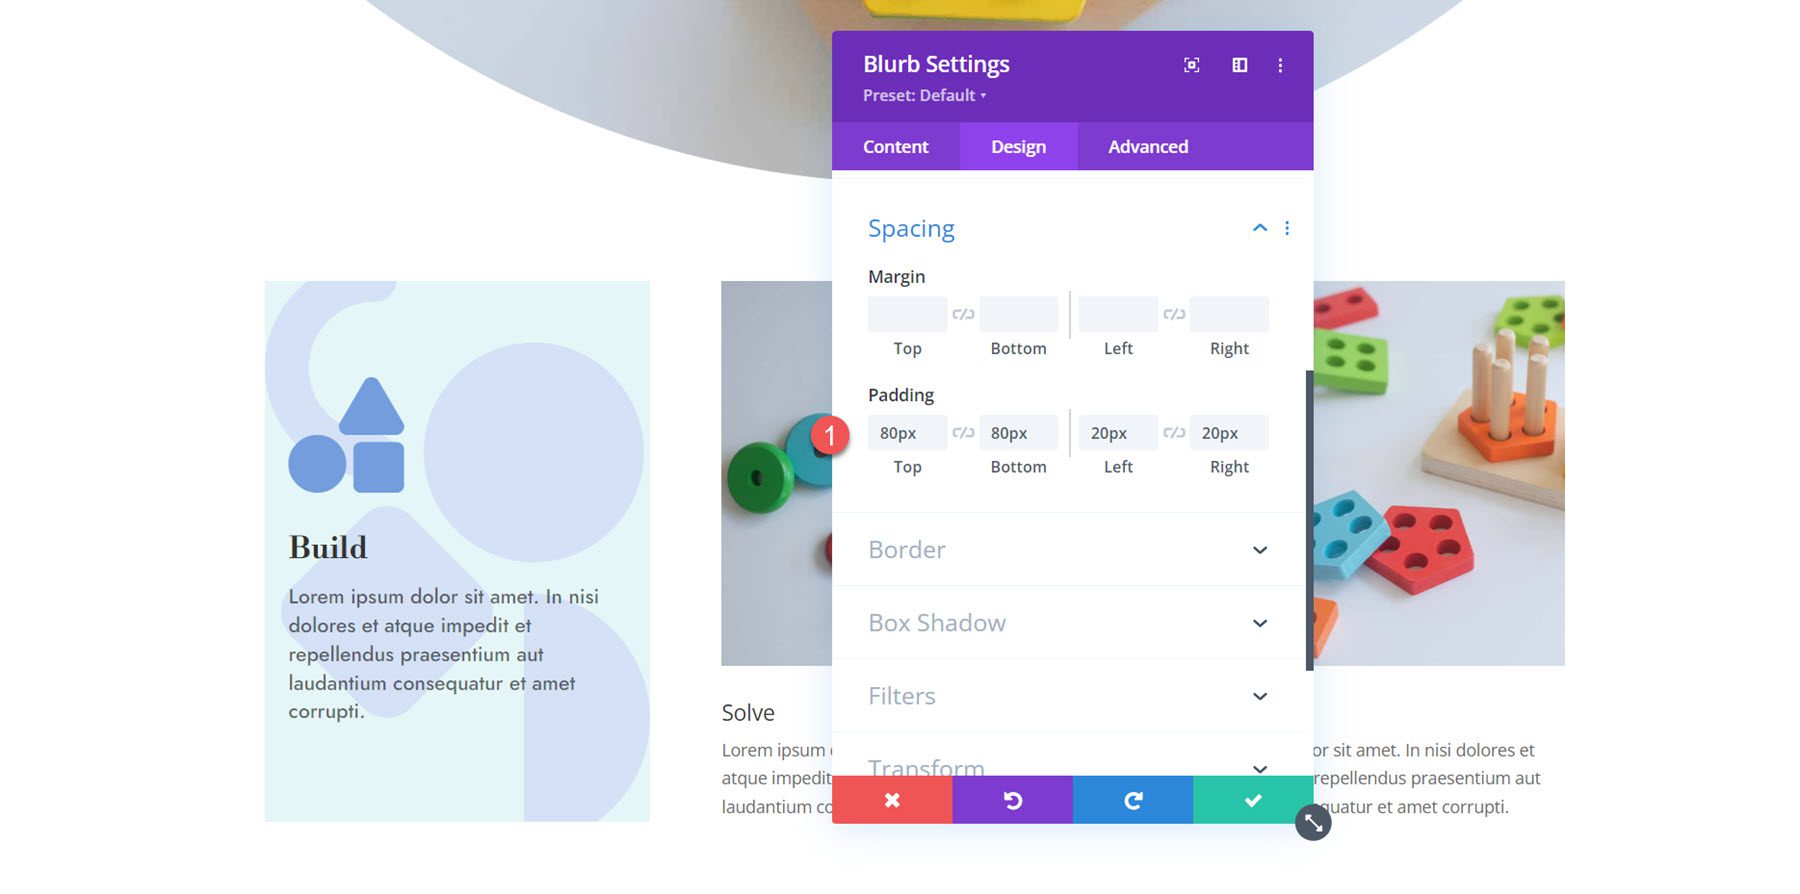
Open the spacing settings and set the padding:
- Top and Bottom Padding: 80px
- Left and Right Padding: 20px
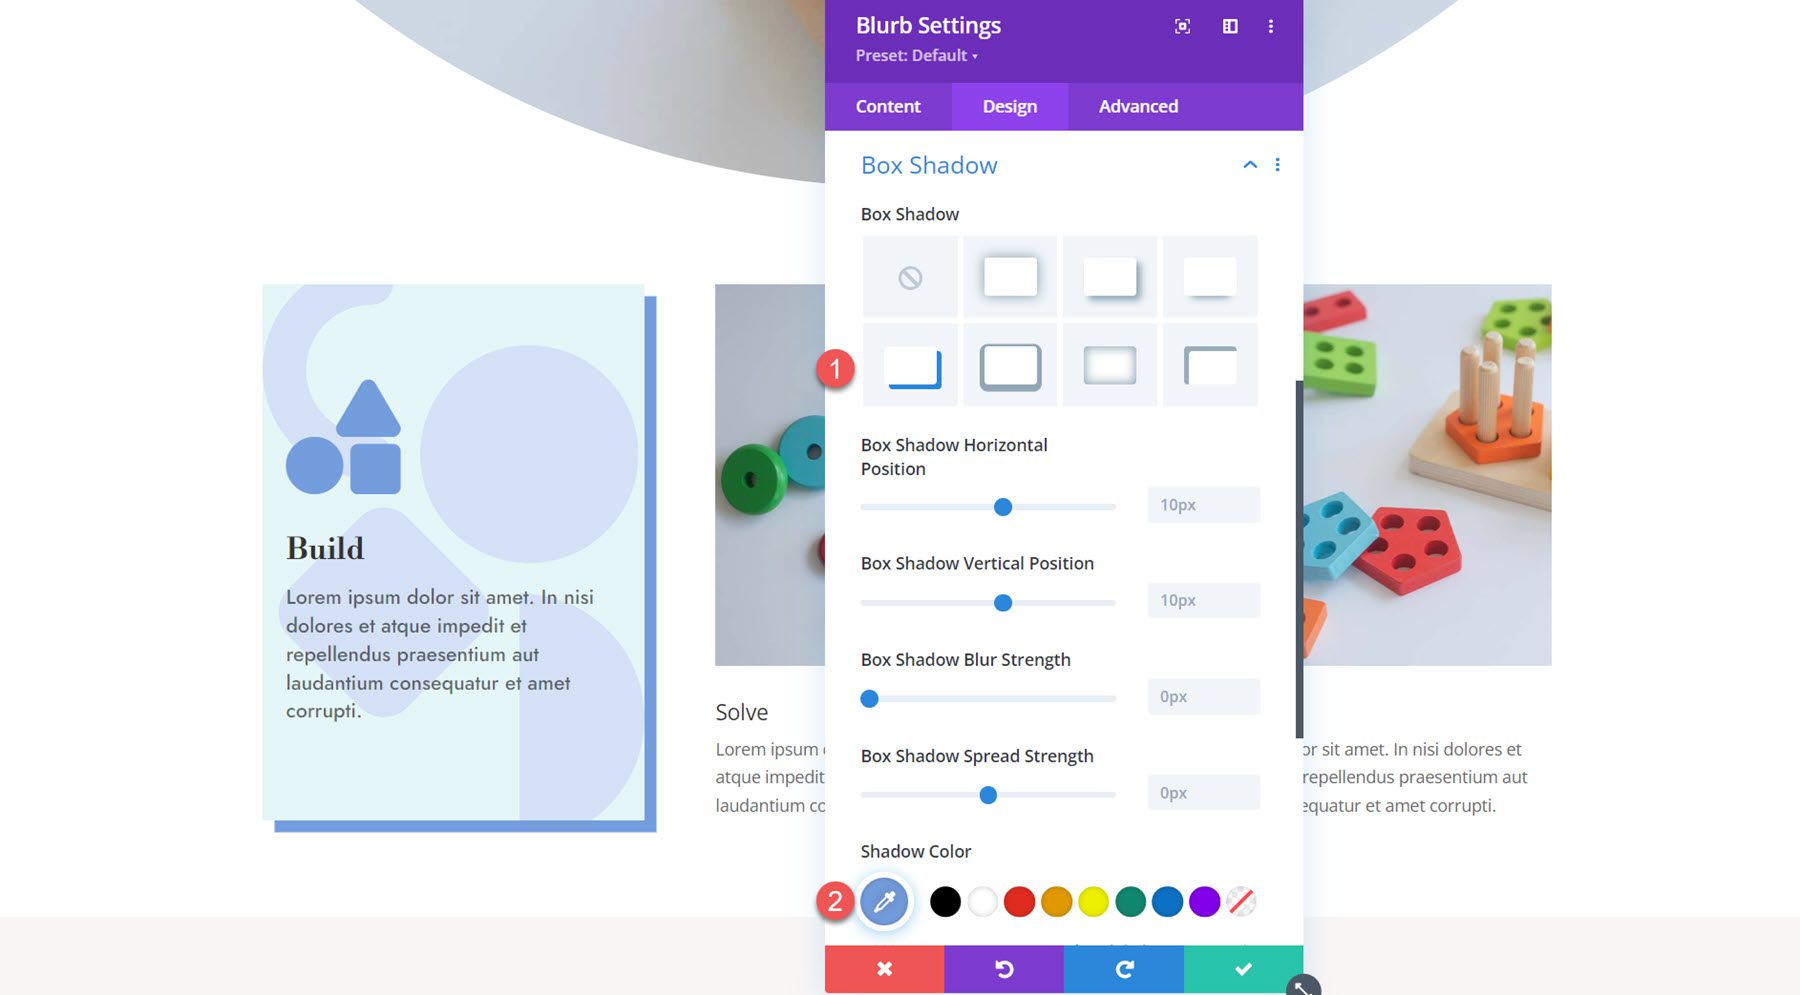
Finally, open the Box Shadow settings and enable a box shadow. Set the shadow color.
- Shadow Color: #739ddd
Now, the design of the first blurb is complete. Extend the design settings to the rest of the blurbs.
Customizing Blurb 2
Open the settings for the second blurb and navigate to the Image & Icon section. Enable the icon and select the puzzle icon.
![]()
Next, open the Background settings and change the background color.
- Background Color: rgba(229,167,223,0.3)
Open the Image & Icon settings in the design tab and set the icon color.
- Icon Color: #ea9ada
![]()
Finally, open the box shadow settings and change the shadow color.
- Shadow Color: #ea9ada
Customizing Blurb 3
For the third blurb, we will repeat the same steps to change the colors. First, enable the icon and select the lightbulb icon.
![]()
Next, set the background color for the third blurb.
- Background Color: rgba(232,176,104,0.31)
Move to the design tab and customize the icon color under Image & Icon.
- Icon Color: #e8ac5f
![]()
Finally, modify the box shadow color.
- Shadow color: #e8ac5f
Final Result
Here is the completed blurb layout.
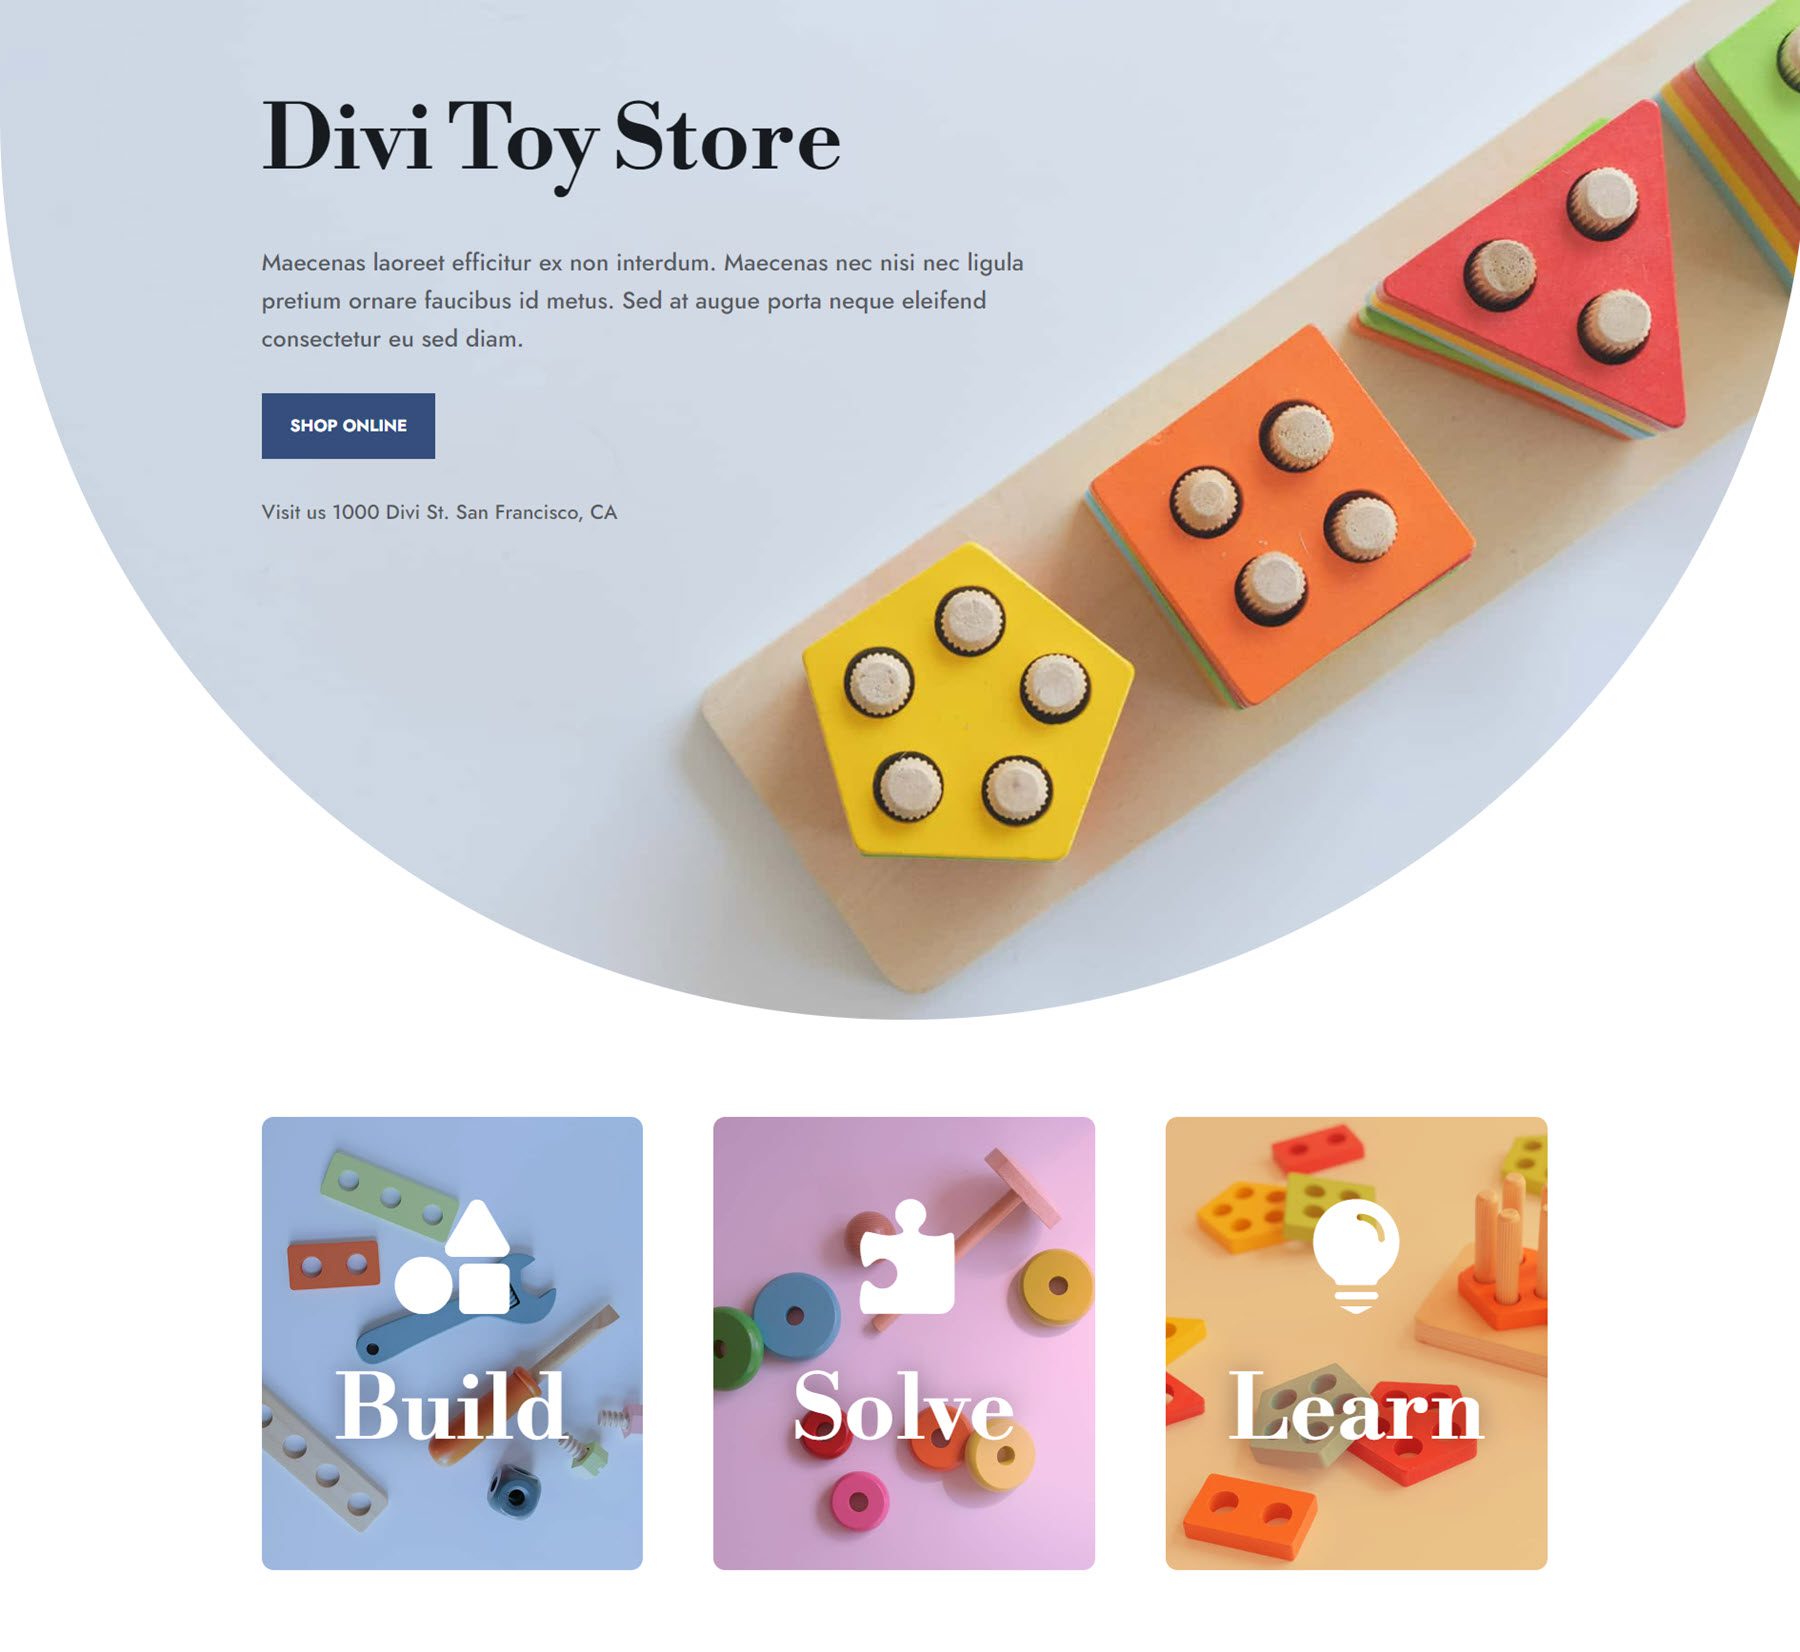
Blurb Design 3
For the third design, we will use the blurb images as background images and create an eye-catching layout with large text. Begin by opening the settings for the first blurb. Delete the body text from the blurb.
Move to the Image & Icon settings and enable the icon. For the first blurb, select the building blocks icon.
![]()
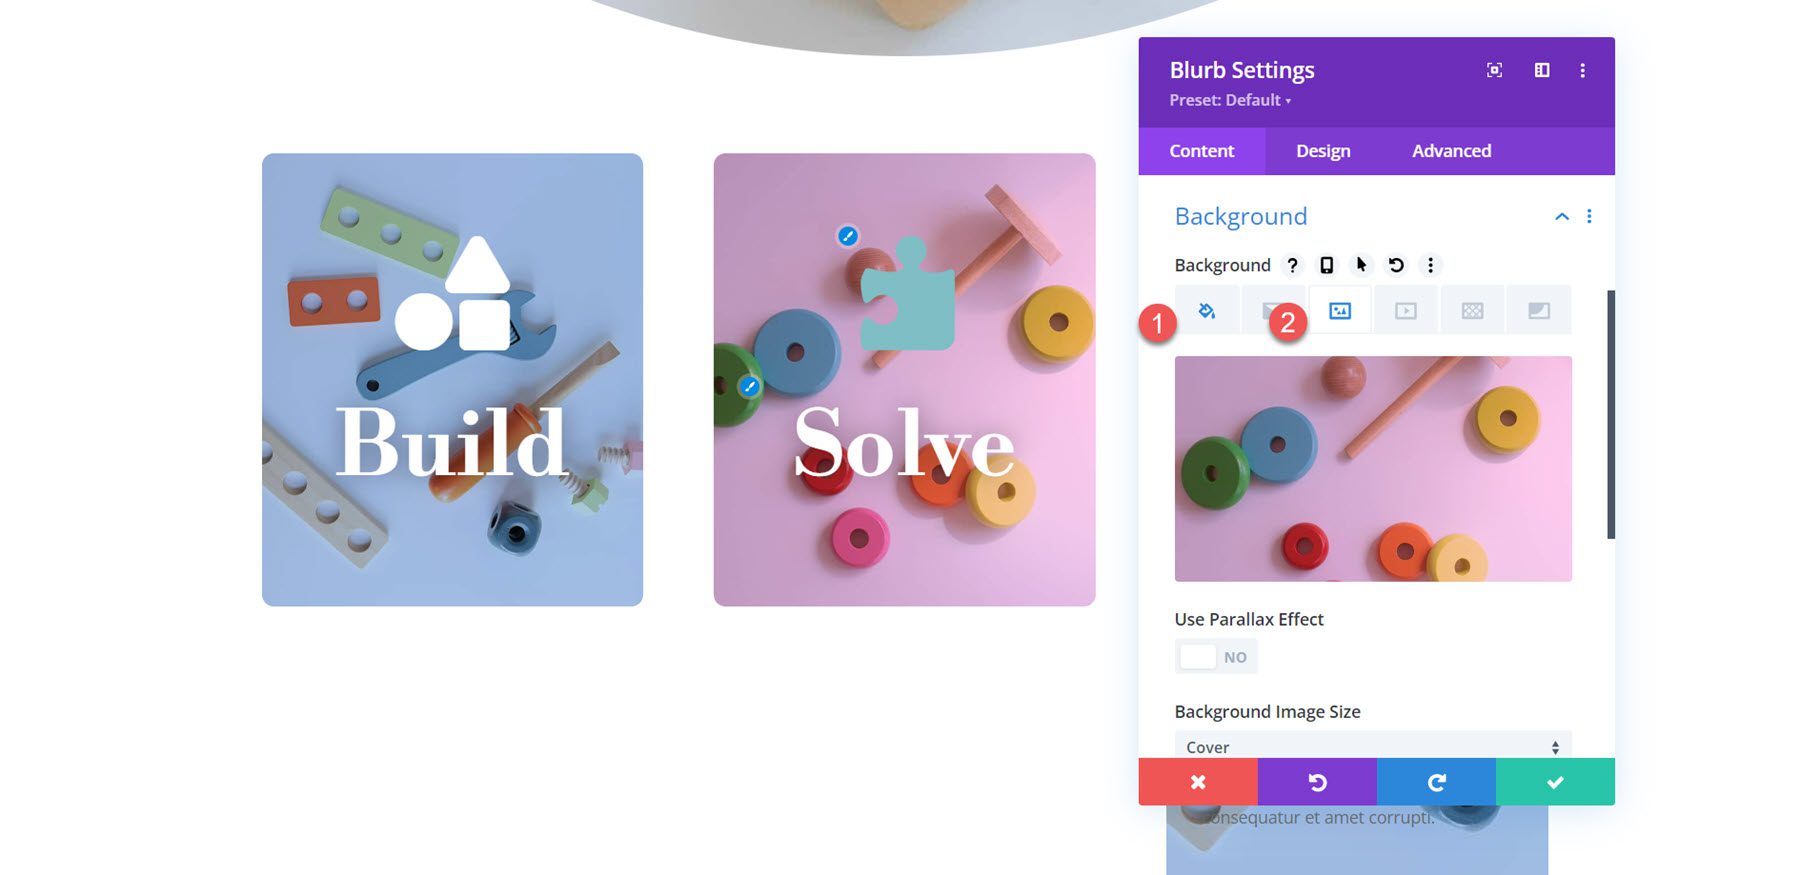
Open the background settings and add the background image. We will add an overlay to make the text easier to read on the background image, so select the overlay blend mode.
- Background Image: toy-store-24.jpg
- Image Blend Mode: Overlay
Next, set the background color.
- Background Color: rgba(38,67,104,0.47)
Move to the design tab and open the Image & Icon settings. Set the icon color to white.
- Icon Color: #FFFFFF
![]()
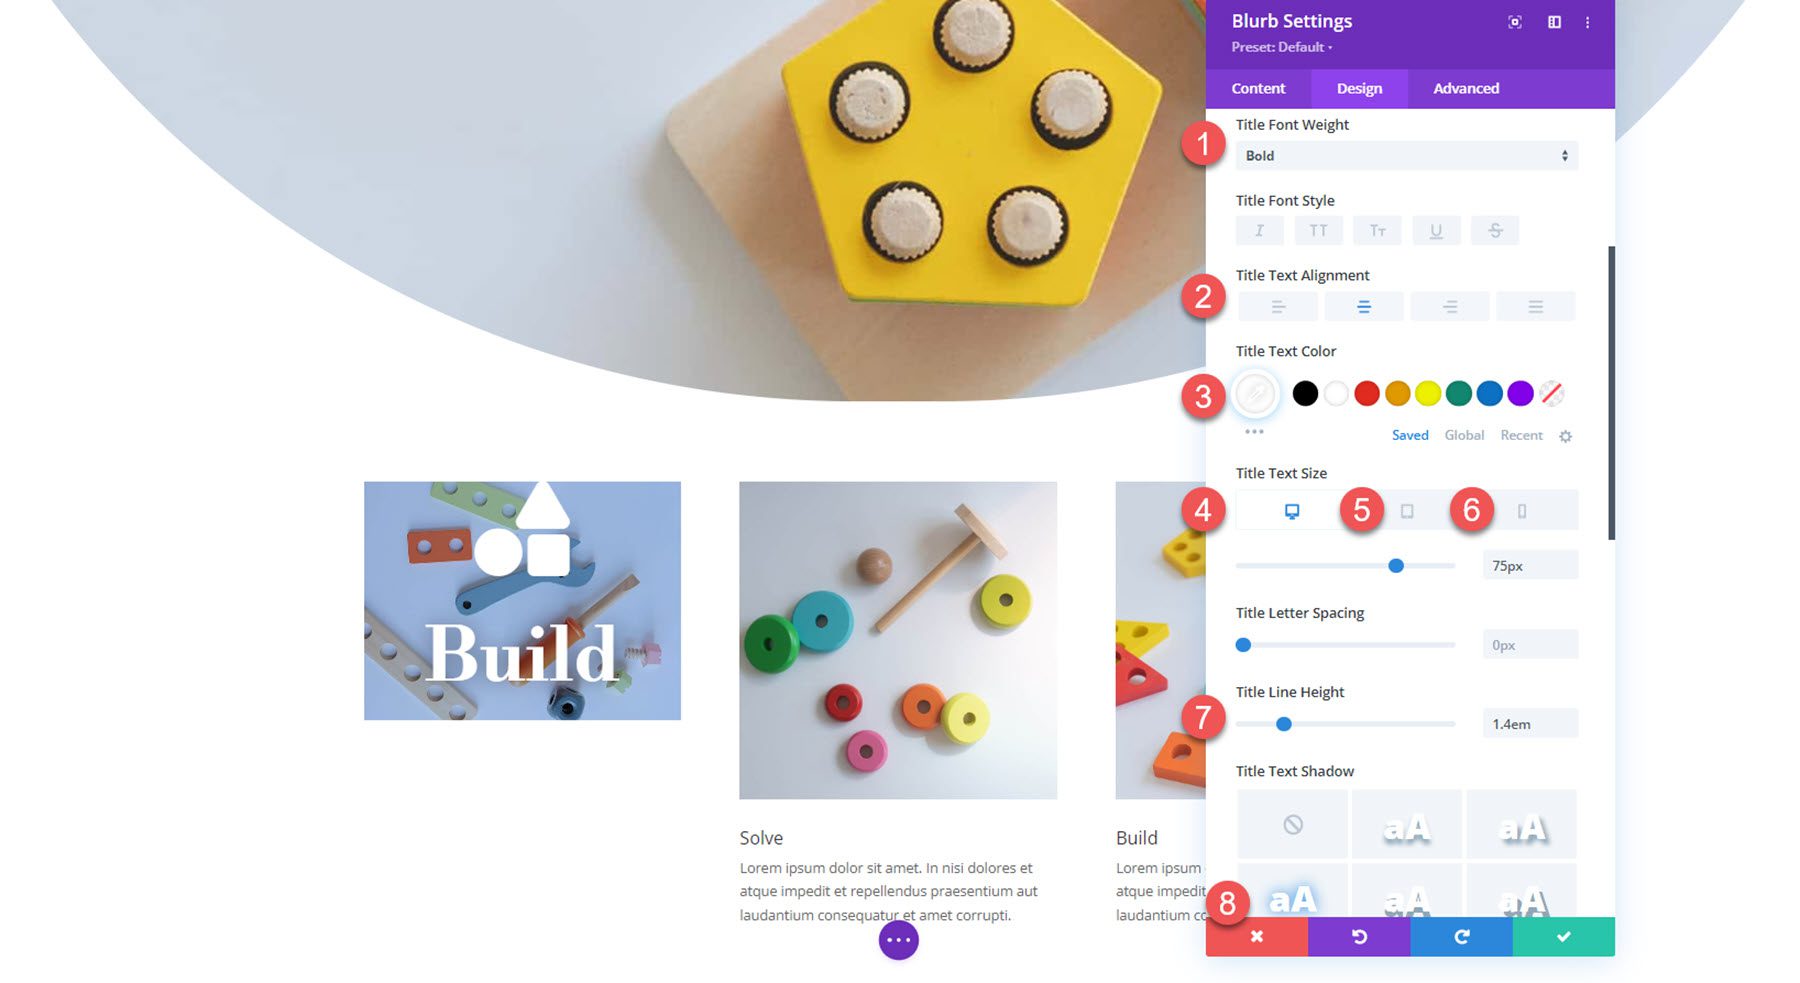
In the title font settings, customize the following:
- Title Font: Libre Bodoni
- Title Font Weight: Bold
- Title Text Alignment: Center
- Title Text Color: #FFFFFF
- Title Text Size: 75px desktop, 50px tablet, 40px mobile
- Title Line Height: 1.4em
- Title Text Shadow: Style 3
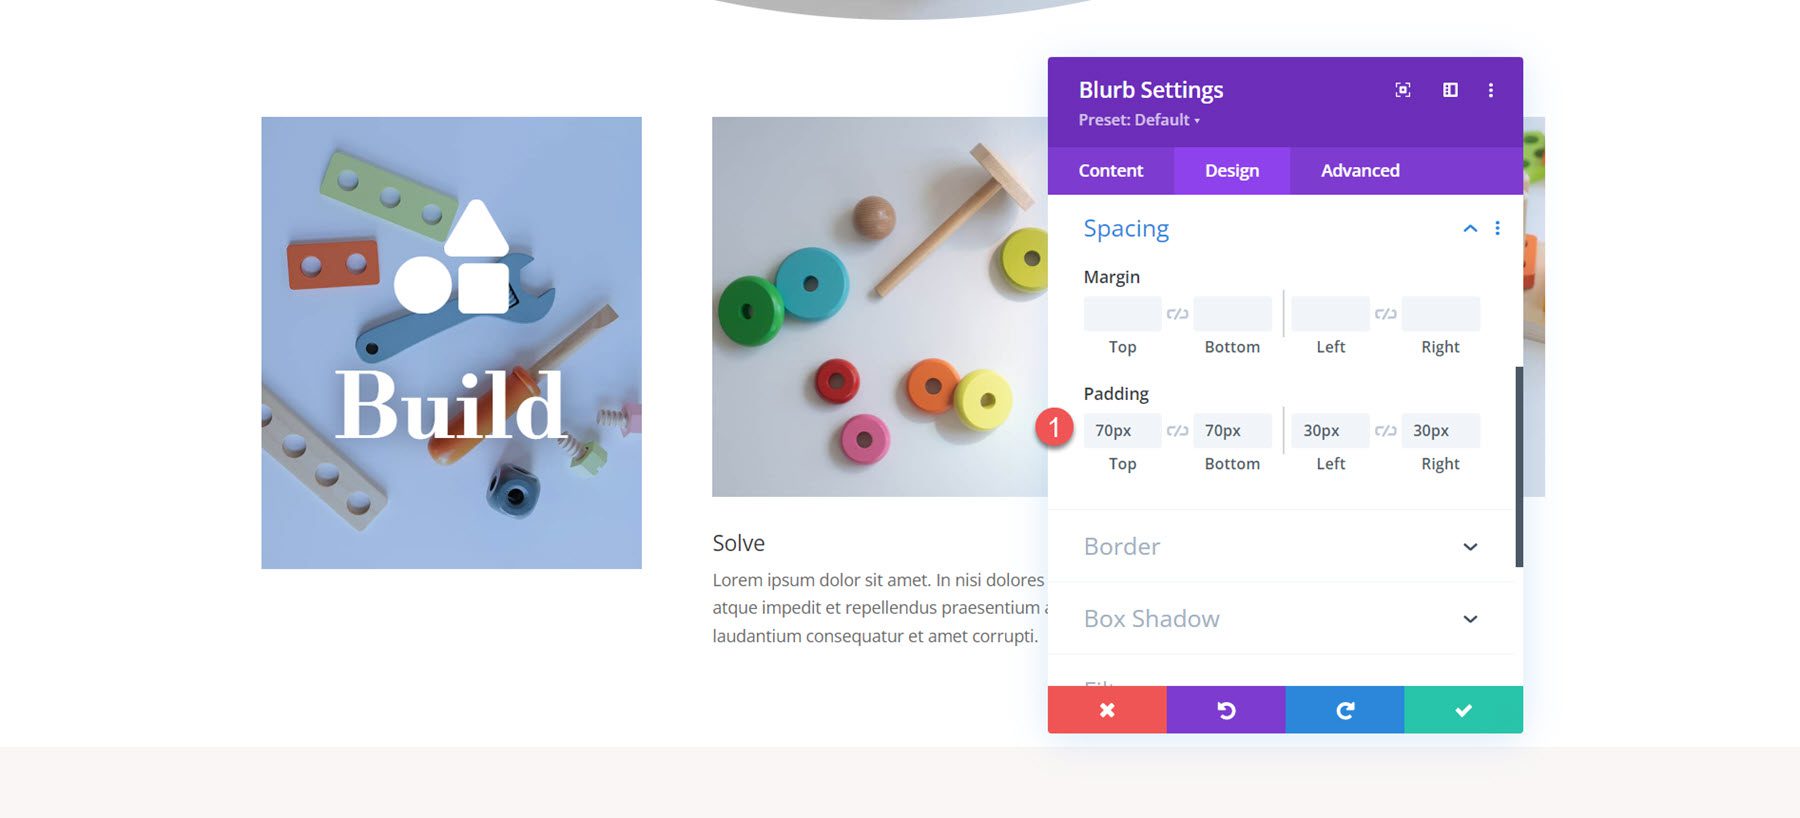
Next, customize the padding in the spacing settings.
- Padding top and bottom: 70px
- Padding left and right: 30px
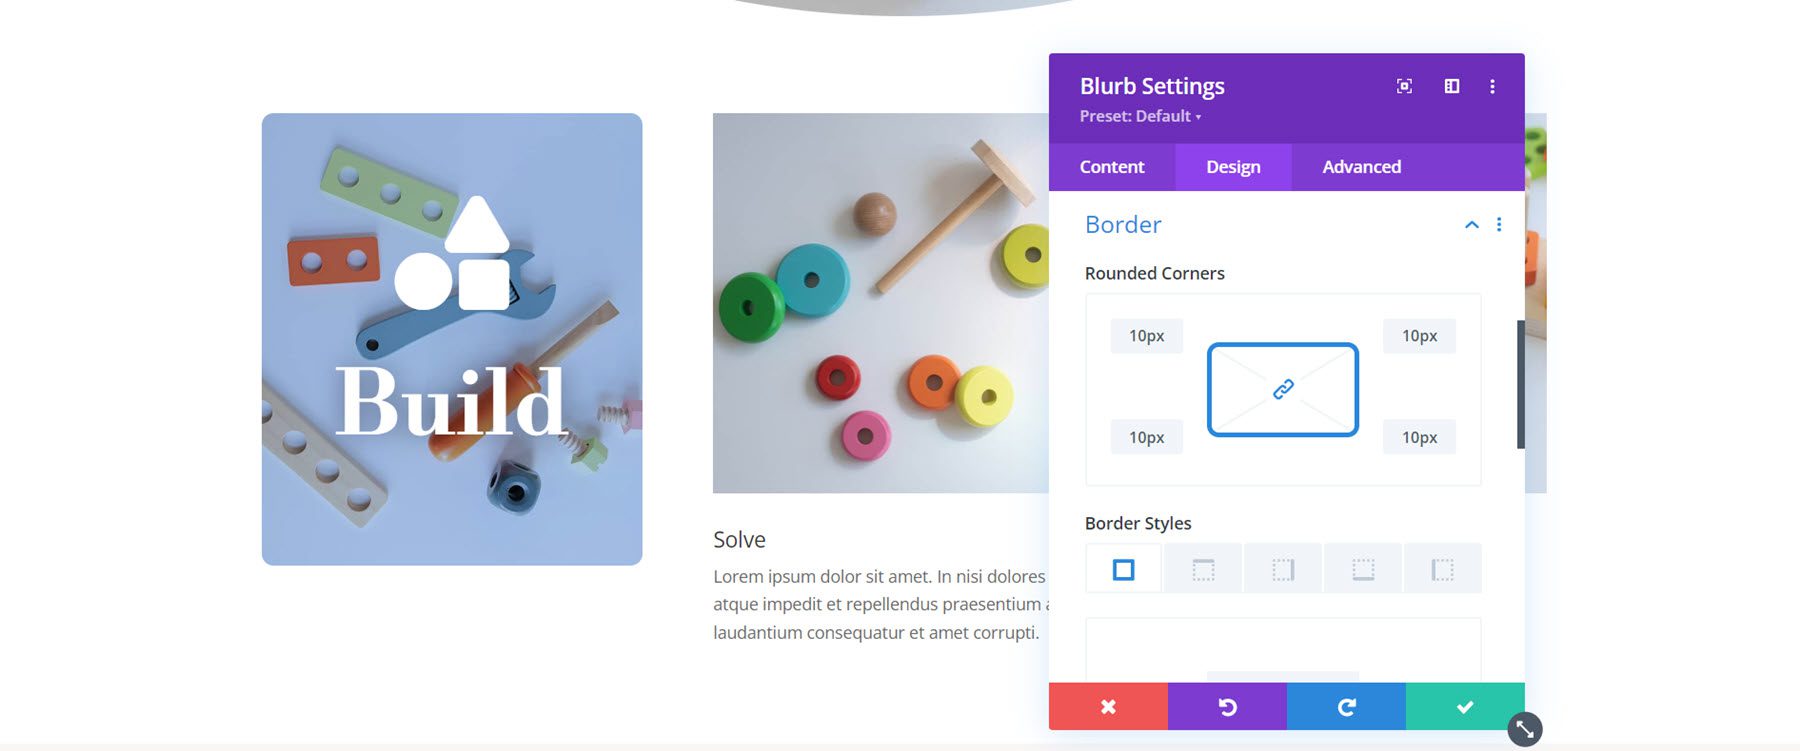
Finally, open the border options and add a rounded corner to the blurb.
- Rounded Corners: 10px
Now, the design of the first blurb is complete. Extend the design to the other two blurbs.

Customizing Blurb 2
Open the settings for the second blurb and remove the body text.
Next, enable the icon and select the puzzle icon.
![]()
Change the background image and set the background color.
- Background Color: rgba(188,45,105,0.3)
- Background Image: toy-store-19.jpg
Finally, move to the Image and Icon settings and modify the icon color.
- Icon Color: #FFFFFF
![]()
Customizing Blurb 3
Like we did for blurb 2, remove the body text from the blurb and enable the icon. For the third blurb, select the lightbulb icon.
![]()
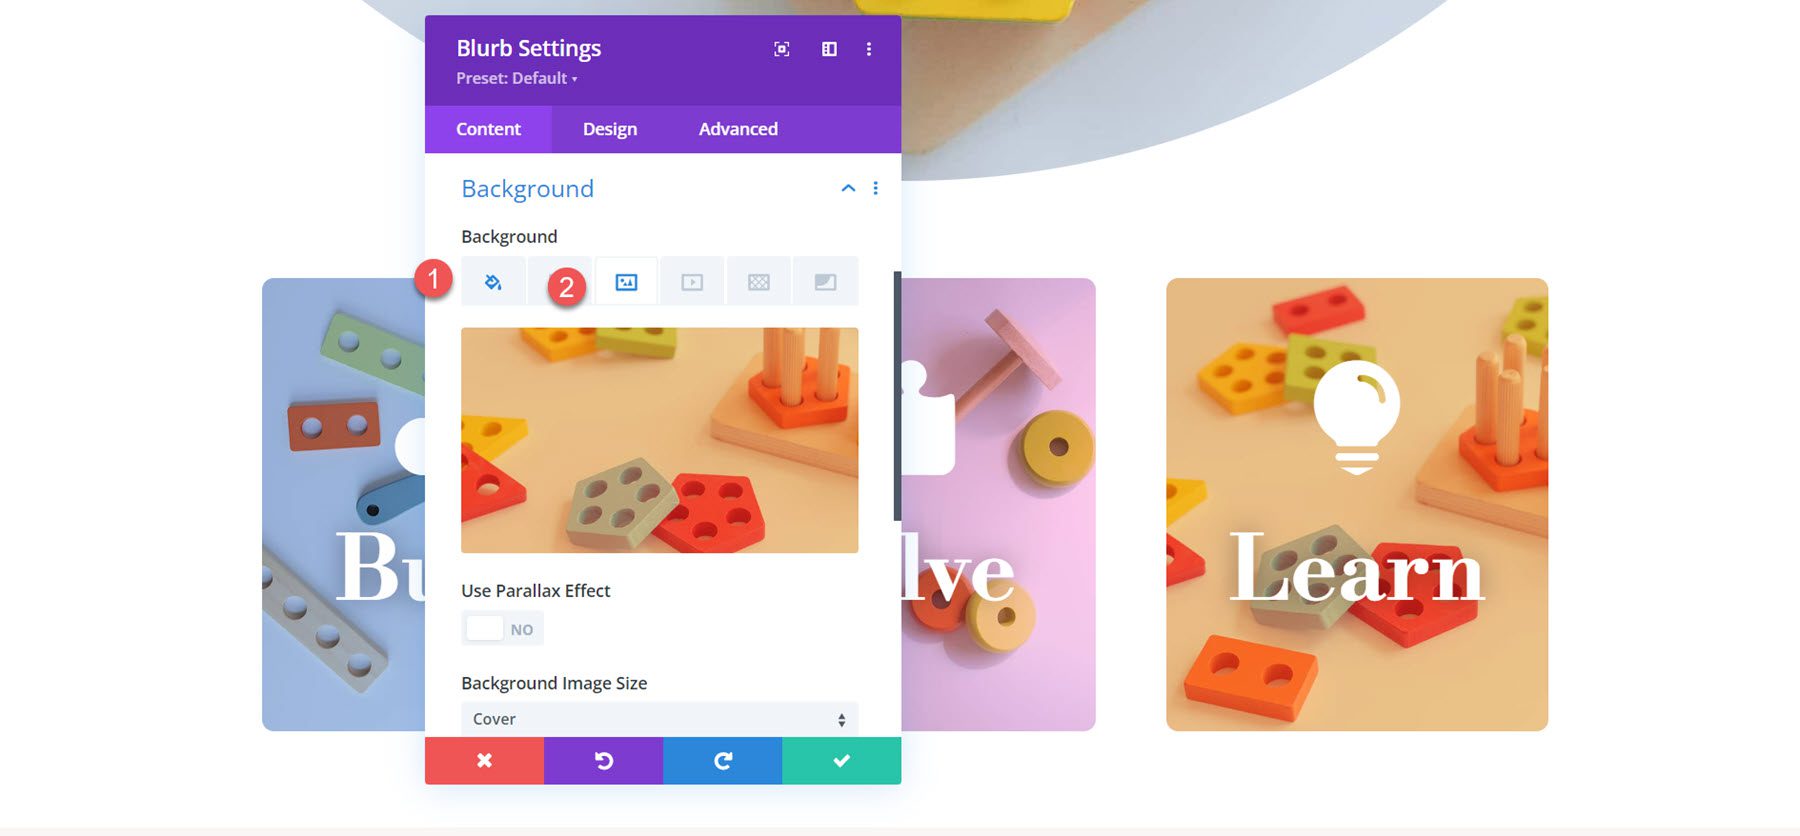
Set the background image for the blurb and change the background color to orange.
- Background Color:rgba(242,101,36,0.57)
- Background Image: toy-store-27.jpg
Finally, set the icon color in the design tab.
- Icon Color: #FFFFFF
![]()
Final Result
Here is the completed design for layout 3.
Final Result
Let’s take another look at the final blurb designs.
Blurb Design 1
Blurb Design 2
Blurb Design 3
Final Thoughts
Divi’s Blurb Module is a powerful and flexible tool that allows you to creatively display text and an image or icon. With endless design possibilities, you can achieve unique layouts that highlight your content and capture attention with callouts that are easy to scan. If you want to learn more about how to customize the Blurb Module, look at this tutorial to create a blurb expanding section on scroll.
How have you used the Blurb Module in your own designs? Let us know in the comments!


Leave A Reply