
One of the interesting things about building layouts with Divi is the many ways we can approach a design. Modules that include content are a great example. We can use their content options, or we can use them along with other modules to create some unique designs. For example, combinations of modules allow us to create sticky elements. In this article, we’ll see how to turn your Divi testimonial module sticky while letting the testimonial content scroll as normal.
Preview
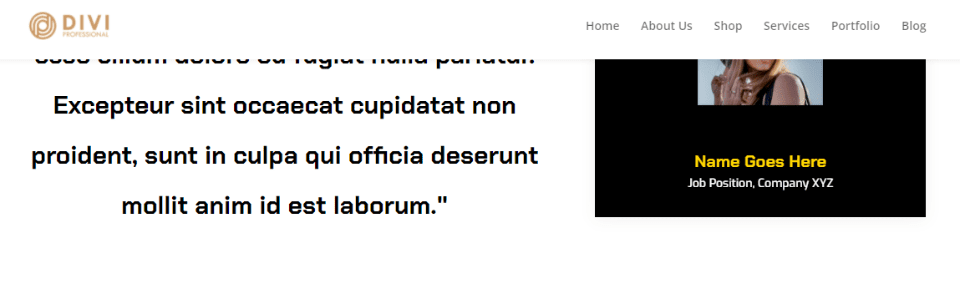
Here’s a look at what we’ll make. The mobile version of this design will not be sticky, so I’m only showing the desktop version for the preview.
My Divi Testimonial Sticky Module Example
For my example, I’m using the landing page from the free Electrical Services Layout Pack that’s available within Divi. This page already has a testimonial section near the bottom of the layout, but it has a completely different design. I’ll replace the testimonials in that section and reflect the styling of the new design. I’ll keep the title, but I’ll recreate it to show the settings.

For this tutorial, I’ll build the testimonial using two modules. I’ll use the testimonial module to display the image, name, job title, and company. For the testimonial content, I’ll use a text module. The text module will scroll as normal. The testimonial module will remain in place as the user scrolls until they’ve reached the end of the testimonial. Then, the testimonial module will scroll with the text module.
Create the Sticky Testimonial Section Title
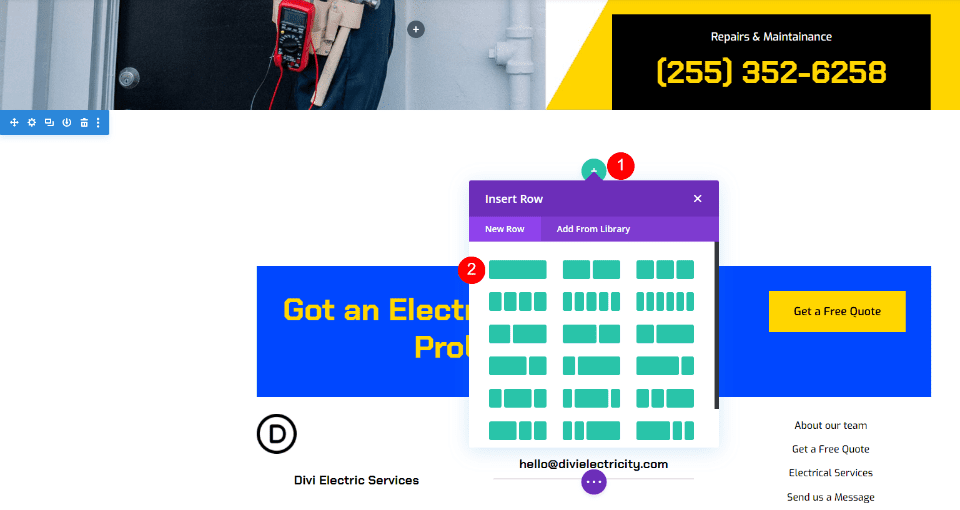
First, create a new section and add a single-column row. This row will hold the title, which will be centered.
Title Text Module
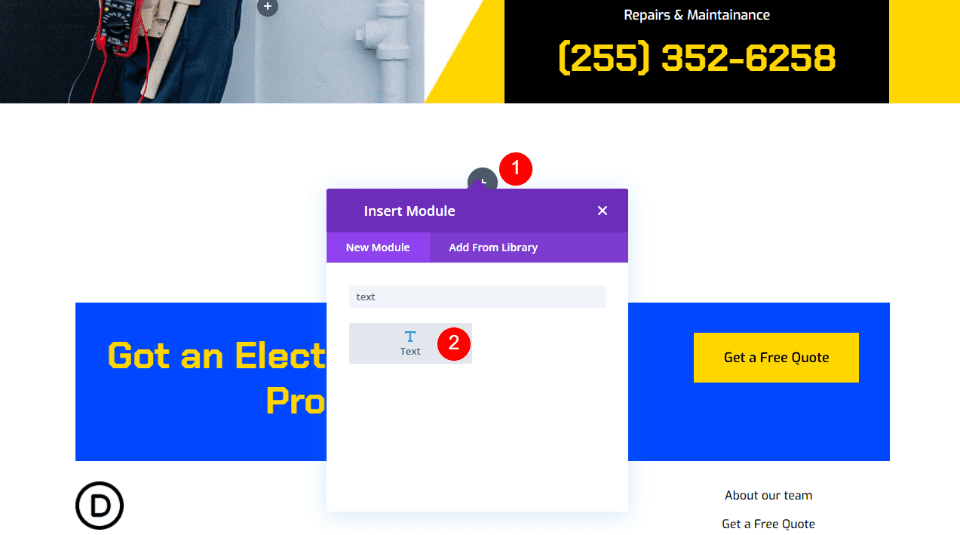
Next, add a text module for the title.
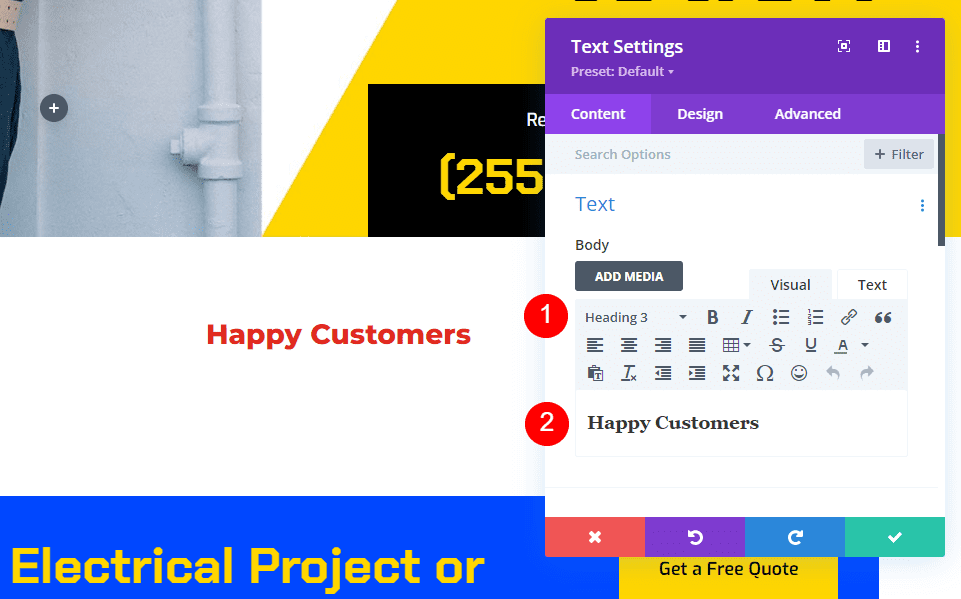
Next, open the text module’s settings. Change the text to Heading 3 and add the title in the body content editor.
- Text: Heading 3
- Content: Happy Customers
Design Settings
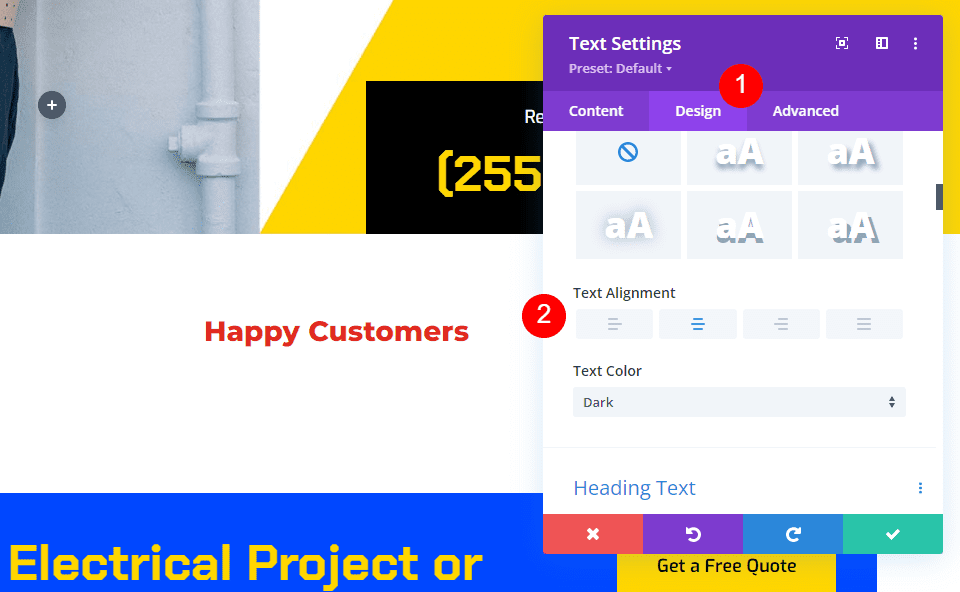
Next, go to the design tab. Set the Text Alignment to Centered.
- Text Alignment: Centered
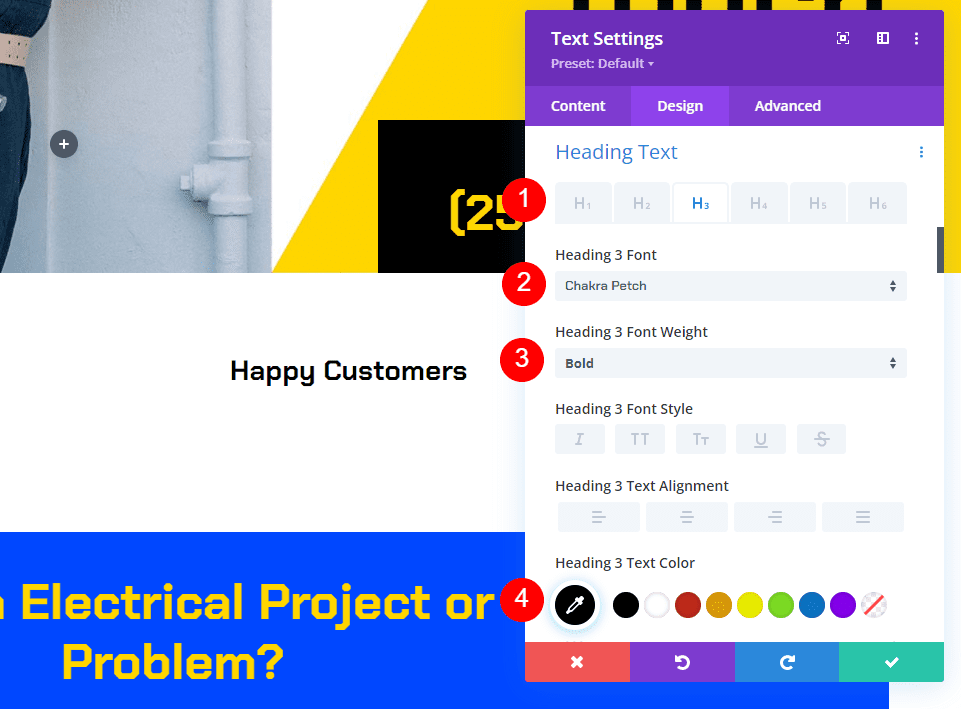
Select H3 for the Heading Text. Choose Chakra Petch for the Font. Set the Weight to Bold and the Color to black.
- Font: Chakra Petch
- Weight: Bold
- Color: #000000
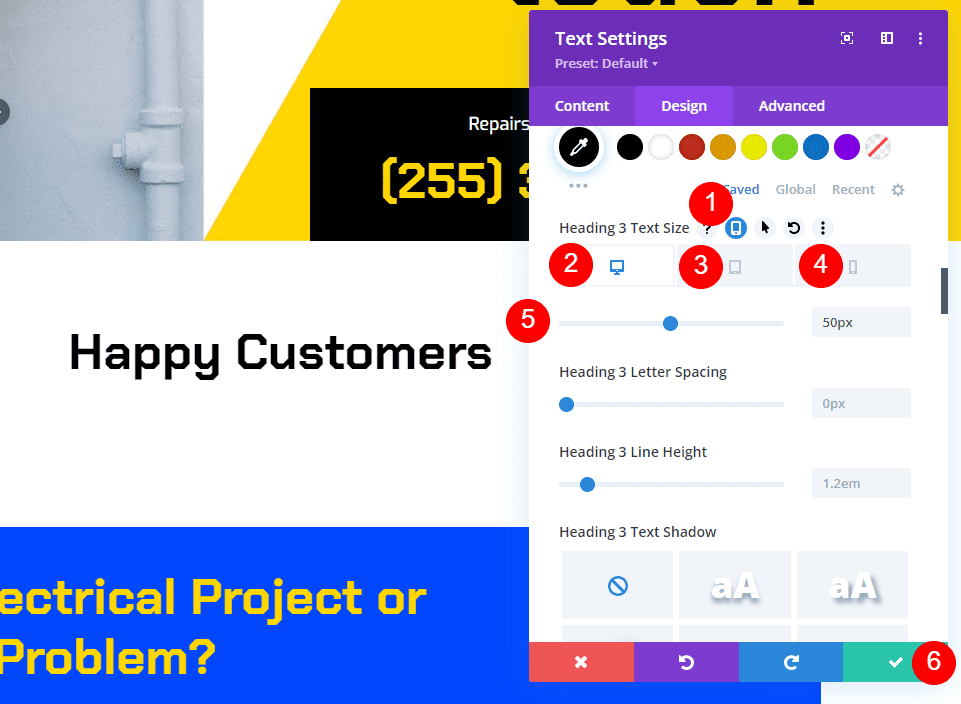
Finally, choose the tablet icon for the text size and set the Desktop Size to 50px, the Tablet Size to 28px, and the Phone Size to 20px. Close the module’s settings.
- Size: Desktop 50px, Tablet 28px, Phone20px
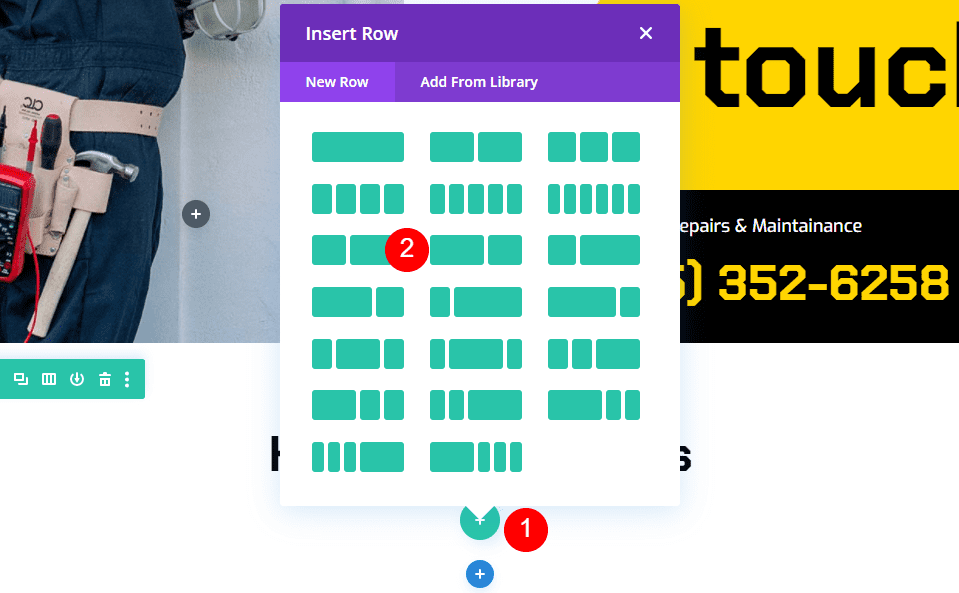
Add a Row for the First Testimonial
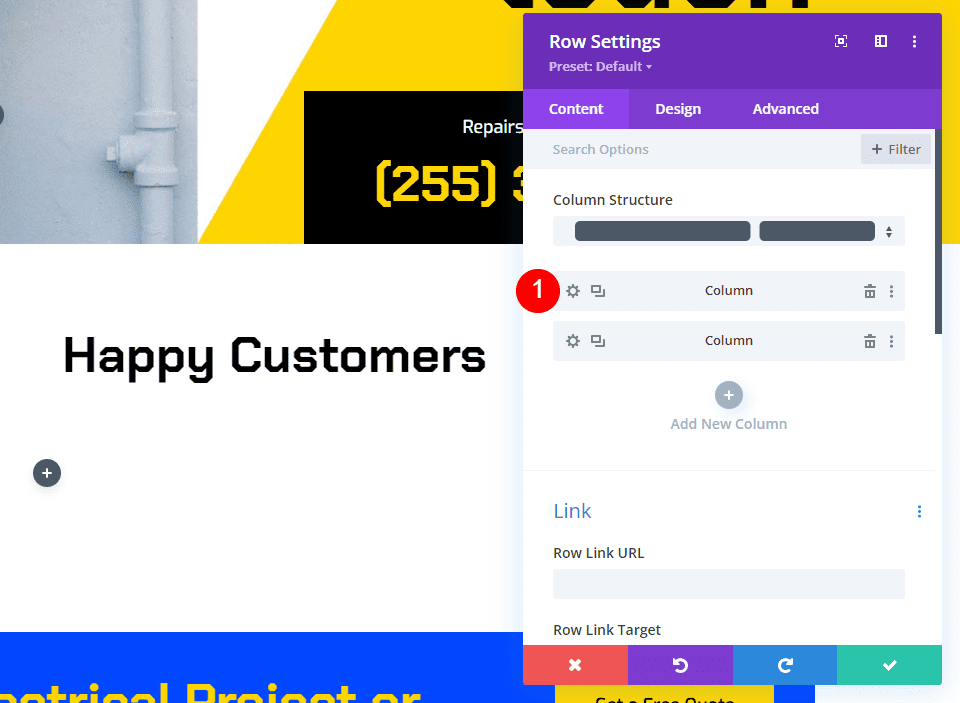
Next, add a 2/3, 1/3 row under the title. This row will hold the first testimonial.
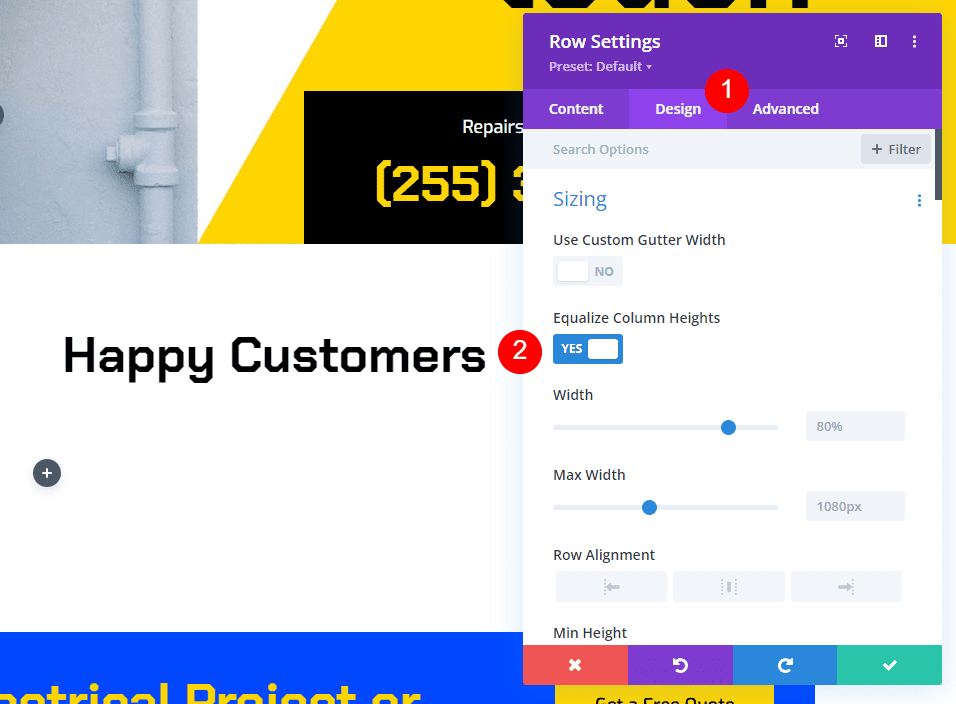
Row Settings
Open the design tab and enable Equalize Column Heights.
- Equalize Column Heights: Yes
Column Settings
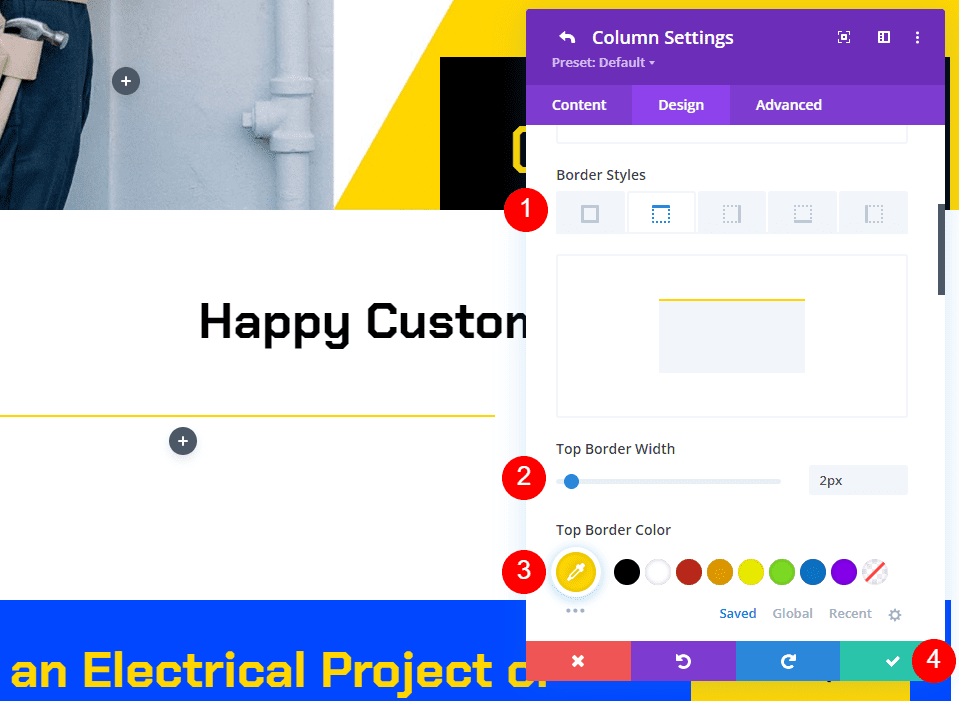
Open the settings for the first column with the row’s settings.
Scroll down to Border Styles and select the Top Border Style. Change the Width to 2px and the Color to #ffd600. Close the row settings. This will add a yellow line above the testimonial like the original testimonial we replaced.
- Border Styles: Top
- Top Border Color: #ffd600
- Width: 2px
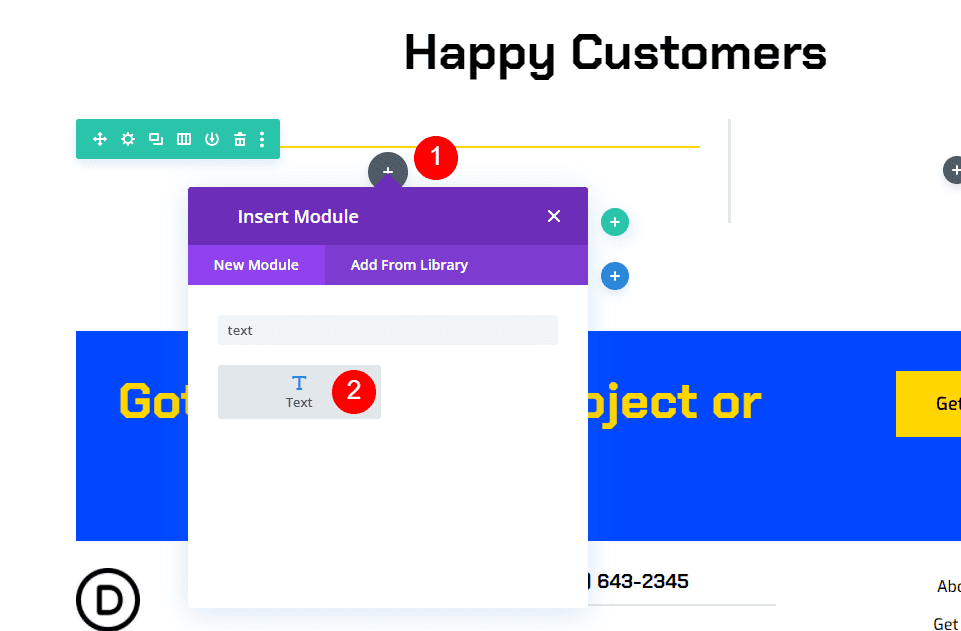
Testimonial Text Module
Next, we’ll add the text module for the testimonial content. Add a text module to the left column, under the yellow line.
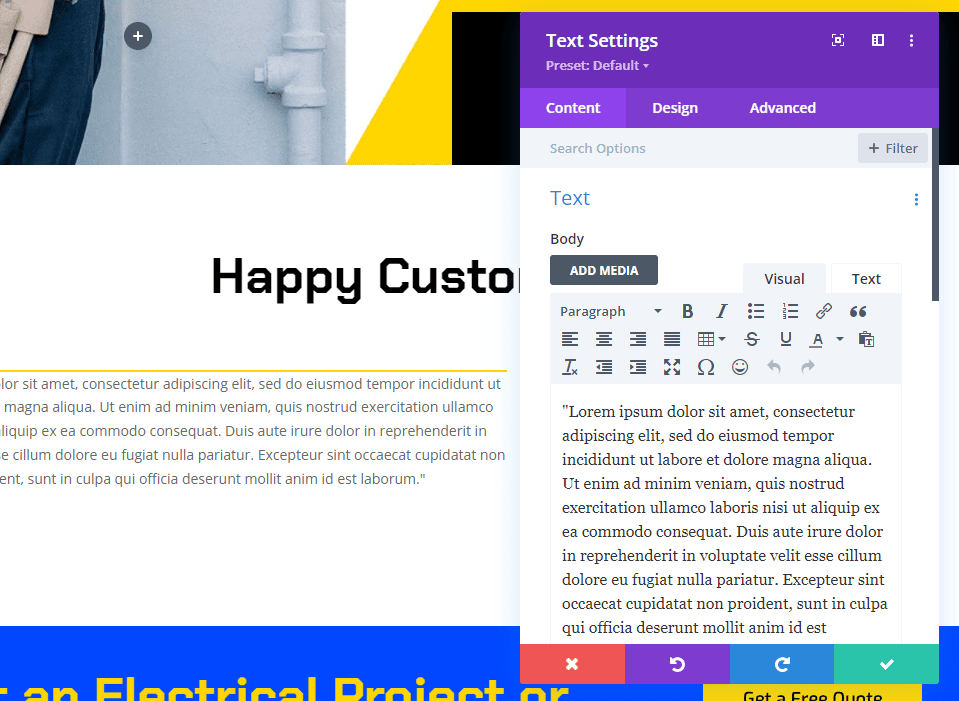
Enter the content of your testimonial into the content editor.
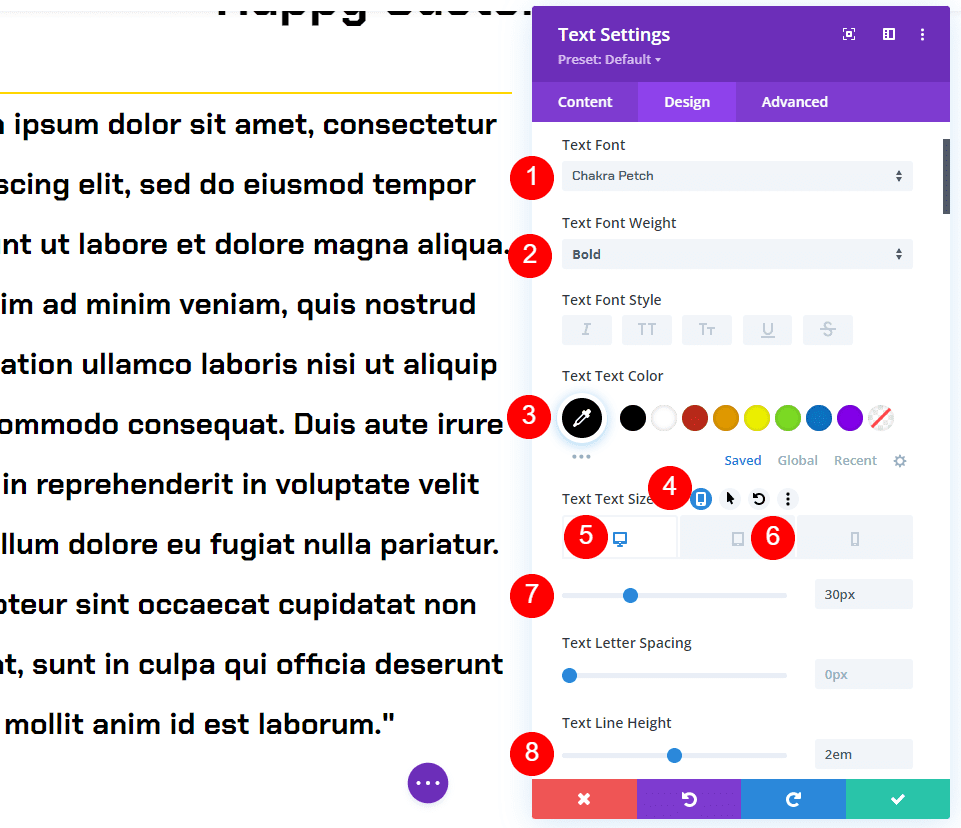
Next, go to the design tab. Choose Chakra Petch for the Font. Set the Weight to Bold and the Color to Black. For the Text Size, choose 30px for the Desktop and 14px for Tablet. The Phone setting will follow the Tablet automatically, so we won’t need to change it. Set the Text Line Height to 2em. This creates a giant print testimonial that will draw attention.
- Font: Chakra Petch
- Weight: Bold
- Color: Black
- Size: Desktop 30px, Tablet 14px
- Line Height: 2em
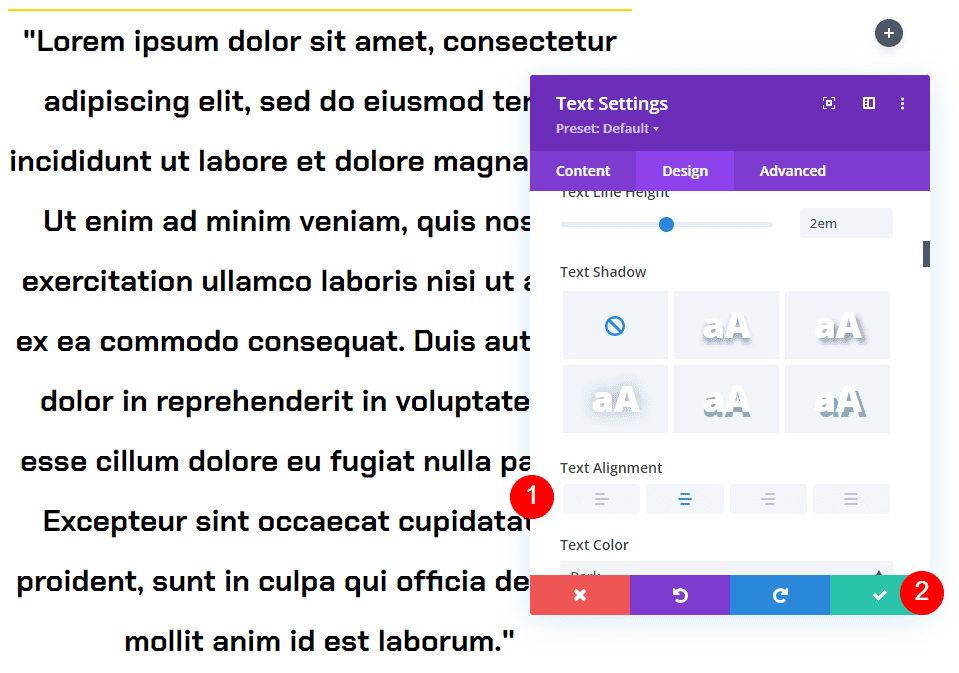
Scroll down to Text Alignment and choose Centered. Close the text module’s settings.
- Alignment: Centered
Testimonial Module Settings
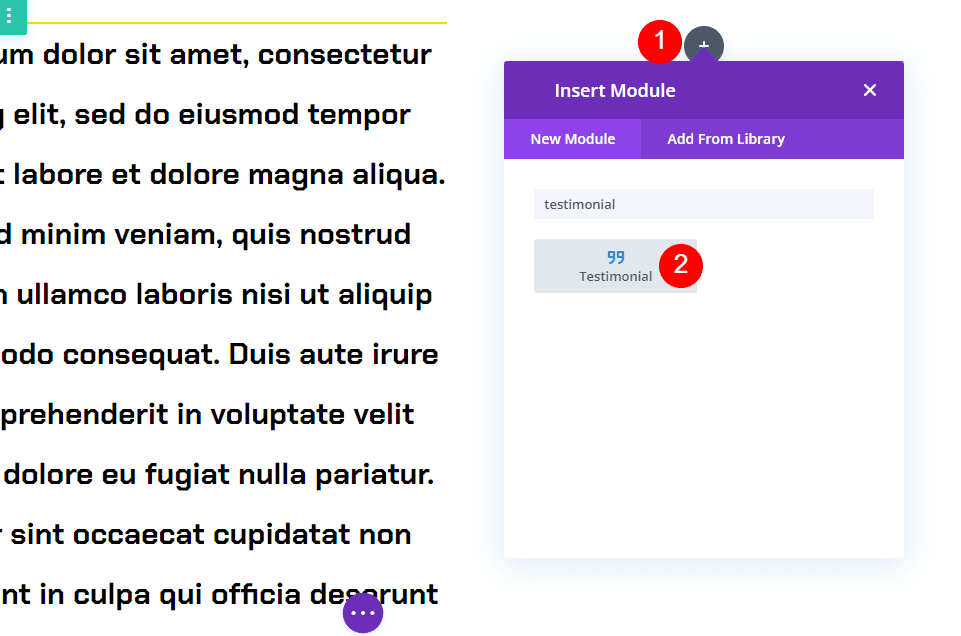
Next, add a Testimonial module to the right column. This will be sticky and display the person’s name, company name, job title, and image.
Content Settings
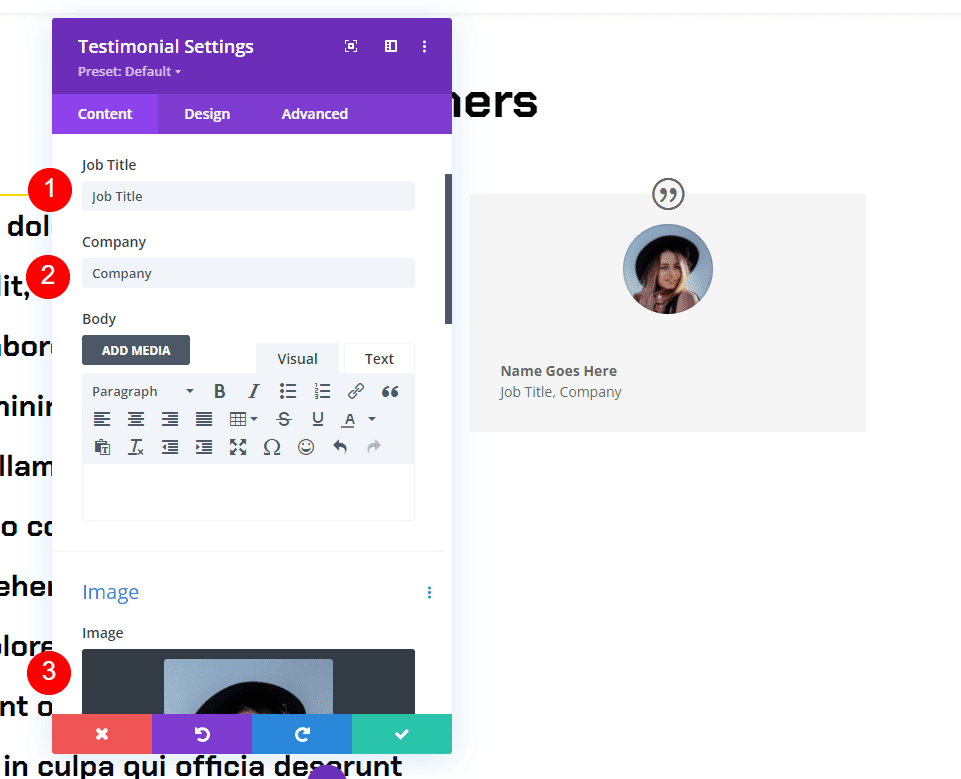
Open the module’s settings and add the testimonial content. Leave the Body content empty. We’ve used the text module for that.
- Author
- Job Title
- Company
- Image
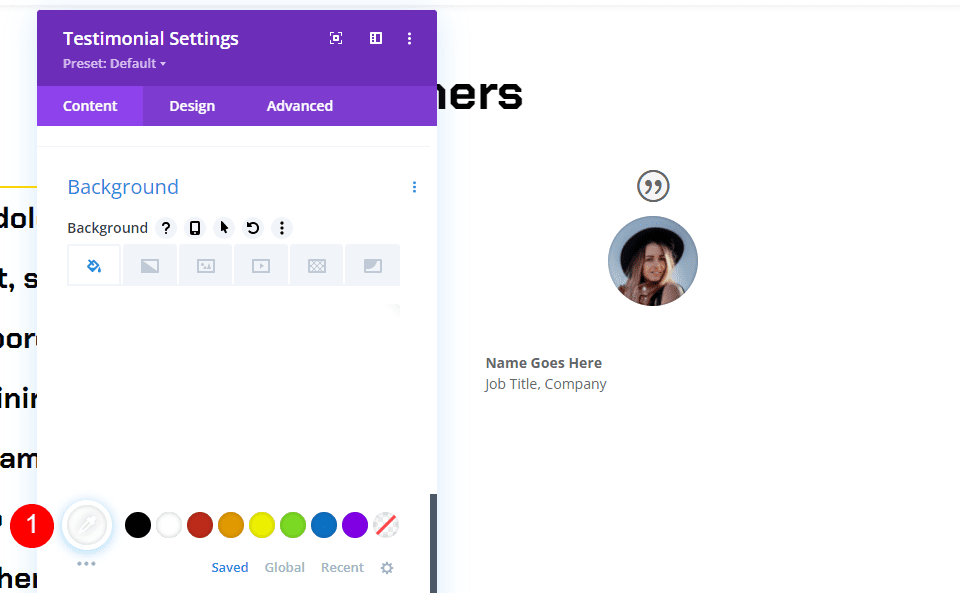
Scroll down to Background and set it to white.
- Background: #ffffff
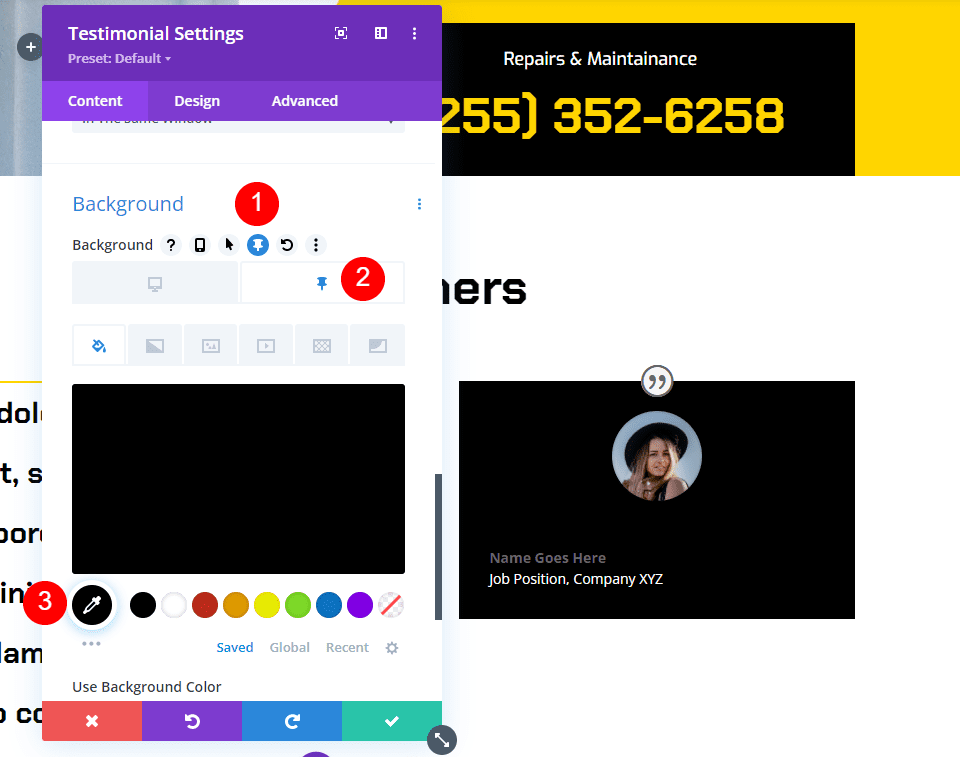
Next, select the Pin icon. This is the sticky version of the background which will allow the background to change color when the module becomes sticky. Choose black for the Background Color.
- Sticky Background Color: #000000
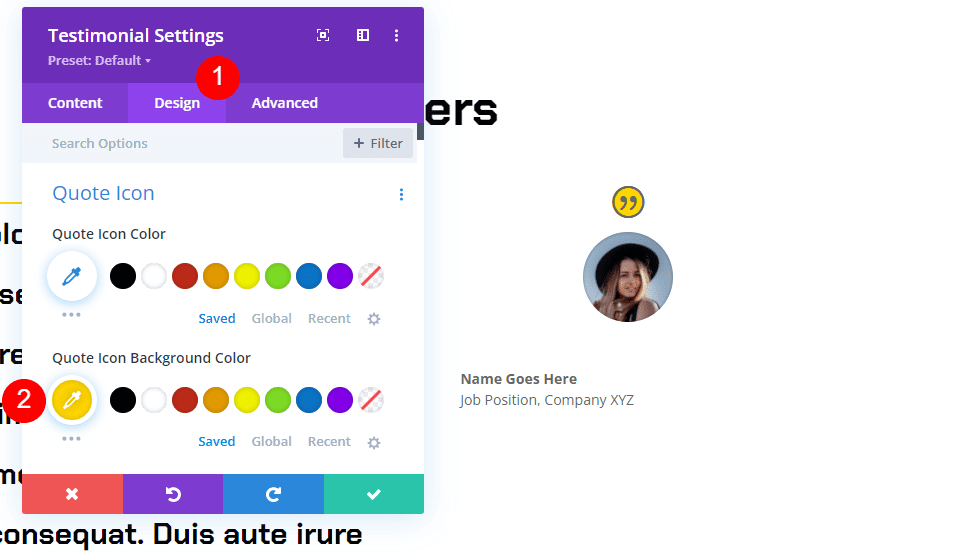
Quote Icon
Next, go to the design tab. Choose #ffd600 for the Quote Icon Color.
- #ffd600
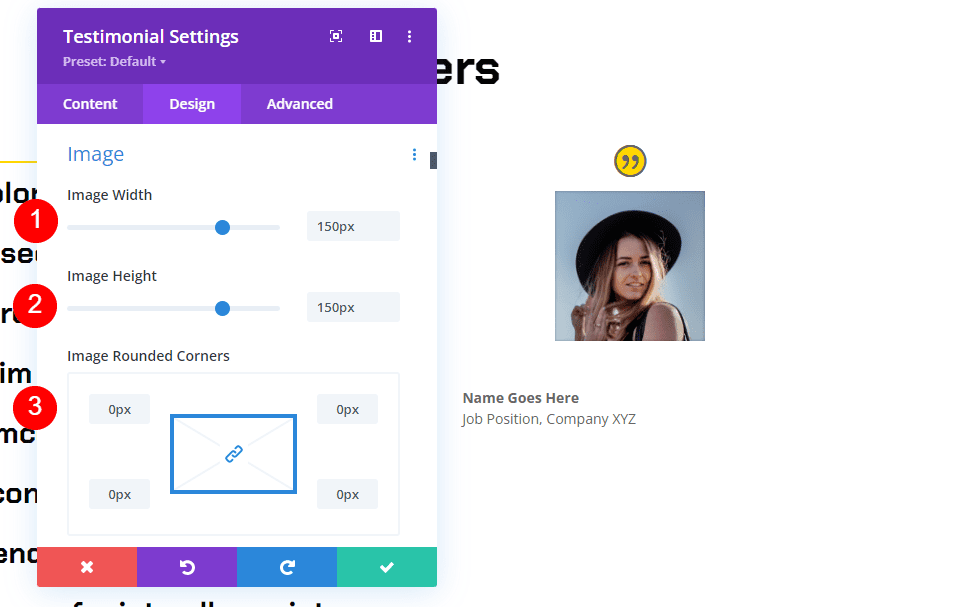
Image
Scroll down to Image and set the Width and Height to 150px. Change the Rounded Corners to 0px.
- Image Width: 150px
- Rounded Corners: 0px
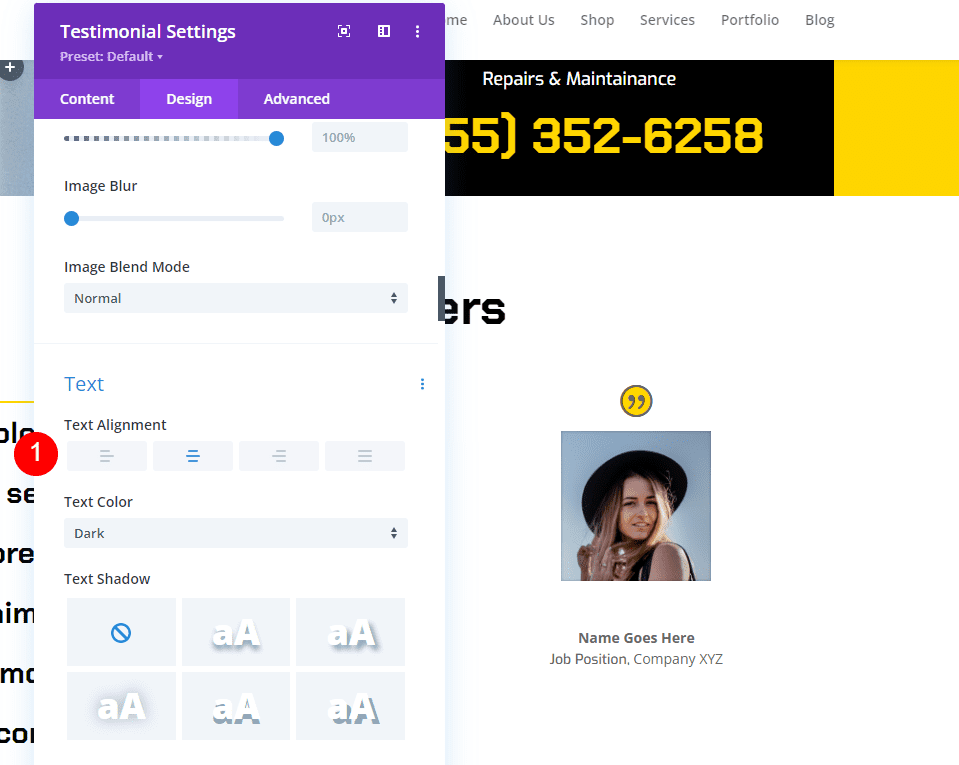
Text
Scroll down to Text Alignment and choose the Centered option. This centers the author’s name, job title, and company name text.
- Text Alignment: Centered
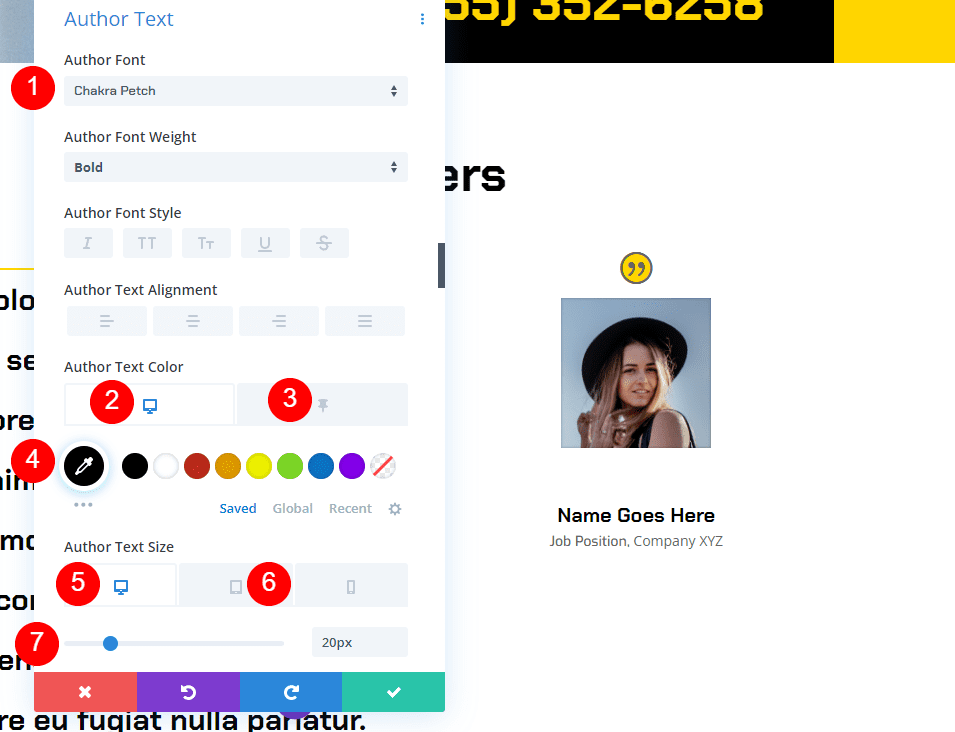
Author Text
Under Author Text, choose Chakra Petch for the Font and set the Weight to Bold and Centered for the Alignment. Choose black for the regular Color. Select the Pin icon and set the sticky Color to #ffd600. Set the Desktop Size to 20px and the Tablet Size to 14px.
- Font: Chakra Petch
- Regular Text Color: Black
- Pinned Text Color: #ffd600
- Size: 20px Desktop, 14px Tablet
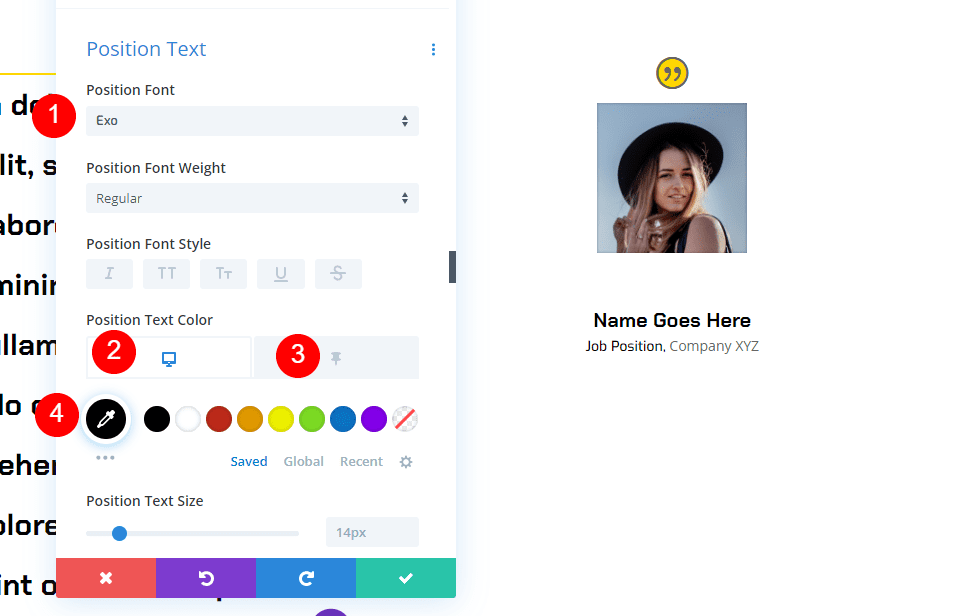
Position Text
Next, scroll to Position Text. Choose Exo for the Font. Select black for the regular Text Color. Click on the Pin icon and set the pinned Color to white.
- Font: Exo
- Regular Text Color: #000000
- Pinned Text Color: #ffffff
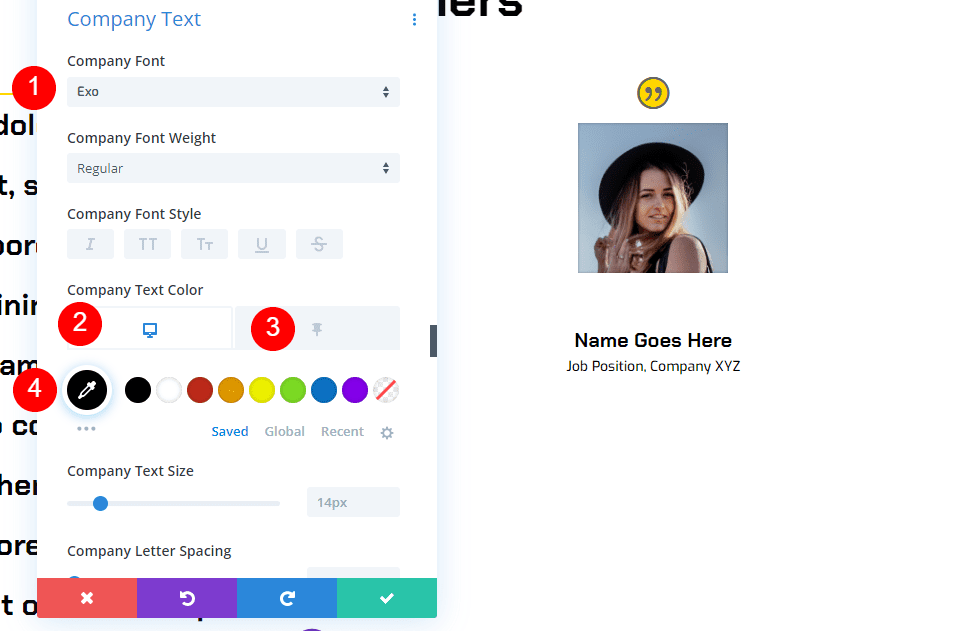
Company Text
Scroll down to Company Text. Choose Exo for the Font. Select black for the regular Text Color. Click on the Pin icon and set the pinned Color to white.
- Font: Exo
- Regular Text Color: #000000
- Pinned Text Color: #ffffff
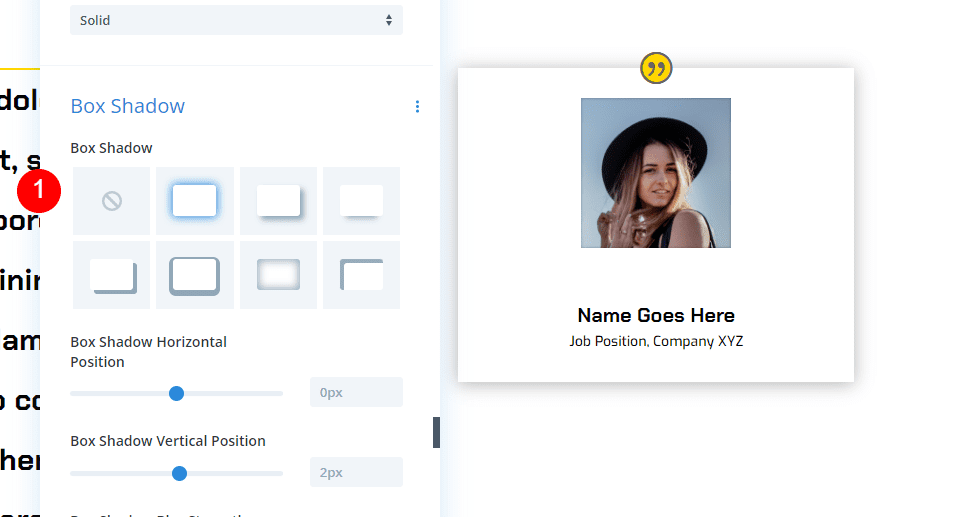
Box Shadow
Scroll to Box Shadow and select the first option.
- Box Shadow: first shadow option
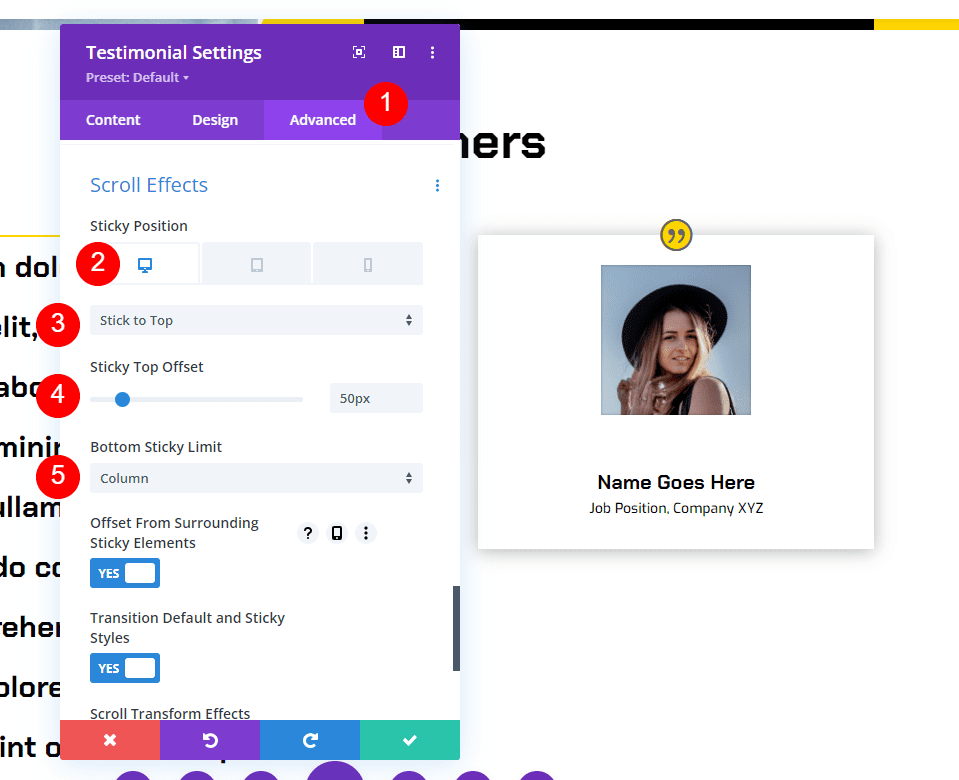
Scroll Effects
Lastly, go to the advanced tab and scroll down to Scroll Effects. Select Desktop and choose Stick to Top for the Sticky Position. Set the Sticky Top Offset to 50px. Set the Bottom Sticky Element to Column. This tells the module how and where to stick.
- Sticky Position: Stick to Top
- Sticky Top Offset: 50px
- Bottom Sticky Element: Column
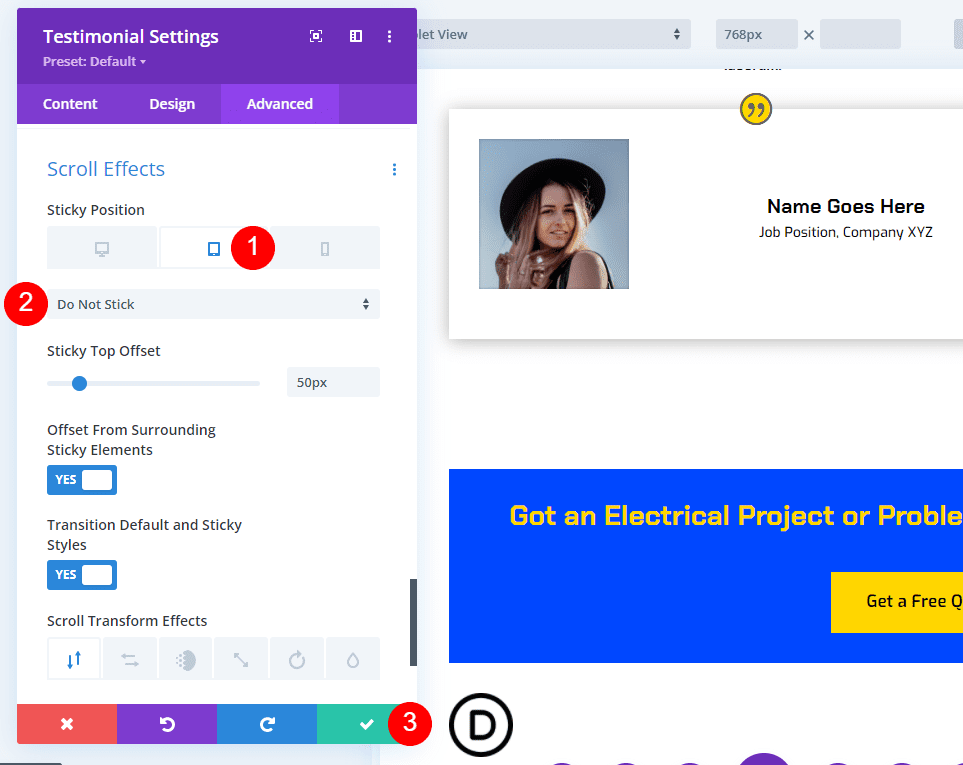
Select the Tablet icon for the Sticky Position and choose Do Not Stick. This keeps the module from sticking for tablet and phone devices. Close the module’s settings.
- Sticky Position: Do Not Stick
Now, when you scroll, the testimonial module sticks to the top of the screen and changes color.
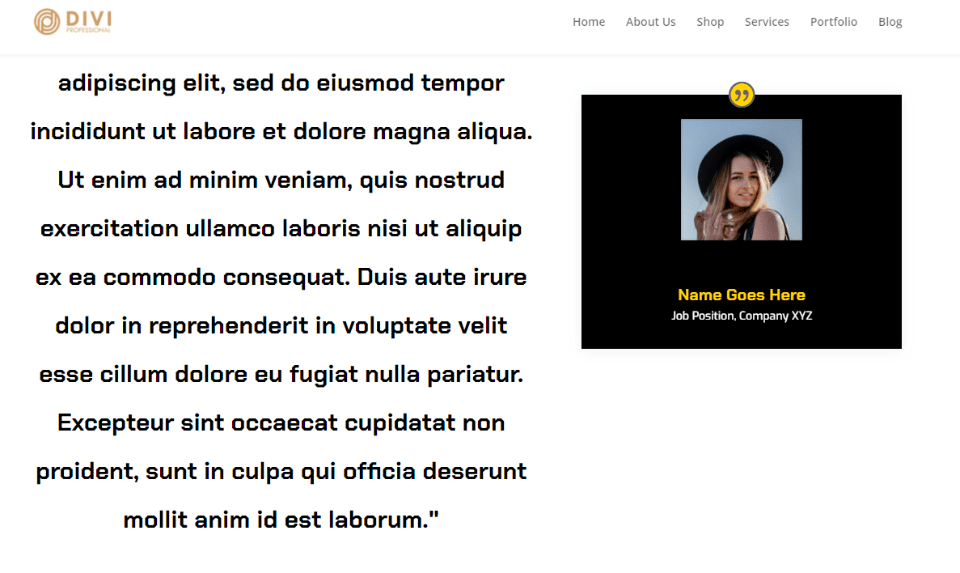
Once the module lines up with the bottom of the column, it scrolls with the column.
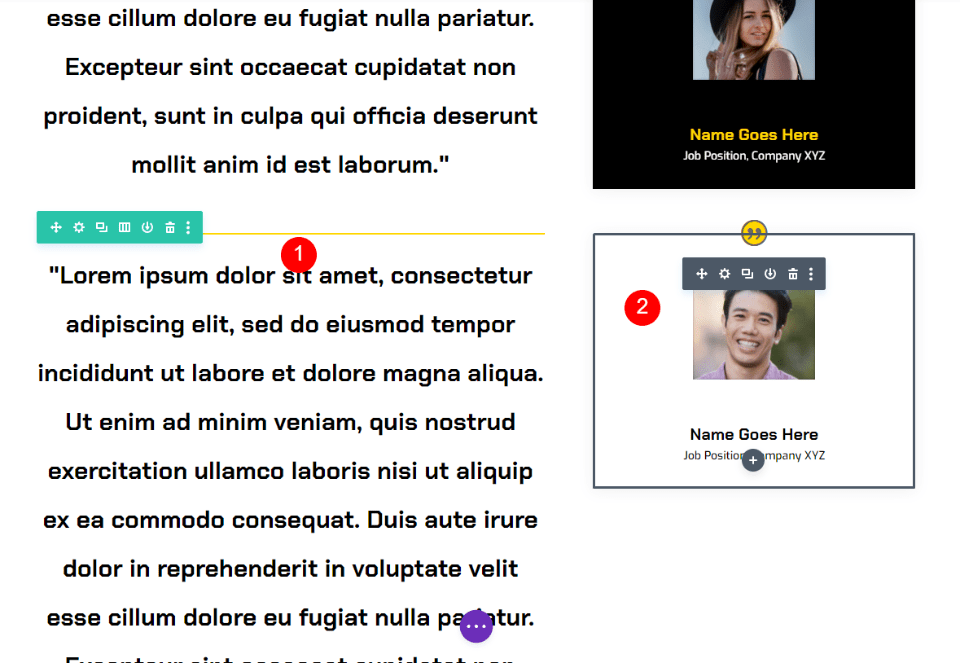
Duplicate the First Testimonial Row
Next, we’ll create the second row by copying the first row and making changes. Hover over the row and click the duplicate icon.

Finally, open the text and testimonial modules one at a time and replace the previous content with the new testimonial content. Once you’ve made the changes, close the modules and save your page. Add more testimonials by repeating the duplication process. You now have an interesting sticky testimonial section with two testimonials that stand out and look great.
Results
Ending Thoughts
That’s our look at how to turn your Divi testimonial module sticky. Divi’s settings can make any element sticky. When using modules together, such as text modules for content and testimonial modules for the supporting information, you can create some interesting designs. The testimonials we’ve created here are only one example of how to use Divi’s modules and sticky settings together.
We want to hear from you. Do you use the Divi testimonial module sticky options? Let us know about your experience in the comments.


very informative content. keep posting such content. thank you