
Divi’s Fullwidth Header module makes it easy to design a stunning hero section for your website in just minutes. A hero section is the very first section of your website that your visitors will see, so you’ll want it to be branded, informative, and compelling. Thankfully, the Divi Fullwidth Header comes packed with content options: header text, subtitle text, body text, two images, and two buttons. We’ll be utilizing all of these elements in our fullwidth headers today.
In this post, we’re going to demonstrate 3 ways to design your fullwidth header’s background with eye-catching designs. Ready to get started? Let’s dive in!
Subscribe To Our Youtube Channel
Design Preview
Let’s take a look at the 3 fullwidth headers we’ll be designing today.
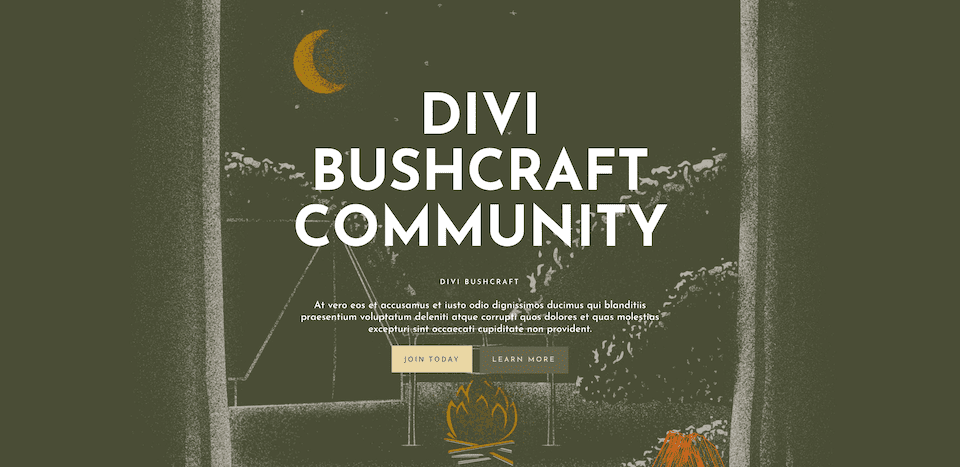
Divi Bushcraft Community
The first design uses Divi’s background image options to create a textured background that is unique and on-brand for the Bushcraft Community.
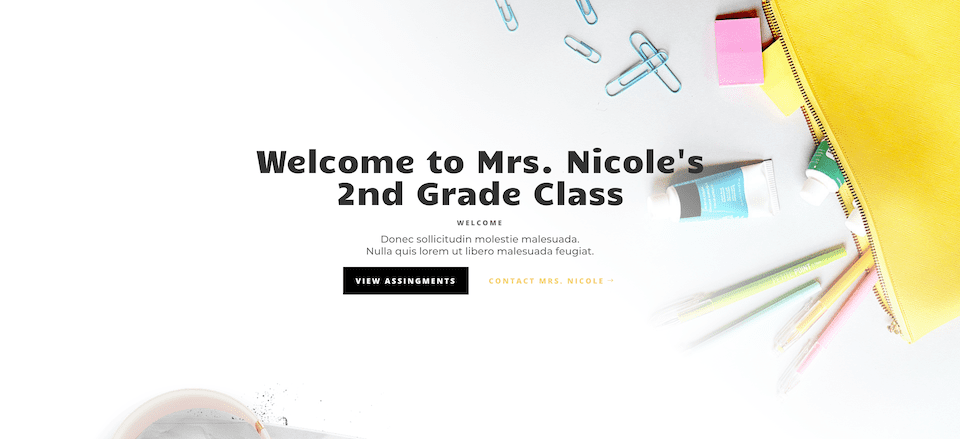
Mrs. Nicole’s 2nd Grade
This second design uses a background image and background gradient to create a clean, modern, and fresh welcome header for Mrs. Nicole’s 2nd-grade class.
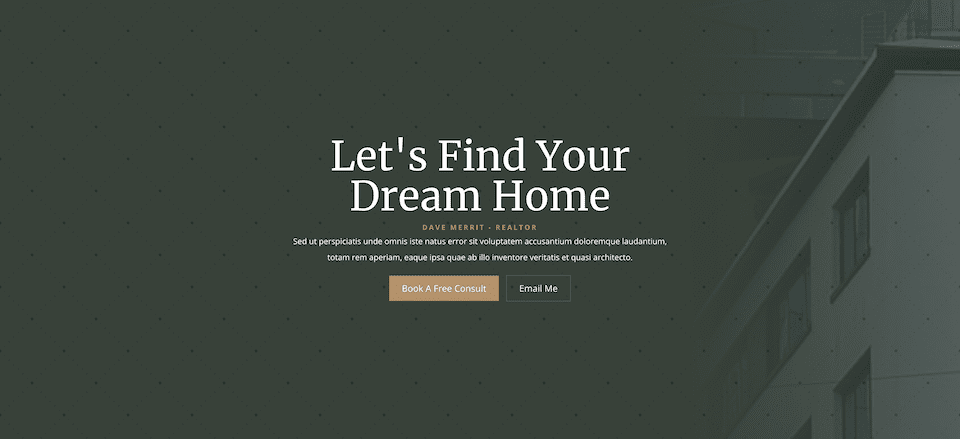
Realtor Header
The third design utilizes a background image, background gradient, and background pattern, all combined to create an elevated yet subtle design for a realtor’s home page.
Download the Layouts for FREE
To lay your hands on the designs from this tutorial, you will first need to download it using the button below. To gain access to the download you will need to subscribe to our newsletter by using the form below. As a new subscriber, you will receive even more Divi goodness and a free Divi Layout pack every Monday! If you’re already on the list, simply enter your email address below and click download. You will not be “resubscribed” or receive extra emails.

To import the header template to your Divi Library, do the following:
- Navigate to the Divi Theme Builder.
- Click the Import button at the top right of the page.
- In the portability popup, select the import tab
- Choose the download file from your computer (make sure to unzip the file first and use the JSON file).
- Then click the import button.
Once done, the section layout will be available in the Divi Builder.
Let’s get to the tutorial, shall we?
What You Need to Get Started
To get started, you will need to do the following:
- Install Divi on your WordPress website.
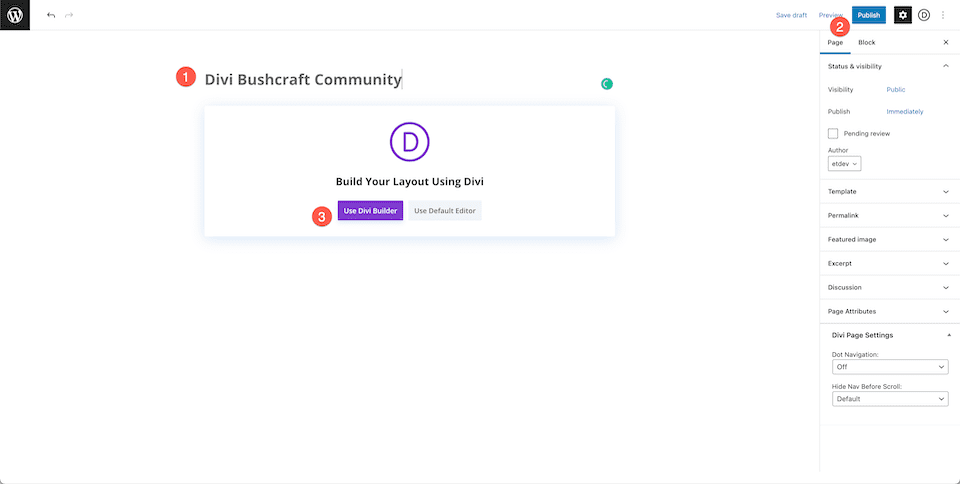
- Add a Page, give it a title, and publish it.
- Enable the Visual Builder.
Setting Up Our Page
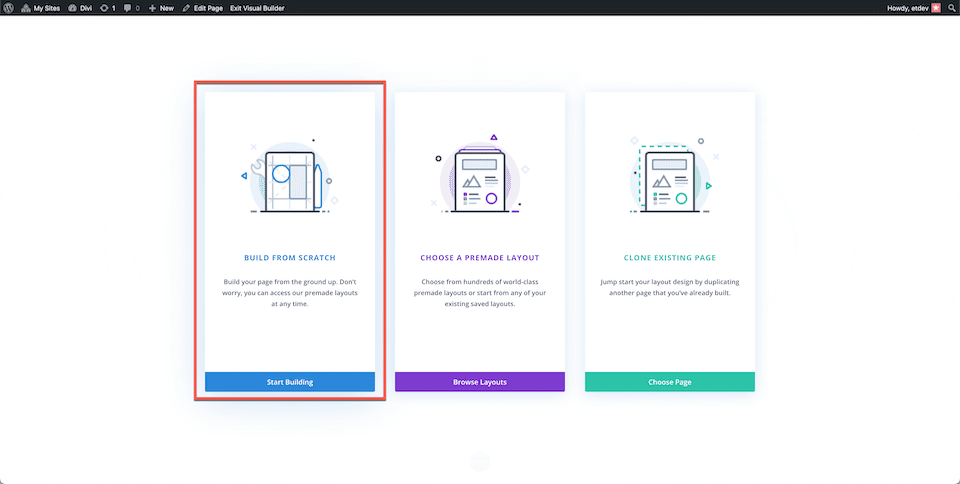
Once you click the “Use Divi Builder” button the page will reload using Divi’s drag and drop builder interface. Three options will pop up and for today’s purposes select “Build From Scratch” so that we have a blank slate where we can build our fullwidth headers.
How to Design the Divi Bushcraft Community Fullwidth Header
Add a Fulldwith Section and Fullwidth Header
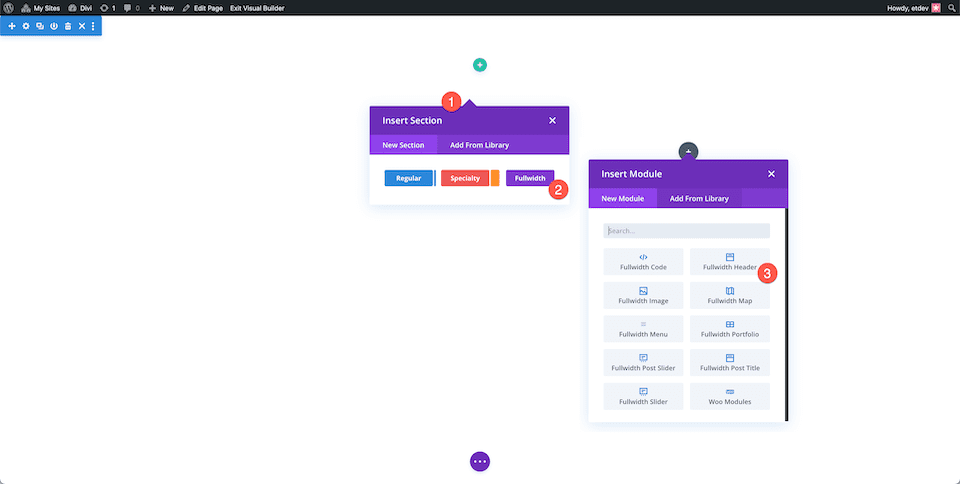
First, we’ll need to add a fullwidth section to our page. Click on the “+” icon to bring up the section options and then click “Fullwidth”. This will load the fullwidth module library where you can select “Fullwidth Header” from the options. This will load the fullwidth header module to your page.
Add The Content
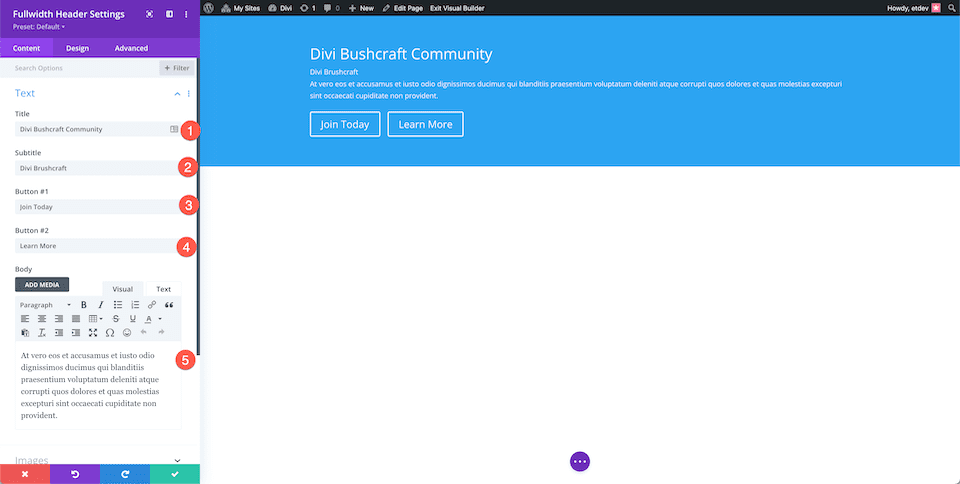
Now we’re going to add our module content in the Text tab. Configure the following settings:
- Header Text: Divi Bushcraft Community
- Subtitle Text: Divi Bushcraft
- Button #1: Join Today
- Button #2: Learn More
- Body Text: At vero eos et accusamus et iusto odio dignissimos ducimus qui blanditiis praesentium voluptatum deleniti atque corrupti quos dolores et quas molestias excepturi sint occaecati cupiditate non provident.
Style the Background
This design utilizes a background image from the free Divi Bushcraft pre-made layout pack. You can get all of the images from that layout pack in this post. Simply scroll all the way to the bottom of the post and click to download the high-res images.
Add Background Image
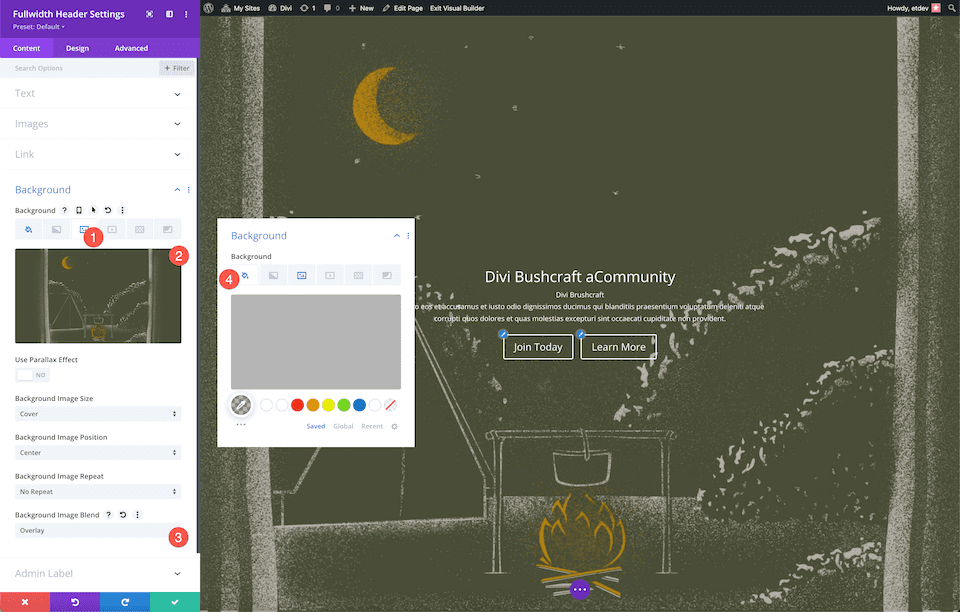
Once you have the photos, add a background image.
- Click the third icon, the image icon.
- Click “Add Background Image”. This will bring up the media library where you can upload a new photo or select a photo from your media library.
- The set the Background Image Blend Mode to Overlay.
- Click the first icon, the paint bucket icon, and set a background color of: rgba(10,10,10,0.3)
Choose the Layout
Underneath the Design settings, in the Layout tab, select center alignment. Toggle the “Make Fullscreen” option to “yes”.

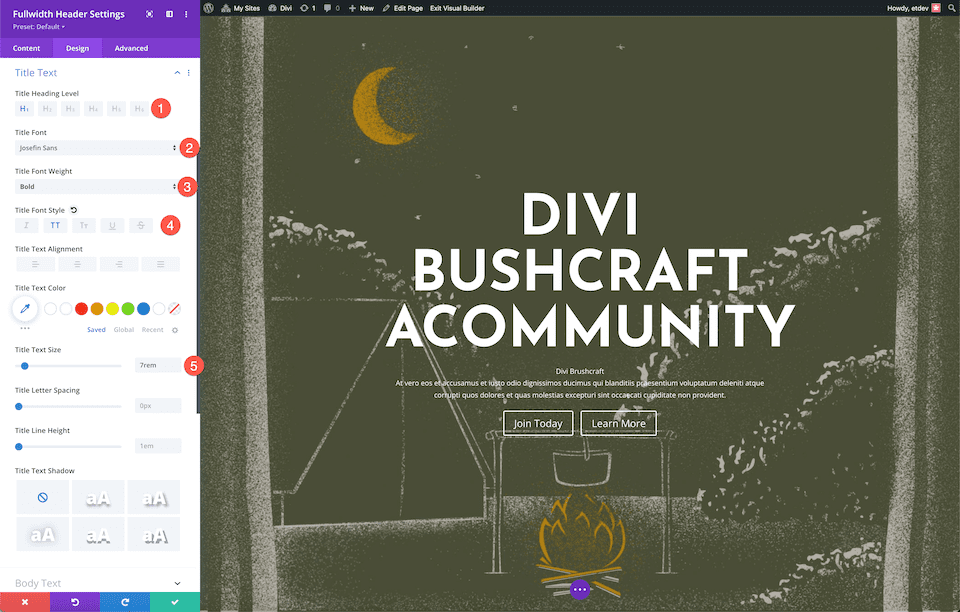
Style Title Text
Style the Title Text by configuring these settings:
- Title Heading Level: H1
- Title Font: Josefin Sans
- Title Font Weight: Bold
- Title Font Style: Uppercase
- Title Text Size: 7rem
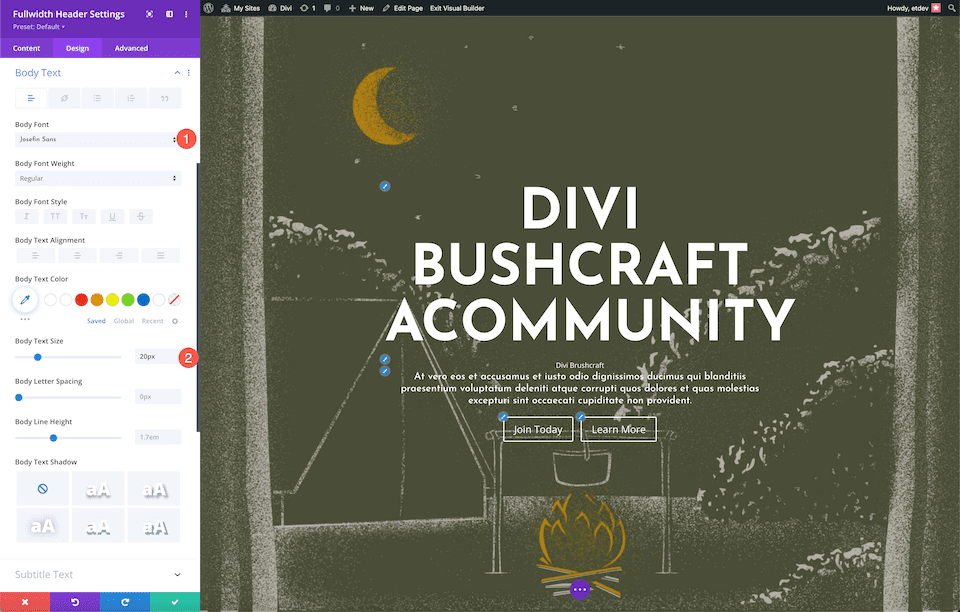
Style Body Text
Style the body text by configuring these settings:
- Body Font: Josefin Sans
- Body Text Size: 20px
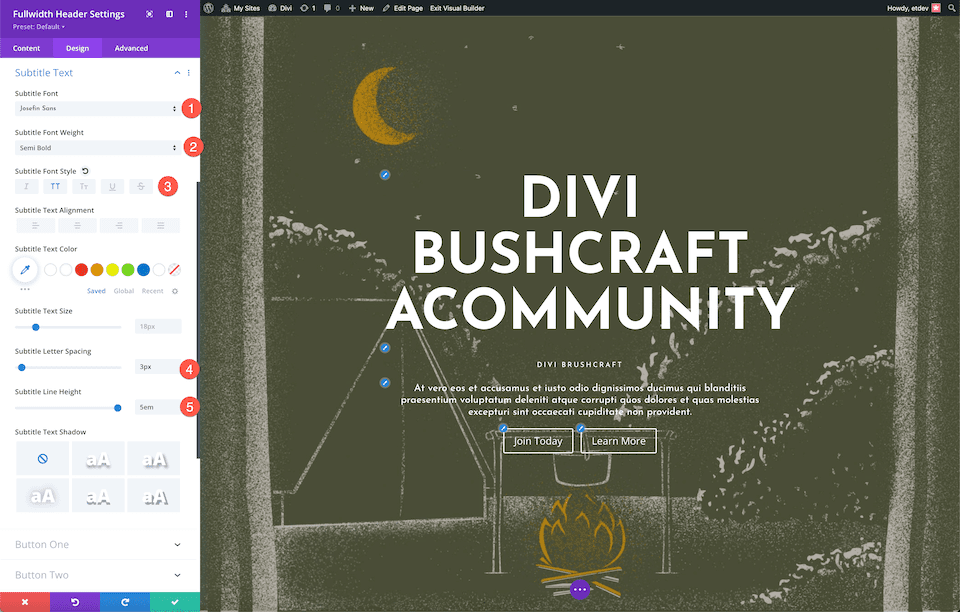
Style Subtitle Text
Style the subtitle text by configuring these settings:
- Subtitle Font: Josefin Sans
- Subtitle Font Weight: Semi Bold
- Subtitle Font Style: Uppercase
- Subtitle Letter Spacing: 3px
- Subtitle Line Height: 5em
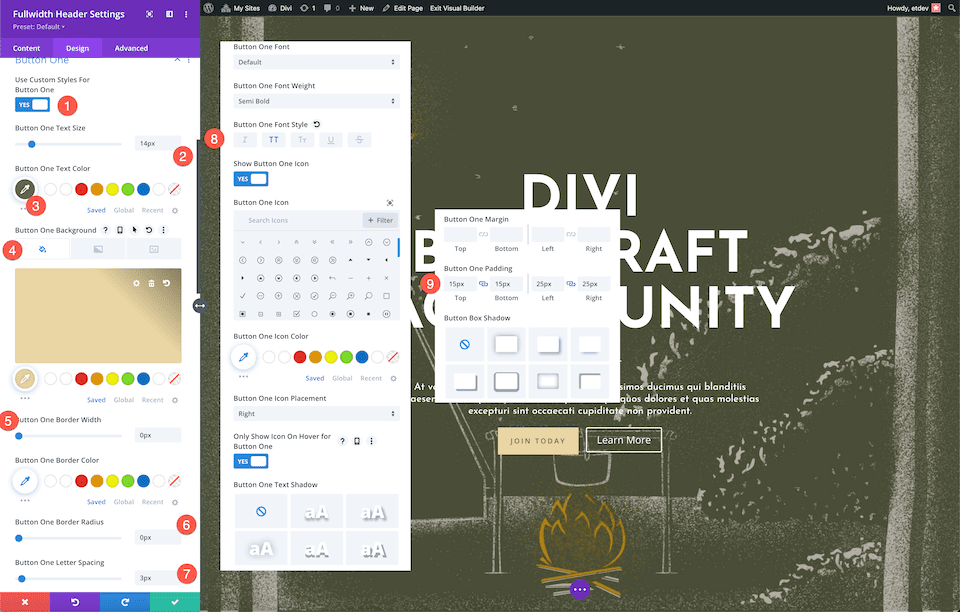
Now let’s style the buttons! For button one, configure these settings:
- Use Custom Styles For Button One: Yes
- Button One Text Size: 14px
- Button One Text Color: #666b4a
- Button One Background: #ead5a4
- Button One Border Width: 0px
- Button One Border Radius: 0px
- Button One Letter Spacing: 3px
- Button One Font Style: Uppercase
- Button One Padding: 15px top and bottom; 25px left and right.
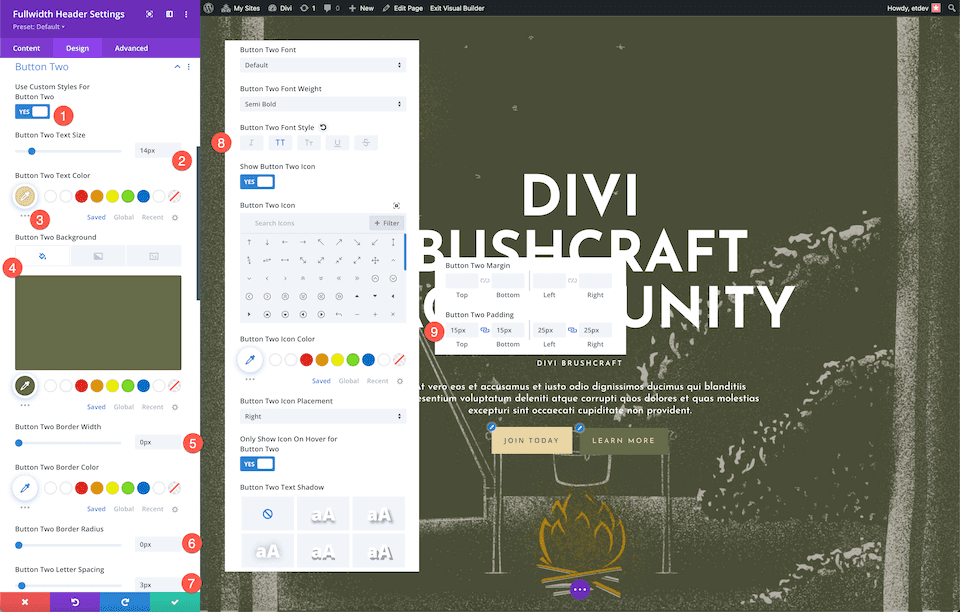
To style button #2, configure the following settings:
- Use Custom Styles For Button One: Yes
- Button One Text Size: 14px
- Button One Text Color: #ead5a4
- Button One Background: #666b4a
- Button One Border Width: 0px
- Button One Border Radius: 0px
- Button One Letter Spacing: 3px
- Button One Font Style: Uppercase
- Button One Padding: 15px top and bottom; 25px left and right.
And, voila! You have a beautifully styled fullwidth header with a textured background image with an overlay for the Divi Bushcraft Community.
How to Design Mrs. Nicole’s Fullwidth Header
Now let’s design a fullwidth header for Mrs. Nicole’s 2nd-grade class! This header uses a background image and gradient to create a fun and fresh design. Let’s get started!
Add a new page, then add a Fullwidth Section and Fullwidth Header
First, we’ll need to add a fullwidth section to our page. Click on the “+” icon to bring up the section options and then click “Fullwidth”. This will load the fullwidth module library where you can select “Fullwidth Header” from the options. This will load the fullwidth header module to your page.
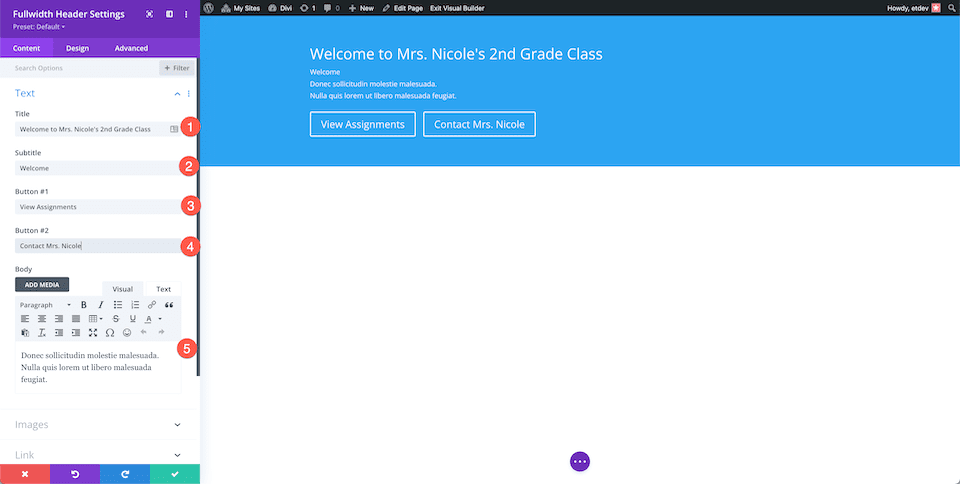
Add The Content
Now we’re going to add our module content in the Text tab. Configure the following settings:
- Header Text: Welcome To Mrs. Nicole’s 2nd Grade Class
- Subtitle Text: Welcome
- Button #1: View Assignments
- Button #2: Contact Mrs. Nicole
- Body Text: Donec sollicitudin molestie malesuada. Nulla quis lorem ut libero malesuada feugiat.
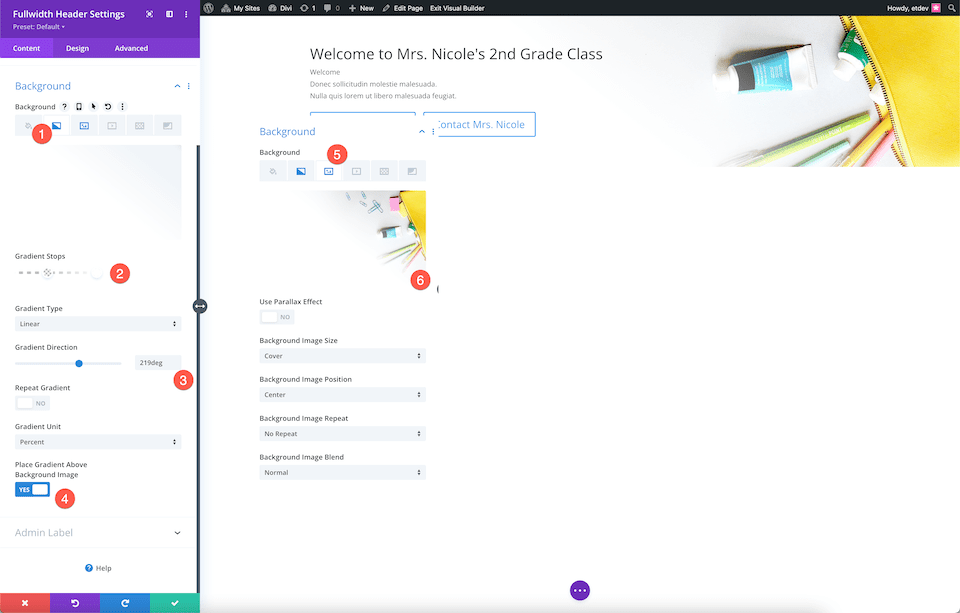
Style the Background
This design uses images from the free Classroom pre-made layout pack. You can download the full-res images by scrolling to the bottom of this post.
Style the background by configuring these settings:
- Click the second tab, the gradient icon.
- Set the gradient stops to: #ffffff at 40%, and transparent at 18%.
- Set the gradient direction to 219 degrees.
- Toggle “yes” for the Place Gradient Above Background Image.
- Click on the third icon, the image icon, and click “Add Background Image”.
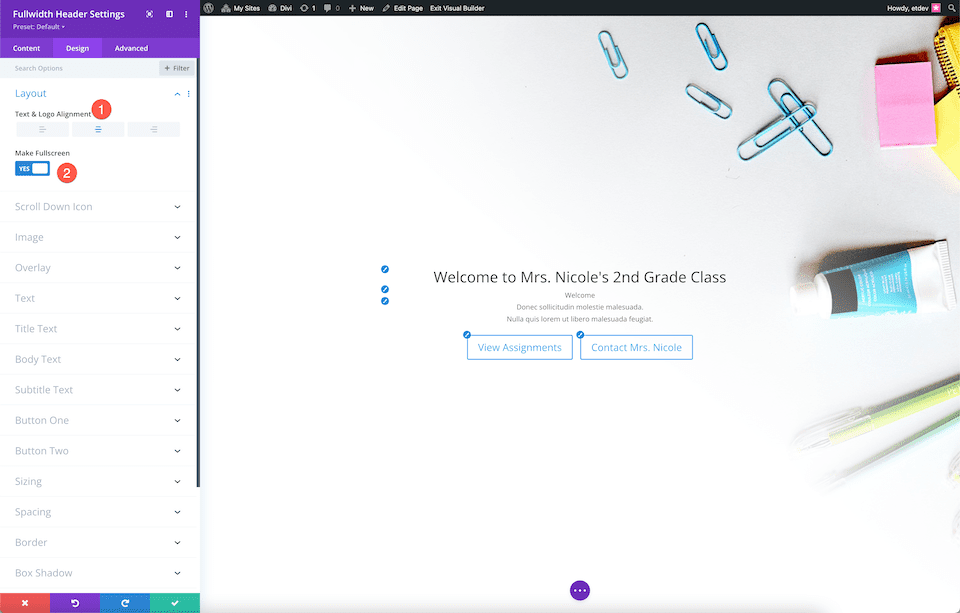
Choose the Layout
Here is where we’re going to align the module content to the center and make it fullscreen.
- Text & Logo Alignment: Center
- Make Fullscreen: Yes
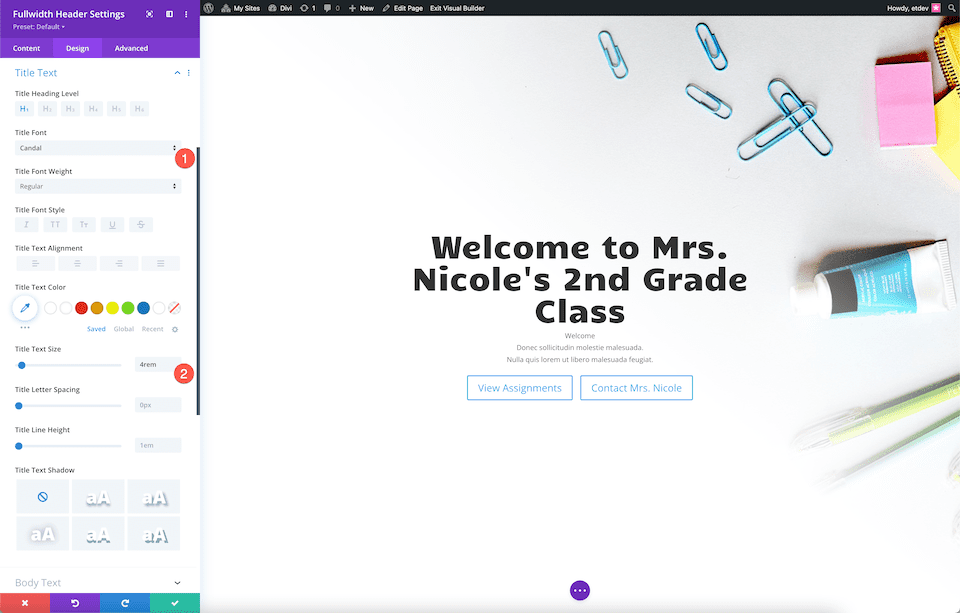
Style the Title Text
Style the title text by configuring these settings:
- Title Font: Candal
- Title Text Size: 4rem
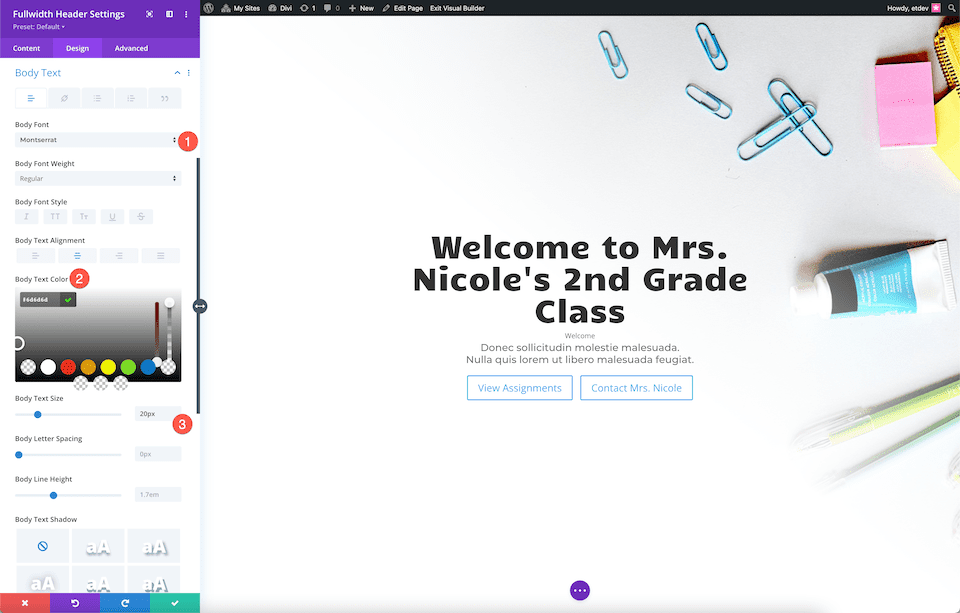
Style the Body Text
Style the body text by configuring these settings:
- Body Font: Montserrat
- Body Text Color: #6d6d6d
- Body Text Size: 20px
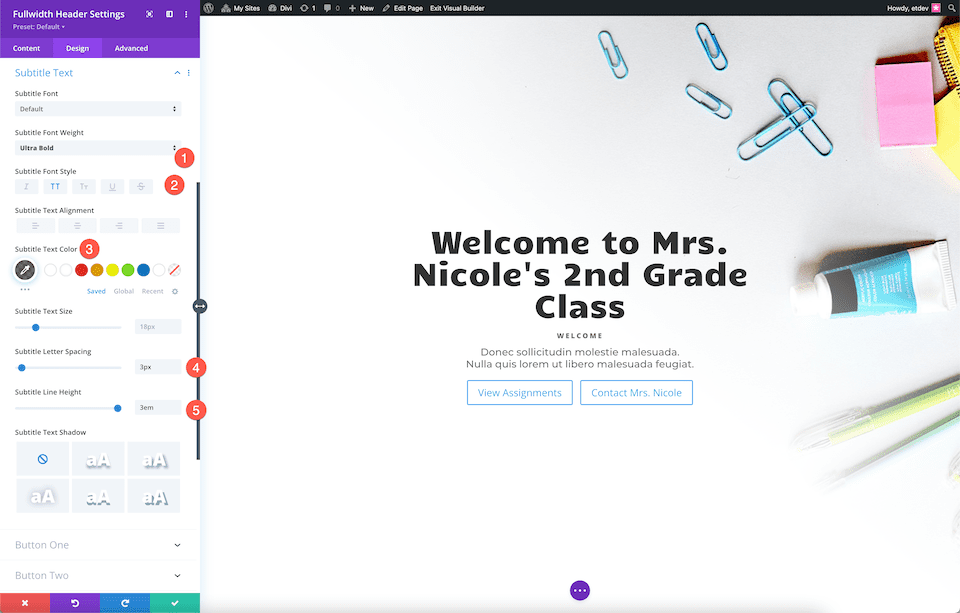
Style the Subtitle Text
Style the subtitle text by configuring these settings:
- Subtitle Font Weight: Ultra Bold
- Subtitle font Style: Uppercase
- Subtitle Text Color: rgba(28,10,10,0.6)
- Subtitle Letter Spacing: 3px
- Subtitle Line Height: 3em
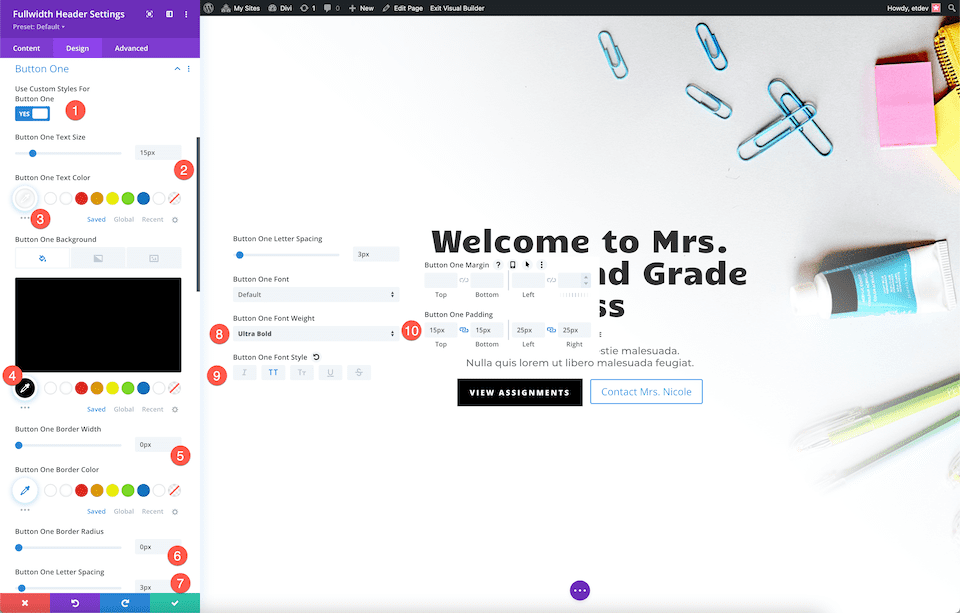
Style button #1 by configuring these settings:
- Use Custom Styles For Button One: Yes
- Button One Text Size: 15px
- Button One Text Color: #ffffff
- Button One Background: #000000
- Button One Border Width: 0px
- Button One Border Radius: 0px
- Button One Letter Spacing: 3px
- Button One Font Weight: Ultra Bold
- Button One Font Style: Uppercase
- Button One Padding: 15px top and bottom; 25px left and right.
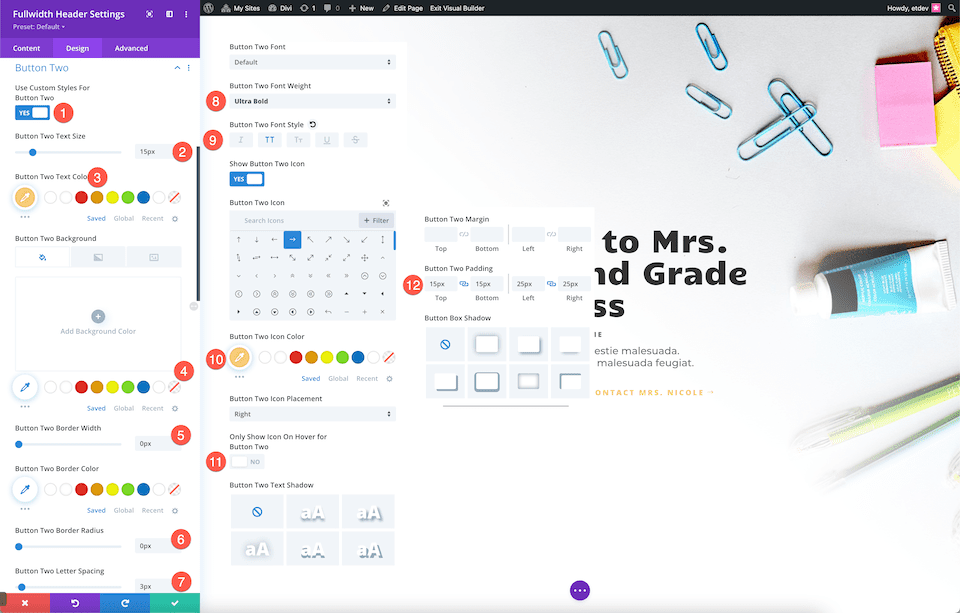
Style button #2 by configuring these settings:
- Use Custom Styles For Button Two: Yes
- Button Two Text Size: 15px
- Button Two Text Color: #ffd078
- Button Two Background: transparent
- Button Two Border Width: 0px
- Button Two Border Radius: 0px
- Button Two Letter Spacing: 3px
- Button Two Font Weight: Ultra Bold
- Button Two Font Style: Uppercase
- Button Two Icon Color: #ffd078
- Only Show Icon On Hover For Button Two: No
- Button Two Padding: 15px top and bottom; 25px left and right.
Sizing
Set the content width to 70%.
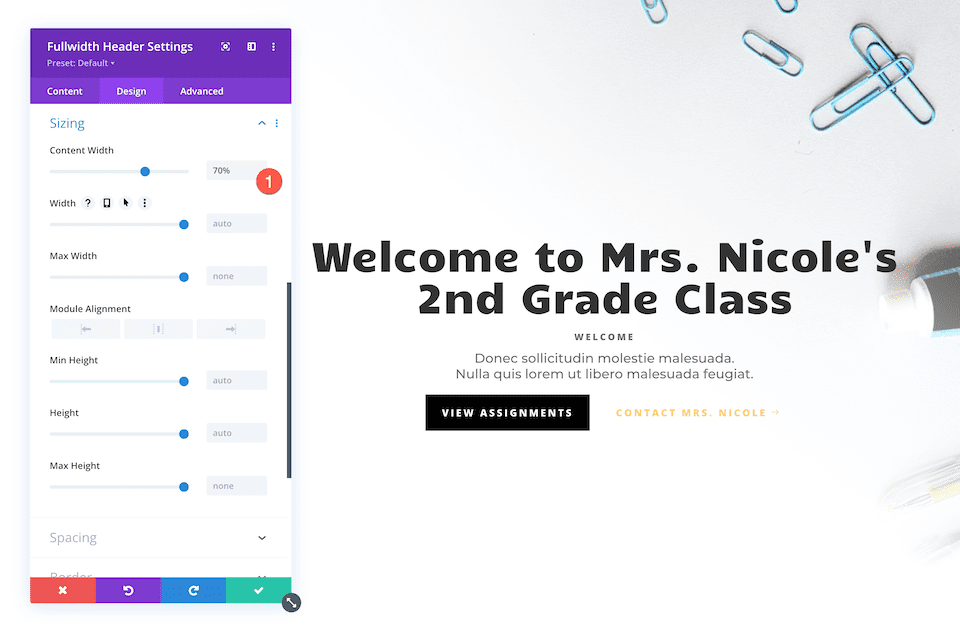
Voila! You now have a fully designed fullwidth header for Mrs. Nicole’s 2nd grade class.
How to Design a Realtor’s Fullwidth Header
Let’s design this elegant and modern fullwidth header for a realtor’s website. This section utilizes a background image, background gradient, AND a background pattern. Let’s get to work!
Add a new page, then add a Fullwidth Section and Fullwidth Header
First, we’ll need to add a fullwidth section to our page. Click on the “+” icon to bring up the section options and then click “Fullwidth”. This will load the fullwidth module library where you can select “Fullwidth Header” from the options. This will load the fullwidth header module to your page.
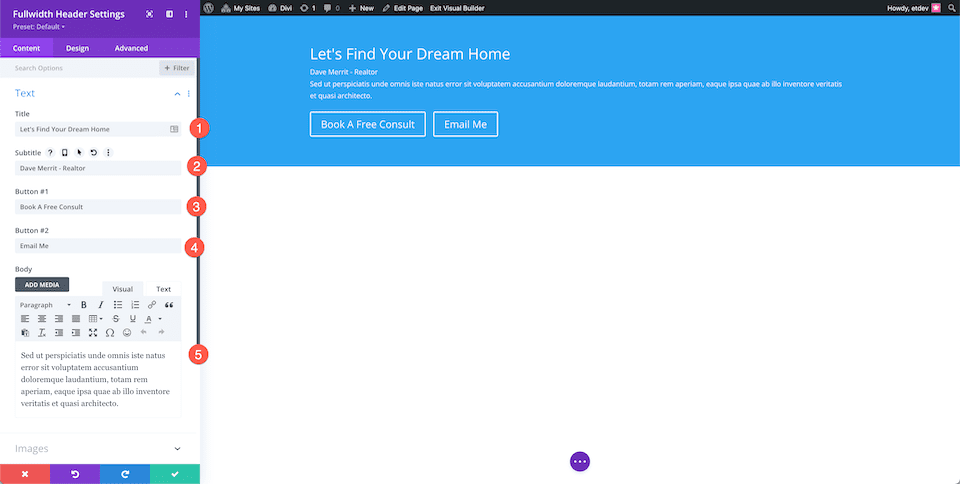
Add Content
First, let’s add the content needed for this module in the Text tab:
- Title: Let’s Find Your Dream Home
- Subtitle: Dave Merrit – Realtor
- Button #1 – Book A Free Consult
- Button #2 – Email Me
- Body Text: Sed ut perspiciatis unde omnis iste natus error sit voluptatem accusantium doloremque laudantium, totam rem aperiam, eaque ipsa quae ab illo inventore veritatis et quasi architecto.
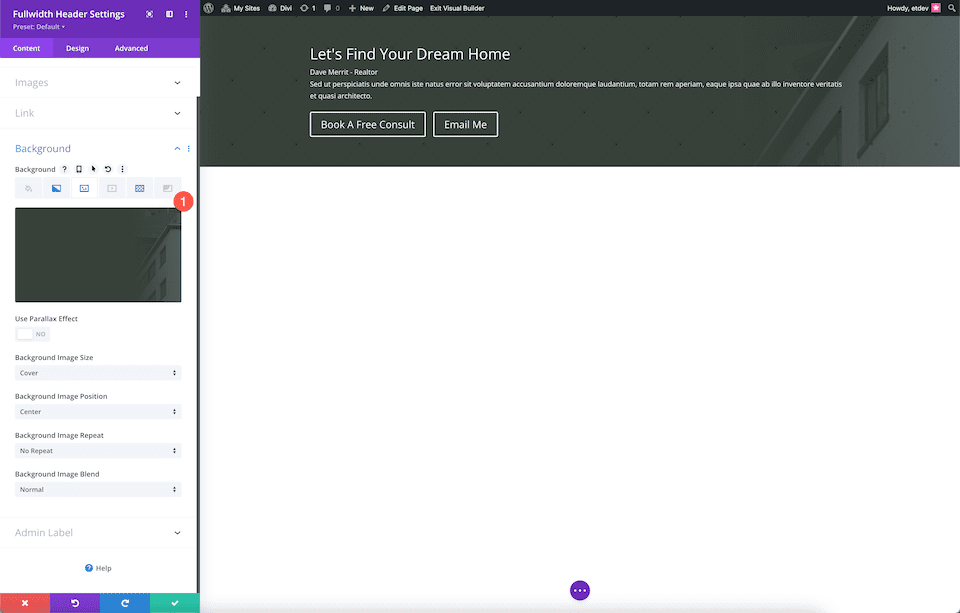
Style the Background
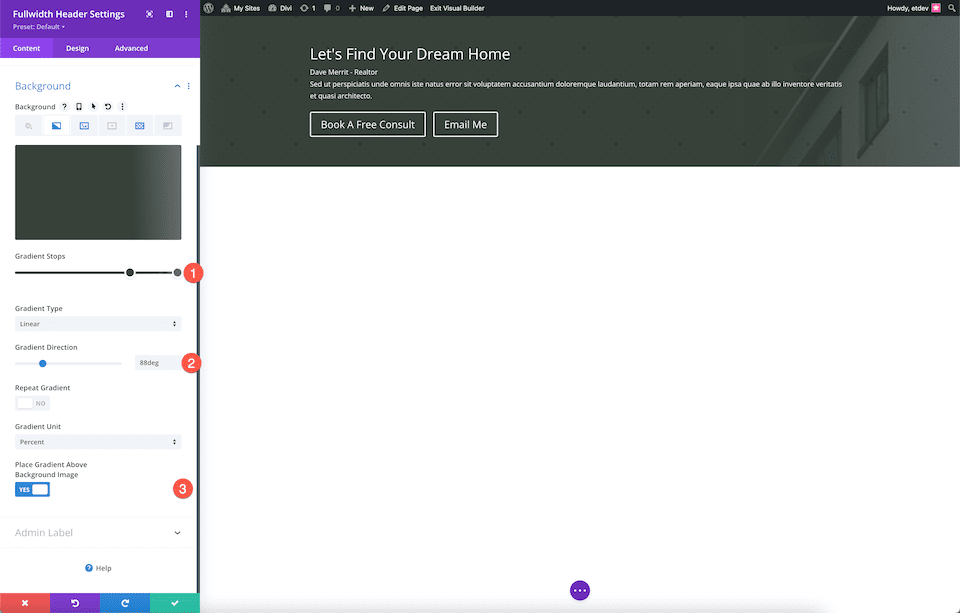
Add a Gradient
In the background tab, click the second icon, the gradient icon, and configure these settings:
- Gradient Stops: rgba(56,65,58,0.74) at 100% and #38413a at 70%
- Gradient Direction: 88deg
- Place Gradient Above Background Image: Yes
Add Image
Click the third icon, the image icon, and then click “Add Background Image” to upload your image. This demonstration uses images from the free Realtor pre-made layout pack. You can download the full-resolution images by scrolling to the bottom of this post.
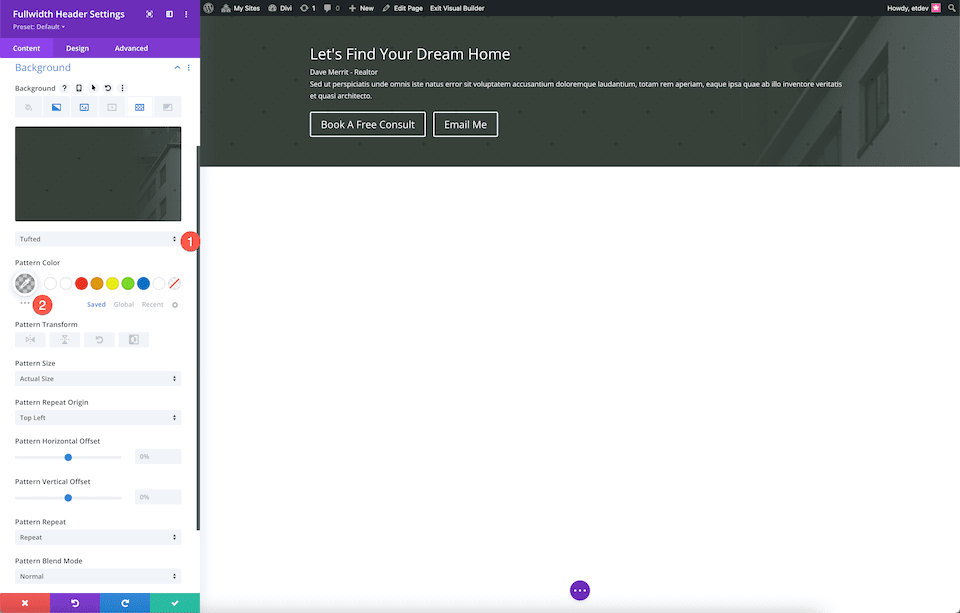
Add a Background Pattern
Add a background pattern by configuring these settings:
- Select Tufted from the dropdown.
- Pattern Color: rgba(0,0,0,0.2)
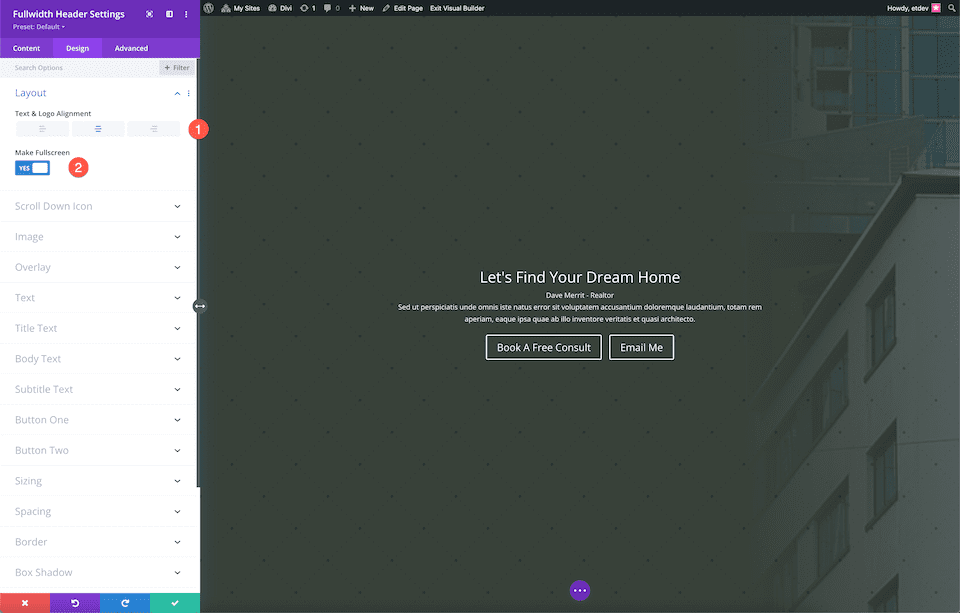
Choose the Layout
Here is where we’re going to align the module content to the center and make it fullscreen.
- Text & Logo Alignment: Center
- Make Fullscreen: Yes
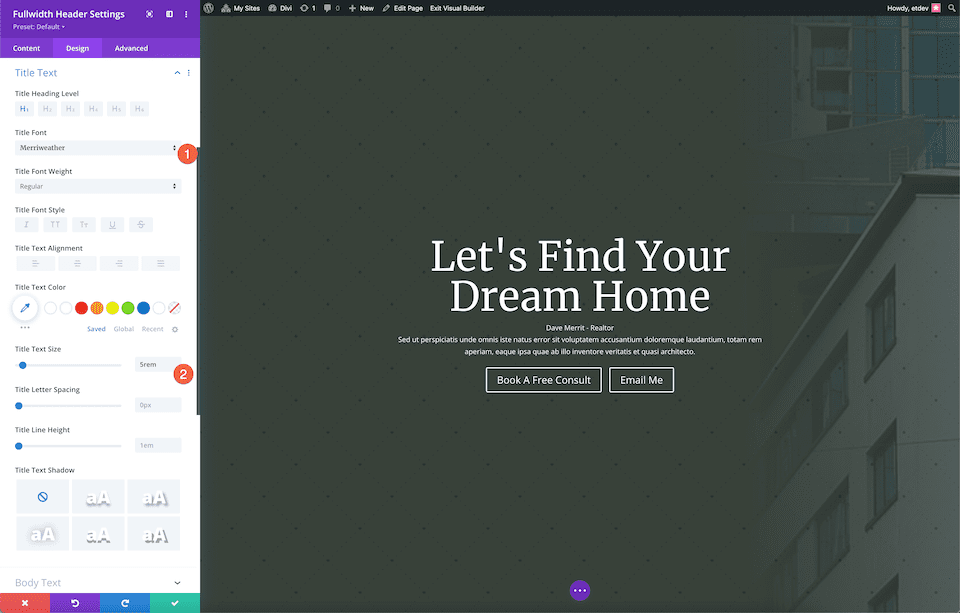
Style the Title Text
Style the title text by configuring these settings:
- Title Font: Merriweather
- title Text Size: 5rem
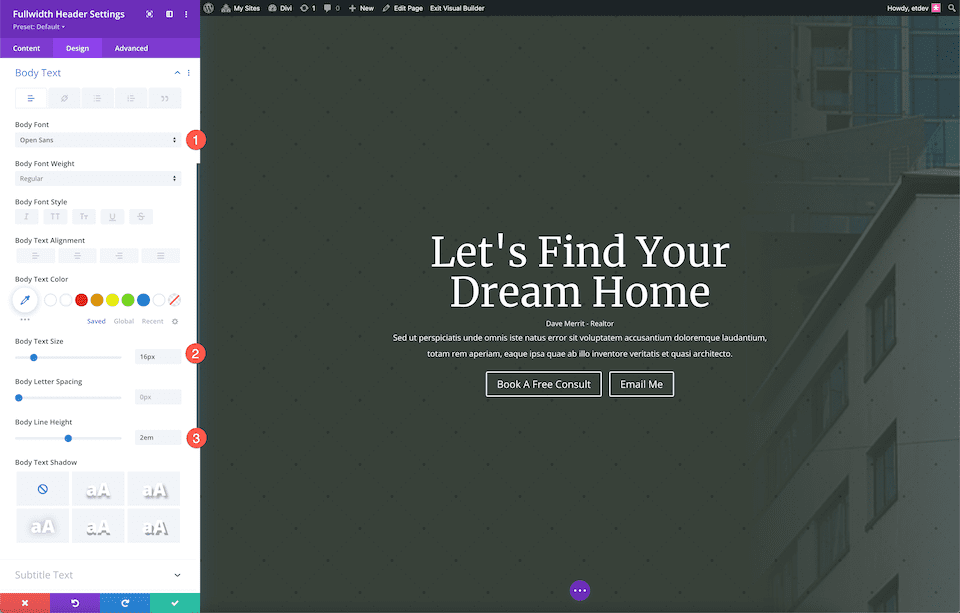
Style the Body Text
Style the body text by configuring these settings:
- Body Font: Open Sans
- Body Text Size: 16px
- Body Line Height: 2em
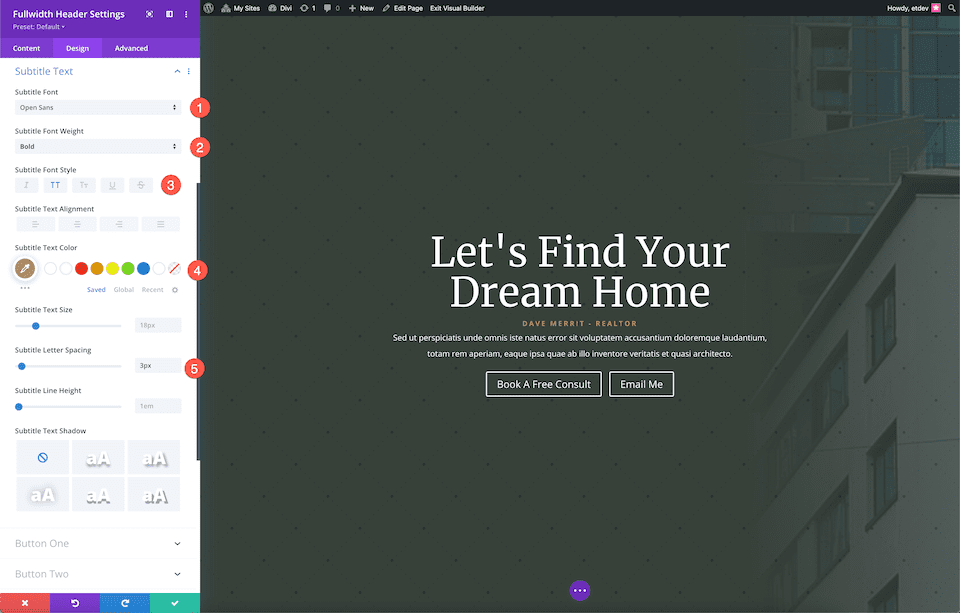
Style the Subtitle Text
Style the subtitle text by configuring these settings:
- Subtitle Font: Open Sans
- Subtitle Font Weight: Bold
- Subtitle Font Style: Uppercase
- Subtitle Text Color: #b4926b
- Subtitle Letter Spacing: 3px
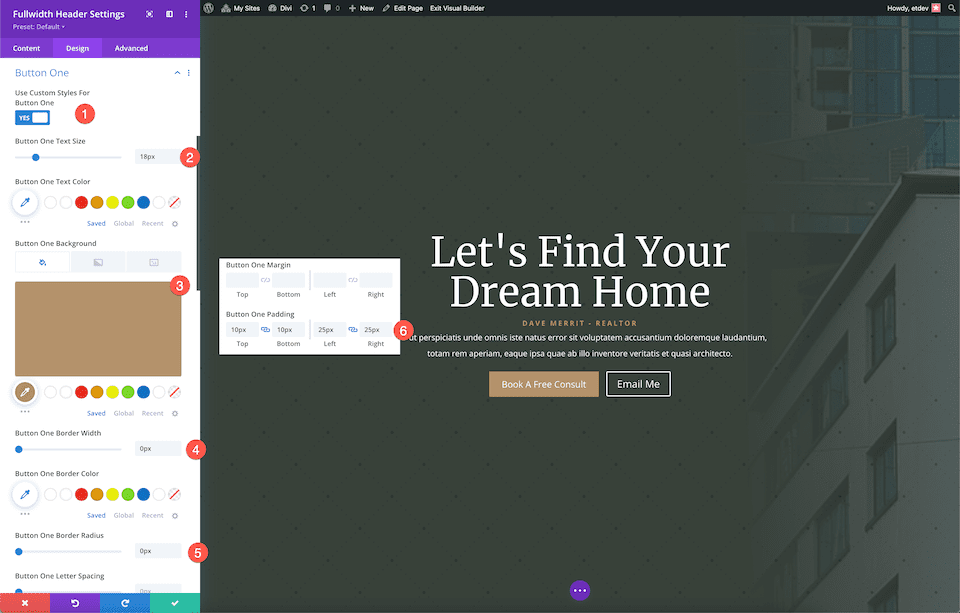
Style button #1 by configuring these settings:
- Use Custom Styles For Button One: Yes
- Button One Text Size: 18px
- Button One Background: #b4926b
- Button One Border Width: 0px
- Button One Border Radius: 0px
- Button One Padding: 10px top and bottom; 25px left and right.
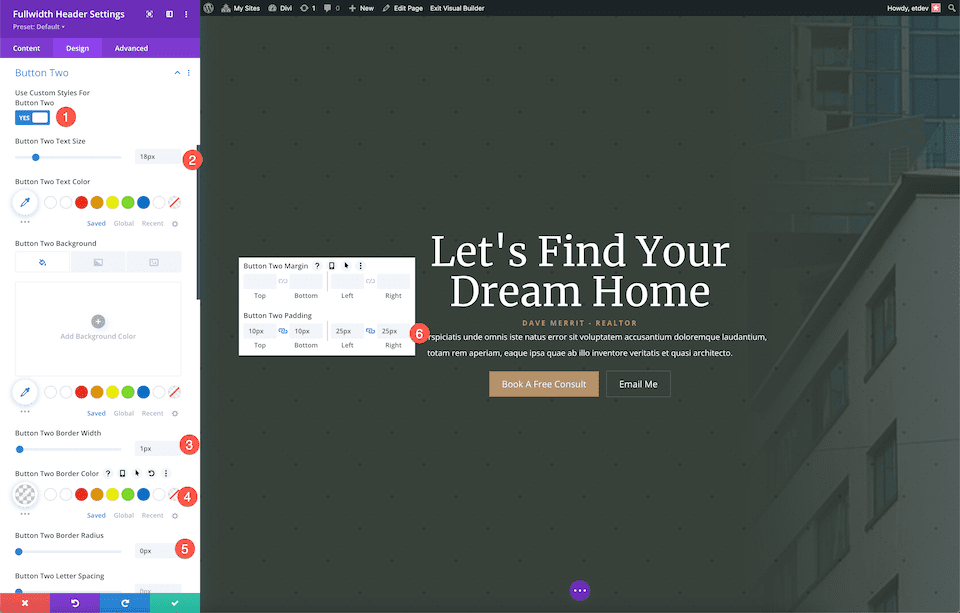
Style button #2 by configuring these settings:
- Use Custom Styles For Button Two: Yes
- Button Two Text Size: 18px
- Button Two Border Width: 1px
- Button Two Border Color: rgba(255,255,255,0.19)
- Button Two Border Radius: 0x
- Button Two Padding: 10px top and bottom; 25px left and right
Voila! Now you have a beautiful fullwidth header for a realtor website.
Final Thoughts
The Divi Fullwidth Header is a fast and easy way to build a stunning website hero section for your website. Since website hero sections are so essential in making a great first impression, it’s important that your design is branded, eye-catching, and informative. With the Fullwidth Header, it’s easy to build a header that hits all of those goals within one module. Now that you’ve seen what’s possible with the Fullwidth Header, how will you design yours?


Leave A Reply