
When you’re using the Divi Theme Builder in combination with dynamic content, you’ll quickly find yourself replacing plugins with self-made templates. In today’s tutorial, we’ll show you how to create a completely dynamic job opening post template using the Divi Theme Builder and an ACF fields group. This dynamic job opening post template is fully customizable and you’ll be able to download the JSON file for free as well!
Let’s get to it.
- 1 Preview
- 2 Download The Job Opening Post Template for FREE
- 3 Download For Free
- 4 1. Add Post Categories
- 5 2. Install ACF & Setup Project Fields
- 6 3. Add New Blog Post
- 7 4. Create New Template
-
8
5. Start Building Template Body
- 8.1 Section #1
- 8.2 Add Row #1
- 8.3 Add Blurb Module to Column 1
- 8.4 Clone Blurb Module & Place Duplicate in Column 2
- 8.5 Add Button Module to Column 3
- 8.6 Add Row #2
- 8.7 Add Text Module to Column
- 8.8 Add Divider Module to Column
- 8.9 Add Section #2
- 8.10 Add Row #1
- 8.11 Add Post Content Module to Column
- 8.12 Add Row #2
- 8.13 Add Text Module #1 to Column
- 8.14 Add Divider Module to Column
- 8.15 Add Text Module #2 to Column
- 8.16 Add Row #3
- 8.17 Clone Modules in Column 2 Twice & Place Duplicates in Column 1 & 2 of New Row
- 9 6. Save Theme Builder Changes & View Result
- 10 Preview
- 11 Final Thoughts
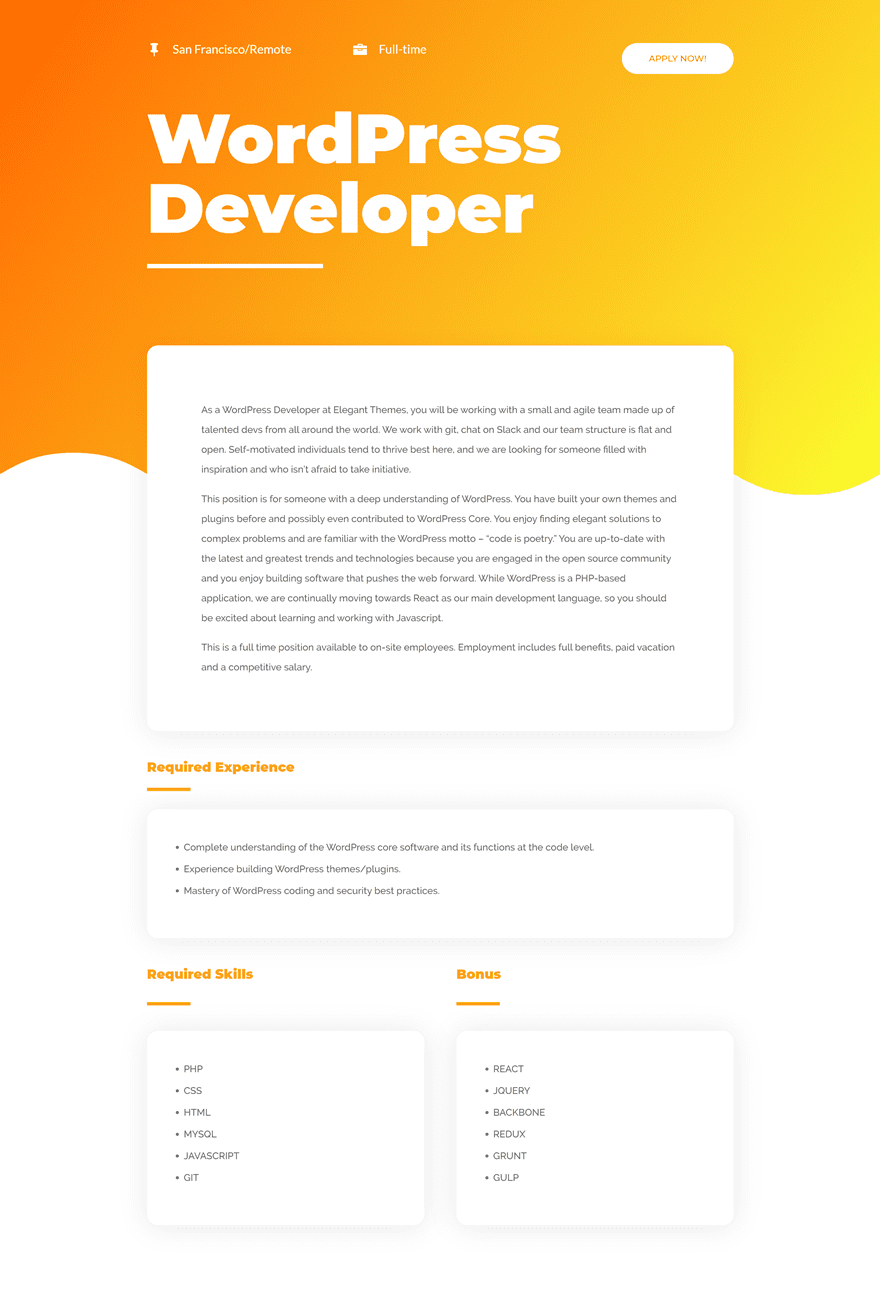
Preview
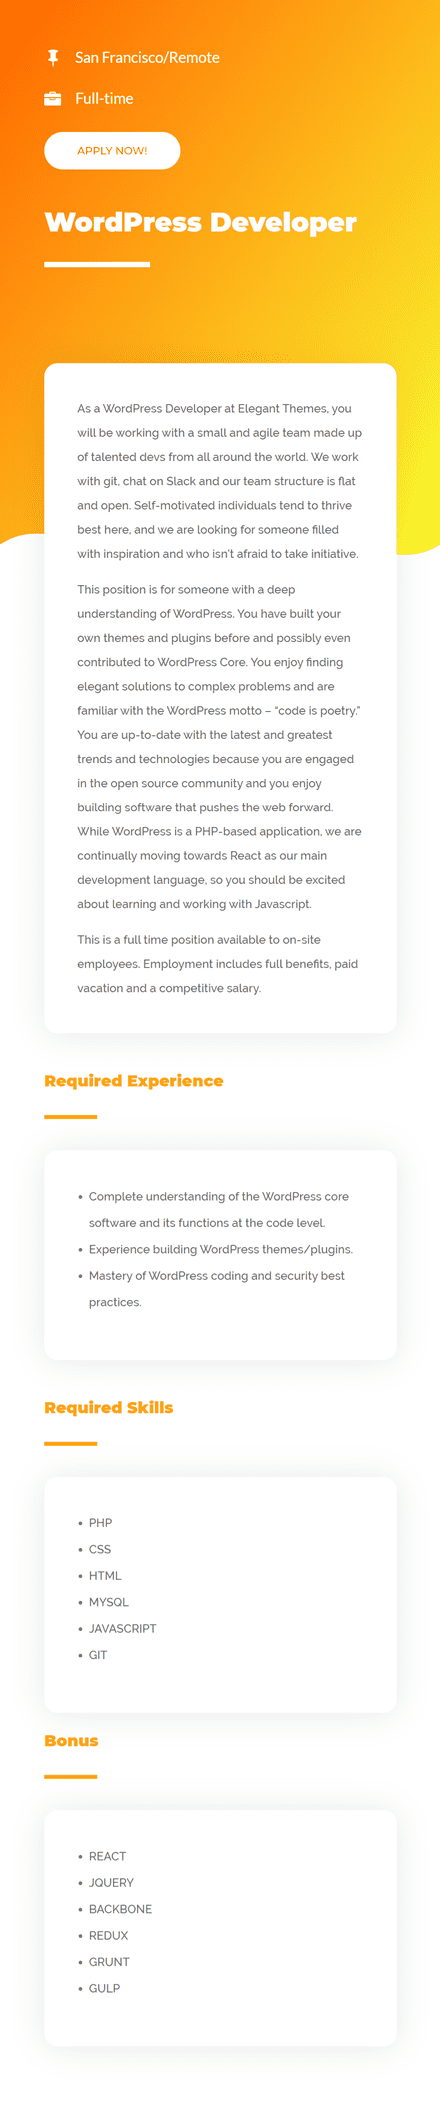
Before we dive into the tutorial, let’s take a quick look at the outcome across different screen sizes.
Desktop
Mobile
Download The Job Opening Post Template for FREE
To lay your hands on the free job opening post template, you will first need to download it using the button below. To gain access to the download you will need to subscribe to our newsletter by using the form below. As a new subscriber, you will receive even more Divi goodness and a free Divi Layout pack every Monday! If you’re already on the list, simply enter your email address below and click download. You will not be “resubscribed” or receive extra emails.

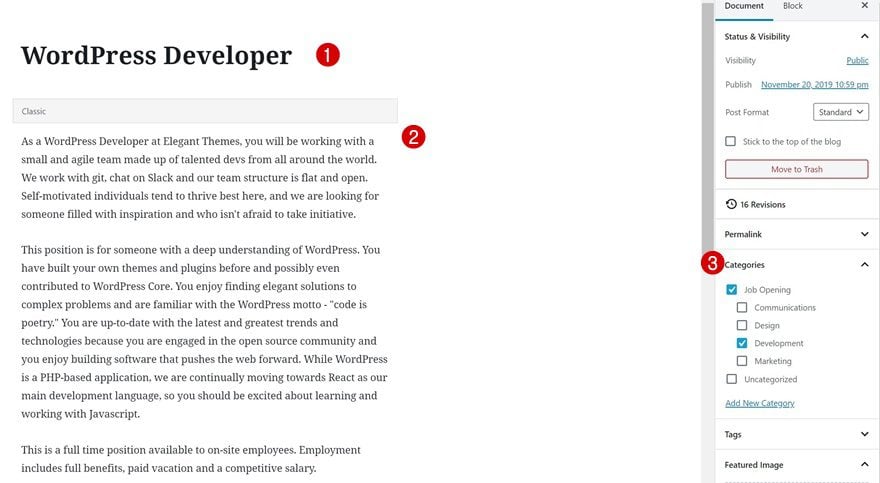
1. Add Post Categories
Go to Post Categories
The first part of creating the open job position template is adding new post categories that you’ll use for the open job positions you add. Go to the post categories inside your WordPress dashboard.
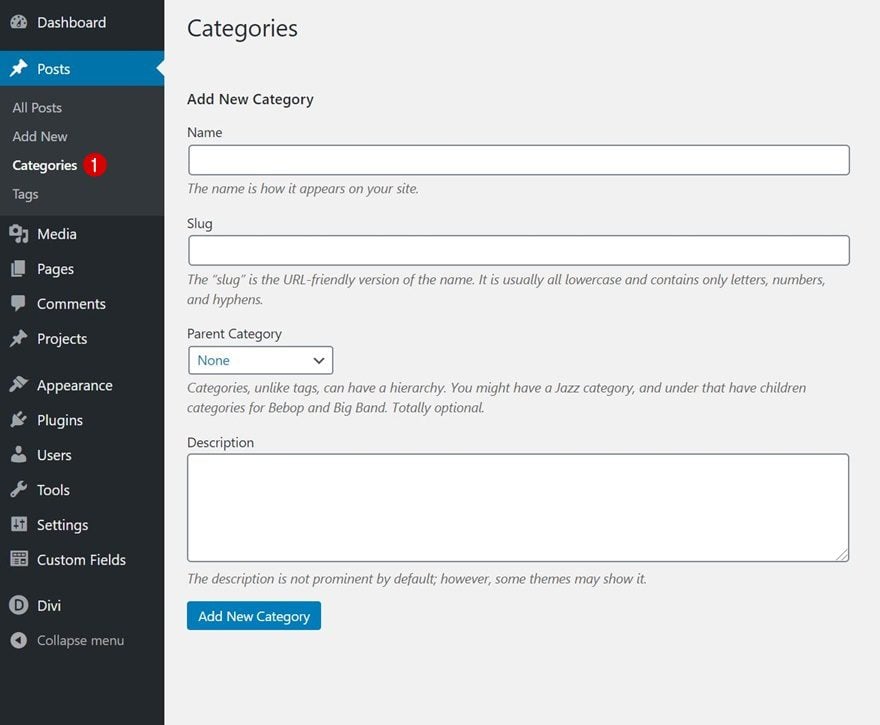
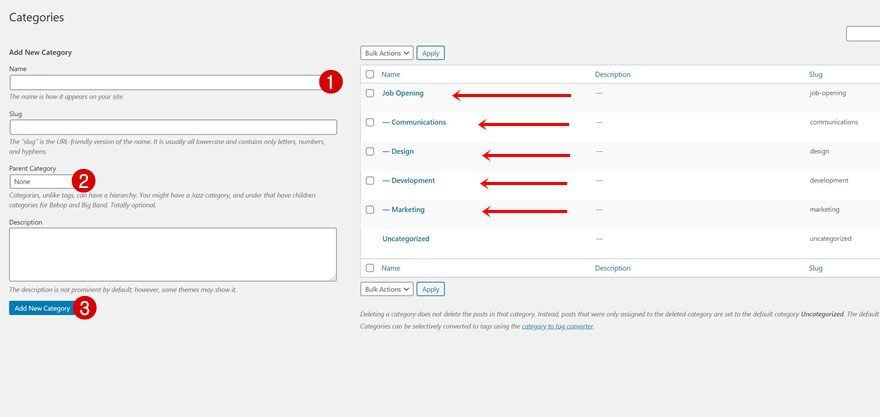
Add Open Job Position Categories
Add a parent category and a separate category for each department.
- Job Opening
- Communications
- Design
- Development
- Marketing
- …
2. Install ACF & Setup Project Fields
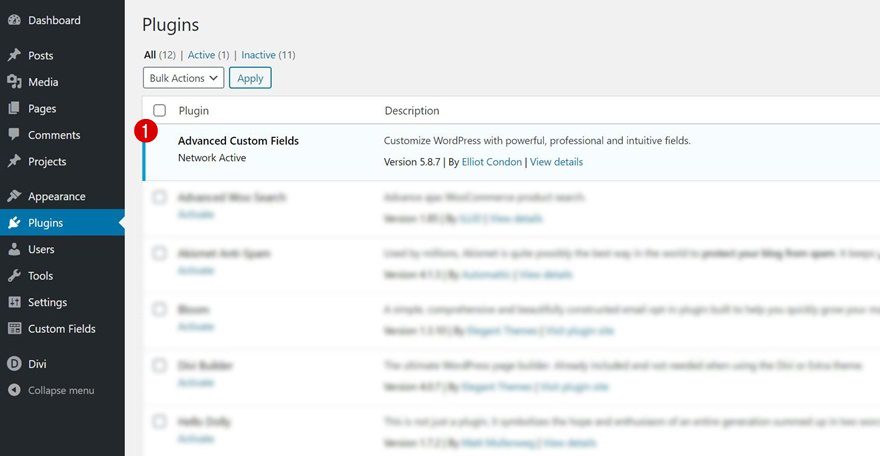
Install & Activate ACF
Continue by installing and enabling the free Advanced Custom Fields plugin.
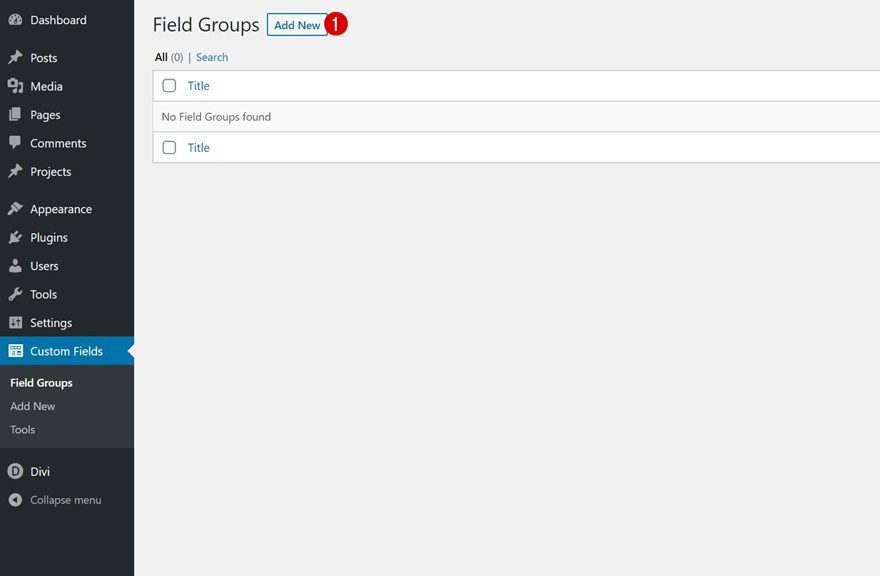
Set up Fields Group
Set up a new fields group by going to your WordPress Dashboard > Custom Fields > Add New.
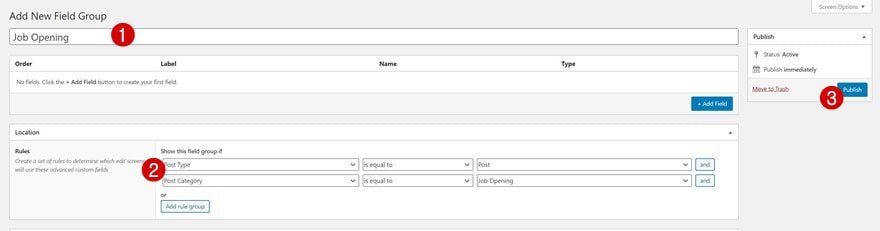
We want the fields group to appear exclusively on the posts that are part of the parent category we added in the previous part of this tutorial. To do that, make sure the following rules apply to the fields group:
- Post Type is equal to Post and
- Post Category is equal to Job Opening
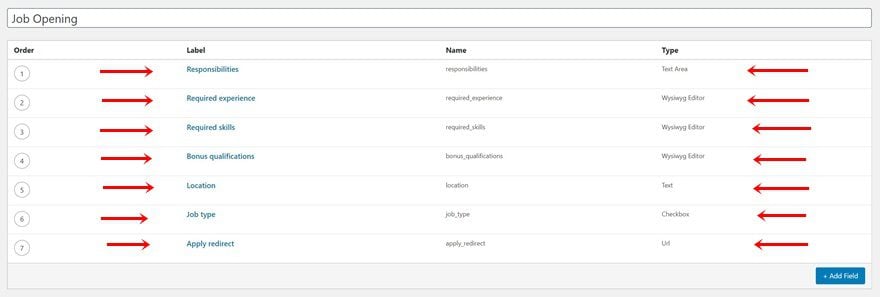
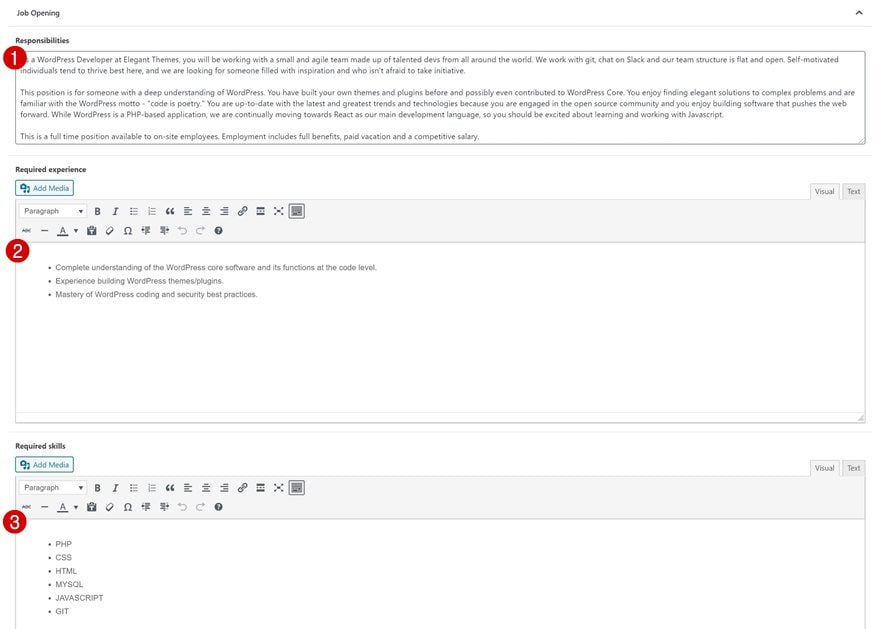
Add Fields
Once the fields group has been created, it’s time to add the different fields. To recreate the exact same template as in the preview of this tutorial, you’ll need the following custom fields:
- Responsibilities
- Field Label: Responsibilities
- Field Type: Text Area
- Required experience
- Field Label: Required experience
- Field Type: Wysiwyg Editor
- Required skills
- Field Label: Required skills
- Field Type: Wysiwyg Editor
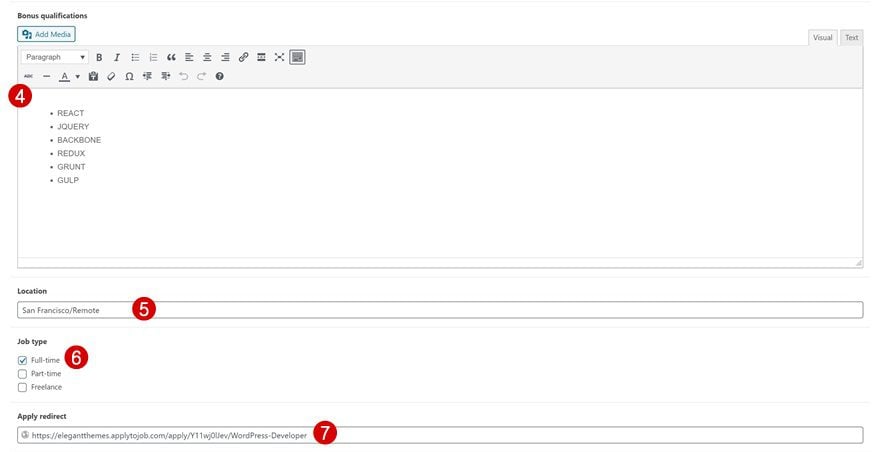
- Bonus qualifications
- Field Label: Bonus qualifications
- Field Type: Wysiwyg Editor
- Location
- Field Label: Location
- Field Type: Text
- Job type
- Field Label: Job type
- Field Type: Checkbox
- Choices: Full-time + Part-time + Freelance (new line for each choice)
- Apply redirect
- Field Label: Apply redirect
- Field Type: Url
3. Add New Blog Post
Add Open Job Position Title, Short Description & Categories
Once you’ve completed the custom fields group and all its fields, it’s time to create a sample open job position post. Enter the title, job description and select the categories.
Fill in All Custom Fields
Continue by completing all the custom fields.
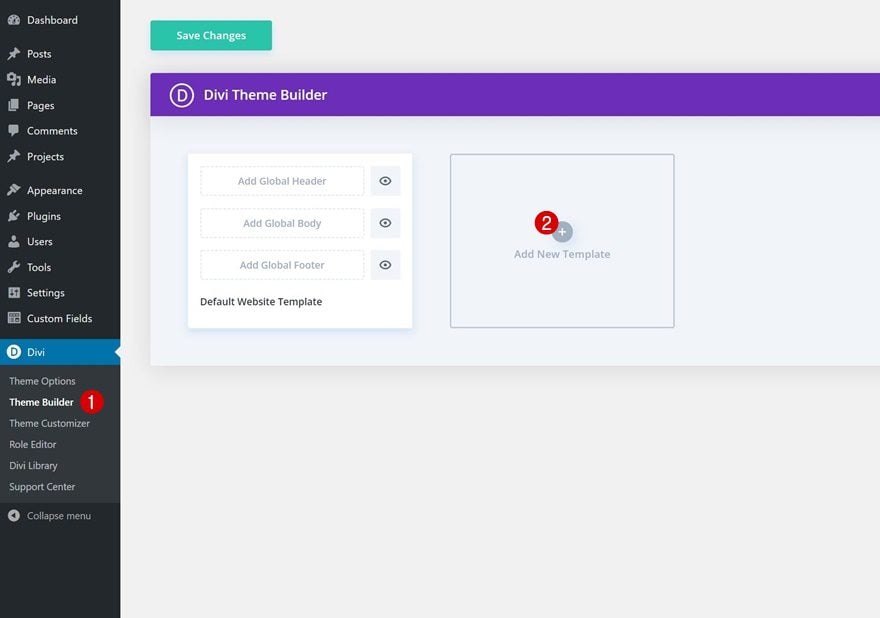
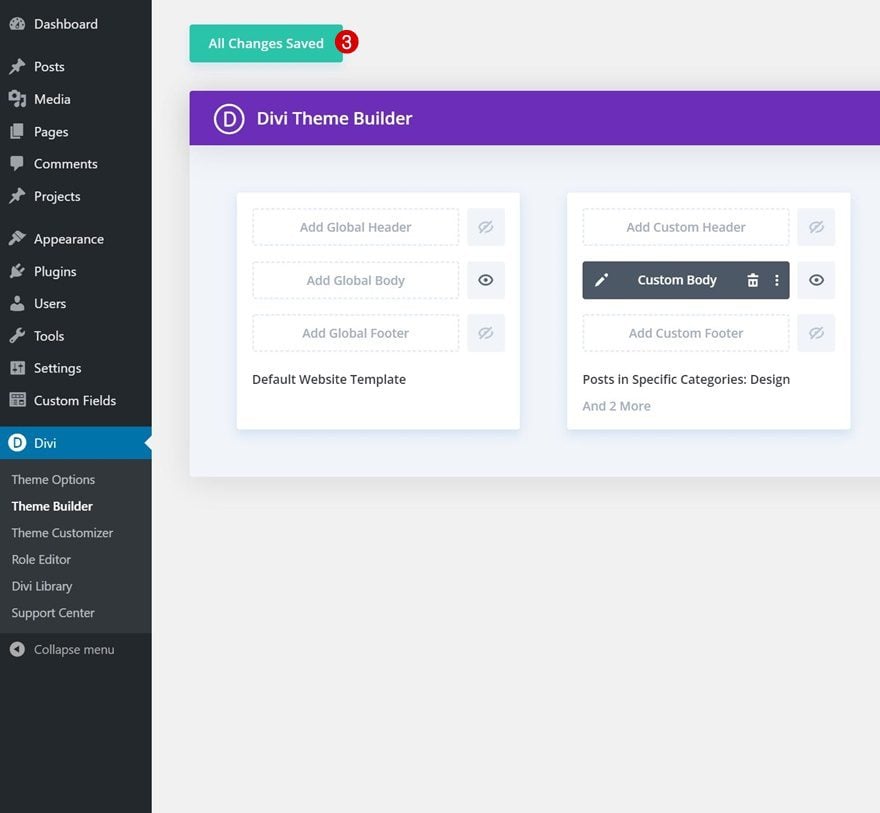
4. Create New Template
Go to Divi Theme Builder & Add New Template
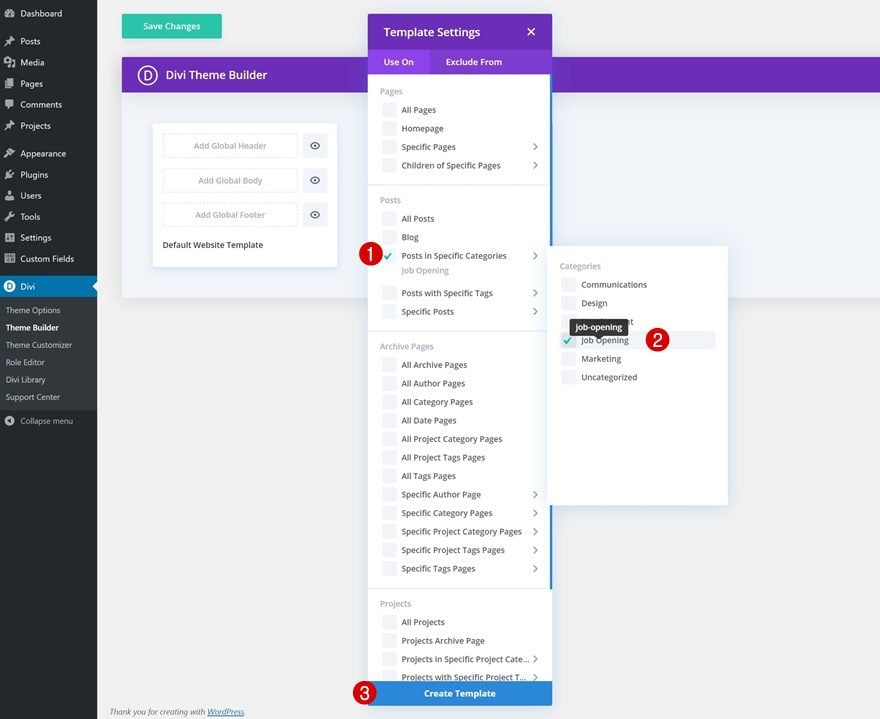
Once your sample blog post is in place, it’s time to create the open job position template! To do that, navigate to the Divi Theme Builder and click on ‘Add New Template’.
Use On
Use the template on posts in the Job Opening category.
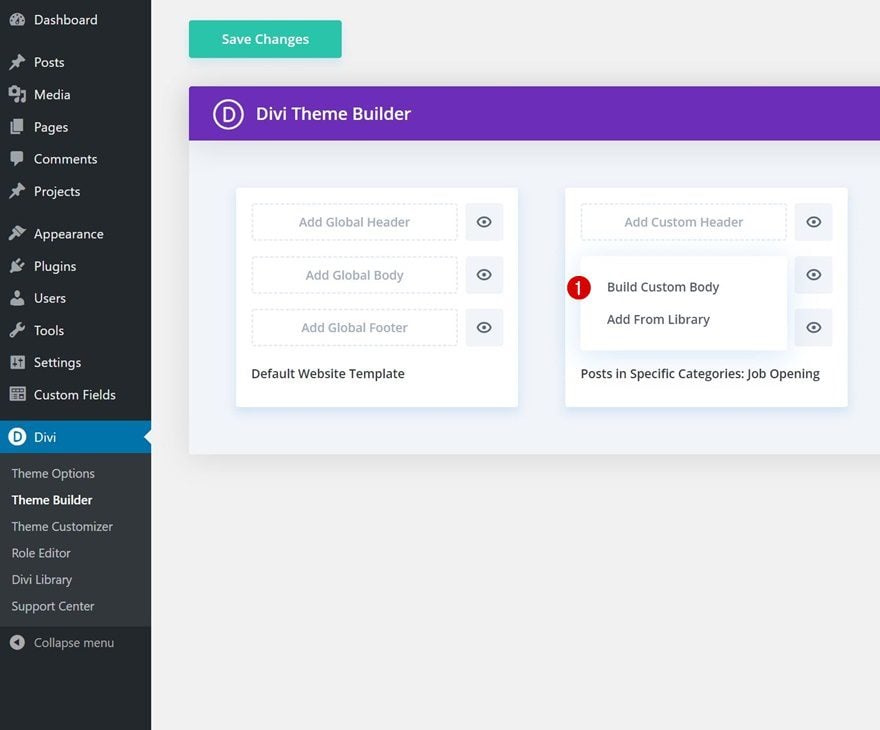
5. Start Building Template Body
Now, start building the design by clicking on ‘Add Custom Body’ and selecting ‘Build Custom Body’. This will redirect you to the template editor.
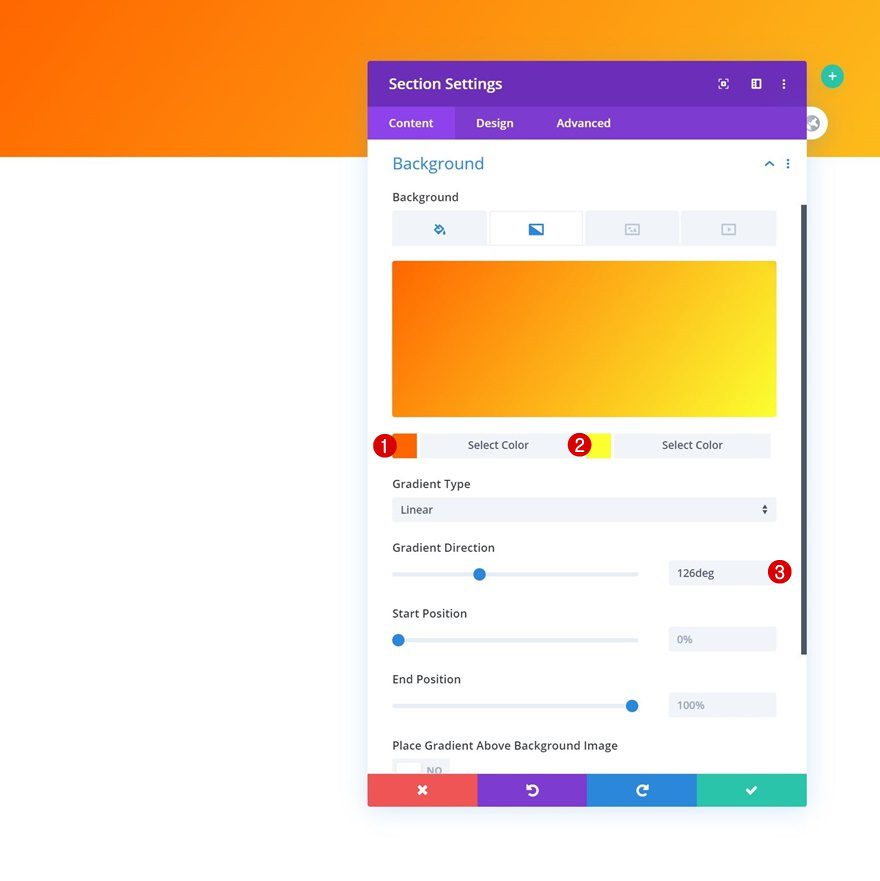
Section #1
Gradient Background
Inside the Divi template editor, you’ll notice a section. Open that section and add a gradient background.
- Color 1: #ff6600
- Color 2: #fbff30
- Gradient Direction: 126deg
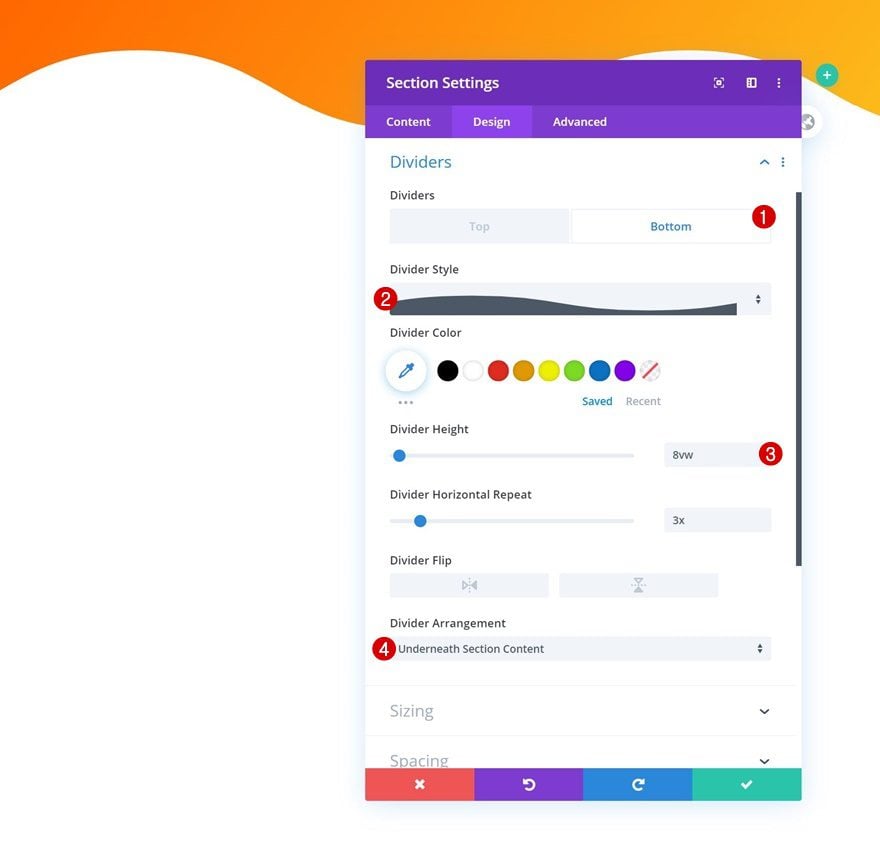
Bottom Divider
Add a bottom divider to the section next.
- Divider Style: Find in list
- Divider Height: 8vw
- Divider Arrangement: Underneath Section Content
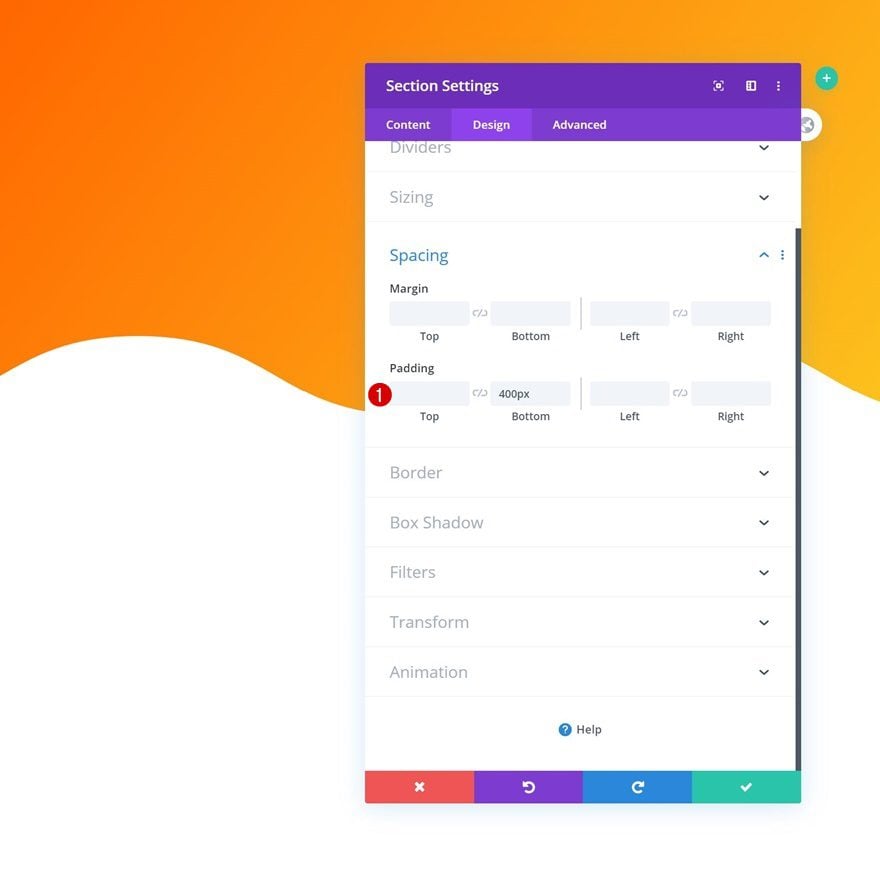
Spacing
And include some bottom padding as well.
- Bottom Padding: 400px
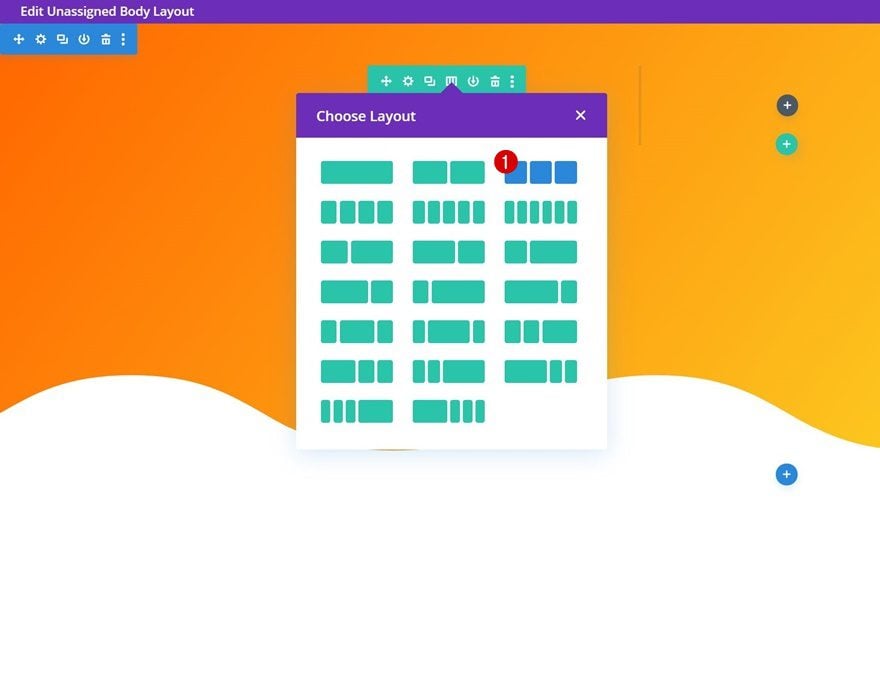
Add Row #1
Column Structure
Continue by adding a new row to the section using the following column structure:
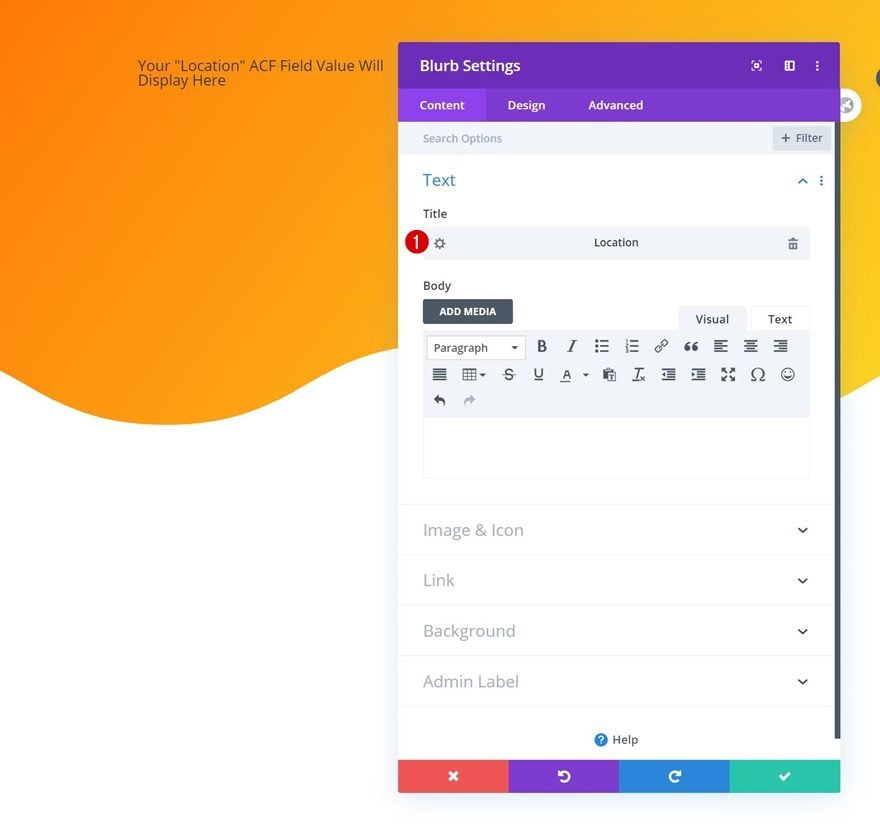
Add Blurb Module to Column 1
Dynamic Content
Time to start adding modules! The first module we need in column 1 is a Blurb Module. Select the location dynamic content for the title box and leave the content box empty.
- Title: Location
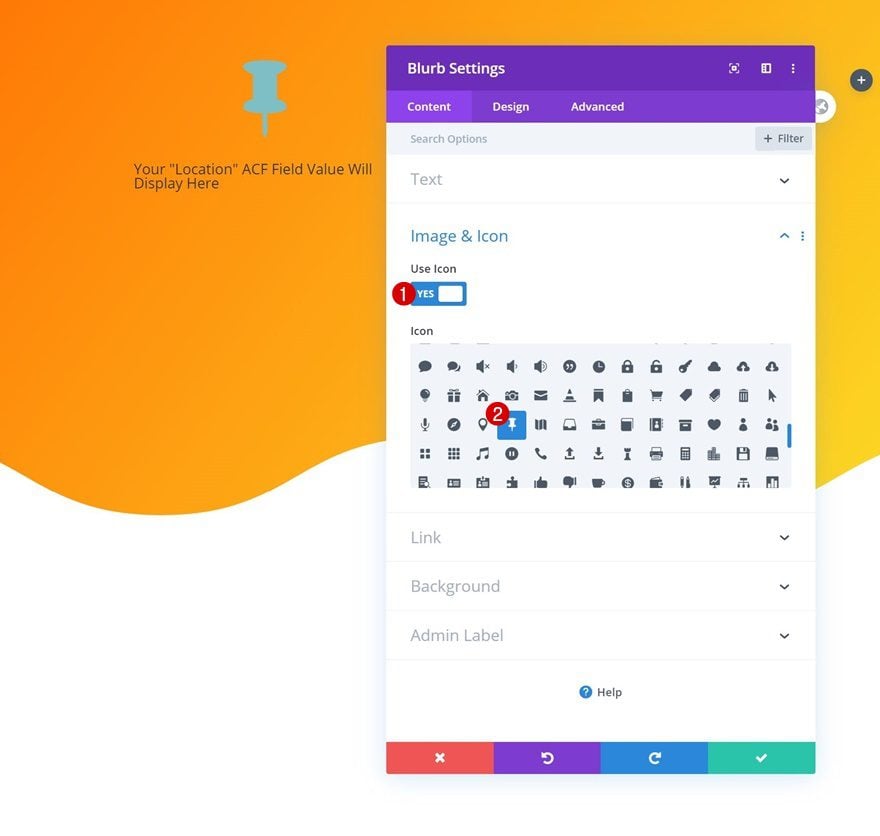
Select Icon
Continue by selecting an icon.
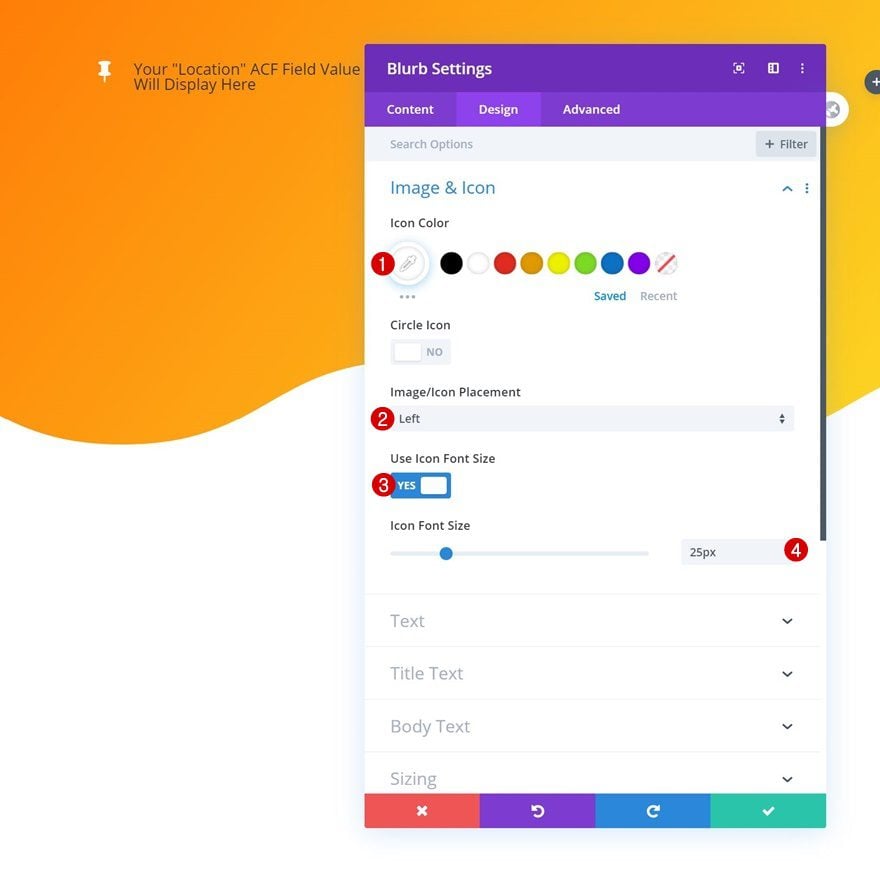
Icon Settings
Move on to the design tab and change the icon settings as follows:
- Icon Color: #ffffff
- Image/Icon Placement: Left
- Use Icon Font Size: Yes
- Icon Font Size: 25px
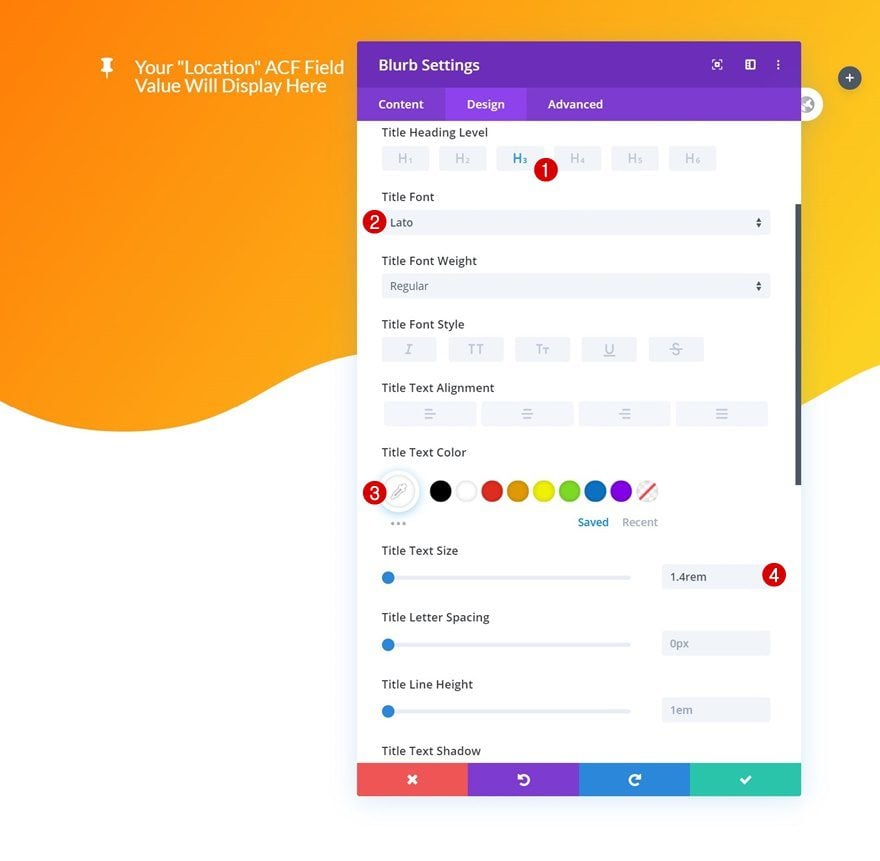
Title Text Settings
Modify the H3 text settings as well.
- Title Heading Level: H3
- Title Font: Lato
- Title Text Color: #ffffff
- Title Text Size: 1.4rem
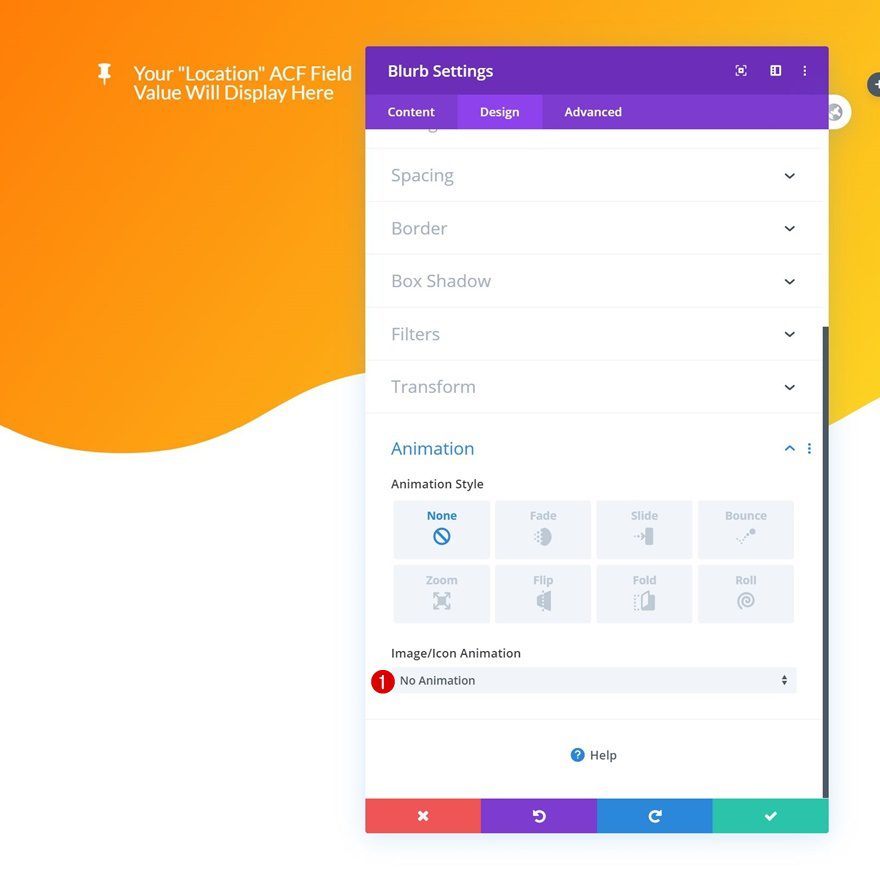
Animation
Lastly, remove the icon animation in the animation settings.
- Image/Icon Animation: No Animation
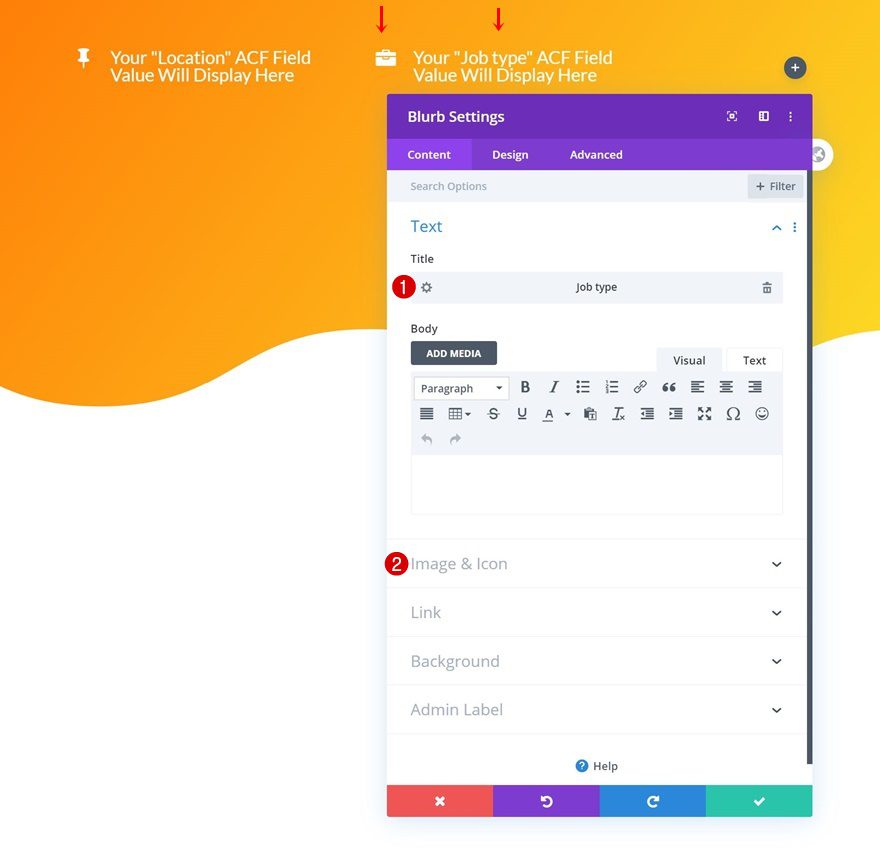
Clone Blurb Module & Place Duplicate in Column 2
Once you’ve completed the Blurb Module in column 1, you can clone it once and place the duplicate in the second column.

Change Dynamic Content & Icon
Make sure you change the title dynamic content along with the icon.
- Title: Job type
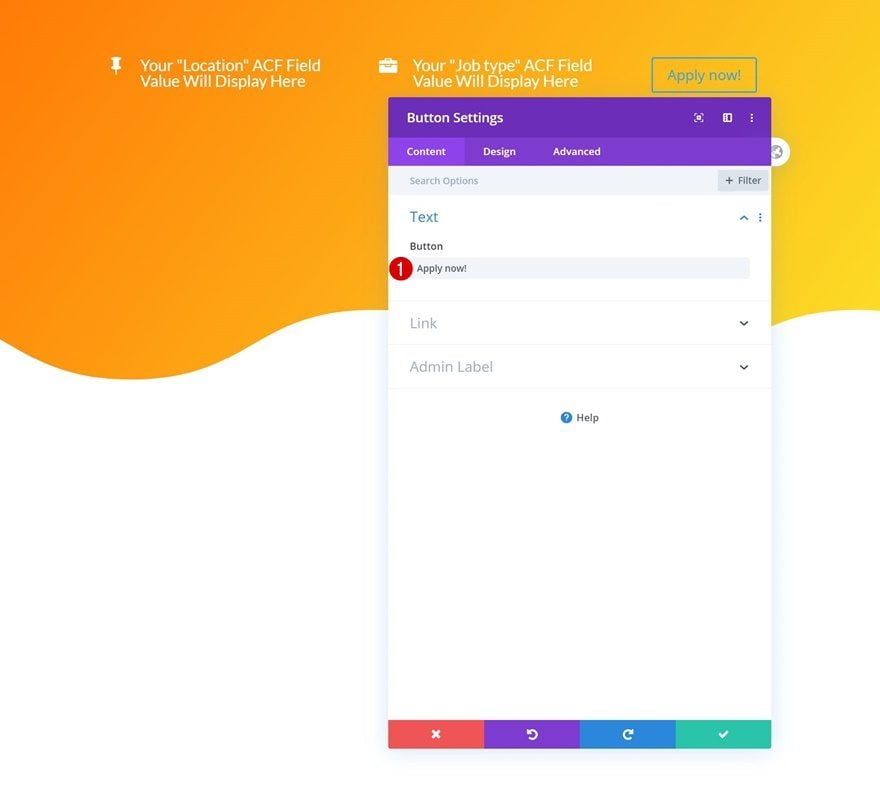
Add Copy
In the last column, add a Button Module. Add some copy of your choice.
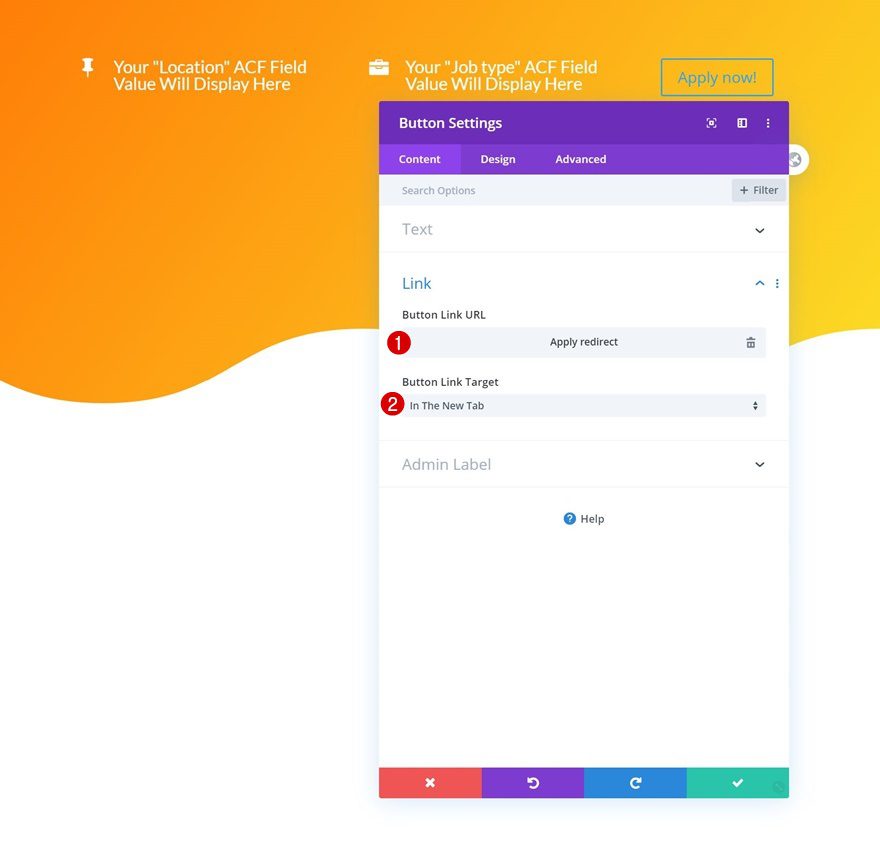
Dynamic Link
Select the dynamic apply redirect link next.
- Button Link URL: Apply redirect
- Button Link Target: In The New Tab
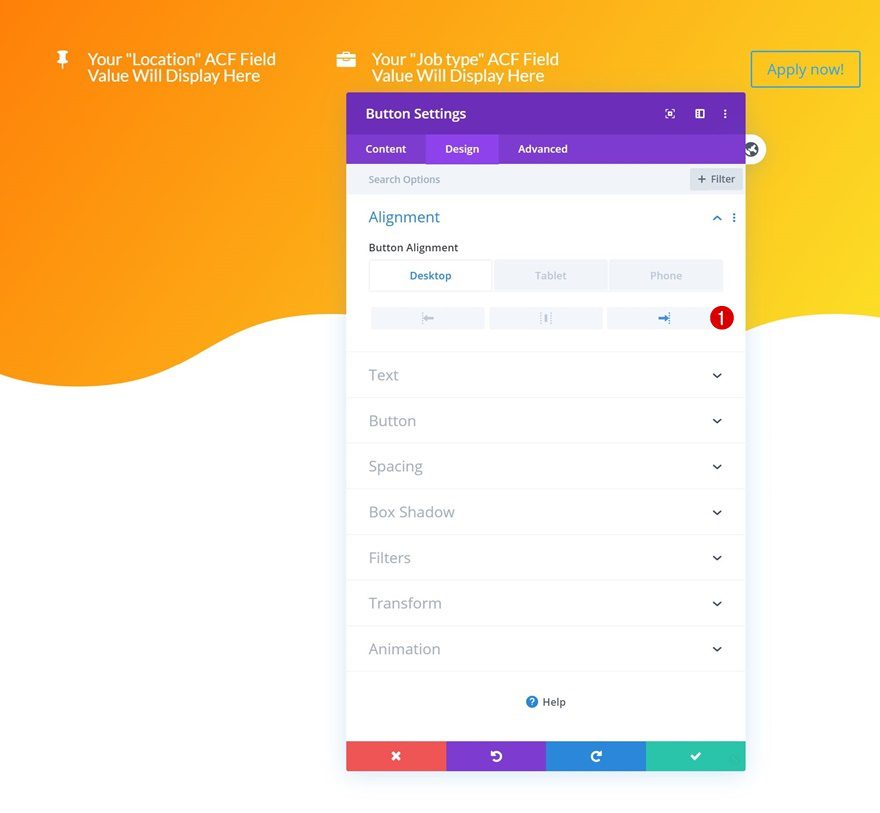
Alignment
Move on to the module’s design tab and change the alignment across different screen sizes.
- Button Alignment: Right (Desktop), Left (Tablet & Phone)
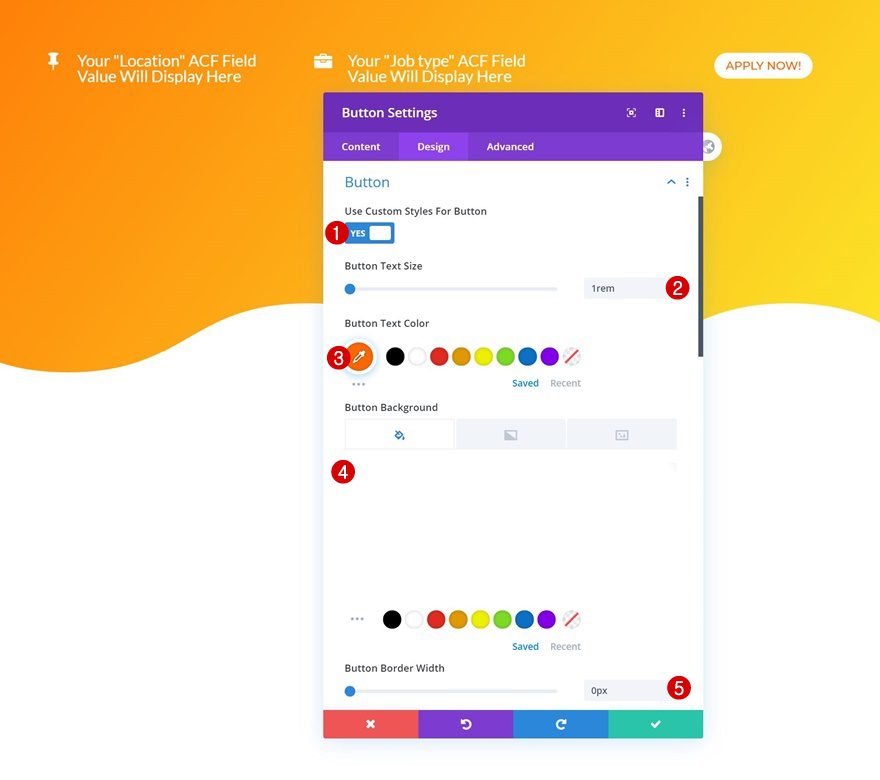
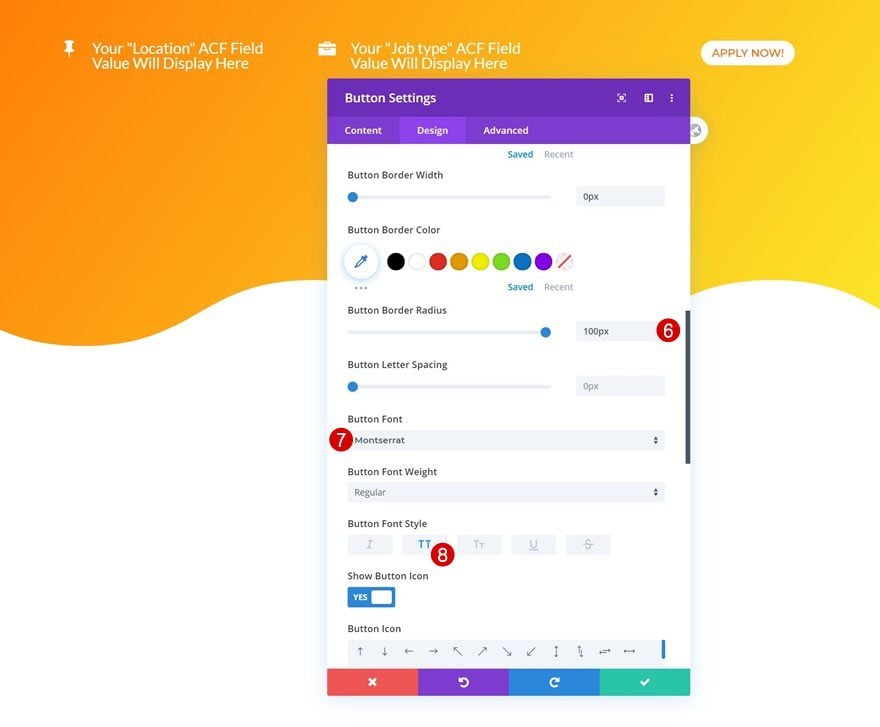
Button Settings
Style the button as well.
- Use Custom Styles For Button: Yes
- Button Text Size: 1rem
- Button Text Color: #ff6600
- Button Background Color: #ffffff
- Button Border Width: 0px
- Button Border Radius: 100px
- Button Font: Montserrat
- Button Font Style: Uppercase
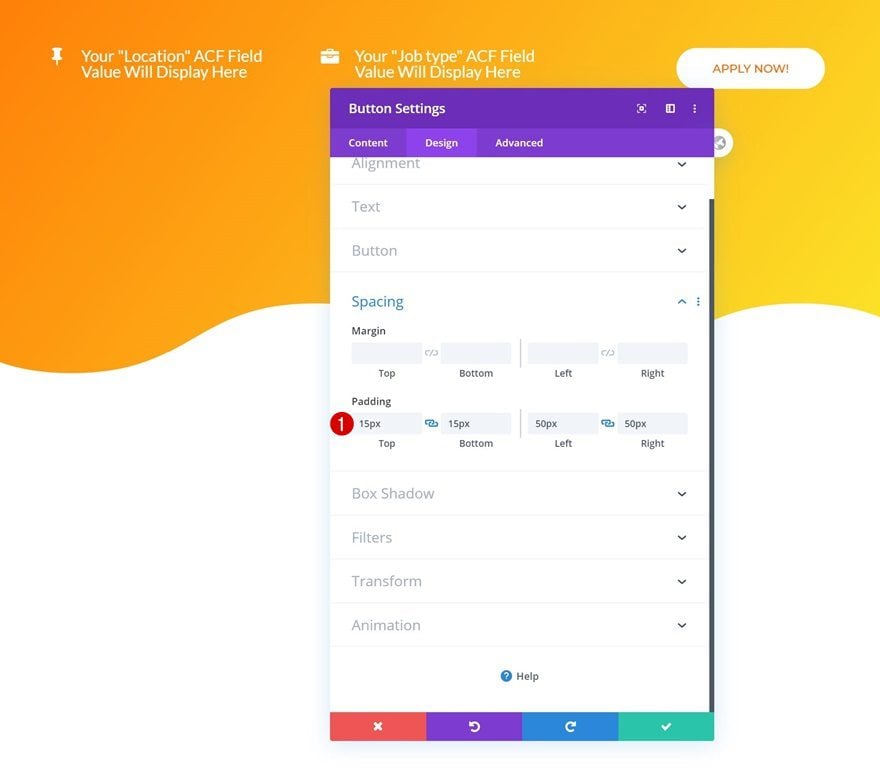
Spacing
And complete the module’s settings by adding some custom padding values to the spacing settings.
- Top Padding: 15px
- Bottom Padding: 15px
- Left Padding: 50px
- Right Padding: 50px
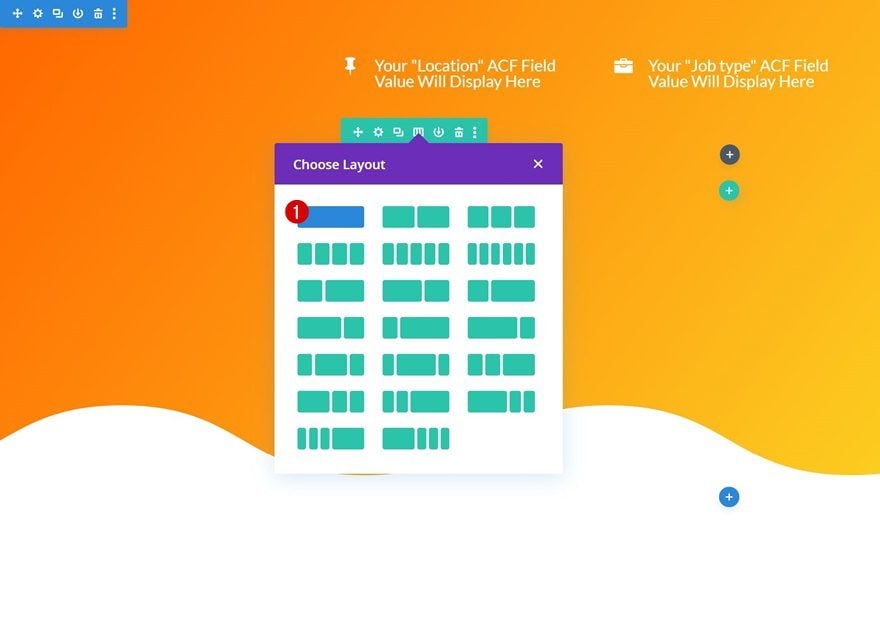
Add Row #2
Column Structure
On to the next row! Choose the following column structure:
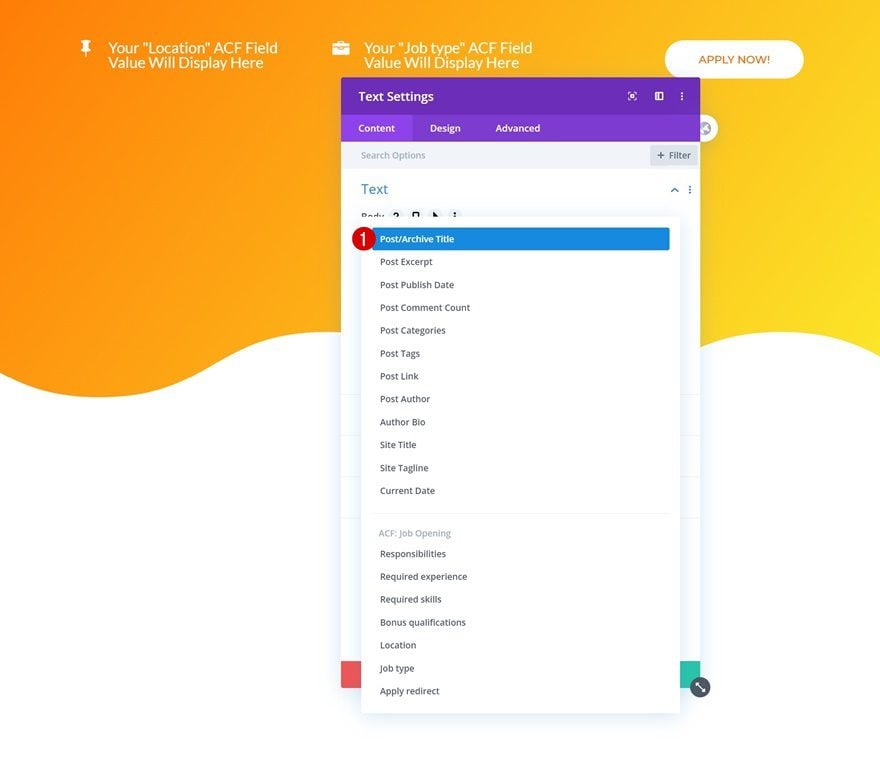
Add Text Module to Column
Dynamic Content
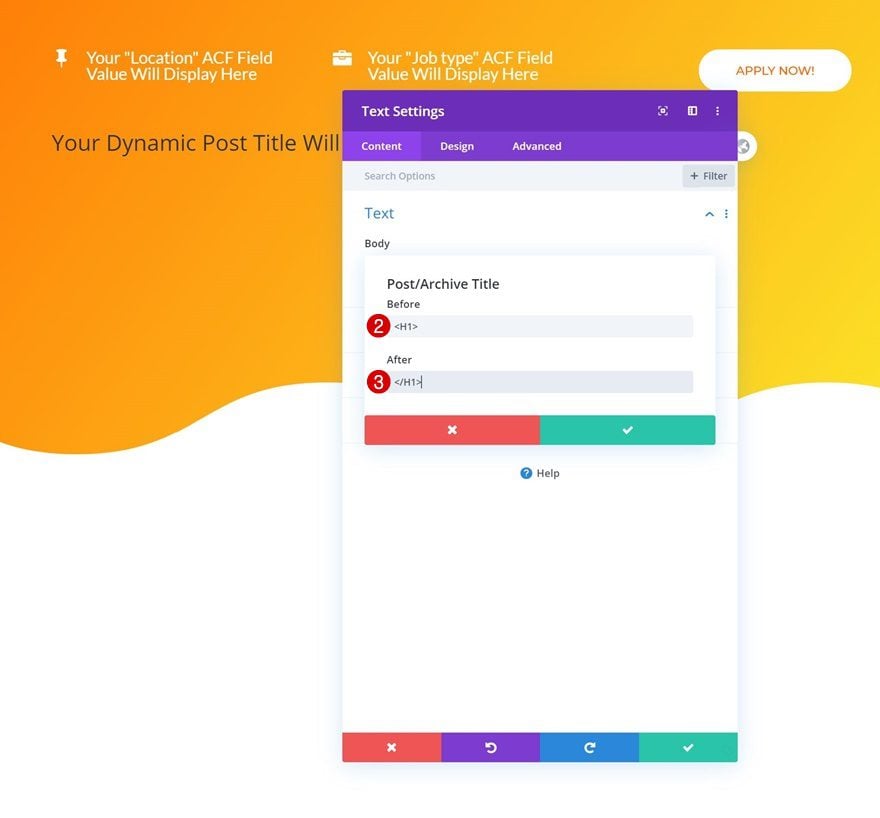
Add a new Text Module to the column and select the post title dynamic content.
- Dynamic Content: Post/Archive Title
- Before: <H1>
- After: </H1>
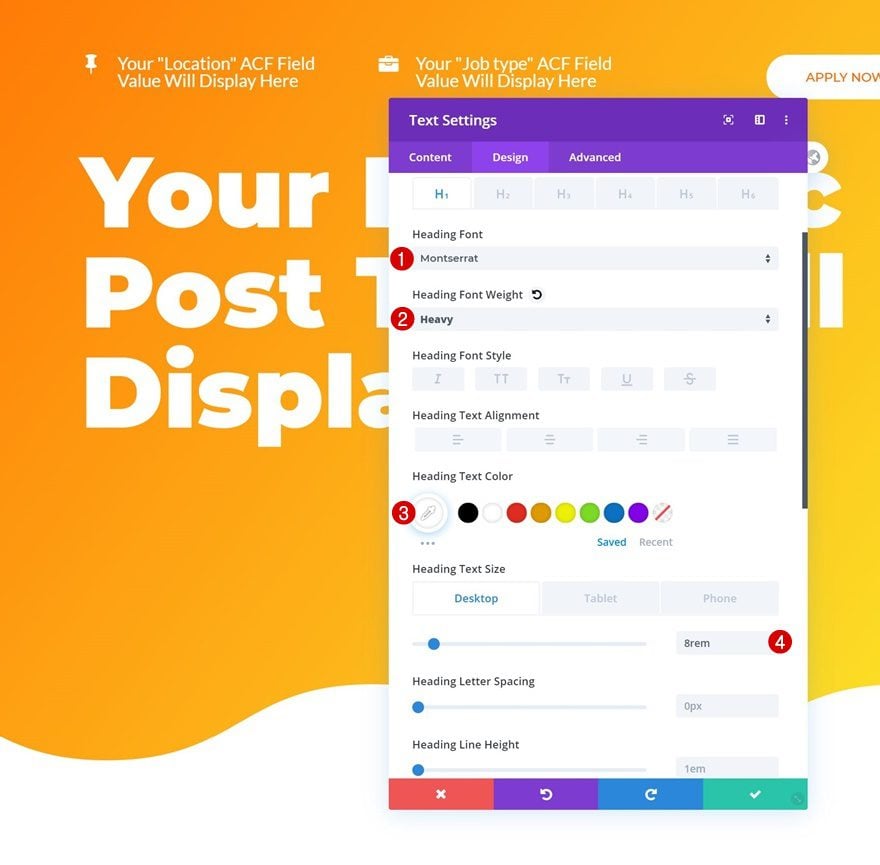
H1 Text Settings
Move on to the module’s design tab and change the H1 text settings accordingly:
- Heading Font: Montserrat
- Heading Font Weight: Heavy
- Heading Text Color: #ffffff
- Heading Text Size: 8rem (Desktop), 4rem (Tablet), 2.5rem (Phone)
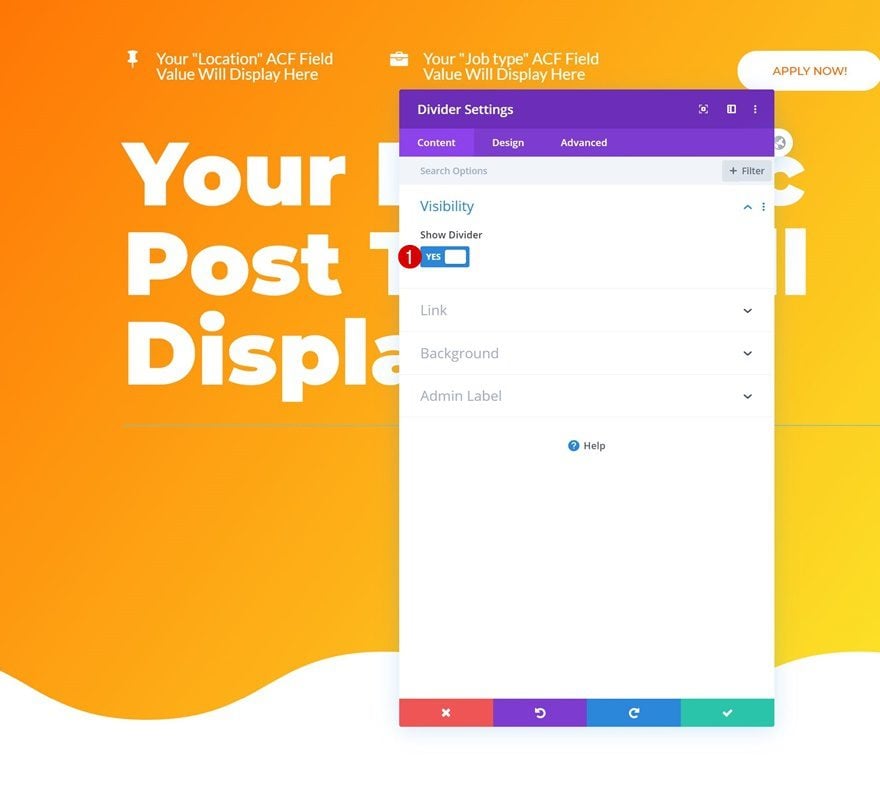
Add Divider Module to Column
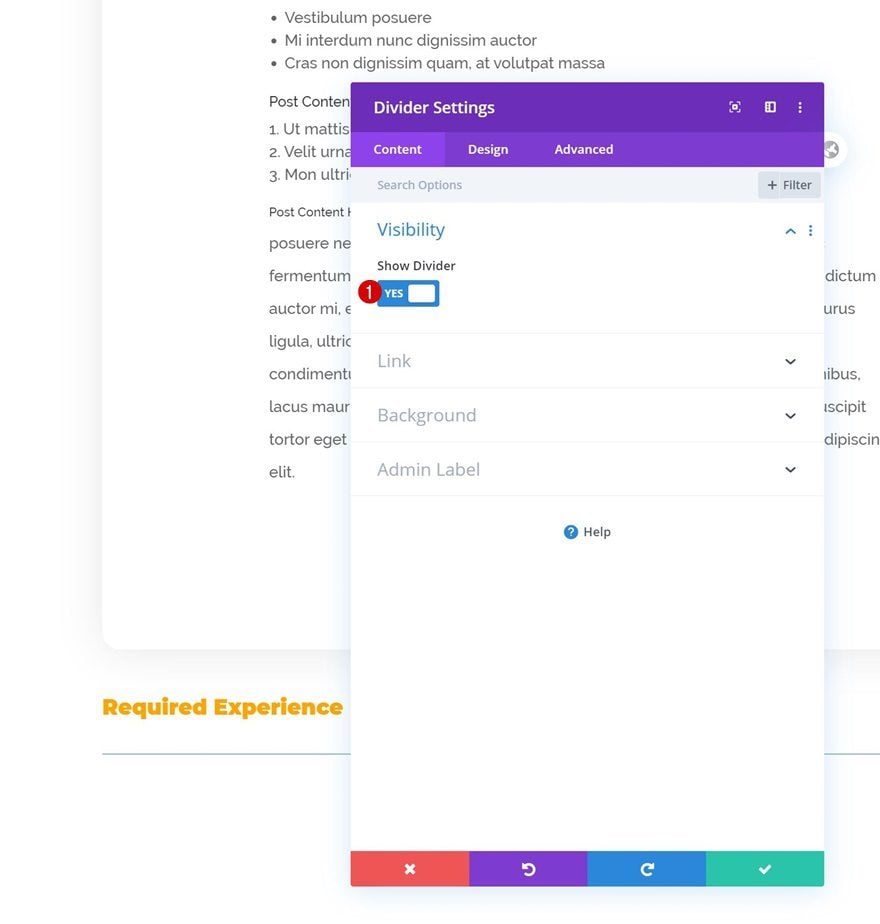
Visibility
The next module we need is a Divider Module. Make sure the ‘Show Divider’ option is enabled.
- Show Divider: Yes
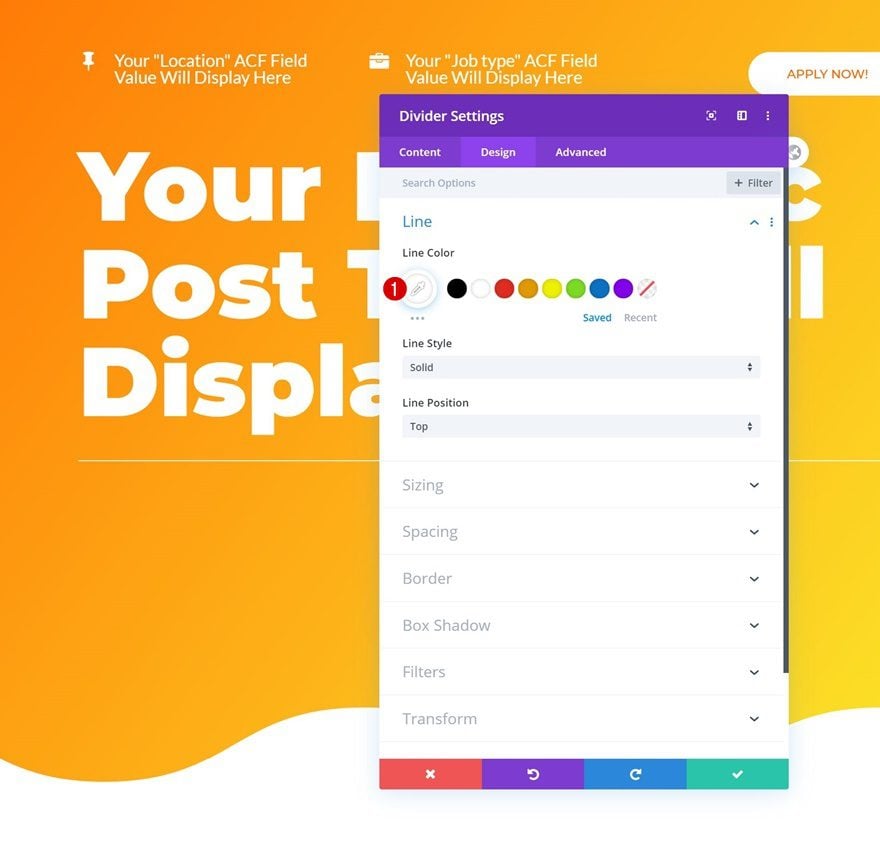
Line
Change the module’s line color next.
- Line Color: #ffffff
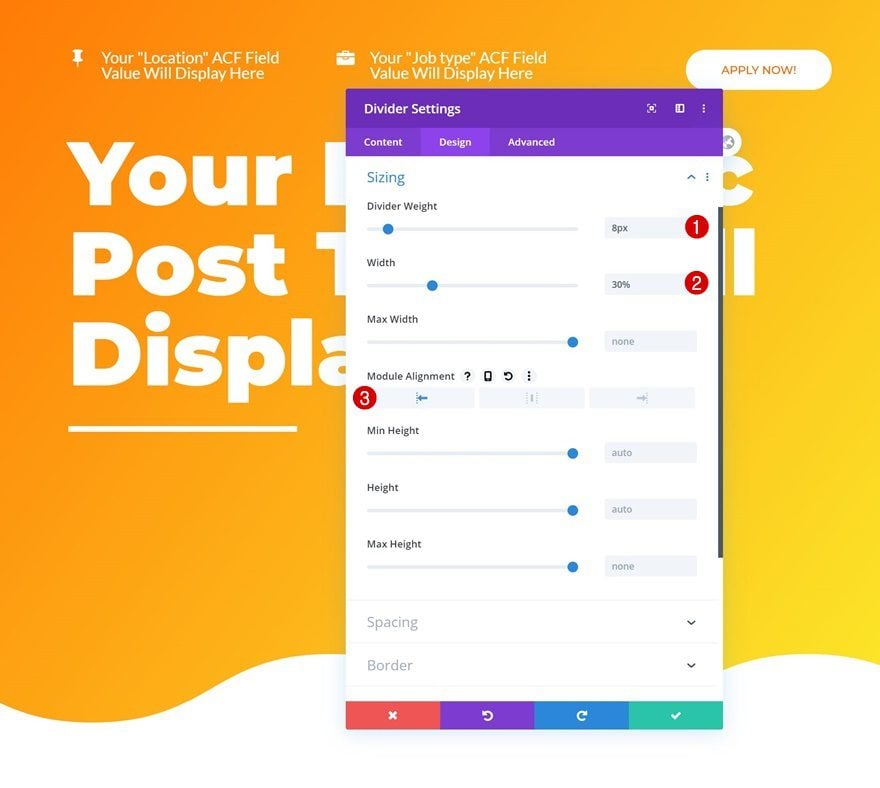
Sizing
Modify the sizing settings too.
- Divider Weight: 8px
- Width: 30%
- Module Alignment: Left
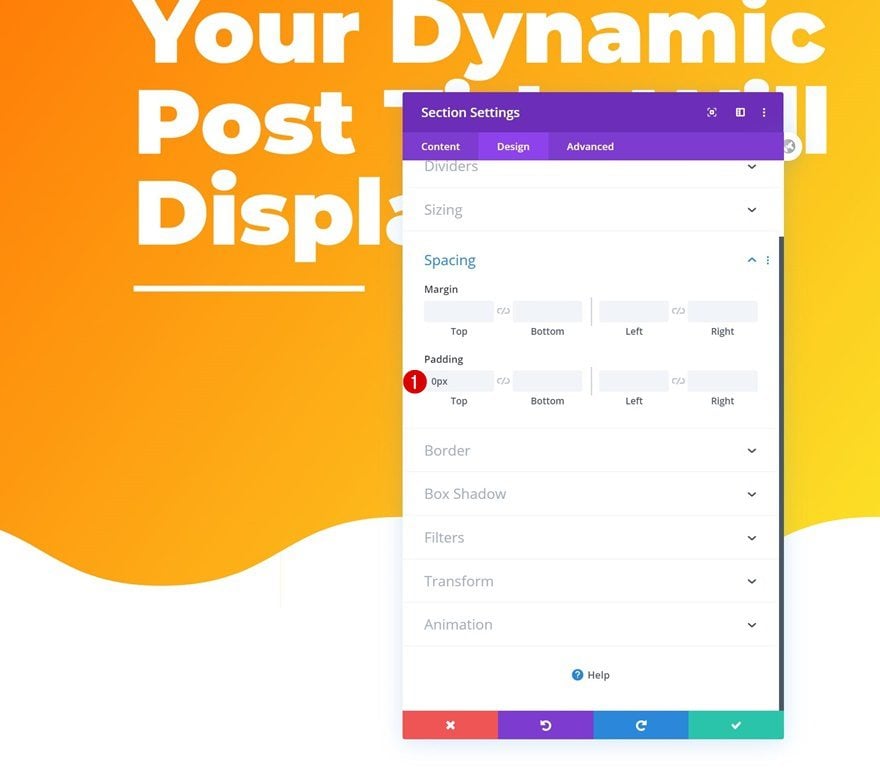
Add Section #2
Spacing
On to the next section! Remove all default top padding.
- Top Padding: 0px
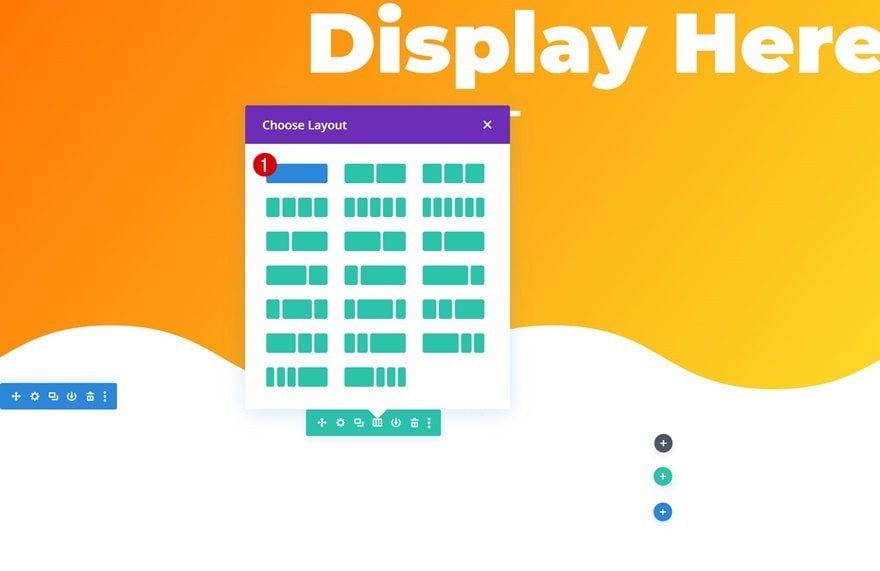
Add Row #1
Column Structure
Add a new row to the section using the following column structure:
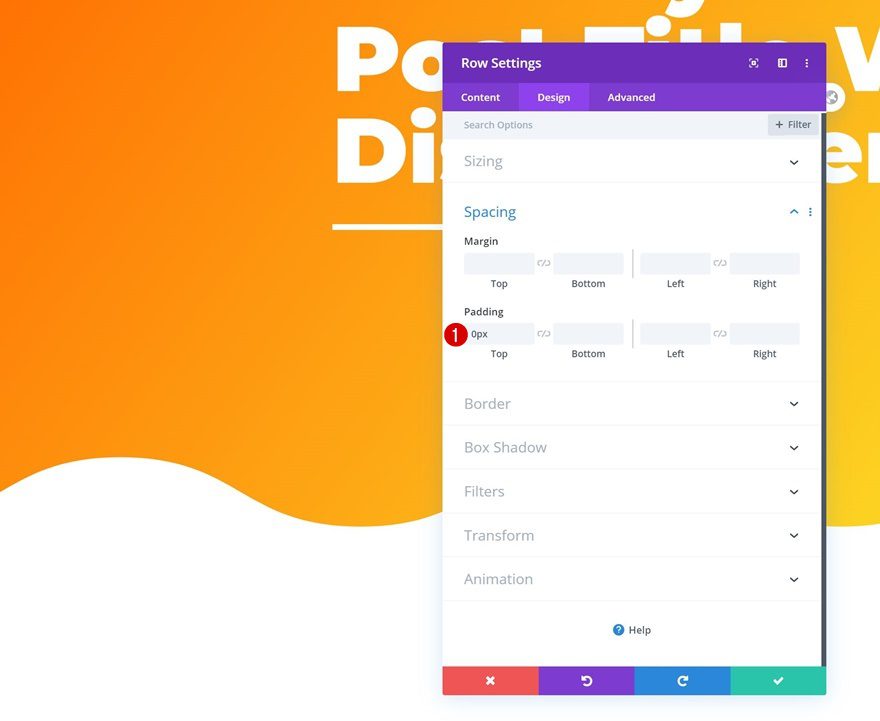
Spacing
Open the row settings and remove the default top padding.
- Top Padding: 0px
Add Post Content Module to Column
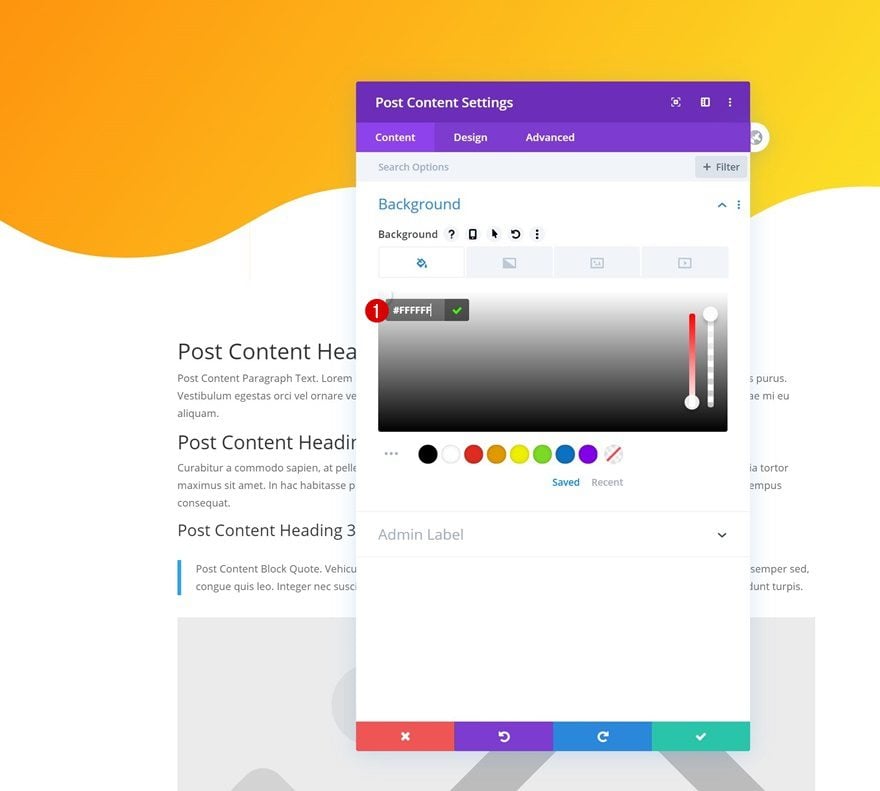
Background Color
Add a Post Content Module to the row and change the background color into white.
- Background Color: #ffffff
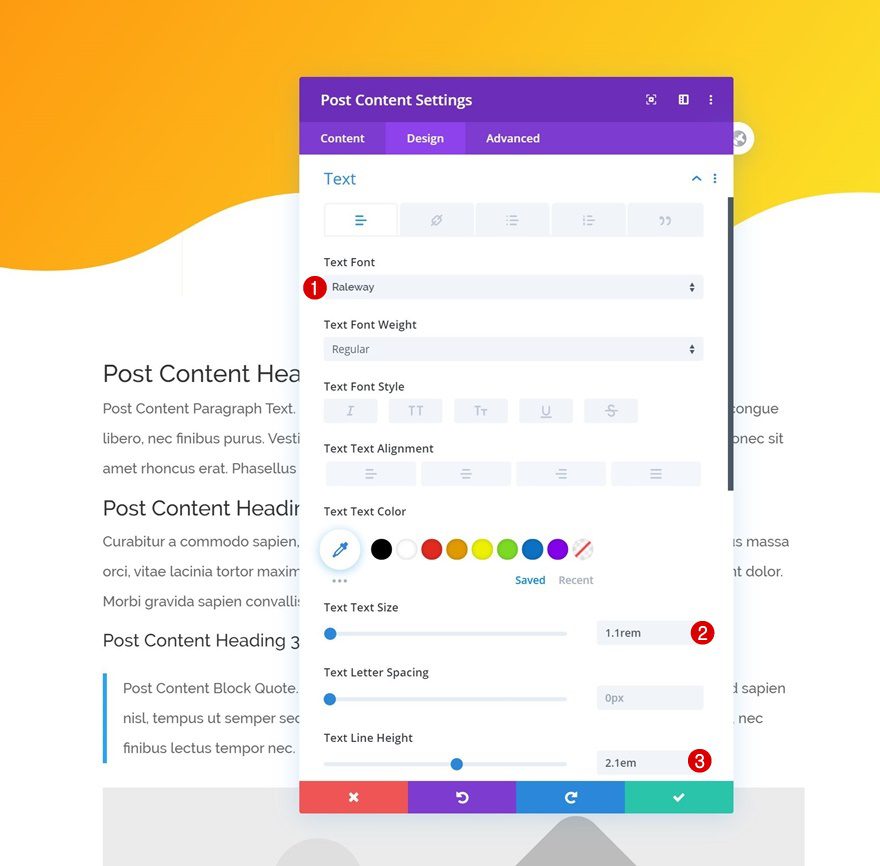
Text Settings
Move on to the module’s design tab and change the text settings as follows:
- Text Font: Raleway
- Text Size: 1.1rem
- Text Line Height: 2.1em
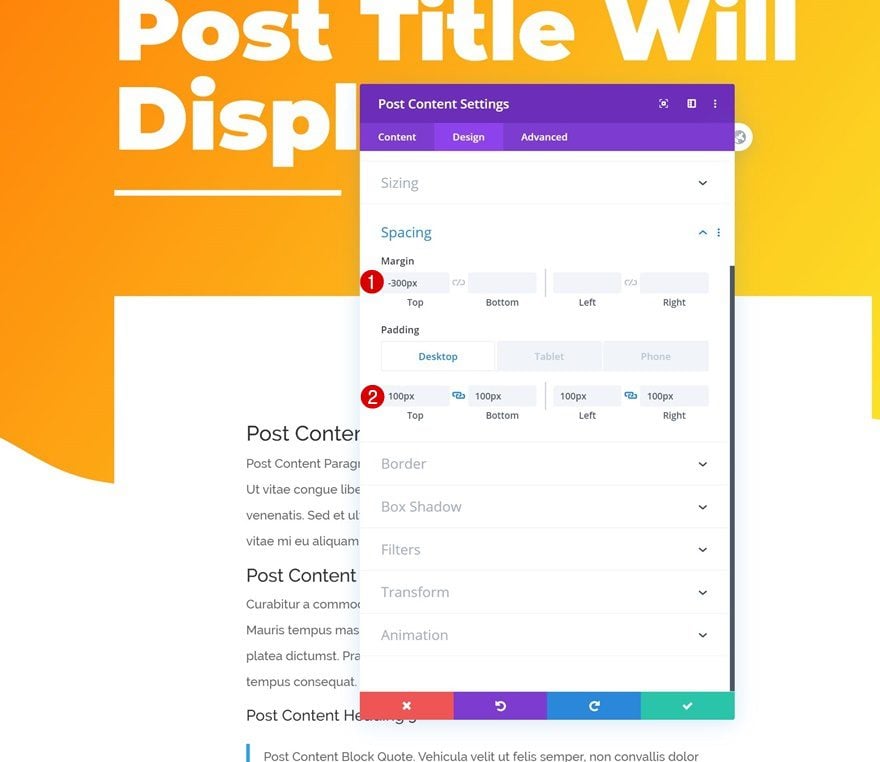
Spacing
Play around with the spacing values across different screen sizes next.
- Top Margin: -300px
- Top Padding: 100px (Desktop), 50px (Tablet & Phone)
- Bottom Padding: 100px (Desktop), 50px (Tablet & Phone)
- Left Padding: 100px (Desktop), 50px (Tablet & Phone)
- Right Padding: 100px (Desktop), 50px (Tablet & Phone)
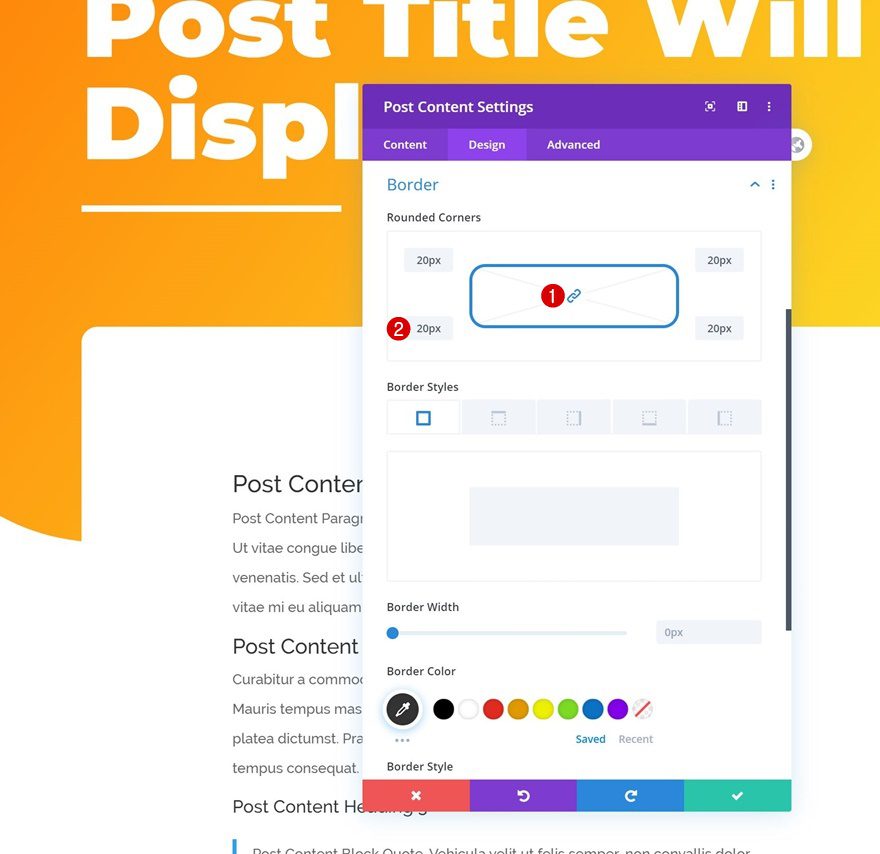
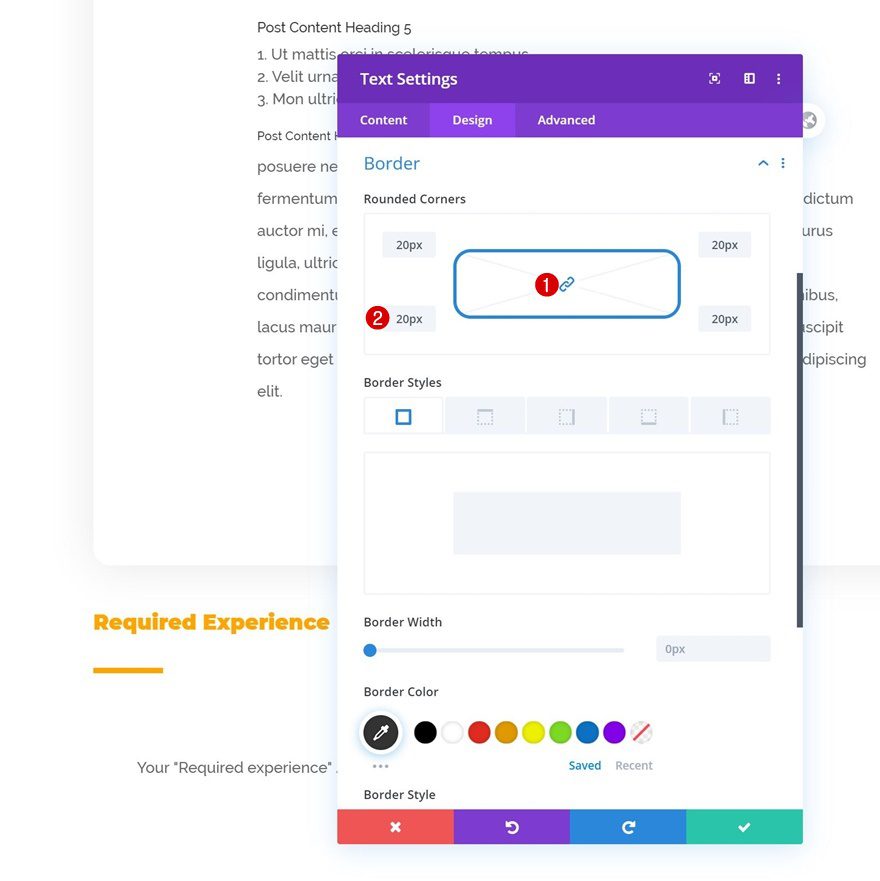
Border
Add some border radius too.
- All Corners: 20px
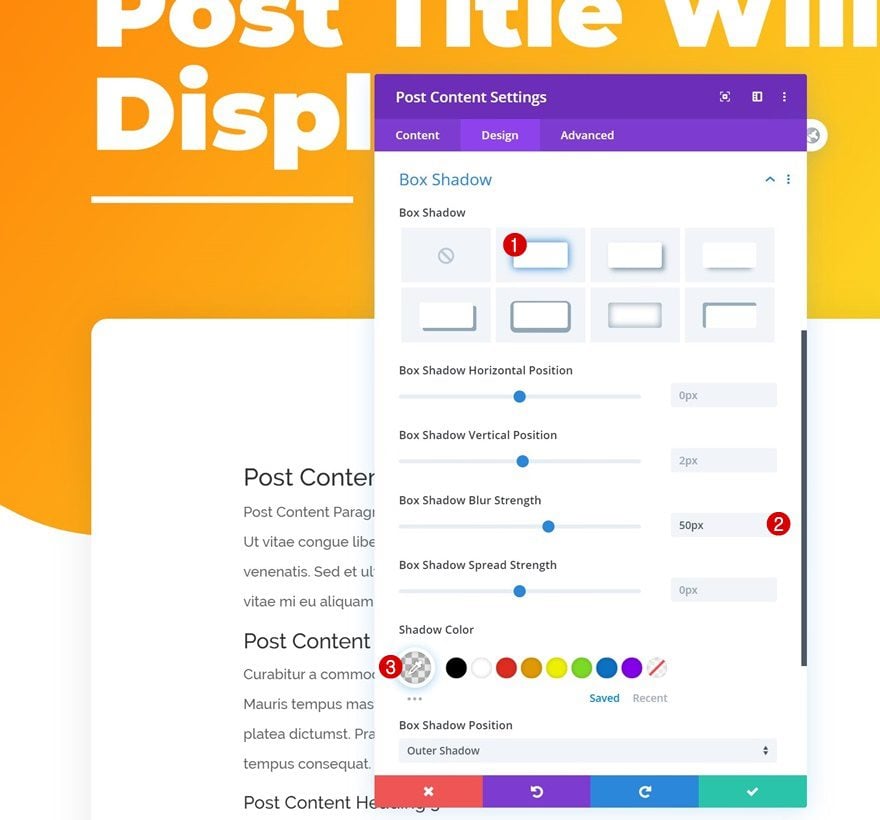
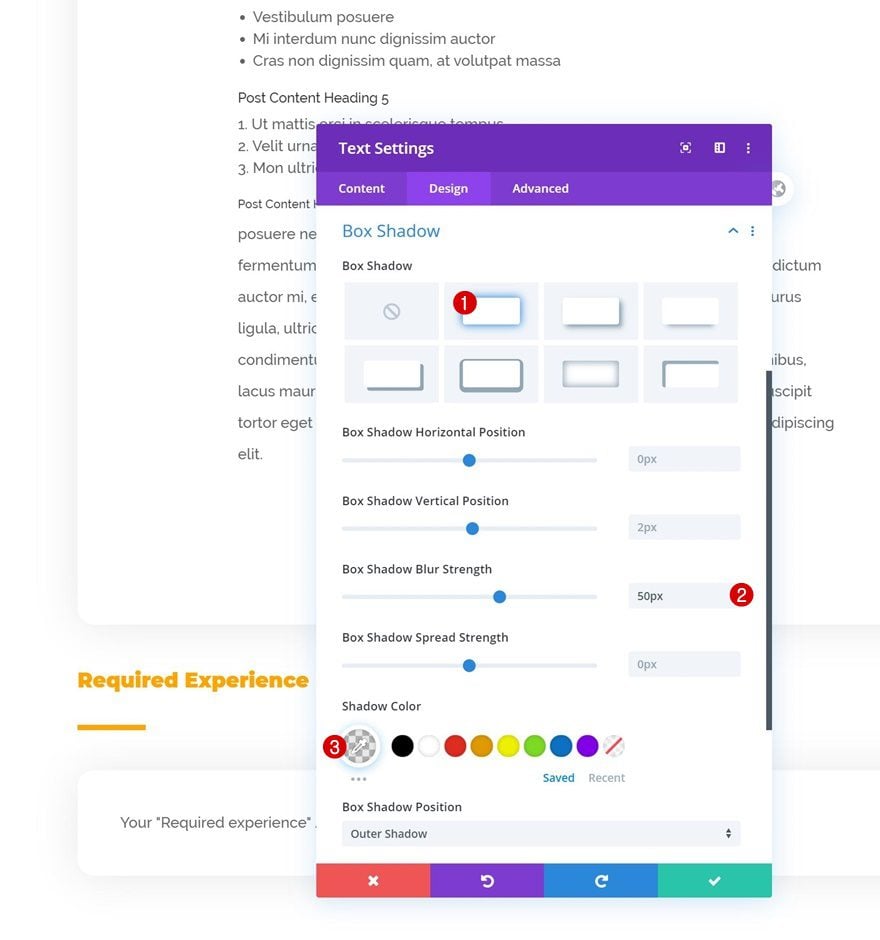
Box Shadow
And complete the module’s settings by adding a subtle box shadow.
- Box Shadow Blur Strength: 50px
- Shadow Color: rgba(0,0,0,0.09)
Add Row #2
Column Structure
Add another row using the following column structure:
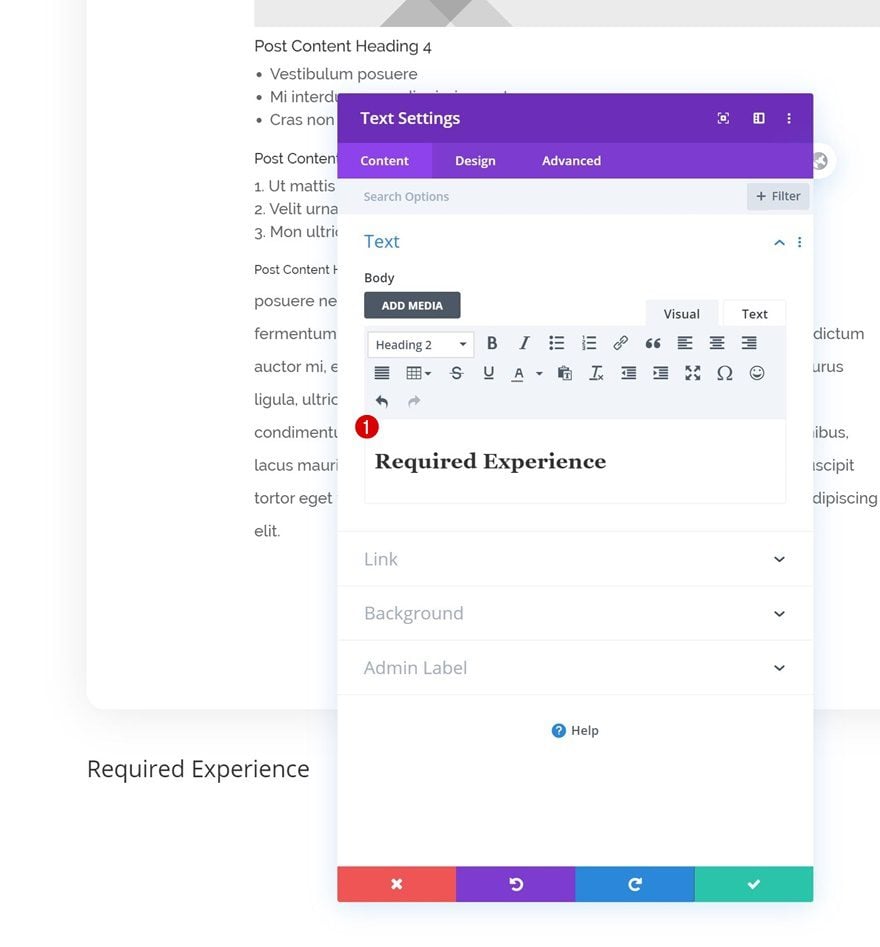
Add Text Module #1 to Column
Add H2 Content
Add a Text Module to the row’s column with some H2 content.
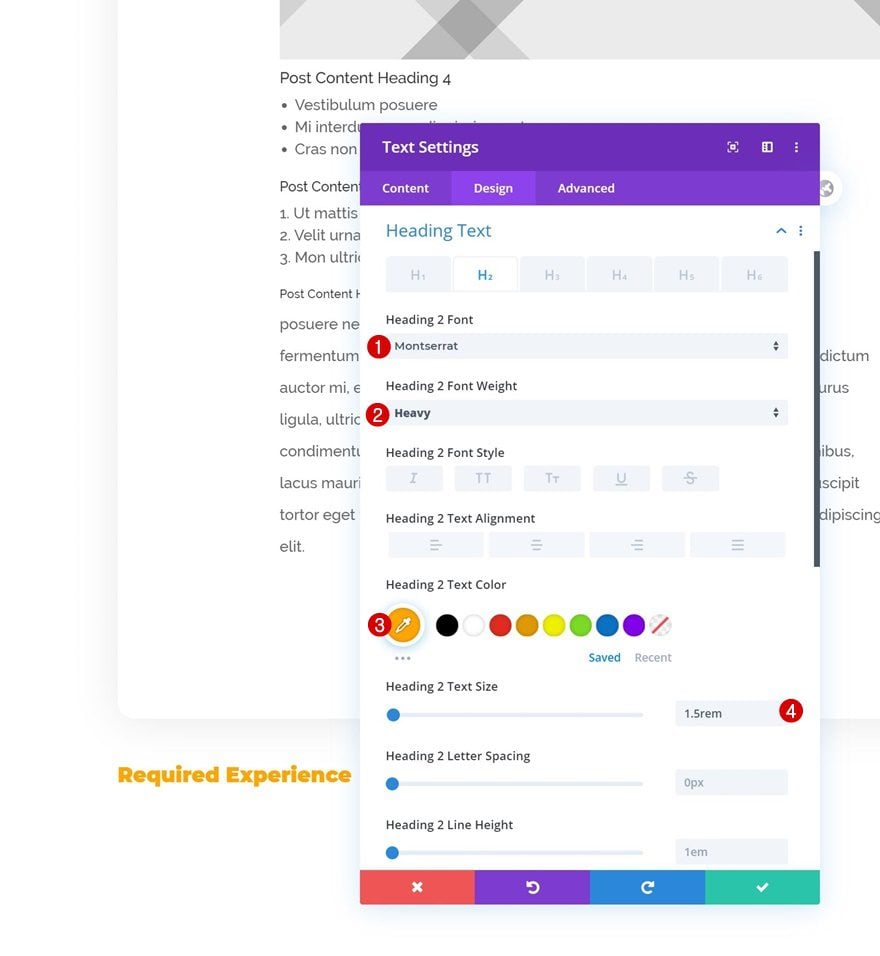
H2 Text Settings
Change the module’s H2 text settings as follows:
- Heading 2 Font: Montserrat
- Heading 2 Font Weight: Heavy
- Heading 2 Text Color: #ffa500
- Heading 2 Text Size: 1.5rem
Add Divider Module to Column
Visibility
The next module we need is a Divider Module. Make sure the ‘Show Divider’ module is enabled.
- Show Divider: Yes
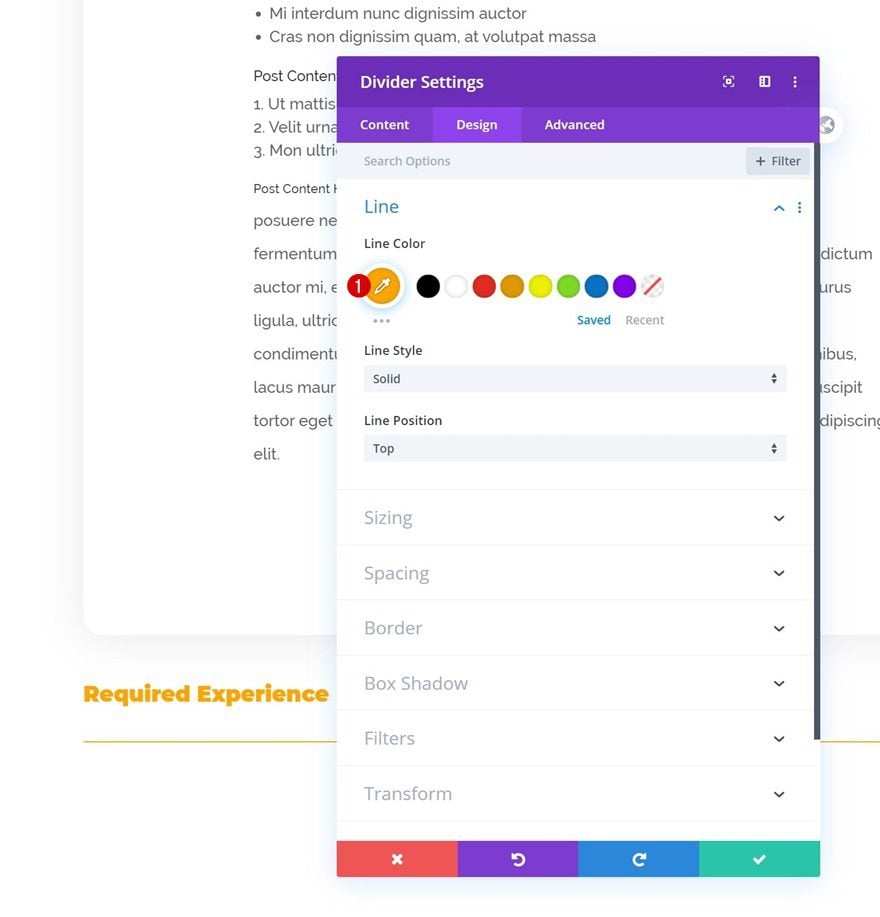
Line
Change the module’s line color next.
- Line Color: #ffa500
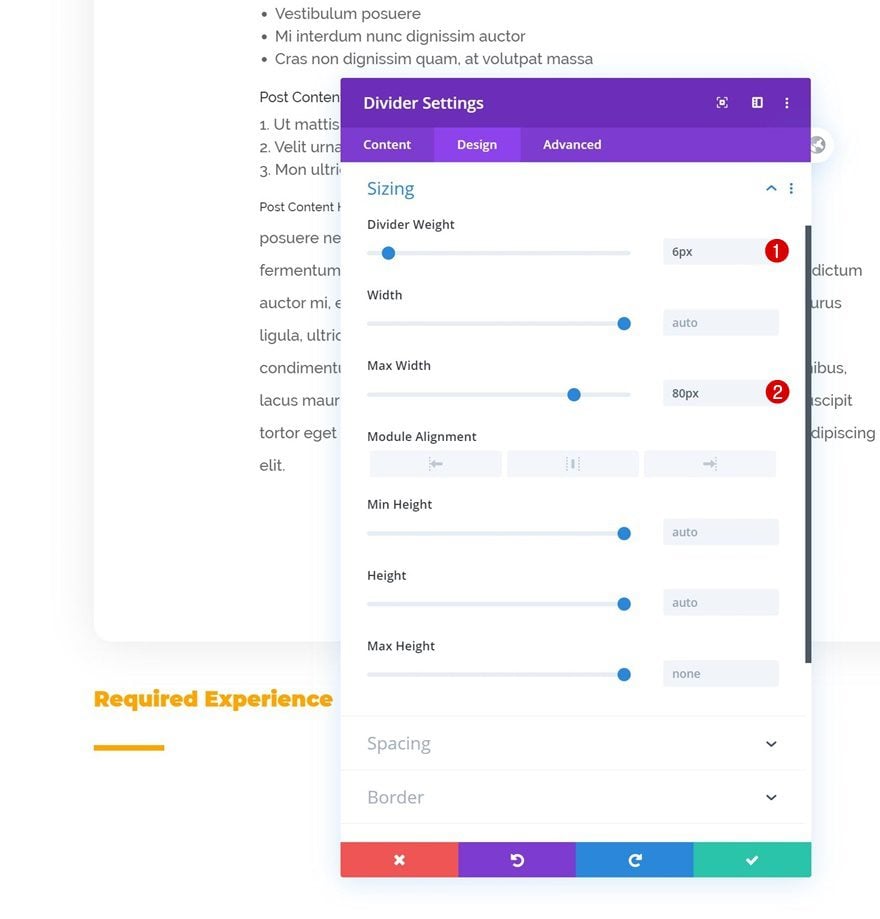
Sizing
And complete the module’s settings by playing around with the sizing settings.
- Divider Weight: 6px
- Max Width: 80px
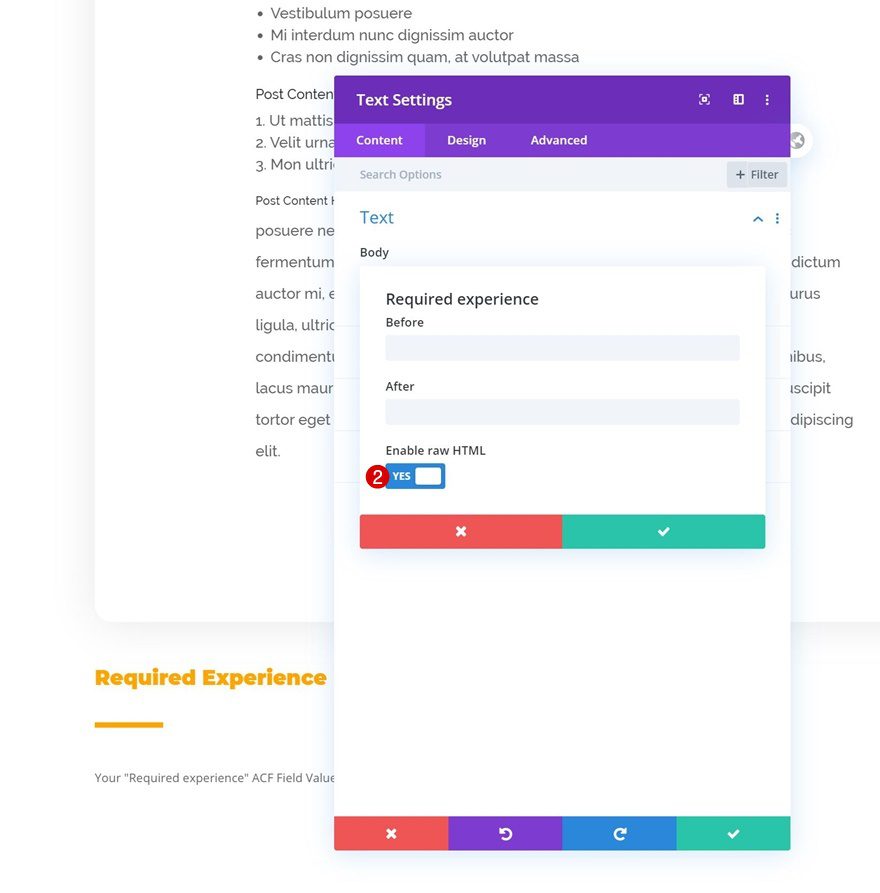
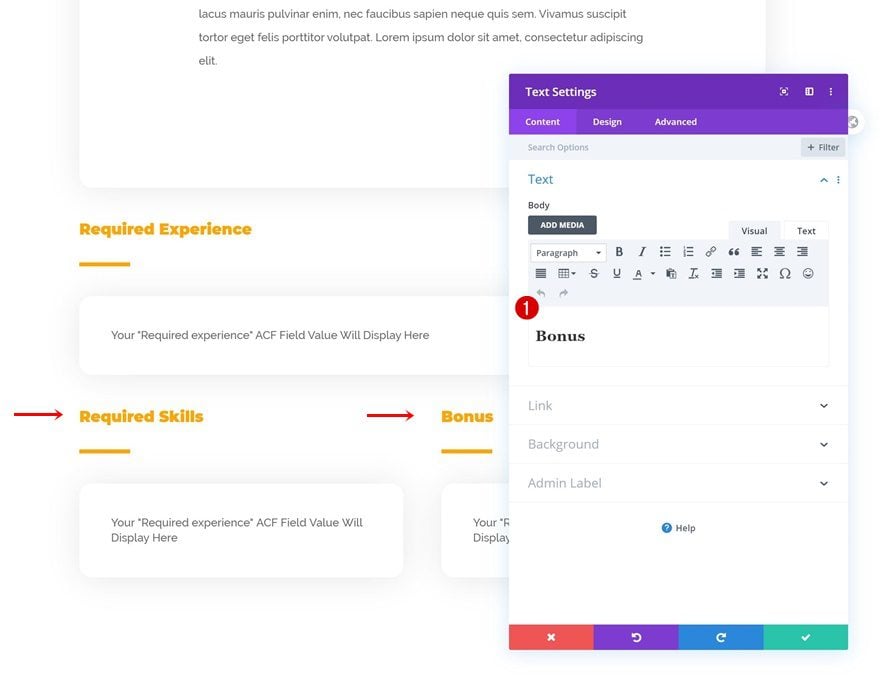
Add Text Module #2 to Column
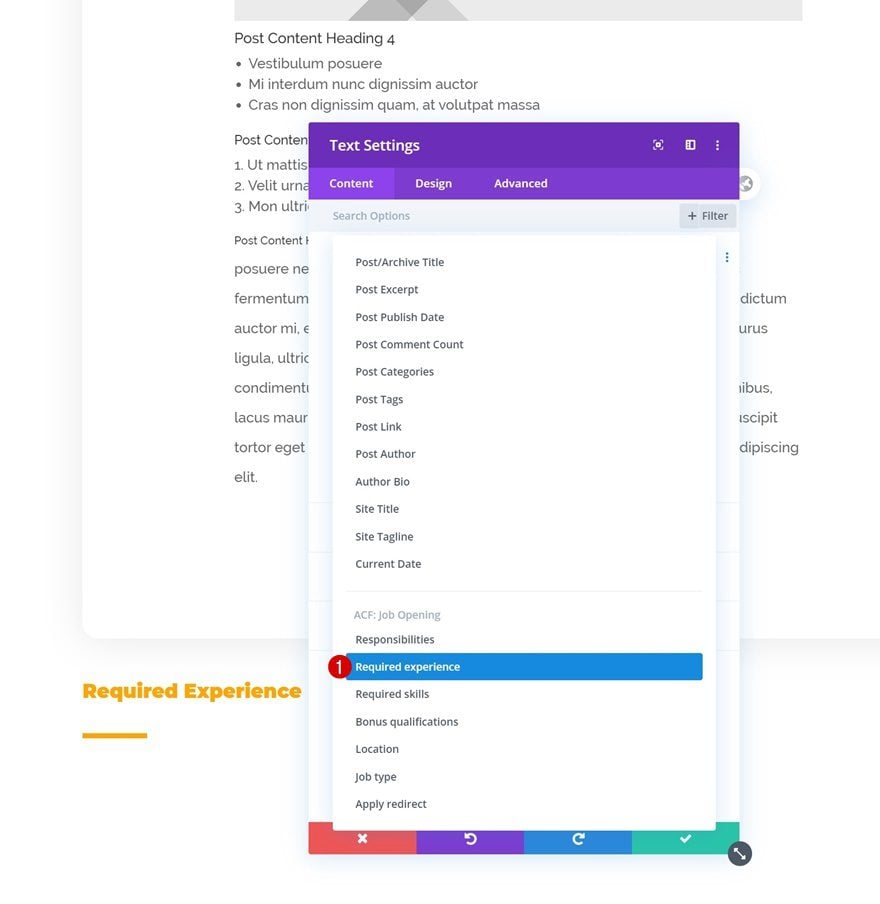
Dynamic Content
The next and last module we need in this column is another Text Module. Select the relevant dynamic content.
- Dynamic Content: Required experience
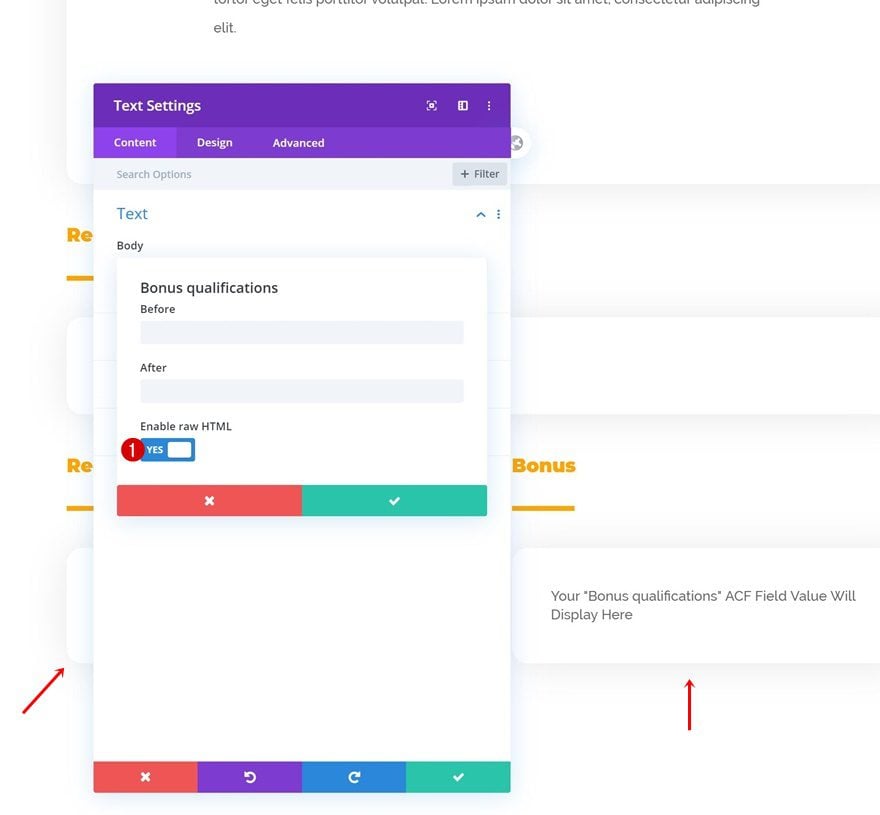
Make sure you enable raw HTML.
- Enable Raw HTML: Yes
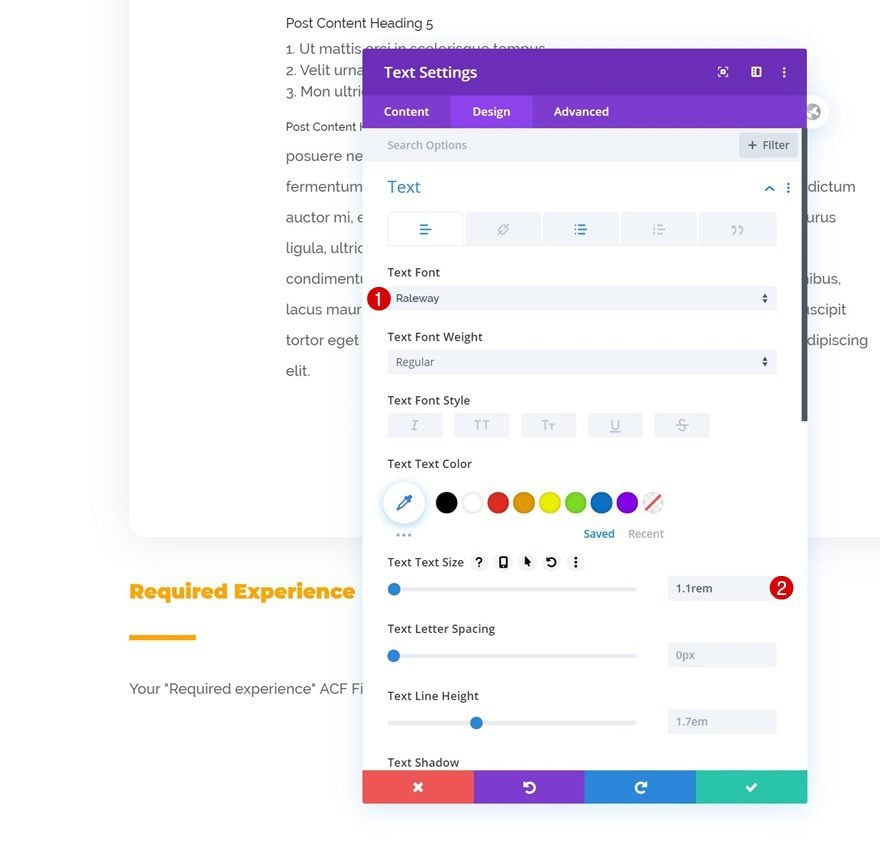
Text Settings
Move on to the module’s design tab and change the text settings accordingly:
- Text Font: Raleway
- Text Size: 1.1rem
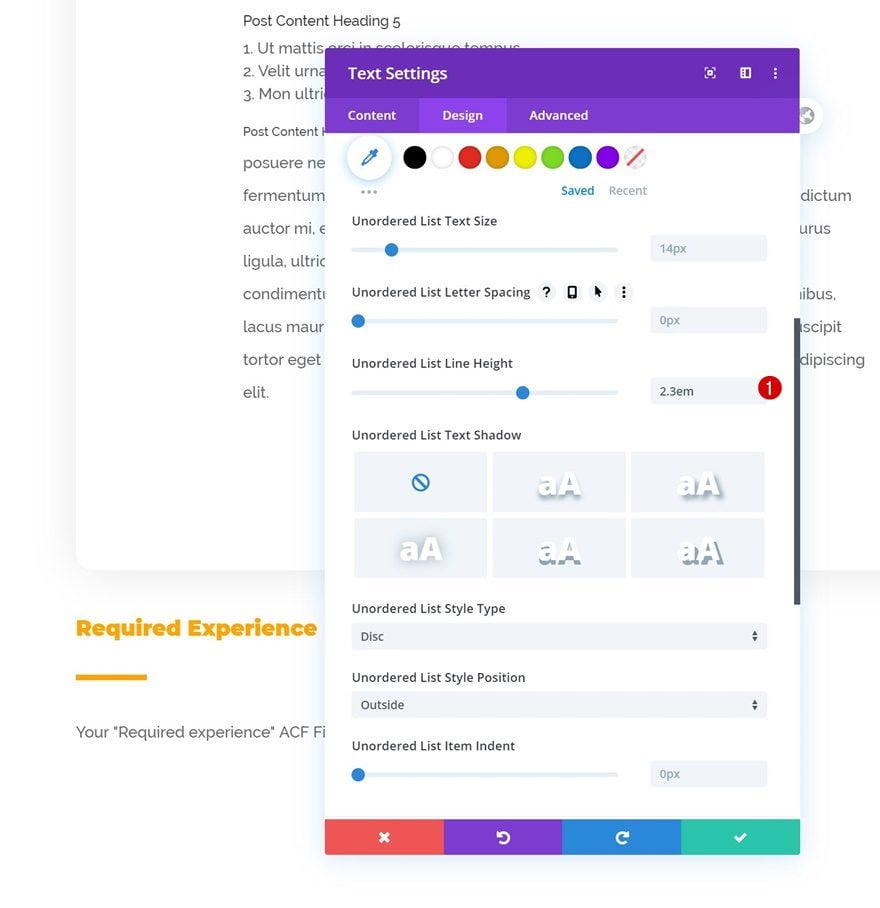
Unordered List Text Settings
Modify the unordered list line height too.
- Unordered List Line Height: 2.3em
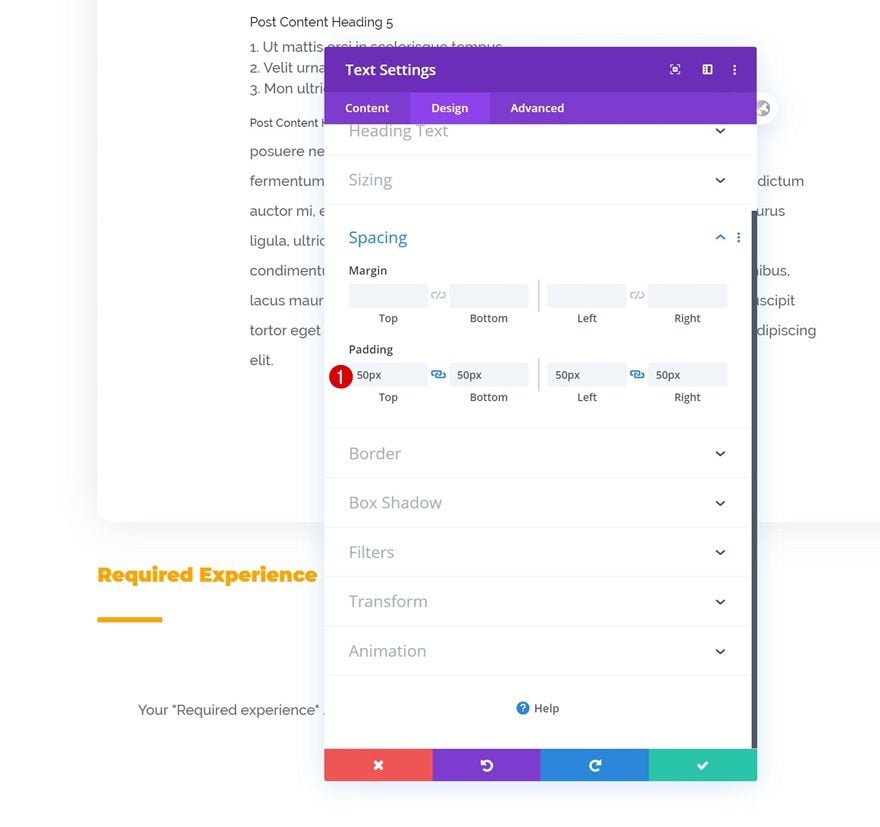
Spacing
Then, go to the spacing settings and add some custom padding values.
- Top Padding: 50px
- Bottom Padding: 50px
- Left Padding: 50px
- Right Padding: 50px
Border
Add some border radius too.
- All Corners: 20px
Box Shadow
And complete the module’s settings by adding a subtle box shadow.
- Box Shadow Blur Strength: 50px
- Shadow Color: rgba(0,0,0,0.09)
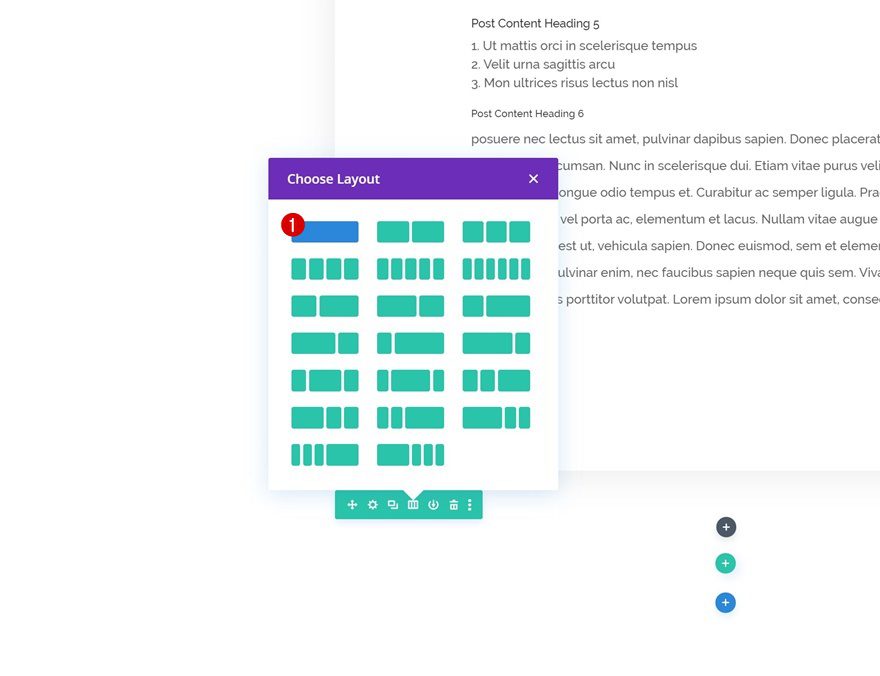
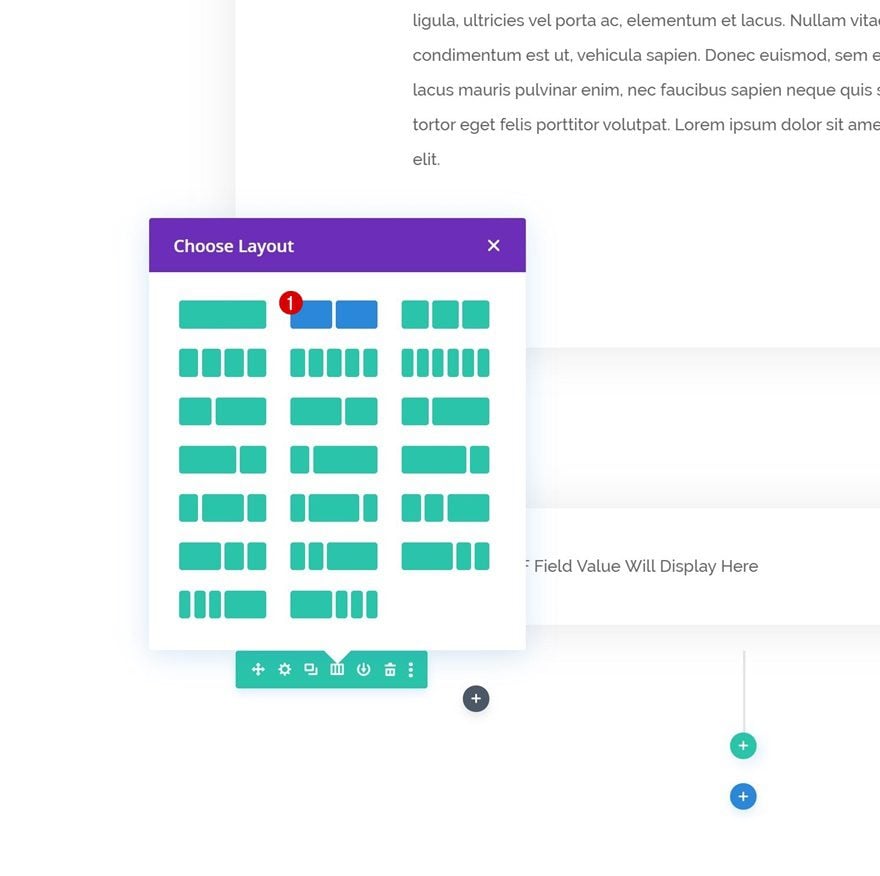
Add Row #3
Column Structure
On to the last row! Use the following column structure:
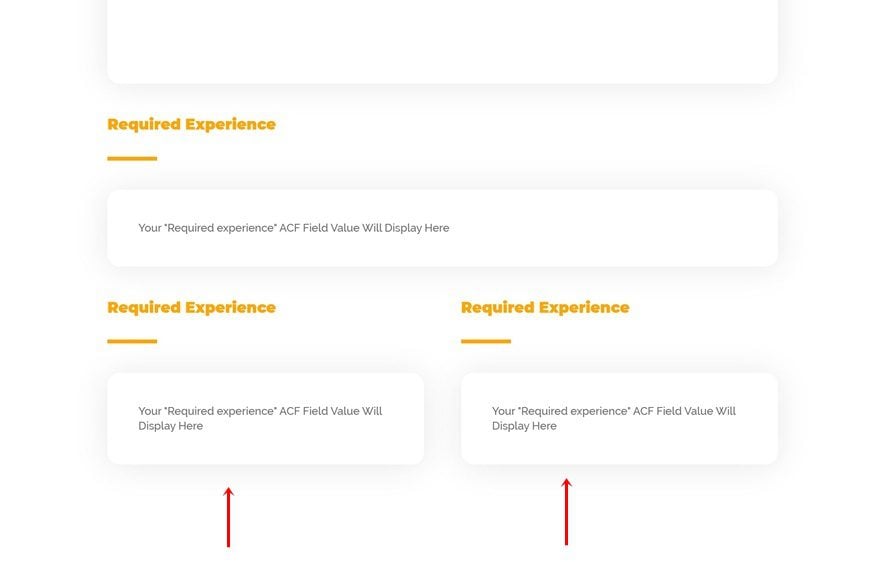
Clone Modules in Column 2 Twice & Place Duplicates in Column 1 & 2 of New Row
Clone the modules that you’ve added to the previous row twice and place the duplicates in the new row.
Change Text Module #1 Copy
Make sure you change the H2 copy of each duplicate Text Module.
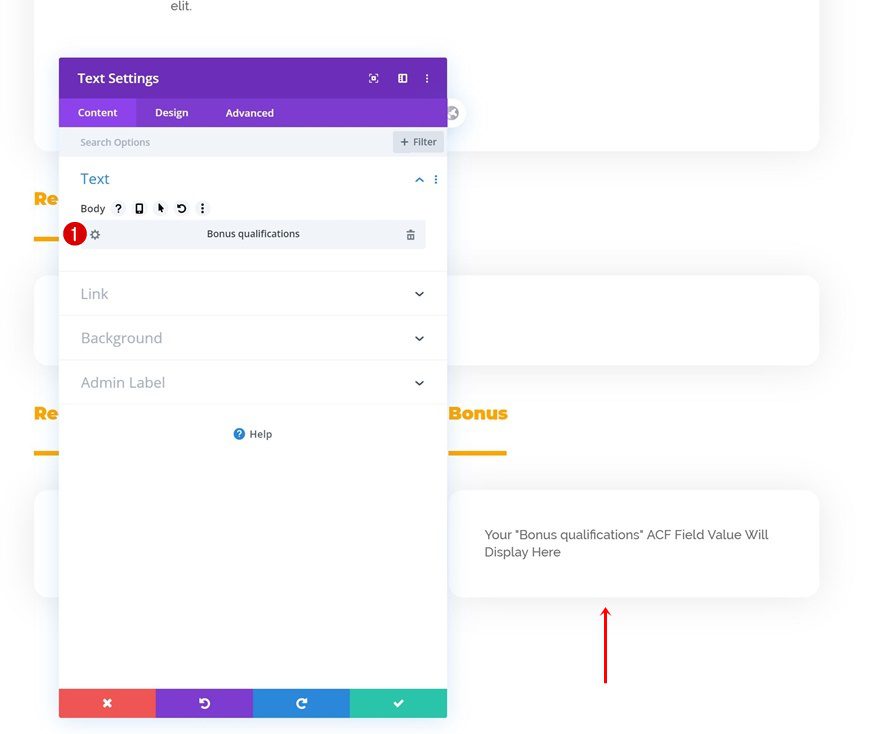
Change Text Module #2 Dynamic Content
Along with the dynamic content.
- Dynamic Content: Required skills

- Dynamic Content: Bonus qualifications
Again, make sure the raw HTML is enabled for both Text Modules containing dynamic content.
- Enable raw HTML: Yes
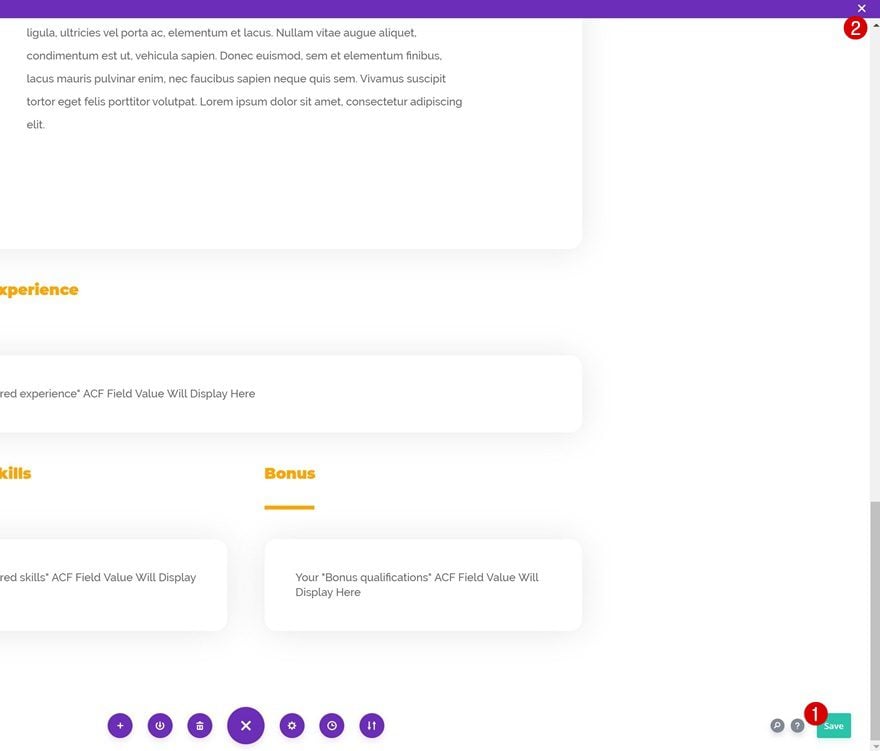
6. Save Theme Builder Changes & View Result
Once you’ve completed the template body, you can save all theme builder changes and view the result on your sample open job position post!
Preview
Now that we’ve gone through all the steps, let’s take a final look at the outcome across different screen sizes.
Desktop
Mobile
Final Thoughts
In this post, we’ve shown you how to create a dynamic and fully customizable open job position template using the Divi Theme Builder and the ACF plugin. We’ve only used dynamic content in our post template, which makes adding future open job positions to your website effortless. You were able to download the JSON file for free as well! If you have any questions, feel free to leave a comment in the comment section below.
If you’re eager to learn more about Divi and get more Divi freebies, make sure you subscribe to our email newsletter and YouTube channel so you’ll always be one of the first people to know and get benefits from this free content.


Thanks for all the great tutorials – they are really great and well explained.
Question – how can the template be modified so that it only displays categories where there is an existing post?
I don’t see the Google Jobs structured data so that it can be crawled by Google, therefore meaning that our jobs are missing out on being available easily via google search. Anything I can do about that? I created it all already, so I don’t really want to make another one.
Its free download?
Don’t bother trying to make ACF work with Divi. Spent over two hours trying to get the Field Type: Text Area to format…it wont.
You can’t add breaks to text areas…support as good as useless and came up with their usual….it’s not our plugin so we can’t really help!
This is why I rarely use Divi anymore…Elementor is way better and actually works.
Dreadful and a big waste of time!!!!!!
Thanks for this nice post.
It’s a very nice and promising concept.
I would like to take this one step further by enabling customers or contributers to bypass the WP backend by using a form on the front end (may be with login) to make things clear and simple.
Any form (the Divi form ?) that would allow me to do this? So have the ACF fields in the form?
Regards,
Eric
Every time I look at the posts, I keep thinking about abandoning my avada and starting over with this theme.