
Testimonials are, without a doubt, a vital part of every website selling products or services. They provide your website with the social proof and credibility people need to form a positive impression about your company and/or product. In Divi, we have the Testimonial Module that specifically helps you showcase testimonials in a beautiful way. However, using the Testimonial Module isn’t the only way to go. You can, for instance, use the Slider Module to showcase testimonials as well.
In this post, we’re going to show you how to recreate a beautiful section that includes a Slider Module with testimonials. To follow along with this tutorial, the only things you’ll need are Divi’s built-in options and portrait images of the people who are putting the good word about your brand out there.
- 1 Result
-
2
Start Recreating the Example
- 2.1 Add a New Standard Section
- 2.2 Add a New Row
- 2.3 Add Text Module #1 to the First Column
- 2.4 Add Text Module #2 to the First Column
- 2.5 Add Text Module #3 to the First Column
- 2.6 Add a Button Module to the First Column
- 2.7 Add a Slider Module to the Second Column
- 2.8 Add a Text Module to the Second Column
- 2.9 Add a Button Module to the Second Column
- 3 Result
- 4 Final Thoughts
Result
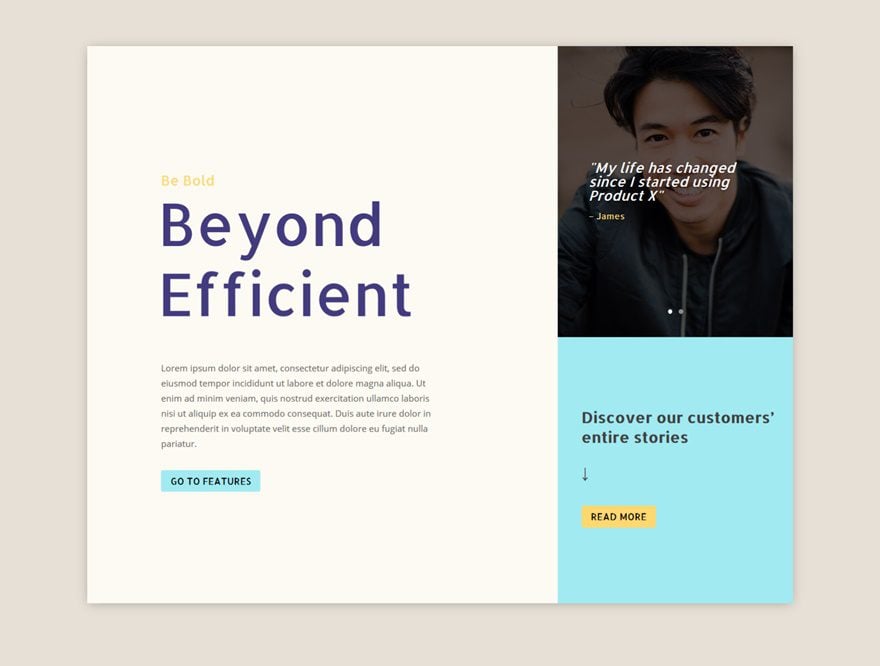
Before we dive into the tutorial, let’s take a quick look at the example we’ll recreate, step by step, on different screen sizes.
On Desktop
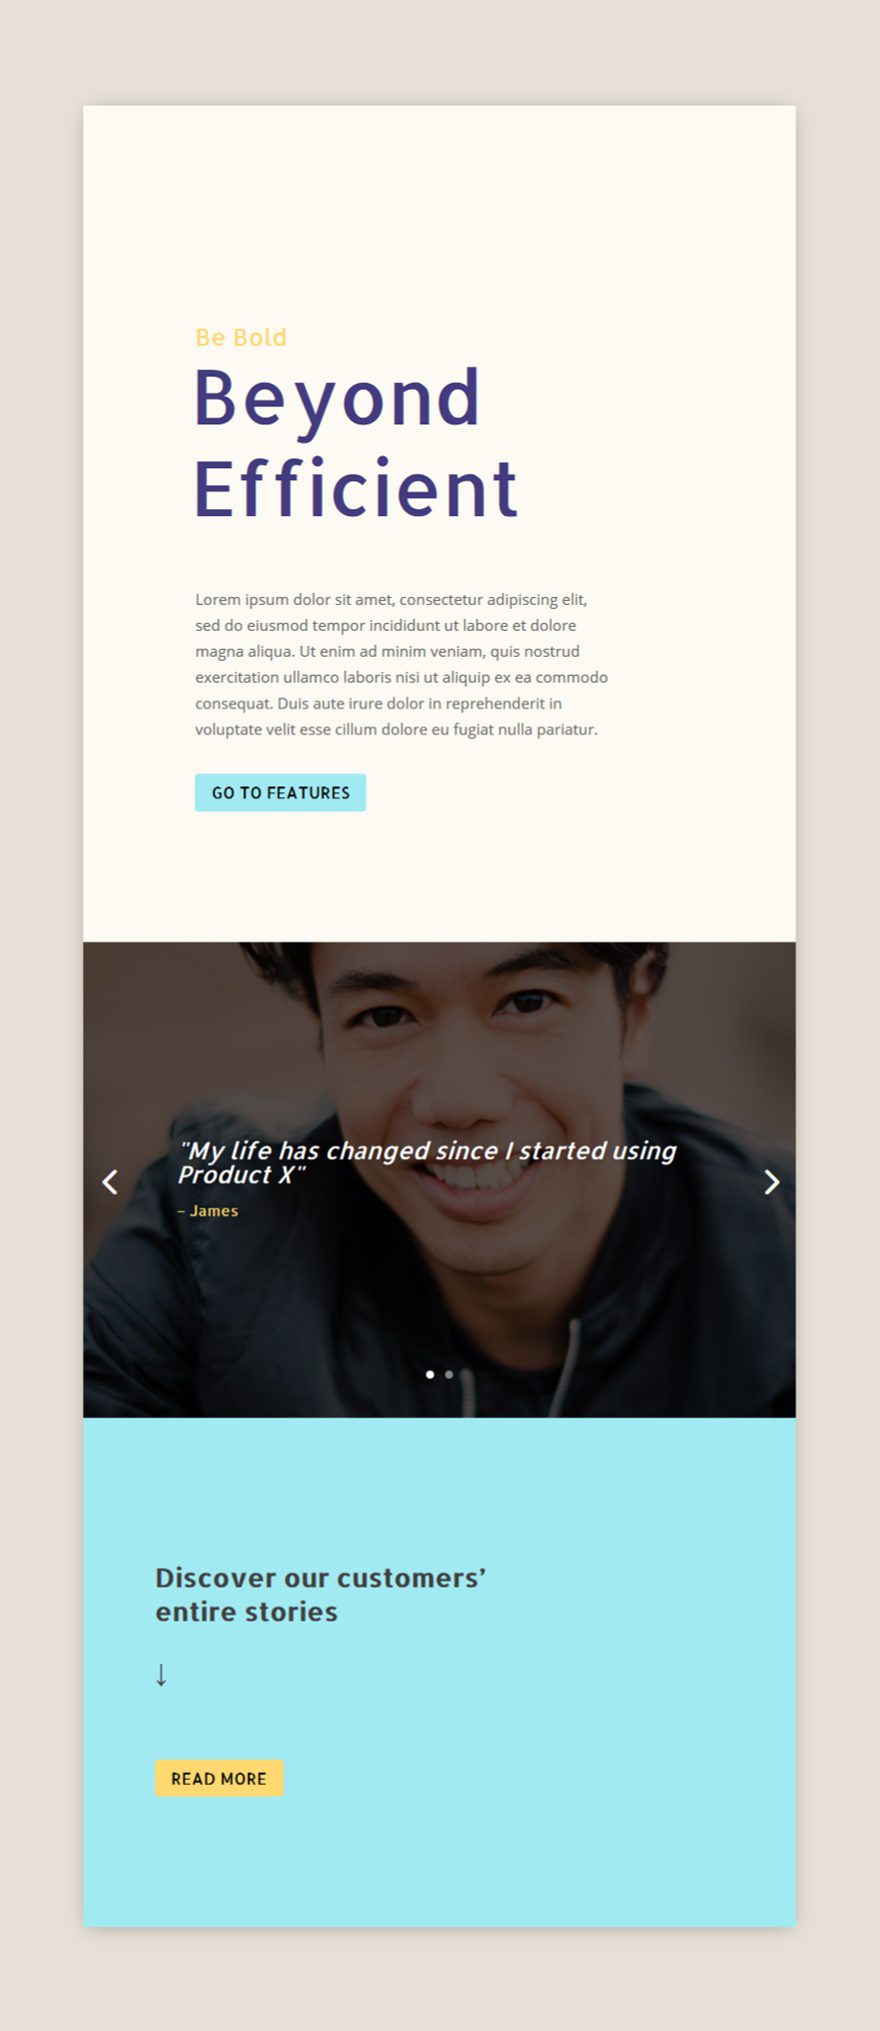
On Tablet
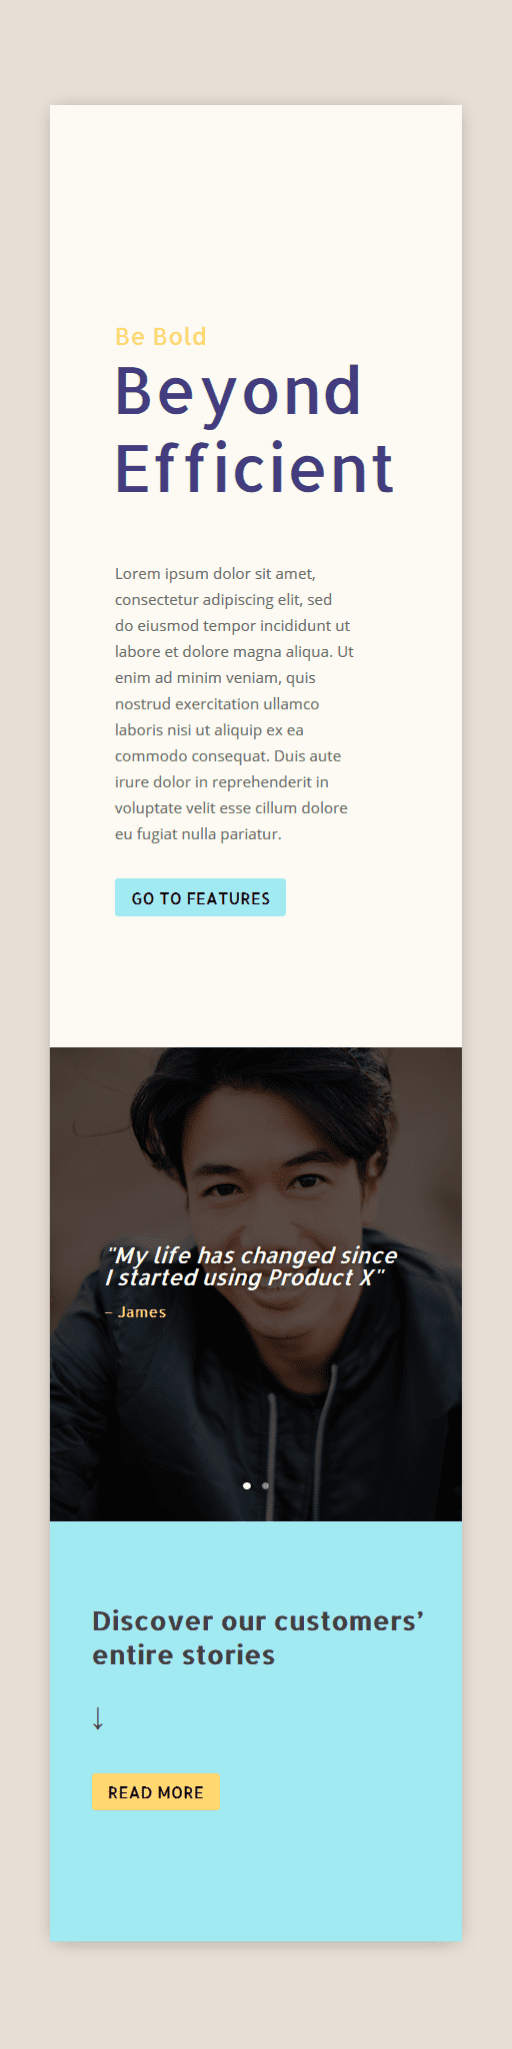
On Mobile
Start Recreating the Example
Add a New Standard Section
Background Color
The first you’ll need to do after adding a standard section to a new or existing page is choose ‘#e7e0d6’ as the background color of that section.

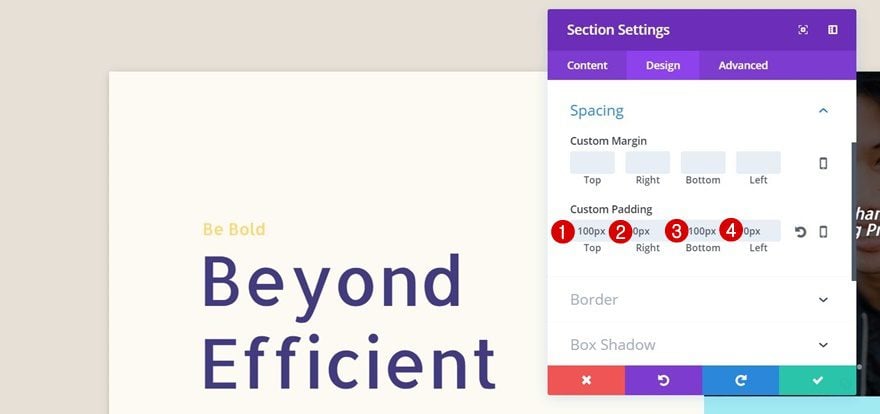
Spacing
Then, move on to the Design tab and add the following custom padding to your section to increase the distance between the beginning and ending of the section and the row we’ll add next:
- Top: 100px
- Right: 0px
- Bottom: 100px
- Left: 0px
Add a New Row
Column Structure
Once you’ve finished editing your section, add a new row to it with the following column structure:

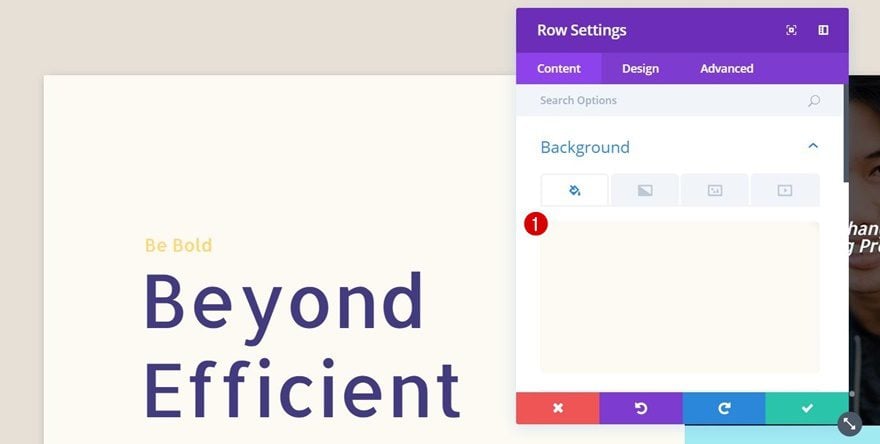
Background Color
Without adding any modules yet, open the row settings and add ‘#fcfaf2’ as the background color.
Column 2 Background Color
Scroll down the same tab and give your second column the ‘#a2eaf2’ background color.

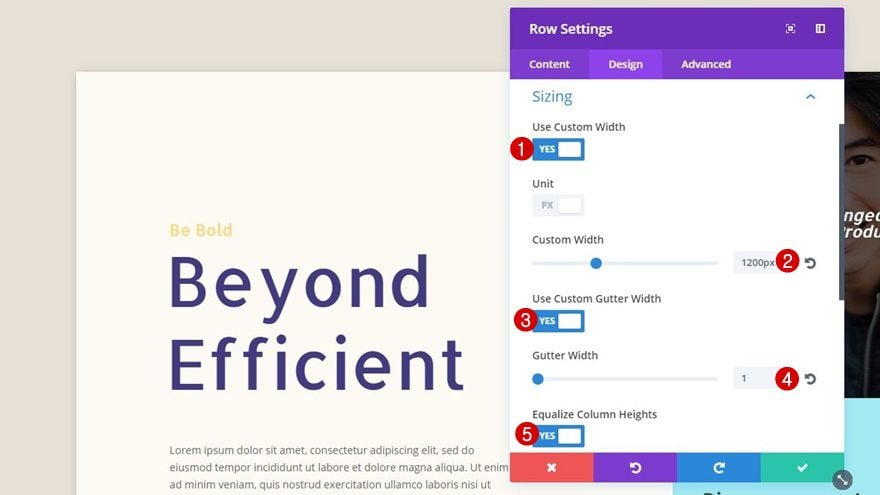
Sizing
Next, move on to the Design tab, open the Sizing subcategory and use the following settings to increase the width of your row and remove the space between both columns:
- Use Custom Width: Yes
- Custom Width: 1200px
- Use Custom Gutter Width: Yes
- Gutter Width: 1
- Equalize Column Heights: Yes
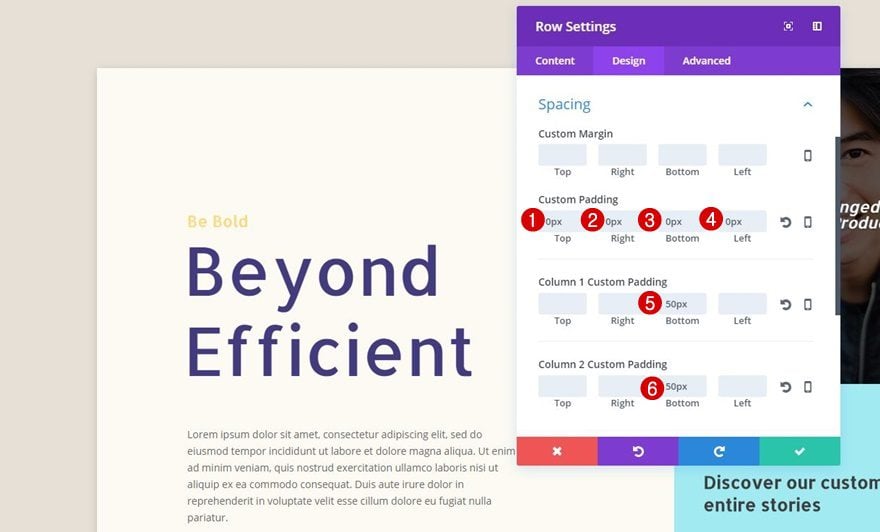
Spacing
Then, open the Spacing subcategory within the Design tab and make use of the following custom padding:
- Top, Right, Bottom & Left: 0px
- Column 1 Bottom: 50px
- Column 2 Bottom: 50px
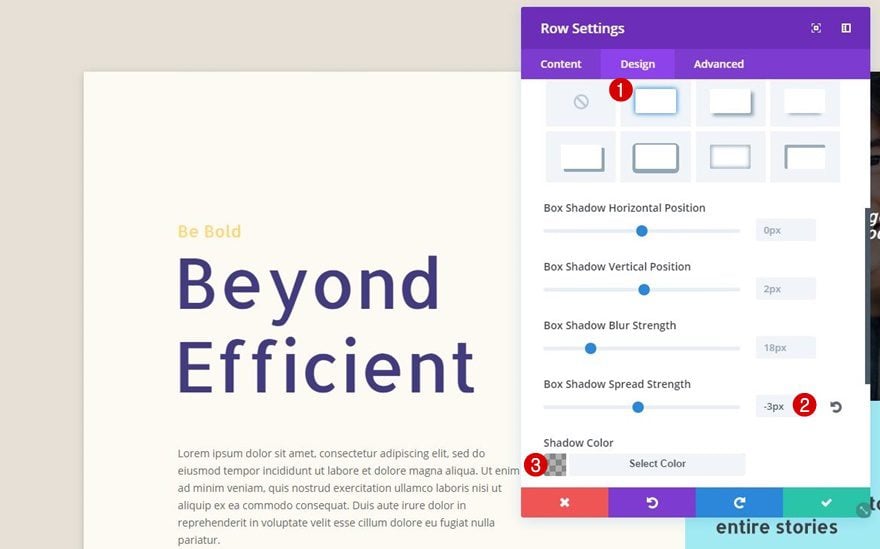
Box Shadow
Lastly, select the first premade Box Shadow and make the following modifications to it:
- Box Shadow Spread Strength: -3px
- Shadow Color: rgba(0,0,0,0.3)
Add Text Module #1 to the First Column
Text Settings
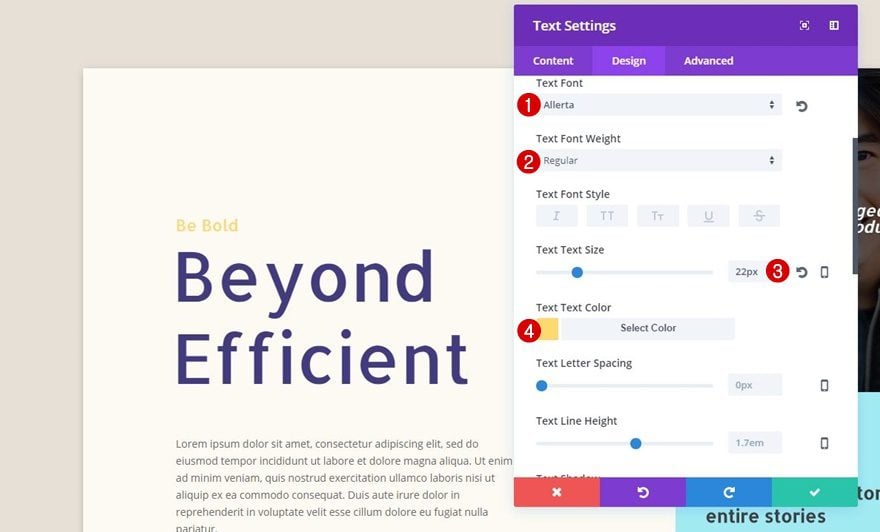
Now that we’ve modified the row, we can start adding modules to the columns. The first module you’ll need to add to the first column is a Text Module. Once you add the content, move on to the Text subcategory within the Design tab and use the following settings for it:
- Text Font: Allerta
- Text Font Weight: Regular
- Text Size: 22px
- Text Color: #ffd870
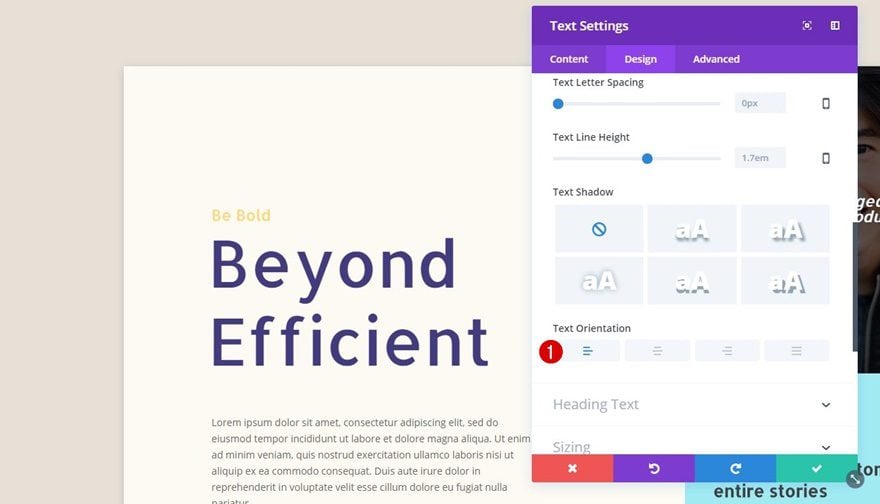
- Text Orientation: Left
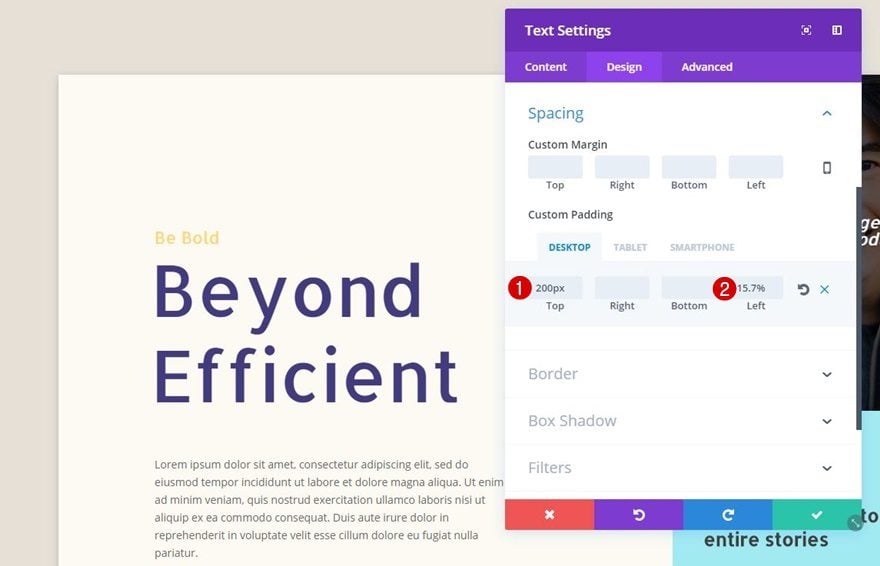
Spacing
Scroll down the Design tab, open the Spacing subcategory and apply the following custom padding next:
- Top Padding: 200px
- Left Padding: 15.7%
Add Text Module #2 to the First Column
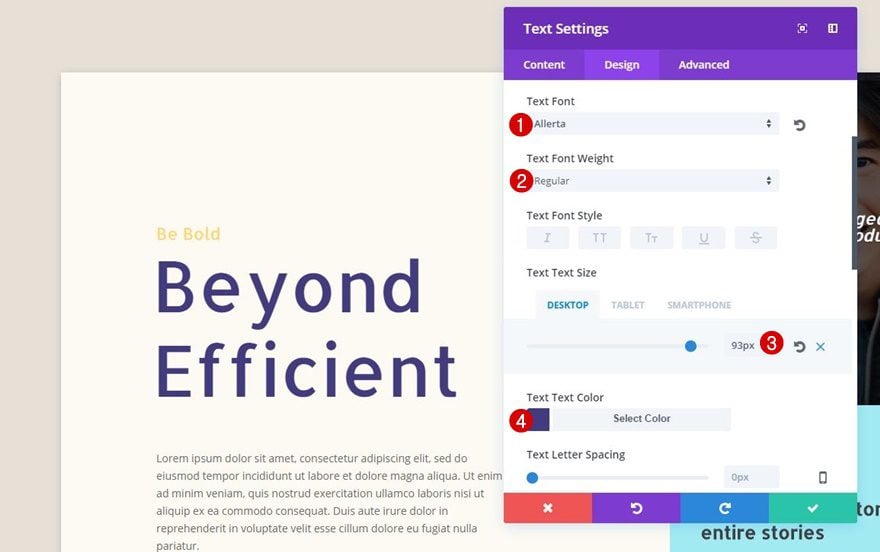
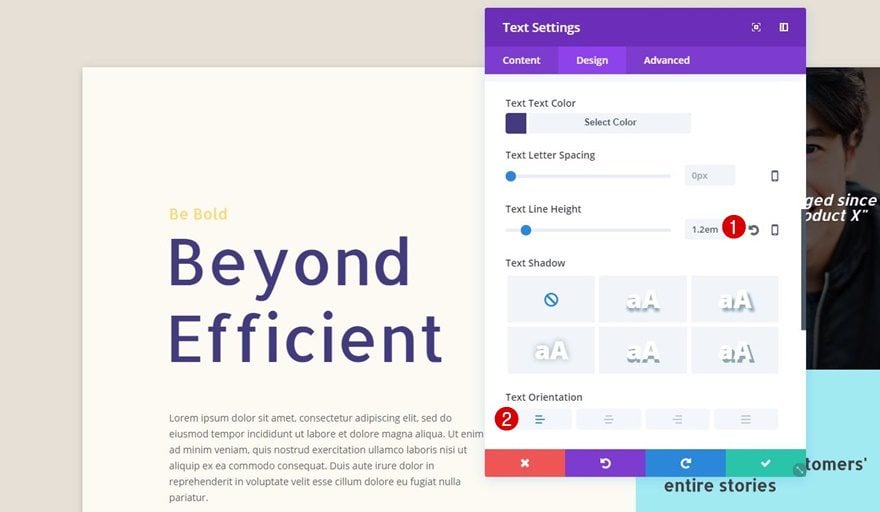
Text Settings
After adding a second Text Module to the first column, apply the following settings to the Text subcategory:
- Text Font: Allerta
- Text Font Weight: Regular
- Text Size: 93px (Desktop), 70px (Tablet), 60px (Phone)
- Text Color: #433b7f
- Text Line Height: 1.2em
- Text Orientation: Left
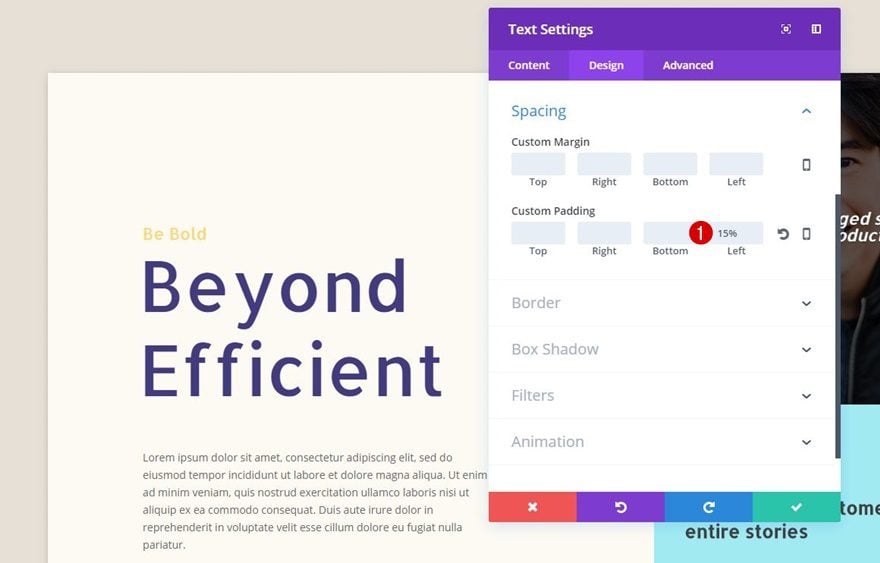
Spacing
Add ‘15%’ to the left padding of this Text Module as well.
Add Text Module #3 to the First Column
Text Settings
The last Text Module of the first column needs a center Text Orientation in the Text subcategory.
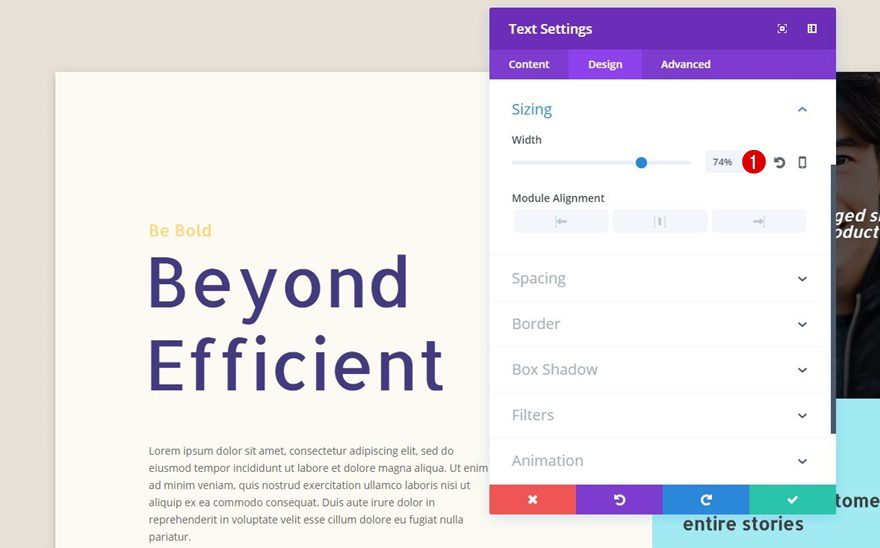
Sizing
After you’ve put the Text Orientation to left in the Text subcategory, open the Sizing subcategory and use ‘74%’ for the Width.
Spacing
Lastly, add the following values to the Spacing subcategory of this Text Module:
- Top Margin: 50px
- Left Padding: 15,7%

Button Settings
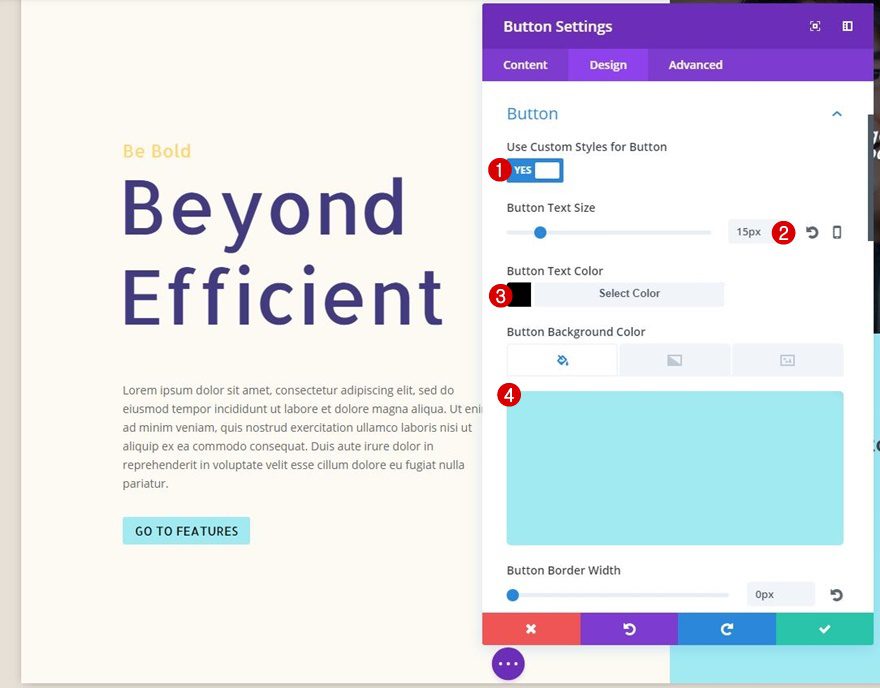
The last module within the first column is a Button Module. After adding the copy and link, move on to the Design tab and use the following settings for the Button subcategory:
- Use Custom Styles for Button: Yes
- Button Text Size: 15px
- Button Text Color: #000000
- Button Background Color: #a2eaf2
- Button Border Width: 0px
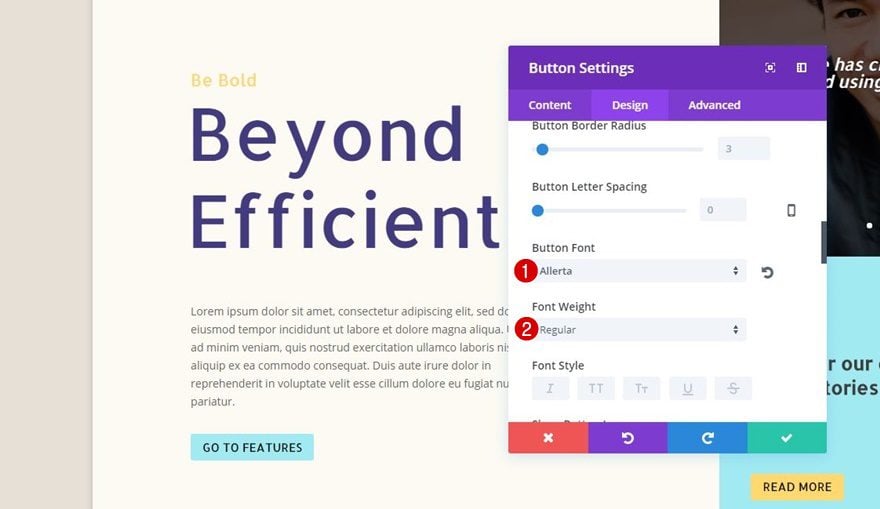
- Button Font: Allerta
- Font Weight: Regular
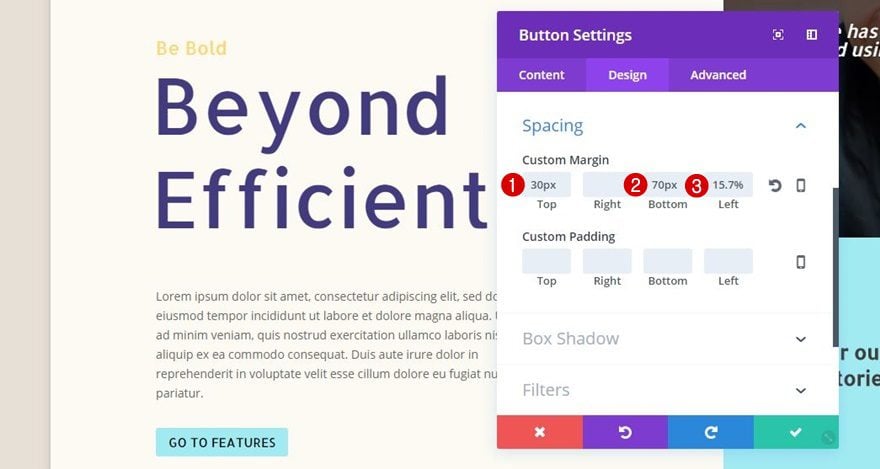
Spacing
Then, open the Spacing subcategory and add the following values:
- Top: 30px
- Bottom: 70px
- Left: 15.7%
Add a Slider Module to the Second Column
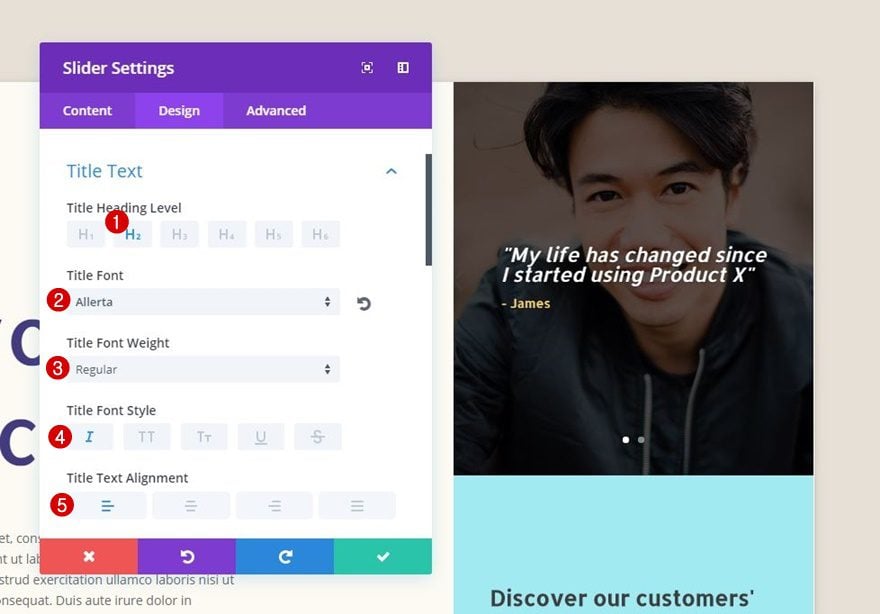
Title Text Settings
Now that we’ve finished adding modules to the first column (and editing them), let’s move on to the second one. The first thing you’ll need to add to the second column is the Slider Module. We’ll use this module to showcase testimonials creatively. Before adding any sliders, we’ll modify the Slider Module in its total. These changes will apply to all the slides that will be added to this module. Go to the Design tab, open the Title Text subcategory and apply the following settings to the H2 tab:
- Title Font: Allerta
- Title Font Weight: Regular
- Title Font Style: Italic
- Title Text Alignment: Left
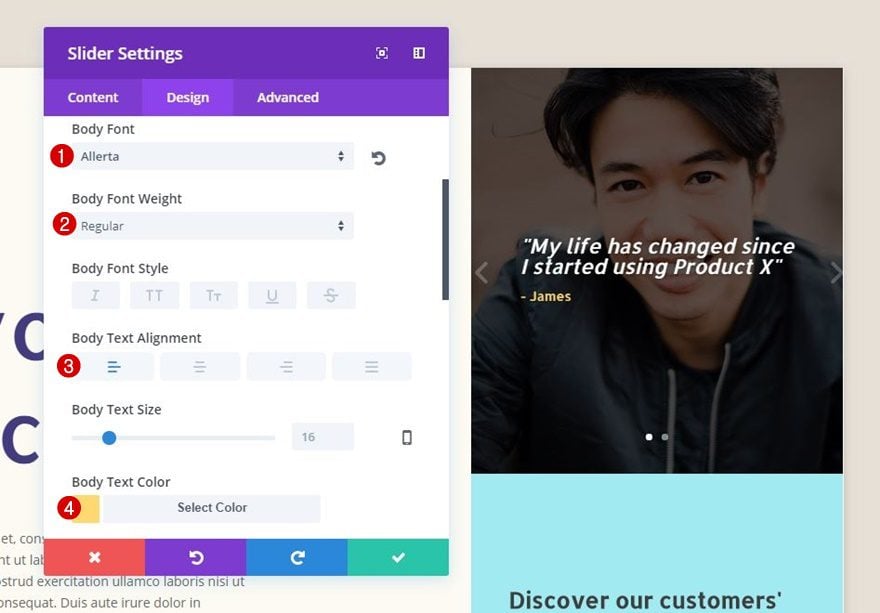
Body Text Settings
Then, open the Body Text Subcategory and apply the following settings:
- Body Font: Allerta
- Body Font Weight: Regular
- Body Text Alignment: Left
- Body Text Color: #ffd870
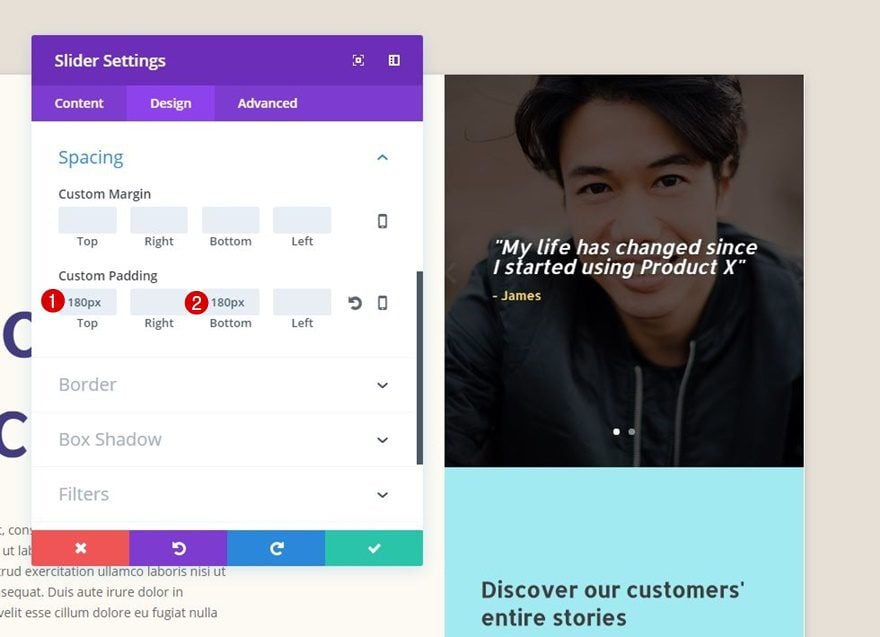
Spacing
Lastly, add ‘180px’ to the top and bottom padding within the Spacing subcategory.
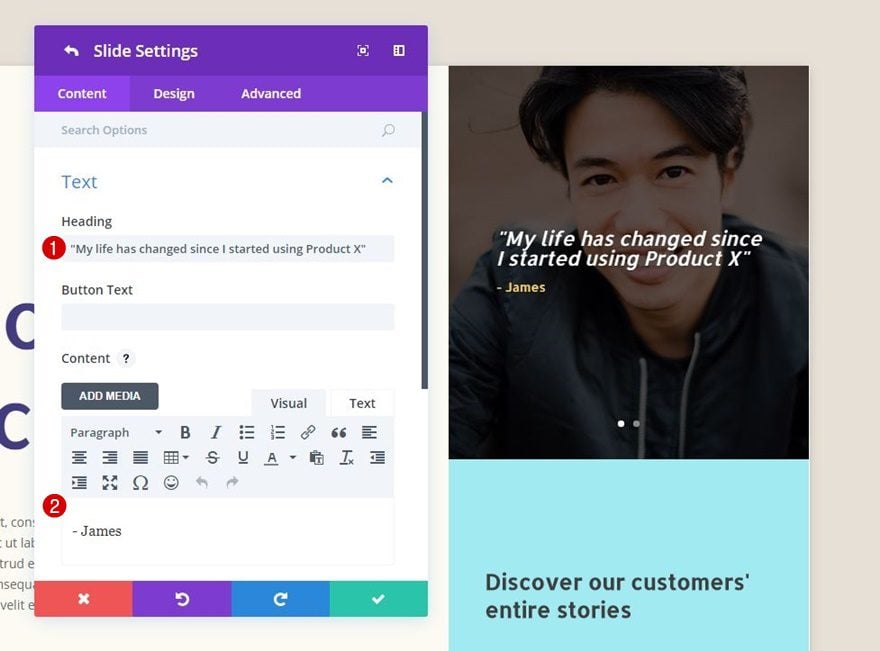
Slider Content
Now that you’ve made the general changes, go ahead and add the different testimonial sliders to the module. For each one of those, use Heading field for the testimonial itself and the Content box for the name of the person testifying.
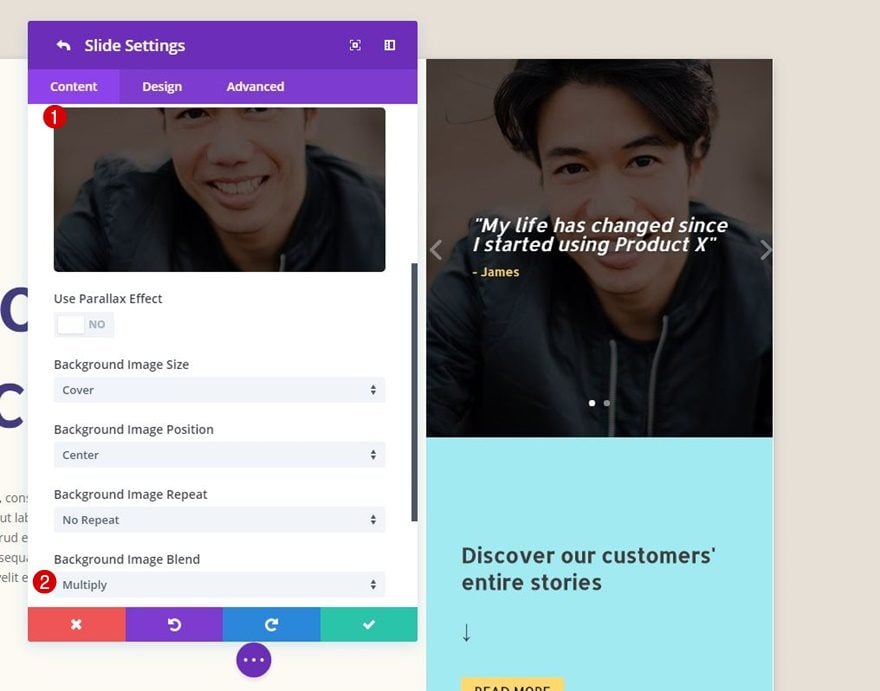
Slider Background Color Overlay
For each one of the sliders, add ‘#605550’ as the background color.
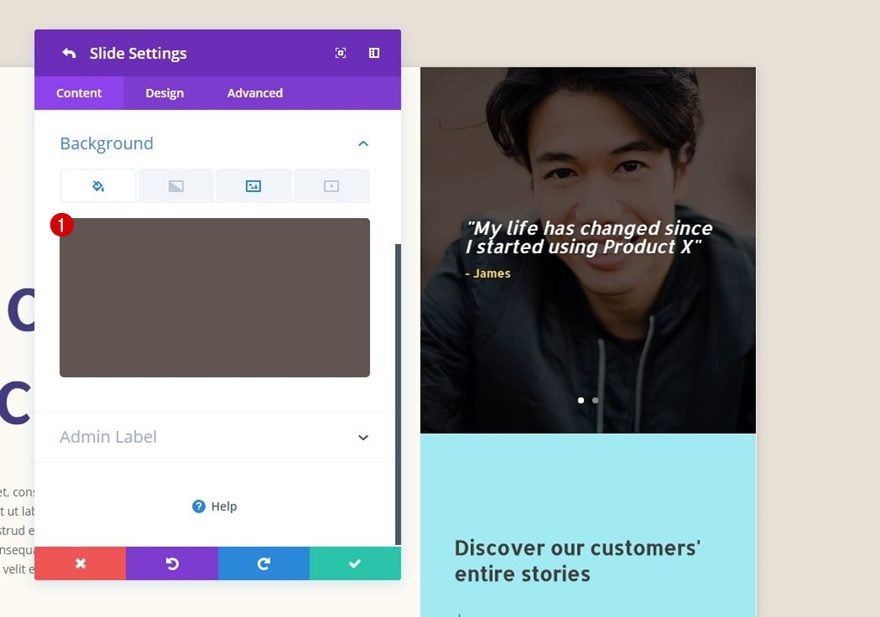
Slider Background Image
Along with the background color, add a background image and apply ‘Multiply’ for the Background Image Blend.
Add a Text Module to the Second Column
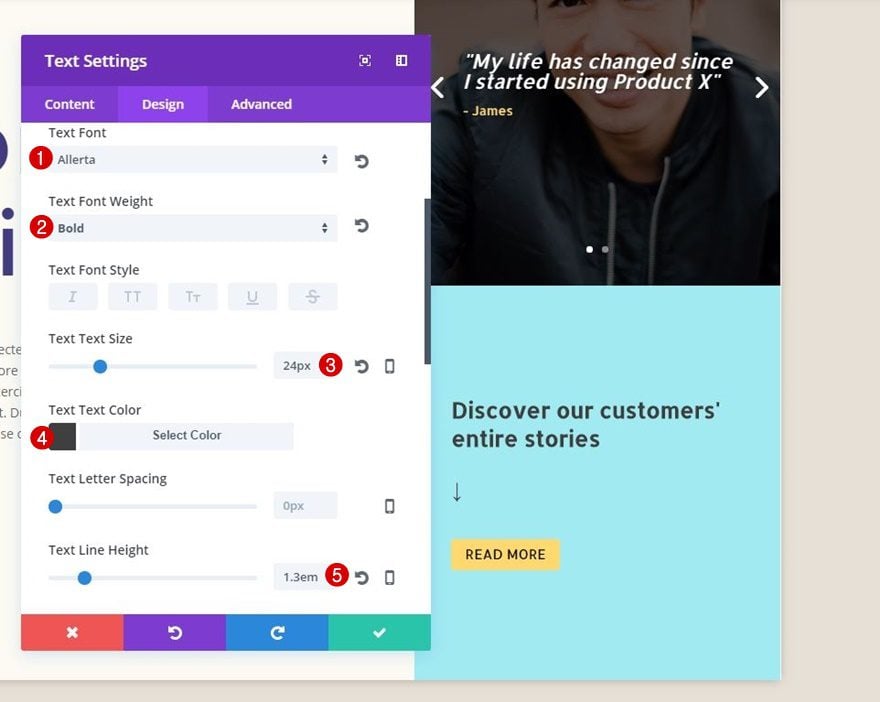
Text Settings
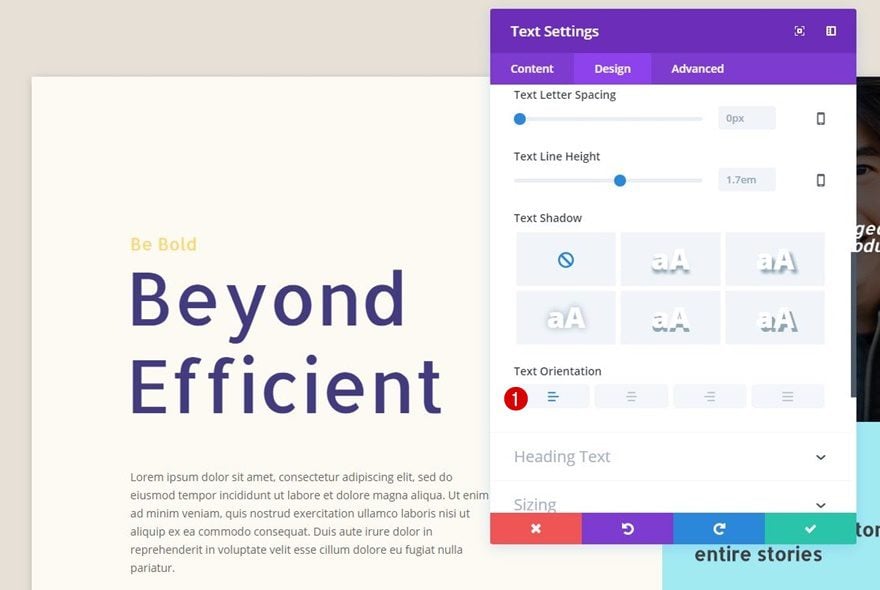
Now, add a Text Module right below the Slider Module you’ve created along with the following Text settings:
- Text Font: Allerta
- Text Font Weight: Bold
- Text Size: 24px
- Text Color: #3f3f3f
- Text Line Height: 1.3em
- Text Orientation: Left

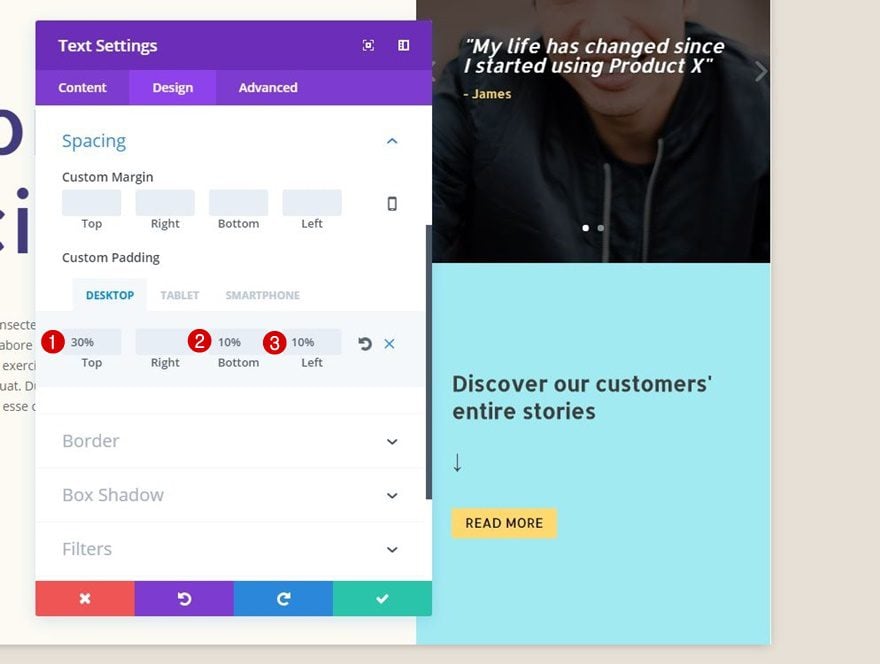
Spacing
Lastly, add the following custom padding to this Text Module as well:
- Top: 30% (Desktop), 20% (Tablet & Phone)
- Bottom: 10%
- Left: 10%
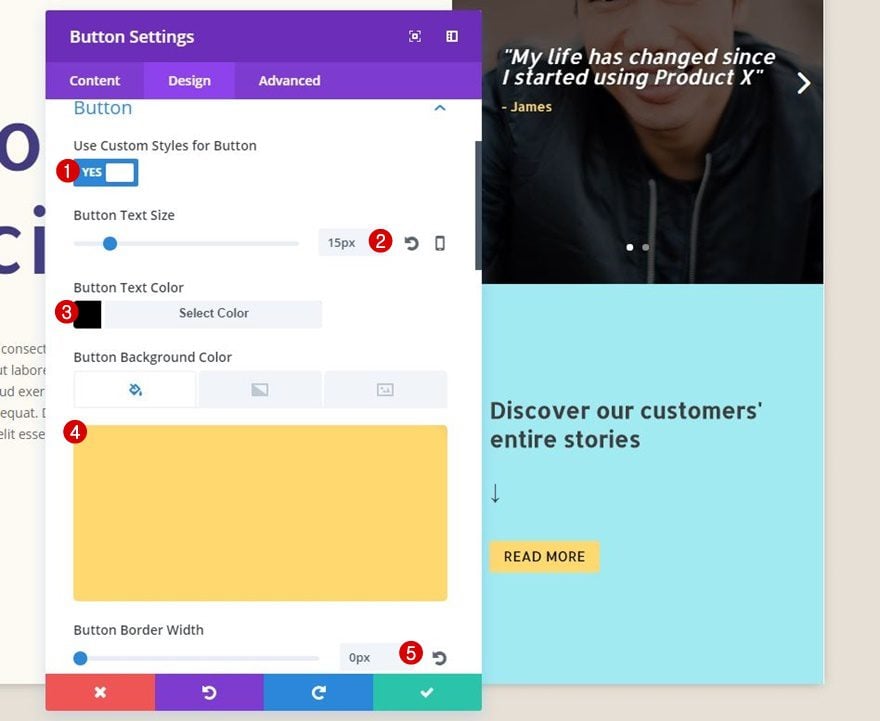
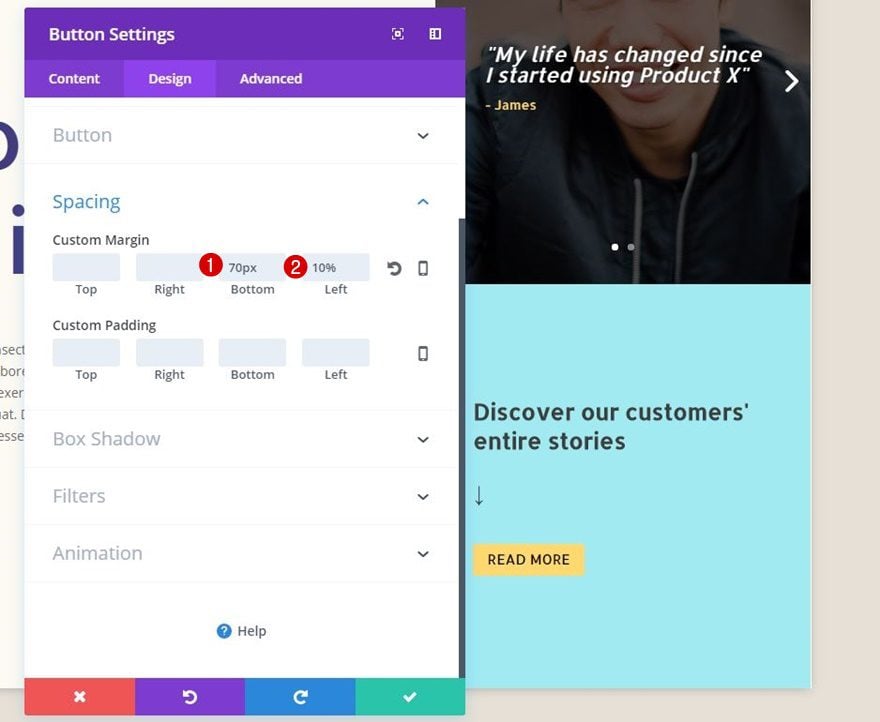
Button Settings
The last thing you’ll need to add to the second column is a Button Module. After adding the copy and link, modify the Button subcategory according to the following settings:
- Use Custom Styles for Button: Yes
- Button Text Size: 15px
- Button Text Color: #000000
- Button Background Color: #ffd870
- Button Border Width: 0px
Spacing
To make the Button Module fit with the other Modules, use the following custom margin:
- Bottom: 70px
- Left: 10%
Result
Now that we’ve gone through all the steps on how to use the Slider Module creatively for testimonials, let’s take a final look at the result on different screen sizes.
On Desktop
On Tablet
On Mobile
Final Thoughts
In this post, we’ve shown you how to creatively use the Slider Module to include testimonials in one of your sections. This design can be used for any website in combination with your color palette of choice. If you have any questions or suggestions, make sure you leave a comment in the comment section below!


Very nice design. How do you make the height smaller so less empty space. Also I cant move the text over the picture. how do you adjust that/ Thank you/
Did you create a video of this? I find the videos to be so useful.
I don’t think this right, at least I can see NO centered text:
Add Text Module #3 to the First Column
Text Settings
The last Text Module of the first column needs a center Text Orientation in the Text subcategory.
I did accidentaly write ‘center’. The print screen shows left orientation though. Sorry about that.
So you ARE human and can make mistakes? I am shaken! 🙂
+1 to wish there was as download
Demo link would be nice
Nice Thanx For Sharing.
Excellent example and use of various settings. Keep up the good work!
nice article.amazing information.really appreciate to your efforts.thank u such sharing such a nice tips.i am such a big fan for your blog.i strongly agree with u.
great post.earned a lots.
It was only last week that I used the full-width slider along with the new divider styles to build a review section on a handyman site for a client.
handymanhero.co.uk
Thanks, that good idea, for my next ecommerce project
I love the concept. Is there a download somewhere?
I need some good ideas for an image carousel in Divi. Have a client who has a ton of documents (PDFs) for download and I’d like to use carousels for different categories.