
Your brand shouldn’t be constrained by a static layout, so we aim to provide you with full flexibility as Divi 5 continues to develop. Divi 5’s new Loop Builder is a great step in that direction; it lets you design an item once and loop it into dynamic grids or lists.
In this tutorial, we’ll show you how to set up a custom blog post loop. We’ll design the listing, connect dynamic fields, set the query, and refine the layout for a clean grid or list. Let’s get to it!
What Is Divi 5’s Loop Builder
With Divi 5’s Loop Builder, you design a single “card” layout in the Visual Builder using as many Divi modules as you want, then Divi loops it for each item you choose to display.
Subscribe To Our Youtube Channel
Enable the Loop Element on a column, set a query (posts, custom post types like Projects, terms, or users), and map dynamic fields such as titles, featured images, categories, custom fields, and buttons. You can reorder elements, control spacing, and let everything inherit your global styles.
The result is a responsive, reusable listing that matches your system without the need for extra plugins or custom code.
How The Loop Builder Works
You can turn on the loop mode in any section, row, column, or module by opening its Content tab and enabling Loop.
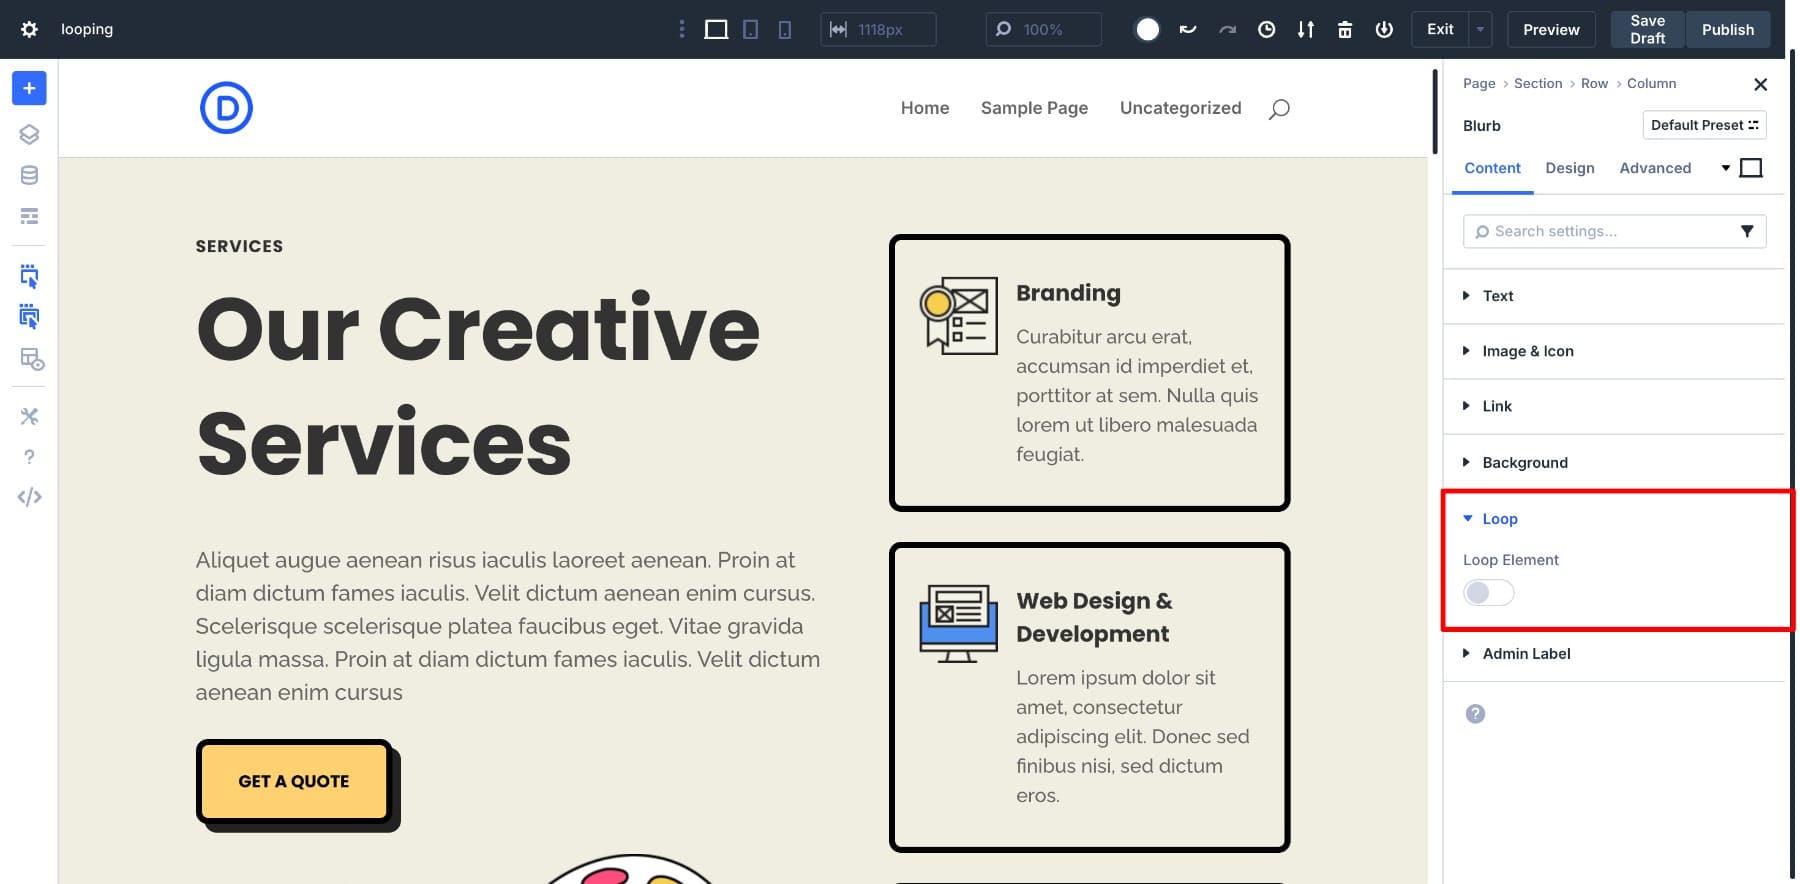
From that point, Divi automatically repeats the element for each post that matches your settings.
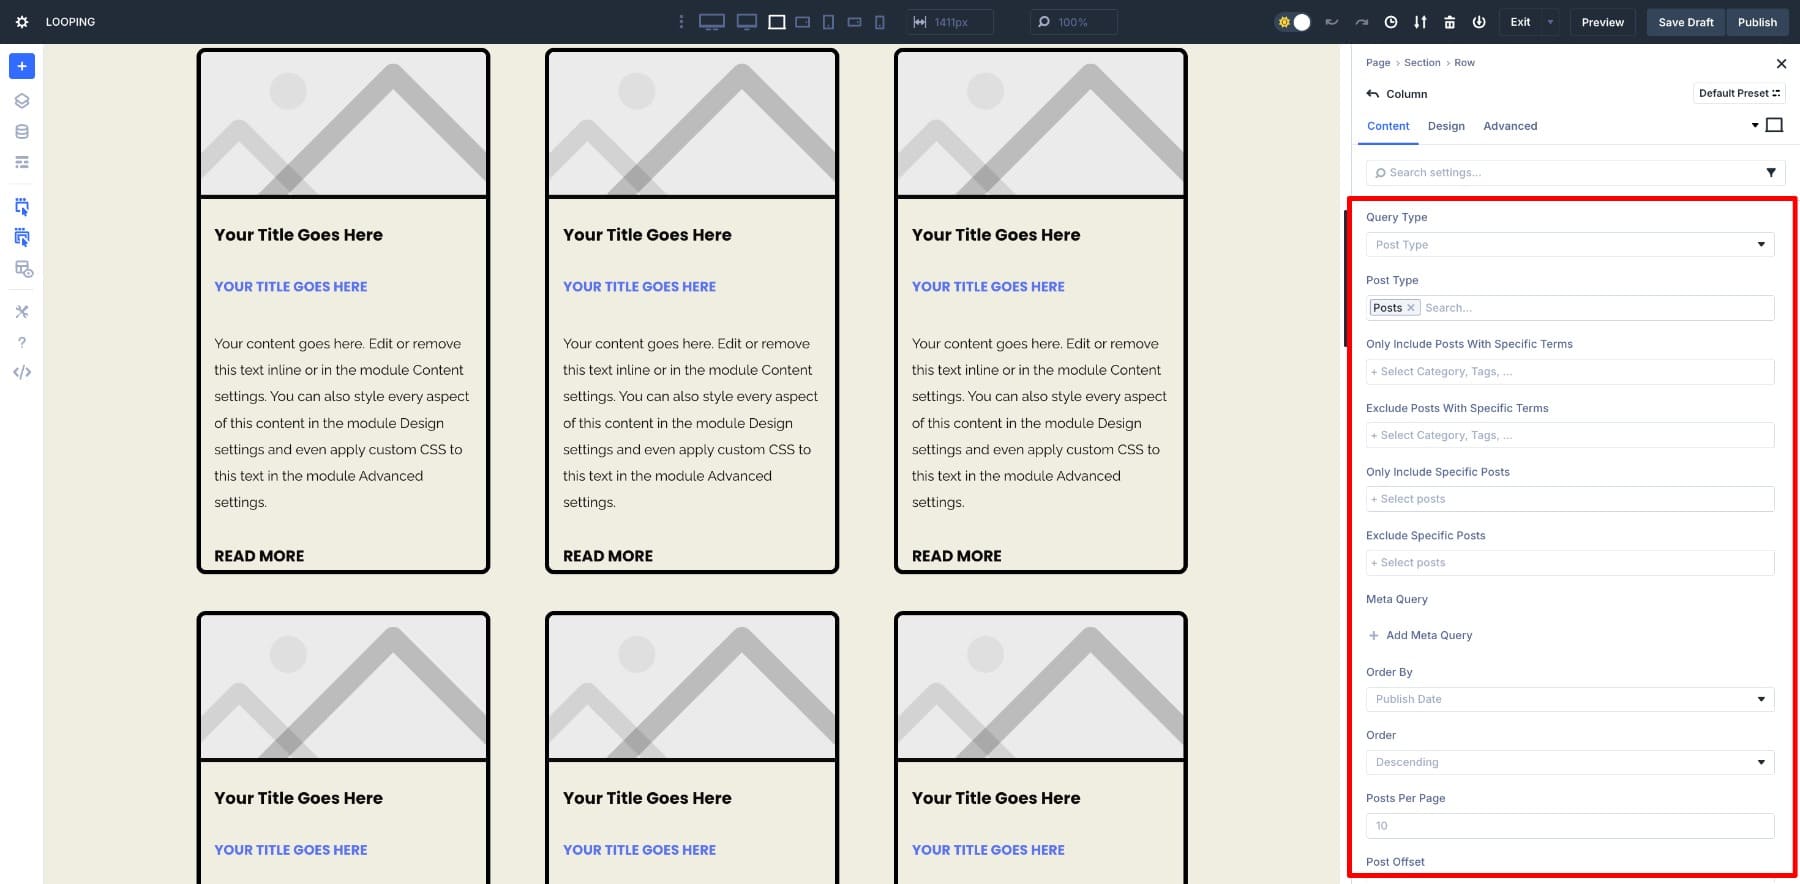
Here’s where the real control comes in. In the loop settings, you can:
- Query Type: Choose between a basic post query or a meta query, filtering by categories, tags, custom fields, or other metadata.
- Post Type: Pick the type of content to display, from blog posts to products to any custom post type.
- Only Include Posts With Specific Terms: Show only posts that match certain categories, tags, or other taxonomy terms.
- Exclude Posts With Specific Terms: Remove posts that match selected categories, tags, or terms.
- Only Include Specific Posts: Select individual posts to include.
- Exclude Specific Posts: Hide individual posts you don’t want in the loop.
- Meta Query: Add custom field conditions to control what appears.
- Order By: Choose if results are sorted by date, title, menu order, or a custom field value.
- Order: Show results in ascending or descending order.
- Posts Per Page: Decide how many posts display before pagination.
- Post Offset: Skip a certain number of posts from the start, handy for avoiding duplicates with featured sections.
- Ignore Sticky Posts: Choose whether sticky posts get priority or are treated like normal posts.
Once you’ve defined your query, Divi automatically fills each post card with the right content while keeping the layout and styling identical. You focus entirely on how the card looks, and Divi handles the population and repetition. With everything controlled from a single panel, a few settings are all it takes to keep your blog listing updated without manual edits.
Learn Everything About Divi 5’s Loop Builder
Creating A Custom Blog Post Loop With Divi 5
Building a custom blog post loop with Loop Builder has two parts. First, you design the post card layout, choosing exactly what content appears and how it looks. Then, you place that design inside a loop so Divi repeats it automatically for every post you want to show.
We’ll go through it step-by-step, starting with the card layout and then setting up the loop.
Before You Start
If you’re moving from the Blog Module to Loop Builder and already have a blog listing page, you can skip to creating your Loop Layout. If not, here’s the quick setup:
1. Add A Blog Page
From your WordPress dashboard, go to Pages > Add New, name it “Blog,” and publish it.
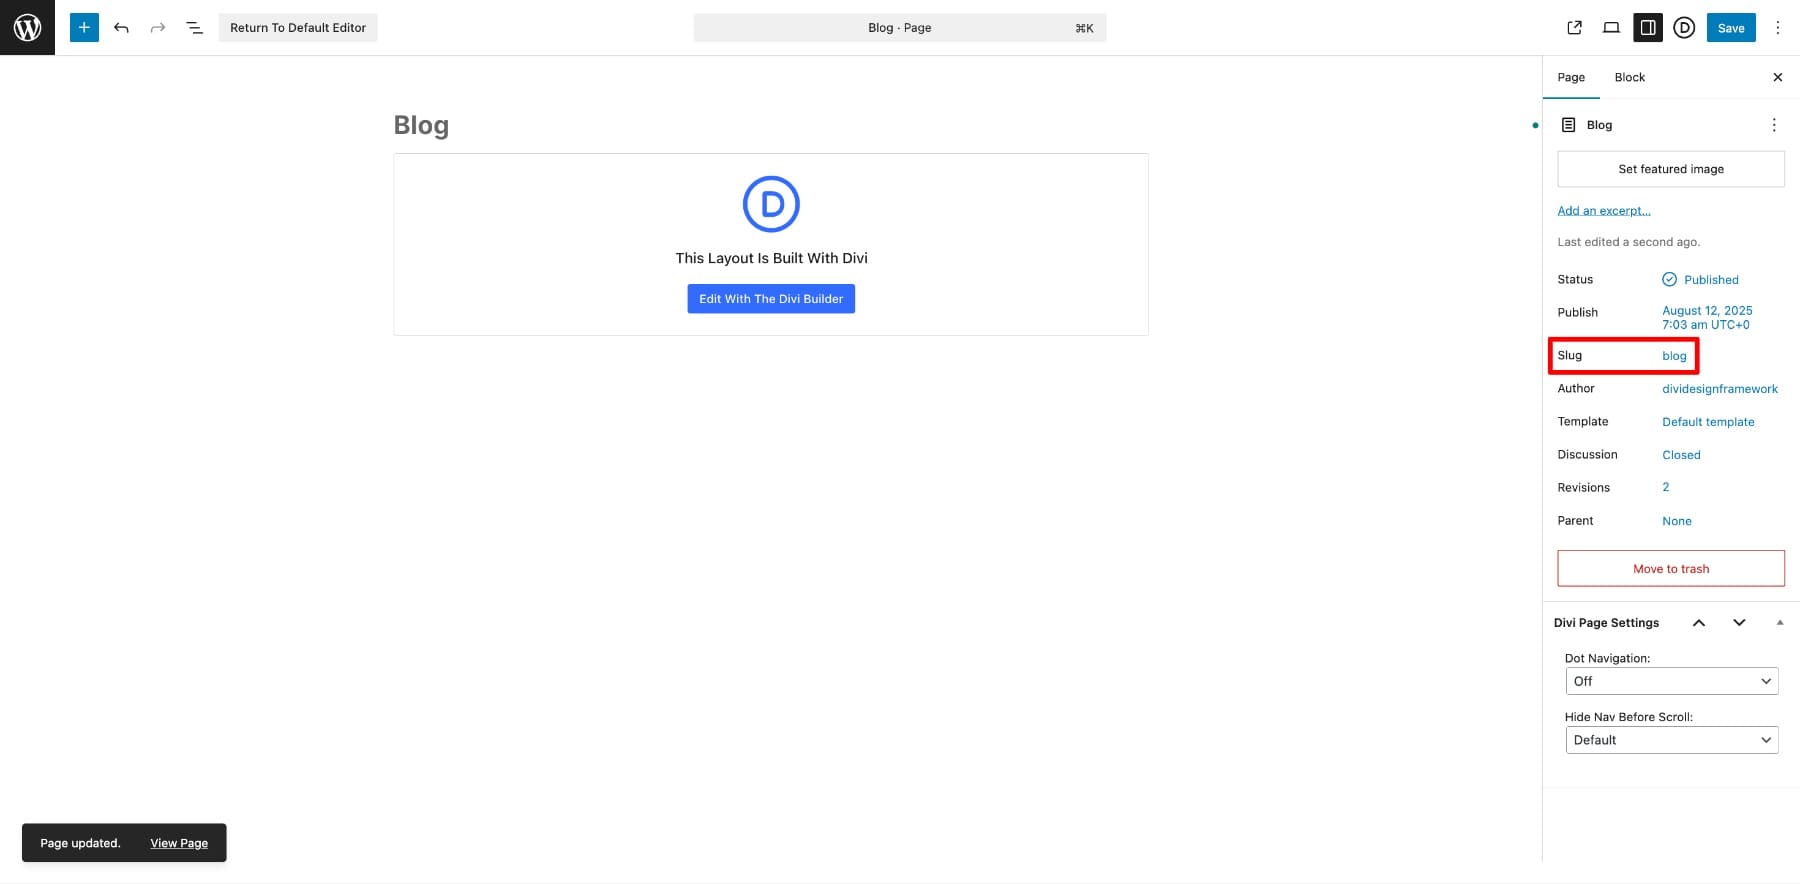
This page will be the main hub for your posts.
2. Set Your Blog Page In WordPress Settings
In Settings > Reading, choose A static page. Assign your Homepage to Home and your new Blog page to Posts page.
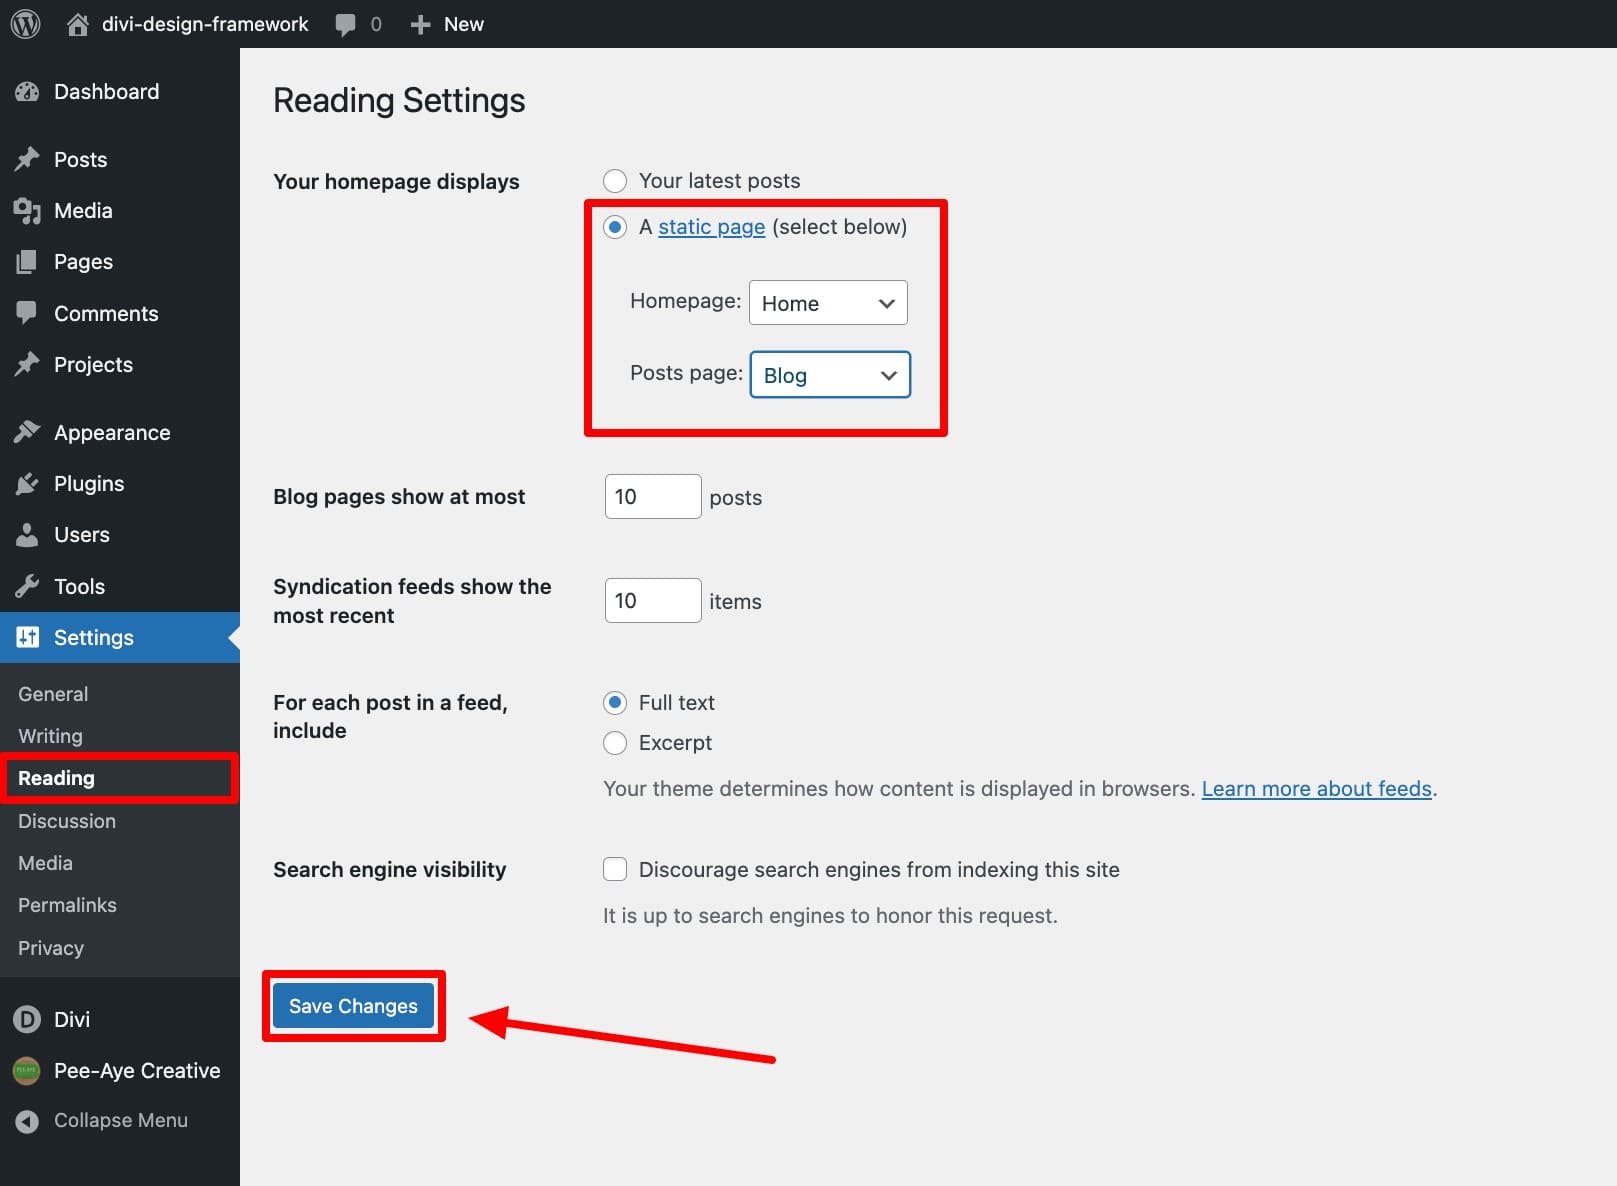
This is only needed if you use a separate homepage and blog listing page.
3. Create A Theme Builder Template
Next, you’ll create a new template for your blog listing page. If you already have one, you can customize that. Make sure you’re using the latest Divi 5 version to access Loop Builder.
In Divi > Theme Builder, click Add New Template > Build New Template.
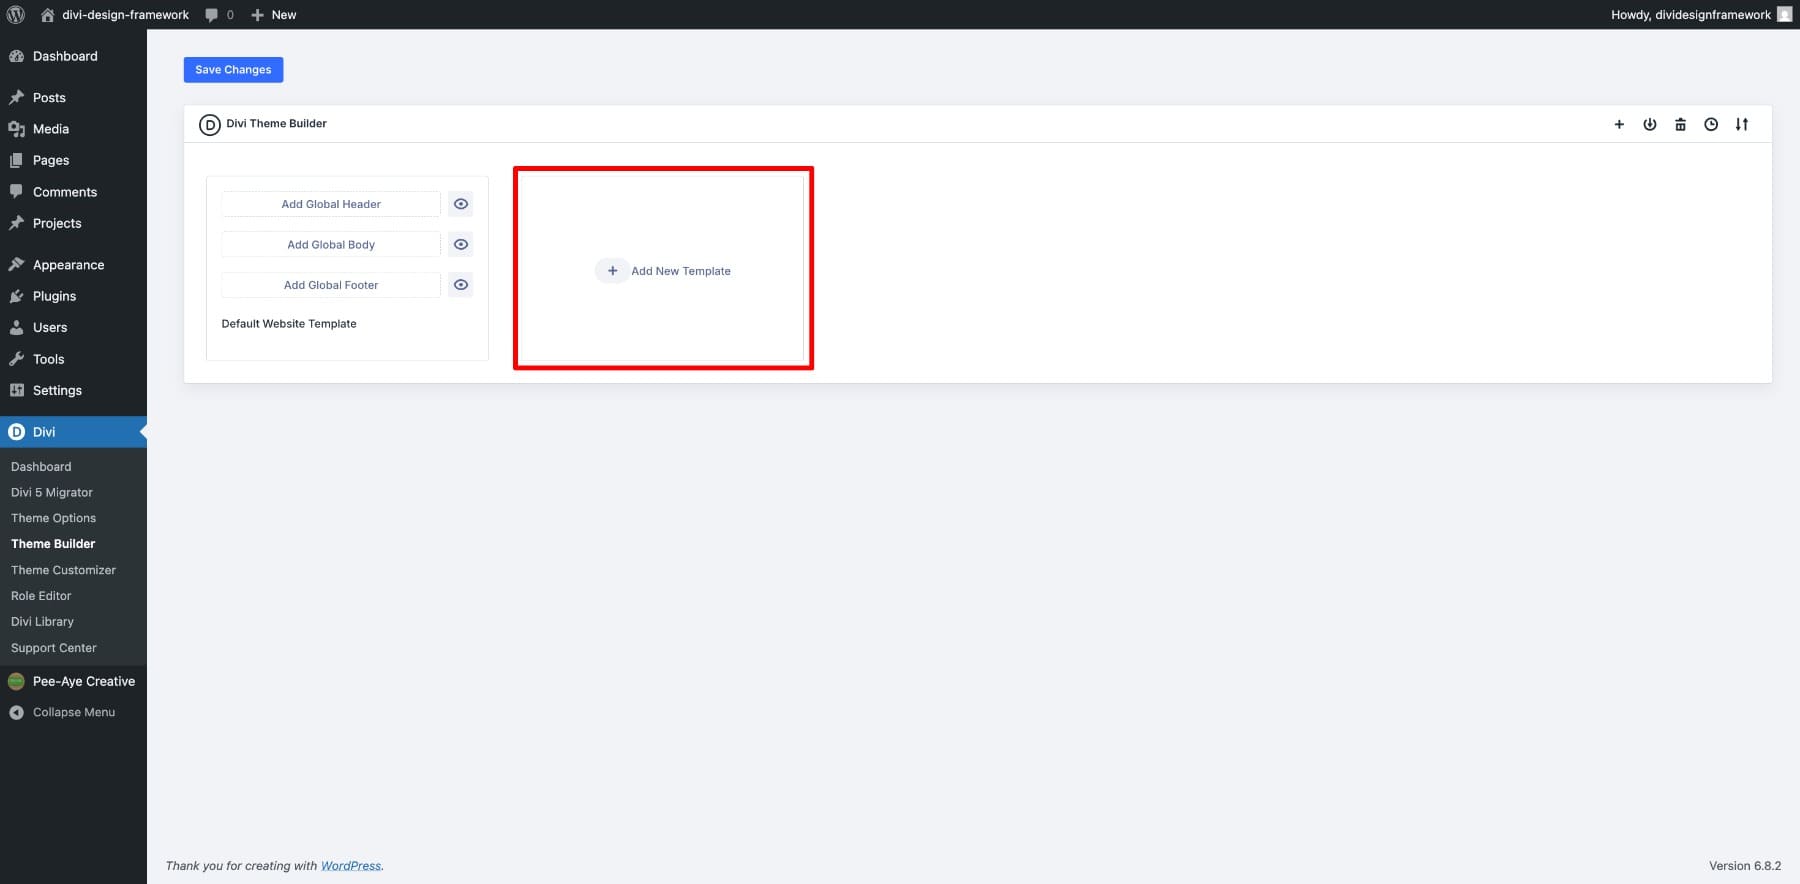
Assign it to your Blog page and click Create Template.

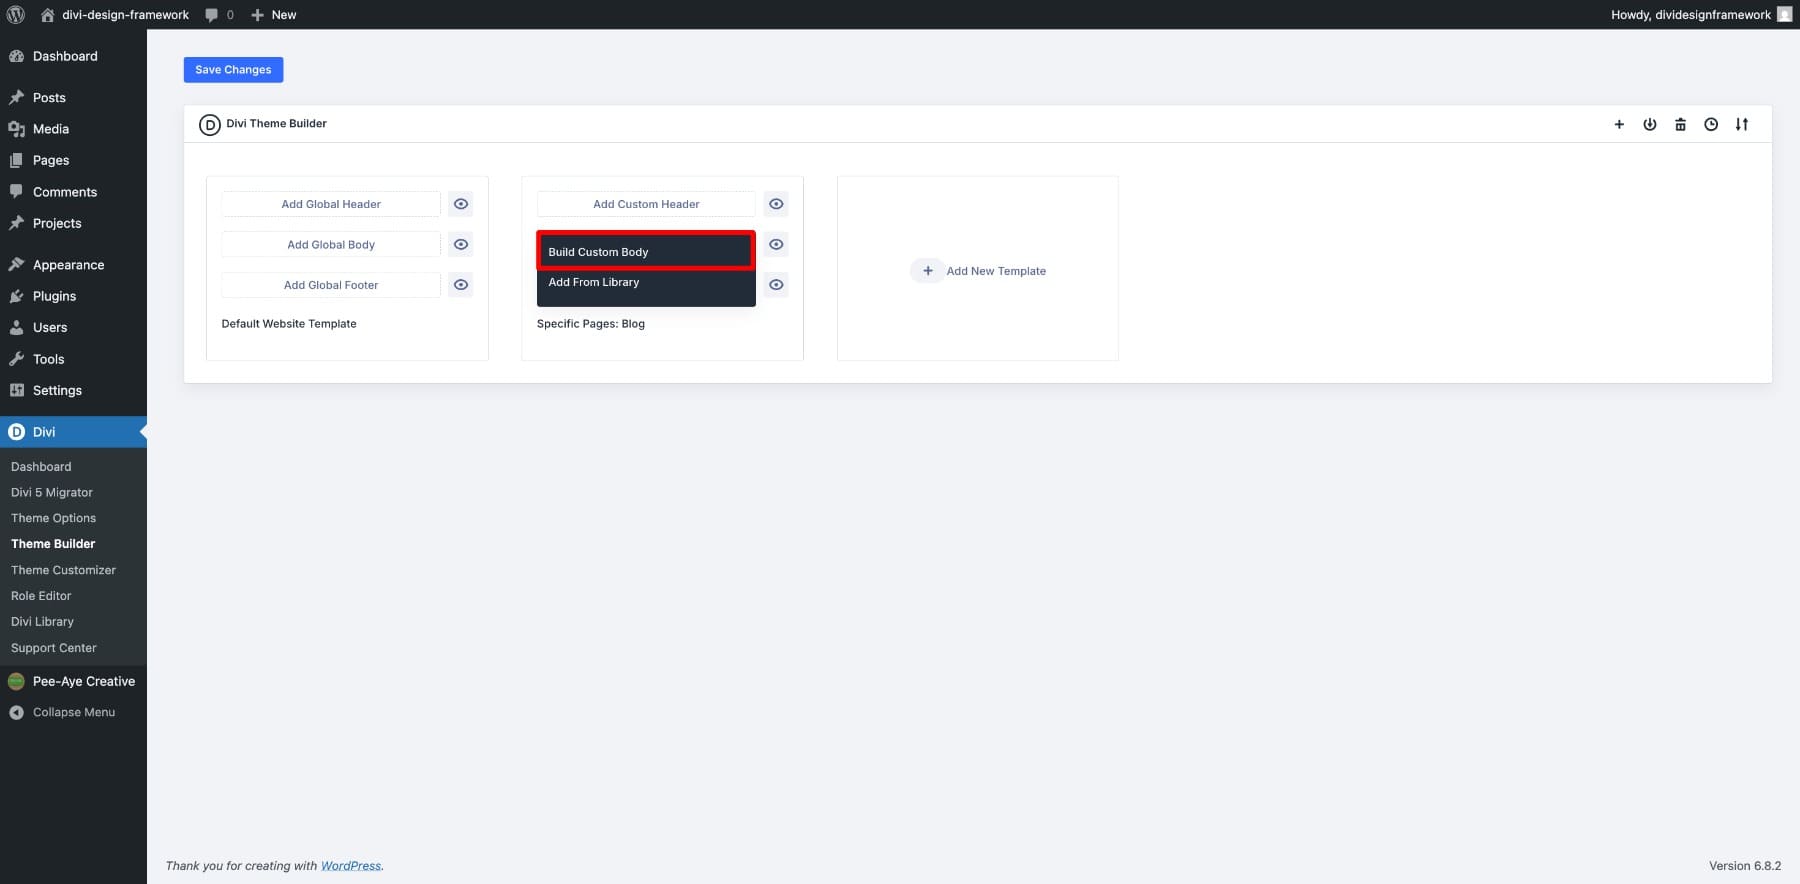
To design your blog post listing page, click Add Custom Body > Build Custom Body.
You’ll now enter the Divi Builder, where we’ll start building the loop layout.
1. Import A Layout
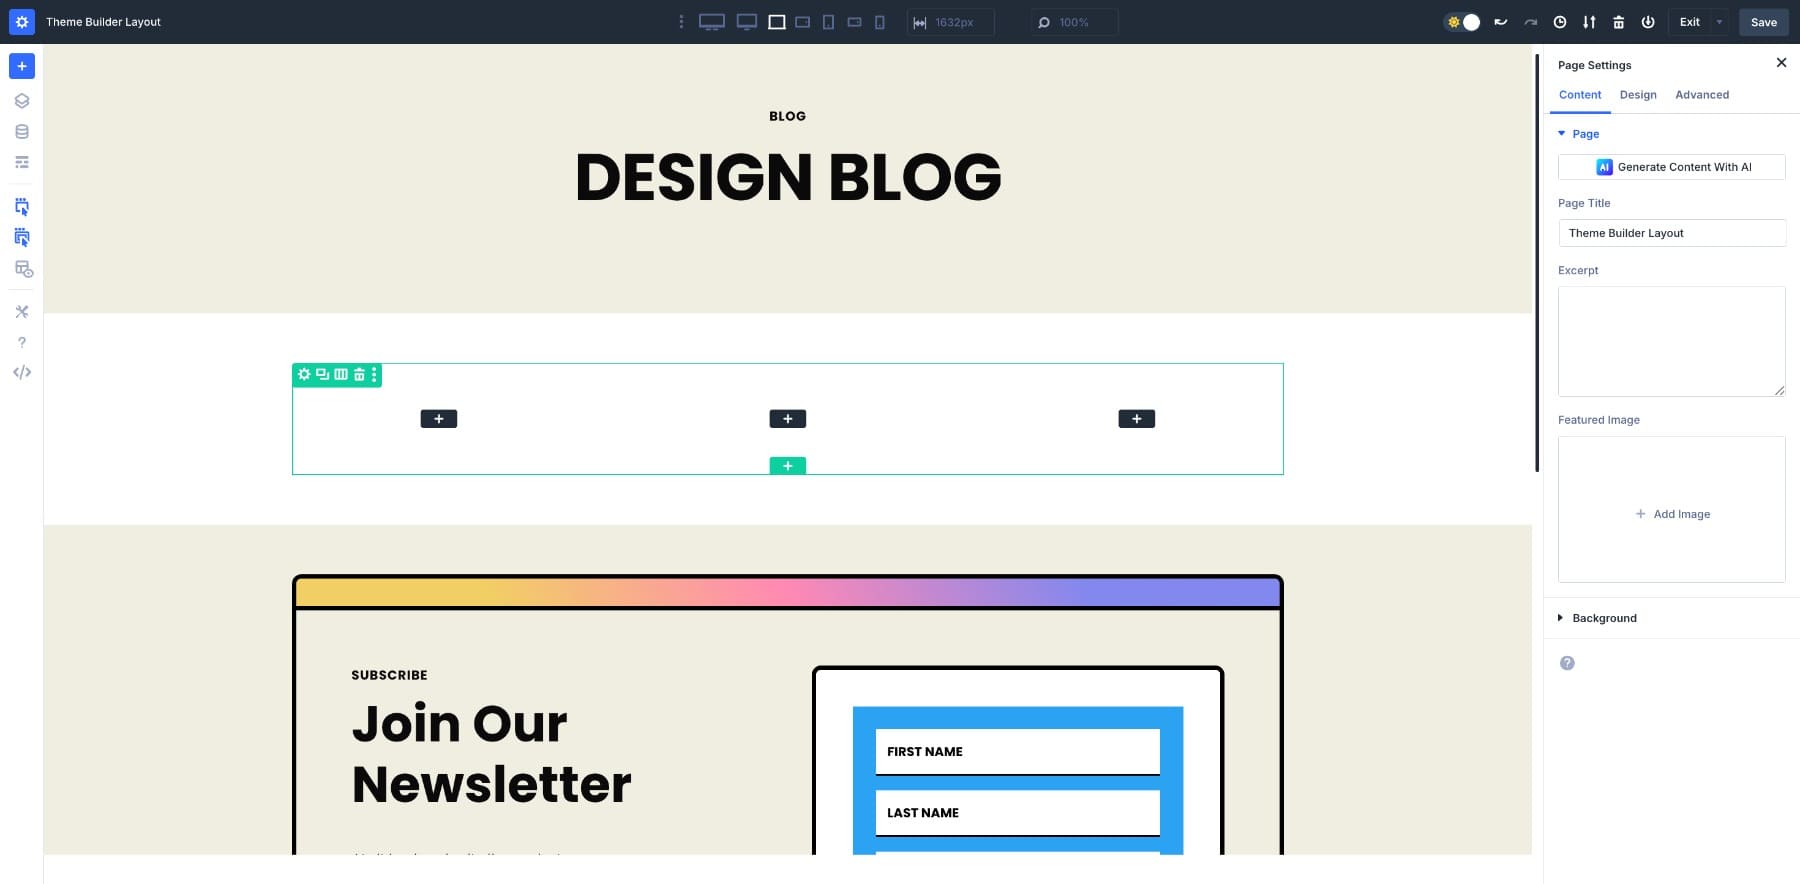
Starting with a layout can save you a lot of time and help you keep a consistent design from the beginning. For this tutorial, I’m using the Marketing Agency Blog Page Layout for branding.
You can choose the same or import any layout that gives you a good base to work from. Once it’s in your template, you’ll have a ready-made structure you can adapt to your needs instead of building everything from scratch.
2. Design One Blog Post Card
This is where Loop Builder’s flexibility really comes through. Instead of being locked into the Blog module’s fixed layout, you decide exactly what goes on your post card and how it’s arranged.
Add a new section to your template. You can pick from the pre-designed structures or create your own using the one-column option.
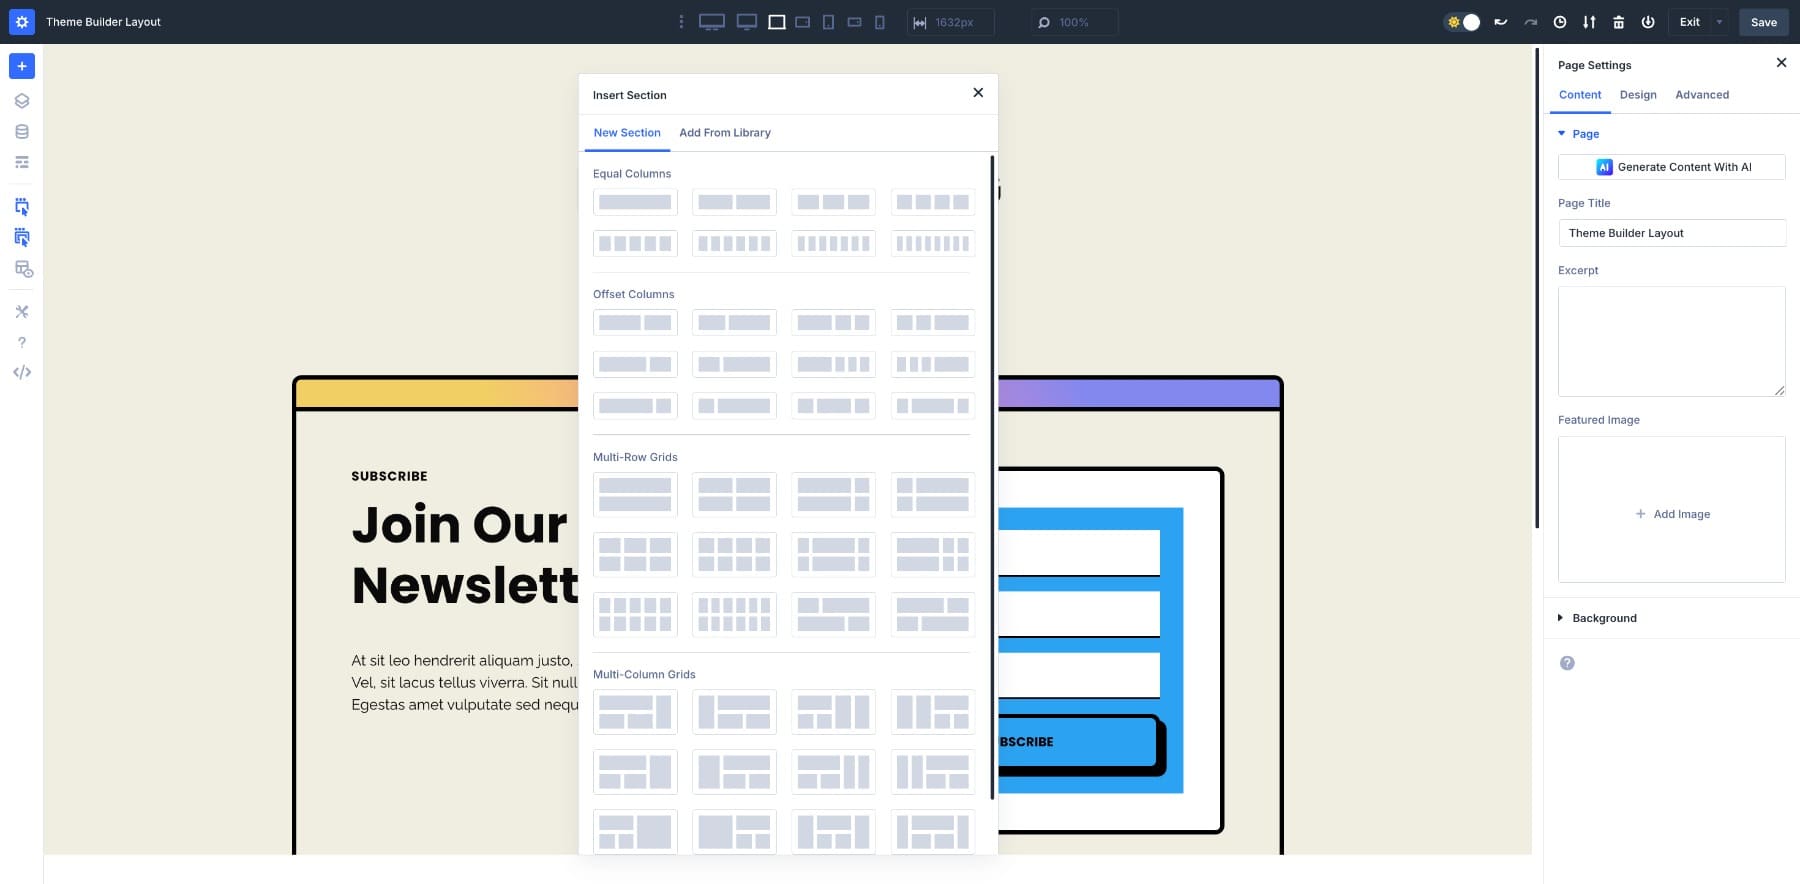
For this example, let’s choose a three-column row structure section.
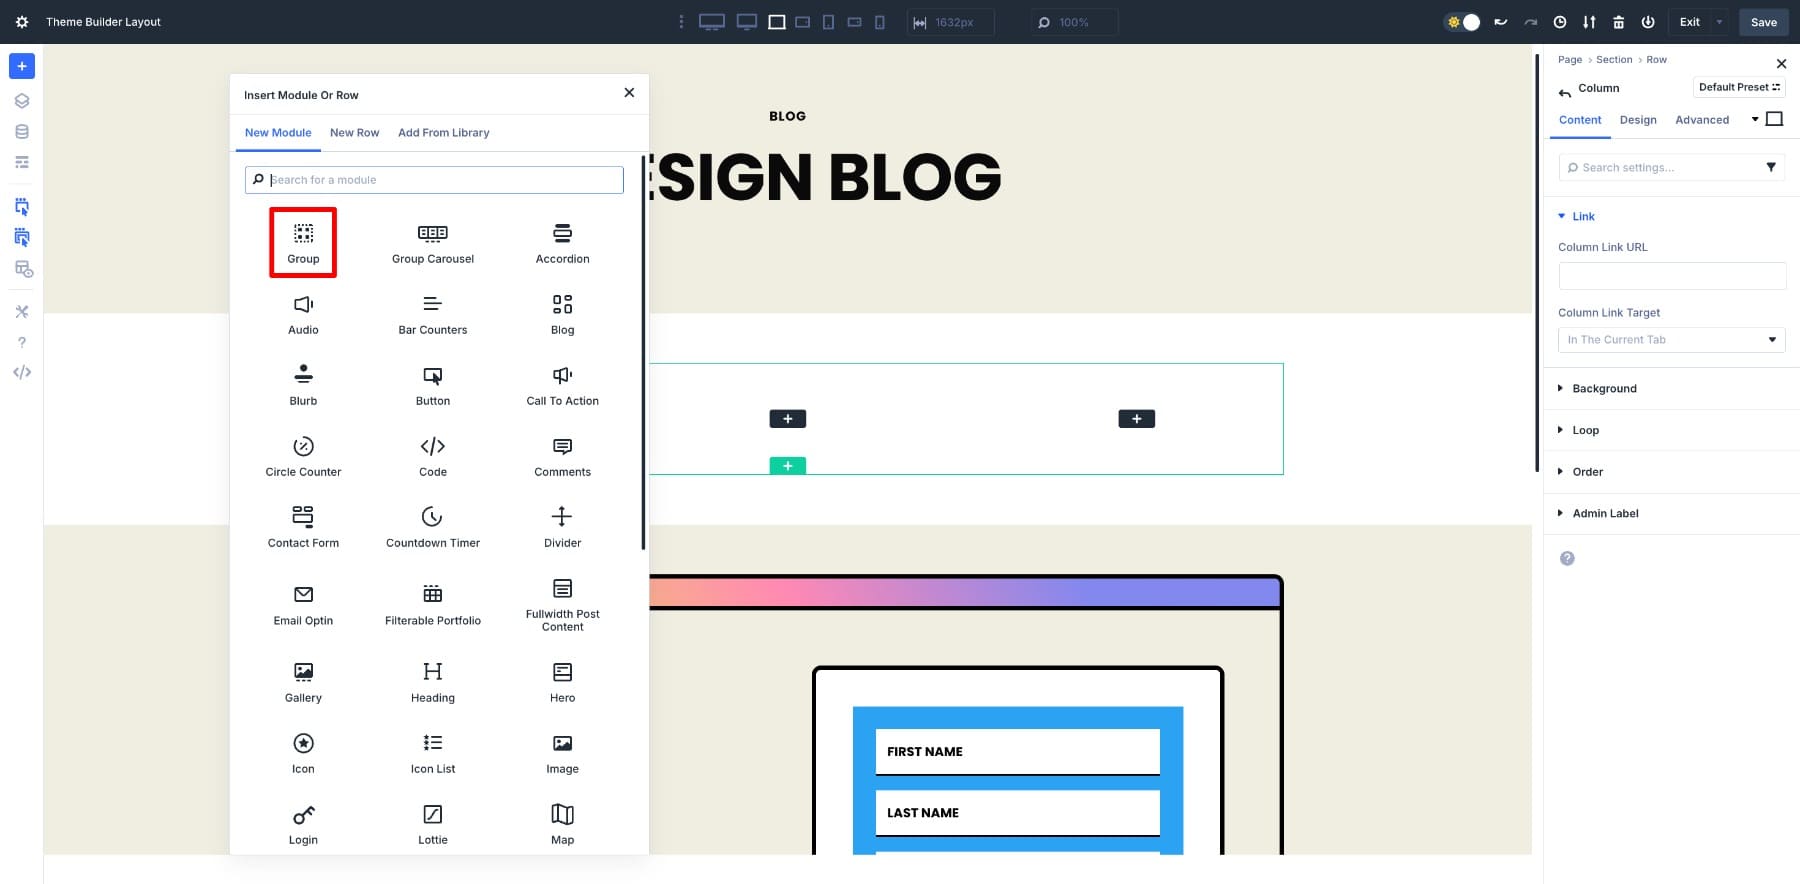
In the first column, we’ll create our post card. We’ll use a Module Group to hold all the elements.
Then add an Image module for the featured image, a Heading module for the post title, and a Text module for the excerpt. We’ll also add meta information and a Read More button so visitors can click through to the full post.
Once the basic structure is there, customize the card’s design so it fits your brand. Tweak colors, fonts, spacing, and any unique visual details that make it yours.
3. Enable Row Wrapping
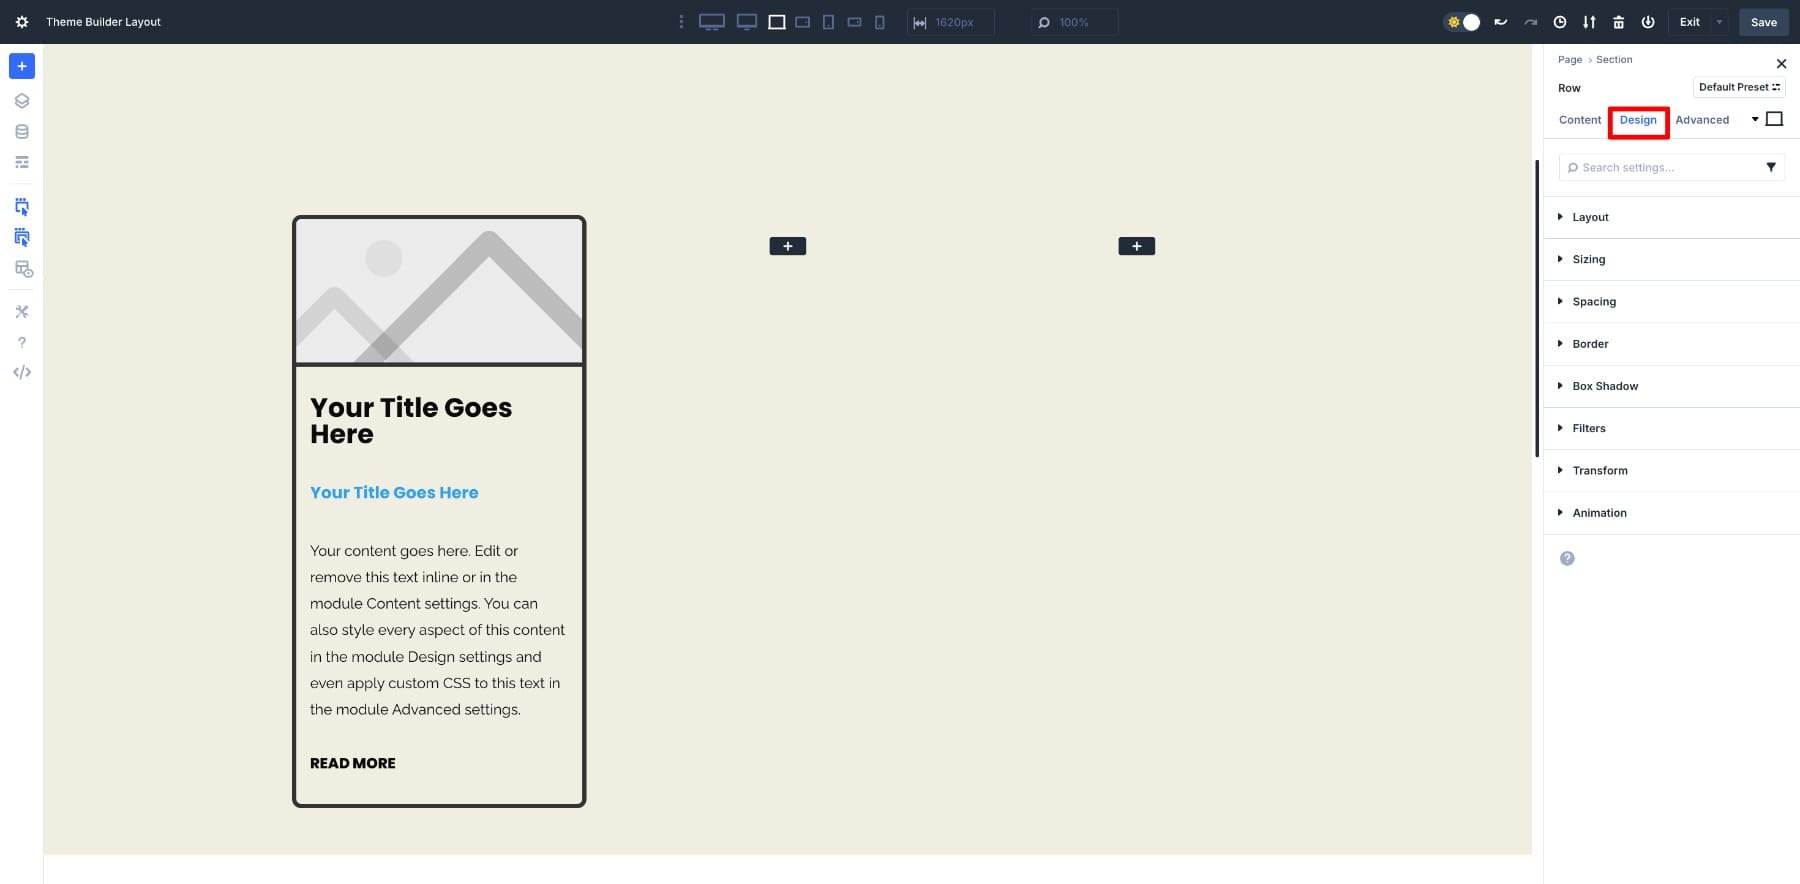
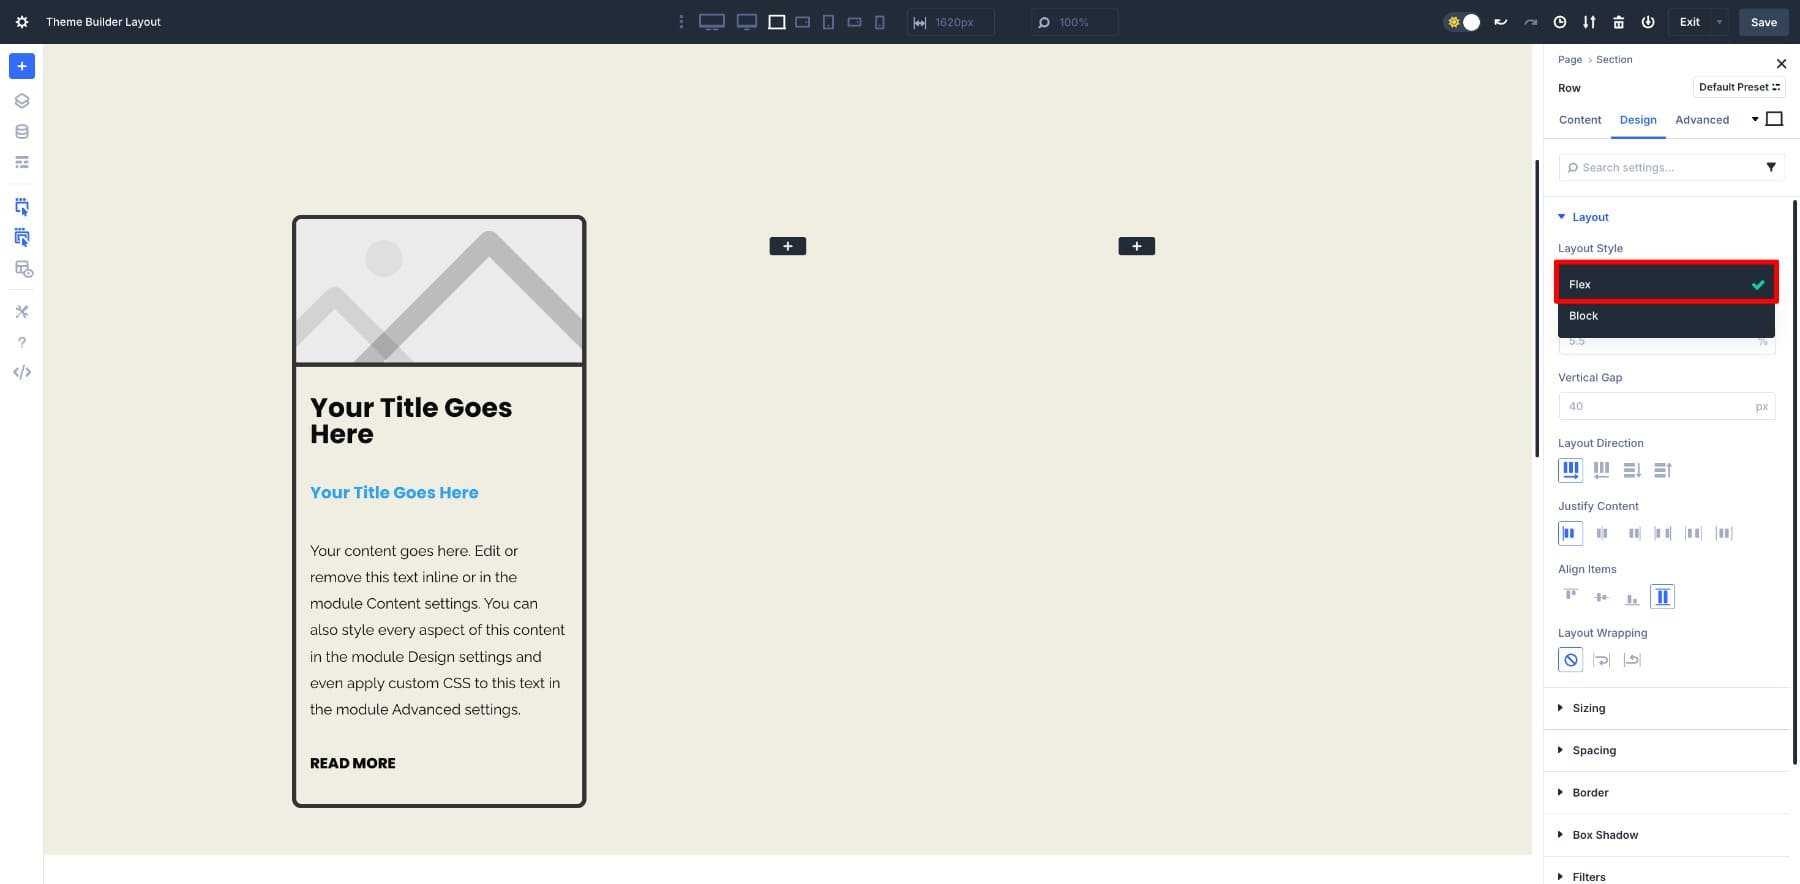
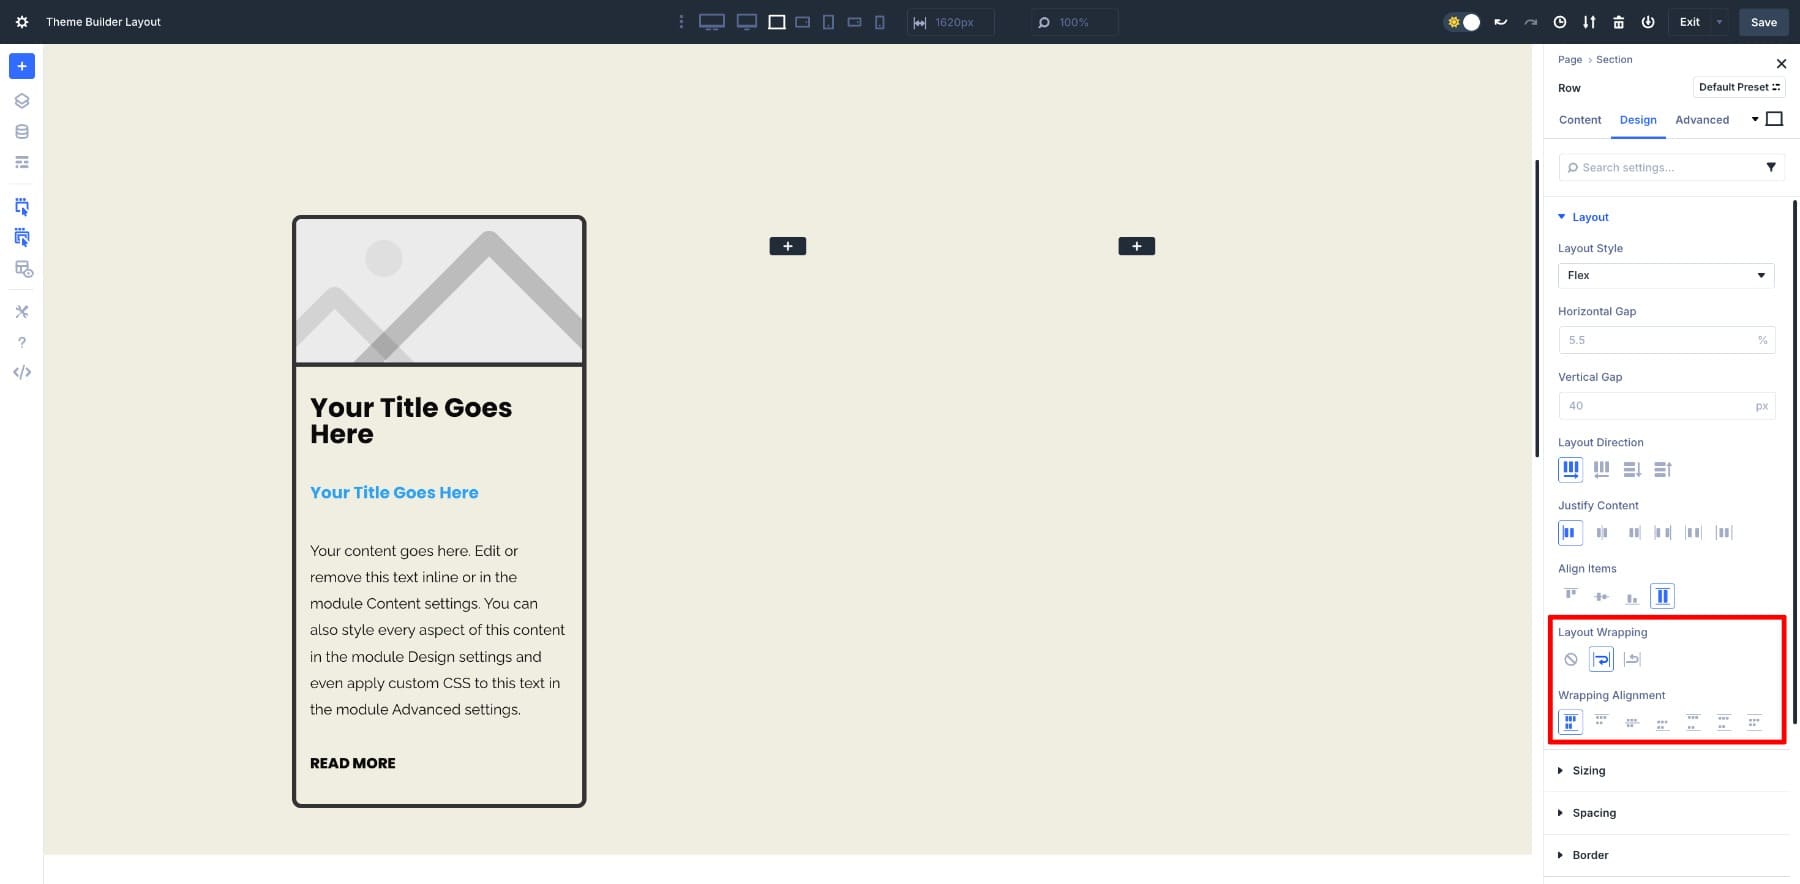
To make sure your cards display neatly in rows across different screen sizes, you’ll want to enable Flex Wrapping. Select the main row and open the Design tab.
Go to Layout. Make sure the Layout Style is set to Flex.
Enable Layout Wrapping so the cards can move to a new line when needed, then choose the Wrapping Alignment that best suits your design.
4. Turn On Loop
Now comes the step that makes it all automatic. Select the card’s Column.
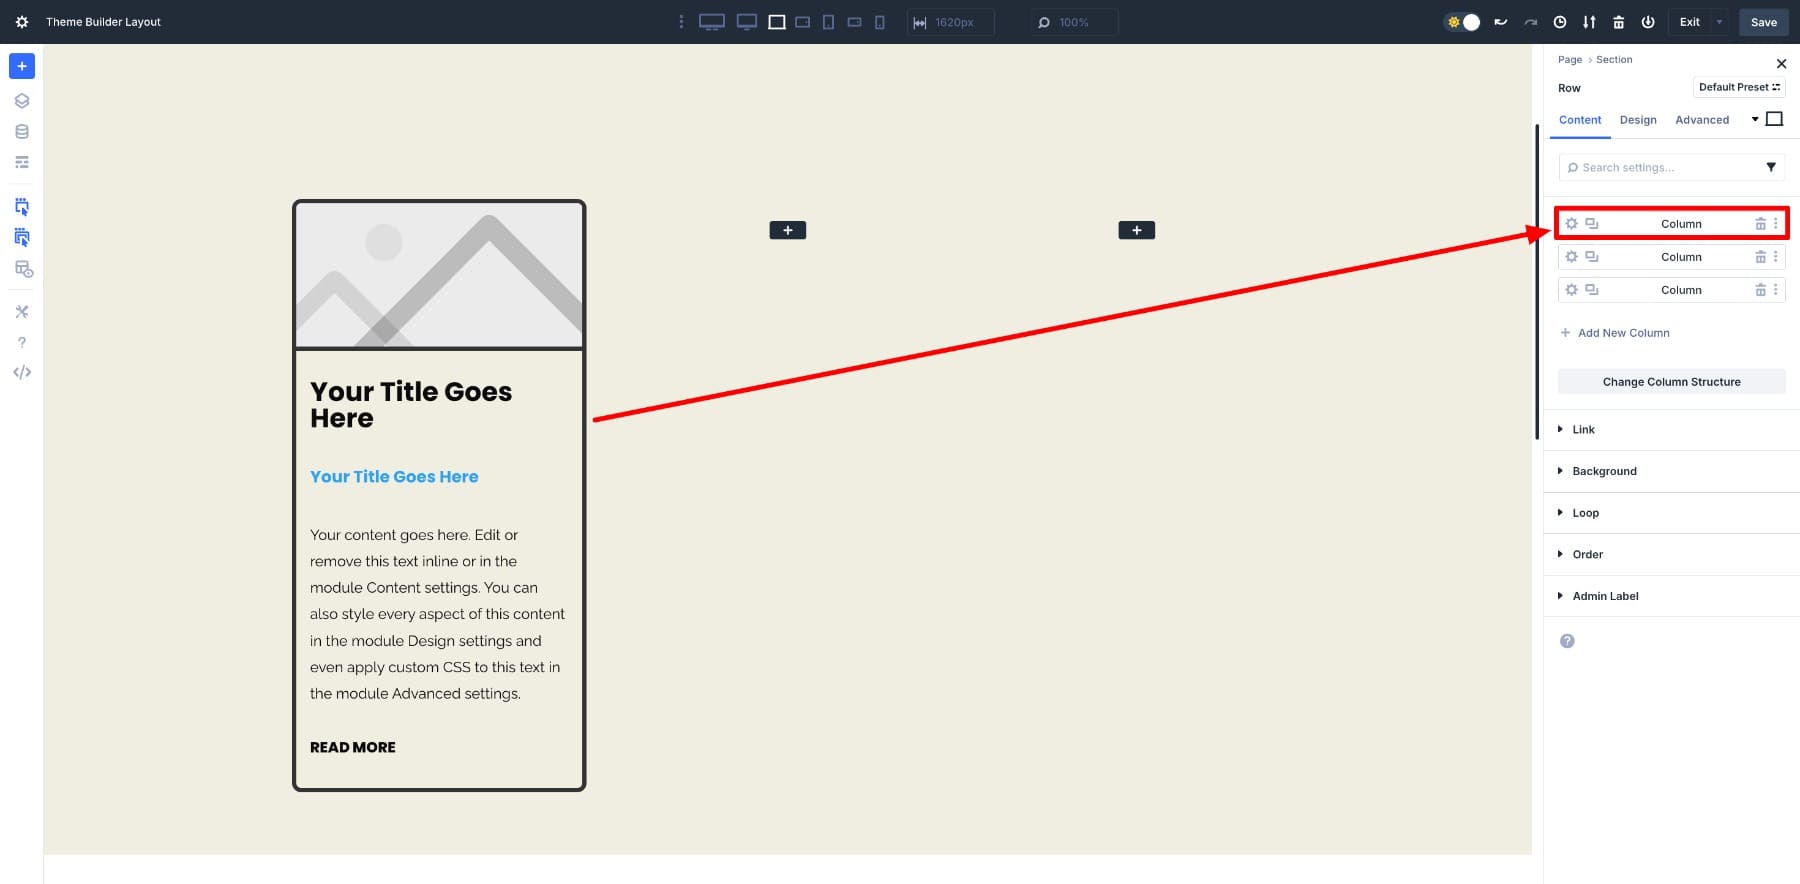
Then, turn on the Loop option under the Content tab. Once Loop is enabled, Divi will repeat your card design for each post that meets your query settings.
For this layout, I’ve set:
- Post Type: Posts
- Posts Per Page: 10
- Order By: Date
- Order: Descending (newest first)
- Post Offset: 0 (show all starting from the latest)
- Ignore Sticky Posts: Yes
These small adjustments make sure the grid displays exactly the posts you want, in the order you want. You can change these values anytime to adapt the layout to different needs.
5. Add Dynamic Content
The final step to bring the loop to life is to connect each module in your card to live post data. This is what turns a static card into an automated, always-up-to-date listing. For example:
- Link the Image module to the post’s Featured Image.
- Link the Heading module to the Post Title.
- Link the Text module to the Post Excerpt.
- Connect the Read More Button to the Post URL.
When looped, Divi will replace placeholder content with the correct data for each post in the loop.
To set the featured image, open the Image module, hover over the image option, and click the Dynamic Content icon. Select Loop Featured Image and all the relevant images will populate instantly.
Repeat this for the post title, published date, excerpt, and any other fields you want to display.
When you click the Dynamic Content icon for a module, you’ll see the full range of loop-specific options. You’re not limited to titles and images; you can also display publish dates, modified dates, author names, comment counts, categories, tags, and even custom fields.
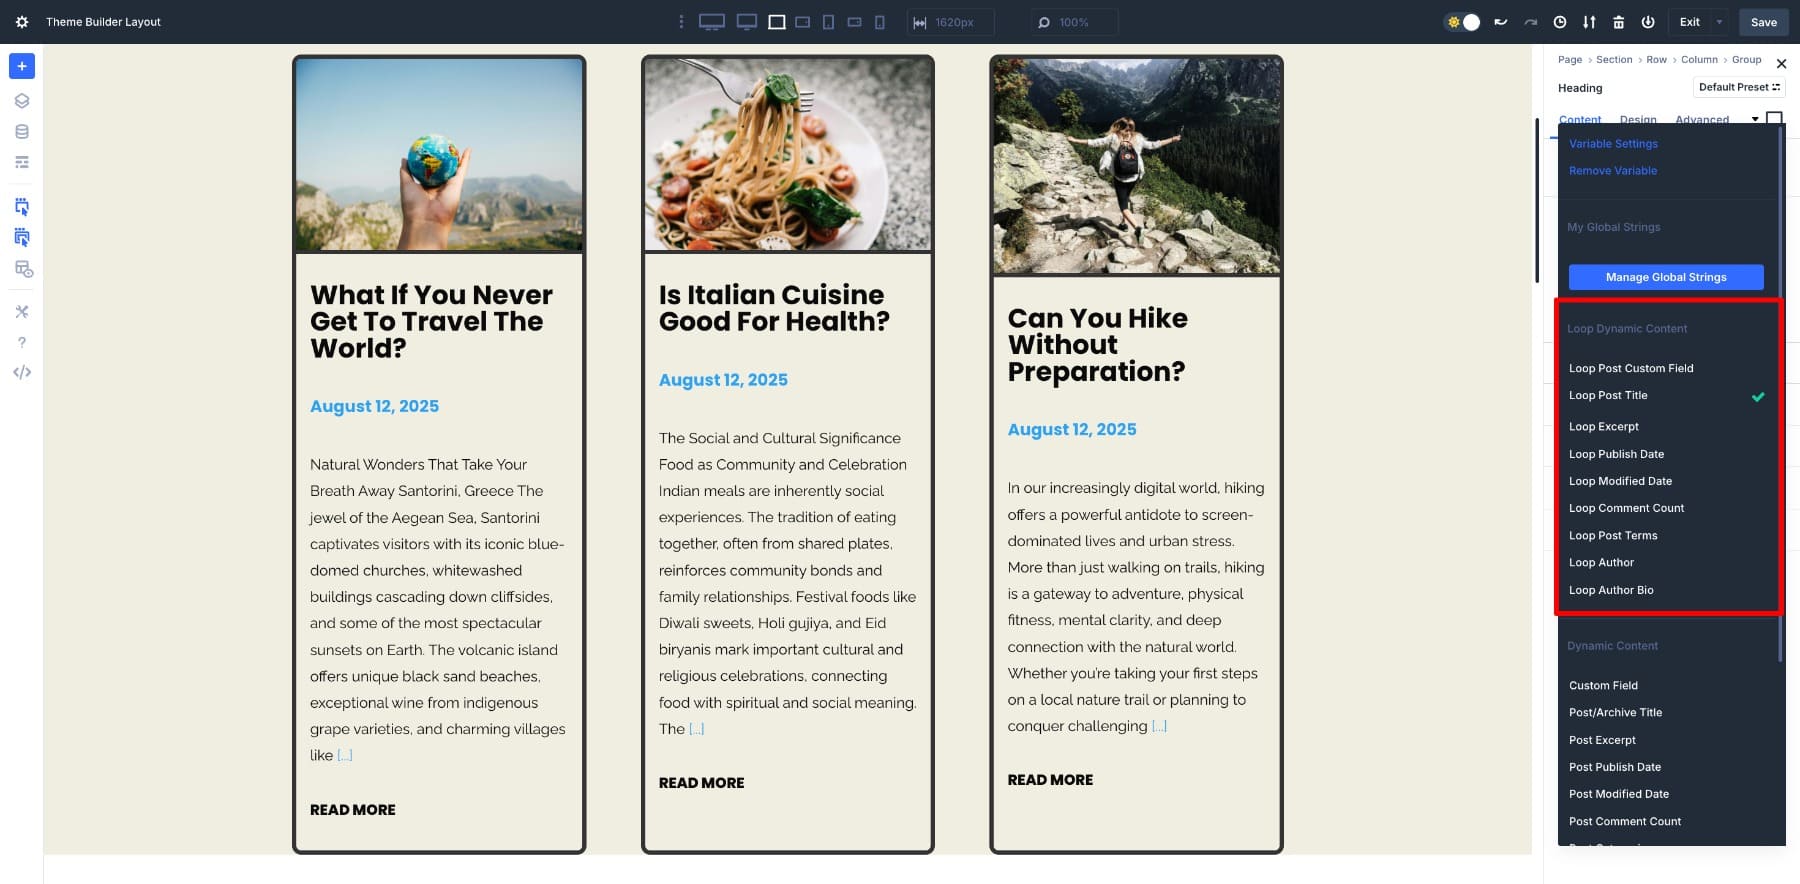
This means your post card can be as minimal or as detailed as you want. Build a clean, image-focused grid, a content-rich layout, or even highlight niche custom post type fields. Design it once, and Divi keeps it accurate and consistent across the entire loop.
6. Save Your Template And Preview
Once everything looks right, make any final tweaks and Save Changes in both the Divi Builder and Theme Builder.
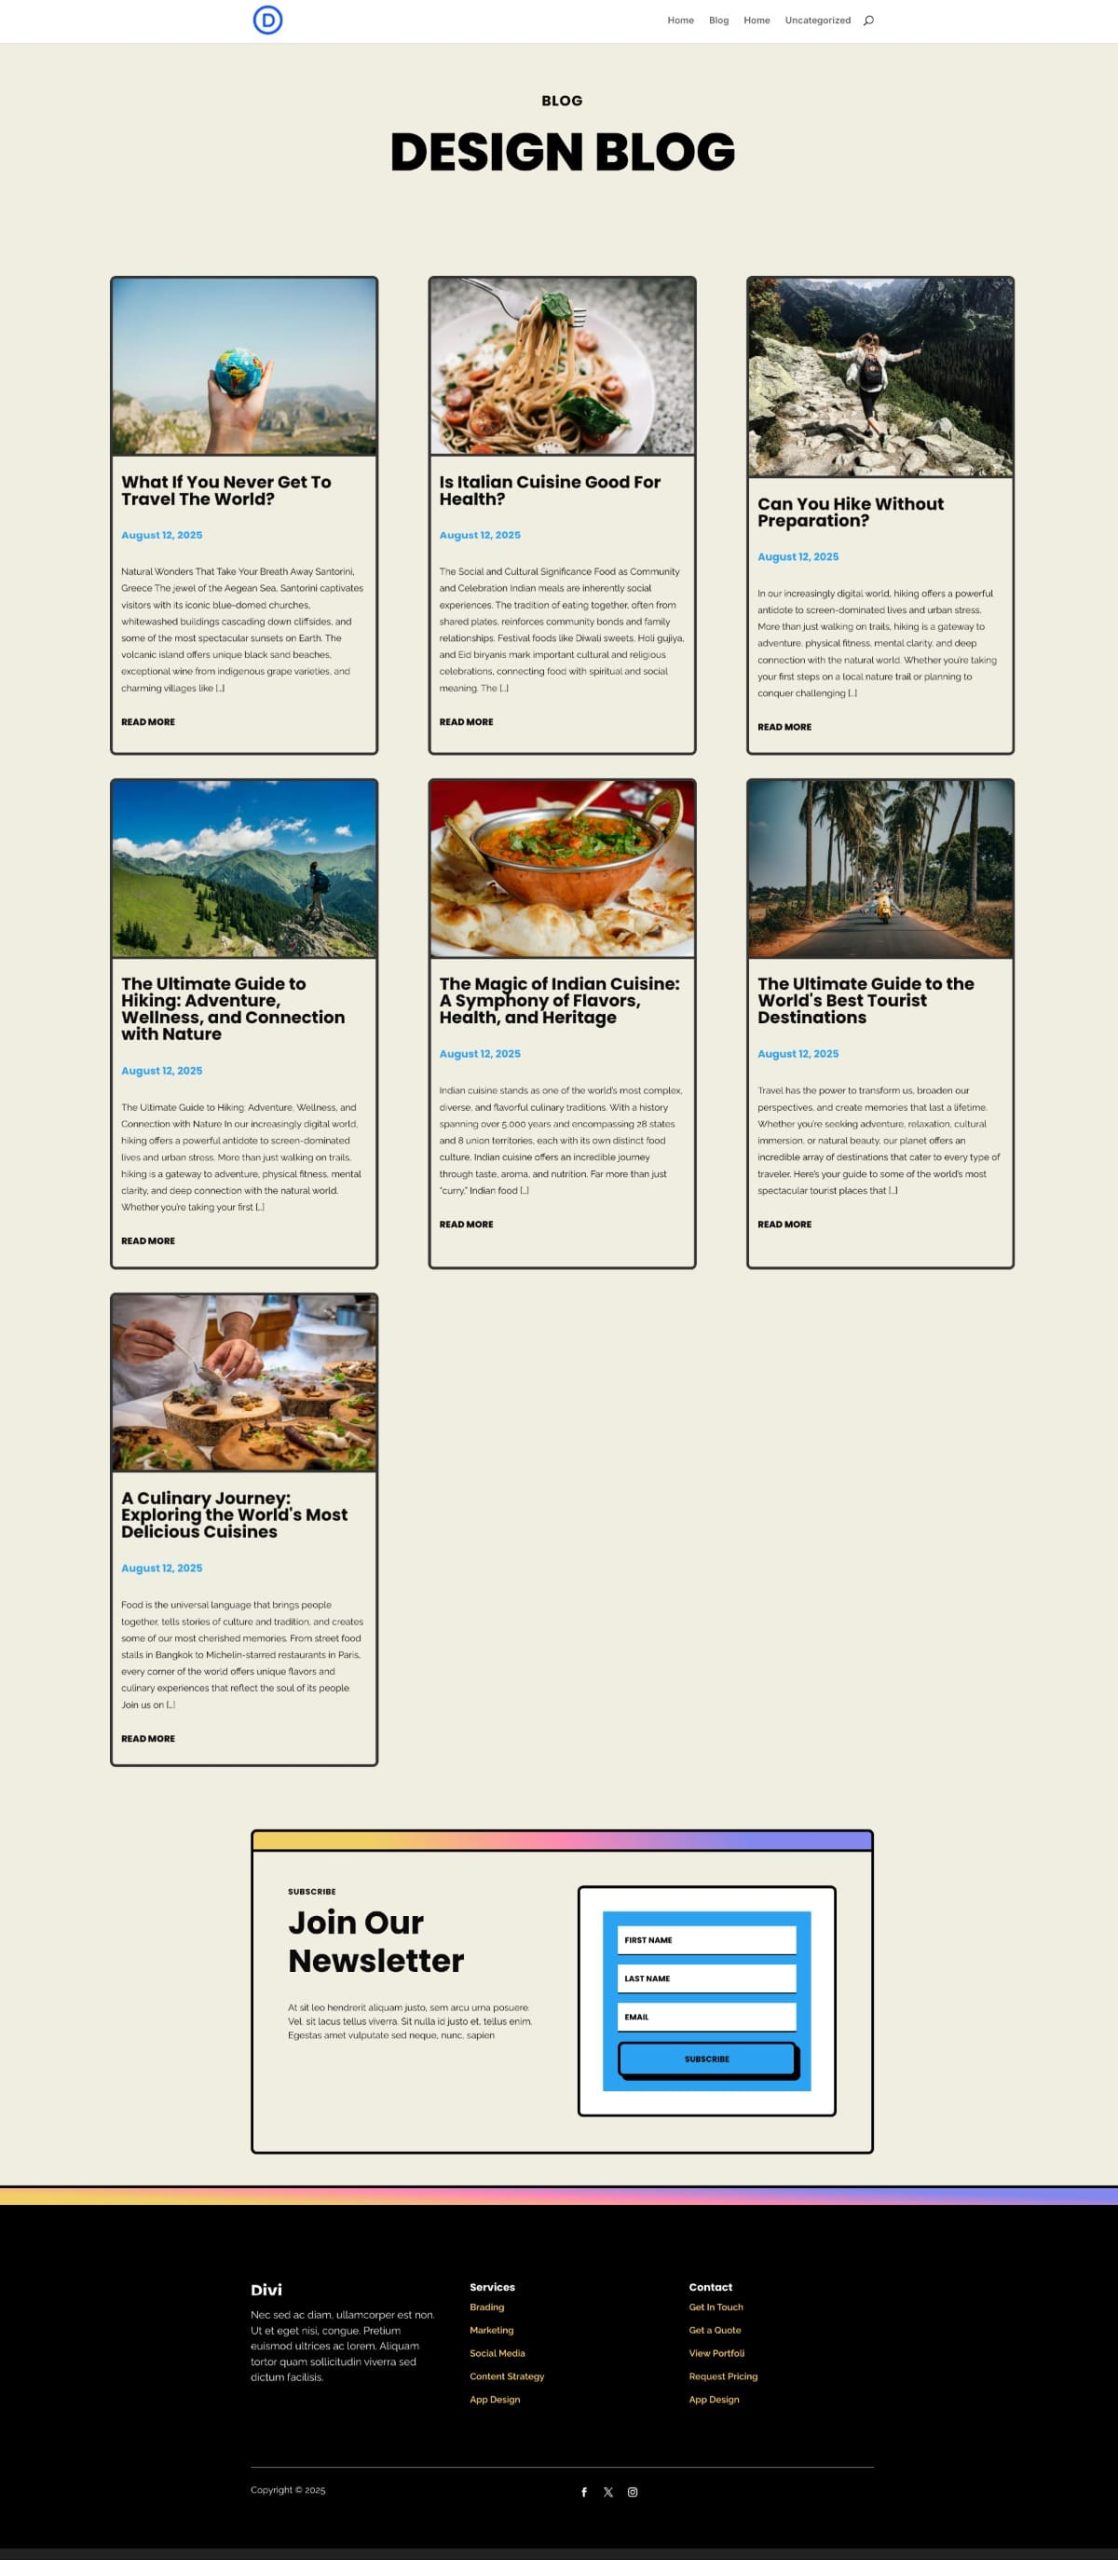
Preview your page to see the loop in action. Here’s the finished blog listing page:
The Blog Module Had Limits, Loop Builder Doesn’t
The Blog Module was working fine, so why are we pushing for the Loop Builder? Because “fine” meant fixed. The Blog Module locked you into its template, but the Loop Builder gives you a blank canvas. You choose the layout, the order, the style, and Divi loops it automatically.
That’s the real shift: you’re not adjusting someone else’s template, you’re designing your own. Let’s put that into practice once again and design a layout different from a typical Blog Module structure.
First, add a one-column row and section. Adjust the Sizing and make sure Flex and Flex Wrapping are enabled for the row.
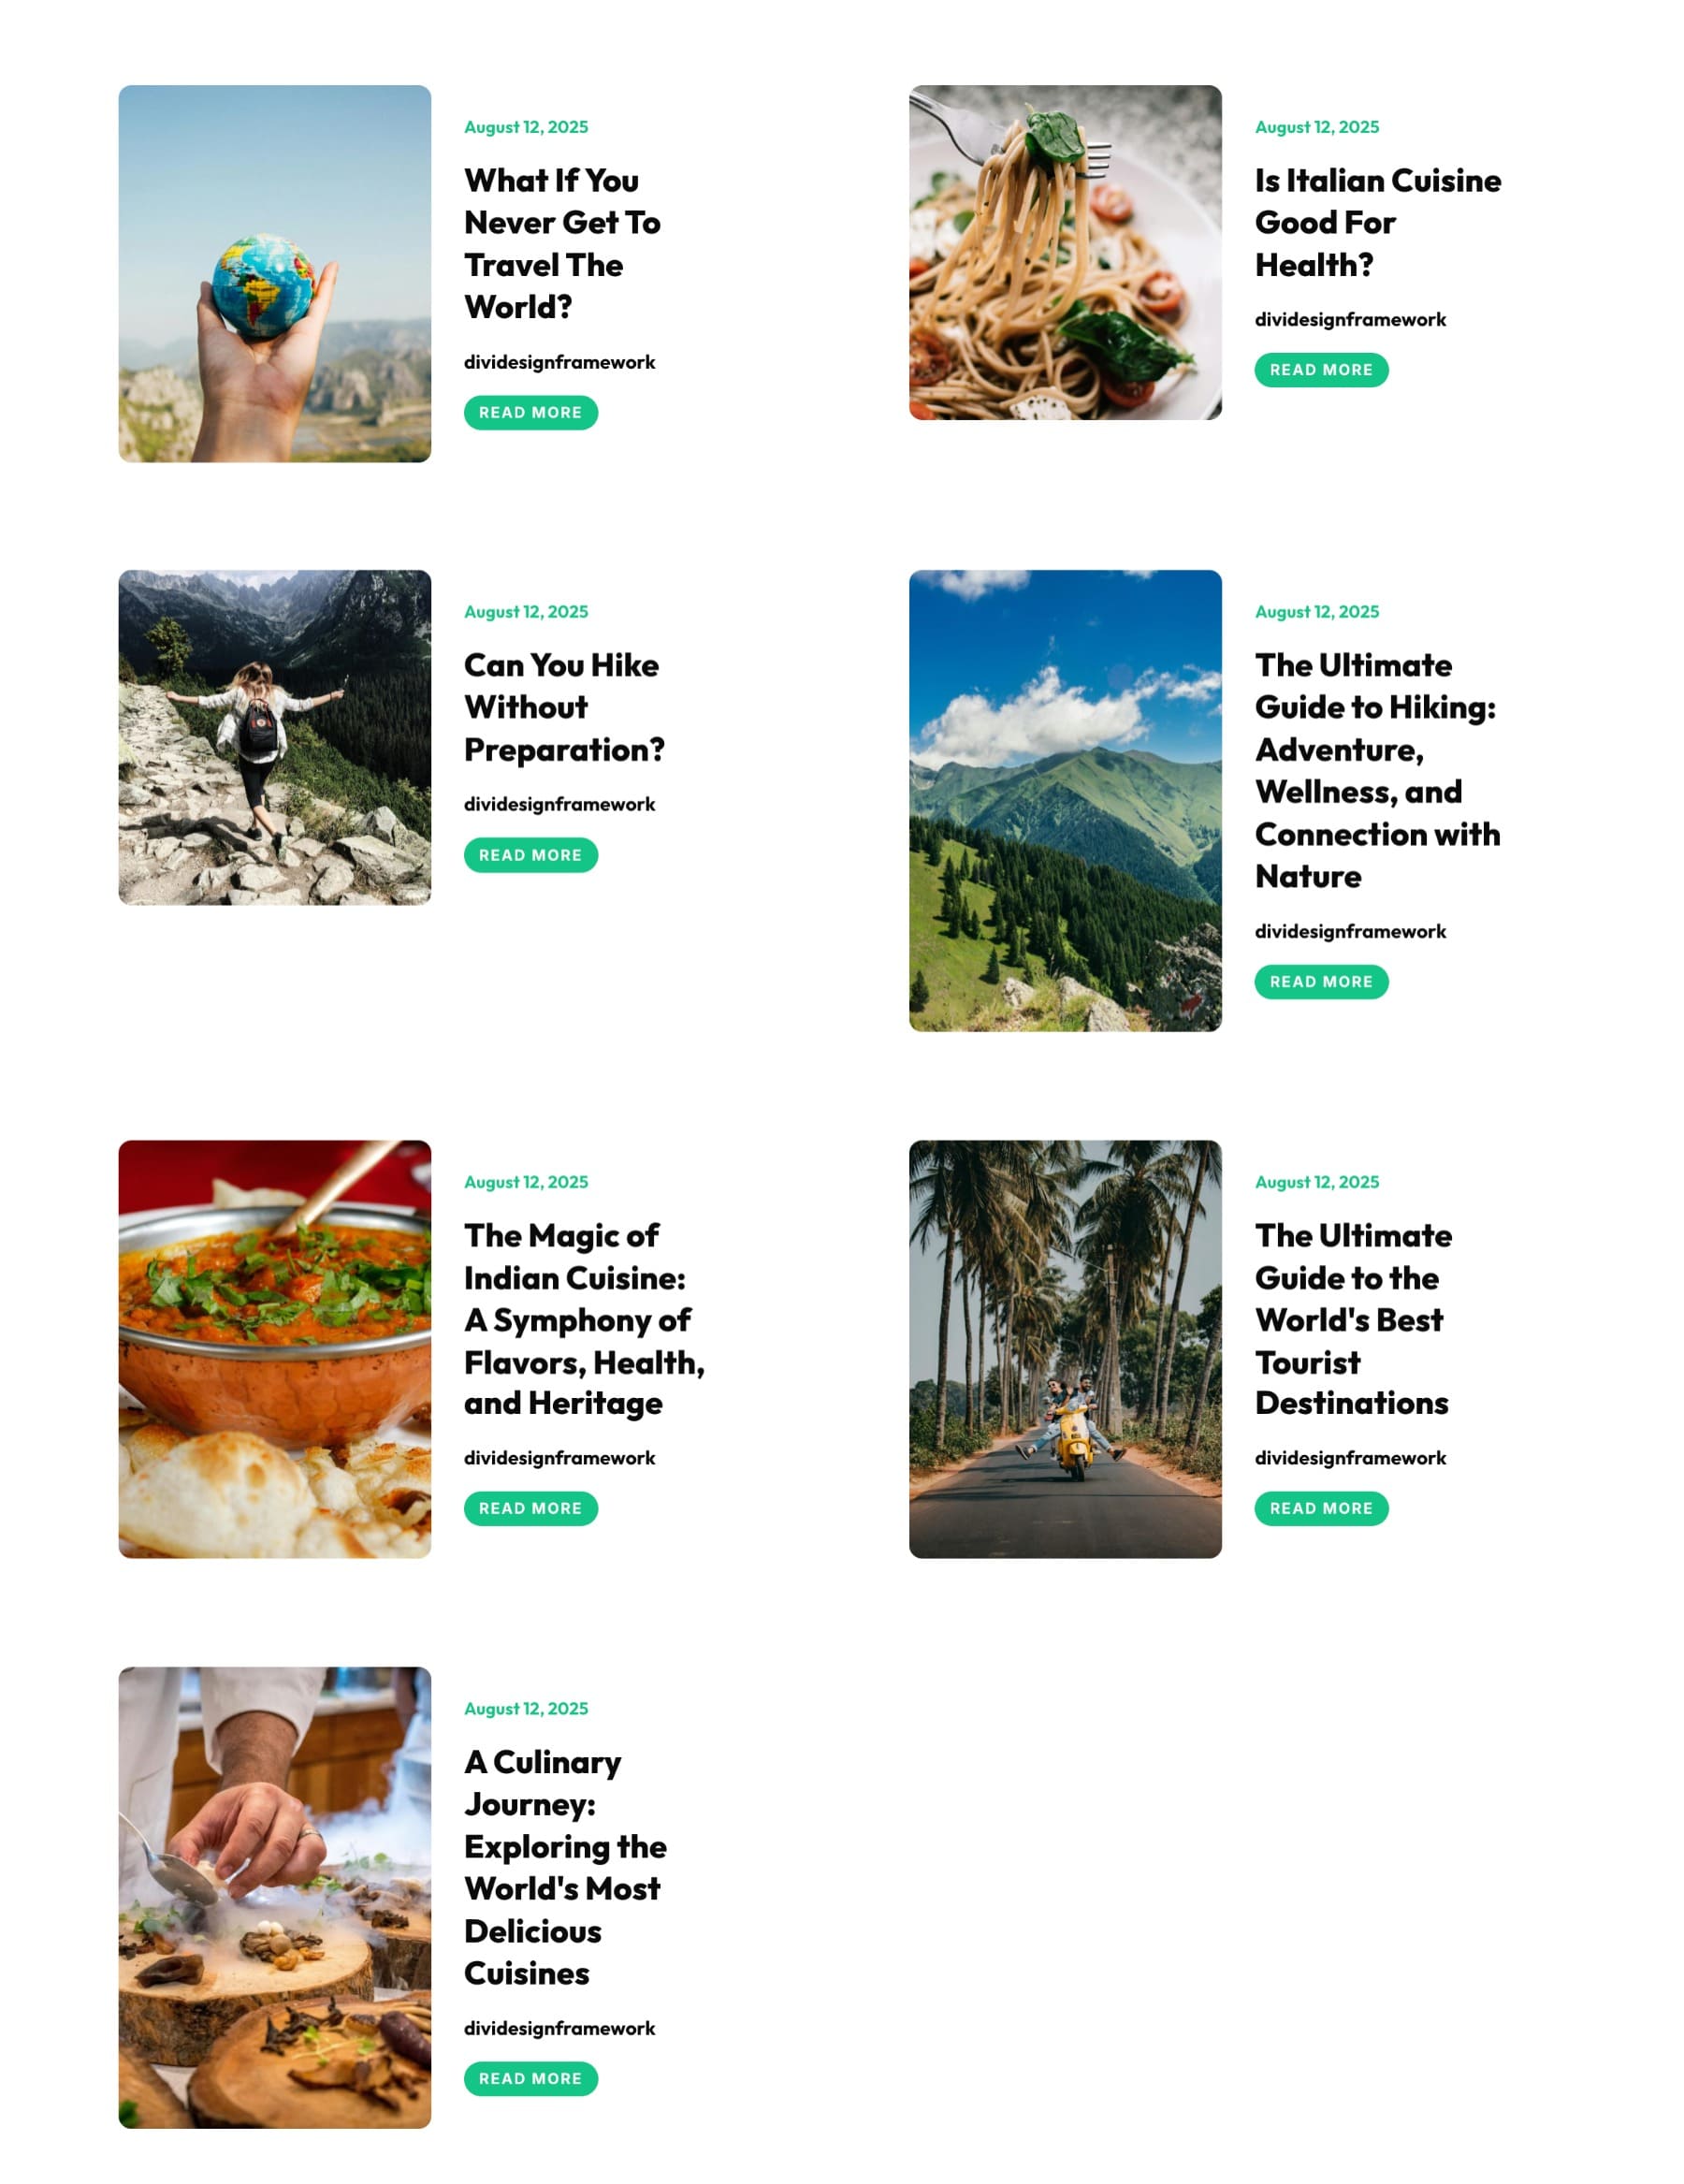
This row will contain your blog cards. Now, add another nested row inside the column to create your card structure, with the image on the left and the post’s metadata on the right.
Design your structure exactly as you want it, no need to follow the Blog Module sequence. Leave the left column empty for now. We’ll add the featured image as the column’s Background image.
Customize your blog listing card.
You can also modify the Vertical Gap of your Module Group in the right column in Design > Layout > Vertical Gap option.
Next, we enable the Loop option. Select the first column from the parent row.
Again, we loop the dynamic content. Starting with the image, go to the left column’s Background option, and the rest will be the same.
This is your list-style blog loop. Now, if you want to convert this into a grid, simply change the column’s width. Because we have the Flex Wrapping enabled in the row, the cards will wrap on their own as we change their size.
If this makes your images way too large, you can remove the excerpt, change the row’s column structure, and even adjust the Horizontal Gap to zero.
And just like that your grid is ready as well.
This example is only a glimpse of what Loop Builder makes possible. The real takeaway is that you’re not limited to a handful of preset layouts anymore. Every part of the post card is yours to arrange, style, and reimagine, and Divi takes care of repeating it automatically. That flexibility is what turns a simple blog listing into something that feels designed for your site.
Use The Pagination Module
If you limit Posts Per Page in your Loop query, you’ll likely want a way for readers to see the rest. Add the Pagination module beneath your grid and set its Target Loop to the element where you enabled Loop. For a full walkthrough, see How To Use Divi 5’s Loop Builder & Pagination Module Together: read the tutorial.
Download The Blog Templates
If you want to experiment with grids inside a blog template, download the templates that were used in this tutorial below. To import these, navigate to your Divi Theme Builder. You’ll be able to import these using the import/export icon in the right corner.

Build Your Custom Blog Post Loop In Divi 5 Today
Before Divi 5’s Loop Builder, creating a truly custom blog post loop often meant wrestling with rigid templates or writing custom code for every small change. Now, it’s a visual process from start to finish. You design a card once, link its modules to live post data, and let Divi handle the rest.
If you’ve been working around the Blog Module’s limits, Loop Builder is the upgrade you’ve been waiting for. Try it in your next project and see how much easier it is to create a blog (or product, event, or listing) that looks exactly how you want!


When I attempt to use the “Grid” module to create a loop for a custom taxonomy (related products) it simply repeats the first custom post in the specified category instead of aggregrating through the “products”.
I have a template I’ve built for “product” pages that pulls in dynamic data for my products (custom post type using ACF). This template is then applied to a specific category – say “Hydraulics” for this example. Inside that template, at the bottom I’ve created a “Related Products” section that will show 4 products across in a grid. I’m using the Group module and looping the column as this article recommends – BUT it is just displaying a repeat of the product page you are actually on. So if you are on Product A in the Hyrdaulics category, the loop shows 4 “product As” in the related products section instead of showing the other products in the Hydraulics category…
Thanks for reaching out and for providing a detailed explanation of the issue. It sounds like a complex problem that our support team will need to investigate further. Please contact our friendly support team here and we will be happy to help you resolve this.