
Screencast is software that takes a digital recording of your computer screen, including audio narration if you want it to. This is a way to add instructional videos to your website if you’re explaining to your audience how to do something. With the Screencast embed block, you can easily add these videos to your WordPress posts or pages. You may want to add your own Screencasts or those from another creator who’s already walked through the process you’re discussing. In this article, we’ll show you how to add the Screencast embed block to WordPress. We’ll also talk about tips and FAQs so you know exactly how to use this tool.
How to Add the WordPress Screencast Embed Block to Your Post or Page
To get a Screencast on your WordPress site, you have to add the dedicated embed block. Then, you’ll add the video URL to it. Let’s walk through it.
Add the Screencast Embed Block
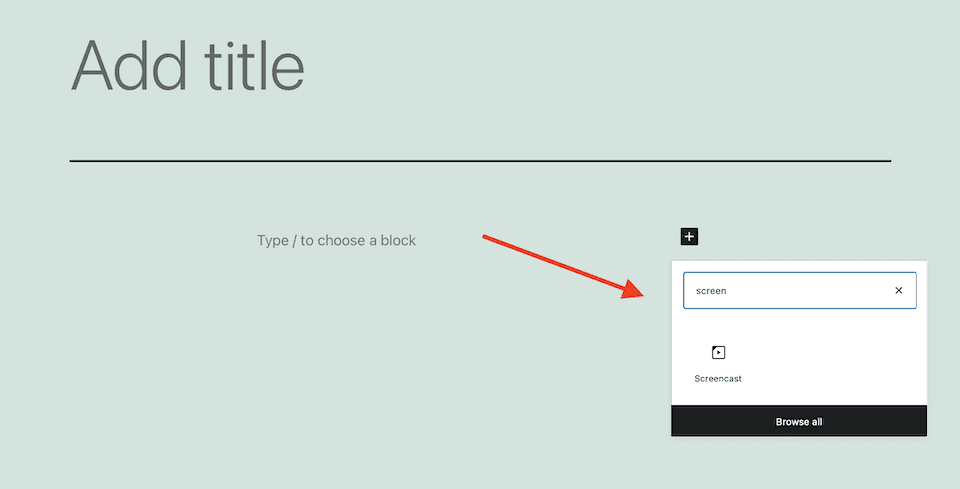
Add the Screencast embed block to a WordPress post or page. First, open or create a post or page. Then, click the Plus Sign in the body.

Type “Screen” in the search bar. Click the Screencast block that appears.
Get the Screencast Video Link
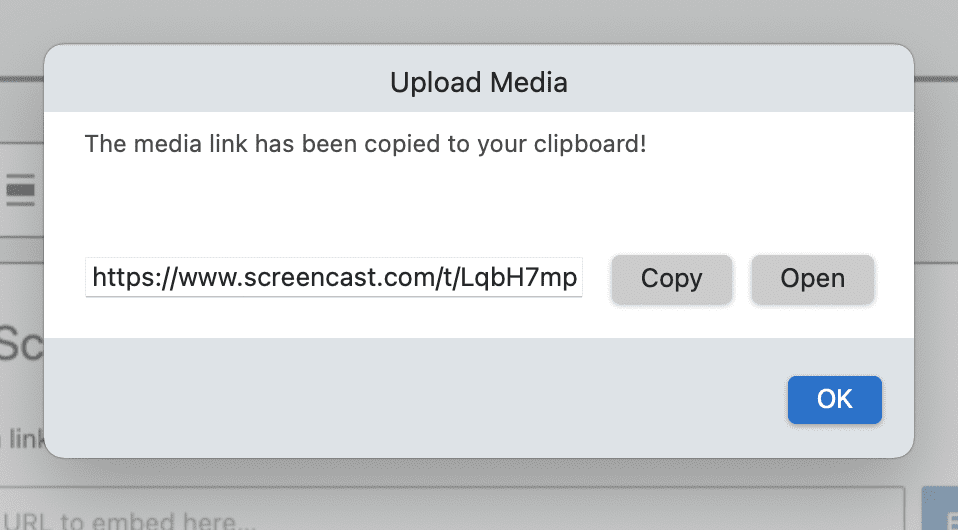
If you’re using a Screencast that you created, an Upload Media box will appear once you’re finished recording and opt to upload it to your Screencast account. You can select Copy to save the URL to your clipboard.
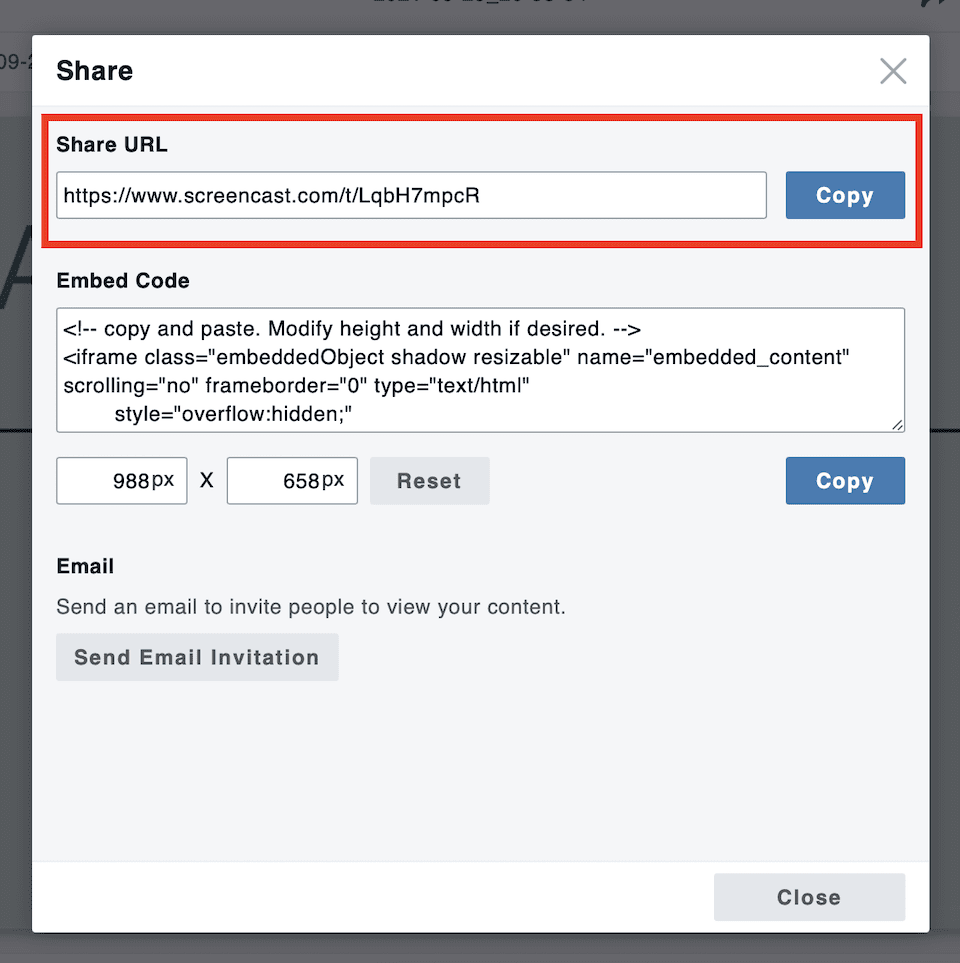
You can also find the Screencast link by going to the video in TechSmith Screencast online. The Share button on the top-right of the page will open a pop-up window. At the top of that window is the video’s URL. Click Copy.
Add the Screencast Link to the Embed Block
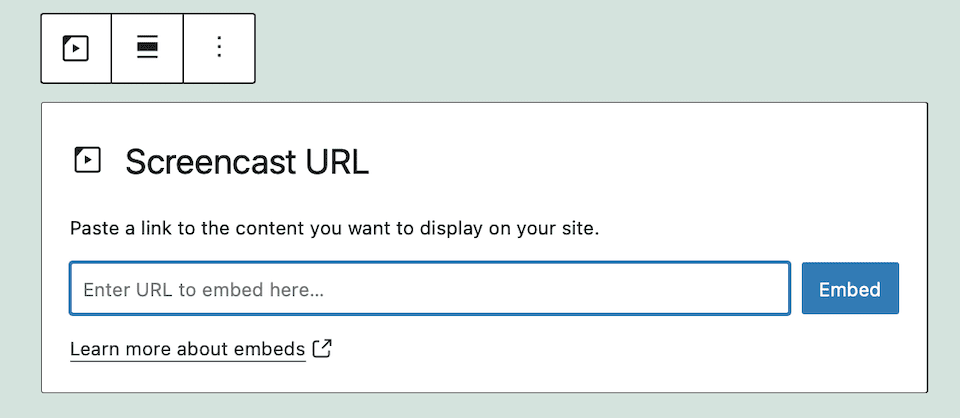
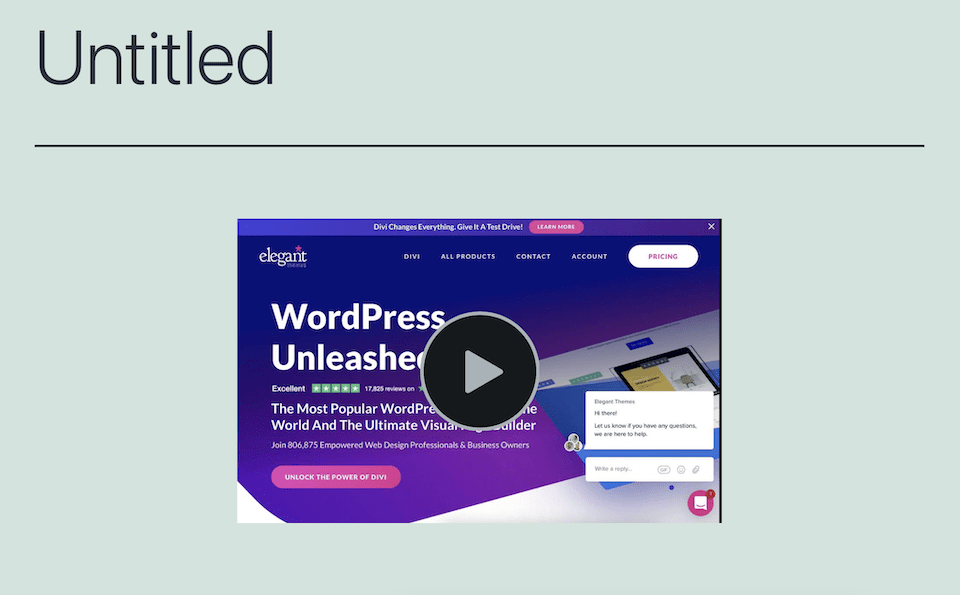
Paste the link into the Screencast embed block and click Embed. This is what it’ll look like when it’s live on your site:
Sometimes, a Screencast link won’t work, like if you’re trying to share a video that’s private. If that happens, you’ll see an error message like this:

Click Try Again, but if that doesn’t work, you’ll have to choose a different video to embed.
WordPress Screencast Embed Block Settings and Options
The Screencast embed block has a toolbar at the top with a few options:
- Transform to
- Drag
- Move up / move down
- Change alignment
- Edit URL
- Options

Transform To
This option lets you change the block into a paragraph, column or group. Unless you want to change the background color, you probably won’t need any of these options. Paragraph changes the block into text-only, and both Columns and Group will make the video smaller on the page.
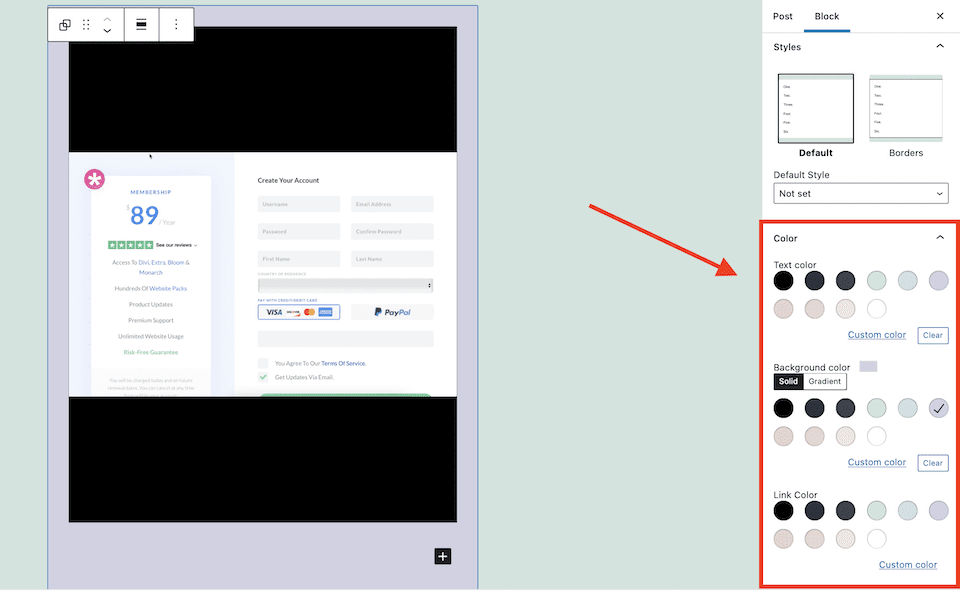
To change the background color, select Group. From the menu on the right, you can adjust the Background Color, like in the example below.
Drag
The Drag option turns into a hand when you hover over it. Drag it where you want the block to go. Note that it’ll turn into a small black box as you move it on the page.
Move Up / Move Down
The Up or Down arrows move the block. This will only work if there’s other content on the page.
Change Alignment
Align the block to the left, right or center. You can also select wide or full width, but options may vary based on your theme. Some options will make the block smaller or larger than the size it was at first.
Edit URL
Change the URL to add different content.
Options

On the Options menu, there are a few more selections:
- Hide More Settings: Hide the right-hand sidebar editors.
- Copy: Copy the block, then paste it somewhere else on your site or the post/page.
- Duplicate: Create a duplicate of the block. It will show up under the current one.
- Insert Before / Insert After: Add a block before or after the one you’re using.
- Move To: With the arrows on your keyboard, move the blue line to where you want the block to go. Hit Return to place it there.
- Edit as HTML: Change the embed block’s HTML code.
- Add to Reusable Blocks: Add the block to your reusable blocks.
- Group: Change the block into a group to customize the background color.
- Remove Block: Delete the block from your post or page.
Tips and Best Practices for Using the WordPress Screencast Embed Block
Two Easy Ways to Add a Screencast Block
Instead of clicking the Plus Sign on a WordPress post or page, you can do one of the following to add a Screencast block:
- Click the body of the post or page. Type /Screencast. The Screencast embed block will come up. Click it to add it.
- Paste the Screencast link in the body of the post or page. WordPress will automatically create the appropriate block.
Quickly Change the Block Type
Let’s say you start with a Screencast video but then decide you want a YouTube video instead. You don’t have to delete the Screencast embed block and add a YouTube embed block. Instead, you can just replace the Screencast link with a YouTube one ¬– WordPress will update the block type accordingly.
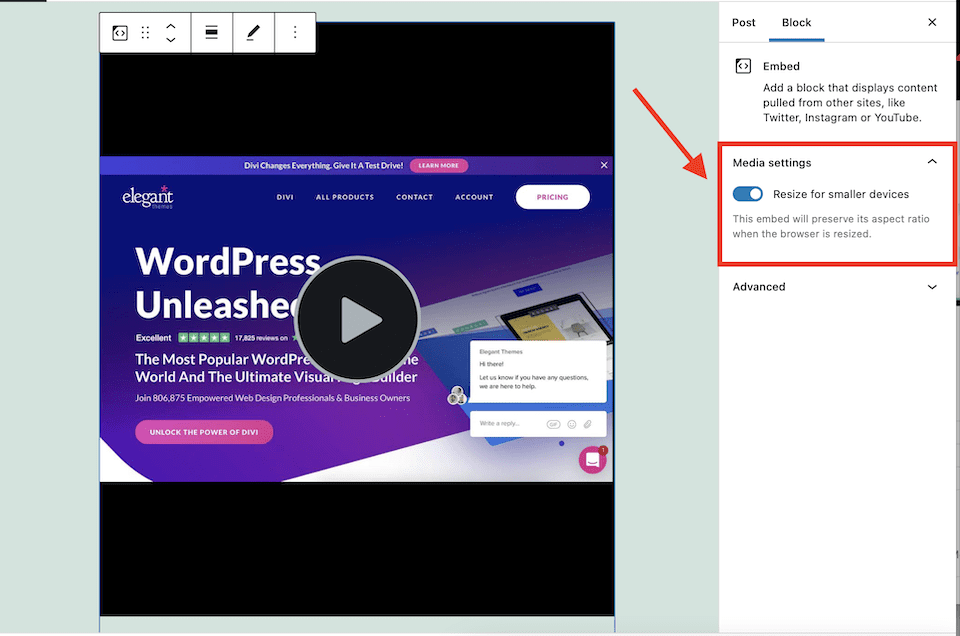
Update Media Settings
In the right-hand sidebar, toggle on the Resize for Smaller Devices option. The content will retain its aspect ratio when the browser’s resized, like when it’s viewed on a mobile device.
Frequently Asked Questions About the WordPress Screencast Embed Block
Do I need a Screencast account to embed content?
Nope! You can embed Screencast content whether you have an account or not. You will need the link to the Screencast, though. Screencast isn’t a website like Instagram or ReverbNation where you can look up content; it’s software that you create screencasts with.
Can I add any Screencast video to WordPress?
You’re only able to add public Screencast videos to your WordPress site. If you try to add a private video, you’ll get that error code because the link can’t be embedded.
Wrapping Up
If you’re creating your own Screencasts or you’re sharing someone else’s, the WordPress embed block is the quickest way to add the video to your website. Unlike with HTML embed code, the Gutenberg block has a number of settings so you can get it to look and function exactly how you want. Need to add other types of videos to your WordPress site? Check out our article about the WordPress video block.


Amazing article!!! Screencast software is something that will definitely be extremely helpful for my website….looking forward to implementing it on my webpage…
I mean .. I like seeing these articles to show how you can use built-in features of WordPress. BUT, if you’re using DIVI for everything, you can’t use these blocks. Unless I’m completely missing something.
+100