
The Facebook Debugger is a tool that enables you to analyze and troubleshoot OpenGraph tags for any of your pages. Using the Debugger, you can quickly zero in on the source of errors within your social media rich snippets.
Since social media, and Facebook itself, are key components in any marketing strategy, knowing how to use this tool can pay off in spades.
Let’s talk about the Facebook Debugger and OpenGraph!
OpenGraph refers to a collection of tags you can use to add meta data to your pages and posts. Social media platforms use those OpenGraph tags to generate the rich snippets they display to their users:
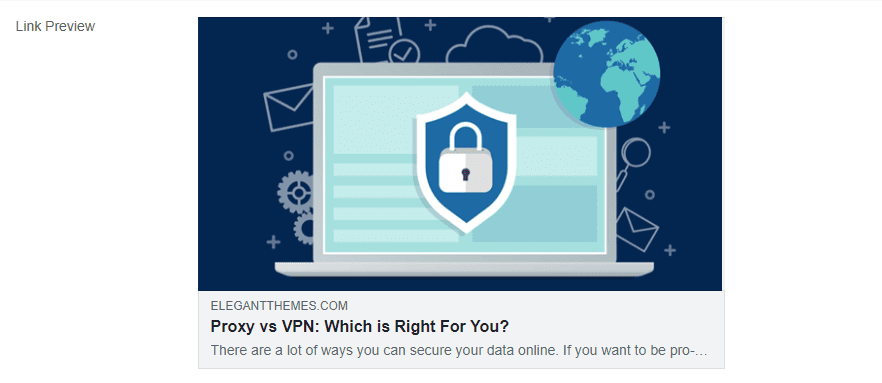
If you don’t use OpenGraph tags, social media platforms will automatically generate snippets for your pages when you share them. However, with that approach, you lose all control over how those rich snippets look.
This means if the accompanying image doesn’t look good, you need to change it within WordPress. If you don’t like the meta description Facebook uses, you’ll also need to modify your content. Overall, this isn’t a smart approach if you want to leverage social as a traffic source.
Even this simple example requires you to add multiple OpenGraph tags in the background. For the rich snippet, you need to use the following tags:
<meta property="og:title" content="Article Title"/>
<meta property="og:description" content="Article Description"/>
<meta property="og:type" content="article"/>
<meta property="og:url" content="http://example.com/link/to/article"/>
<meta property="og:site_name" content="Site Name"/>
<meta property="og:image" content="http://example.com/image/src.jpg"/>
This example is from a previous Elegant Themes article about OpenGraph tags and how to use them (which you should read!). In a nutshell, there are two ways you can add OpenGraph tags to your content:
- Manually. Just as with Schema markup, you can add OpenGraph tags to your pages manually. The downside is that you have to do this for every page on your website you’d like to share on social media.
- Using plugins. There are a lot of plugins that generate OpenGraph tags for your content automatically. The most popular plugin option is Yoast SEO, although others can also do this.
Unfortunately, the free version of Yoast SEO doesn’t include rich snippet preview functionality. However, it does enable you to modify your content’s OpenGraph tags using a simple editor.
If you’re already using Yoast SEO, taking advantage of its OpenGraph functionality is the easiest way to ensure your social media snippets look precisely the way you want them to.
Why You Should Use the Facebook Debugger for OpenGraph
The Facebook Debugger is a tool that can help you ensure your social media rich snippets work perfectly across the board. To use it, simply visit the Sharing Debugger page for Facebook Developers. Here, enter the URL for the page whose tags you want to check and click the Debug button:

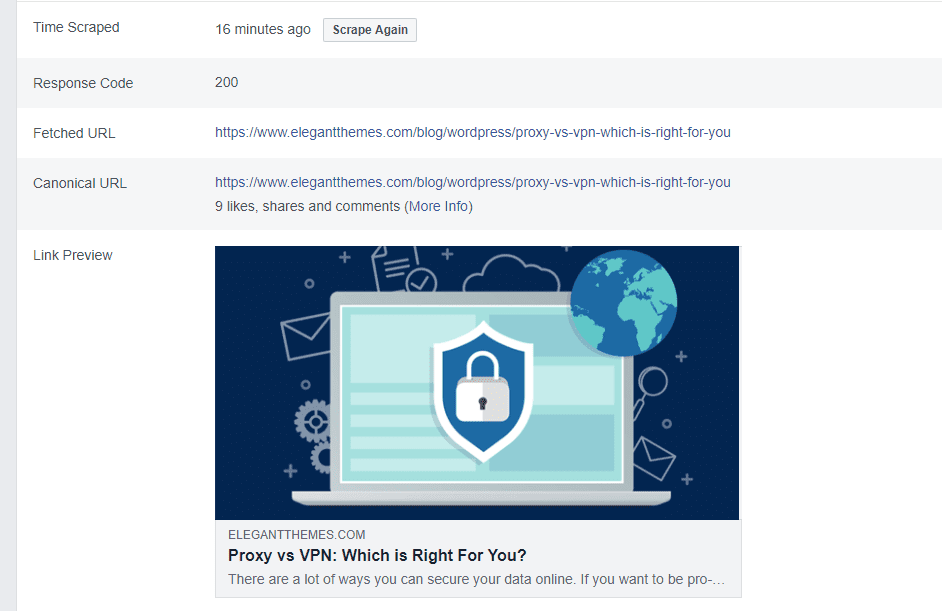
You don’t even need a Facebook account to use the Debugger. As soon as you analyze an URL, it’ll show you a preview of its rich snippet alongside information such as its canonical URL:
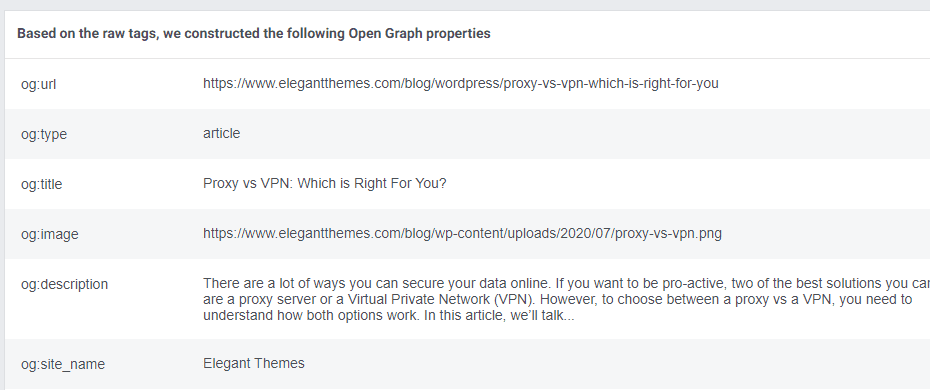
If you scroll down further, you can analyze all of the page’s OpenGraph tags:
Keep in mind that the Facebook Debugger doesn’t enable you to fix errors or modify your tags directly. However, it does show you a preview of how your content will look on Facebook. More importantly, it also gives you warnings if it detects errors in your OpenGraph tags:

This particular error is one of the three we’ll show you how to troubleshoot in the next section.
How to Use the Facebook Debugger to Fix 3 Common OpenGraph Errors
For this section, we’re going to rely mostly on the Facebook Debugger. However, if you’re using Yoast SEO, we’ll also show you how the plugin can help you fix a couple of OpenGraph errors. Let’s get to it!
1. Scrape a URL Again to Update Associated Images
One of the most common errors you may run into with OpenGraph tags is that the Facebook Debugger will show outdated featured images. This happens because it doesn’t update on Facebook automatically when you update a page or post’s associated image. When you use OpenGraph tags for images, Facebook caches those files on its end to improve performance. Consequently, if you update featured images on your end, you need to “force” Facebook to do the same on its side.
The easiest way to do this is to use the Facebook Debugger’s Scrape Again functionality. You can find this option right under When and how we last scraped the URL:
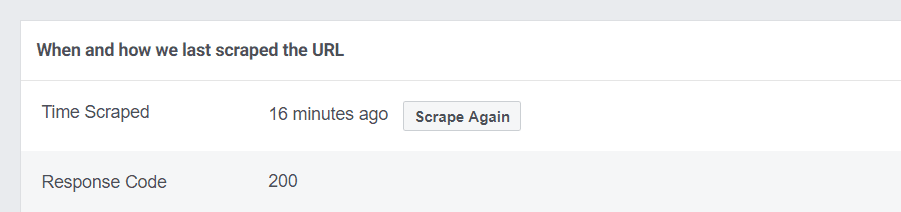
Click on the Scrape Again button and see if your page’s featured image changes in the Link Preview section. If it doesn’t, sometimes clicking the button again does the trick (not very high tech, but it works!)
Should the image fail to upload, you may be dealing with a caching issue on your website. In this case, you’ll want to clear your site’s cache then use the Scrape Again button to force Facebook to update its image information.
2. Fix the “properties are not yet available” Error
The og:image tag is what OpenGraph uses to declare what image file social media platforms should display for each page. In some cases, you might run into the “og:image properties are not yet available” error.

This means there might be a problem with your featured image’s resolution. If your image’s size is below 200×200, it won’t work at all.
Ideally, the images you set for your social media rich snippets should be 1080 pixels wide or higher. Large featured images not only look better, but they can also help pull attention to your content on social media:

If you want to read more about images and the og:image tag, there’s another article on the Elegant Themes blog. In a nutshell, if the Facebook Debugger returns an error related to your image’s size, you can usually fix it using one of these two approaches:
- Update the page’s featured image with a higher resolution version (and stick to using high-quality pictures from now on!).
- Use Yoast SEO to indicate a different image file within your og:image tag.
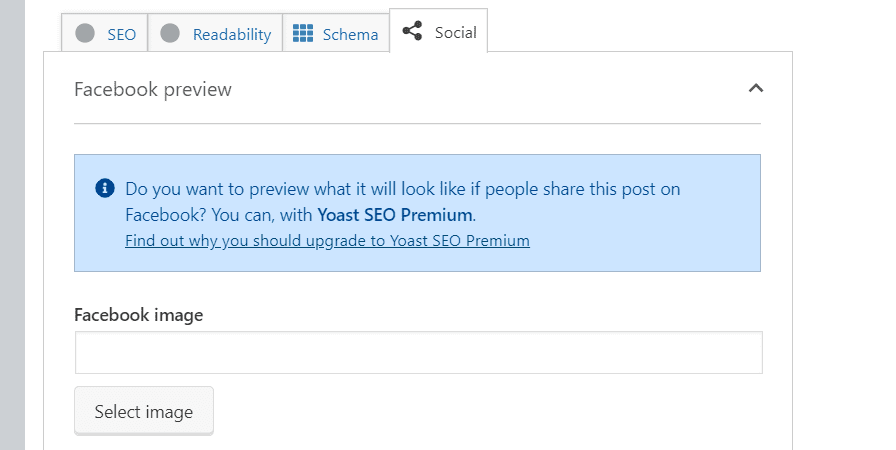
For Yoast SEO, you can find the option to change your “Facebook image” under the Social tab for the post or page you want to update:
Once you update your image or the corresponding tag, use the Scrape Again button in the Facebook Debugger. The “og:image properties are not yet available” warning should be gone and your image should display correctly.
3. Add the Missing fb:app_id Property to Your Website
Let’s go back to a warning featured earlier in the article:

This warning means there isn’t a Facebook App ID associated with your website. You don’t need an app ID to share your content on social media, but it does enable you to gain access to Facebook Insights.
Given that Facebook Insights can help you to improve your marketing efforts and measure post performance, it’s worth a little setup time. If you’re interested in gaining access to those analytics, you’ll need to generate a Facebook App ID for your website.
Once you have the app ID, you can use Yoast SEO to add it to your pages using the fb:app_id property. To do this, go to the SEO > Social > Facebook tab on your site and look for the Facebook App ID field:
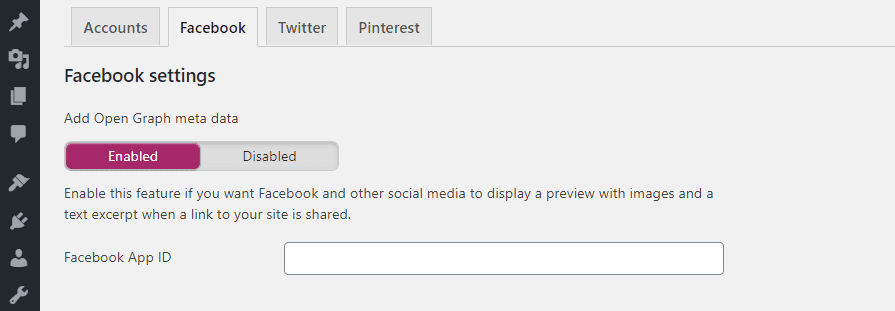
Add your app ID, save the changes to the plugin’s settings and you’re good to go. From now on, the Facebook Debugger shouldn’t return any errors related to a missing fb:app_id property.
Conclusion
The Facebook Debugger is remarkably simple to use. However, some errors you might run into are hard to understand without a basic understanding of OpenGraph tags. Generally speaking, if you use a plugin such as Yoast SEO, you won’t have to worry about setting up tags manually.
With the Facebook Debugger, you can quickly troubleshoot OpenGraph errors by:
- Scraping an URL again to update associated images.
- Fixing the “og:image properties are not yet available” error.
- Adding the missing fb:app_id property to your website.
Do you have any questions about how to use the Facebook Debugger? Let’s talk about them in the comments section below!
Article thumbnail image by Sergey Targasov / shutterstock.com.


Wonderful! Facebook Debugger is not that easy. But you did a great job man & made is easy to understand. Thanks Will.
Thank you for the kind words, Richard!