
Let’s assume that you are a fitness blogger and want to inspire your audience by sharing the before and after images of your body transformation. Instead of just placing the images side by side, it would be rather cool if you can use a before and after image slider to show the difference.
Wait! What is a before and after image slider?
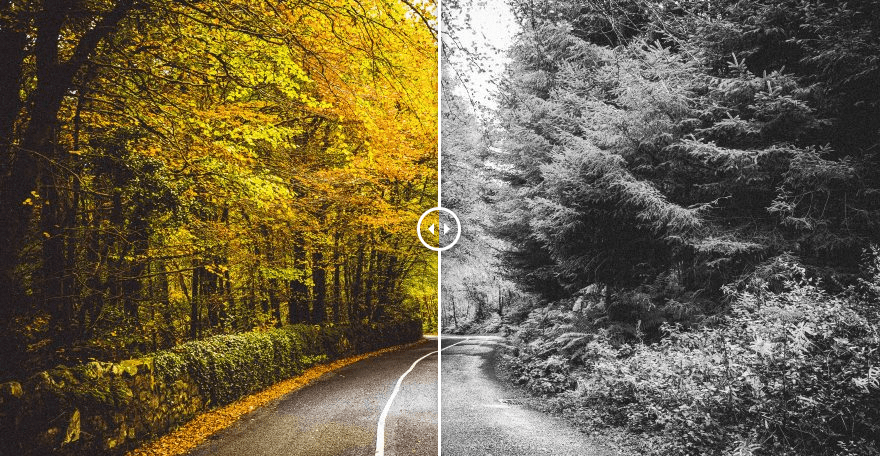
It is an image slider that stacks one image on top of another and uses an interactive slider to reveal the images. If the slider moves horizontally, then the first image will be revealed when the slider moves to the extreme right and the second one will be visible when it moves to the left.
Such sliders are handy for comparing two similar images. And hence, it can be useful for a number of professionals like photographers, beauticians, designers, doctors, and dentists.
If you are a WordPress user and wondering how you can use it on your website, then you are at the right place. In this article, I will share how you can add before and after images with the slider effect on your website.
So without further ado, let’s get started.
Subscribe To Our Youtube Channel
How to Add Before After Image Slider
There are many free and premium plugins using which you can add the before-after image slider on a web page.
However, we will be using the Twenty20 Image Before After plugin in this article. Later, I will also mention some popular free and premium alternatives.
Install Twenty20 Image Before After Plugin
Twenty20 is a free plugin and is available in the WordPress plugin repository. It allows you to add before-after image sliders in your posts, pages, and sidebar. It also supports popular page builders like Elementor and WPBakery.
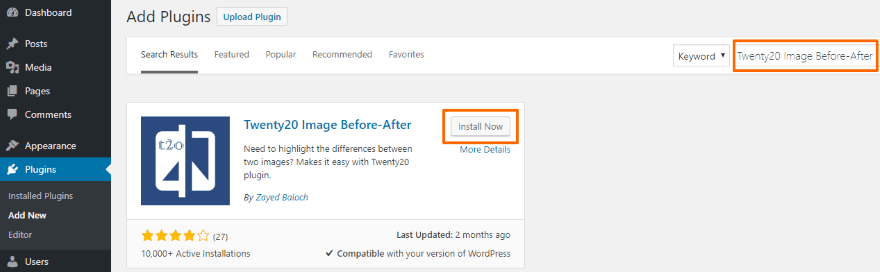
To install this plugin, go to Plugins -> Add New and search for Twenty20 Image Before-After. Once you find the plugin, just install and activate it:
Add Before-After Image in Your Post or Page
The Twenty20 plugin does not come with any settings page. So you can start doing the dirty work after installing the plugin.
Now, after the WordPress 5.0 update, you may be either using the Classic or the Gutenberg editor. So let me show you how this plugin works on both the editors.
Gutenberg Editor
The Twenty20 plugin does not have a block so far, but you can use its shortcode functionality and add the code in the shortcode block.
Let’s take a look at an example of the shortcode:
[twenty20 img1=”3442″ img2=”3442″ direction=”horizontal” offset=”0.4″ align=”none” width=”100%” before=”Before” after=”After” hover=”false”]
Let me explain each of the parameters:
- img1 – Here you have to add the image ID (not the image URL) of the first image.
- img2 – Add the ID (and not the image URL) of the second image.
- direction – This allows you to decide whether you want the slider in the horizontal or vertical direction. So, the value will be either horizontal or vertical.
- offset – Value of offset should be between 0.1 to 1.
- align – This determines the alignment of the before-after image. Value can be none, left, or right.
- width – Width of the image can be in percentage or pixels.
- before – You can add the caption of the before image here.
- after – Add the caption of the after image.
- hover – This parameter decides whether you want to move the slider on mouse movement. It accepts a true or false value.
Don’t know how to find the ID of an image? Go to Media -> Library from the left sidebar of your WordPress dashboard and click on the image. Now check the address bar of your web browser:
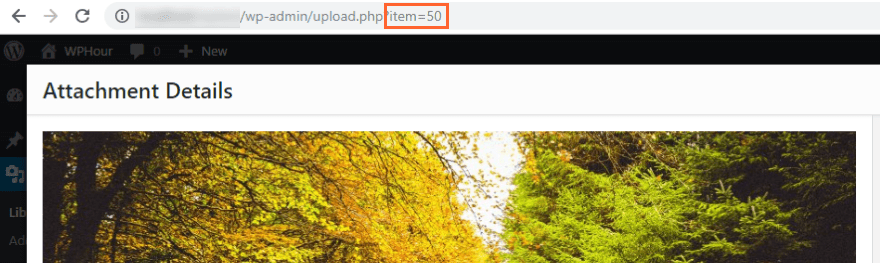
In the above example, you can see item = 50 in the URL. So, 50 is the ID of that particular image.
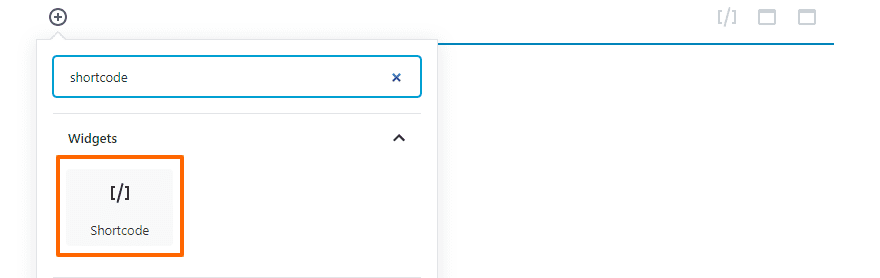
Okay! Now that you know how to use the Twenty20 shortcode, create (or edit) a post or page where you want to add the before-after image slider. And then, add a new block and search for the shortcode widget:
Copy the code that I used in the above example, paste it in the shortcode box and tweak it as per your requirements:

That’s it. You can now preview the post (or page) and check whether it is working properly or not.
Classic Editor
If you are using the Classic Editor, you will see a new button Add Twenty 20 after you install the plugin. Click on that button and a pop-up window will open up asking you to select two images:
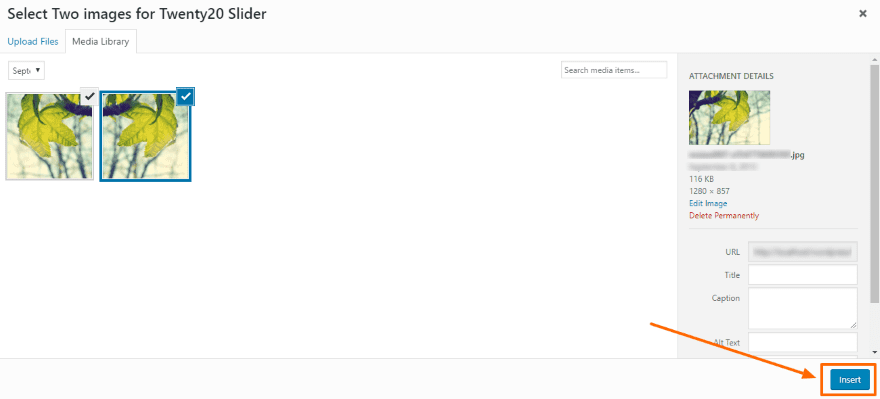
Once you have selected two images and clicked on Insert, a new window will open up asking you for some details for generating the shortcode:
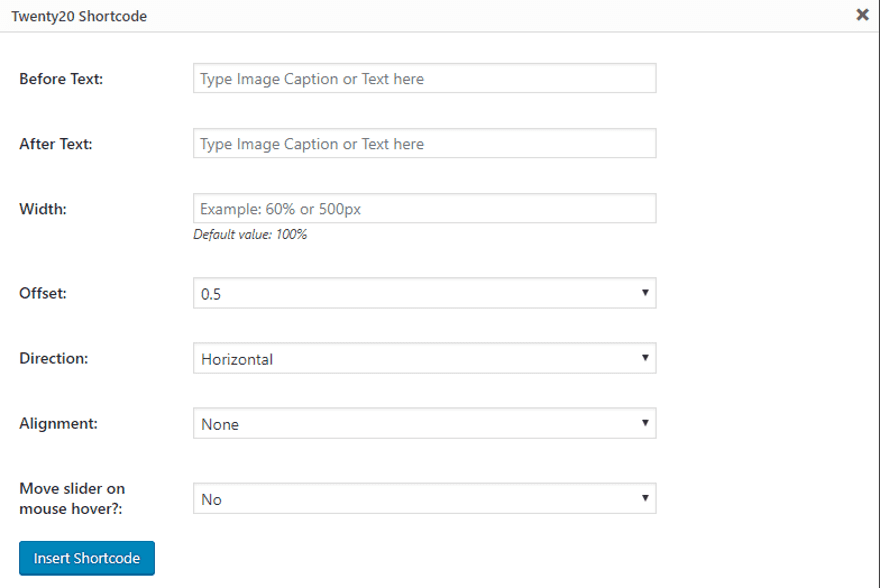
Once you are done with the settings, you can click on Insert Shortcode button.
You can also make changes to this shortcode later – just follow the example in the Gutenberg Editor section.
Twenty20 plugin also allows you to add before-after images in the sidebar of your website. It comes with a widget that does the cool work for you.
Head over to Appearance -> Widgets. Now find the Twenty20 widget and drag it to the sidebar area. The settings of this widget are similar to the previous section – just you have two extra buttons for selecting (or uploading) the before and after images.
Once you are done, save the widget settings and then check your website. Simple, isn’t it?
Some Alternative Plugins
While I like the Twenty20 plugin because it is simple and free, you may prefer something else. Hence, I decided to share some free and premium alternatives to this plugin:
1. Before + After Images for Divi
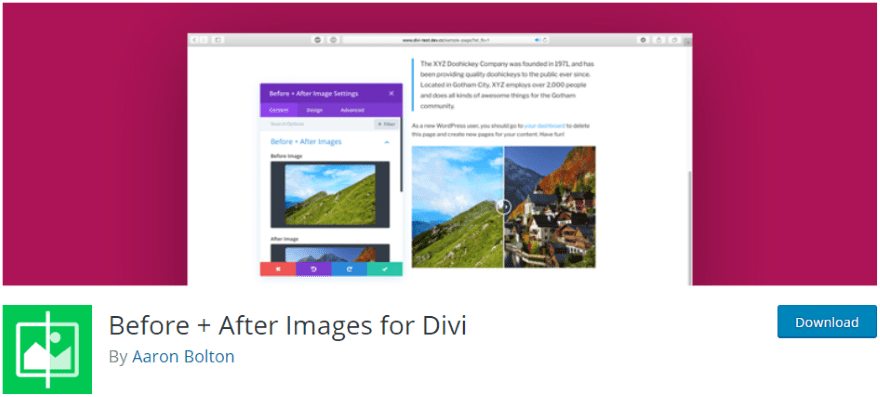
If you are a Divi user, Before + After Images for Divi plugin is the best for your needs. It is lightweight, responsive and supports lazy loading. It creates a new module that helps you to add before and after images to your website. This free plugin will work with the Divi Builder plugin, Divi theme, and other themes by Elegant Themes.
Price – Free | More Information
2. Multipurpose Before After Slider

Multipurpose Before After Slider is touch and swipe enabled premium plugin. It comes with an easy to use admin panel that helps you to tweak each image slider as per your needs and does not require the use of shortcodes. You can create unlimited before-after images and use them on posts, pages, and sidebar.
Price – $18 | More Information
3. Smart Before After Viewer

Smart Before After Viewer is a fully responsive and touch-friendly premium plugin. It allows you to add custom label texts on the before and after images. And you can change the position and color of the labels without any hassle. This plugin also allows you to add multiple images on a single page.
Price – $18 | More Information
Endnote
A before-after image slider is a great way to show the differences between two identical images. And you can use such sliders on your WordPress site following this tutorial.
So, have you ever used any of the plugins mentioned in this article? Or, would you like to suggest a particular plugin that is suitable for achieving the same? Let us know in the comment section.
Featured image via __ / shutterstock.com


Thank you.
The first plugin didn’t work for me in Divi Builder for some reason, but the Before + After Images for Divi plugin you mentioned works perfectly.
Thank you, a useful tip.
twenty 20 does not work for me (chrome)
Before + After Images for Divi does not work correctly. Either very small pictures, or very large ones with poor quality.
In Before + After Images for Divi, try to select an image size in the Visual Builder module under the “Advanced” tab.
It is possible to integrate the click in the before and after. Let me explain, when you click on the before scrolls to the before one, click on the After scrolls to the After
I will try to add that in a future plugin update. Thank you for the suggestion.
The Before+ After images for Divi doesn´t work for me. The module doesn’t show up when trying to add a module. I suppose this is a theme/plugin compatibility issue?
Paula, feel free to open a Support ticket on the WordPress plugin page for Before+ After images for Divi and I’ll do my best to help you (I created the plugin).
Hi, my name is jatin. I am working on word press so, this blog is very important for me, I’ll use this. thank you keep it up
Nice blog, I am working on word press so, this blog is very important for me, I’ll use this. thank you
Thank you for this advise!
You forgot about BAM by BeSuperfly.
Is the first example image with the trees supposed to be functional? It’s not for me in Chrome or Safari.
IKR?