
You’ve poured your time and energy into a blog post. It’s formatted perfectly with links and media. You’ve sent it into the world for everyone to ooh and aah over. Then you do it again with a brand new post. And then another one.
Before you know it, that post you spent so much time on is buried, the information is no longer relevant and you’ve completely abandoned your marketing efforts for it.
Your hard work doesn’t have to have such a short shelf life, though. By spending time updating your older content, you can get traction out of the work you’ve already done and ease the burden of having to come up with completely new articles every single day.
Schedule WordPress content updates to freshen up your content and keep readers interested. Adding new information can update your article instead of leaving it with outdated information, and brands that know about upcoming events or sales can pre-schedule the changes to go live on a specific date.
Subscribe To Our Youtube Channel
Native WordPress Doesn’t Have an Option for This
WordPress does let you schedule posts to go live at a certain date and time. It doesn’t give you the option to schedule WordPress updates to a published post, though.
Native WordPress requires you to make the changes in real time and then publish them. While you could make a copy of the post, make the required changes, and then copy and paste the changes into the original post, this is a clunky system, and you’ll still have to be in front of your computer to actually publish those changes.
The Tao Schedule Update plugin for WordPress is a simple, free solution for making updates to your content. It’s best used if you only have one round of updates to make to your content – you’ll see why toward the end of this article.

Installing the Tao Schedule Update Plugin
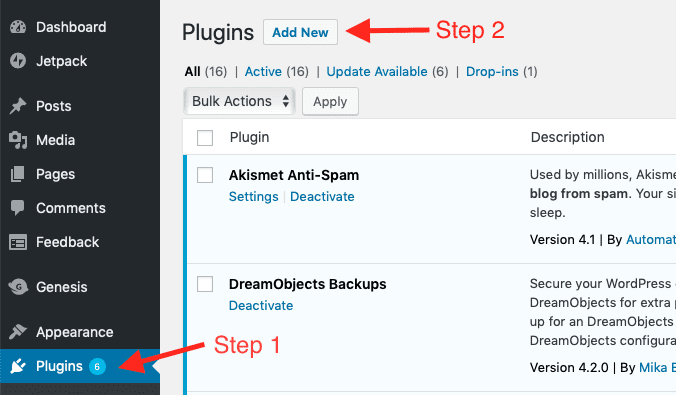
To install and activate the Tao Schedule Update plugin, go to Plugins on the left sidebar, then choose Add New from the top.
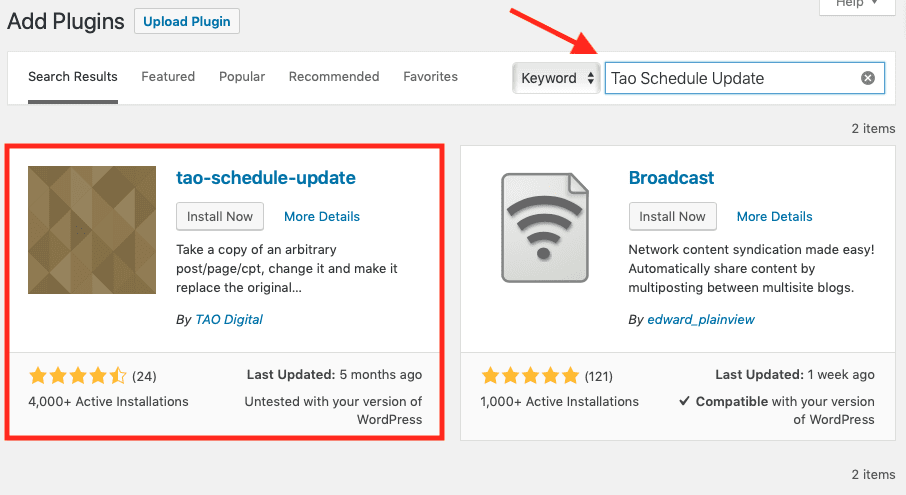
Search for “Tao Schedule Update” to the right of Keyword.
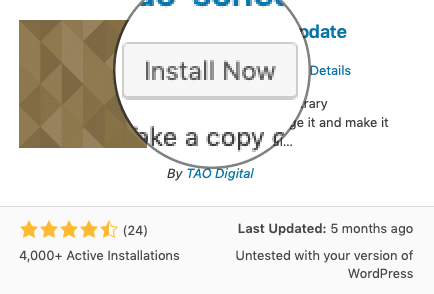
Click on Install Now.
Once it’s installed, click Activate.
That’s it! You don’t have to do anything else – it’ll be ready to use when you go to your list of posts.
Schedule WordPress Content Updates Using Tao Schedule Update
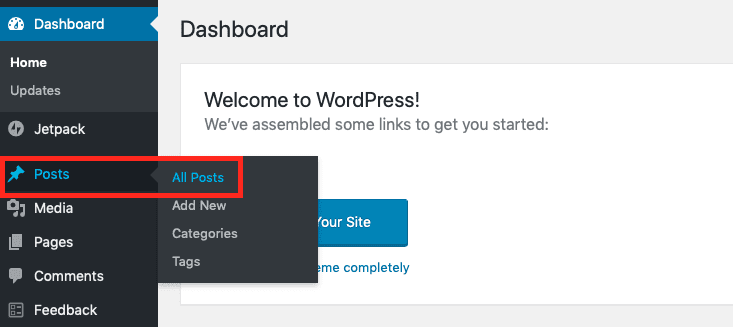
Now it’s time to schedule WordPress updates to your already-published content. Hover over Posts in the left sidebar, then click All Posts.
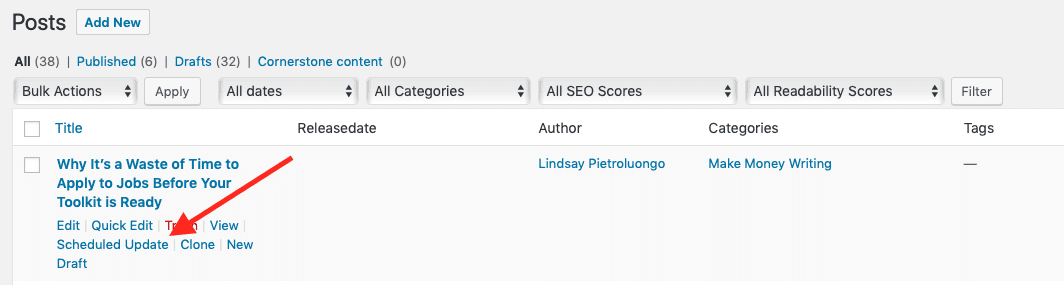
Hover over the title of the post you want to schedule an update for, then select Scheduled Update.
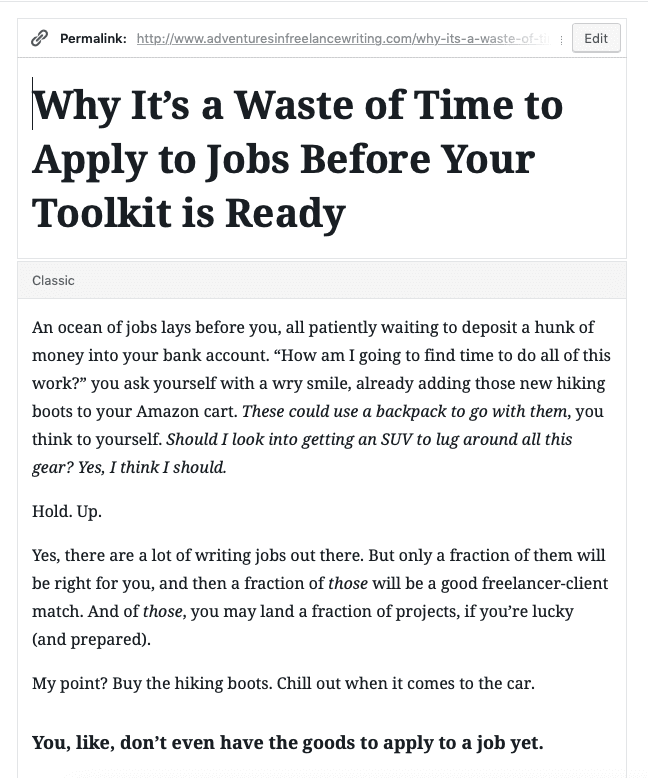
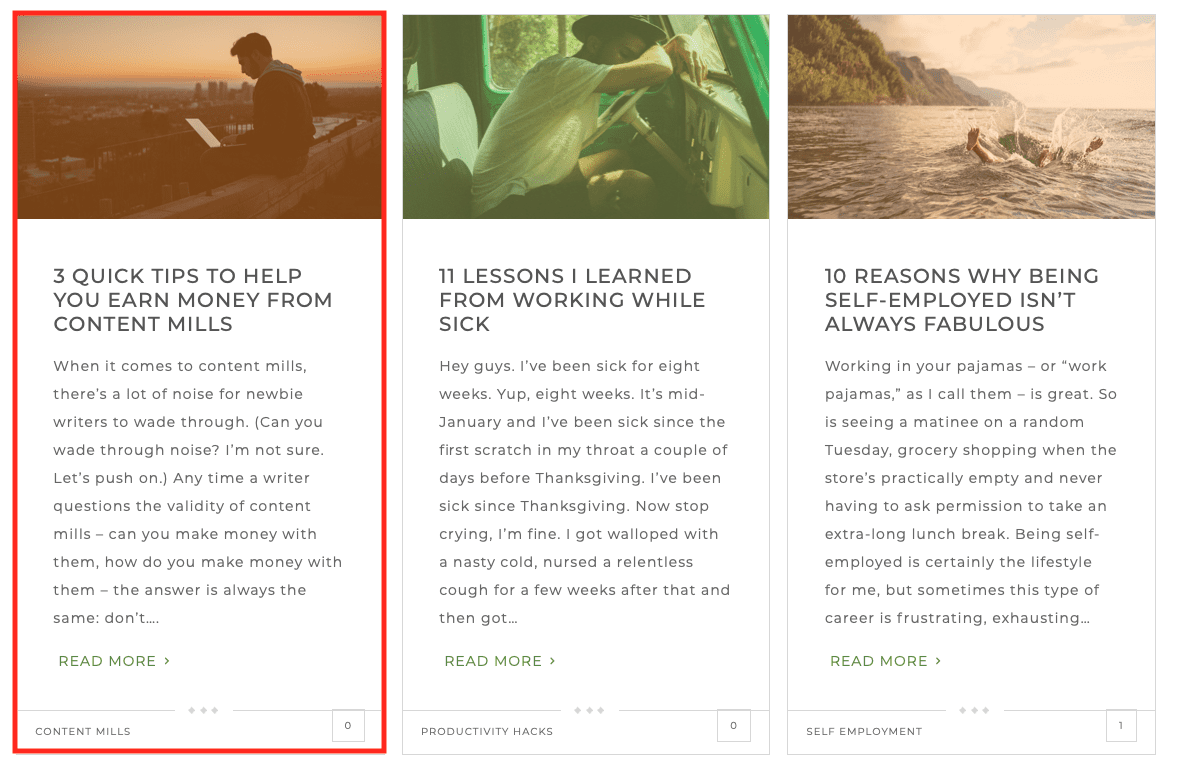
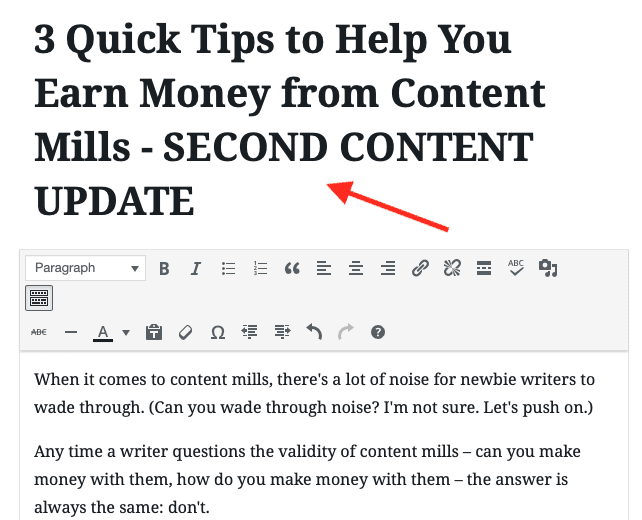
This makes a copy of the original blog post, which you can then edit and schedule for a later date and time. This is what the original blog post looked like before editing:
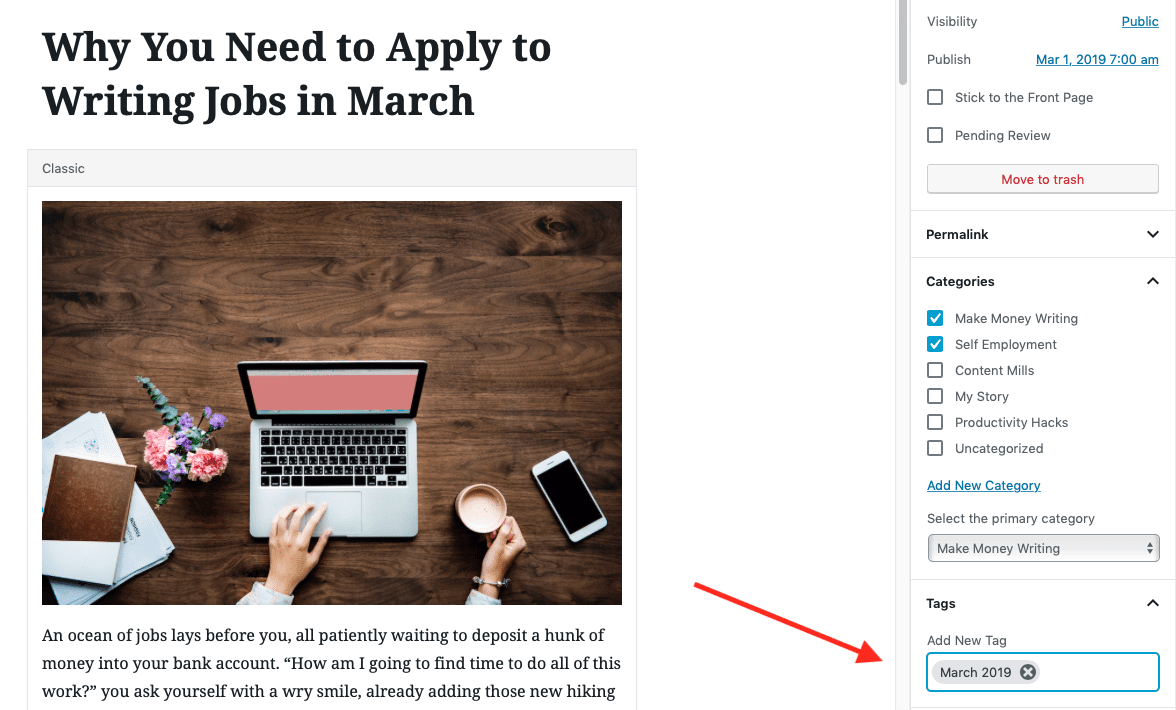
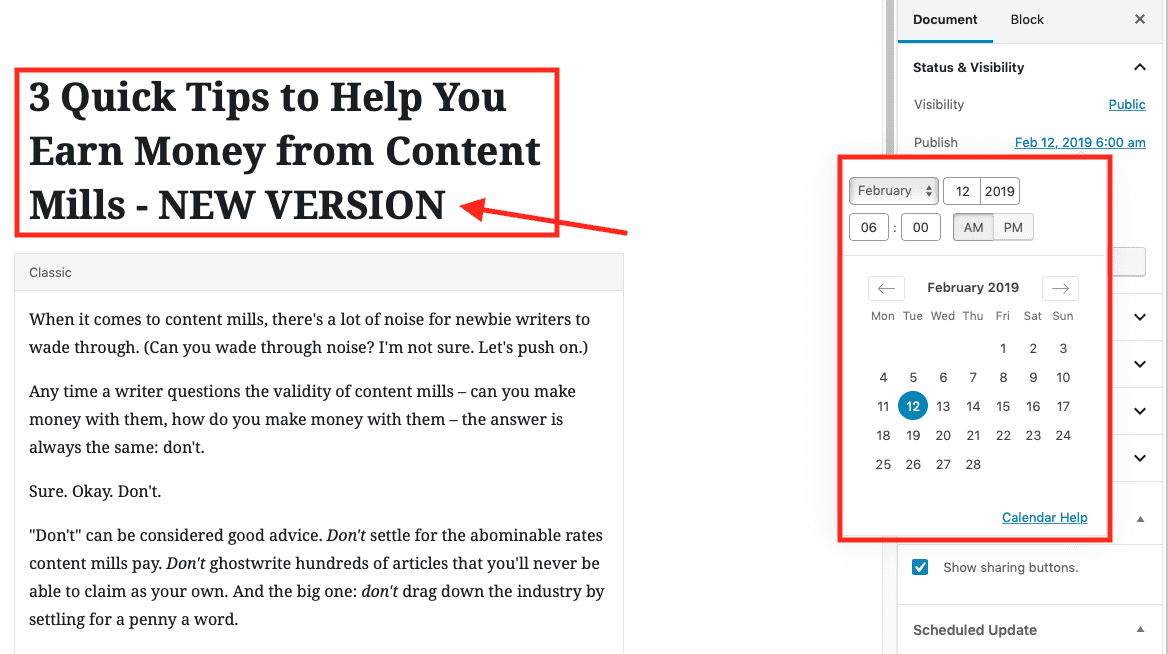
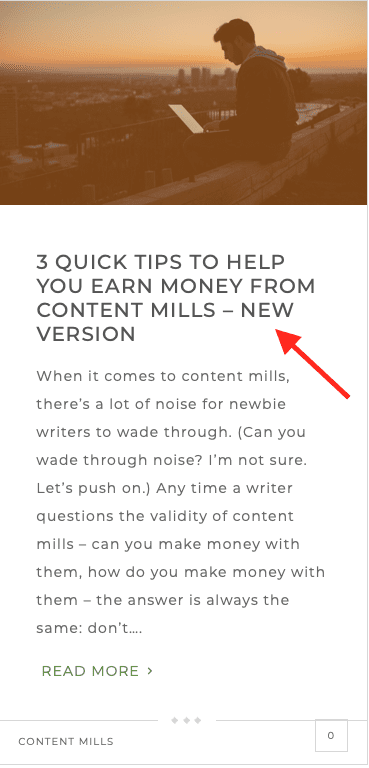
I changed the headline and added a photo:
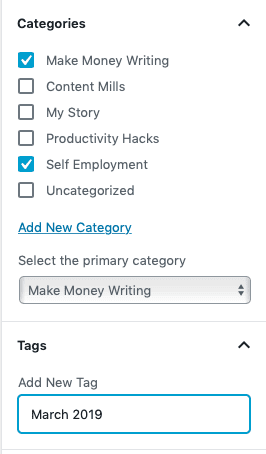
I also checked the Self Employment category and added a tag:
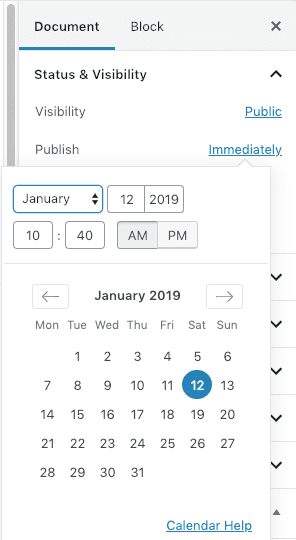
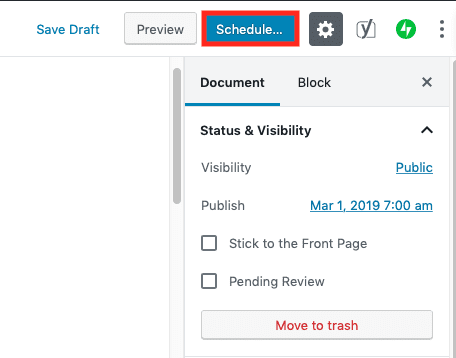
Click the date and time to the right of Publish, which is on the right side of the screen.
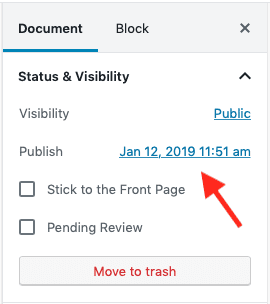
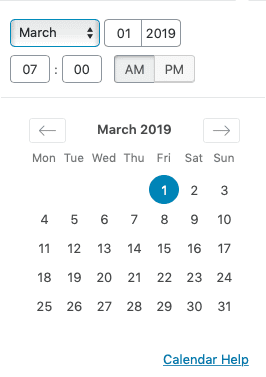
You’ll then be able to schedule the update for a new date and time.
Next, click Schedule at the top of the screen.
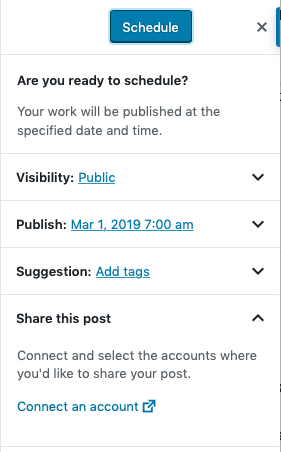
You’ll see this menu pop up, where you can make a few changes, if you want. When you’re ready, click Schedule again, at the top.
This process is super easy, but the one thing I didn’t like is what happens after you click Schedule. For a few seconds, the window seems to be working:
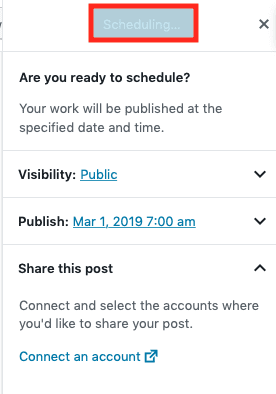
Once it’s finished scheduling, it looks exactly the same as before, with the Schedule button at the top again. I’d prefer it to say something like, “Your content has been scheduled,” so I know it’s finished.
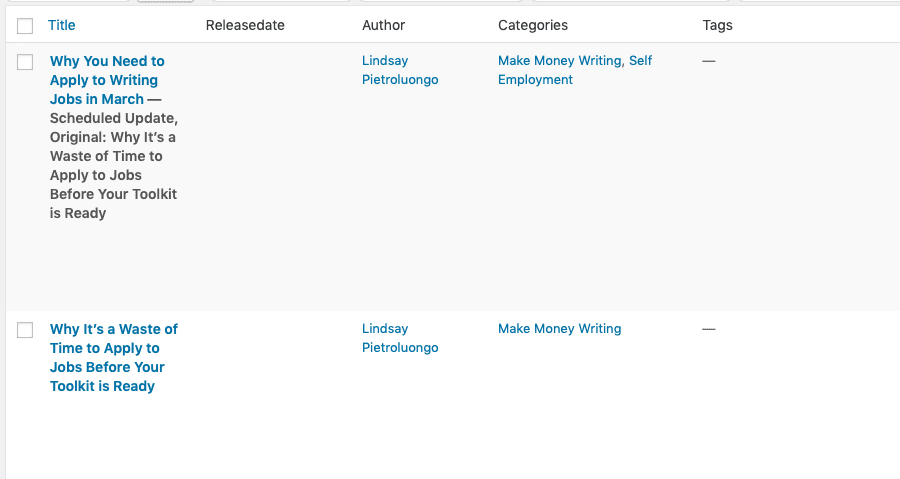
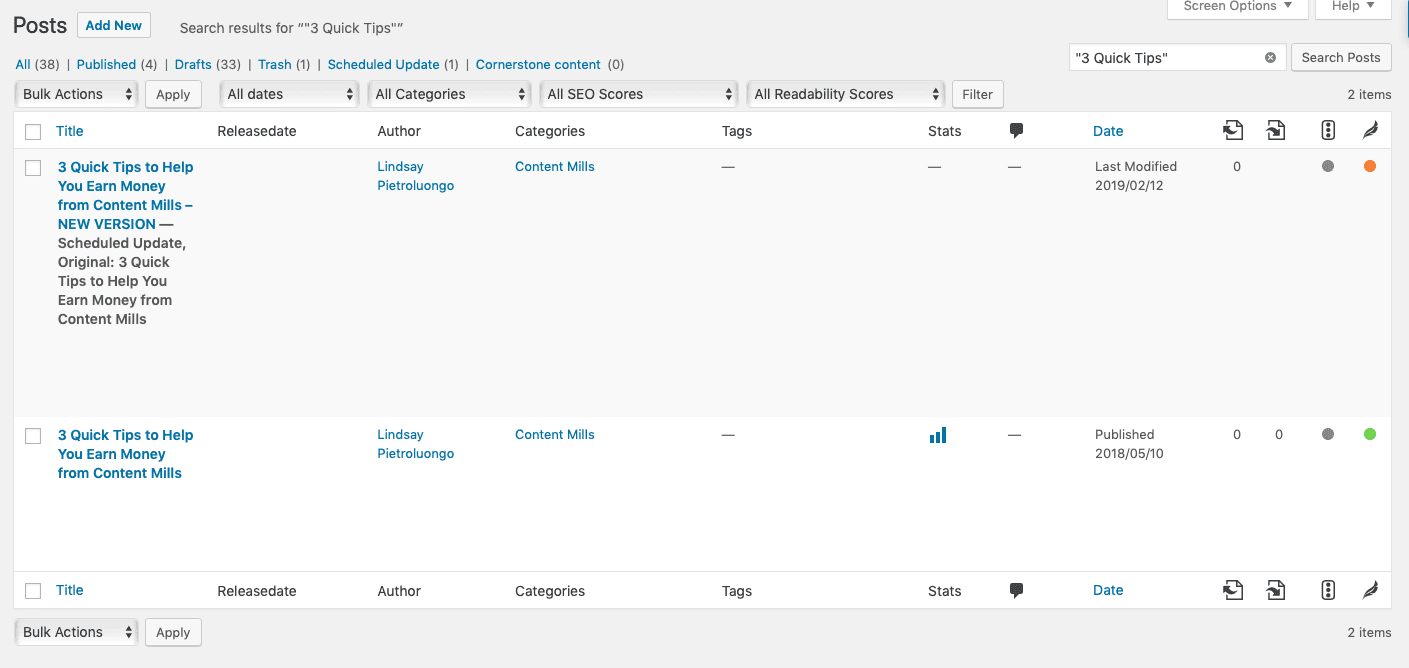
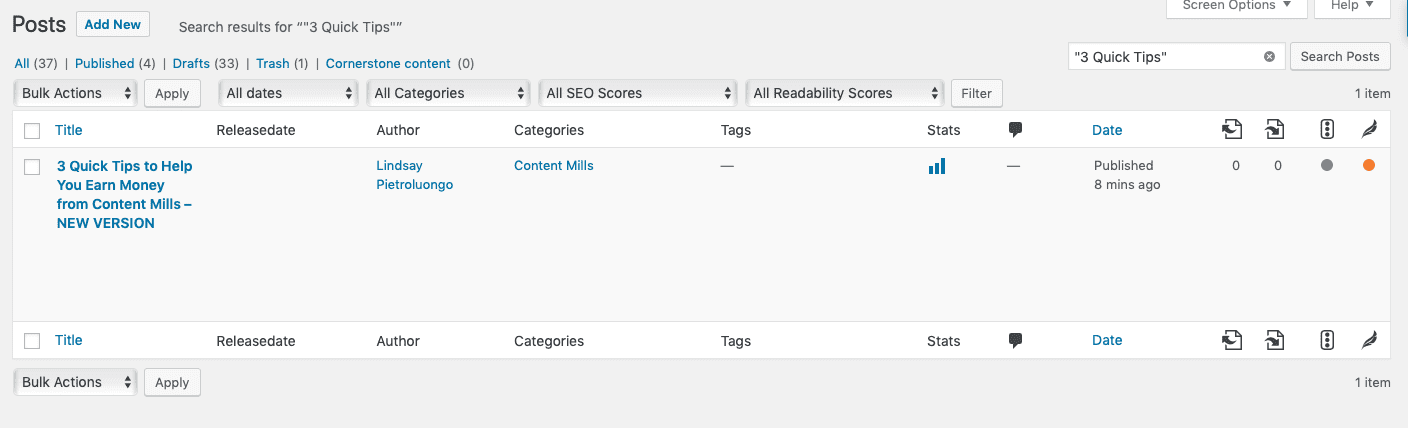
If you go back to Posts and then All Posts, though, you’ll see the new version of the blog post with “Scheduled Update” underneath.
Editing an Updated Blog Post
I noticed that the tag for the updated blog post didn’t save, so I went back in to add it again
I added the tag again, then clicked Schedule. It didn’t make another version of the blog post, which I was happy about – it just updated the one I’d been working on.
I wanted to play around with editing an already-updated post some more, and I decided to start fresh. I chose a blog post that was live on my website and made a couple of changes.
Then I went back to All Posts to edit the new version of the blog post.
There isn’t a clickable Scheduled Update link under this new version, so I clicked Edit and went in to make some changes. This time, it ended up doing three things I didn’t want it to:
1. It wouldn’t save the update I made to the headline.
I had an error message at the top saying the update failed.
2. When I went back to All Posts, this was the only version of the blog post remaining:
That means that I lost the original blog post. It wasn’t in Trash, either.
3. This new version of the blog post went live on my website, which is why the original was gone.
Deleting the original when the content update goes live is a great feature and keeps everything organized, but when it mistakenly publishes a post before I want it to, getting rid of the original is a big problem.
I had actually noticed the same thing happen earlier with the first blog post I updated, but I thought it was an oversight or mistake on my part. This time, I knew for sure it was a flaw in the plugin – I knew I hadn’t re-scheduled the post for the current date and time, and that’s the only way I to publish it in real time.
Final Thoughts
The more you can reuse your already-published content, the more value it will provide you and your audience. Since native WordPress doesn’t yet have this functionality, the Tao Schedule Update plugin is an easy-to-use option, though not a flawless one.
The issue I ran into, where it deleted my original blog post and posted the new one before the schedule I had chosen, could be damaging to your website. It only seemed to be an issue when I edited an already-updated post, though. A workaround is to make just one round of edits to a blog post, schedule it and then leave it alone. If you have to schedule another round of updates, the safest option is to wait until that first round is live.
Need help deciding which aspects of your blog post you should update to keep your content fresh and interesting? Check out this article on how to update your most successful blog posts.


Unfortunately this plugin hasn’t been updated for 5 years, and hasn’t been tested with the last 3 major versions of WP. The plugin page on wordpress.org has a warning message at the top of the page. Not sure this is a valid option any more.
I was a big fan of the Tao Schedule Update plugin and used it for years to schedule multiple changes to the same already-published page on a website I manage. For example, a livestream feed goes up on a page on the site at 9 a.m., comes down at 10 a.m., and a different livestream embed goes up at 11 a.m. When the Tao plugin broke, I searched and searched for a replacement and couldn’t find any that would do multiple, successive changes to the same page. Some would only do one change, one stripped out my code when it published, one published immediately even though I had scheduled the change, one forced a whole publishing approval process that I didn’t need. If you miss the Tao plugin, then Content Update Scheduler is what you are searching for. It’s lightweight, simple, easy to use, and works exactly as you would expect. Enjoy!
cool, but it would be nicer, to schedule modules in divi.
for example a “happy new year” info on the webpage and it will be inactivated @hh.mm.
Very helpful article. Previous I don’t know about the disabled schedule thing in the latest WordPress. Quite helpful.
Although this is great, I’d like to know why any post I schedule to be published in native WordPress, always gets the ‘missed schedule’ error. The post will not be published.
The only time I get a scheduled post to actually publish, is if I schedule 5 minutes beforehand.
I understand there’s a plugin to help with this, but it’s a WordPress function, and should work.
I agree, it definitely should work! I’ve never experienced that, but it seems a lot of other users have. There are several articles that seem to troubleshoot it – would love to hear if you find a solution 🙂
What about the url permalink, should I change it too or keep it the same as it is… Thanks for nice post
Thank you! I suggest never changing the URL of a post – even if you manage to do it in a way that retains traffic, you could accidentally end up with a broken link. When creating posts from the start, keep this in mind and choose a slug that’ll be evergreen.
There’s a little more on this here – you’ll find some chat about this topic in the comments: https://www.elegantthemes.com/blog/tips-tricks/wordpress-permalinks
How to autopost this one also on social media like fb?
Assuming the edited post has the same URL as the original, you’d just schedule it the way you would any other post – I use Buffer and find the free version quite adequate.
Agreed! I love Buffer for scheduling social media posts.