
The WordPress maintenance mode page automatically shows to website visitors when you’re updating your site, like when you’re updating core files, plugins or themes. The point of the maintenance mode page is to prevent your site from looking like it’s broken when it’s just undergoing routine updating.
The page is supposed to show only temporarily, but sometimes it sticks around for longer than it should. That means your site will be offline for far longer than you intended, which can be bad for everything from your brand reputation to search engine ranking.
Another problem that a lot of website owners have with WordPress maintenance mode is that the page is overly basic. It has limited messaging, which doesn’t exactly clue your visitors into what’s going on and how long the site will be down for. If branding is a concern, there’s a way to rectify this.
In this article, we’re going to cover the ins and outs of the WordPress maintenance mode. We’ll explain why and how it happens, common problems users face with it and options for creating a more stylized maintenance page.
Note: Before you perform any type of maintenance or work on your site, it’s smart to back it up. Here are the best WordPress backup plugins that we recommend.
What is WordPress Maintenance Mode?
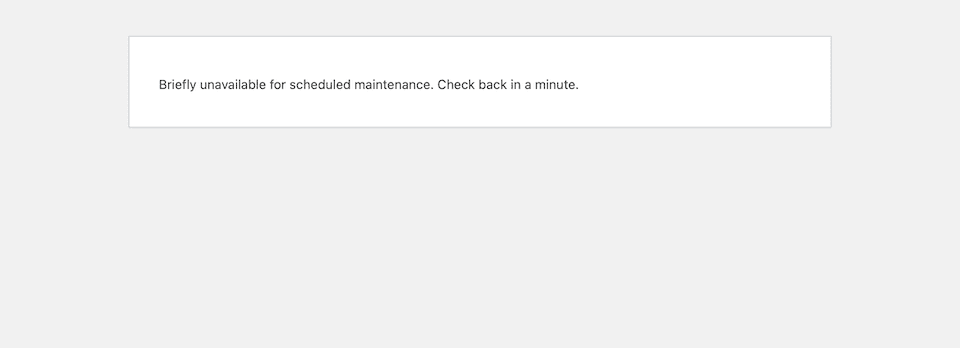
This feature is built into the WordPress core, and it got its start with version 3.0. When you update a plugin, theme or installation, the maintenance mode page and messaging is shown to visitors. The message says, “Briefly unavailable for scheduled maintenance. Check back in a minute.” And that’s all there is to the page. As you can see in the screenshot below, nothing else is there – it’s just a blank page otherwise.
When your site’s in maintenance mode, WordPress also returns a 503 HTTP (which means “service unavailable”) status code, which tells the search engine (Google, most likely) that you’re working on the page or that something went wrong with your website and to check back in a bit. This code is good for your SEO, because it tells Google that your site’s only down temporarily, so it won’t harm your ranking.
P.S. While your site won’t be viewable by visitors, it can still be accessed by administrators. You can log in and edit your site as usual.
What Makes Maintenance Mode Appear?
When your WordPress website is being updated or something is being installed, other backend processes are temporarily stopped. Usually, this pause only lasts a few seconds (the exact duration depends on how many updates there are and their sizes). WordPress uses the wp_maintenance() function, creating a temporary .maintenance file for your website. That file contains the maintenance mode message. Once your website updates are finished, the file is auto-deleted, and your website goes back to normal…assuming all is working correctly.
Getting Stuck in Maintenance Mode
It’s not uncommon for a website to get stuck in maintenance mode. It’s also possible that you’ll have trouble logging into your site if it’s stuck in maintenance mode – so neither you nor your visitors will be able to access your site in the back or front end.
WordPress maintenance mode tends to get stuck if there’s some type of conflict and the .maintenance file thinks updates are still occurring even if they’ve really been completed. This can happen if you try to leave or refresh the updates screen while an update is still working.
It’s also possible that you have a plugin or theme that’s not compatible with your WordPress version – something that can be made obvious when you try to run an update. An outdated version of WordPress or an outdated plugin or theme could end up having compatibility issues. The lesson? Keep everything as up to date as possible.
How to Get Your Website Out of Maintenance Mode
The good news is that it’s not too difficult to get your site out of maintenance mode if it’s stuck there. Before you access your site’s files, though, empty the browser cache. It’s possible that your website is out of maintenance mode, but your browser is still serving you a cached version of the page. Emptying the cache could clear that up.
Each browser has its own method for clearing the cache, but they’re all straightforward. For example, in Safari, you just click Develop > Empty Caches at the top.
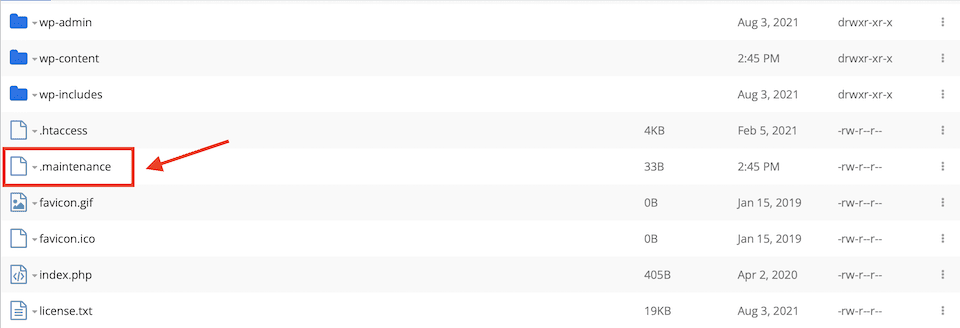
Didn’t work? No problem. Basically, all you have to do is manually delete the .maintenance file. Here’s how:
- Log in to your website’s file manager through SFTP or your hosting provider. (Get in touch with your host to find out exactly how to access the root directory if you’re unsure.)
- Navigate to your website’s root folder. In our case, it was named after the site’s domain name. You know you’re in the right folder if the wp-config.php file is in there.
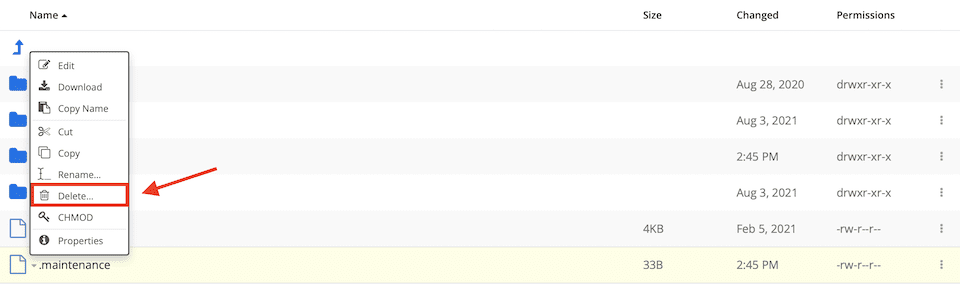
- Find the .maintenance file and delete it.
Now, clear the browser cache and refresh your website – it should be back to normal.
How to Avoid Getting Stuck in Maintenance Mode
There are a few best practices to follow to avoid getting hung up in WordPress maintenance mode. The biggest tip is to not do anything else to your site during an update. Don’t refresh or navigate away from the screen until your update or installation is finished. Here are more strategies to follow:
Stagger Plugin Updates
Avoid clicking Update Now on multiple plugins in quick succession. While WordPress tries to stagger the updates even if you try to do it all at once, even a brief delay could cause a conflict.
To update multiple plugins in one shot the right way, do the following:
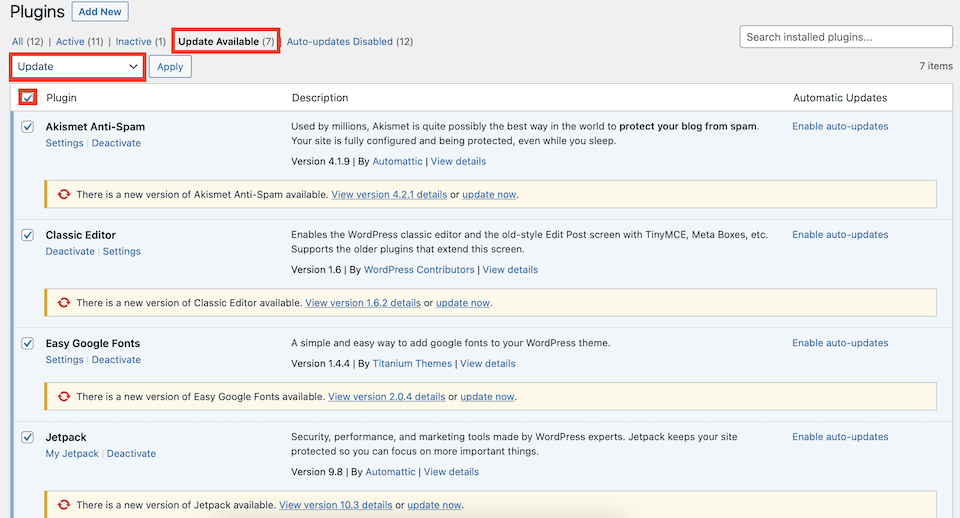
- Click Updates Available at the top of the Plugins page.
- Select the checkbox above the top plugin. This will select all of them.
- Choose Update from the dropdown menu.
- Click Apply.
This way, WordPress will update them in order, helping you to avoid a conflict.
Note: Some users may still have trouble with bulk-updating, even if they follow the steps above. If you continue running into problems, manually update your plugins and themes one by one. Let each one complete before going on to the next.
Regularly Update Your WordPress Plugins
Try to update each plugin as it’s patched or improved by the developer and an update for it is ready. If you wait several weeks and then try to update all of your plugins at one time, you’re more likely to face a conflict. Set an “update day” every week to stay on top of it.
If you must update several plugins at once, say 30 or more, do them manually one by one. Test your site in between, clearing the cache and logging out, then logging back in, making sure nothing broke your site. If something goes wrong that you can’t fix, use a backup and then replace the plugin that’s causing the problem.
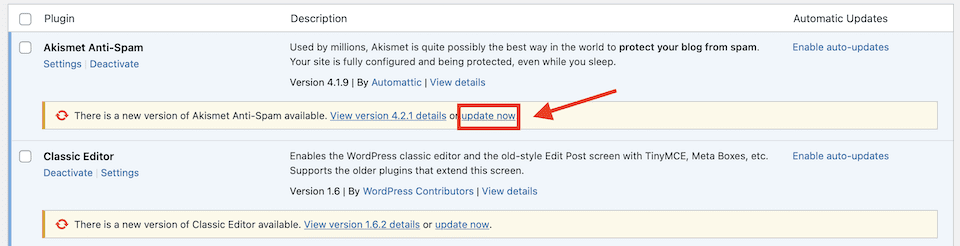
You can also set plugins to automatically update. In the screenshot below, the first plugin is already set to auto-update, while the second one still has the option that can be enabled.

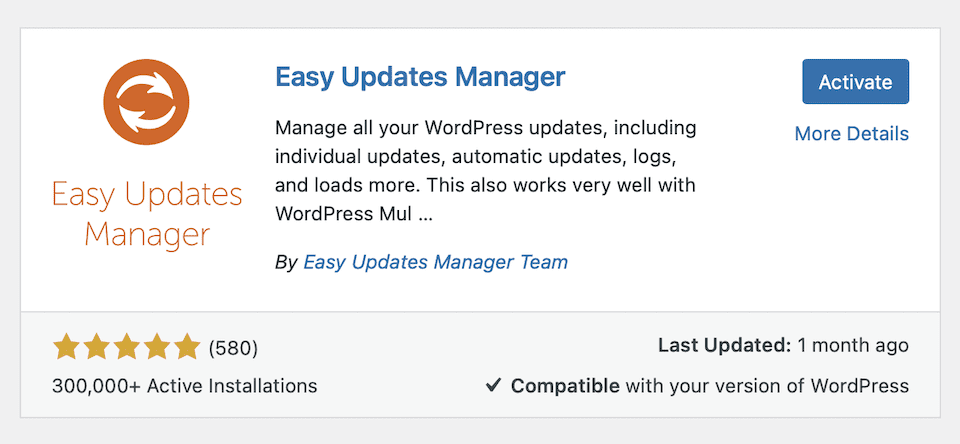
Alternatively, you can use a plugin like Easy Updates Manager to keep your plugins, site and themes up to date. After installing and activating this plugin, go to Dashboard > Updates Options to see a variety of settings for keeping everything across your WordPress site updated.

How to Customize Maintenance Mode
There are all different ways you can customize and extend WordPress maintenance mode. This can give you the ability to manually enable it, add your own branding to the page or personalize the message that visitors will see.
Adding Your Own .Maintenance File
While the default WordPress maintenance mode page can’t be changed, you can create your own .maintenance file that will show in its place. All you have to do is create the page – WordPress knows to automatically check for it.
- In your file manager, go into the wp-content folder.
- Create a new file.
- Name the file maintenance.php.
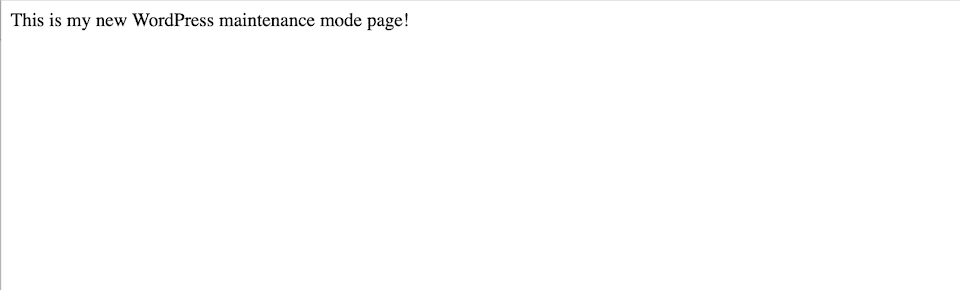
- Add your custom message and CSS (optional).

I simply changed the wording of my page, and as soon as I updated one of my themes, my new WordPress maintenance mode page showed automatically. A few seconds later, when the theme was finished updating, it went back to normal.
Using a Plugin to Create a Custom Maintenance Page
If you aren’t interested in writing CSS code or you need to design a richer page than your coding skills allow, a plugin is the next best option. Here are two suggested plugins, one feature-rich and the other basic.
Coming Soon Page, Maintenance Mode and Landing Pages
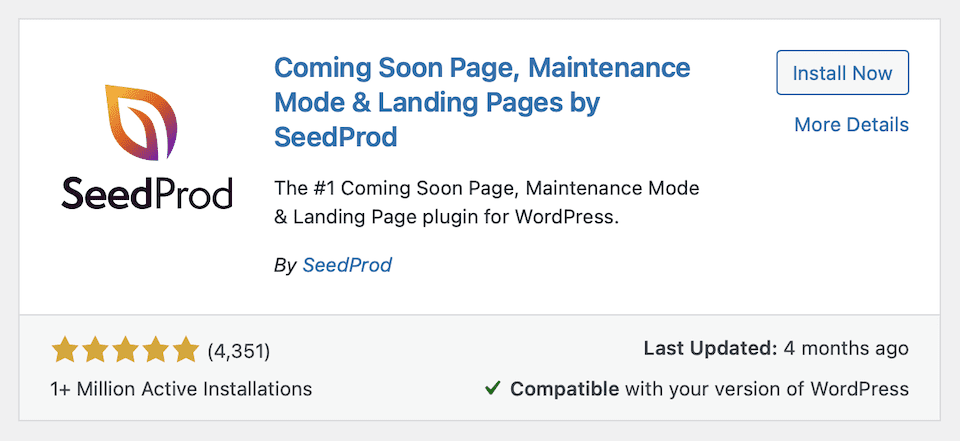
The Coming Soon Page, Maintenance Mode and Landing Pages plugin has more than a million active installations and five stars from over 4,300 reviews. There are a number of customizable maintenance page templates to choose from, along with “Coming Soon” and other WordPress page templates. You can create your own from scratch, too.
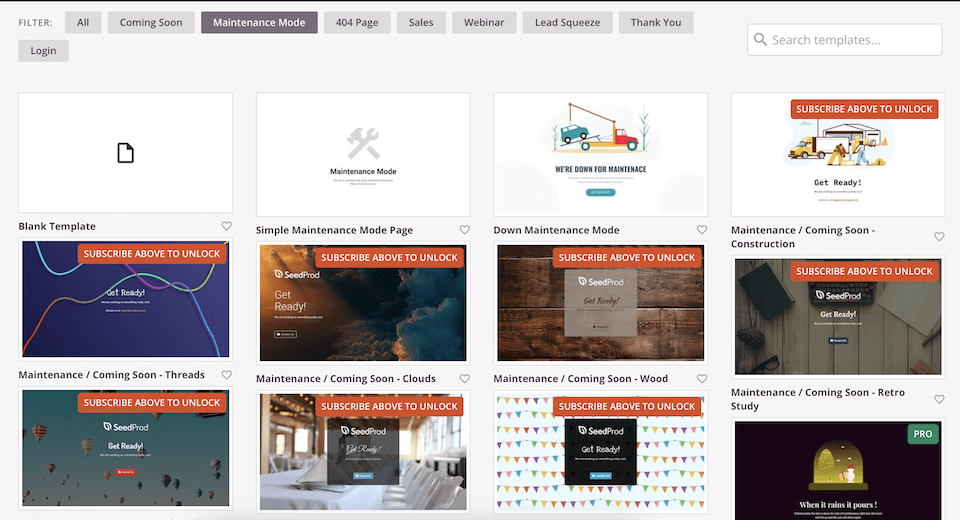
What’s nice about this plugin (and many others) is that you activate WordPress maintenance mode manually. As long as you’ve told SeedProd what to use as your maintenance mode page, that’s what will show when you manually activate it.
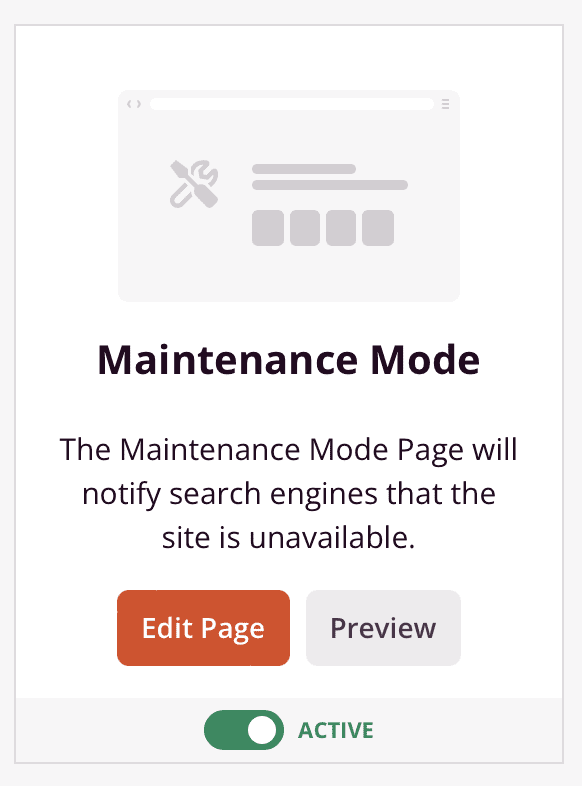
Unfortunately, it doesn’t seem to automatically show this page when you do something like update your plugins or themes – visitors will still see the default WordPress maintenance mode message. However, you can manually activate your custom page before making those type of updates to keep it on-brand.
WP Maintenance Mode
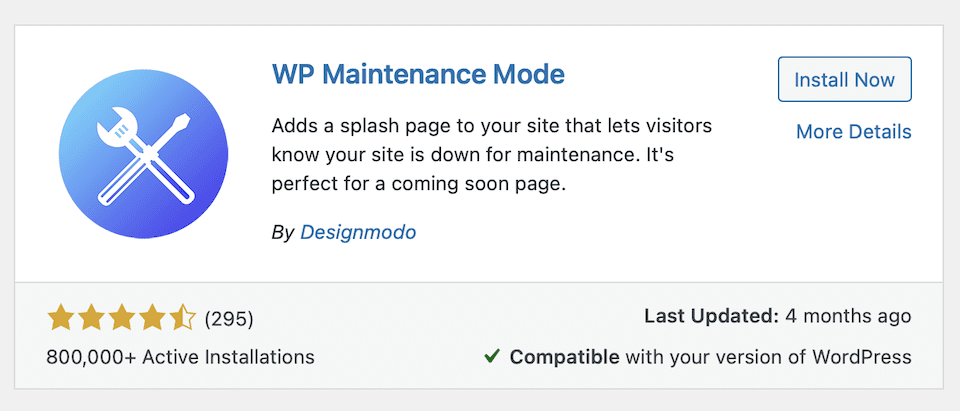
While it doesn’t have anywhere near as many reviews as SeedProd’s plugin above, WP Maintenance Mode stands strong at more than 800,000 active installations and 4.5 stars. This one’s pretty basic, but if you want something different than WordPress’ default without having too many bells and whistles, it’s a reliable option. Customize your message, add a few design tweaks and manually enable your new maintenance mode page to show when you’re working on your site.
Using Divi Layouts
Out of the box, Divi doesn’t have a built-in way to enable/disable maintenance mode, but we do have a selection of maintenance mode pages that you can customize. Then, as long as you’re using a maintenance mode plugin that lets you upload a customized page, you’re good to go. Divi Switch, for example, is a toolkit of over 50 Divi add-ons, including the ability to activate maintenance mode.
How to Manually Enable Maintenance Mode
There are two ways to manually enable WordPress maintenance mode. The first is using a plugin, and the second is adding code to your functions.php file. We’ll go over both methods here. (While we already touched on plugins that let you manually enable the maintenance page, there’s a super-slim option you may want if you don’t care about design elements.)
First, here are the times when you may want to put your site into maintenance mode:
- Developing the site pre-launch.
- Designing structural elements, like the navigation menu.
- Editing site code. (It’s always best to use a staging site, by the way!)
- Editing site content.
- Fixing a bug.
- Launching a product, service or site redesign.
- Updating core WordPress, plugins or themes.
- Uploading a new version of a plugin or theme.
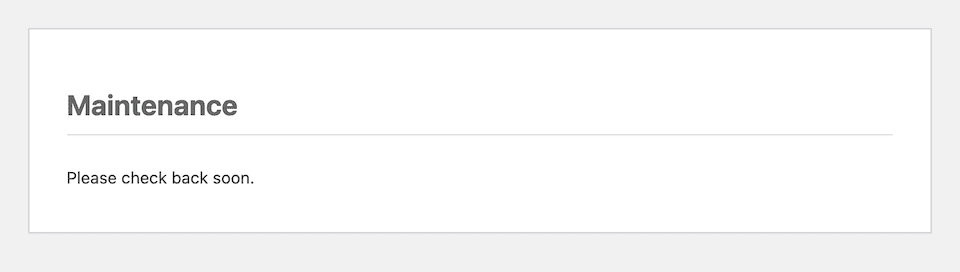
Using the Slim Maintenance Mode Plugin
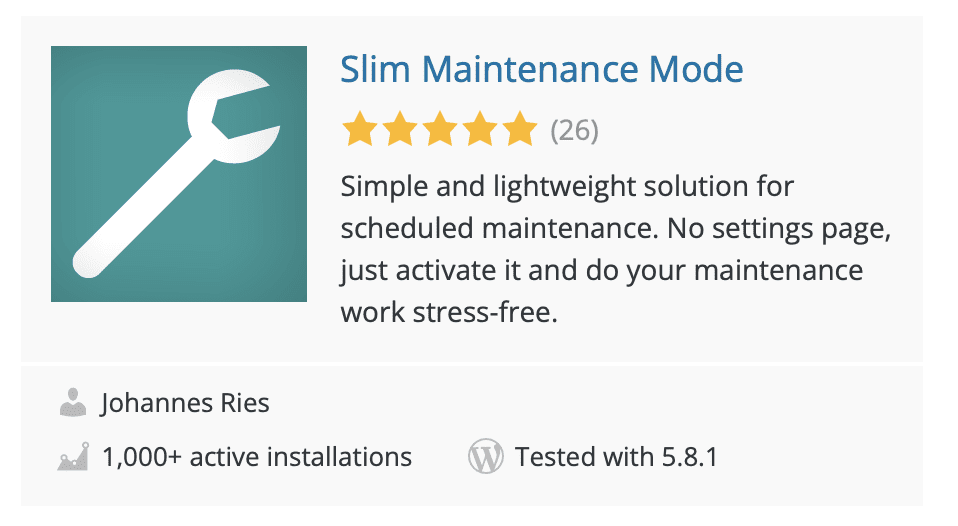
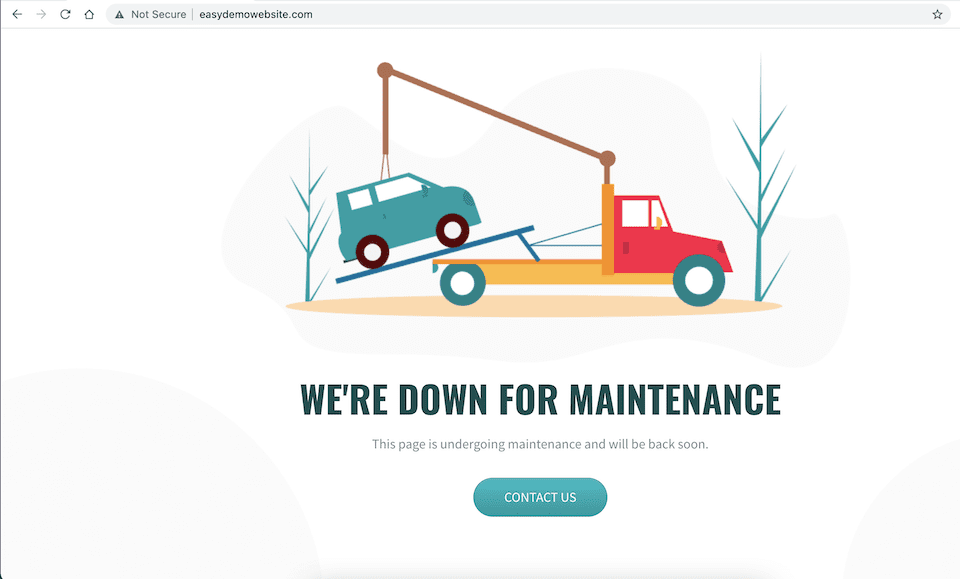
There aren’t any design settings – or settings of any kind – with the Slim Maintenance Mode plugin. There’s just the option to manually turn maintenance mode on and off as you need to. Activating the plugin will show a maintenance page to visitors, like in the screenshot below. To take your site out of maintenance mode, simply deactivate the plugin.
Adding Code to the Functions.php File
If you really don’t want to deal with yet another plugin, you can force your website into maintenance mode by adding a special code to the functions.php file.
- Find functions.php in your file manager by going to wp-content > themes and then the folder for your active theme. The file should be in there.
- On line 2, right under the php header, add the following code:
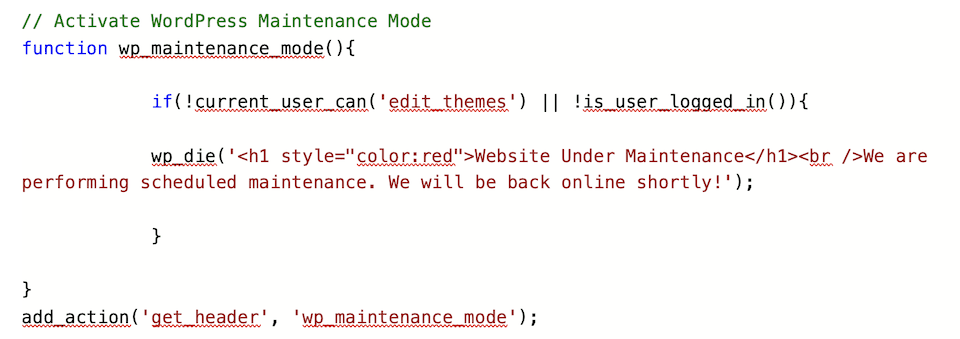
- Replace Website Under Maintenance and We are performing scheduled maintenance. We will be back online shortly! with whatever wording you want.
- Click Save.
- If you visit your website when you’re logged out, you’ll see this:
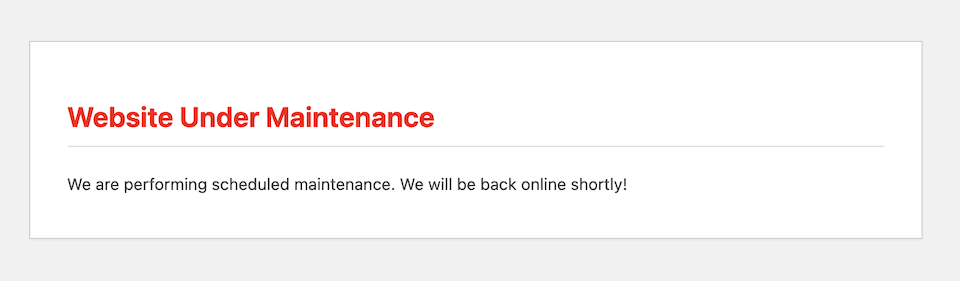
To take your site out of maintenance mode, just delete that code and click Save again.
Final Thoughts About WordPress Maintenance Mode
The WordPress maintenance mode that comes standard is a great feature, automatically and temporarily making your site unavailable to visitors as it updates. But there are a lot of times when you may want to brand your maintenance page or activate it manually. That’s where knowing how to adapt your website’s files or which plugins to choose come in handy.
Also, if your site happens to get stuck in maintenance mode, you now know how to get it out so that your traffic and page rank aren’t impacted. Plus, you’re now well-versed in how to update your site without raising the risk of it sticking in maintenance mode indefinitely.
Do you have a maintenance mode strategy or plugin we didn’t cover? Tell us about it in the comments!


Leave A Reply