Hey Divi Nation! Thanks for joining us for the next installment of our weekly Divi Design Initiative where each week, we give away brand new freebies for Divi. Today, we’re sharing a global presets style guide for Divi’s Web Agency Layout Pack. Divi’s global presets help you speed up your web design process in no time, and to help you speed it up even faster, we’ll be regularly providing global presets, that are unique to the layout pack, in one single layout. You can choose if you want to upload all global presets at once or select specific ones.

Download The Global Presets Style Guide For The Web Agency Layout Pack
To lay your hands on the free global presets style guide, you will first need to download it using the button below. To gain access to the download you will need to subscribe to our newsletter by using the form below. As a new subscriber, you will receive even more Divi goodness and a free Divi Layout pack every Monday! If you’re already on the list, simply enter your email address below and click download. You will not be “resubscribed” or receive extra emails.
A Quick Overview of Global Presets
The beauty of Divi is that it gives you full control over the design of your website using a wide range of design settings that you can use to customize the appearance of any element or module.
The new Divi Presets system allows you to design a custom appearance for a Divi element (like a button module) and save it as a preset. All of the design changes you make are saved in the preset. When you add a new module to your page, you can browse your saved presets and quickly apply them.
Once a preset has been applied, the module’s default design is controlled by the preset. If you update the style of a preset, all modules using that preset are updated as well. This allows you to control the design of your entire website using a small collection of saved presets. Plus, it saves tons of time when adding new modules to your page, since you don’t need to design each new module from scratch but instead can quickly select an appearance from your Divi Presets library.
When to Use a Global Presets Style Guide
Preferably, you’ll start using a global presets style guide before building your pages, templates, etc. The reason behind that is that you’ll be able to immediately access your global presets while building your designs, instead of having to go back to your design, reset inline styles on an element level and apply a global preset.
Starting your Divi build process after you’ve created a style guide helps you avoid having to manually make changes to modules inside their individual settings. If you’re working with global presets from the beginning, you’ll be able to modify them in one place and watch the changes unfold across your entire website at once.
Option A: Automatically Uploading All Global Presets at Once
This approach will automatically add all presets to your preset library at once.
Go to Divi Library
Go to your Divi Library in the backend of your WordPress website.
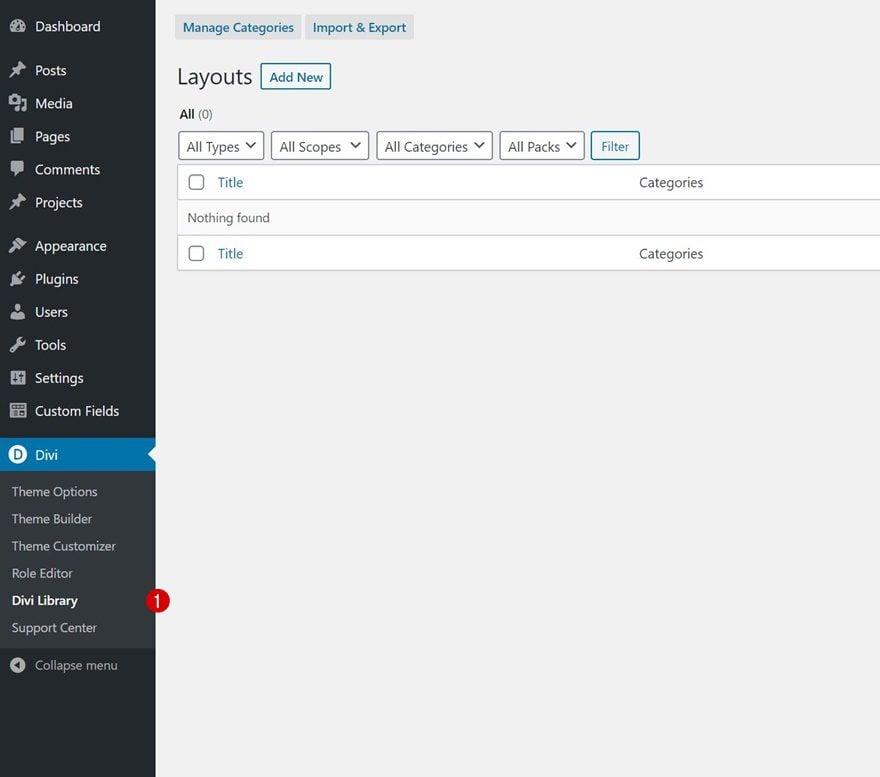
Upload Layout With Presets
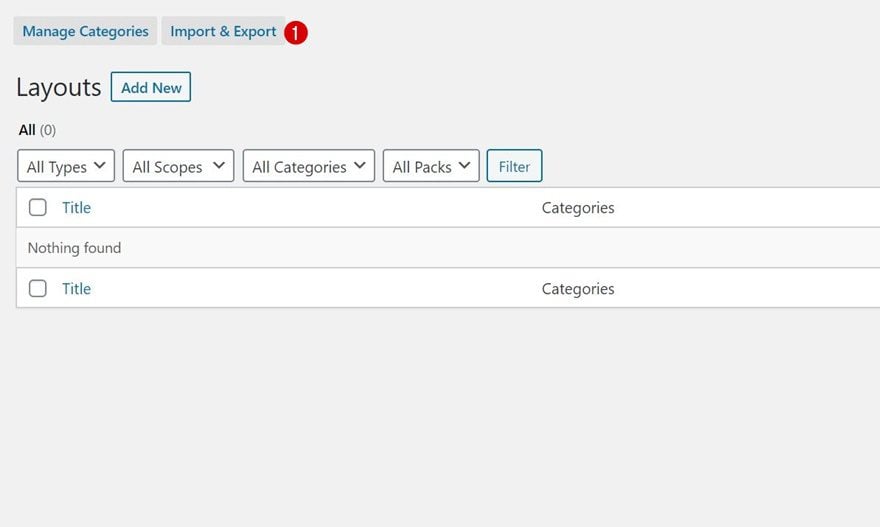
There, click on the “Import & Export” button at the top.
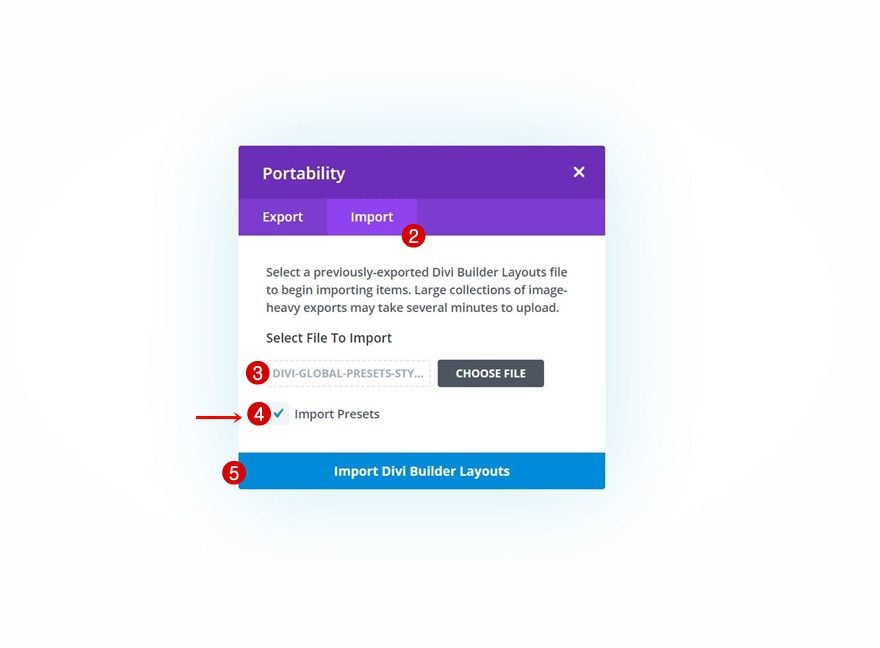
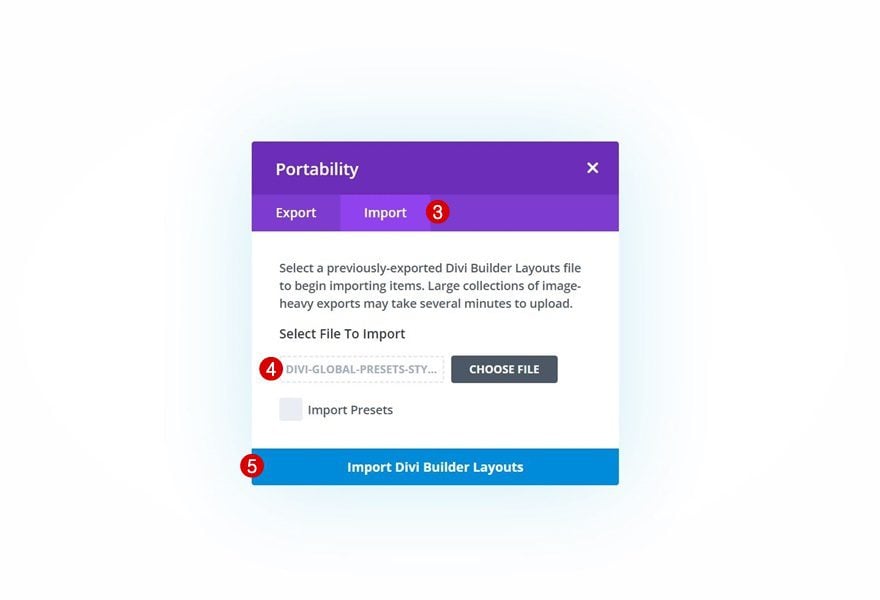
Continue by clicking on the import tab and selecting the JSON file which you were able to download at the beginning of this post. To automatically import presets, tick off the “Import Presets” box too. This will automatically add each preset to each module.
Preset Names Inside Preset Library
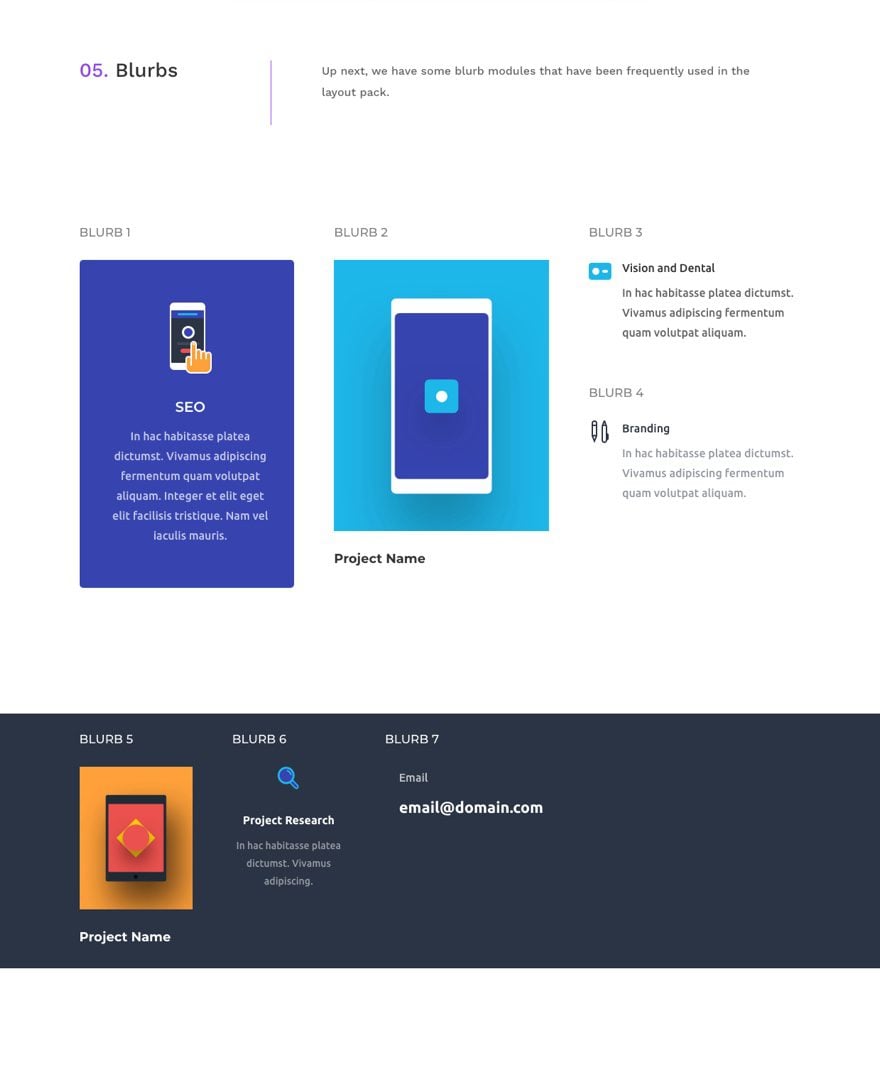
Below, you have a list of all presets and their names that have been added to your modules. The order is the same as in the print screen below. You can always go back to the style guide for reference.
- WALP – H1 – 1
- WALP – H2 – 1
- WALP – H3 – 1
- WALP – H4 – 1
- WALP – Body – 1
- WALP – List – 1
- WALP – Text – All – 1

- WALP – Button 1
- WALP – Button 2
- WALP – Button 3
- WALP – Button 4

- WALP – Blurb 1
- WALP – Blurb 2
- WALP – Blurb 3
- WALP – Blurb 4
- WALP – Blurb 5
- WALP – Blurb 6
- WALP – Blurb 7
- WALP – Video 1
- WALP – Image 1
- WALP – Pricing Table 1
- WALP – Pricing Table 2
- WALP – Pricing Table 3
- WALP – Testimonial 1
- WALP – Testimonial 2
- WALP – Contact Form 1
- WALP – Number Counter 1
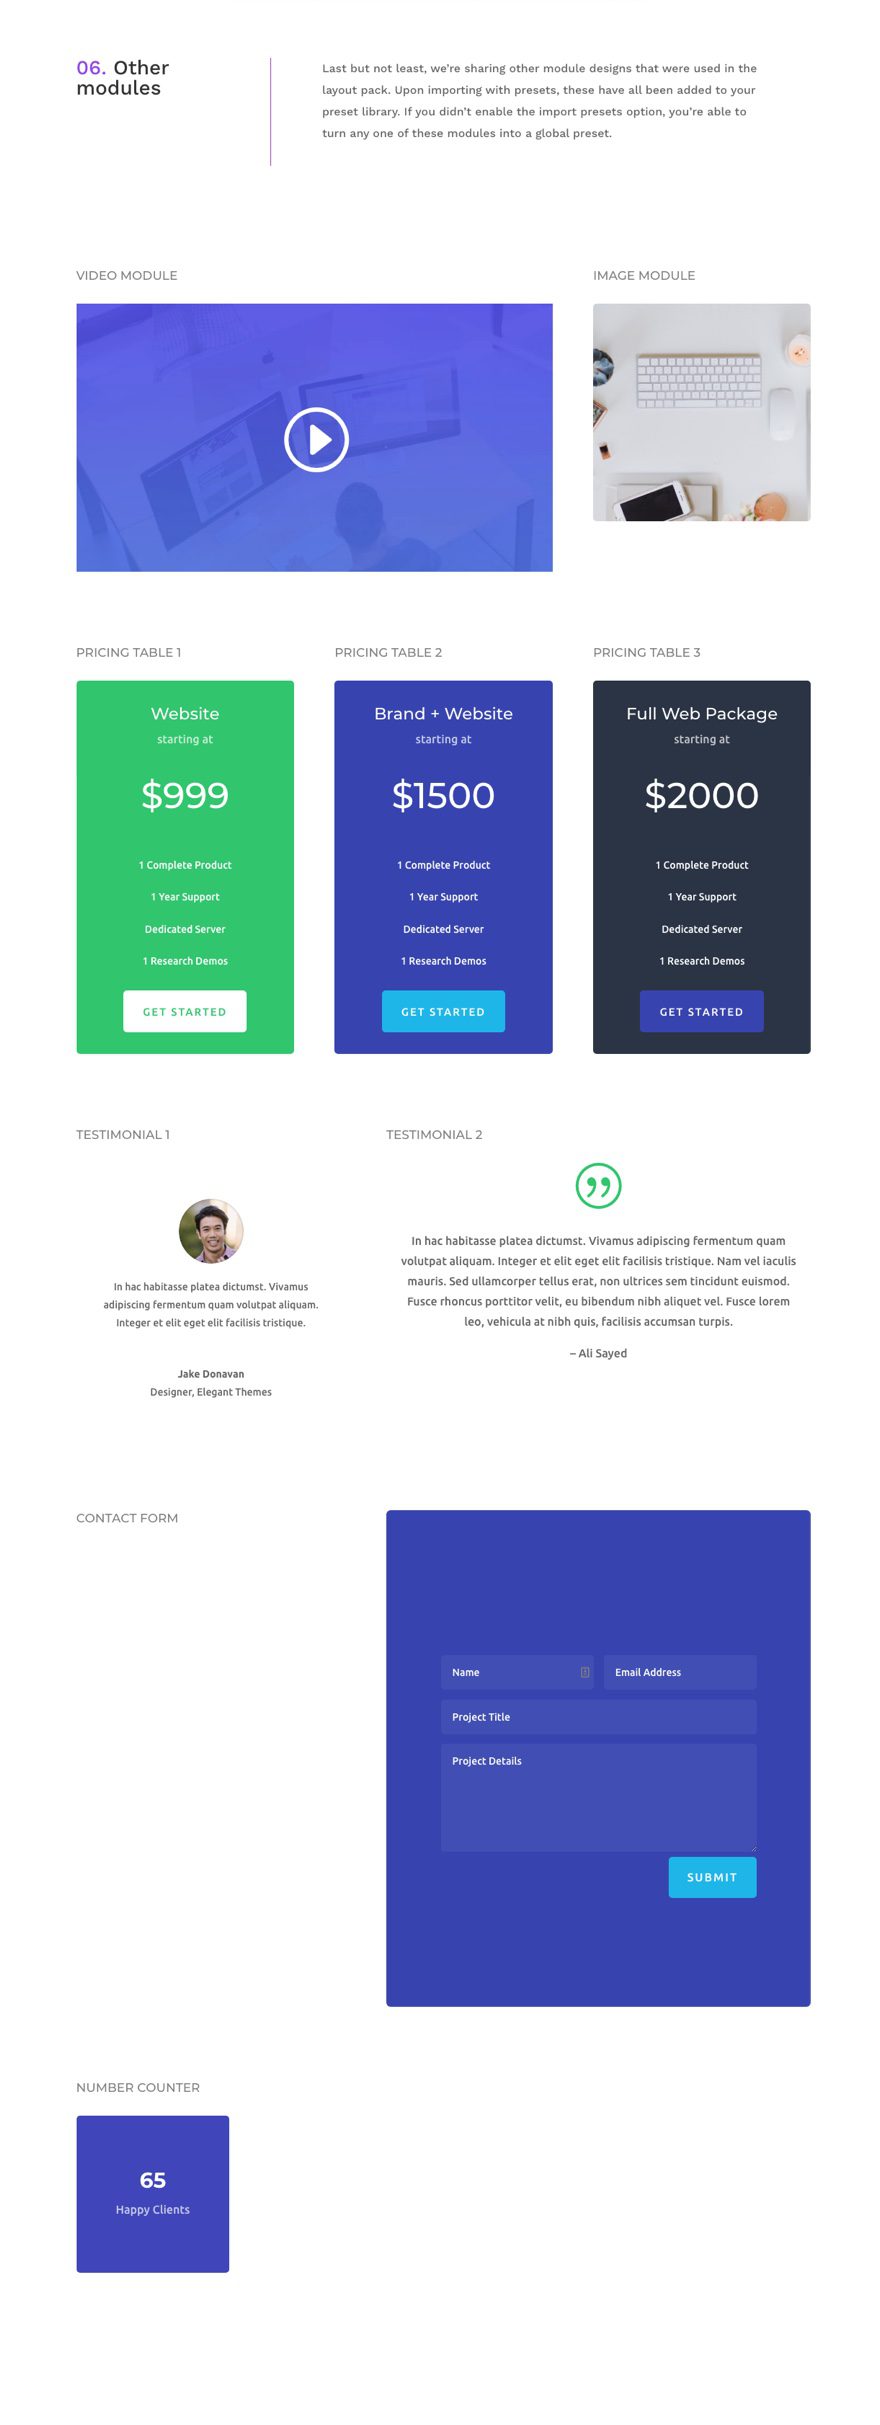
Access Preset in New Modules You Add
You can access each one of the uploaded presets by opening or adding a new module, clicking on the preset item at the top and selecting a preset of your choice.

Option B: Selectively Turning Modules in Style Guide into Global Presets
With this approach, you have a bigger say in what appears in your global presets library and what doesn’t. The elements will be provided to you in one place and you can visually pick which one you want to manually turn into a global preset with a name of your choice.
Go to Divi Library
Navigate to your Divi Library in the backend of your WordPress website.
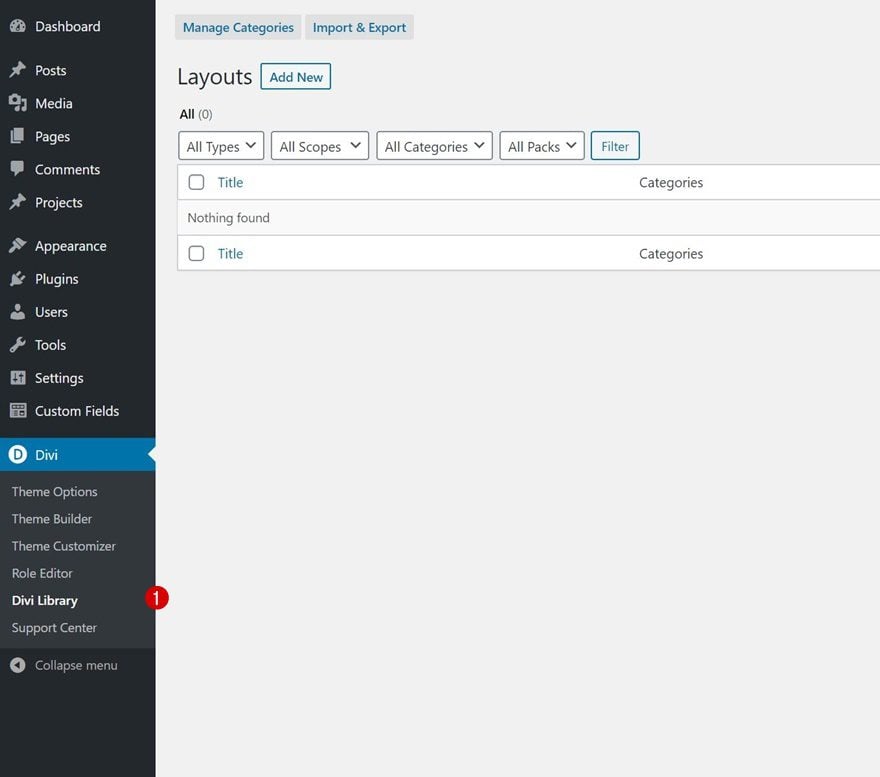
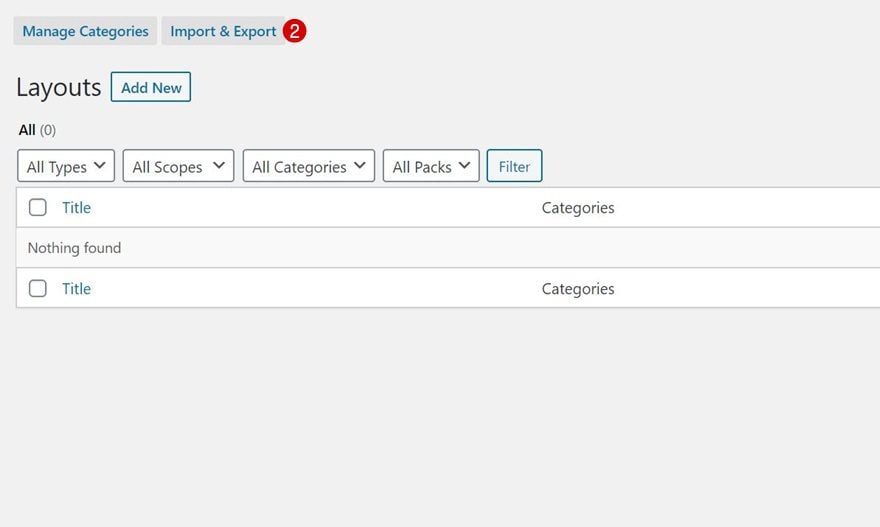
Upload Layout Without Presets
Then, click on the “Import & Export” button.
Go to the import tab and select the JSON file you were able to download at the beginning of this post. If you want to be able to pick which modules you turn into global presets, it’s important to leave the “Import Presets” box unchecked.
Create New Page Draft + Upload Layout
Now, create a new page draft for the global presets style guide layout.
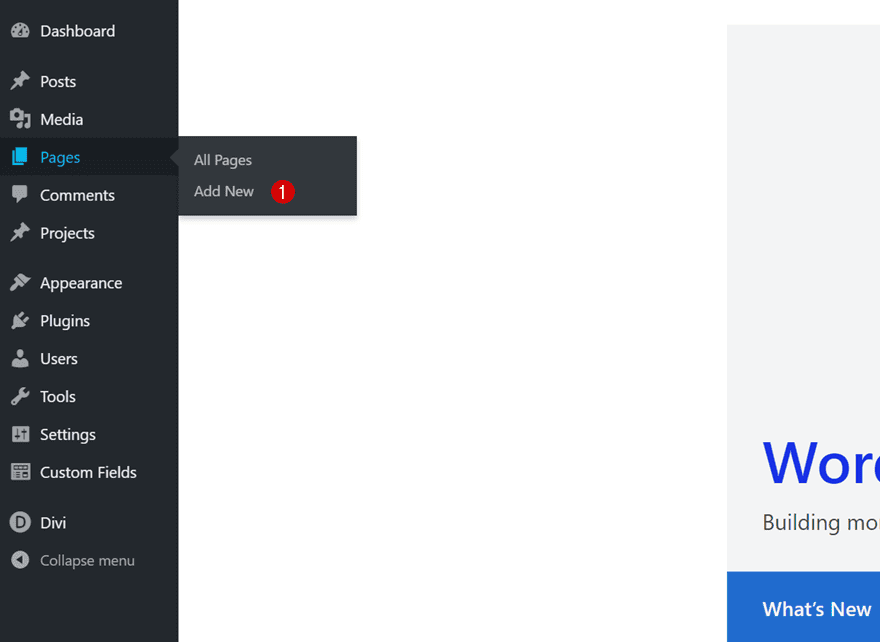
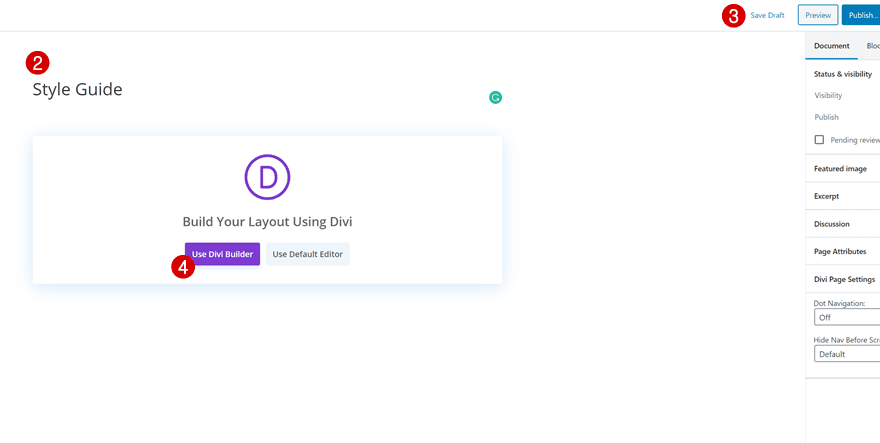
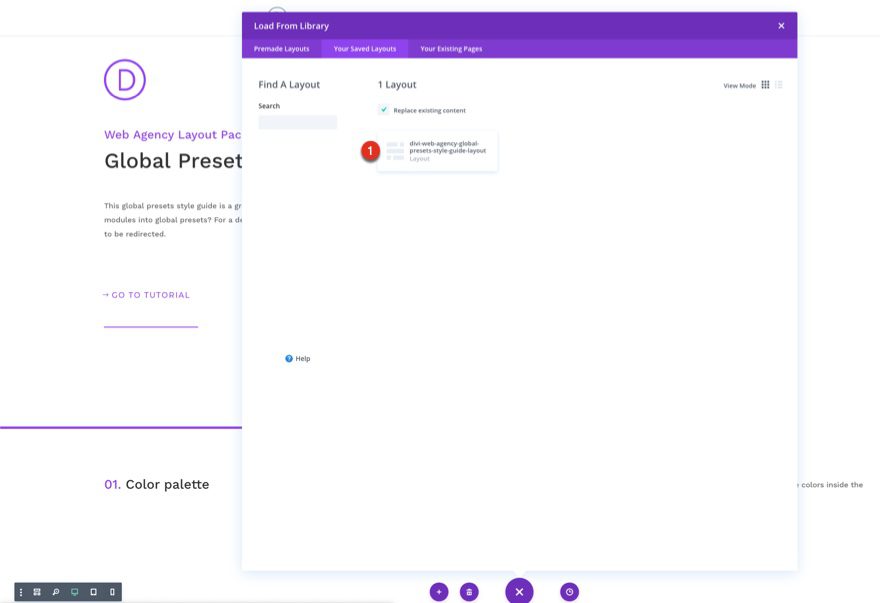
Pick a Module You Want to Turn into a Global Preset & Open Module Settings
Go through all the elements and decide which ones you want to turn into global presets.
Turn Module into Global Preset in Settings
Say, for instance, you want to turn one of the Button Modules into a global preset. Open the Button Module settings and click on the preset option at the top. Turn the module settings into a new preset from custom styles.
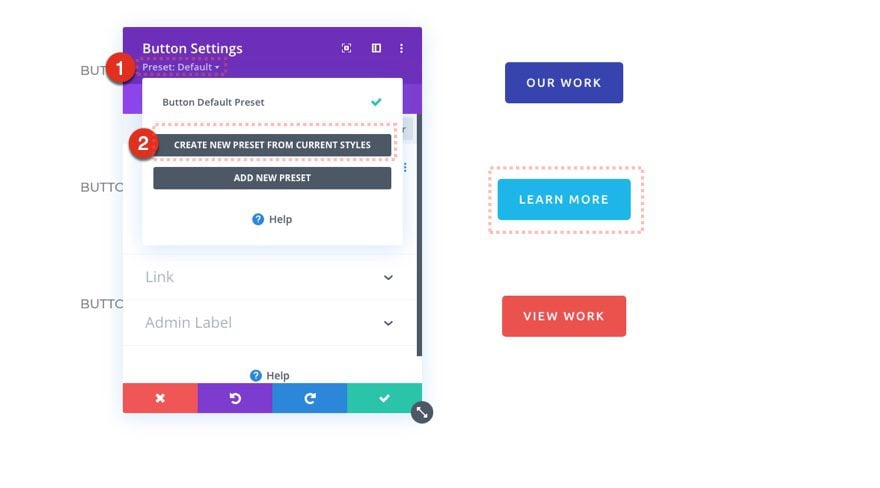
Then name the new preset however you want.
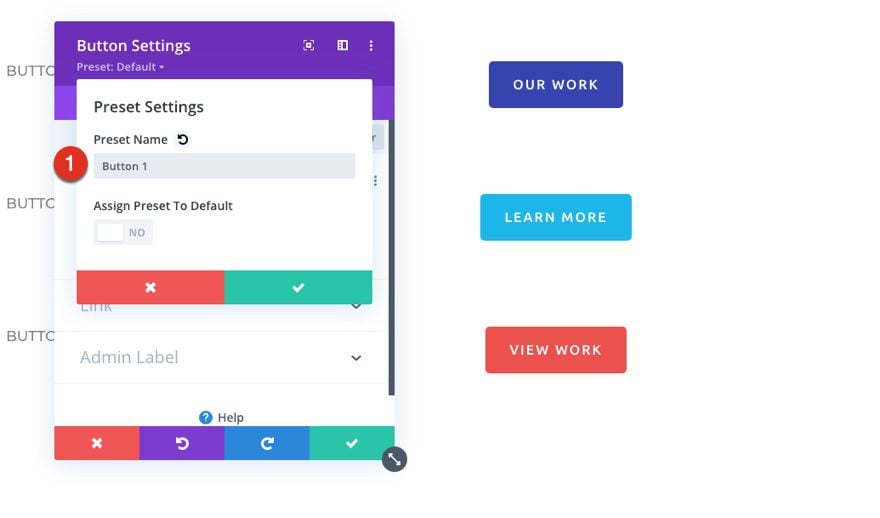
Repeat Steps for Each Module You Want to Include in Presets
Repeat these steps for each preset you want to create.
Create Custom Color Palette with Color Codes Inside Your Divi Theme Builder
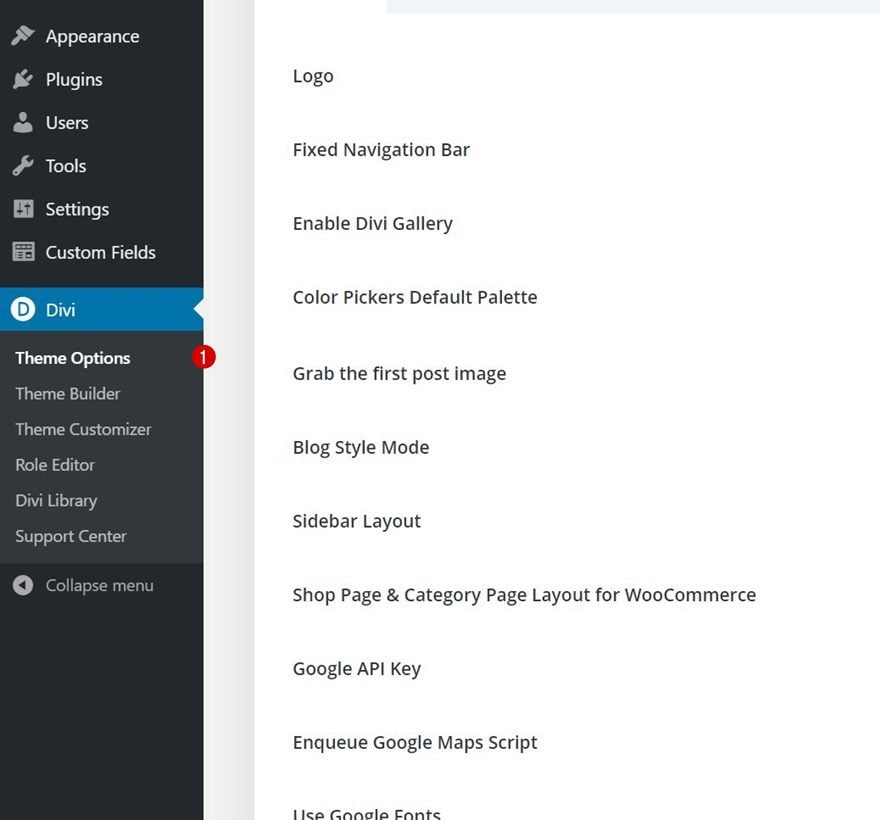
Go to Divi Theme Options
The hex codes in the style guide can be used to create a custom color palette which you’ll be able to quickly access while building your pages. To add the color palette, go to your Divi Theme Options.
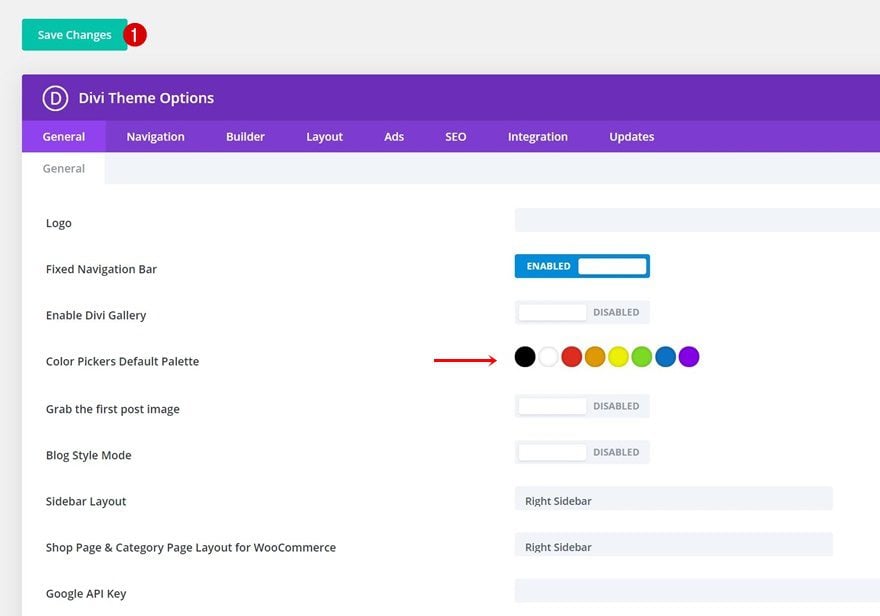
Customize Color Palette Using Hex Codes in Style Guide
Add the HEX color codes of your choice, which you can find in the style guide, to the default color palette.
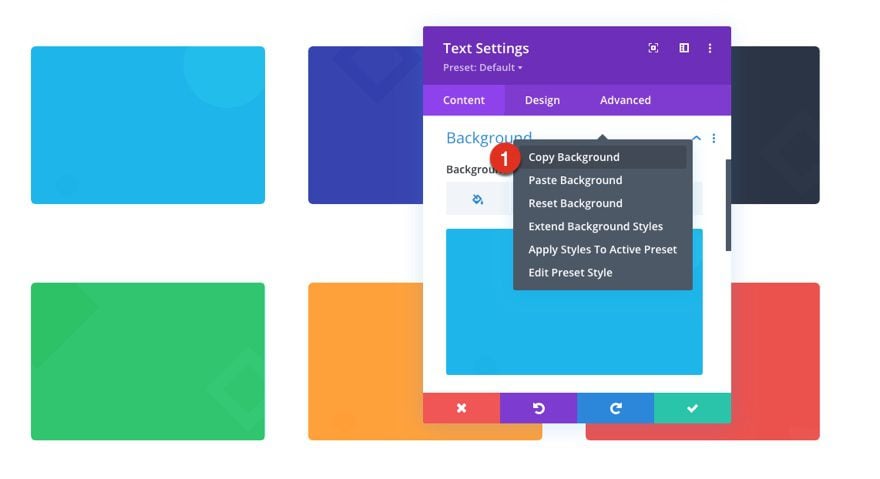
Tip: Keep Style Guide in Separate Tab to Copy/Paste Specific Styles (Gradients/Box Shadow/Border/…)
Last but not least, it’s a great idea to always keep the style guide in a separate tab. Using Divi’s built-in and cross-page copy-paste option will help you quickly transfer styles, like gradient backgrounds, from one element to another!
New Global Preset Style Guides Every Week!
We hope you enjoy this week’s global preset style guide. We look forward to hearing your opinions in the comment section below. Make sure you check back next week for more freebies!


Hi! Thank you! It is informative.
Thanks so much for this post. Having the ability to setup your brand options site wide is great! I did want to point out that you linked the wrong layout pack at the beginning of your post. You sent us to the Financial Advisor Layout pack instead of the Web Agency Layout pack.
Sorry, April. I updated the link.
The link in the first paragraph to the Web Agency Layout Pack actually goes to the Financial Advisor Layout Pack. I think this is the post that the author was trying to link to: https://www.elegantthemes.com/blog/divi-resources/download-a-free-web-agency-divi-layout-pack
Thanks, Ben. I update the link.
Good one! Divi Presets are really useful and this is a smart use for them. Thanks Jason!
Great to hear, Ramon. Thanks!