Using The Divi Theme Options
Divi comes with theme options that are used to set up various parts of your site.
Divi Theme Options is where global settings for your Divi website live. This is where you can control things like your site’s color palette, site functionalities, site logo, site performance, ads, SEO, and more.
In this doc, we’ll show you how to access Divi Theme Options and explain what each setting controls.
Let’s dive in!
How to Access Divi Theme Options
Navigate to your WordPress Dashboard and hover over “Divi” on the sidebar and click Theme Options.
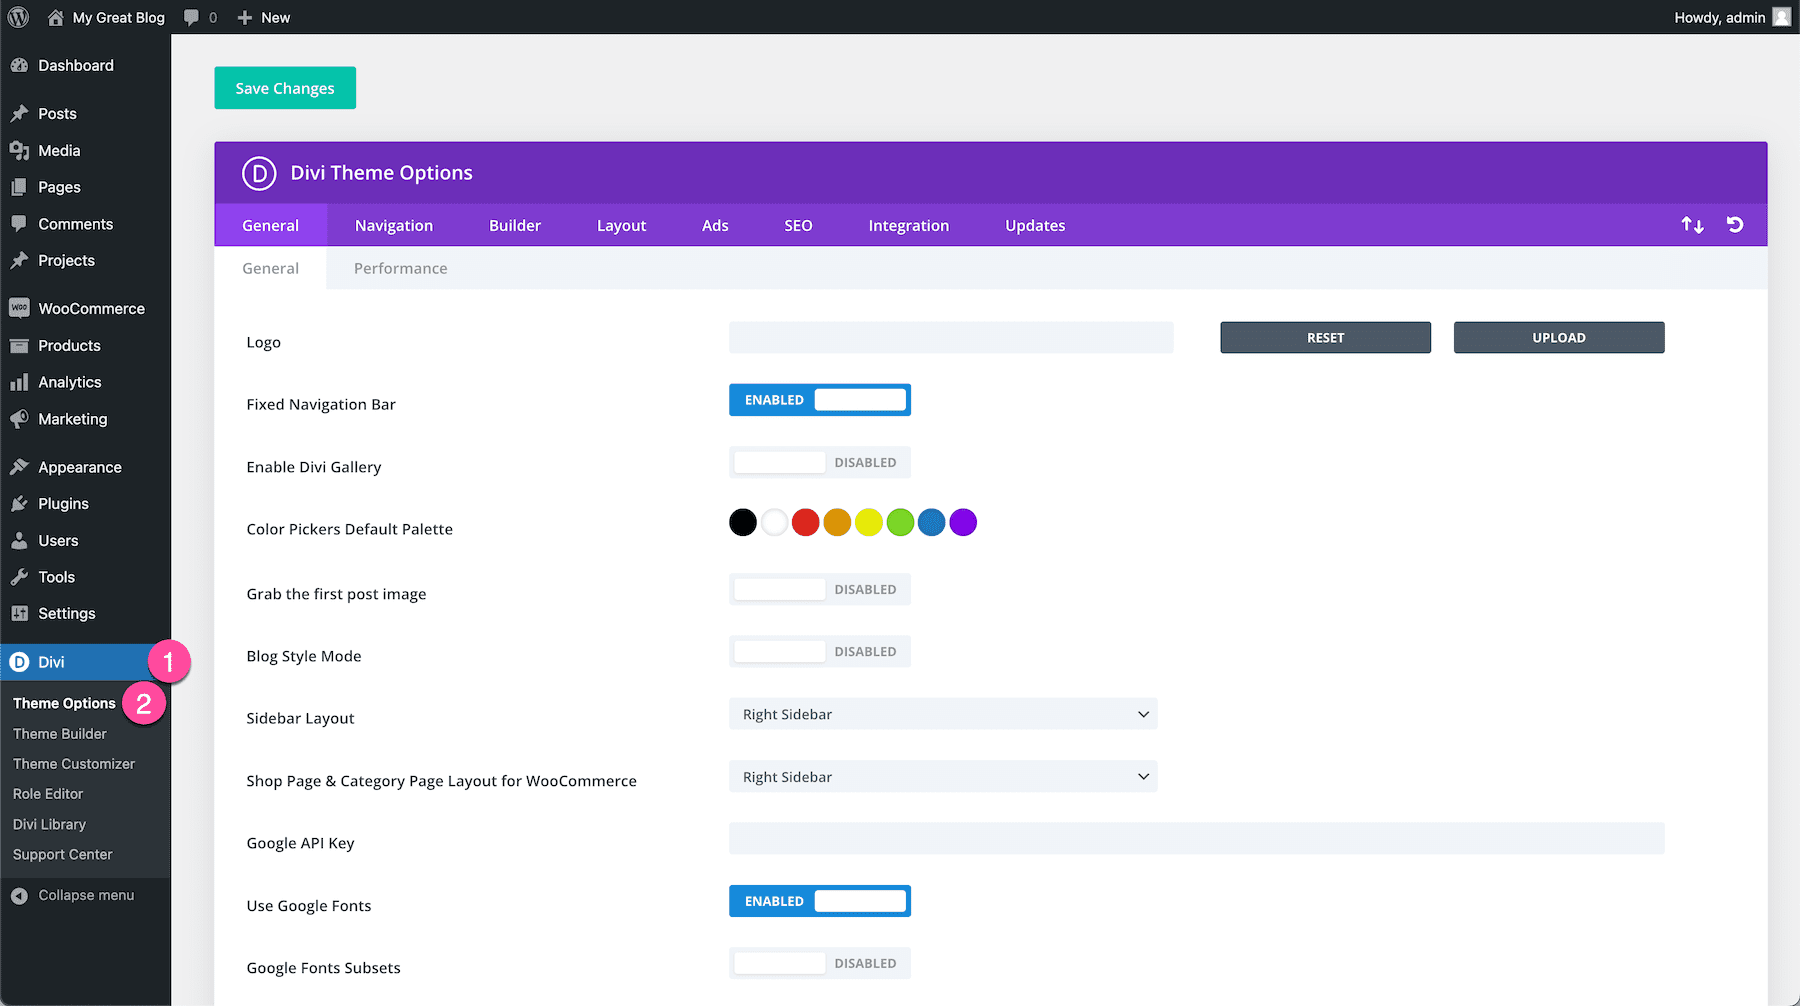
Divi Theme Options Main Navigation Tabs Overview
Here you’ll find the Divi Theme Options dashboard with main navigation tabs such as General, Navigation, Builder, Layout, Ads, SEO, Integration, and Updates.

Let’s do a quick overview of each tab, and then we’ll get into the nitty-gritty details of each one.
General
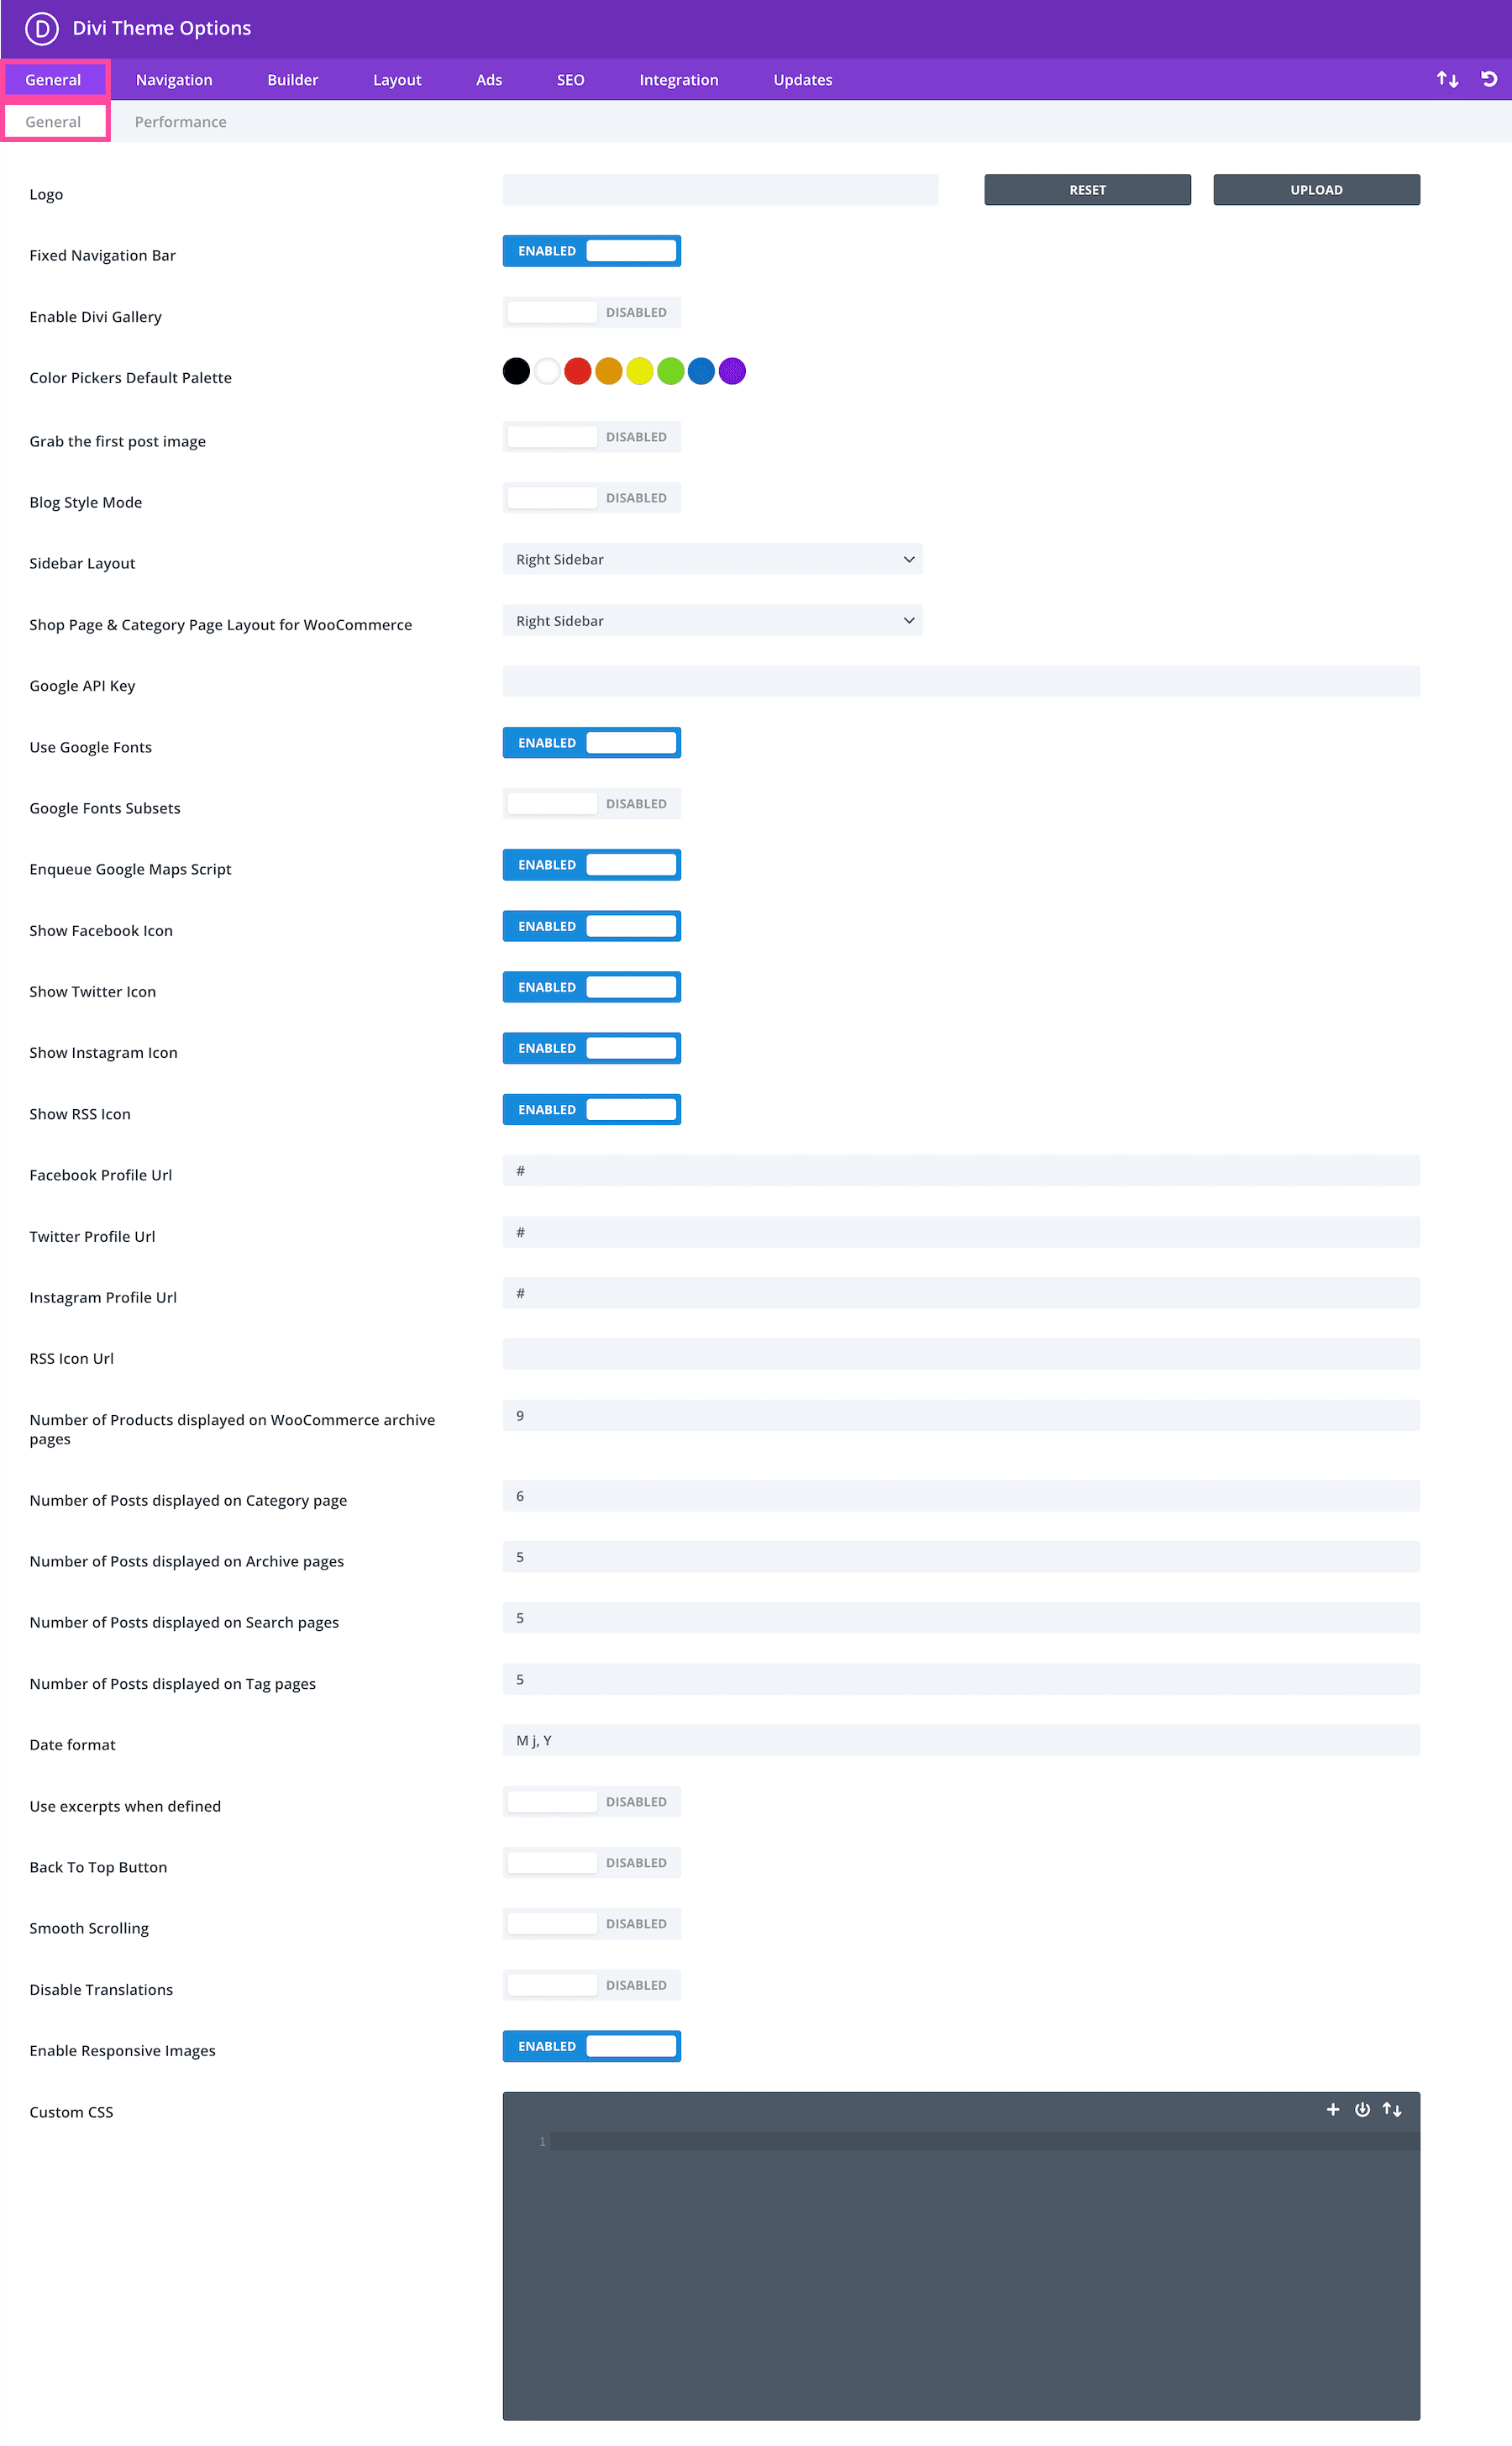
Under the General tab, you’ll see two sub-tabs: General and Performance.

In the General sub-tab, you’ll find general settings options for things like your site’s logo, color palette, social media links, Google fonts, back-to-top button, a custom CSS block where you can add custom CSS to your theme, and more.
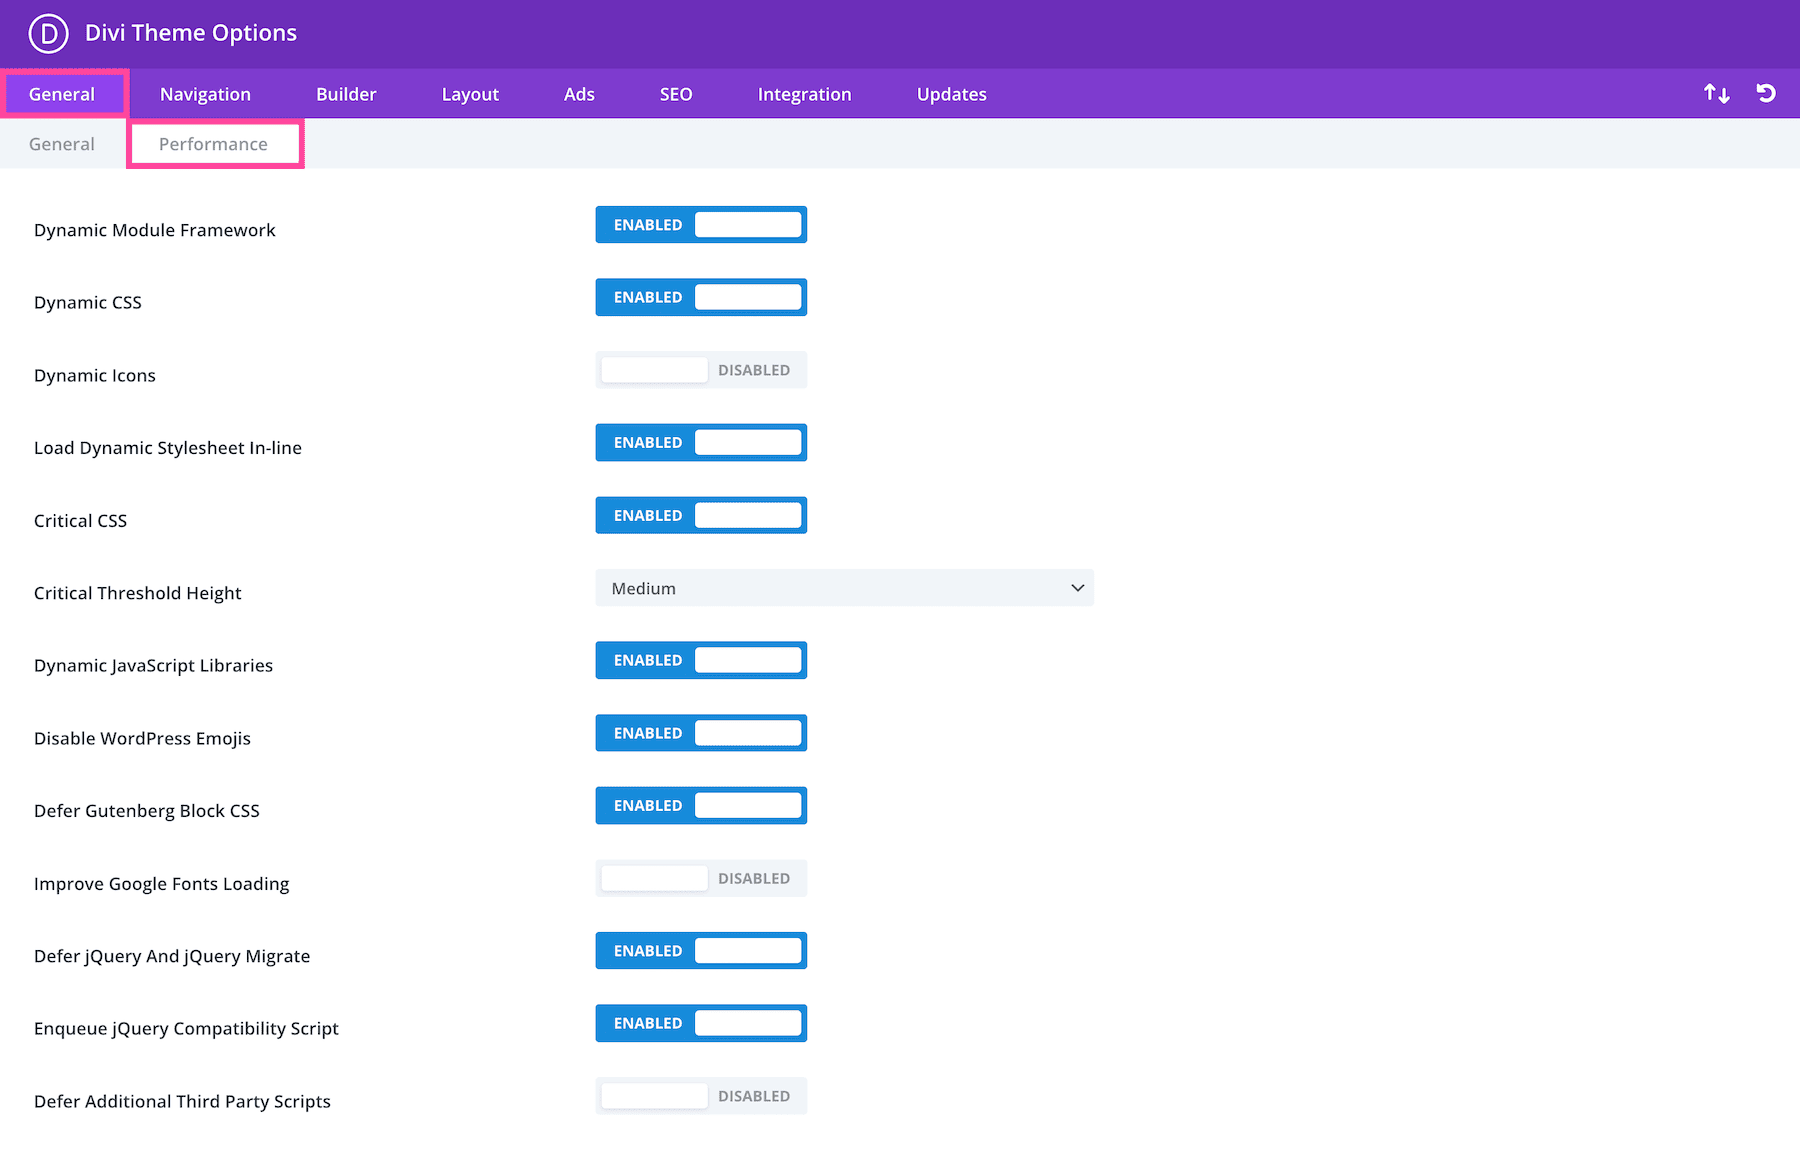
Under the Performance sub-tab, you’ll find settings that control CSS and Javascript that can be used to optimize your site’s performance. Settings like Dynamic Module Framework, Dynamic CSS, Critical CSS, Dynamic JavaScript Libraries, and more can help improve the speed of your website.
Navigation
In the Navigation tab, you’ll see three sub-tabs: Pages, Categories, and General Settings.

In the Pages sub-tab, you can use settings like excluding certain pages from the navigation, showing or hiding dropdown menus, displaying a home page link, and more.

In the Categories sub-tab, you’ll see settings like excluding certain categories from the navigation bar, hiding empty categories, specifying the order of categories, and more.
In the General Settings sub-tab, you’ll find a setting for disabling top tier dropdown menu links.

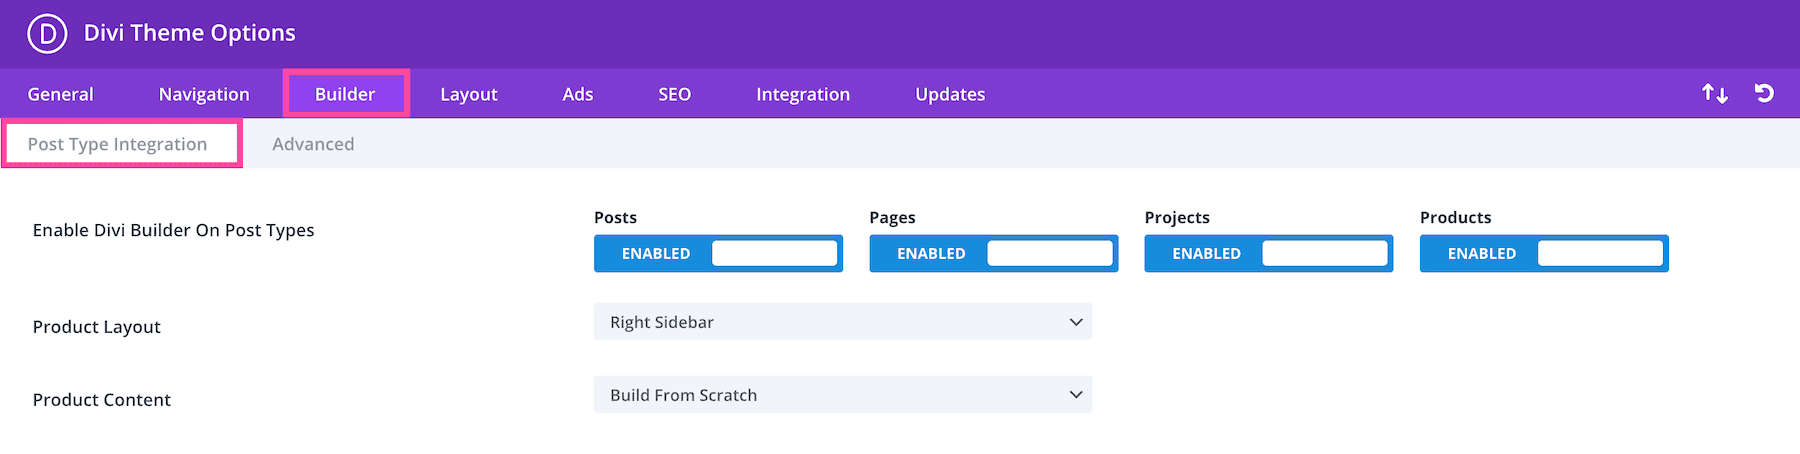
Builder
In the Builder tab, you’ll see two sub-tabs: Post Type Integration and Advanced.
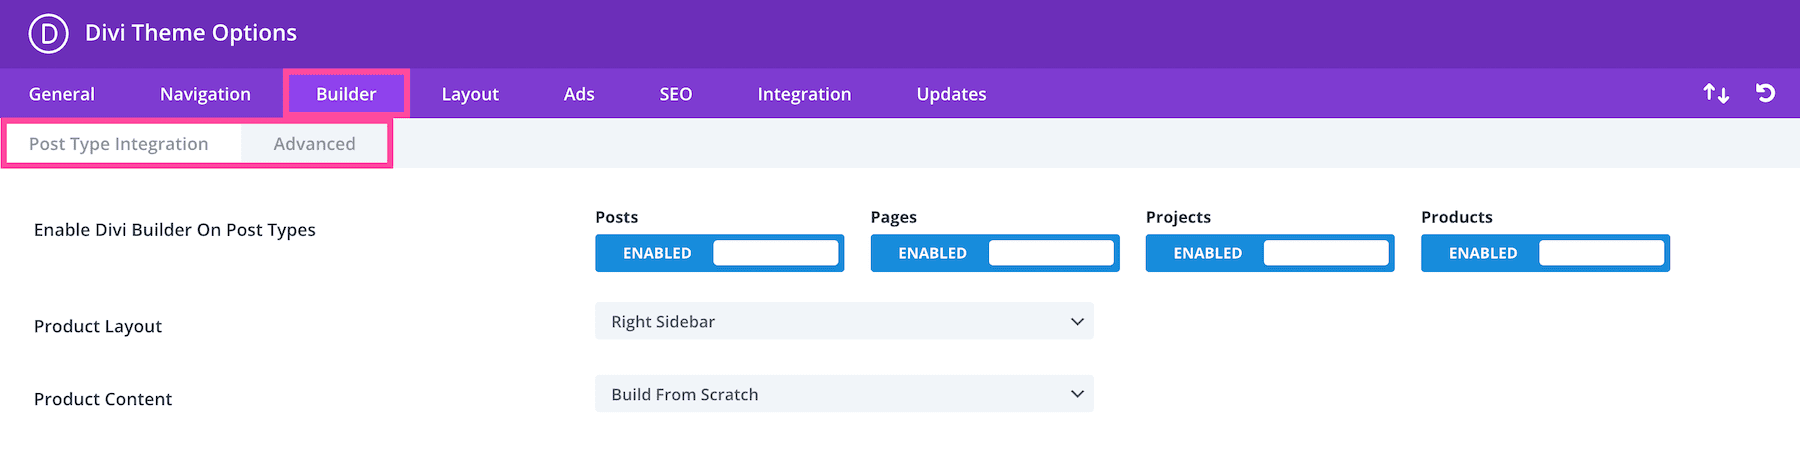
In the Post Type Integration sub-tab, you’ll see the setting Enable Divi Builder On Post Types, Product Layout, and Product Content.
In the Advanced sub-tab, you’ll see settings the settings Static CSS File Generation, Output Styles Inline, Product Tour, Enable the Latest Divi Builder Experience, and Enable the Classic Editor.

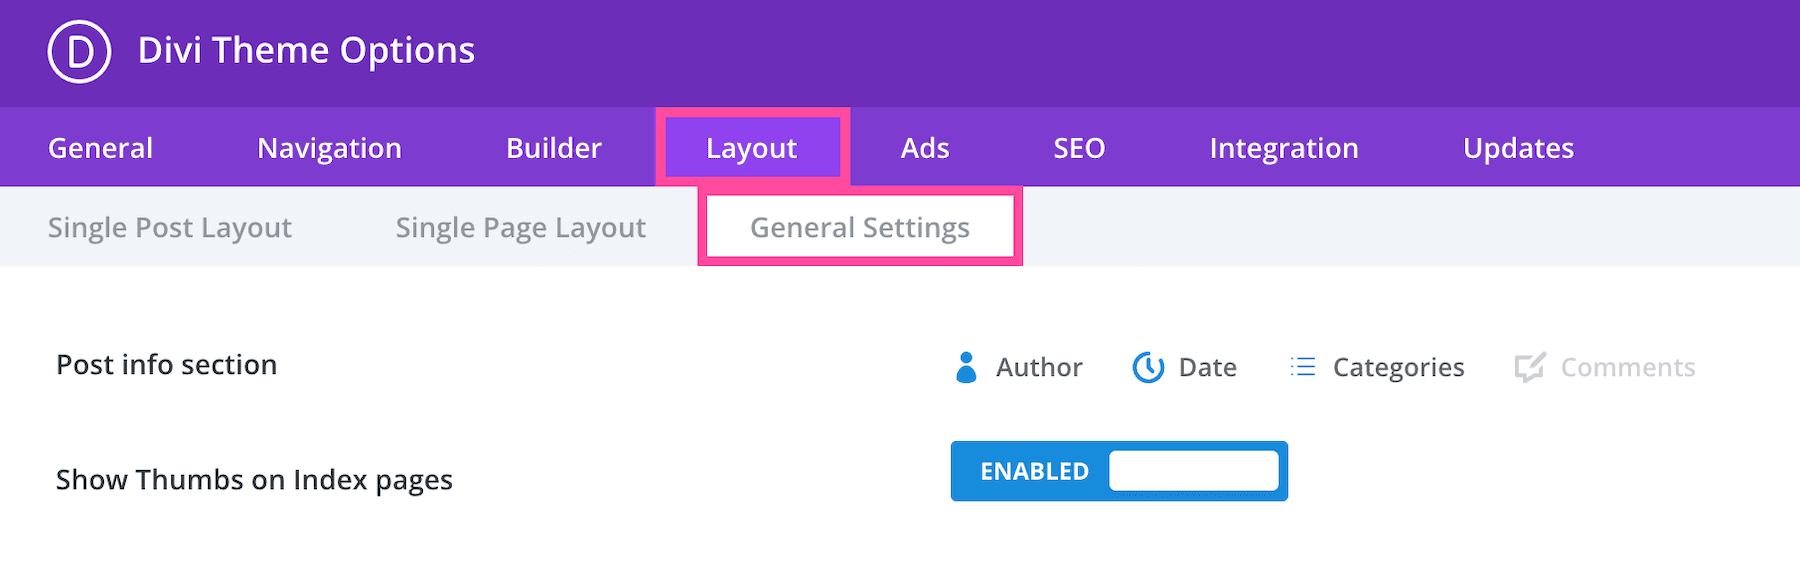
Layout
In the Layout tab, you’ll see three sub-tabs: Single Post Layout, Single Page Layout, and General Settings.

In the Single Post Layout sub-tab, you’ll see the settings for choosing what information to display in the post info section, showing or hiding comments on posts, and placing thumbnails on posts.
In the Single Page Layout sub-tab, you’ll find the settings to place thumbs on pages and allow or disable comments on pages.
In the General Settings sub-tab, you’ll find settings for post info section, and showing or hiding thumbs on index pages.
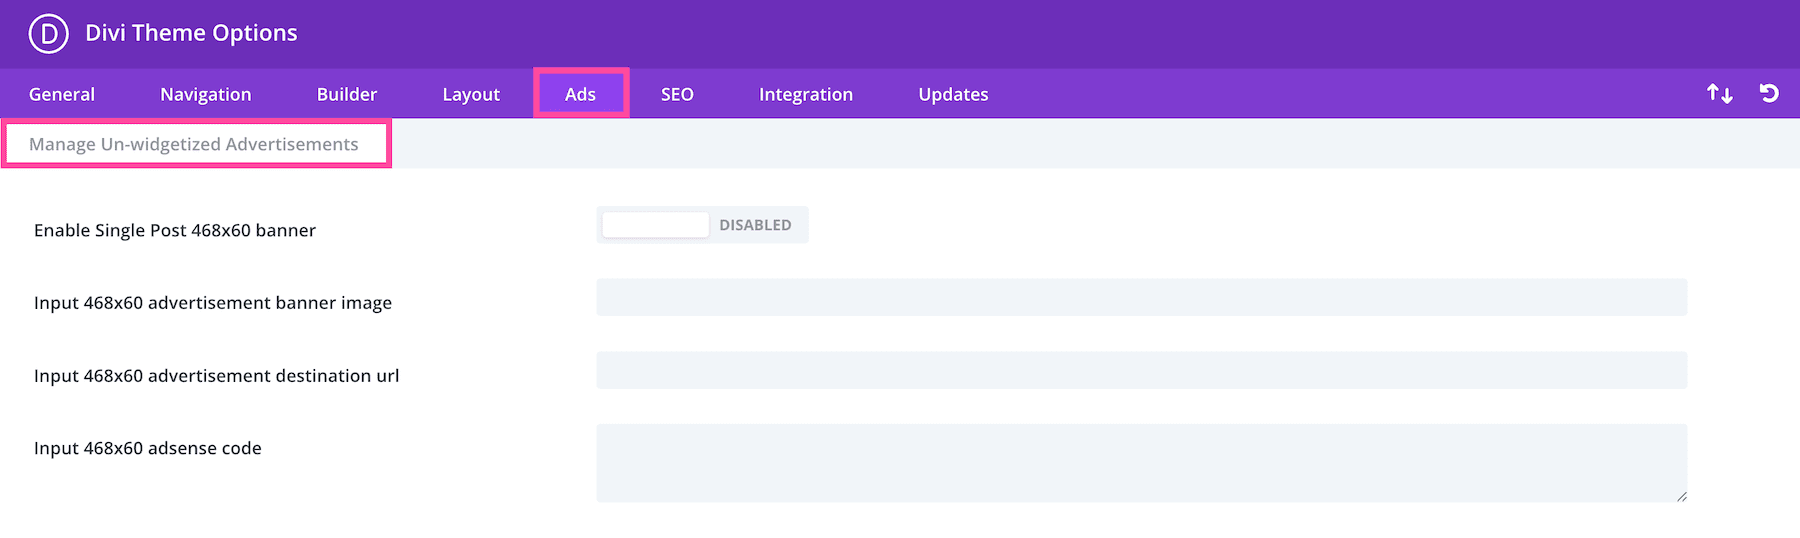
Ads
In the Ads tab, you’ll find settings that configure ads displayed on your website that are not configured through widgets.
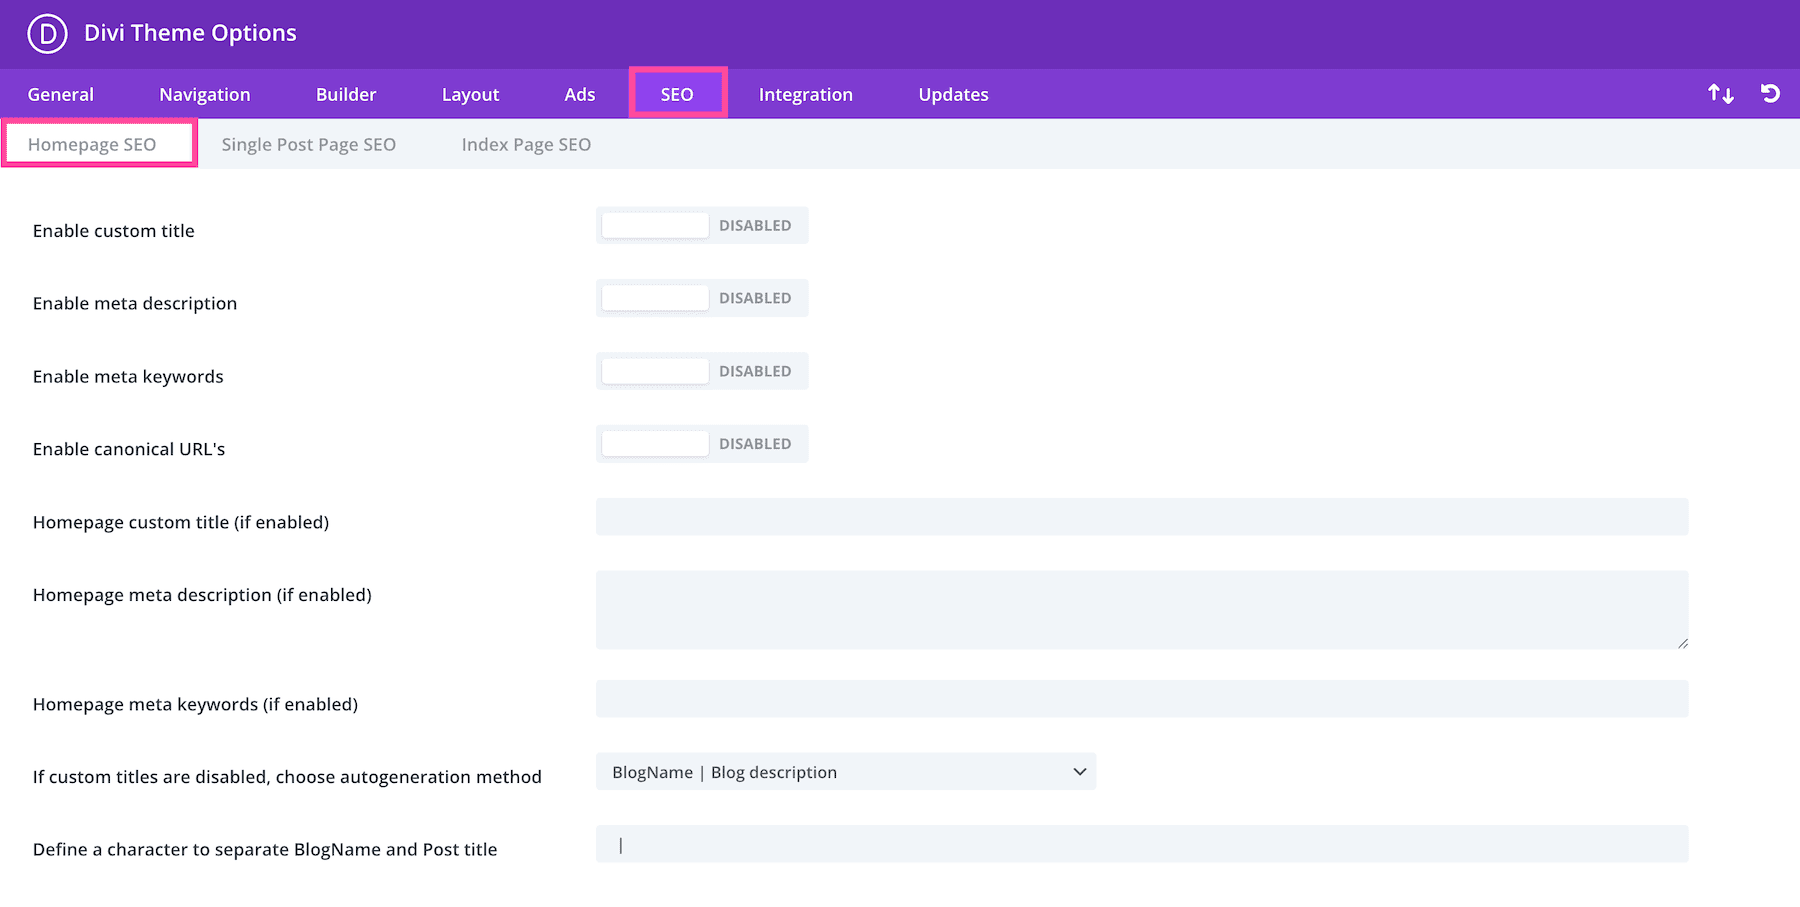
SEO
In the SEO tab, you’ll find three sub-tabs: Homepage SEO, Single Post SEO, and Index Page SEO.

In the Homepage SEO sub-tab, you’ll find settings like enabling custom titles, meta descriptions, meta keywords, and more, for the homepage specifically.
In the Single Post SEO sub-tab, you’ll find the settings like enabling custom titles, meta descriptions, meta keywords, and more for single posts.
In the Index Page SEO sub-tab, you’ll find settings for enabling canonical URLs, meta descriptions and more.
Integration
In the Integration tab, you’ll find settings like enable header code, enable body code, add code to the < head > of your blog, add code to the < body > tag, and more. This is another place where you customize your site with CSS and JavaScript.
Updates
The updates tab is where you’ll paste your Elegant Themes membership info so that your Divi install is linked to your ET account, ensuring you have access to all future updates and features of Divi.
All Divi Theme Options and Settings Explained
In this section, we’ll go over every single setting in detail.
General Settings
This is where the general settings for Divi’s Theme Options live. Here you’ll find two sub-tabs: General and Performance.
General
In the General sub-tab, you’ll find general settings options for things like your site’s logo, color palette, social media links, Google fonts, back-to-top button, a custom CSS block where you can add custom CSS to your theme, and more.
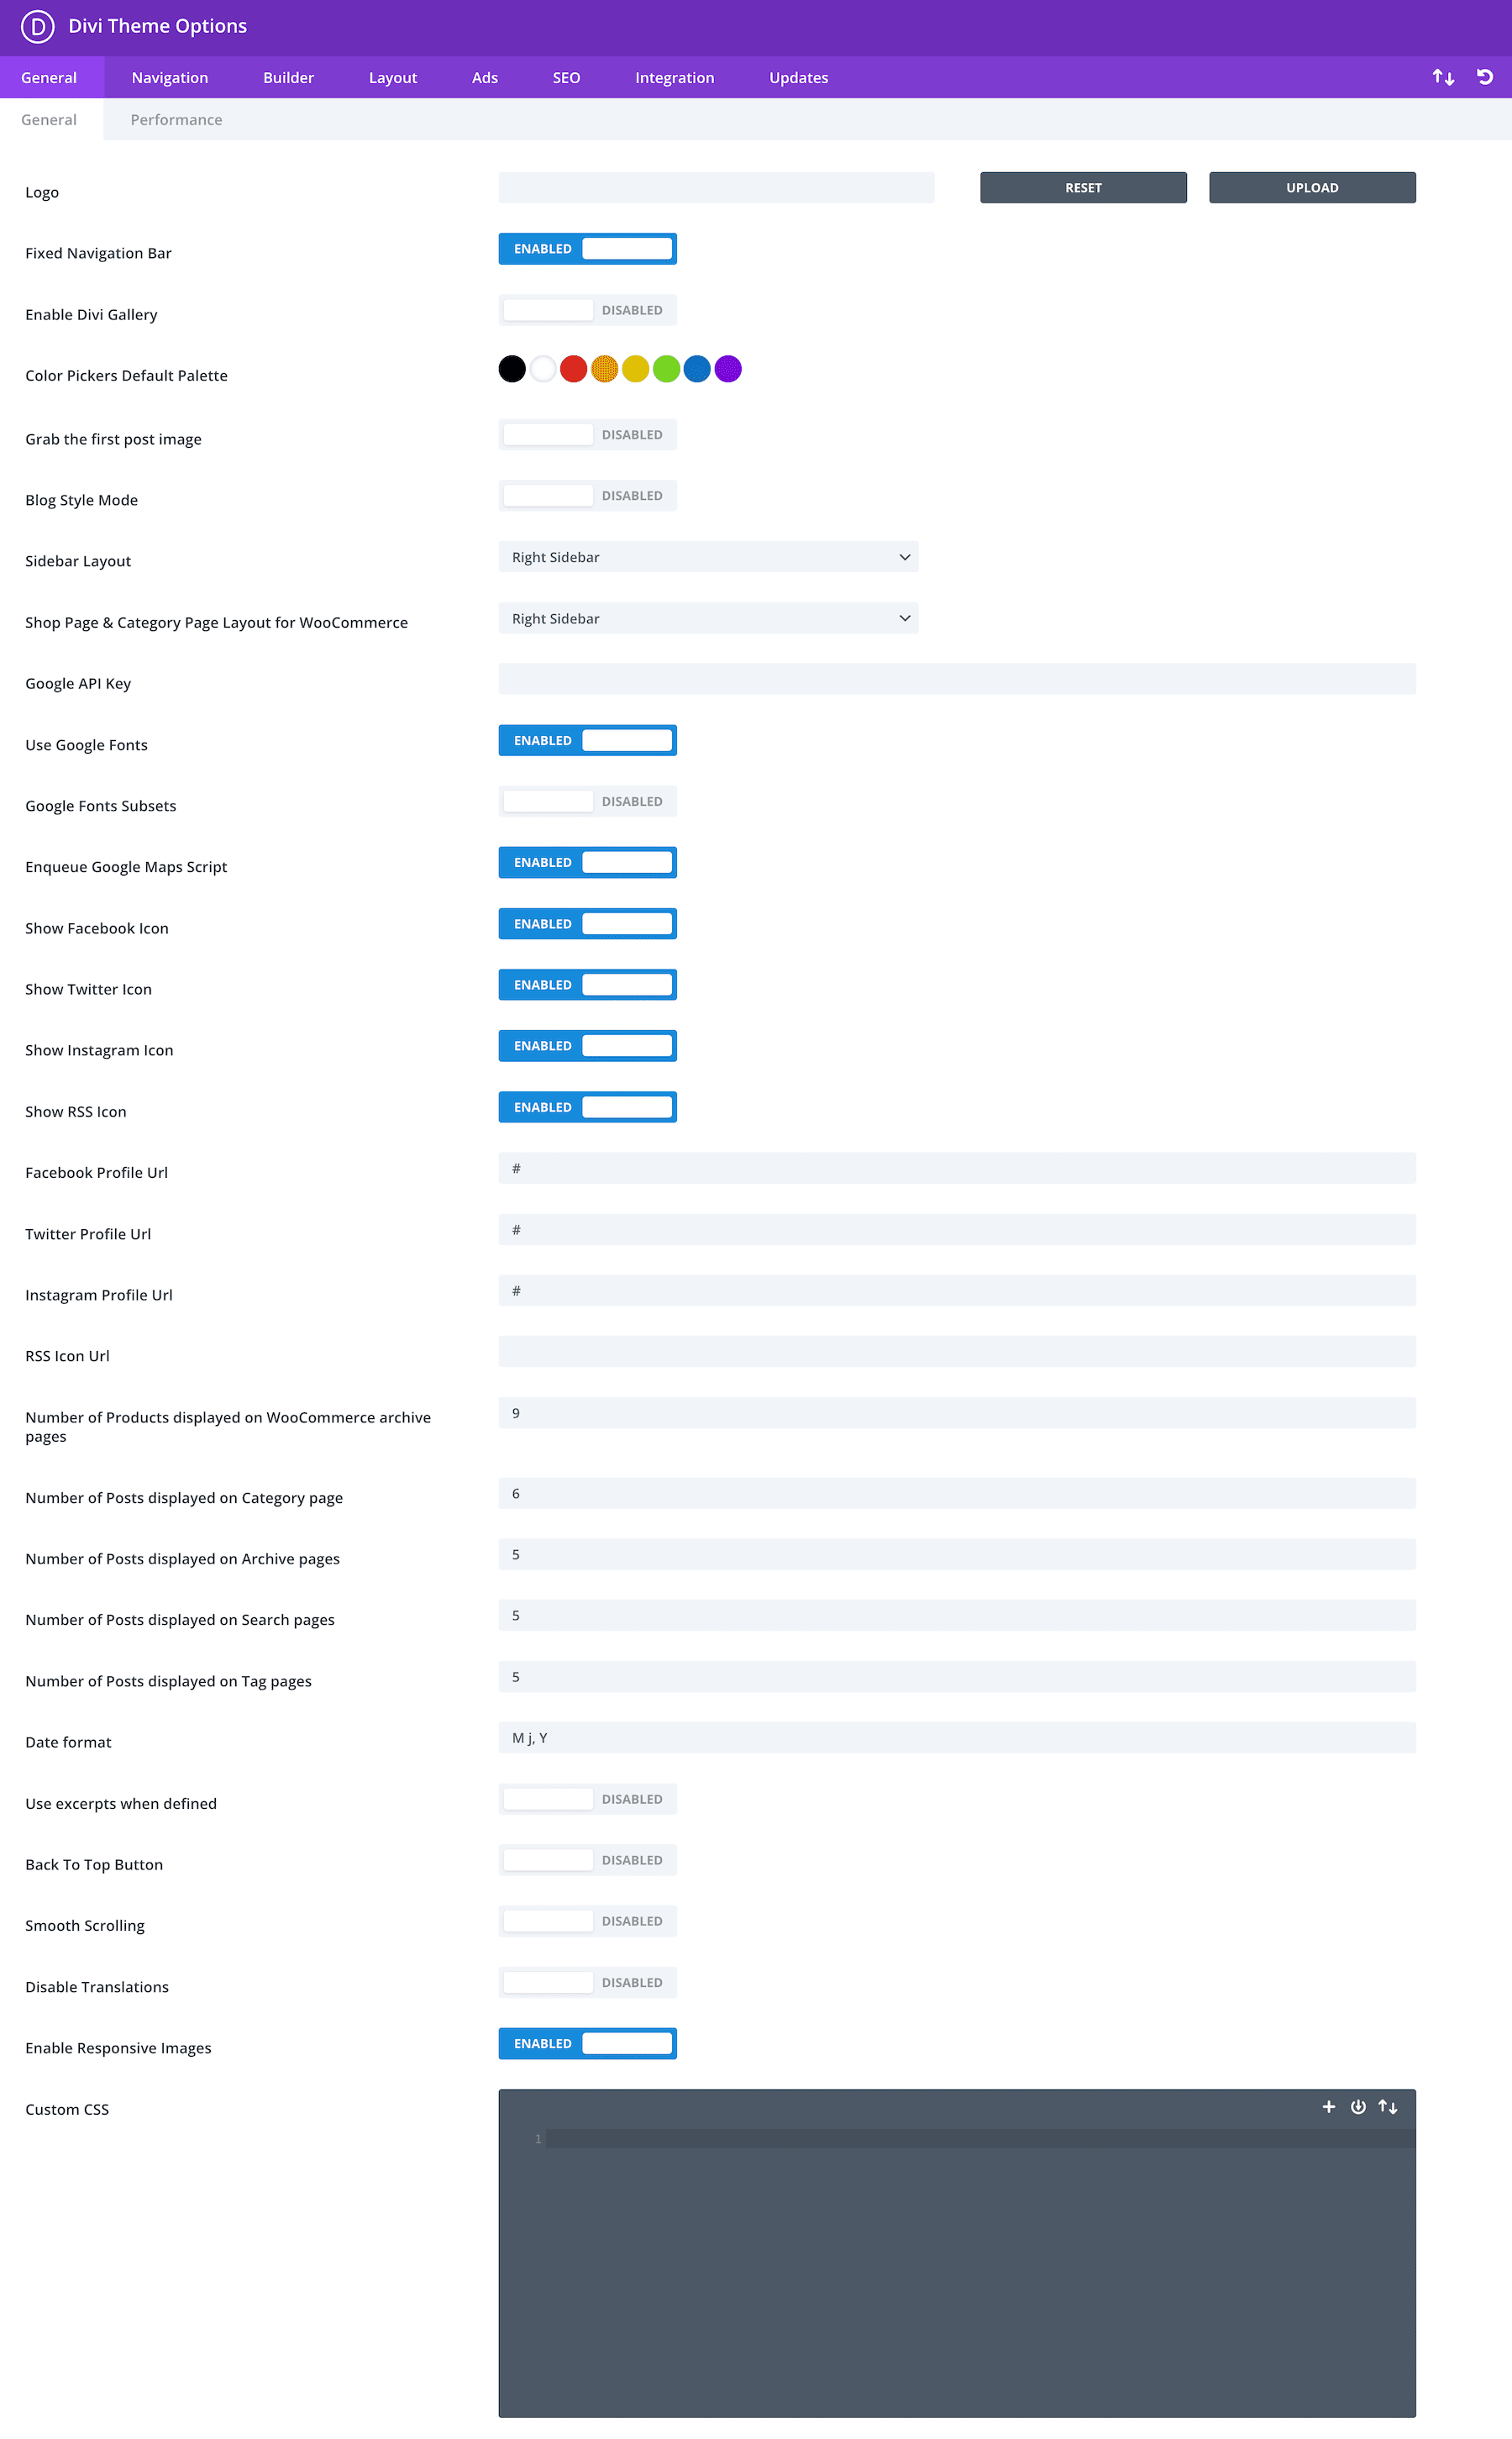
Logo
Here you can add a global logo for your website. Click the upload button to load the WordPress Media Library and select a logo or upload a new one. To reset this field, click the reset button. The logo you set here will appear wherever a logo is called in your Divi Theme. For example, Divi’s menu module calls for a logo that you can dynamically set to display the global logo set here.
Fixed Navigation Bar
If you are not using the Theme Builder to design your navigation bar, then Divi comes inherent with a navigation bar at the top of each page. By default, the navigation bar is fixed, meaning it sticks to the top of the screen and stays visible even as the page scrolls. The navigation bar will shrink slightly as the page scrolls to provide more screen space for the rest of the page content. To disable this feature, toggle this option off. This will result in a navigation menu bar that will stay at the top of the page as the page scrolls and not be visible once the page is scrolled out of the menu’s viewport.
Enable Divi Gallery
By default, the WordPress media library uploader window contains a “Create Gallery” feature which allows you to add images to a gallery for your posts or pages. If you’d like to replace the default WordPress gallery style with the Divi-style gallery, then enable this option.
Color Pickers Default Palette
Wherever color options are available within Divi a default color palette is shown. Here you can choose which colors you want to show by default across the Visual Builder. This is just the beginning of managing colors within Divi. Check out the Color Management Documentation to see all that’s possible with color settings in Divi.
Grab the first post image
By default thumbnail images for posts or pages are created using custom fields. However, if you would rather use the images that are already in your post for your thumbnail (and bypass using custom fields) you can activate this option. Once activated thumbnail images will be generated automatically using the first image in your post. The image must be hosted on your website.
Blog Style Mode
By default, posts are truncated on index/homepages automatically to display post previews. If you would rather display full posts on index pages like a traditional blog then you can activate this feature.
Sidebar Layout
This defines where default sidebars appear on a page. Select Left or Right from the dropdown menu.
Shop Page & Category Page Layout for WooCommerce
If you will be using WooCommerce integration, you can define which layout you want your shop to use on product and product category pages.
Google API Key
If you’d like to display a map on your website, then you’ll need a Google Maps API Key. The Divi Maps module requires a valid Google API Key in order to function. Learn more about how to create your Google API Key here.
Use Google Fonts
Enable this option if you want to be able to use Google Fonts on your website. Google Fonts is a free font service that provides over a thousand free fonts.
Google Fonts Subsets
This will enable Google Fonts for Non-English languages.
Enqueue Google Maps Script
Disable this option to remove the Google Maps API script from your Divi Builder Pages. This may improve compatibility with third-party plugins that also enqueue this script.
Please Note: Modules that rely on the Google Maps API in order to function properly, such as the Maps and Fullwidth Maps Modules, will still be available but will not function while this option is disabled (unless you manually add Google Maps API script).
Show Facebook Icon
Toggle this option on or off to show or hide the Facebook icon in modules that call for it like the Social Media Follow module.
Show Twitter Icon
Toggle this option on or off to show or hide the Twitter icon in modules that call for it like the Social Media Follow module.
Show Instagram Icon
Toggle this option on or off to show or hide the Instagram icon in modules that call for it like the Social Media Follow module.
Show RSS Icon
Toggle this option on or off to show or hide the RSS icon in modules that call for it.
Facebook Profile URL
Paste the link to your Facebook profile here.
Twitter Profile URL
Paste the link to your Twitter profile here.
Instagram Profile URL
Paste the link to your Instagram profile here.
RSS Icon URL
Paste the link to your RSS Feed here.
Number of Products displayed on WooCommerce archive pages
Here you can designate how many WooCommerce products are displayed on the archive page. This option works independently from the Settings > Reading options in wp-admin.
Number of Posts displayed on Category page
Define how many posts you would like to be displayed when a user visits a Category Page.
Number of Posts displayed on Archive pages
Define how many posts you would like to be displayed when a user visits an Archive Page.
Number of Posts displayed on Search pages
Define how many posts you would like to be displayed when a user visits a Search Results Page.
Number of Posts displayed on Tag pages
Define how many posts you would like to be displayed when a user visits a Tag Page.
Date format
This option allows you to change how your dates are displayed. For more information please refer to the WordPress codex here: Formatting Date and Time.
Use excerpts when defined
This will enable the use of excerpts in posts or pages.
Back To Top Button
This gives you the option to display a Back To Top Button (at the bottom right of your page) while scrolling.
Smooth Scrolling
Enable this option to get the smooth scrolling effect with mouse wheel. Smooth Scrolling is also especially useful when using anchor links to link to specific areas of the page.
Disable Translations
Disable translations if you don’t want to display translated theme strings on your site.
Enable Responsive Images
Enable this option to get responsive images size generated when uploading images and adding srcset attribute for images element.
Custom CSS
This is where you can enter any custom CSS to customize your site. For extensive CSS modifications, we recommend that you always use a child theme.
Performance
Here in the Performance sub-tab are settings you can tweak to improve your website’s speed and performance.

Dynamic Module Framework
Enable this to allow the Divi Framework to only load the modules that are used on the page, and process the logic for the features in use.
Dynamic CSS
Dynamic CSS greatly reduces CSS file size by dynamically generating only the assets necessary for the features and modules you use. This eliminates all file bloat and greatly improves load times.
Dynamic Icons
The Divi icon font is broken up into various subsets. These subsets are loaded only when needed based on the modules and features used on each page. If you need access to the entire icon font on all pages (for example, if you are using our icon font in your child theme), then you can disable this option and load the entire icon font library on all pages.
Load Dynamic Stylesheet In-line
This option dequeues the Divi style.css file and prints the contents in-line. This removes a render-blocking request and improves the PageSpeed scores of individual pages. However, it also prevents the style.css file from being cached. Since the stylesheet is small, it’s recommended to keep this option enabled.
Critical CSS
Critical CSS greatly improves website load times and Google PageSpeed scores by deferring non-critical styles and eliminating render-blocking CSS requests.
Critical Threshold Height
When Critical CSS is enabled, Divi determines an “above the fold threshold” and defers all styles for elements below the fold. However, this threshold is just an estimate and can vary on different devices. Increasing threshold height will deffer fewer styles, resulting in slightly slower load times but less of a chance for Cumulative Layout Shifts to occur. If you are experiencing CLS issues you can increase the threshold height.
Dynamic JavaScript Libraries
Only load external JavaScript libraries when they are needed by specific Divi modules on the page. This removes unused JavaScript from the main scripts bundle and improves load times.
Disable WordPress Emojis
WordPress loads it’s own WordPress emojis. Modern browsers support native emojis, making WordPress’s emojis unnecessary in most cases. Removing WordPress emojis removes unneeded assets and improves performance.
Defer Gutenberg Block CSS
If a page is built with the Divi Builder, the Gutenberg block CSS file is moved from the header to the footer. Since the file is most likely not used, we can load it later. This removes a render-blocking request and improves performance.
Improve Google Fonts Loading
Enable caching of Google Fonts and load them inline. This reduces render-blocking requests and improves page load times.
Limit Google Fonts Support For Legacy Browsers
Enabling this option will lower the size of Google Fonts and improve load times, however, it will limit Google Fonts support in some very old browsers. You can turn this off to increase support for older browsers at a slight cost to performance.
Defer jQuere and jQuere Migrate
When possible, jQuery and jQuery Migrate will be moved to the body to speed up load times. If a third-party plugin registers jQuery as a dependency, it will be moved back to the head.
Enqueue jQuery Compatibility Script
Some third-party scripts may be incorrectly enqueued without declaring jQuery as a dependency. If jQuery is deferred, these scripts could break. If you are experiencing console errors after enabling the “Defer jQuery And jQuery Migrate” option, you can enable this option, which will load an additional compatibility script that will attempt to solve the issue. You can turn this feature off if everything is working fine without it.
Defer Additional Third Party Scripts
Warning: This can cause JavaScript errors in some cases and should be used with care. When enabled, scripts registered by plugins and themes will be deferred to improve performance and jQuery will always be loaded in the body.
Navigation Settings
In the Navigation settings tab, there are three sub-tabs: Pages, Categories, and General Settings.
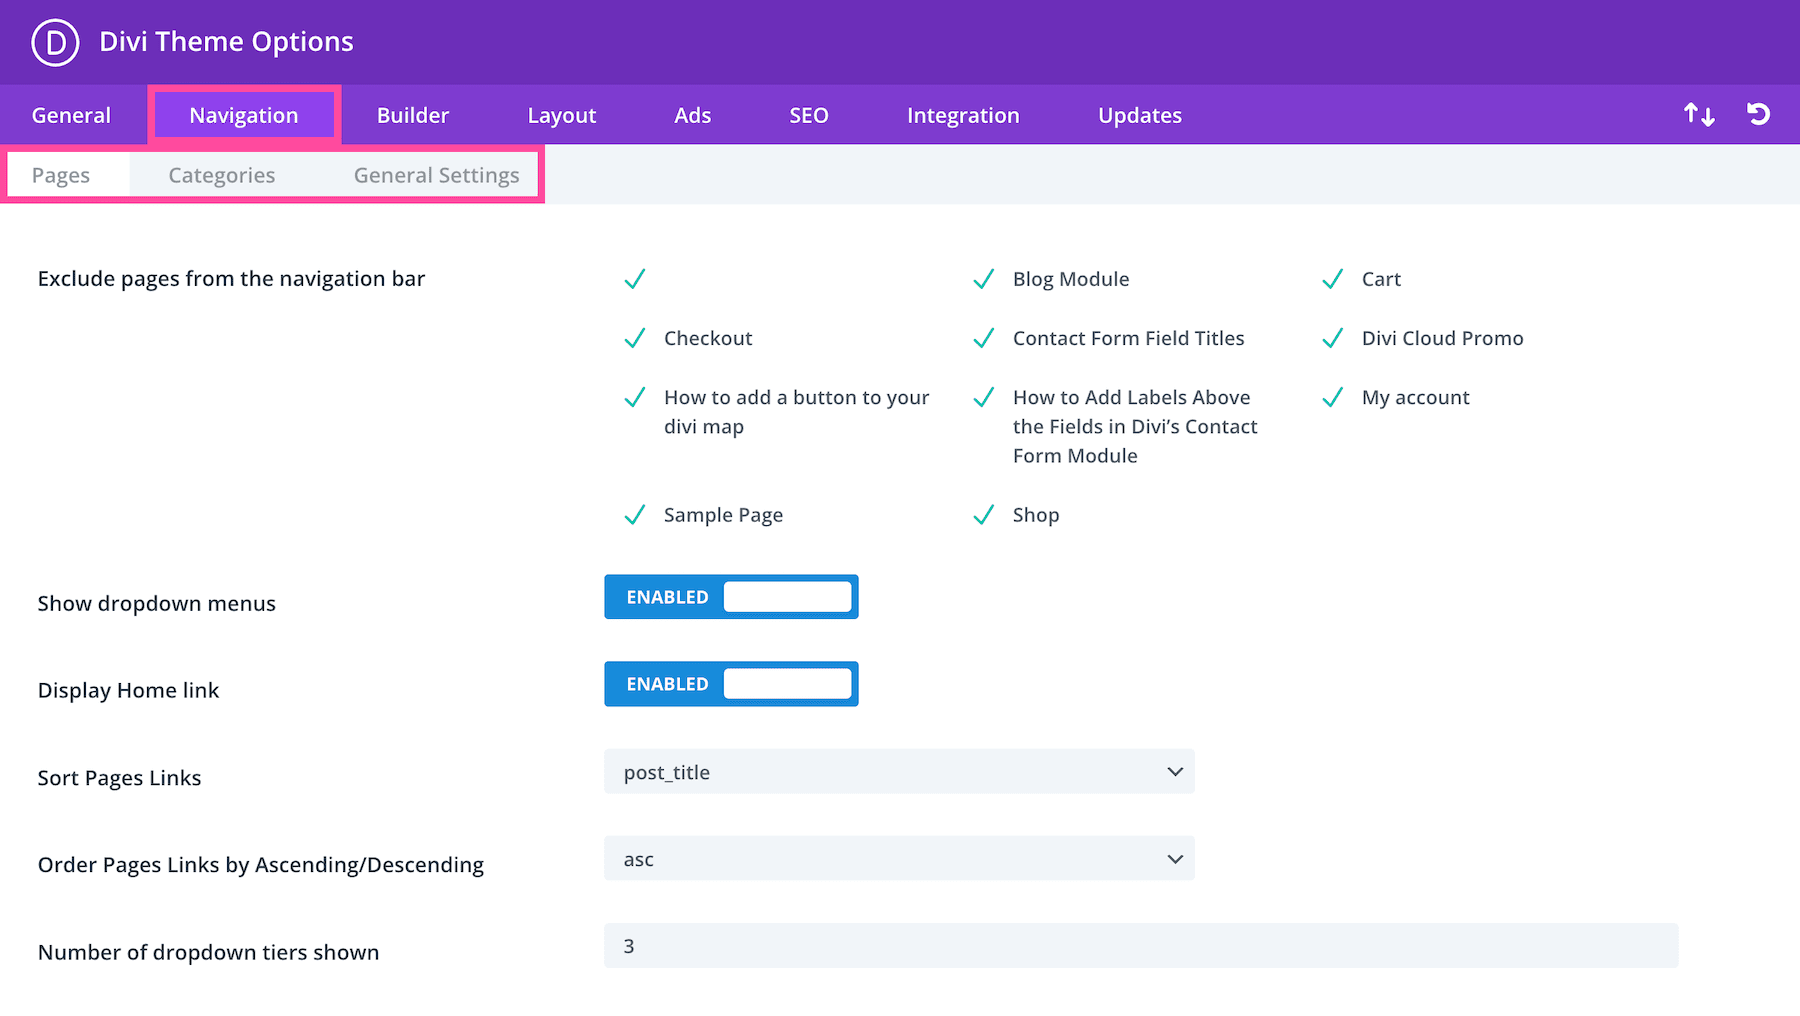
Pages
In the Pages sub-tab there are numerous settings for pages.
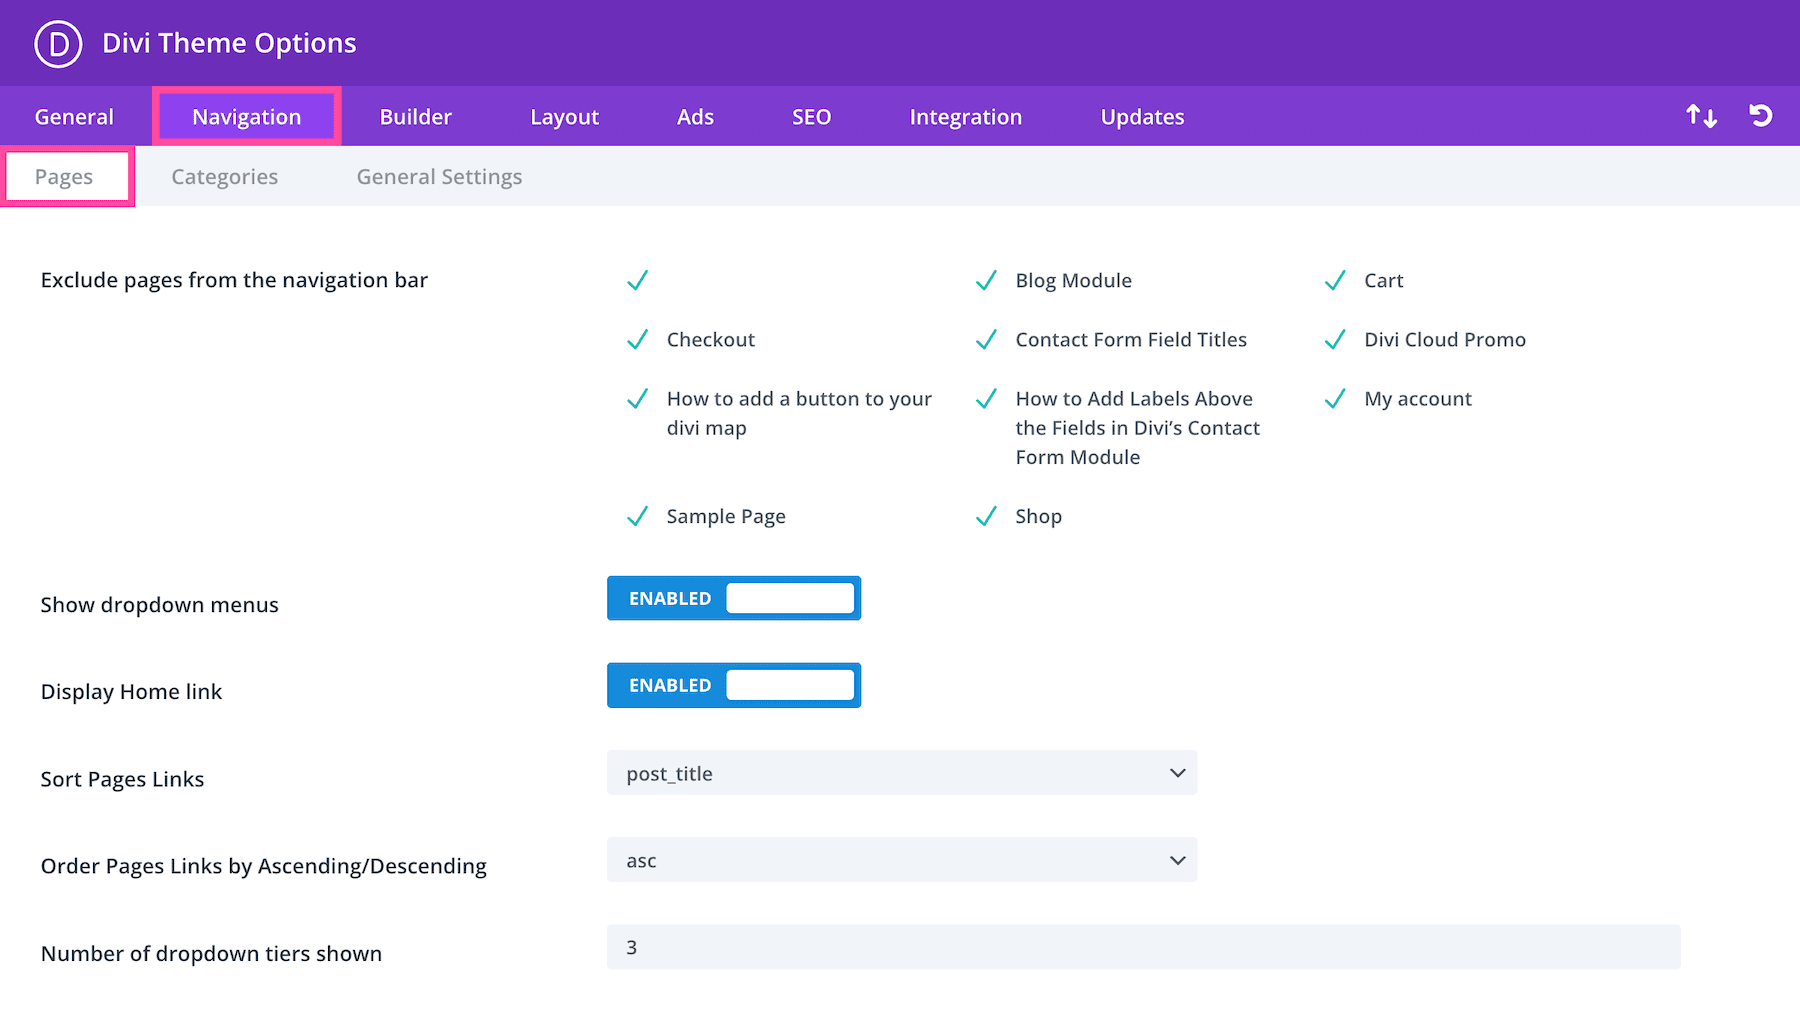 Exclude pages from the navigation bar
Here you can choose to remove certain pages from the navigation menu. All pages marked with an X will not appear in your navigation bar.
Show dropdown menus
If you would like to remove the dropdown menus from the pages navigation bar disable this feature.
Display Home link
By default, the theme creates a Home link that, when clicked, leads back to your blog’s homepage. If, however, you are using a static homepage and have already created a page called Home to use, this will result in a duplicate link. In this case, you should disable this feature to remove the link.
Sort Pages Links
Here you can choose to sort your pages links.
Order Pages Links by Ascending/Descending
Here you can choose to reverse the order that your pages links are displayed. You can choose between ascending and descending.
Number of dropdown tiers shown
This option allows you to control how many tiers your pages dropdown menu has. Increasing the number allows for additional menu items to be shown.
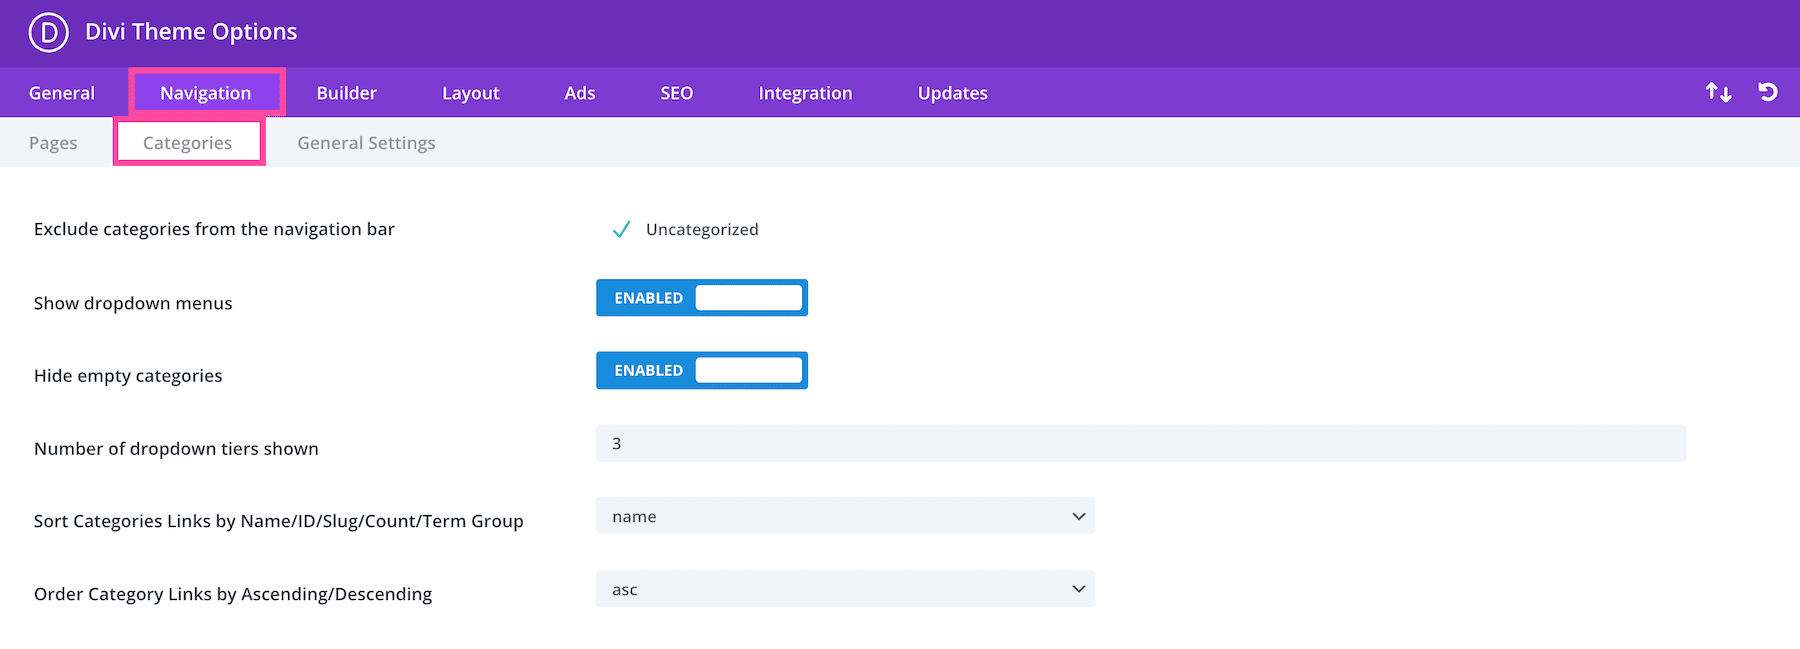
Categories
In the Categories sub-tab there are multiple settings for categories.
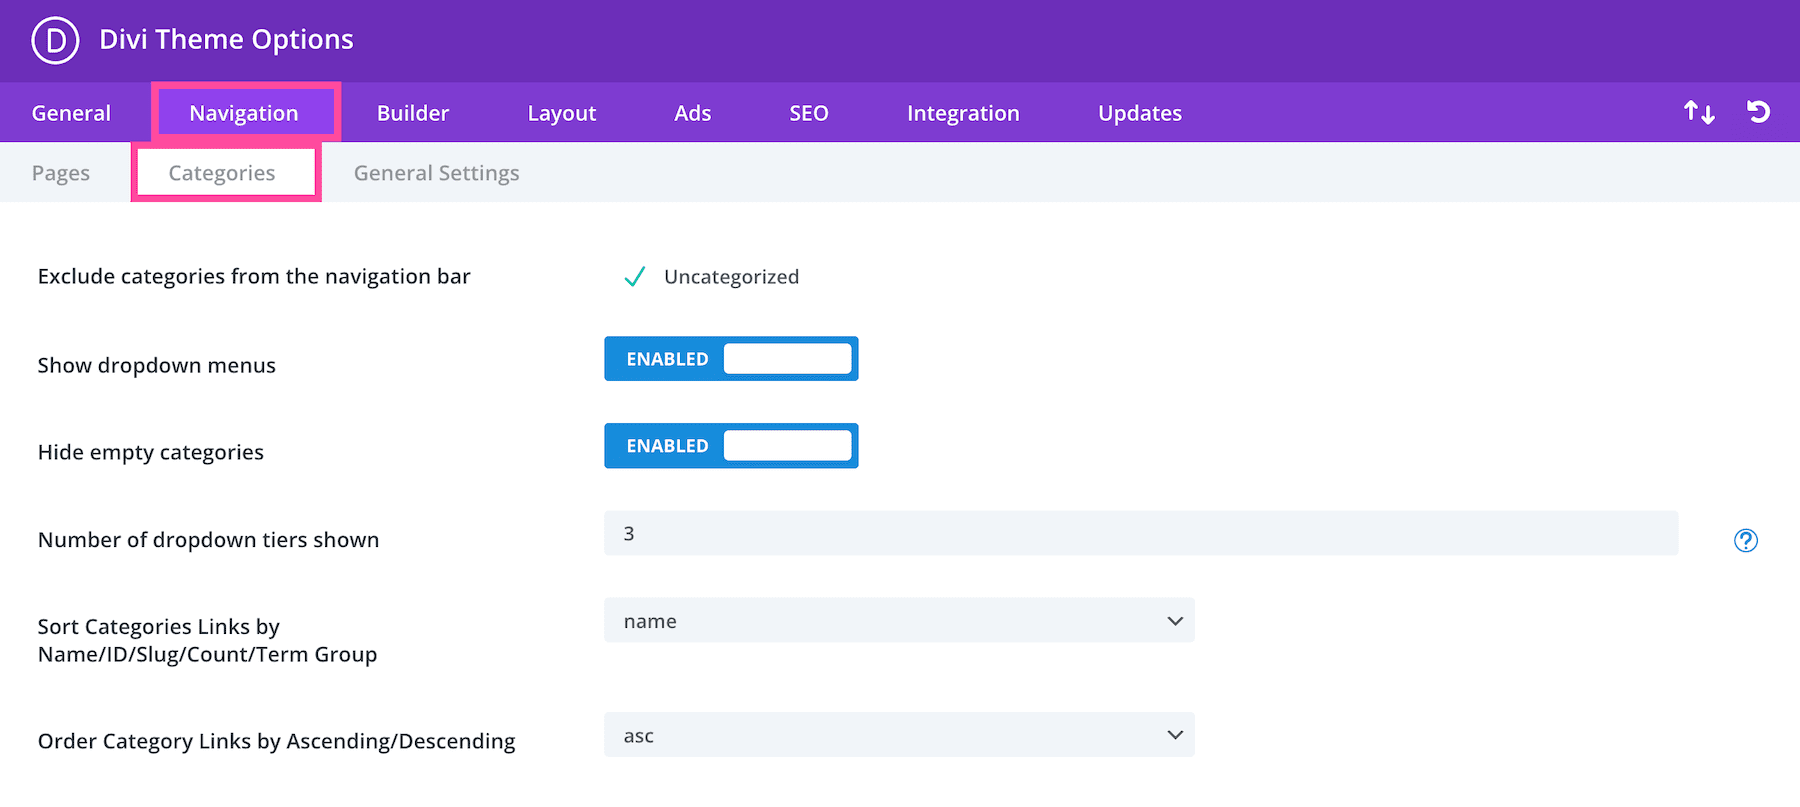
Exclude categories from the navigation bar
Here you can choose to remove certain categories from the navigation menu. All categories marked with an X will not appear in your navigation bar.
Show dropdown menus
If you would like to remove the dropdown menus from the categories navigation bar disable this feature.
Hide empty categories
If you would like categories to be displayed in your navigation bar that don’t have any posts in them then disable this option. By default, empty categories are hidden.
Number of dropdown tiers shown
This option allows you to control how many tiers your pages dropdown menu has. Increasing the number allows for additional menu items to be shown.
Sort Categories Links by Name/ID/Slug/Count/Term Group
By default, pages are sorted by name. However, if you would rather have them sorted by ID you can adjust this setting.
Order Category Links by Ascending/Descending
Here you can choose to reverse the order in which your categories links are displayed. You can choose between ascending and descending.
General Settings
In the General settings there is an option to disable top-tier dropdown menu links.

Disable top tier dropdown menu links
In some cases, users will want to create parent categories or links as placeholders to hold a list of child links or categories. In this case, it is not desirable to have the parent links lead anywhere, but instead merely serve an organizational function. Enabling this option will remove the links from all parent pages/categories so that they don’t lead anywhere when clicked.
Builder Settings
In the Builder Settings tab there are two sub-tabs: Post Type Integration and Advanced.
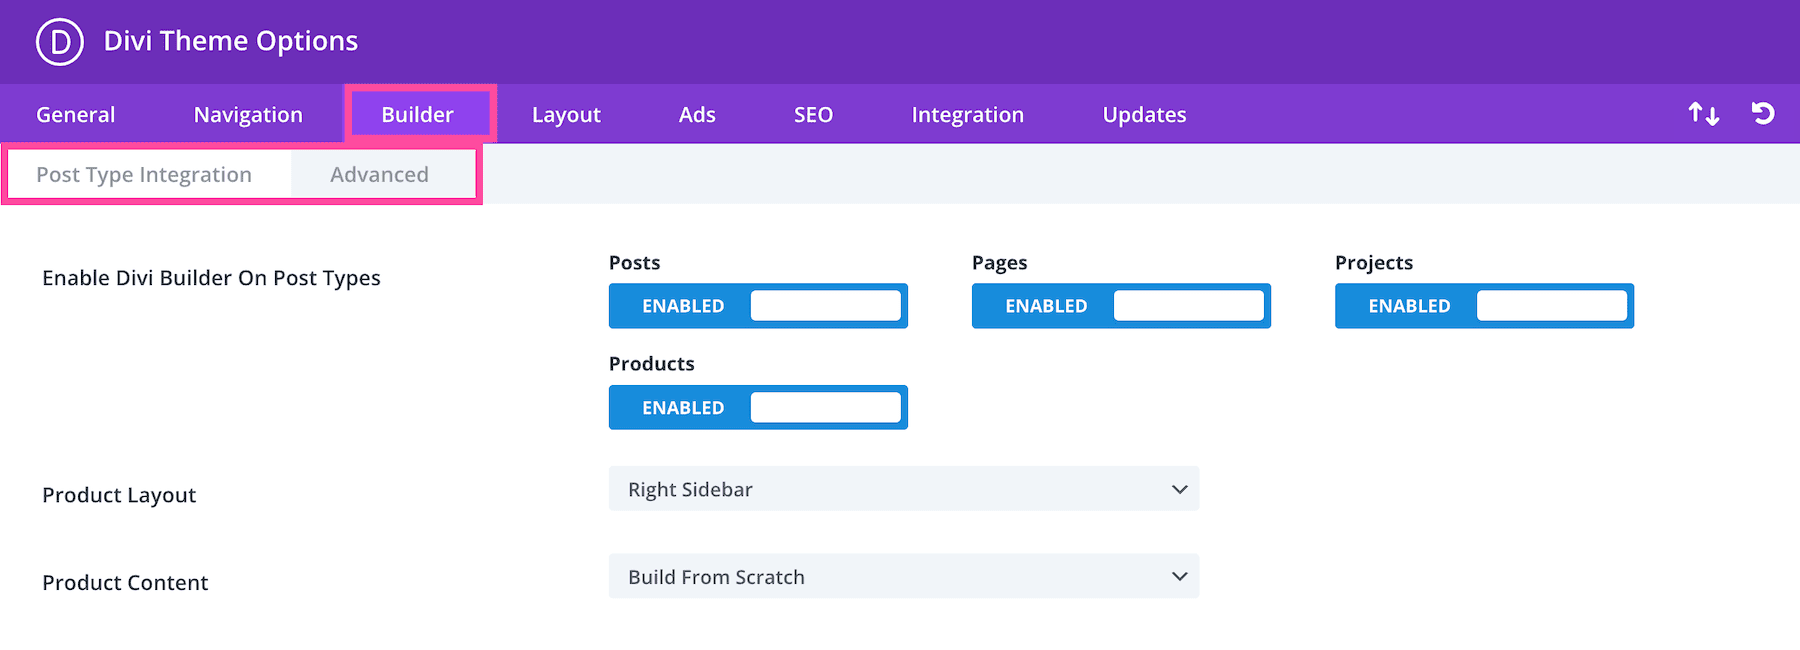
Post Type Integration
In the Post Type Integration sub-tab there are settings that affect posts on your website.

Enable Divi Builder On Post Types
By default, the Divi Builder is only accessible on standard post types. This option lets you enable the builder on any custom post type currently registered on your website, however the builder may not be compatible with all custom post types.
Product Layout
Here you can choose Product Page Layout for WooCommerce.
Product Content
“Build From Scratch” loads a pre-built WooCommerce page layout, with which you build on when the Divi Builder is enabled. The “Default” option lets you use the default WooCommerce page layout.
Advanced
In the Advanced sub-tab there are settings that affect CSS and other Divi Builder experiences.
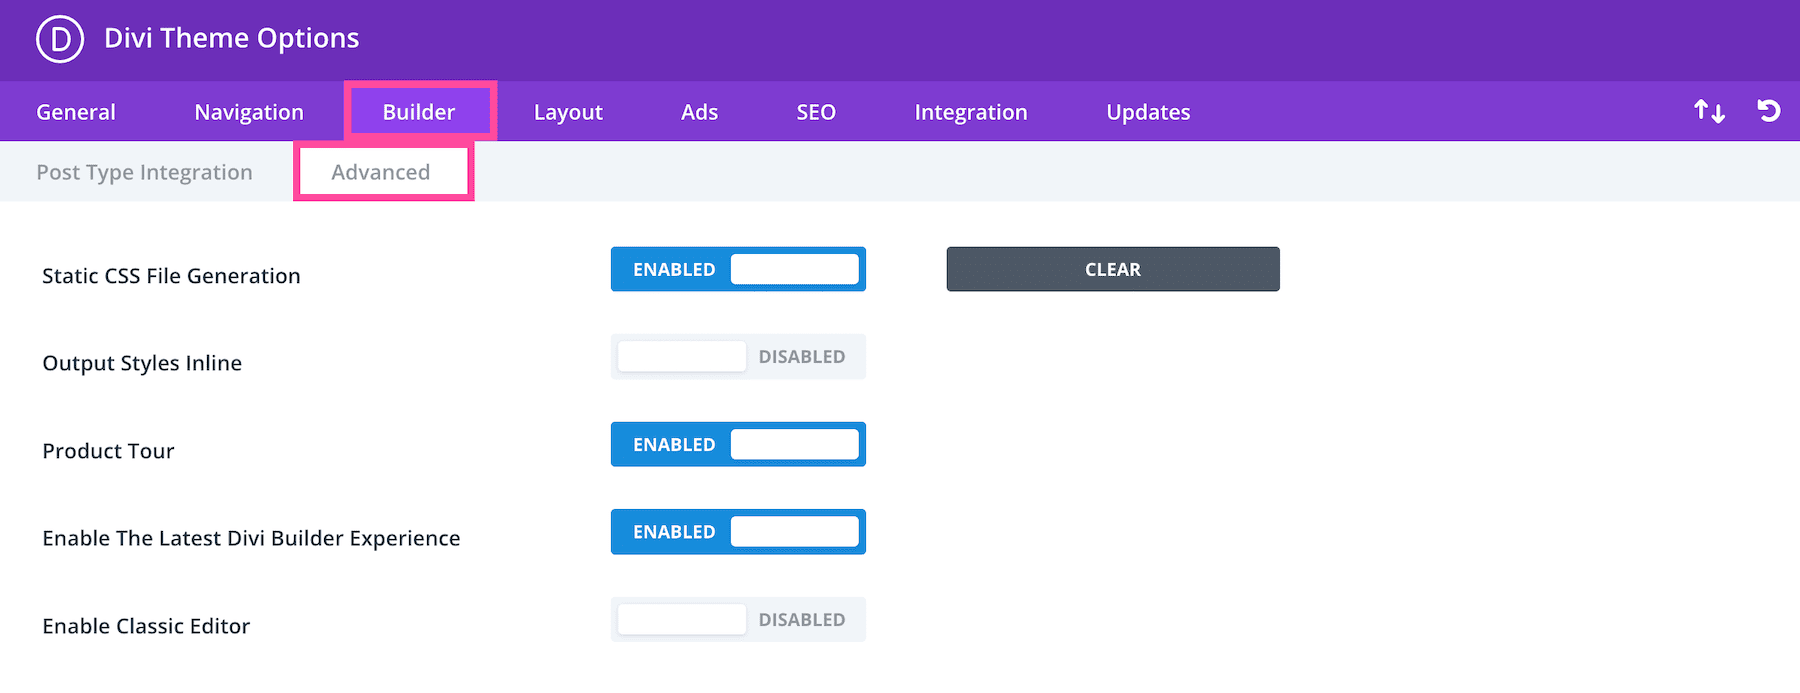
Static CSS File Generation
When this option is enabled, the builder’s inline CSS styles for all pages will be cached and served as static files. Enabling this option can help improve performance.
Output Styles Inline
With previous versions of the builder, CSS styles for the modules’ design settings were output inline in the footer. Enable this option to restore that behavior.
Product Tour
If enabled Product Tour will be started automatically when the Visual Builder is launched for the first time.
Enable The Latest Divi Builder Experience
Disabling this option will load the legacy Divi Builder interface when editing a post using the classic WordPress post editor. The legacy builder lacks many features and interface improvements, but it can still be used if you are experiencing trouble with the new interface.
Enable Classic Editor
Enable this option to use the Classic Editor instead of Gutenberg / Block Editor.
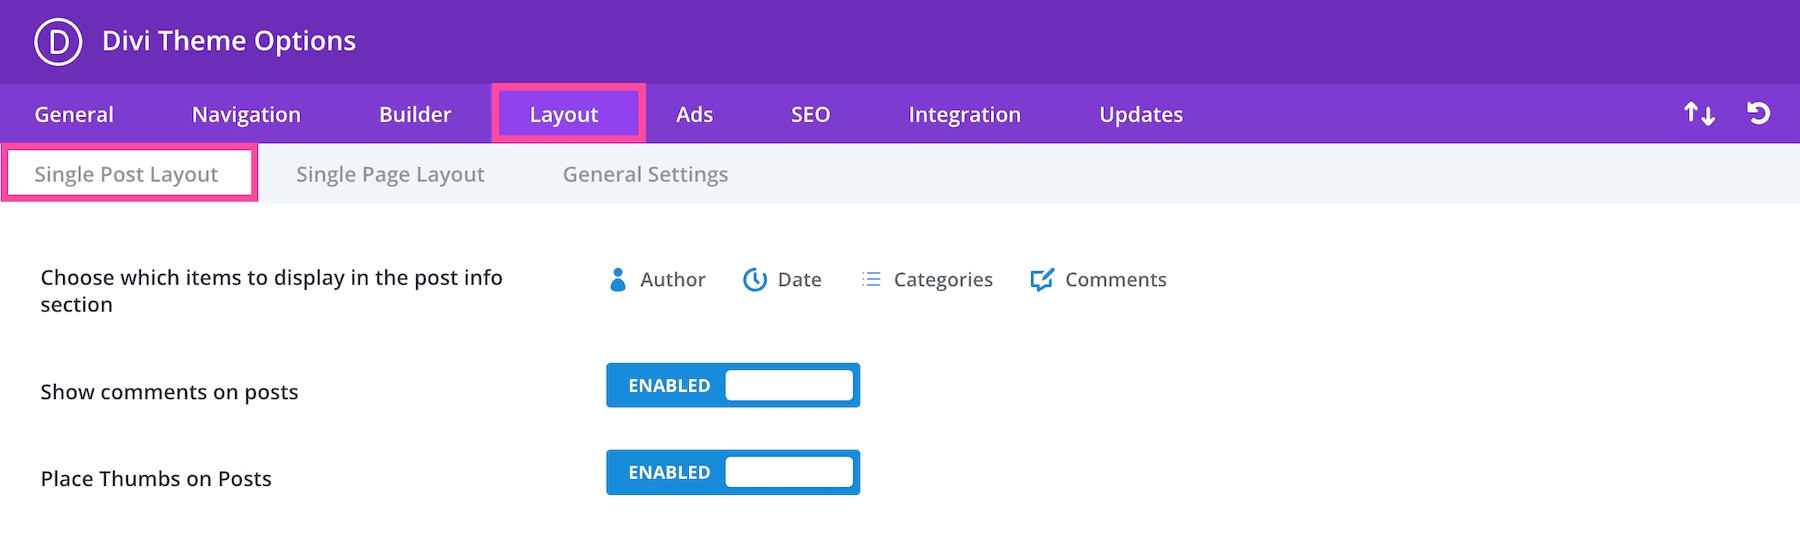
Layout Settings
In the Layout Settings tab there are three sub-tabs: Single Post Layout, Single Page Layout, and General Settings.
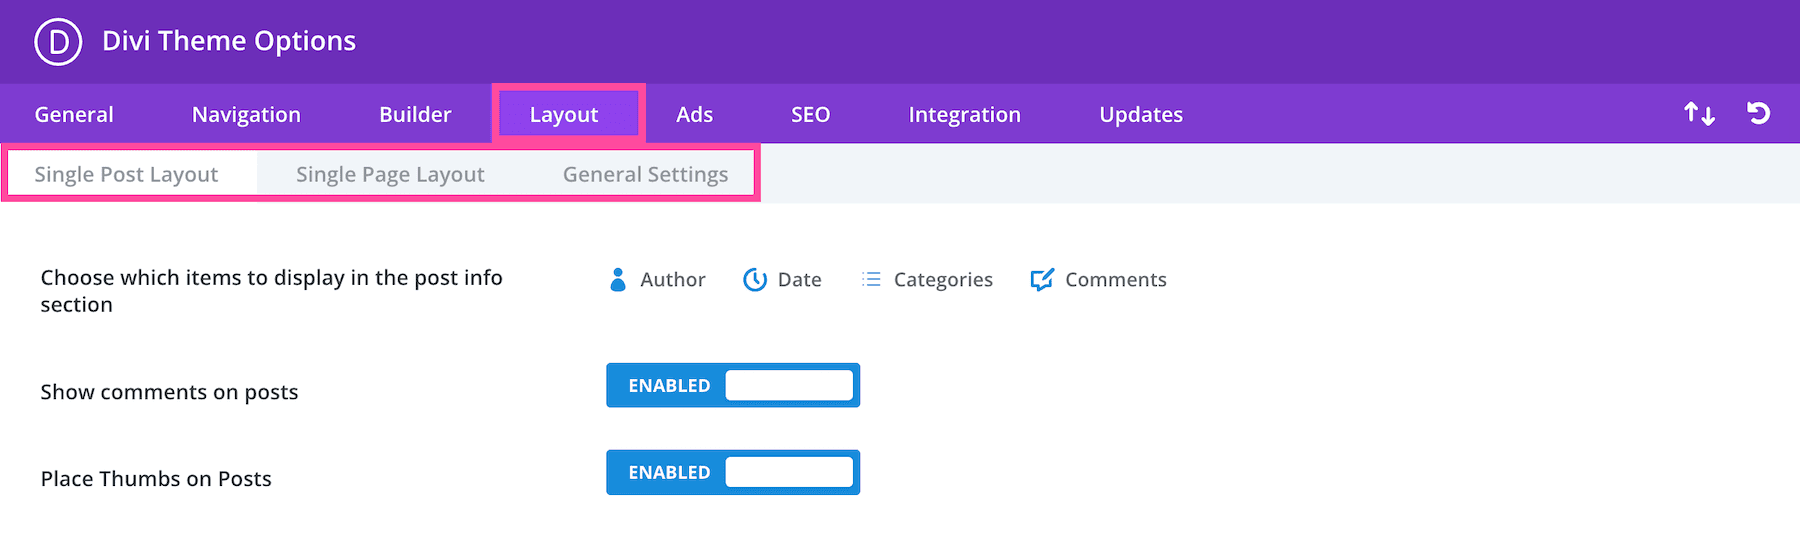
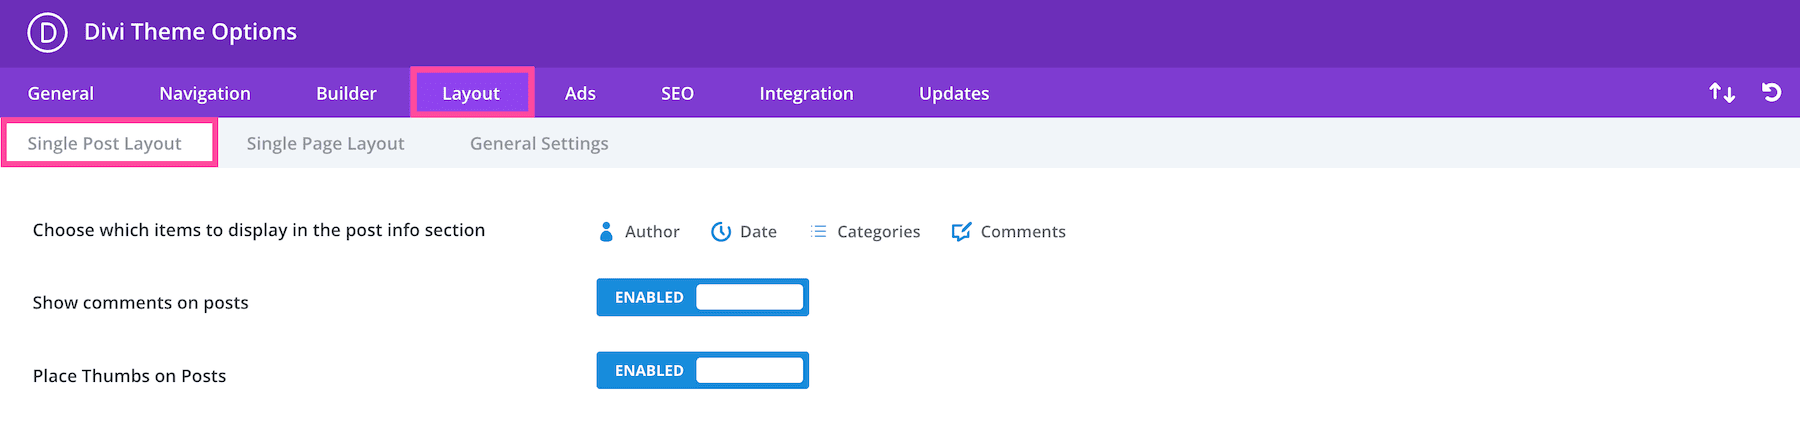
Single Post Layout
In the Single Post Layout sub-tab, you’ll see the settings for choosing what information to display in the post info section, showing or hiding comments on posts, and placing thumbnails on posts.
Choose which items to display in the post info section
Here you can choose which items appear in the post info section on single post pages. This is the area, usually below the post title, which displays basic information about your post. The highlighted items shown below will appear.
Show comments on posts
You can disable this option if you want to remove the comments and comment form from single post pages.
Place Thumbs on Posts
By default, thumbnails are placed at the beginning of your post on single post pages. If you would like to remove this initial thumbnail image to avoid repetition simply disable this option.
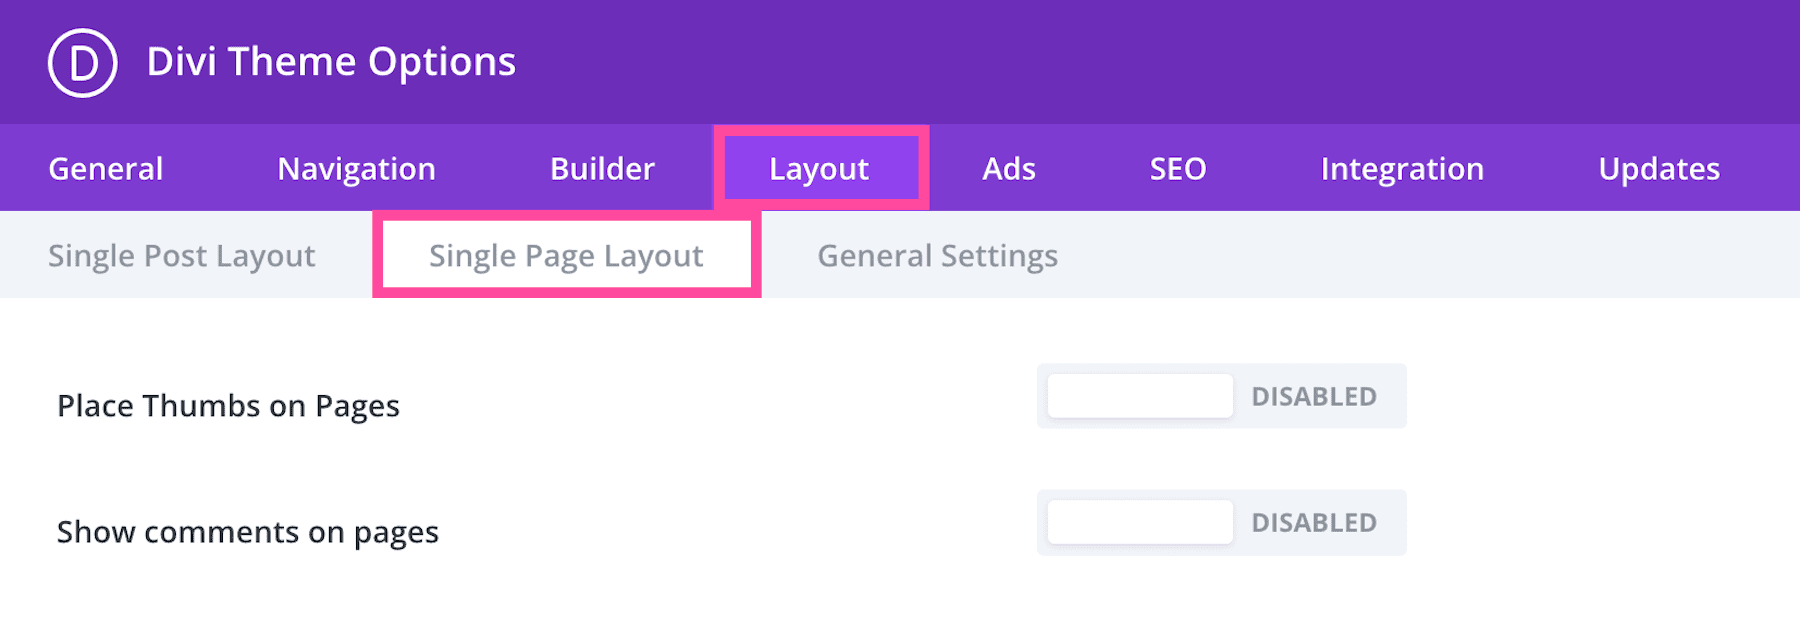
Single Page Layout
In the Single Page Layout sub-tab, you’ll find the settings to place thumbs on pages and allow or disable comments on pages.
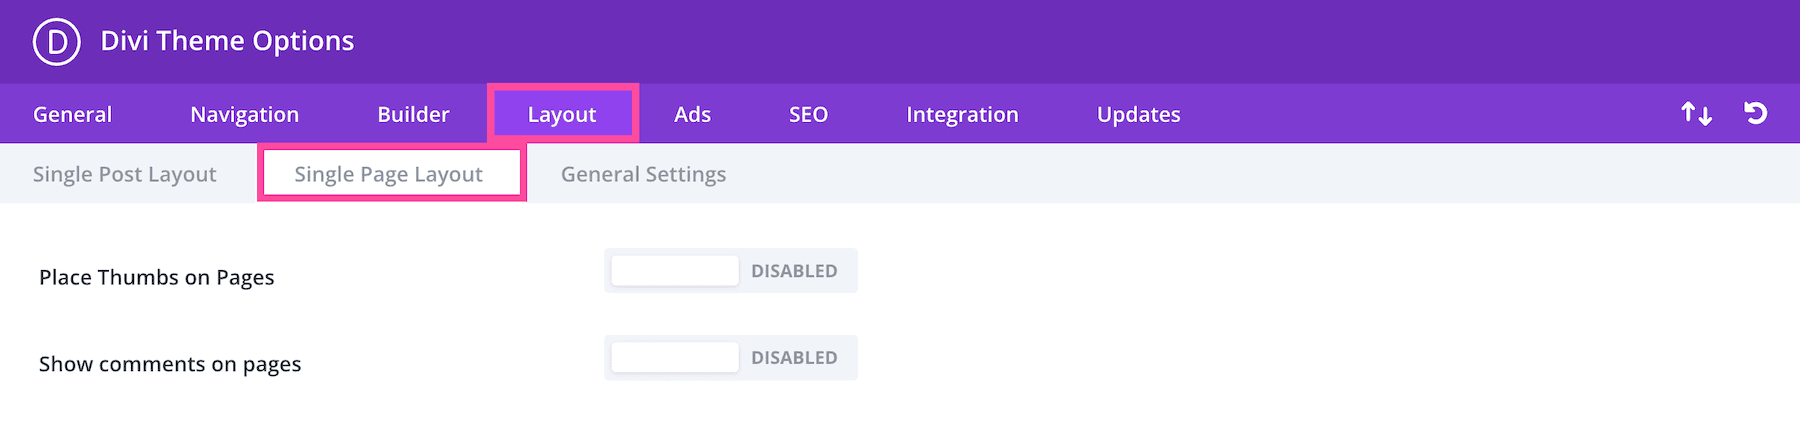
Place Thumbs on Pages
By default, thumbnails are not placed on pages (they are only used on posts). However, if you want to use thumbnails on pages you can! Just enable this option.
Show comments on pages
By default comments are not placed on pages, however, if you would like to allow people to comment on your pages simply enable this option.
General Settings
In the General Settings sub-tab, you’ll find settings for post info section, and showing or hiding thumbs on index pages.
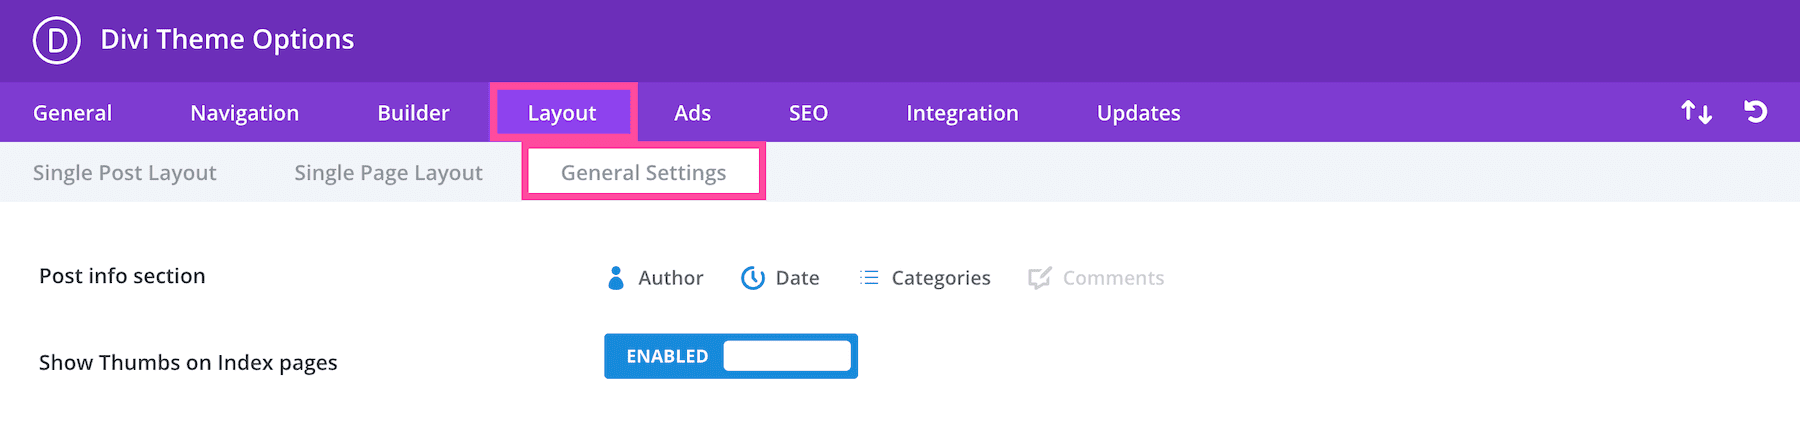
Post info section
Here you can choose which items appear in the post info section on pages. This is the area, usually below the post title, which displays basic information about your post. The highlighted items shown below will appear.
Show Thumbs on Index pages
Enable this option to show thumbnails on Index Pages.
Ads Settings
In the Ads tab, you’ll find settings that configure ads displayed on your website that are not configured through widgets.
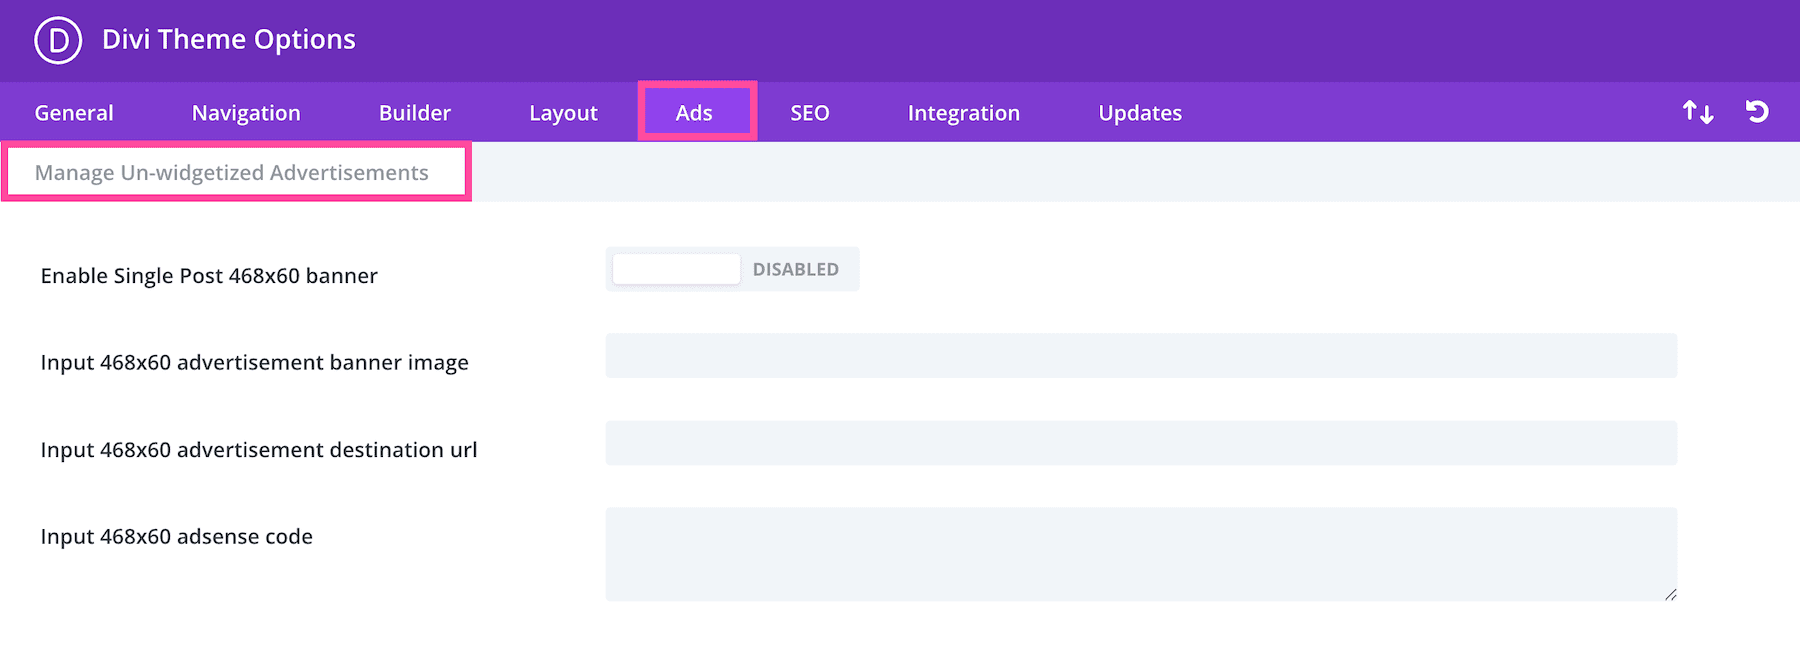
Manage Un-widgetized Advertisements
Enable Single Post 468×60 banner
Enabling this option will display a 468×60 banner ad on the bottom of your post pages below the single post content. If enabled you must fill in the banner image and destination URL below.
Input 468×60 advertisement banner image
Here you can provide 468×60 banner image URL.
Input 468×60 advertisement destination url
Here you can provide 468×60 banner destination URL.
Input 468×60 adsense code
Place your adsense code here.
SEO Settings
In the SEO tab, you’ll find three sub-tabs: Homepage SEO, Single Post SEO, and Index Page SEO.
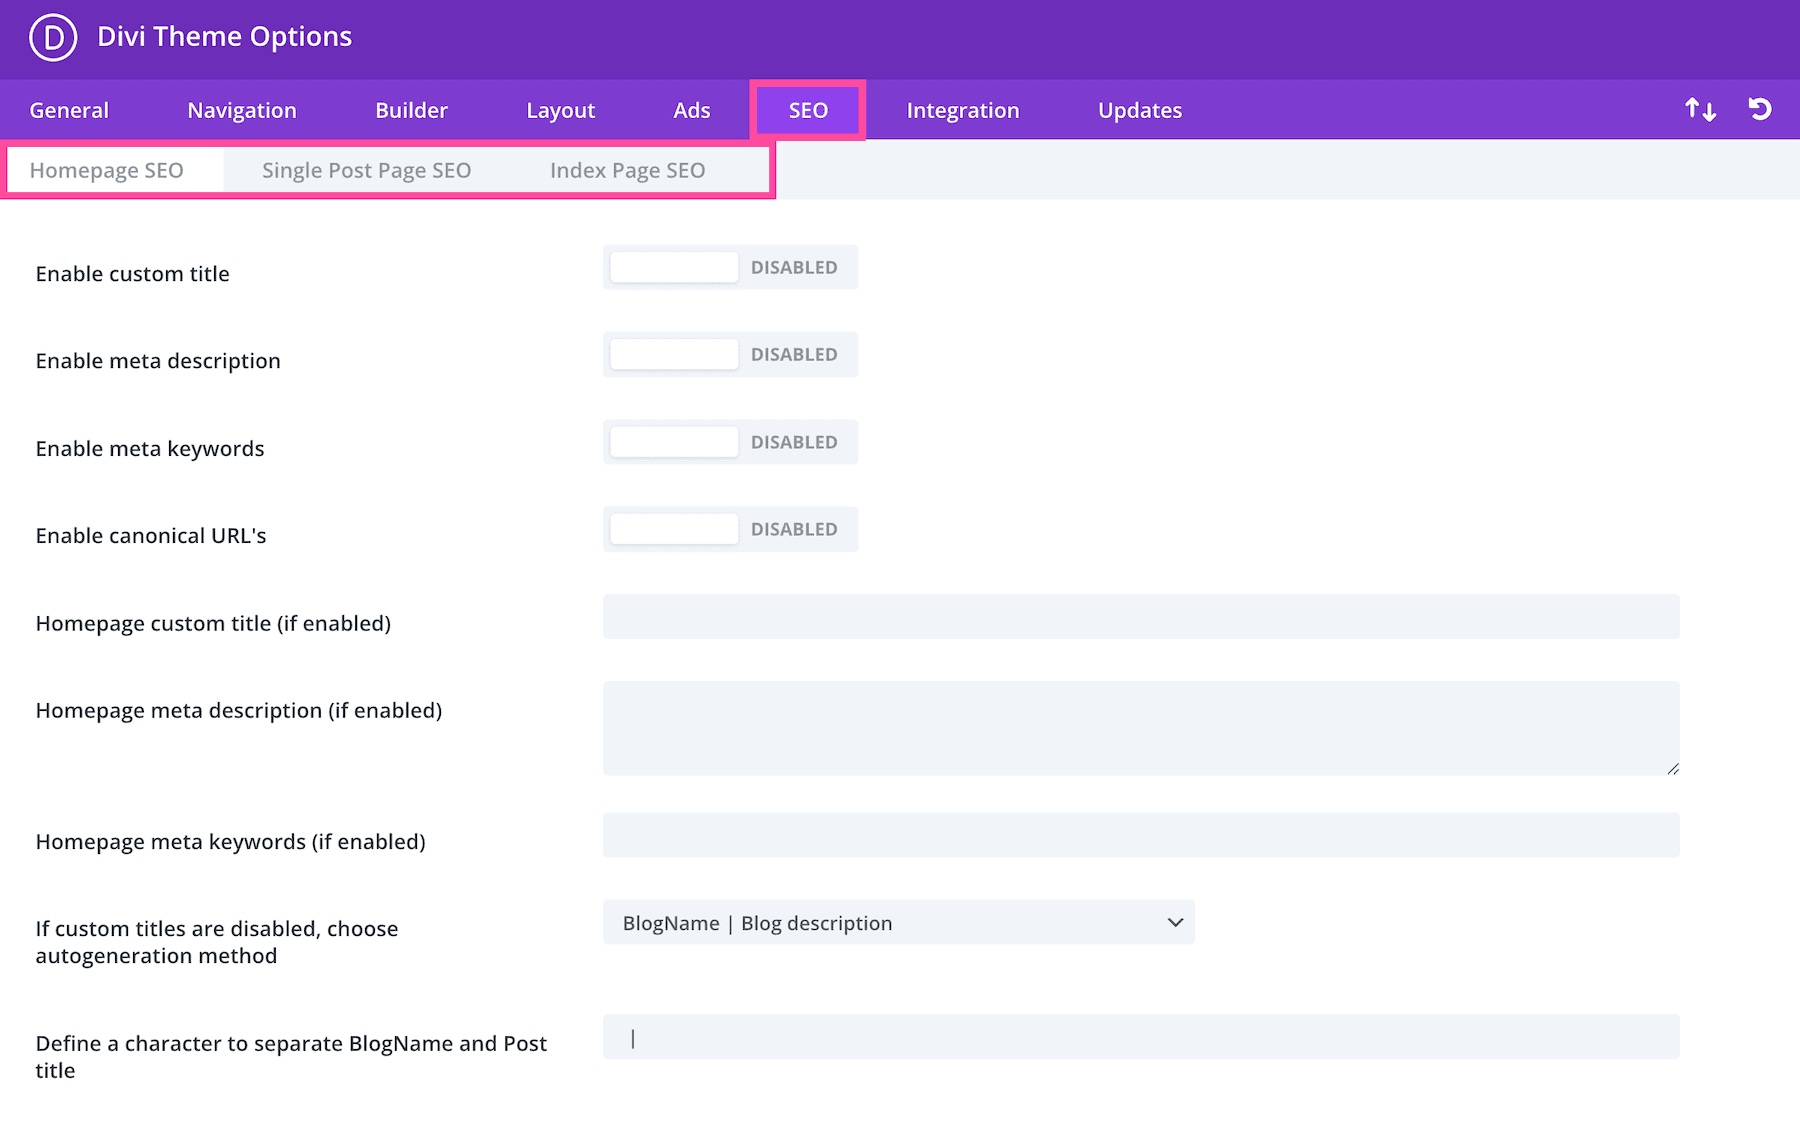
Homepage SEO
In the Homepage SEO sub-tab, you’ll find settings like enabling custom titles, meta descriptions, meta keywords, and more, for the homepage specifically.
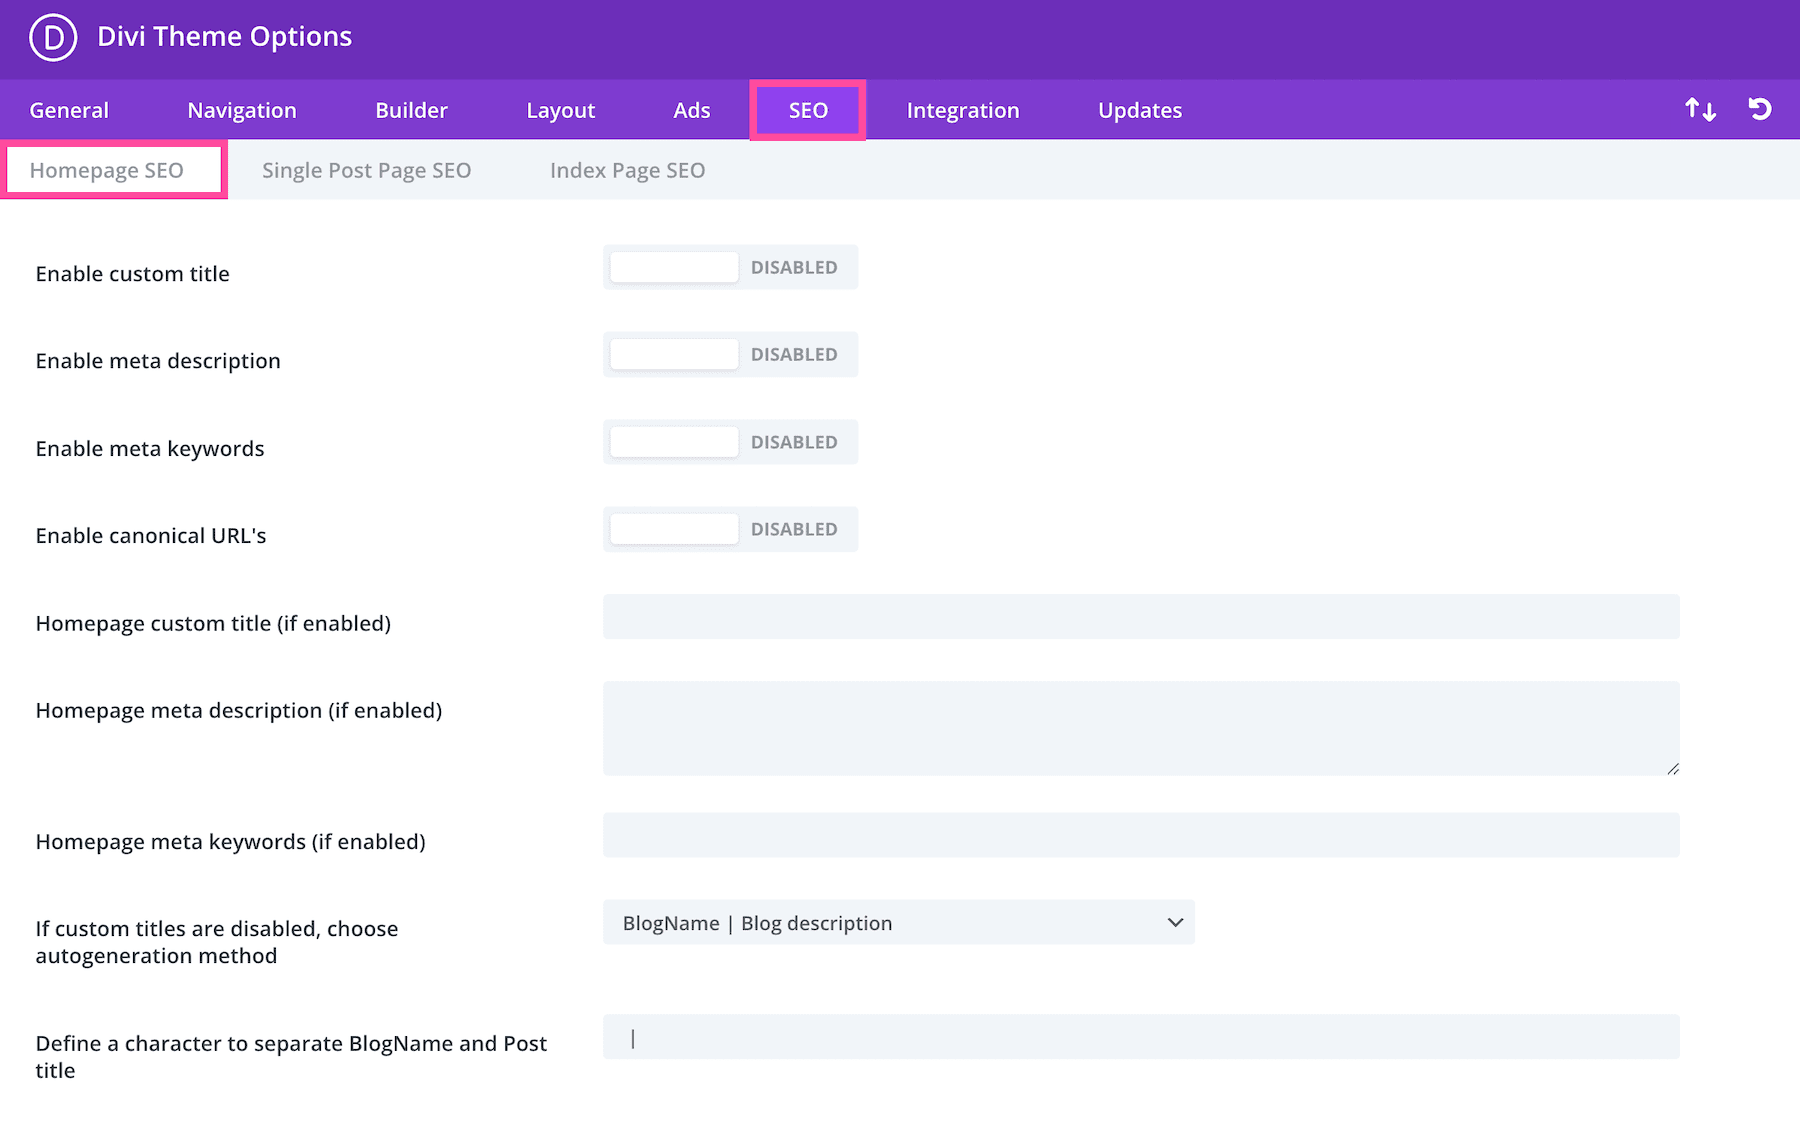
Enable custom title
By default the theme uses a combination of your blog name and your blog description, as defined when you created your blog, to create your homepage titles. However, if you want to create a custom title then simply enable this option and fill in the custom title field below.
Enable meta description
By default the theme uses your blog description, as defined when you created your blog, to fill in the meta description field. If you would like to use a different description then enable this option and fill in the custom description field below.
enable meta keywords
By default, the theme does not add keywords to your header. Most search engines don’t use keywords to rank your site anymore, but some people define them anyway just in case. If you want to add meta keywords to your header then enable this option and fill in the custom keywords field below.
Enable canonical URL’s
Canonicalization helps to prevent the indexing of duplicate content by search engines, and as a result, may help avoid duplicate content penalties and PageRank degradation. Some pages may have different URLs all leading to the same place. For example, domain.com, domain.com/index.html, and www.domain.com are all different URLs leading to your homepage. From a search engine’s perspective these duplicate URLs, which also occur often due to custom permalinks, may be treated individually instead of as a single destination. Defining a canonical URL tells the search engine which URL you would like to use officially. The theme bases its canonical URLs on your permalinks and the domain name defined in the settings tab of wp-admin.
Homepage custom title (if enabled)
If you have enabled custom titles you can add your custom title here. Whatever you type here will be placed between the < title >< /title > tags in header.php
Homepage meta keywords (if enabled)
If you have enabled meta descriptions you can add your custom description here.
If custom ties are disabled, choose autogeneration method
If you are not using custom post titles you can still have control over how your titles are generated. Here you can choose which order you would like your post title and blog name to be displayed, or you can remove the blog name from the title completely.
Define a character to separate BlogName and Post title
Here you can change which character separates your blog title and post name when using autogenerated post titles. Common values are | or –
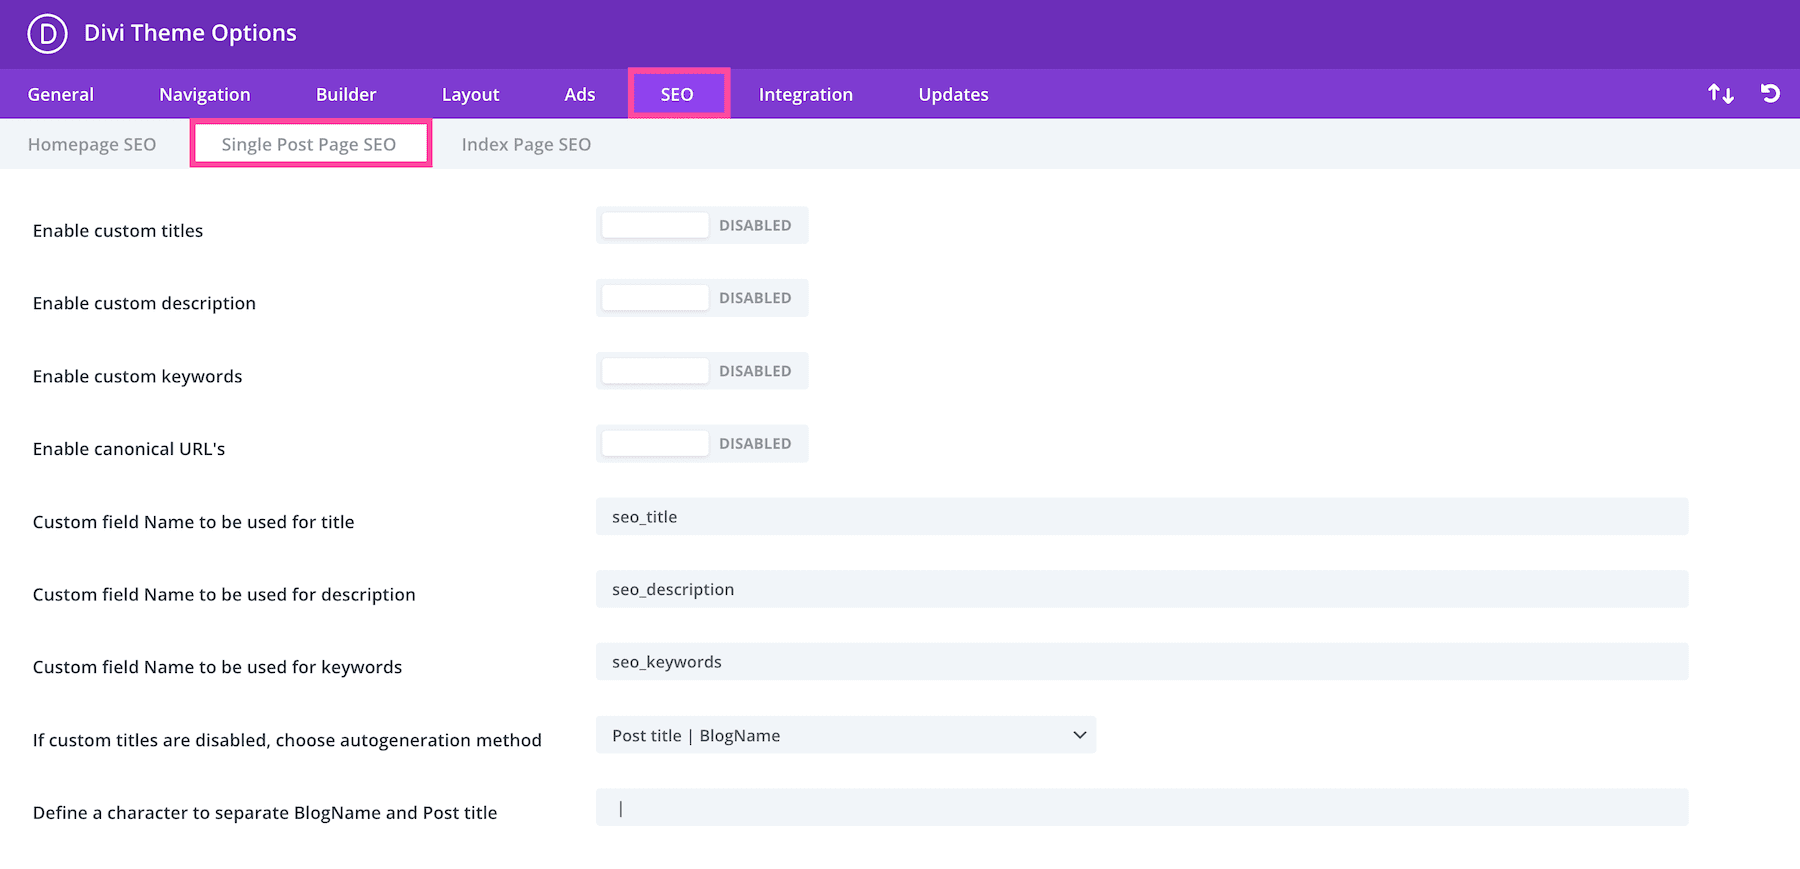
Single Post Page SEO
In the Single Post SEO sub-tab, you’ll find the settings like enabling custom titles, meta descriptions, meta keywords, and more for single posts.
Enable custom titles
By default, the theme creates post titles based on the title of your post and your blog name. If you would like to make your meta title different than your actual post title you can define a custom title for each post using custom fields. This option must be enabled for custom titles to work, and you must choose a custom field name for your title below.
Enable meta description
If you would like to add a meta description to your post you can do so using custom fields. This option must be enabled for descriptions to be displayed on post pages. You can add your meta description using custom fields based on the custom field name you define below.
Enable custom keywords
If you would like to add meta keywords to your post you can do so using custom fields. This option must be enabled for keywords to be displayed on post pages. You can add your meta keywords using custom fields based on the custom field name you define below.
Enable canonical URL’s
Canonicalization helps to prevent the indexing of duplicate content by search engines, and as a result, may help avoid duplicate content penalties and PageRank degradation. Some pages may have different URLs all leading to the same place. For example, domain.com, domain.com/index.html, and www.domain.com are all different URLs leading to your homepage. From a search engine’s perspective these duplicate URLs, which also occur often due to custom permalinks, may be treated individually instead of as a single destination. Defining a canonical URL tells the search engine which URL you would like to use officially. The theme bases its canonical URLs on your permalinks and the domain name defined in the settings tab of wp-admin.
Custom field Name to be used for title
When you define your title using custom fields you should use this value for the custom field Name. The Value of your custom field should be the custom title you would like to use.
Custom field Name to be used for description
When you define your meta description using custom fields you should use this value for the custom field Name. The Value of your custom field should be the custom description you would like to use.
Custom field Name to be used for keywords
When you define your keywords using custom fields you should use this value for the custom field Name. The Value of your custom field should be the meta keywords you would like to use, separated by commas.
If custom titles are disabled, choose autogeneration method
If you are not using custom post titles you can still have control over how your titles are generated. Here you can choose which order you would like your post title and blog name to be displayed, or you can remove the blog name from the title completely.
Define a c character to separate BlogName and Post title
Here you can change which character separates your blog title and post name when using autogenerated post titles. Common values are | or –
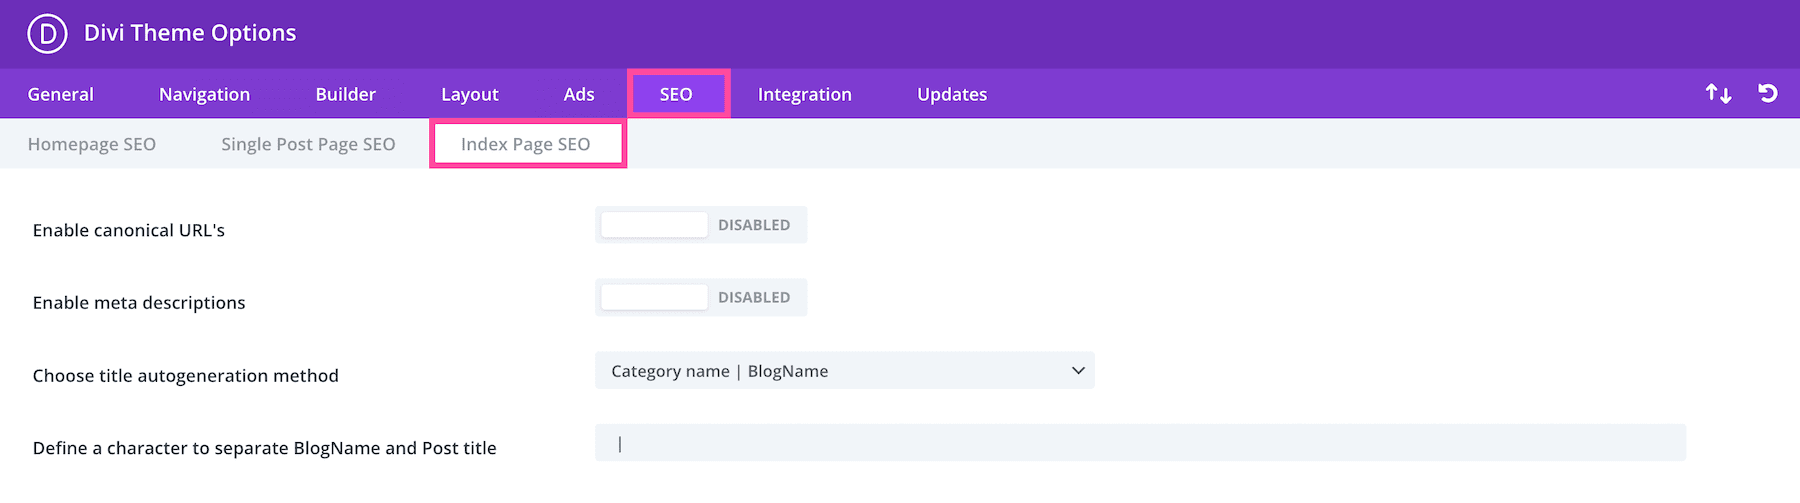
Index Page SEO
In the Index Page SEO sub-tab, you’ll find settings for enabling canonical URLs, meta descriptions and more.
Enable canonical URL’s
Canonicalization helps to prevent the indexing of duplicate content by search engines, and as a result, may help avoid duplicate content penalties and PageRank degradation. Some pages may have different URLs all leading to the same place. For example, domain.com, domain.com/index.html, and www.domain.com are all different URLs leading to your homepage. From a search engine’s perspective these duplicate URLs, which also occur often due to custom permalinks, may be treated individually instead of as a single destination. Defining a canonical URL tells the search engine which URL you would like to use officially. The theme bases its canonical URLs on your permalinks and the domain name defined in the settings tab of wp-admin.
Enable meta descriptions
Check this box if you want to display meta descriptions on category/archive pages. The description is based on the category description you choose when creating/editing your category in wp-admin.
Choose title autogeneration method
Here you can choose how your titles on index pages are generated. You can change which order your blog name and index title are displayed, or you can remove the blog name from the title completely.
Define a character to separate BlogName and Post title
Here you can change which character separates your blog title and index page name when using autogenerated post titles. Common values are | or –
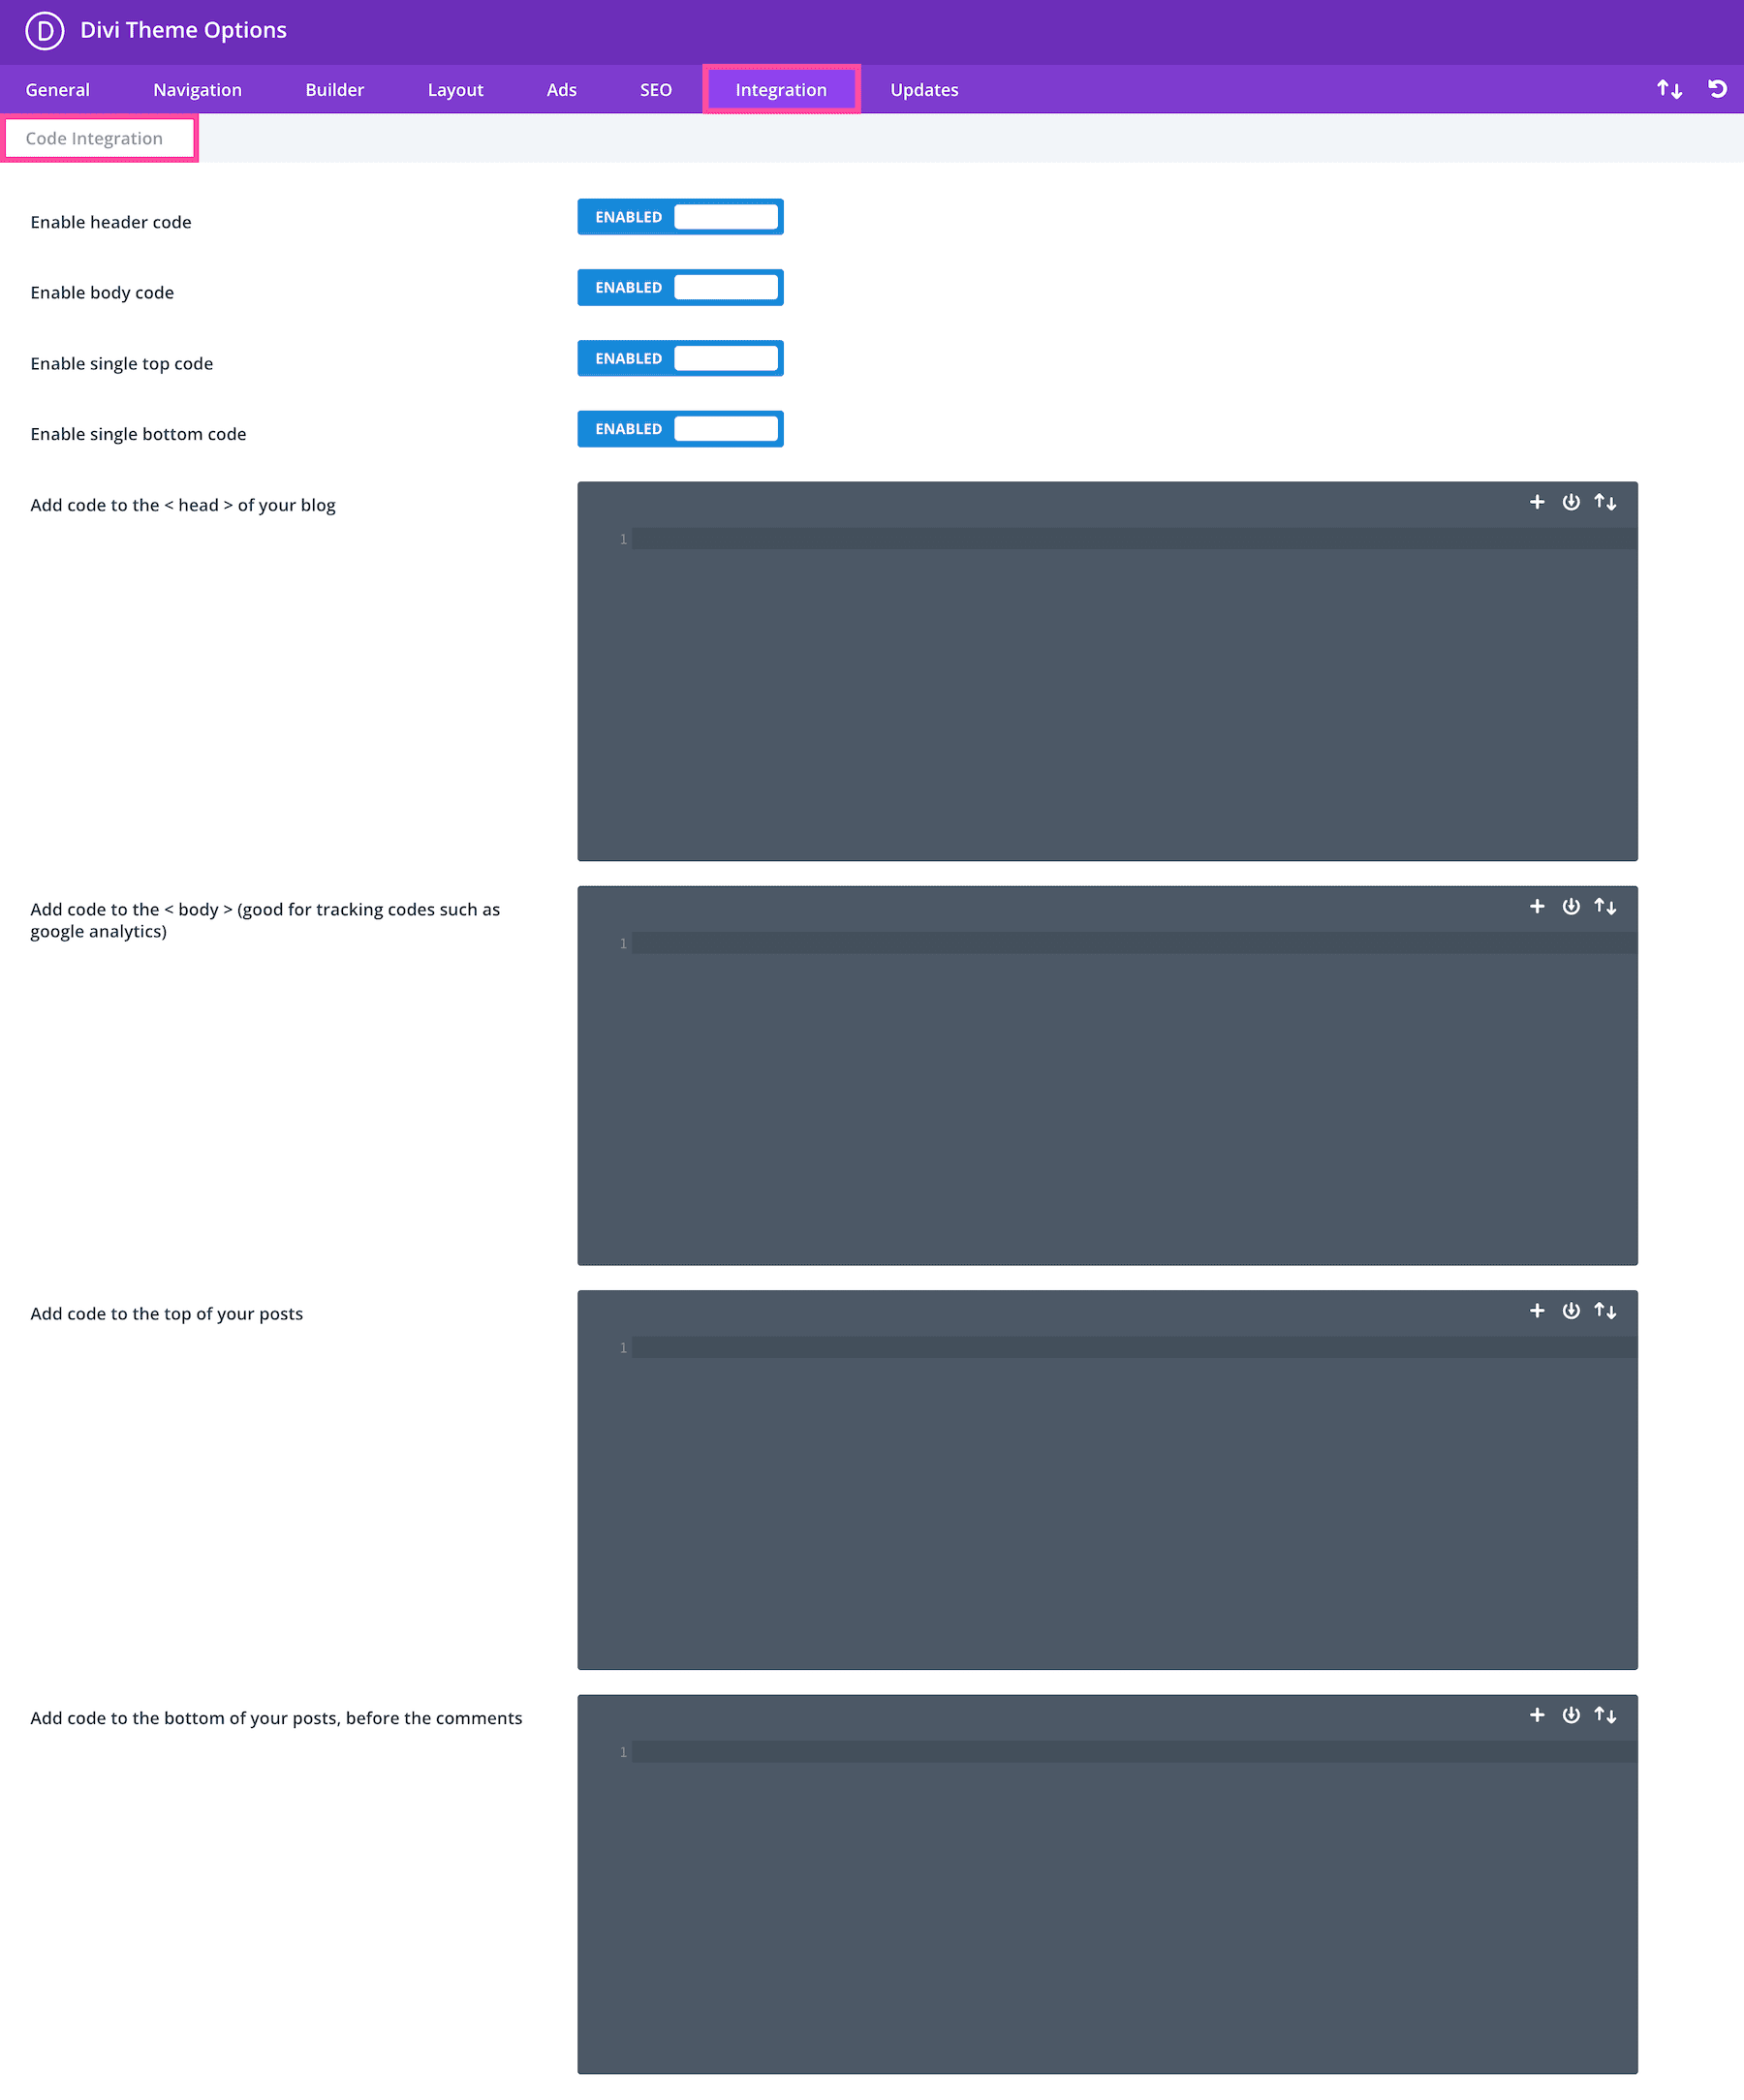
Integration Settings
In the Integration tab, you’ll find settings like enable header code, enable body code, add code to the < head > of your blog, add code to the < body > tag, and more. This is another place where you customize your site with CSS and JavaScript.
Enable header code
Disabling this option will remove the header code below from your blog. This allows you to remove the code while saving it for later use.
Enable body code
Disabling this option will remove the body code below from your blog. This allows you to remove the code while saving it for later use.
Enable single top code
Disabling this option will remove the single top code below from your blog. This allows you to remove the code while saving it for later use.
Enable single bottom code
Disabling this option will remove the single bottom code below from your blog. This allows you to remove the code while saving it for later use.
Add code to the < head > of your blog
Any code you place here will appear in the head section of every page of your blog. This is useful when you need to add javascript or css to all pages.
Add code to the < body > (good for tracking codes such as google analytics)
Any code you place here will appear in body section of all pages of your blog. This is useful if you need to input a tracking pixel for a state counter such as Google Analytics.
Add code to the top of your posts
Any code you place here will be placed at the top of all single posts. This is useful if you are looking to integrate things such as social bookmarking links.
Add code to the bottom of your posts, before the comments
Any code you place here will be placed at the bottom of all single posts. This is useful if you are looking to integrate things such as social bookmarking links.
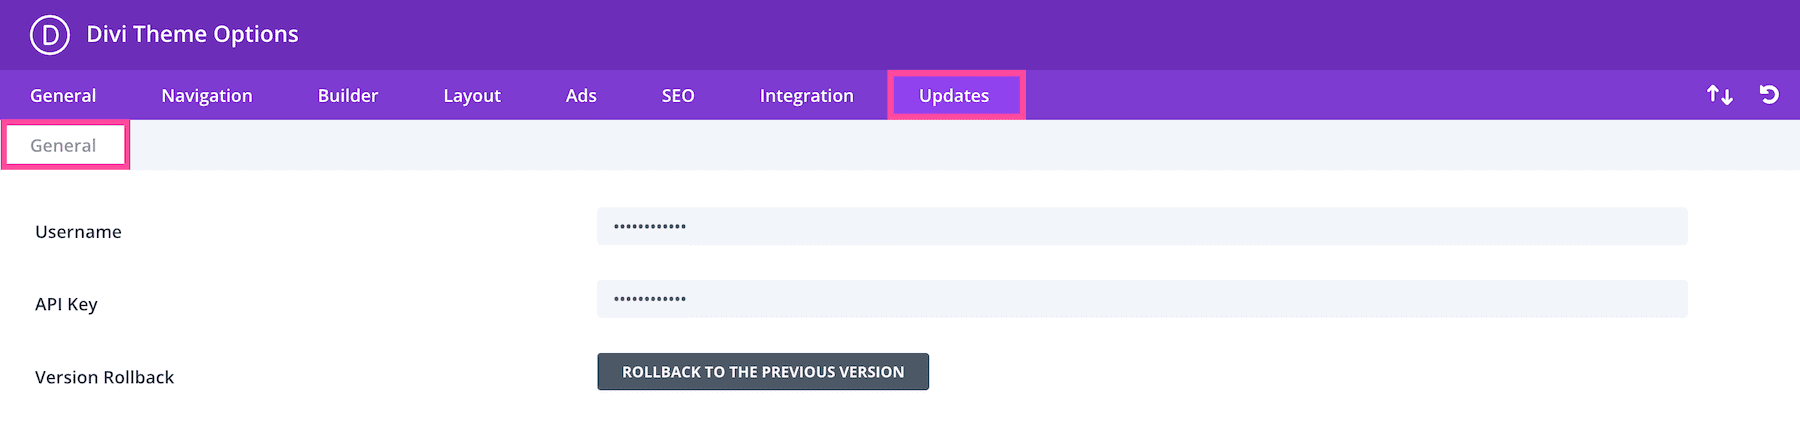
Updates Settings
The updates tab is where you’ll paste your Elegant Themes membership info so that your Divi install is linked to your ET account, ensuring you have access to all future updates and features of Divi.
General
Before you can receive product updates, you must first authenticate your Elegant Themes subscription. To do this, you need to enter both your Elegant Themes Username and your Elegant Themes API Key into the Updates Tab in your theme and plugin settings. To locate your API Key, log in to your Elegant Themes account and navigate to the Account > API Key page. Learn more here. If you still get this message, please make sure that your Username and API Key have been entered correctly
Username
Type your Elegant Themes username here.
API Key
Paste your unique API key here.
Version Rollback
If you recently updated to a new version and are experiencing problems, you can easily roll back to the previously-installed version. We always recommend using the latest version and testing updates on a staging site. However, if you run into problems after updating you always have the option to roll back.