")
Divi 5‘s modern design tools make it easy to build playful, cloud-style sections. These are soft cards that feel light, flexible, and perfect for teams, features, tags, or CTAs. In this free pack, you’ll find 8 Cloud Sections, each crafted for smooth shapes, subtle depth, and quick edits. Drop them into any page and swap the content.
Preview
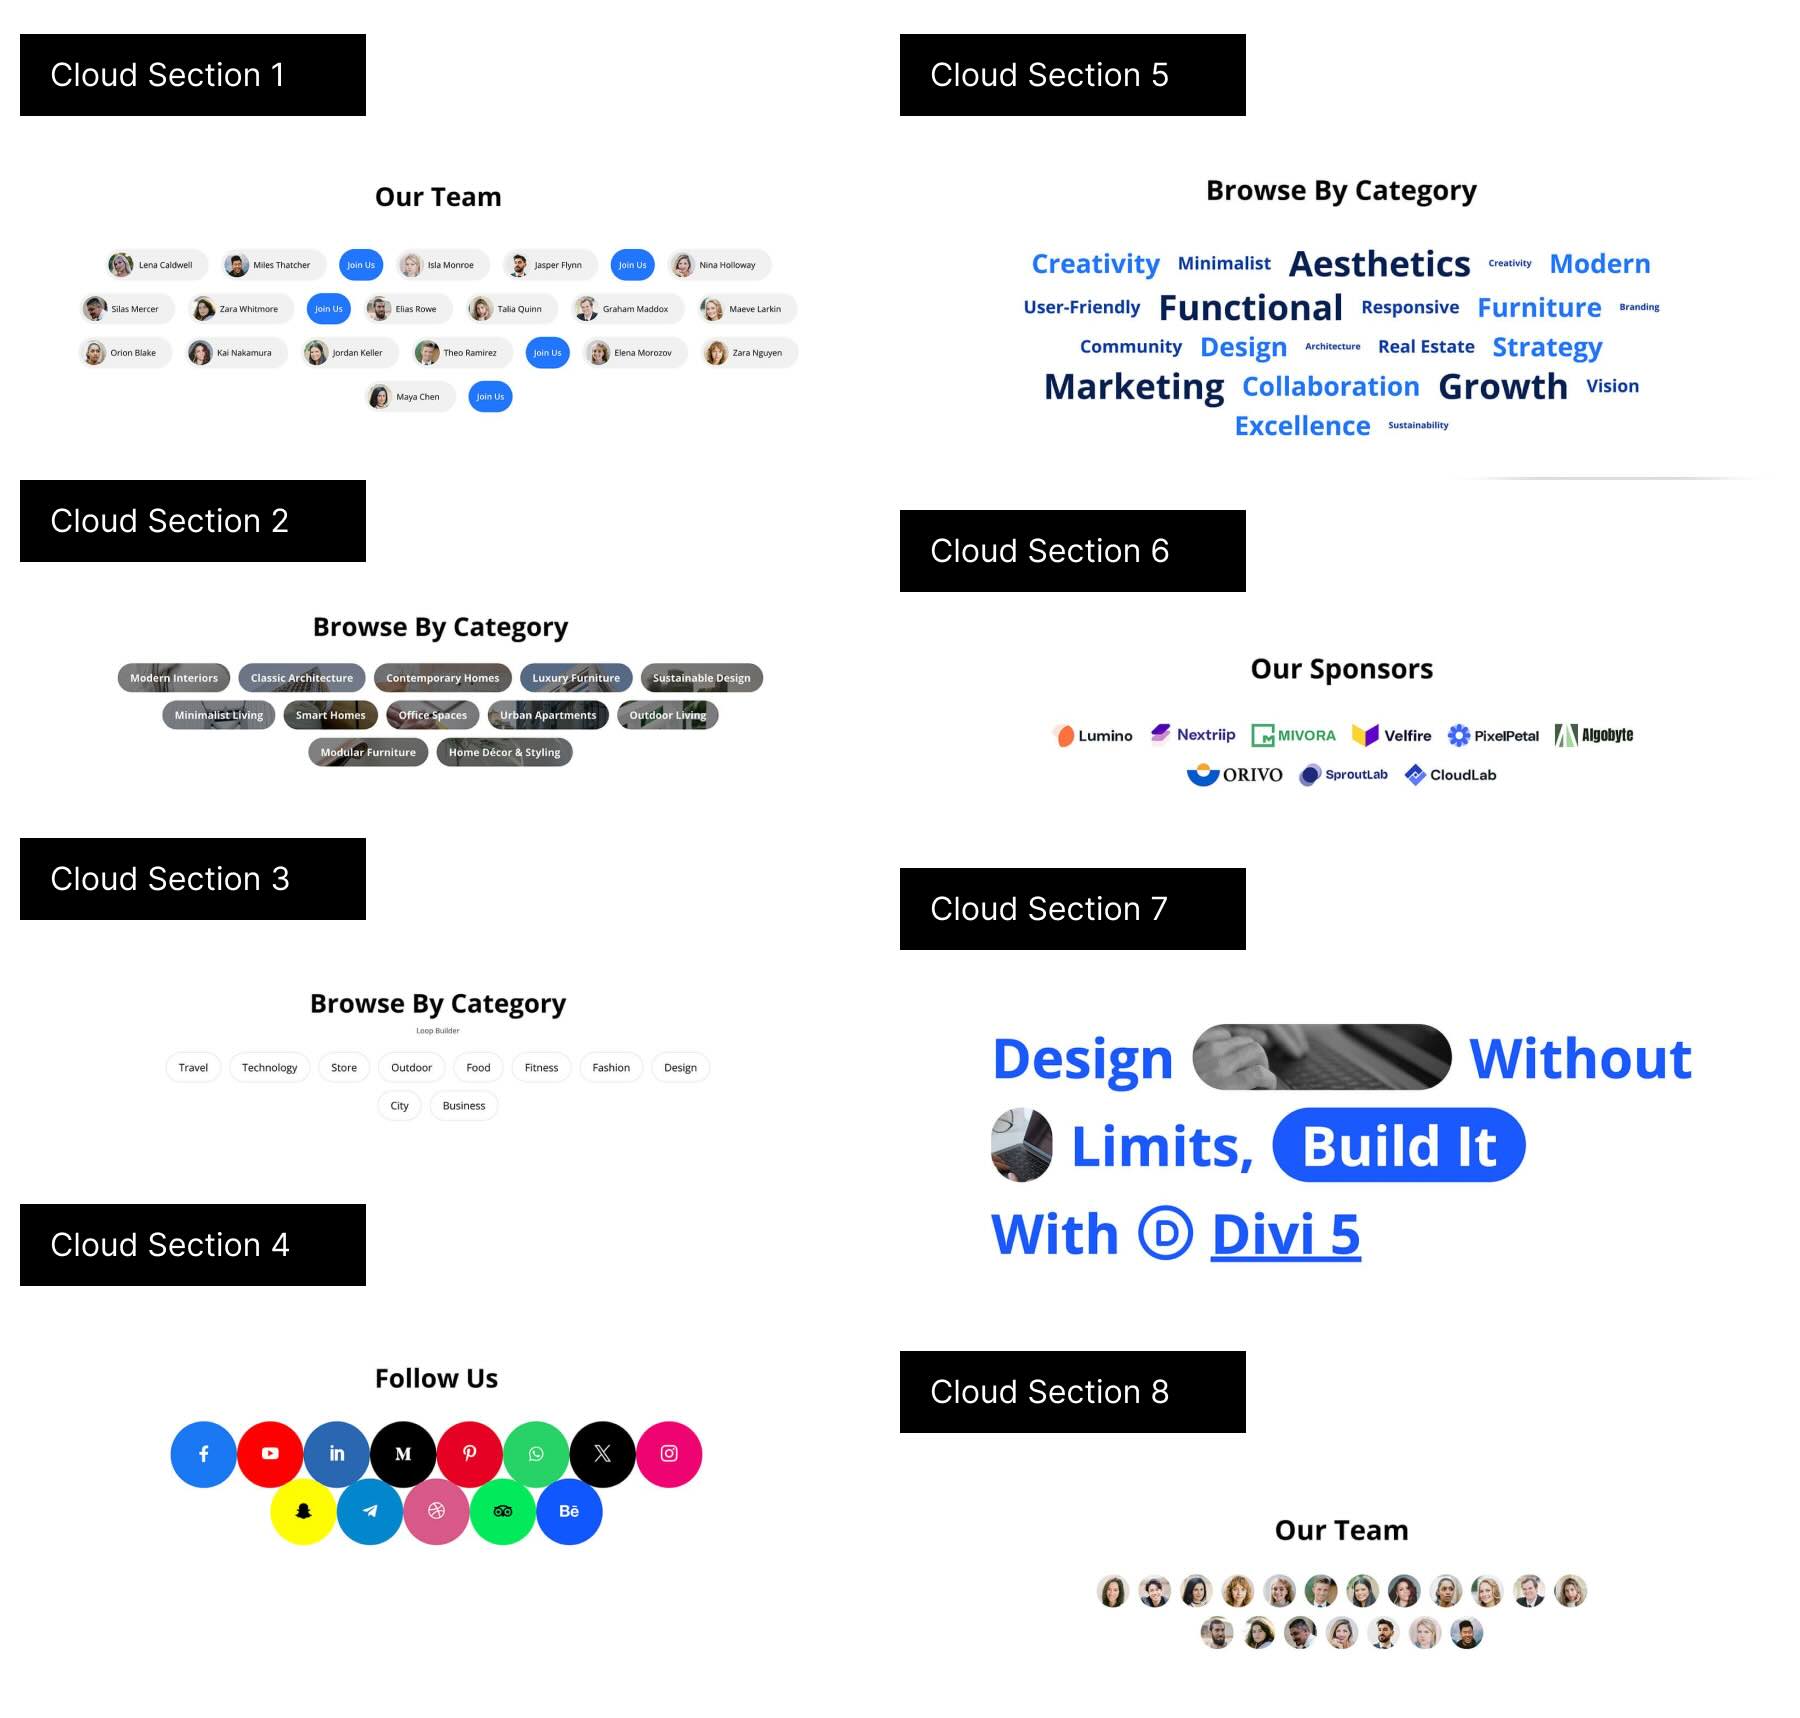
Let’s take a look at all 8 Cloud Sections in this pack. The download is further down the post.
Subscribe To Our Youtube Channel
Download 8 Cloud Sections For Divi 5
Get all 8 cloud sections for free. Import them into your Divi Library and add them to any page.

What’s Included (9 Exports)
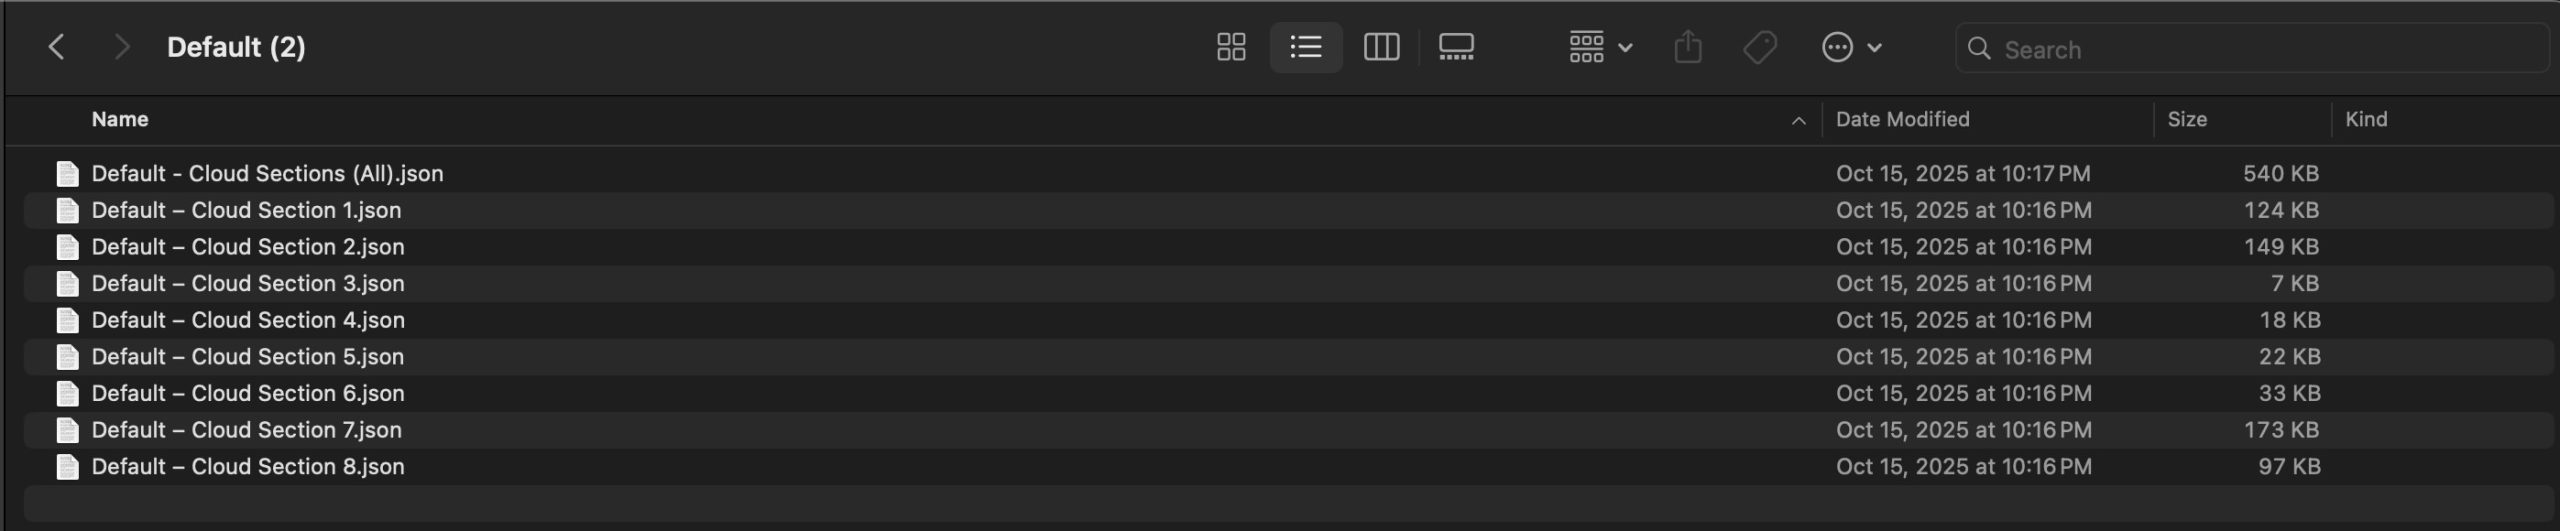
Once you download and unzip the folder, you’ll find all 9 layout exports neatly organized as individual sections and a full “All Sections” pack.
Default – Individual Sections (8) → Ready-made designs.
Default – All Sections (1) → Full pack of all designs.
How To Use The Cloud Designs
Keep your download folder close by to start importing them to your Divi website.
1. Import Sections Into The Divi Library
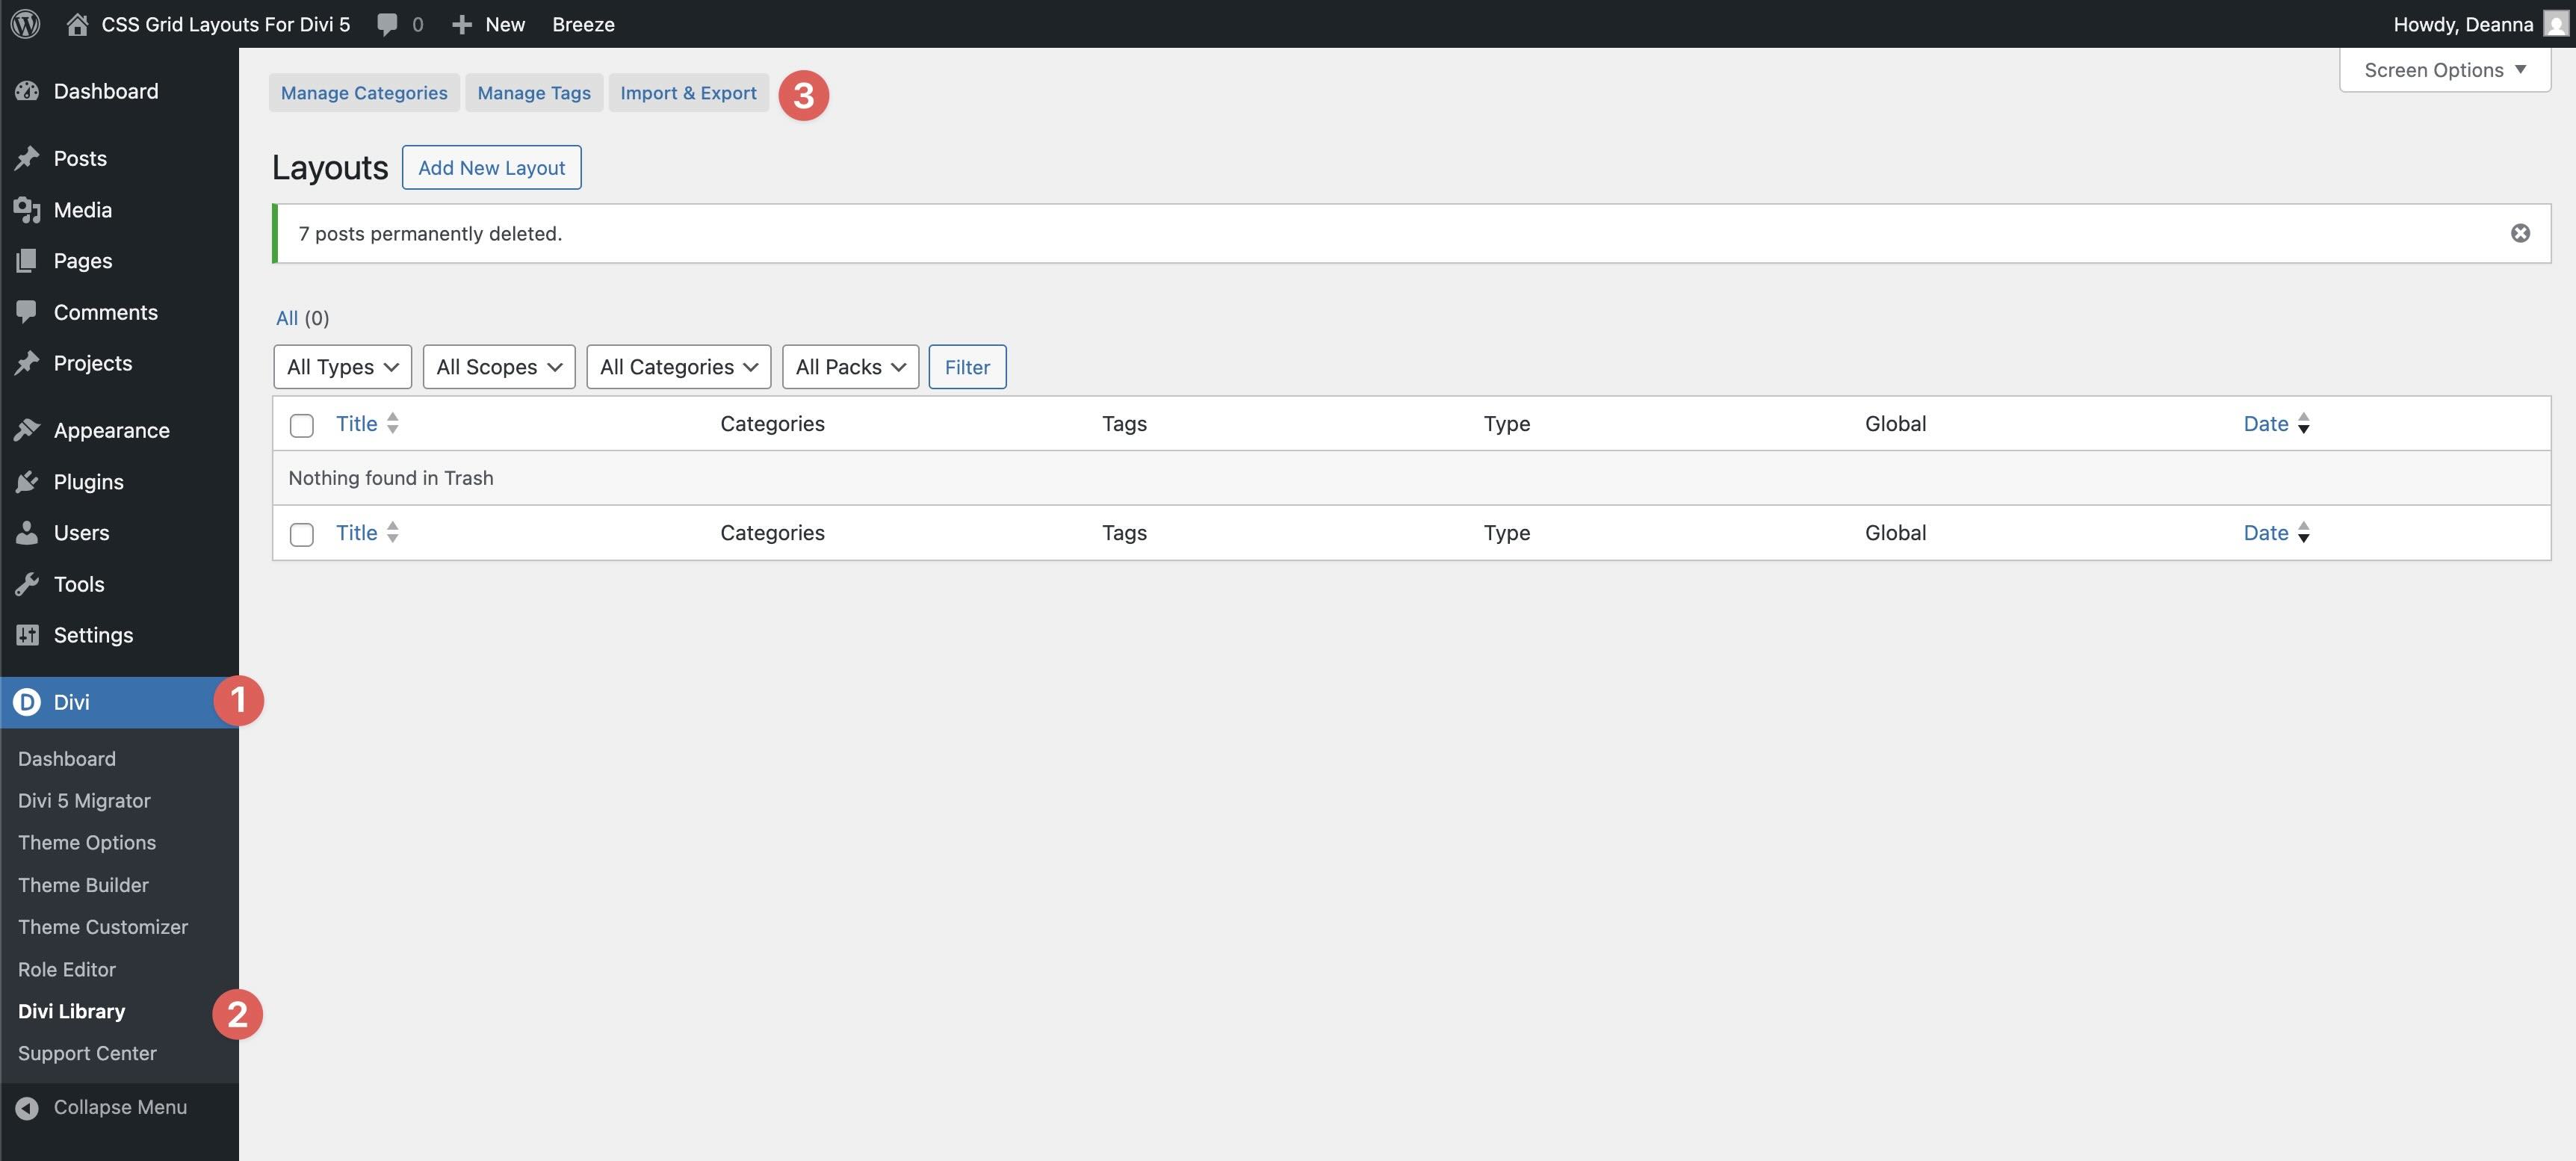
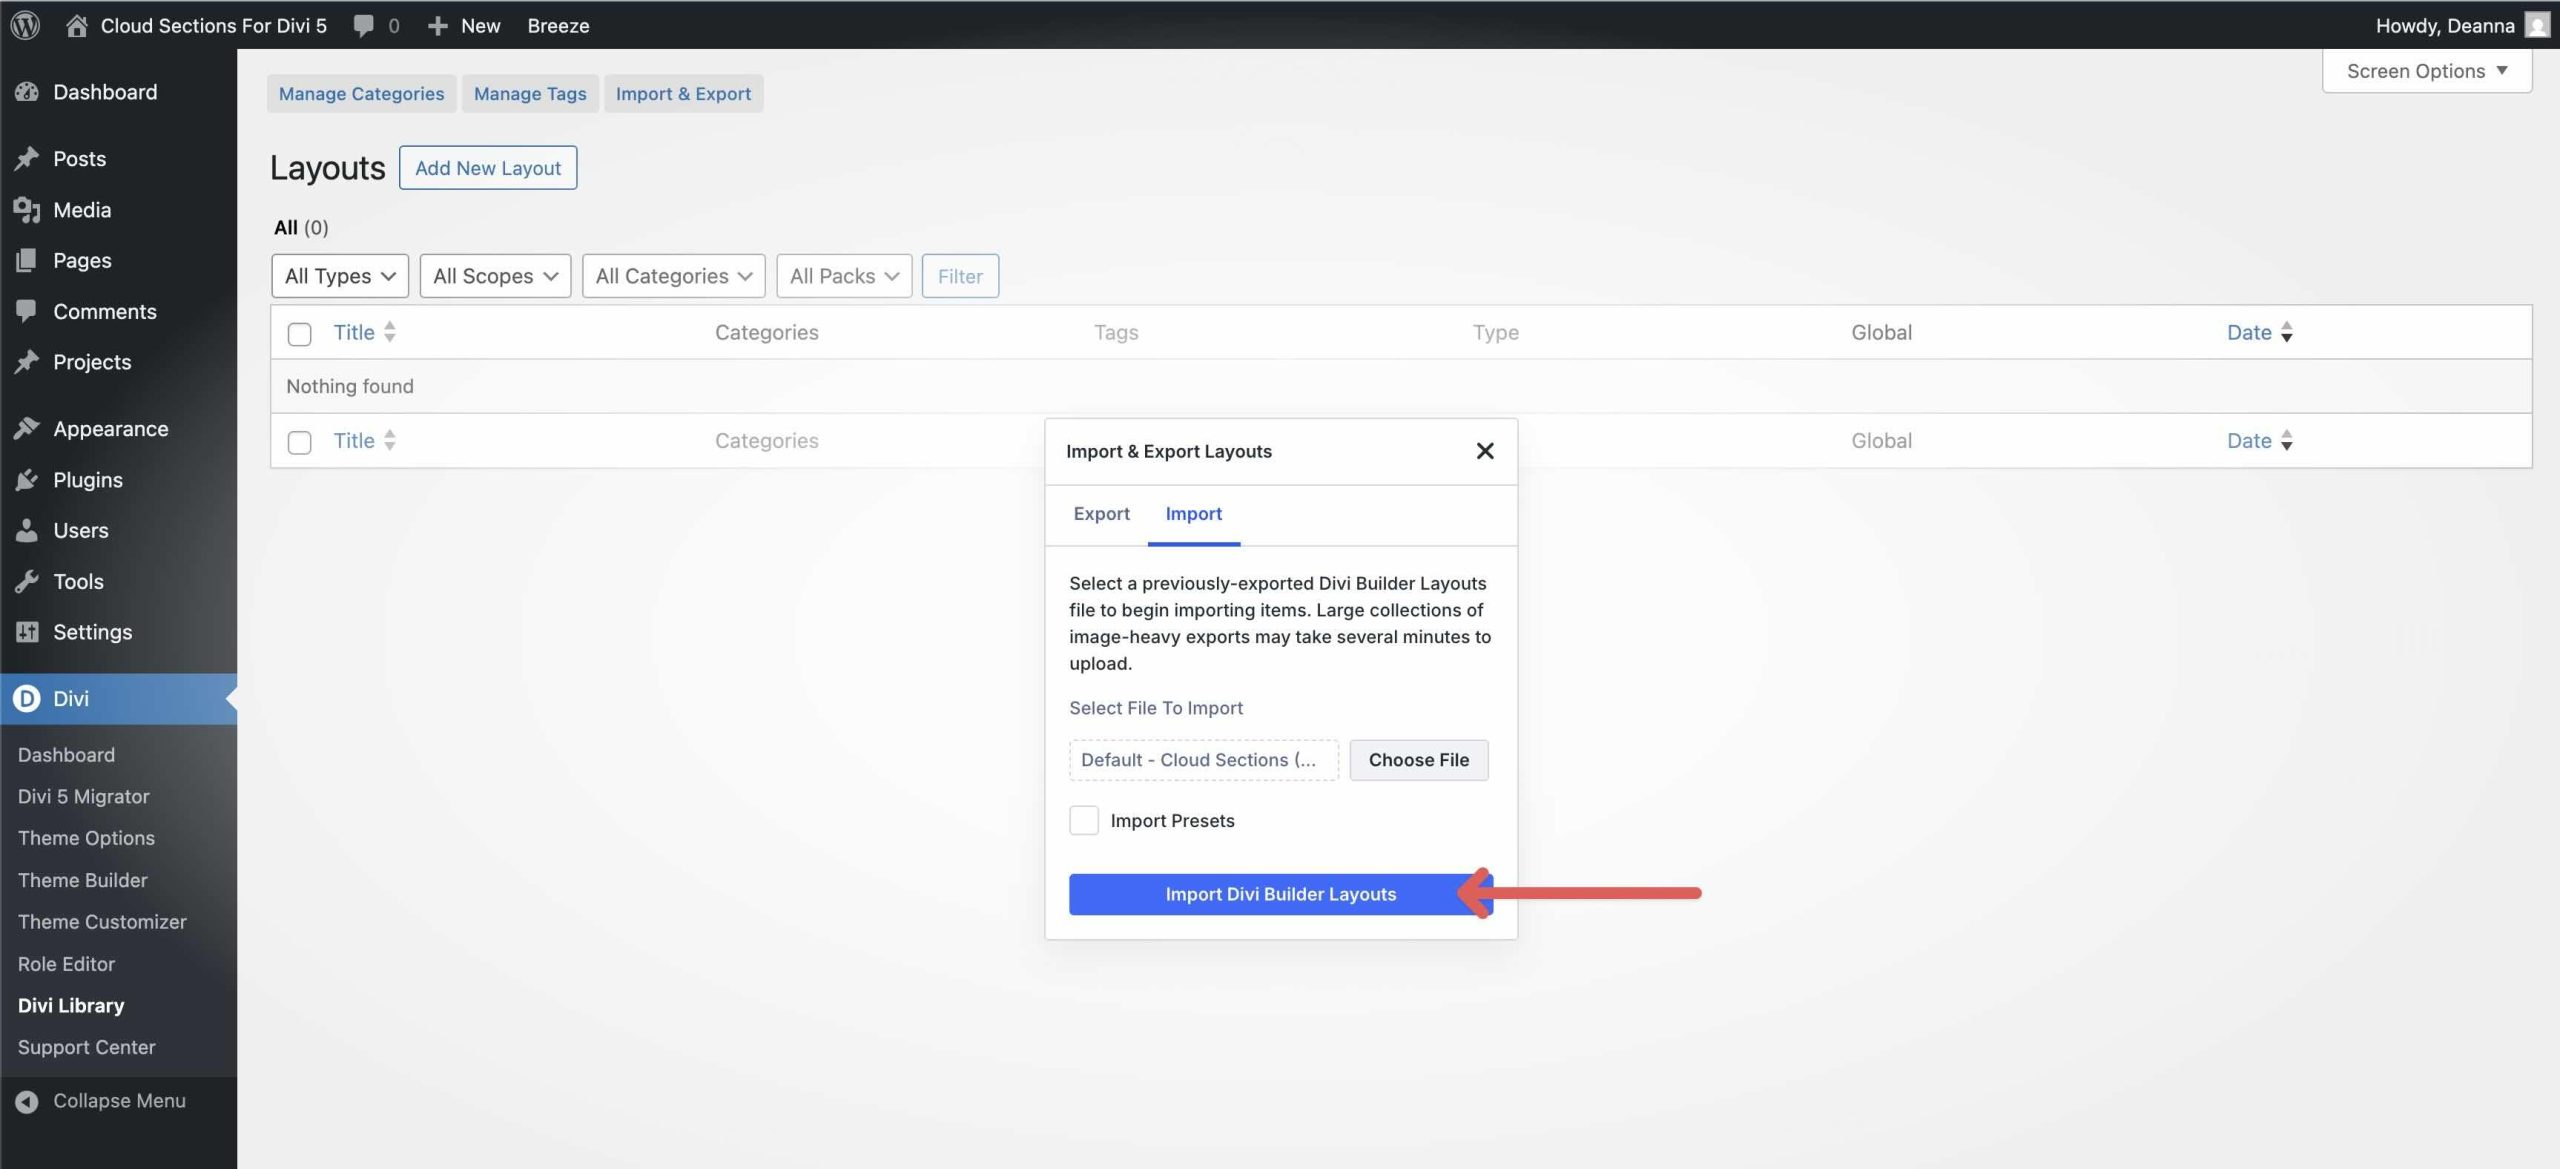
First, we’ll need to import the layouts to your Divi site. Go to Divi → Divi Library. Click the Import & Export button at the top of your screen.
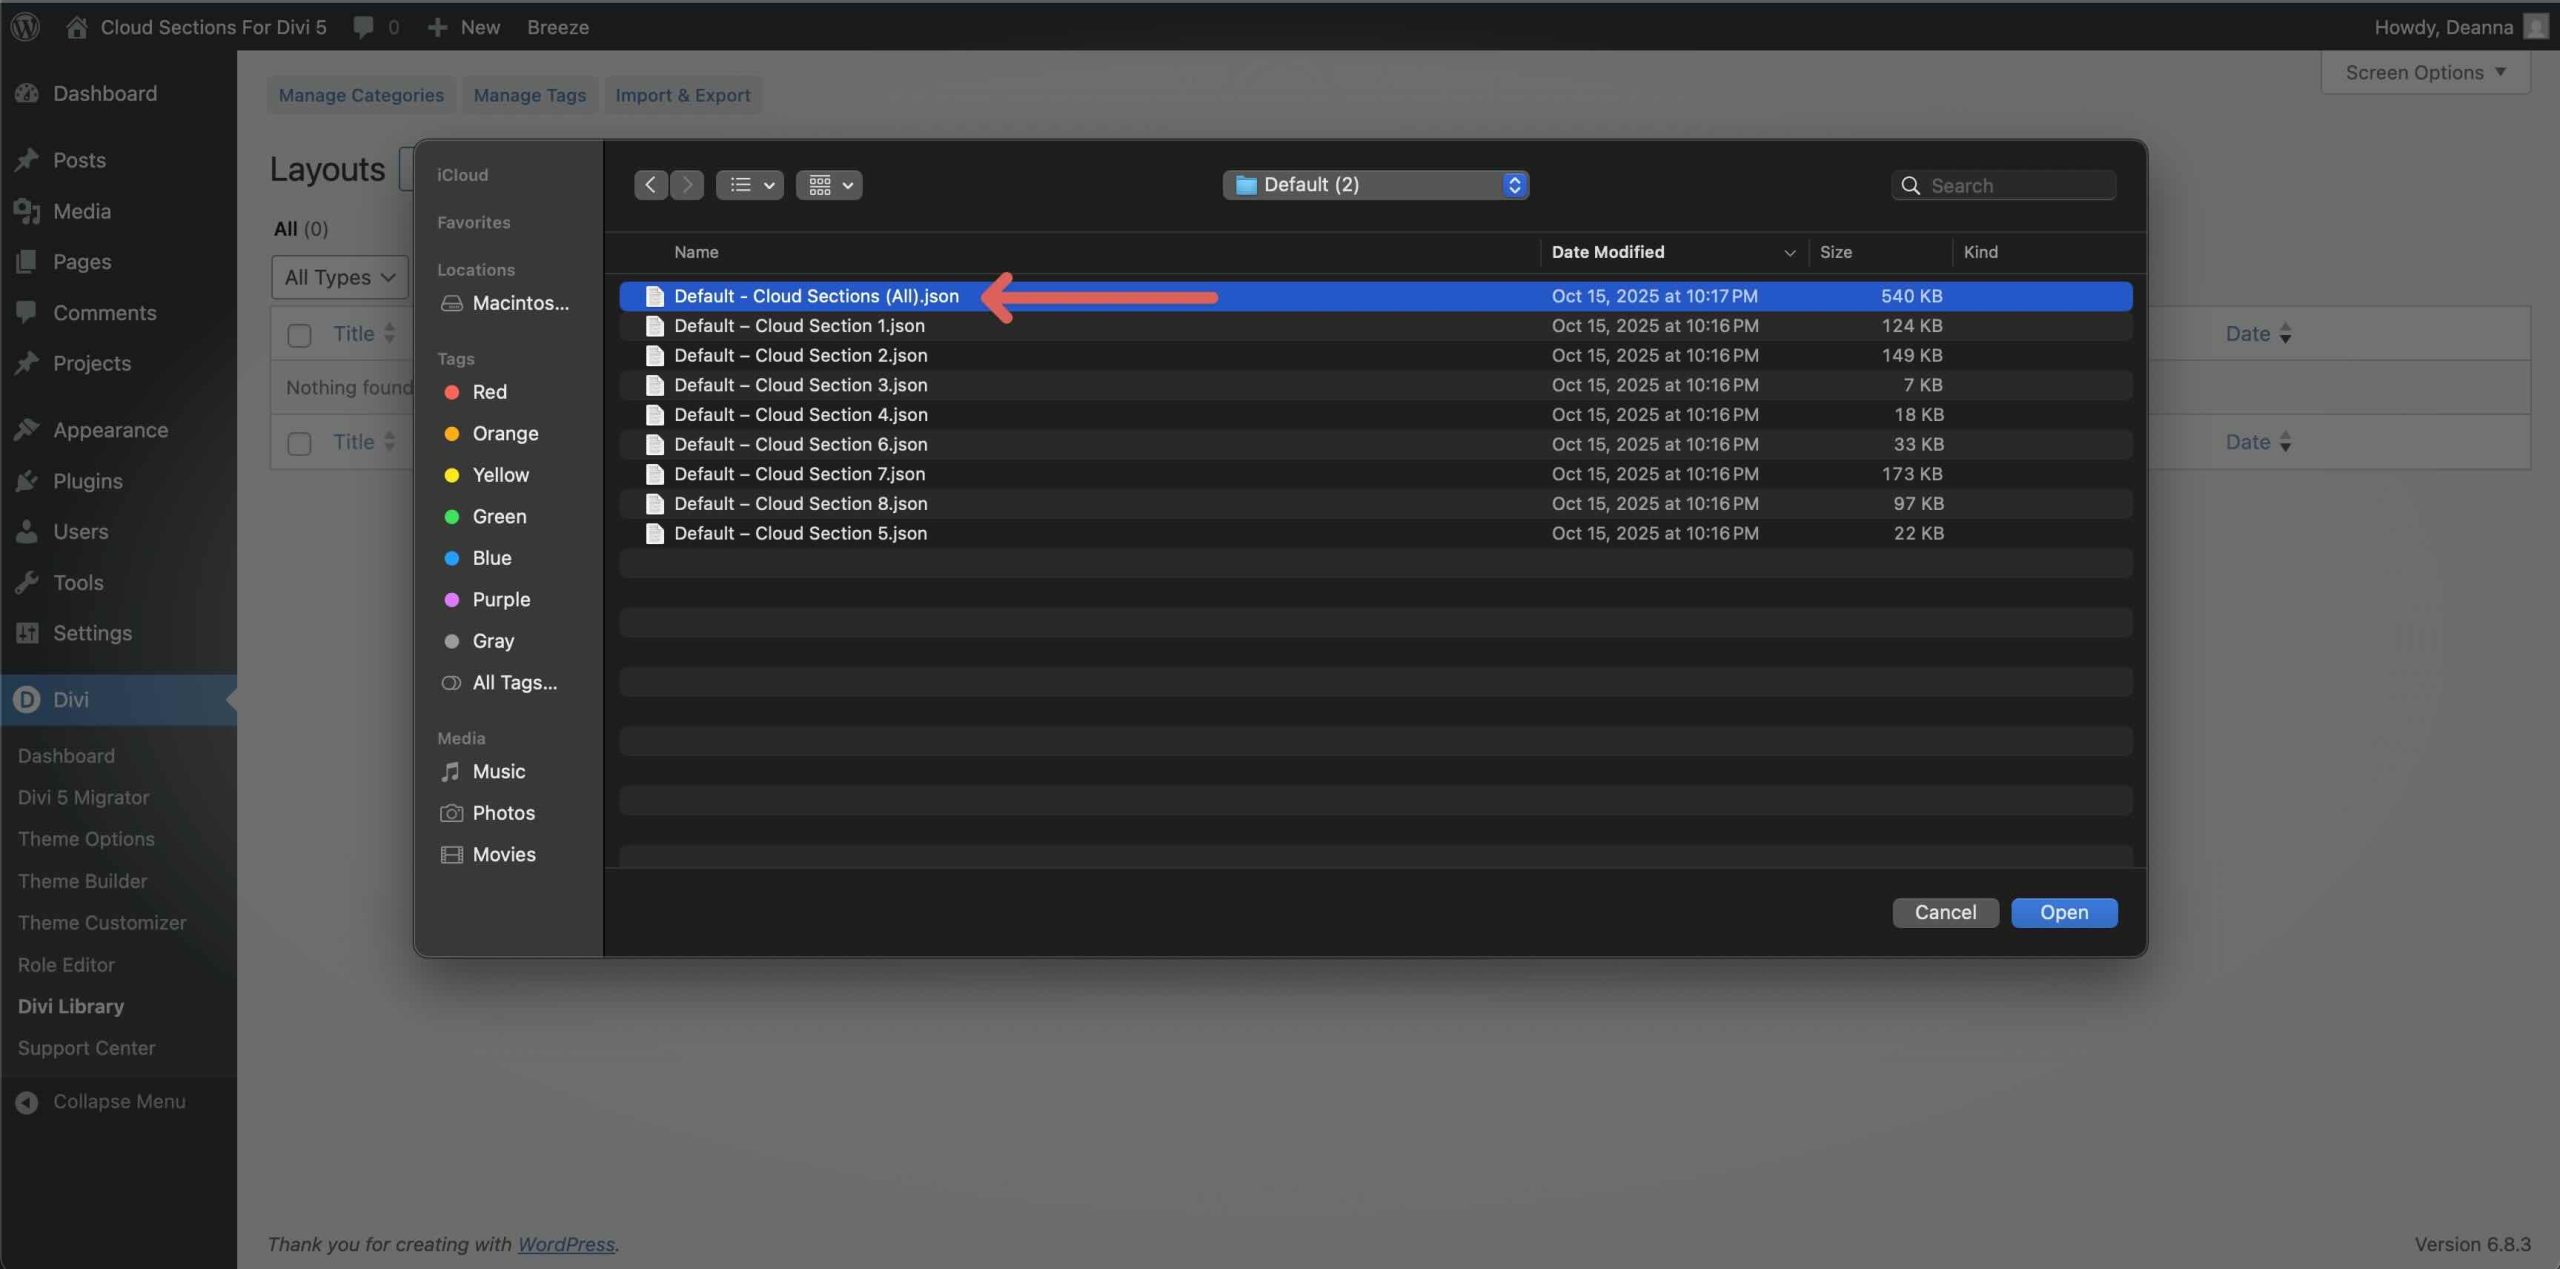
When the Import & Export Layouts modal appears, select the Import tab and click Choose File to locate the JSON files on your computer.

Choose the Default – Cloud Sections (All) file and click it to import it.
Once the file is loaded, click Import Divi Builder Layouts to install them.
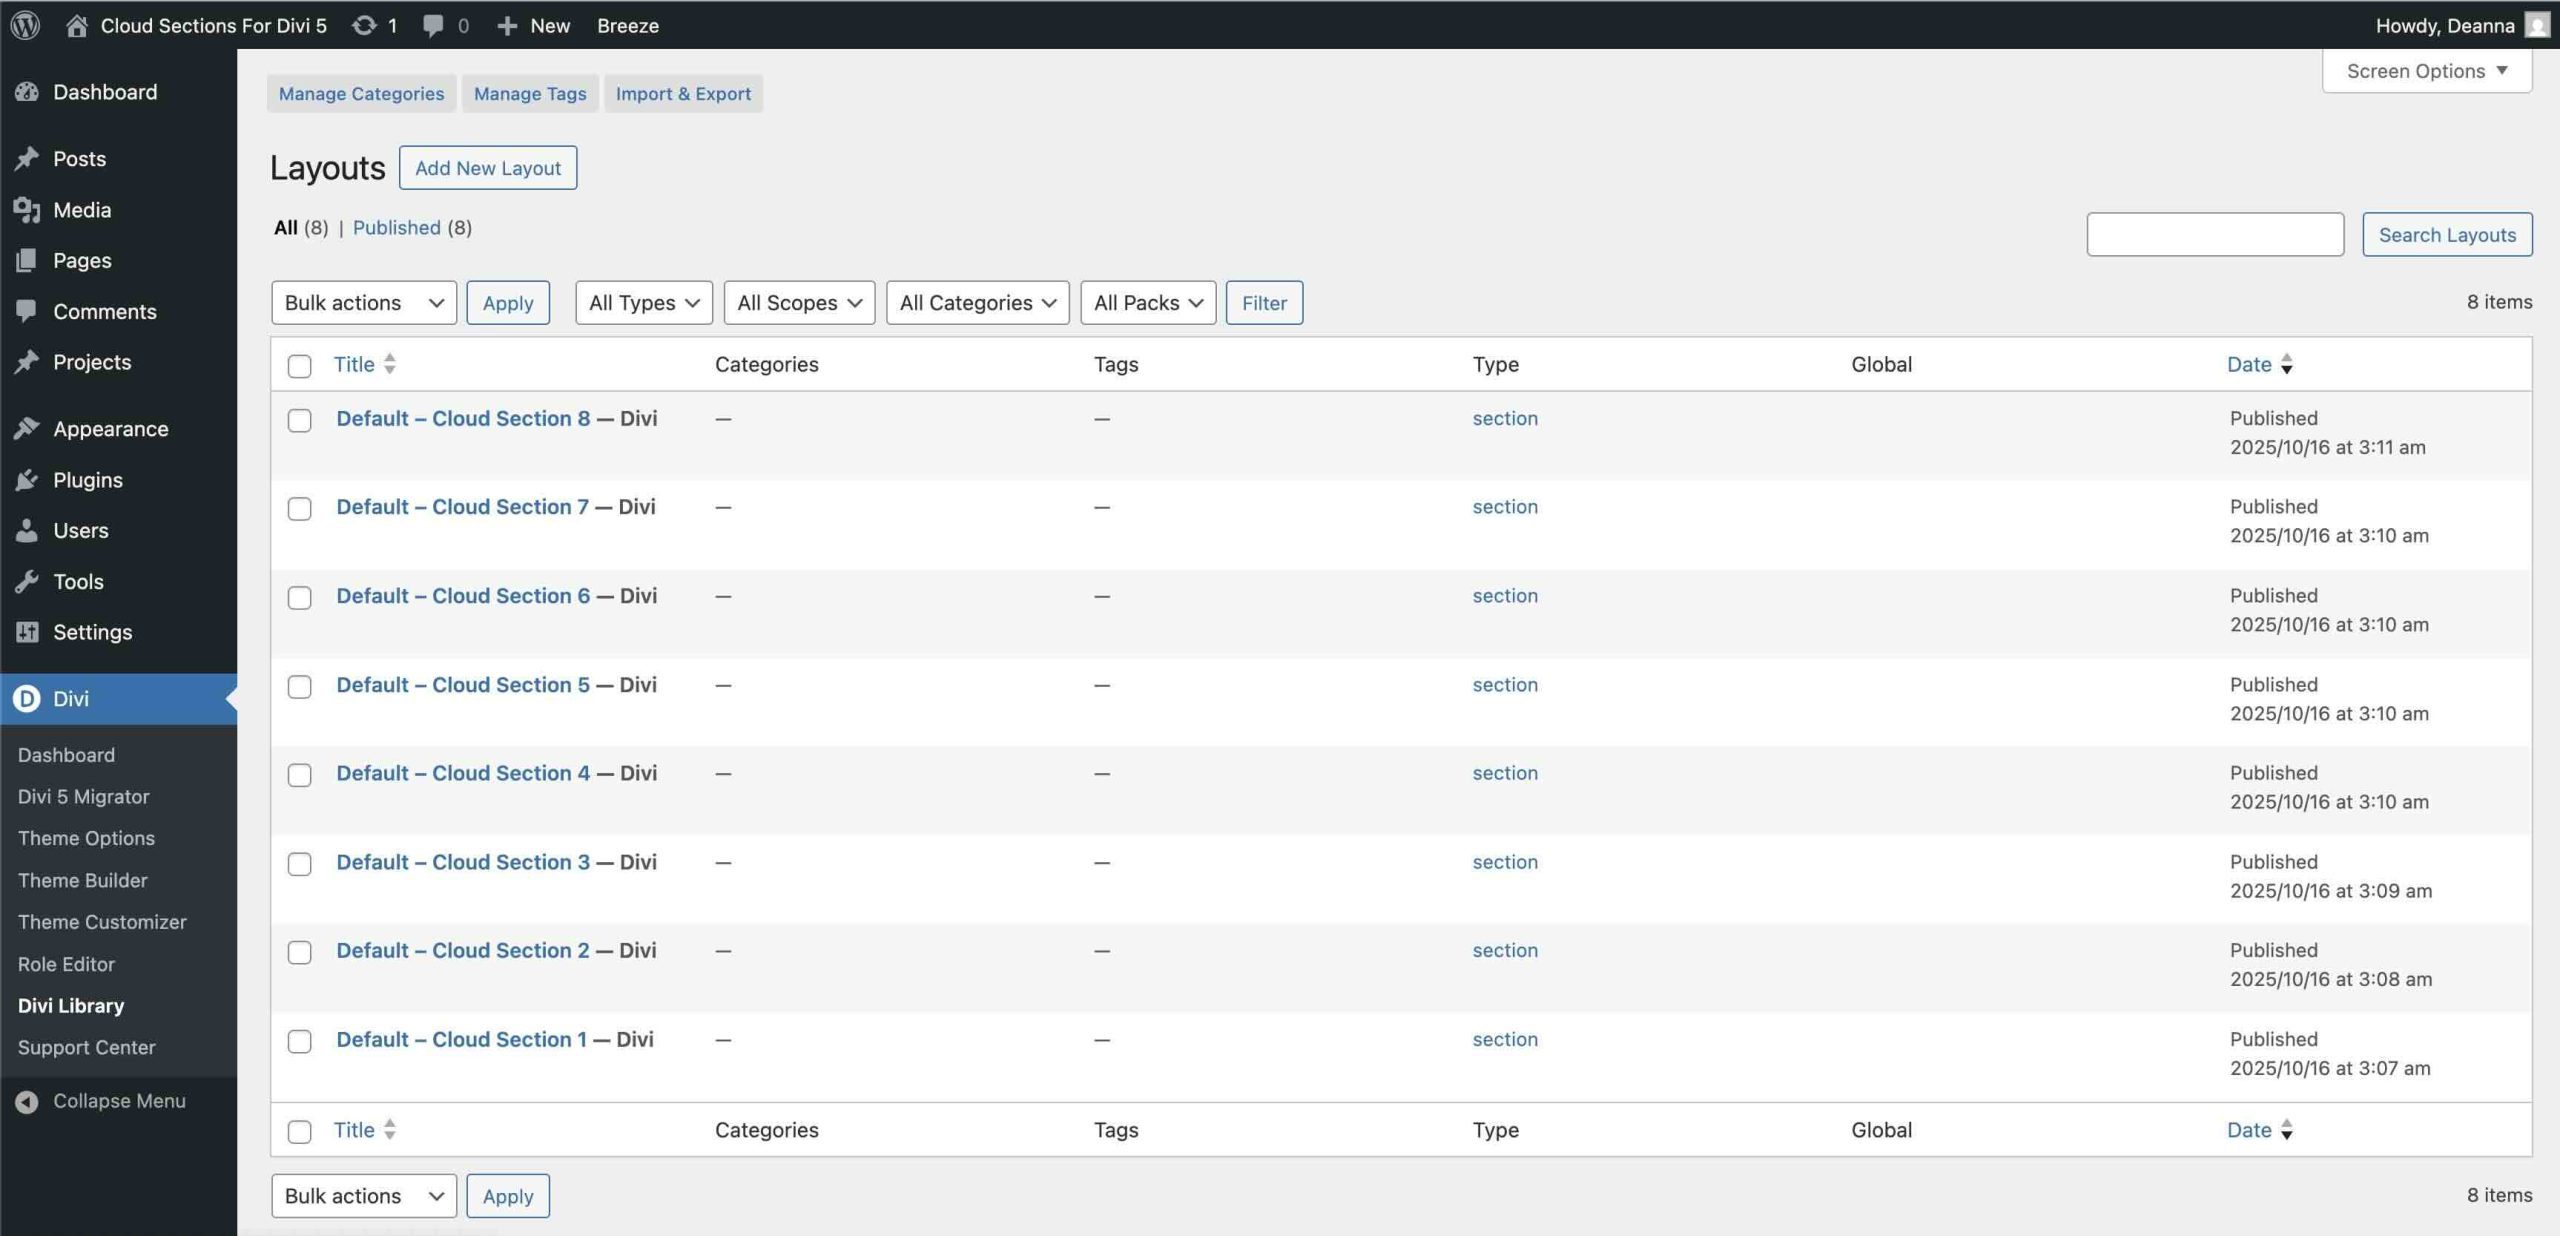
Once imported, all 8 Cloud Section layouts will appear in the Divi Library.
2. Add A Cloud Section To A Page
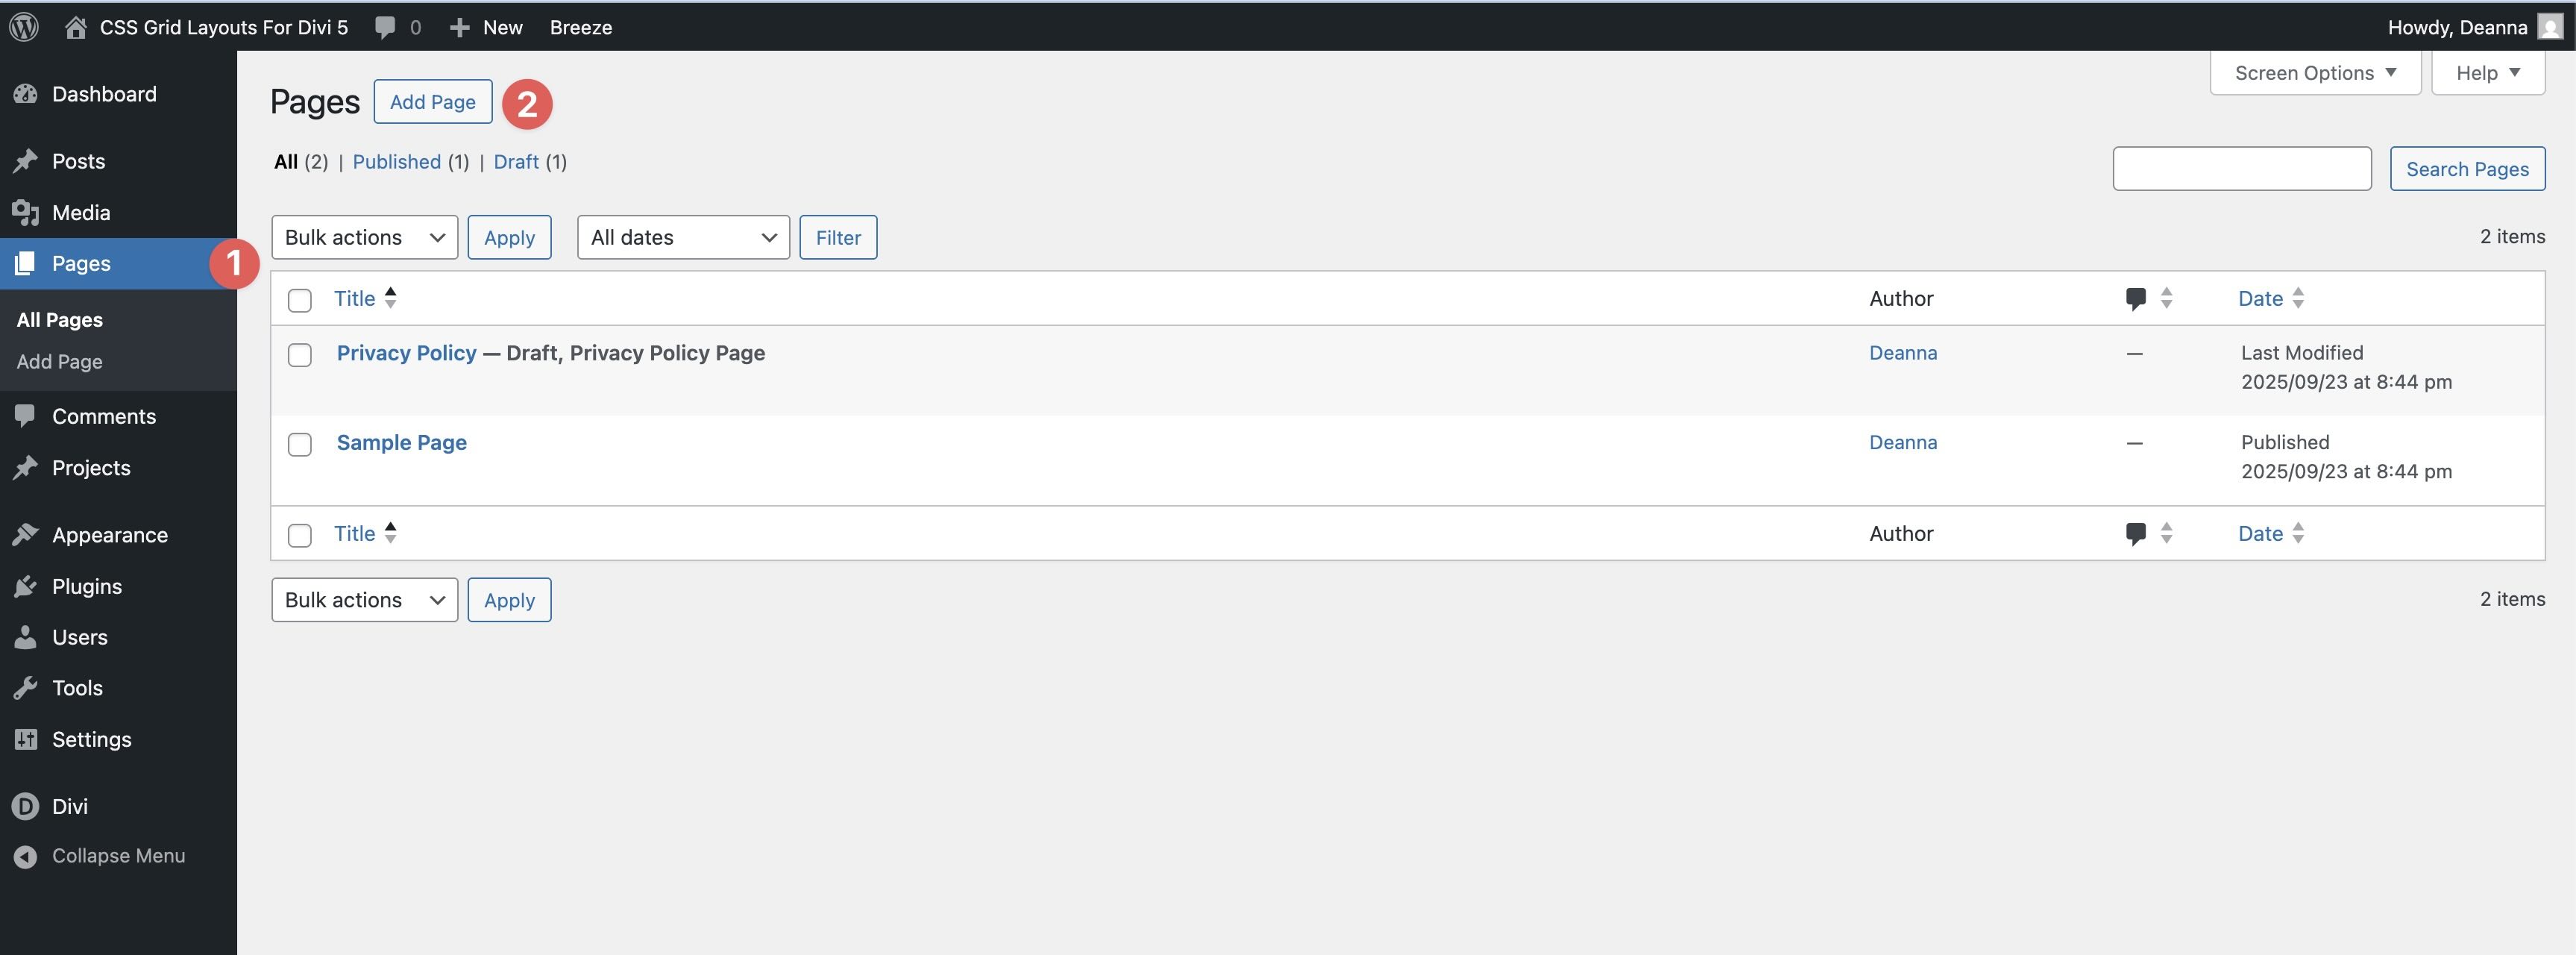
Navigate to Pages → All Pages. Open a page in the Visual Builder (or create a new one).
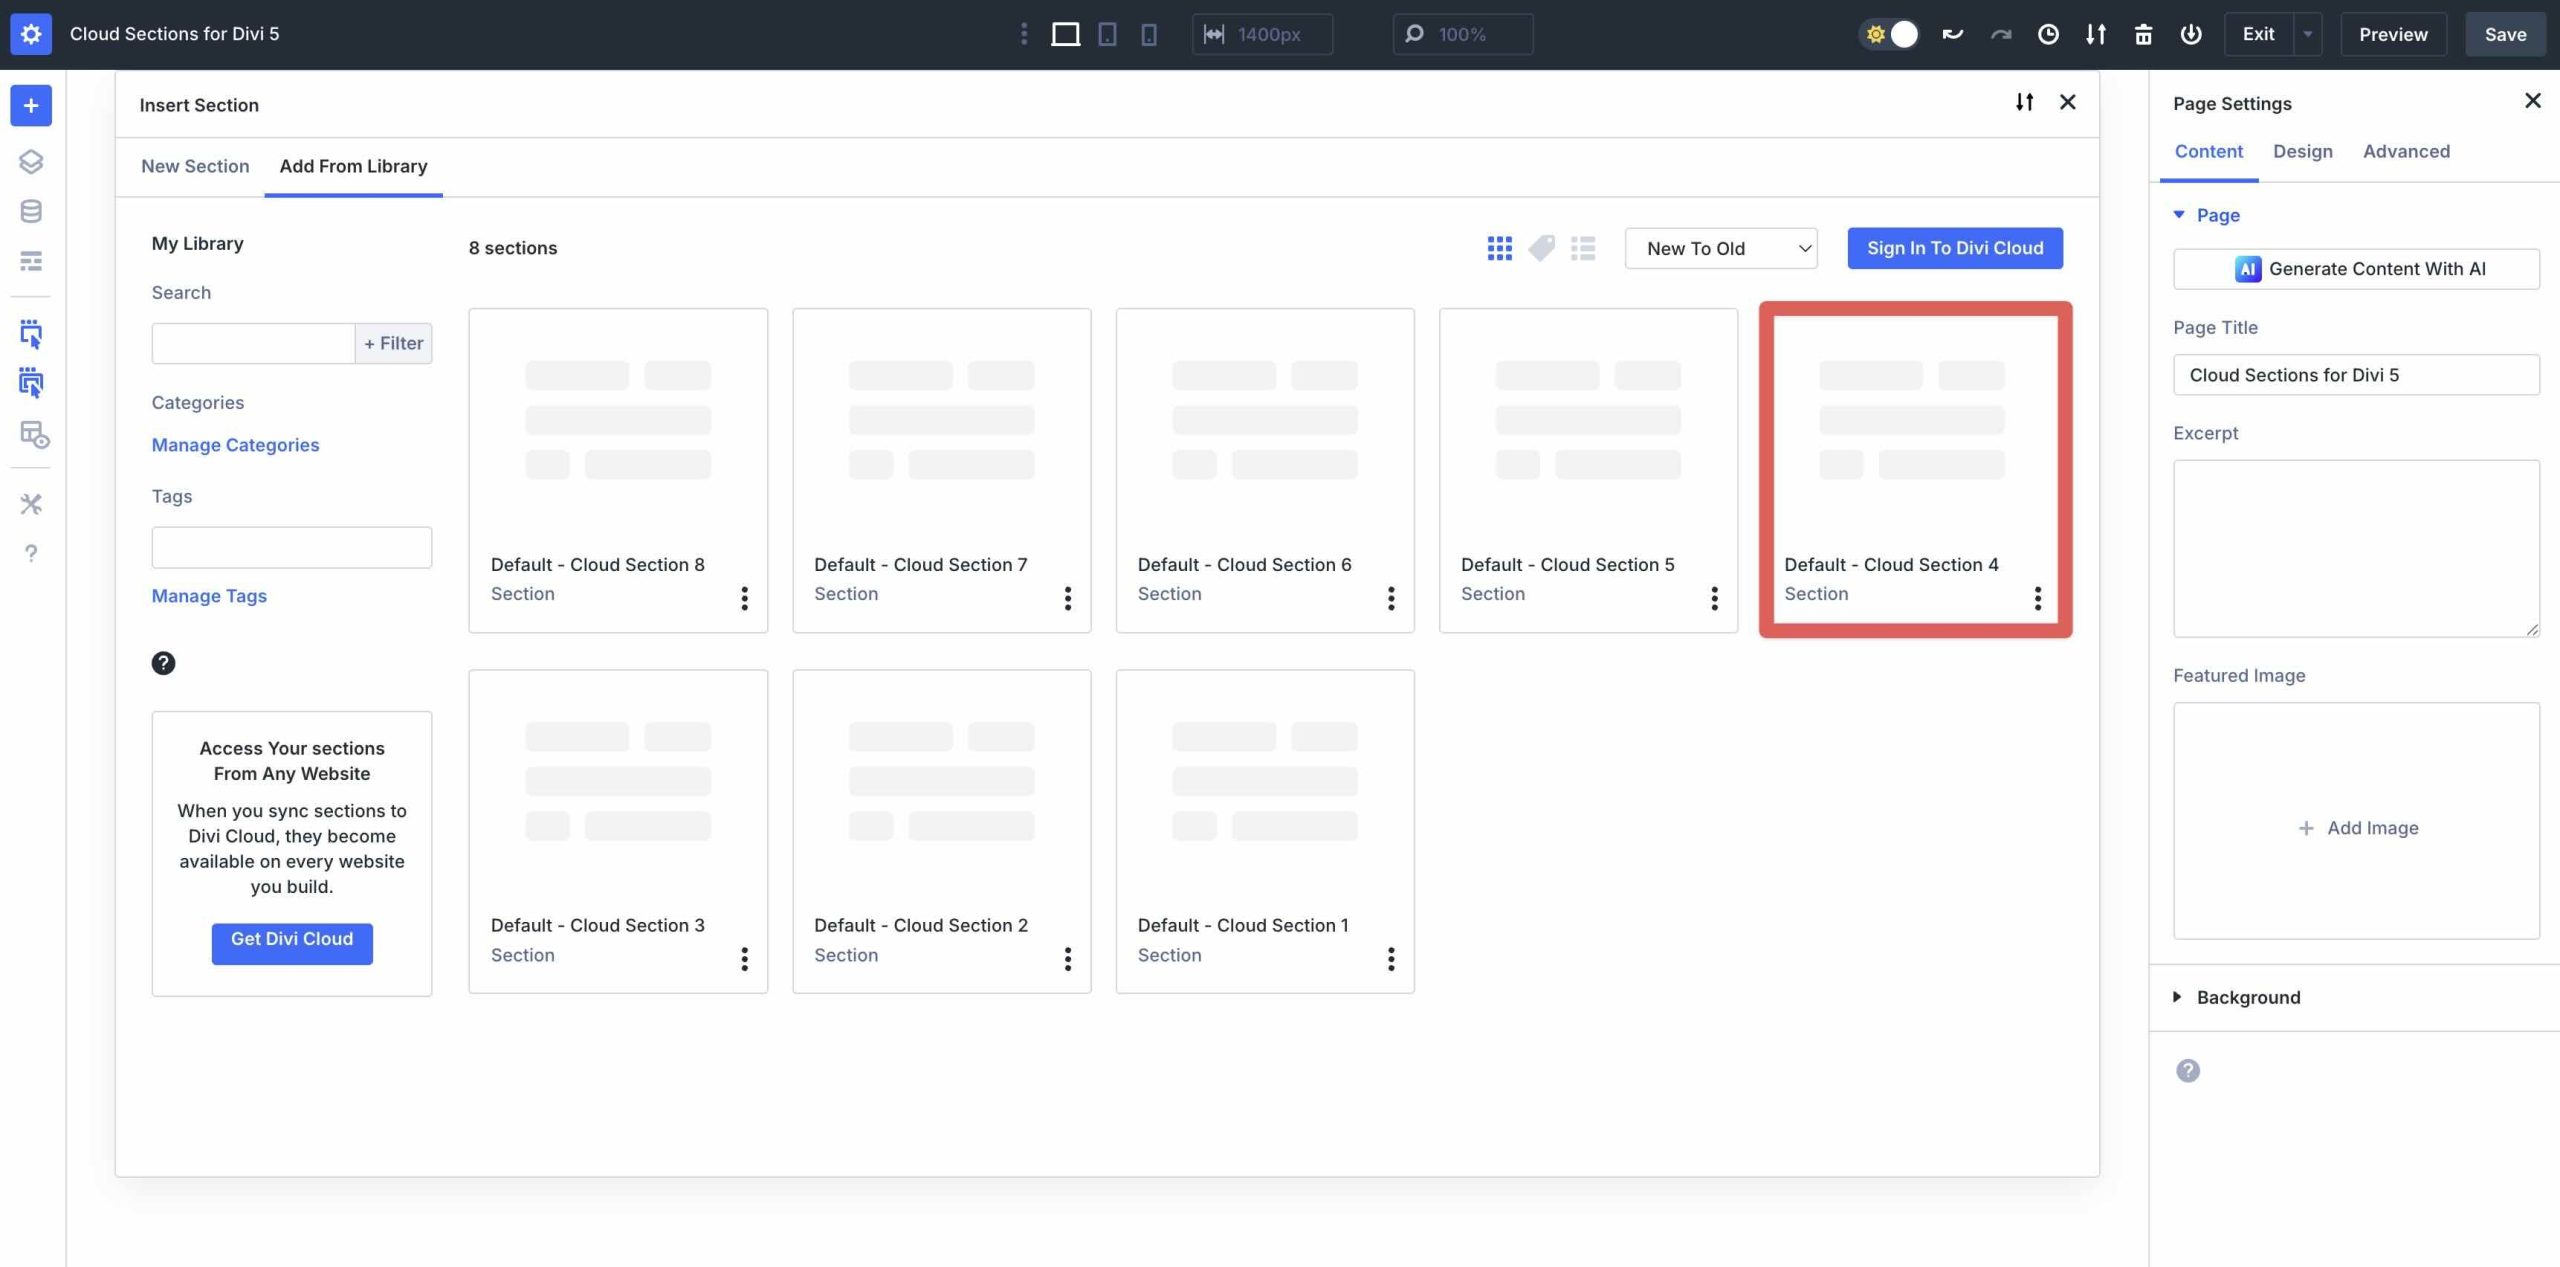
Click the black “+” in the Visual Builder. When the Insert Section modal appears, click the Add From Library tab.
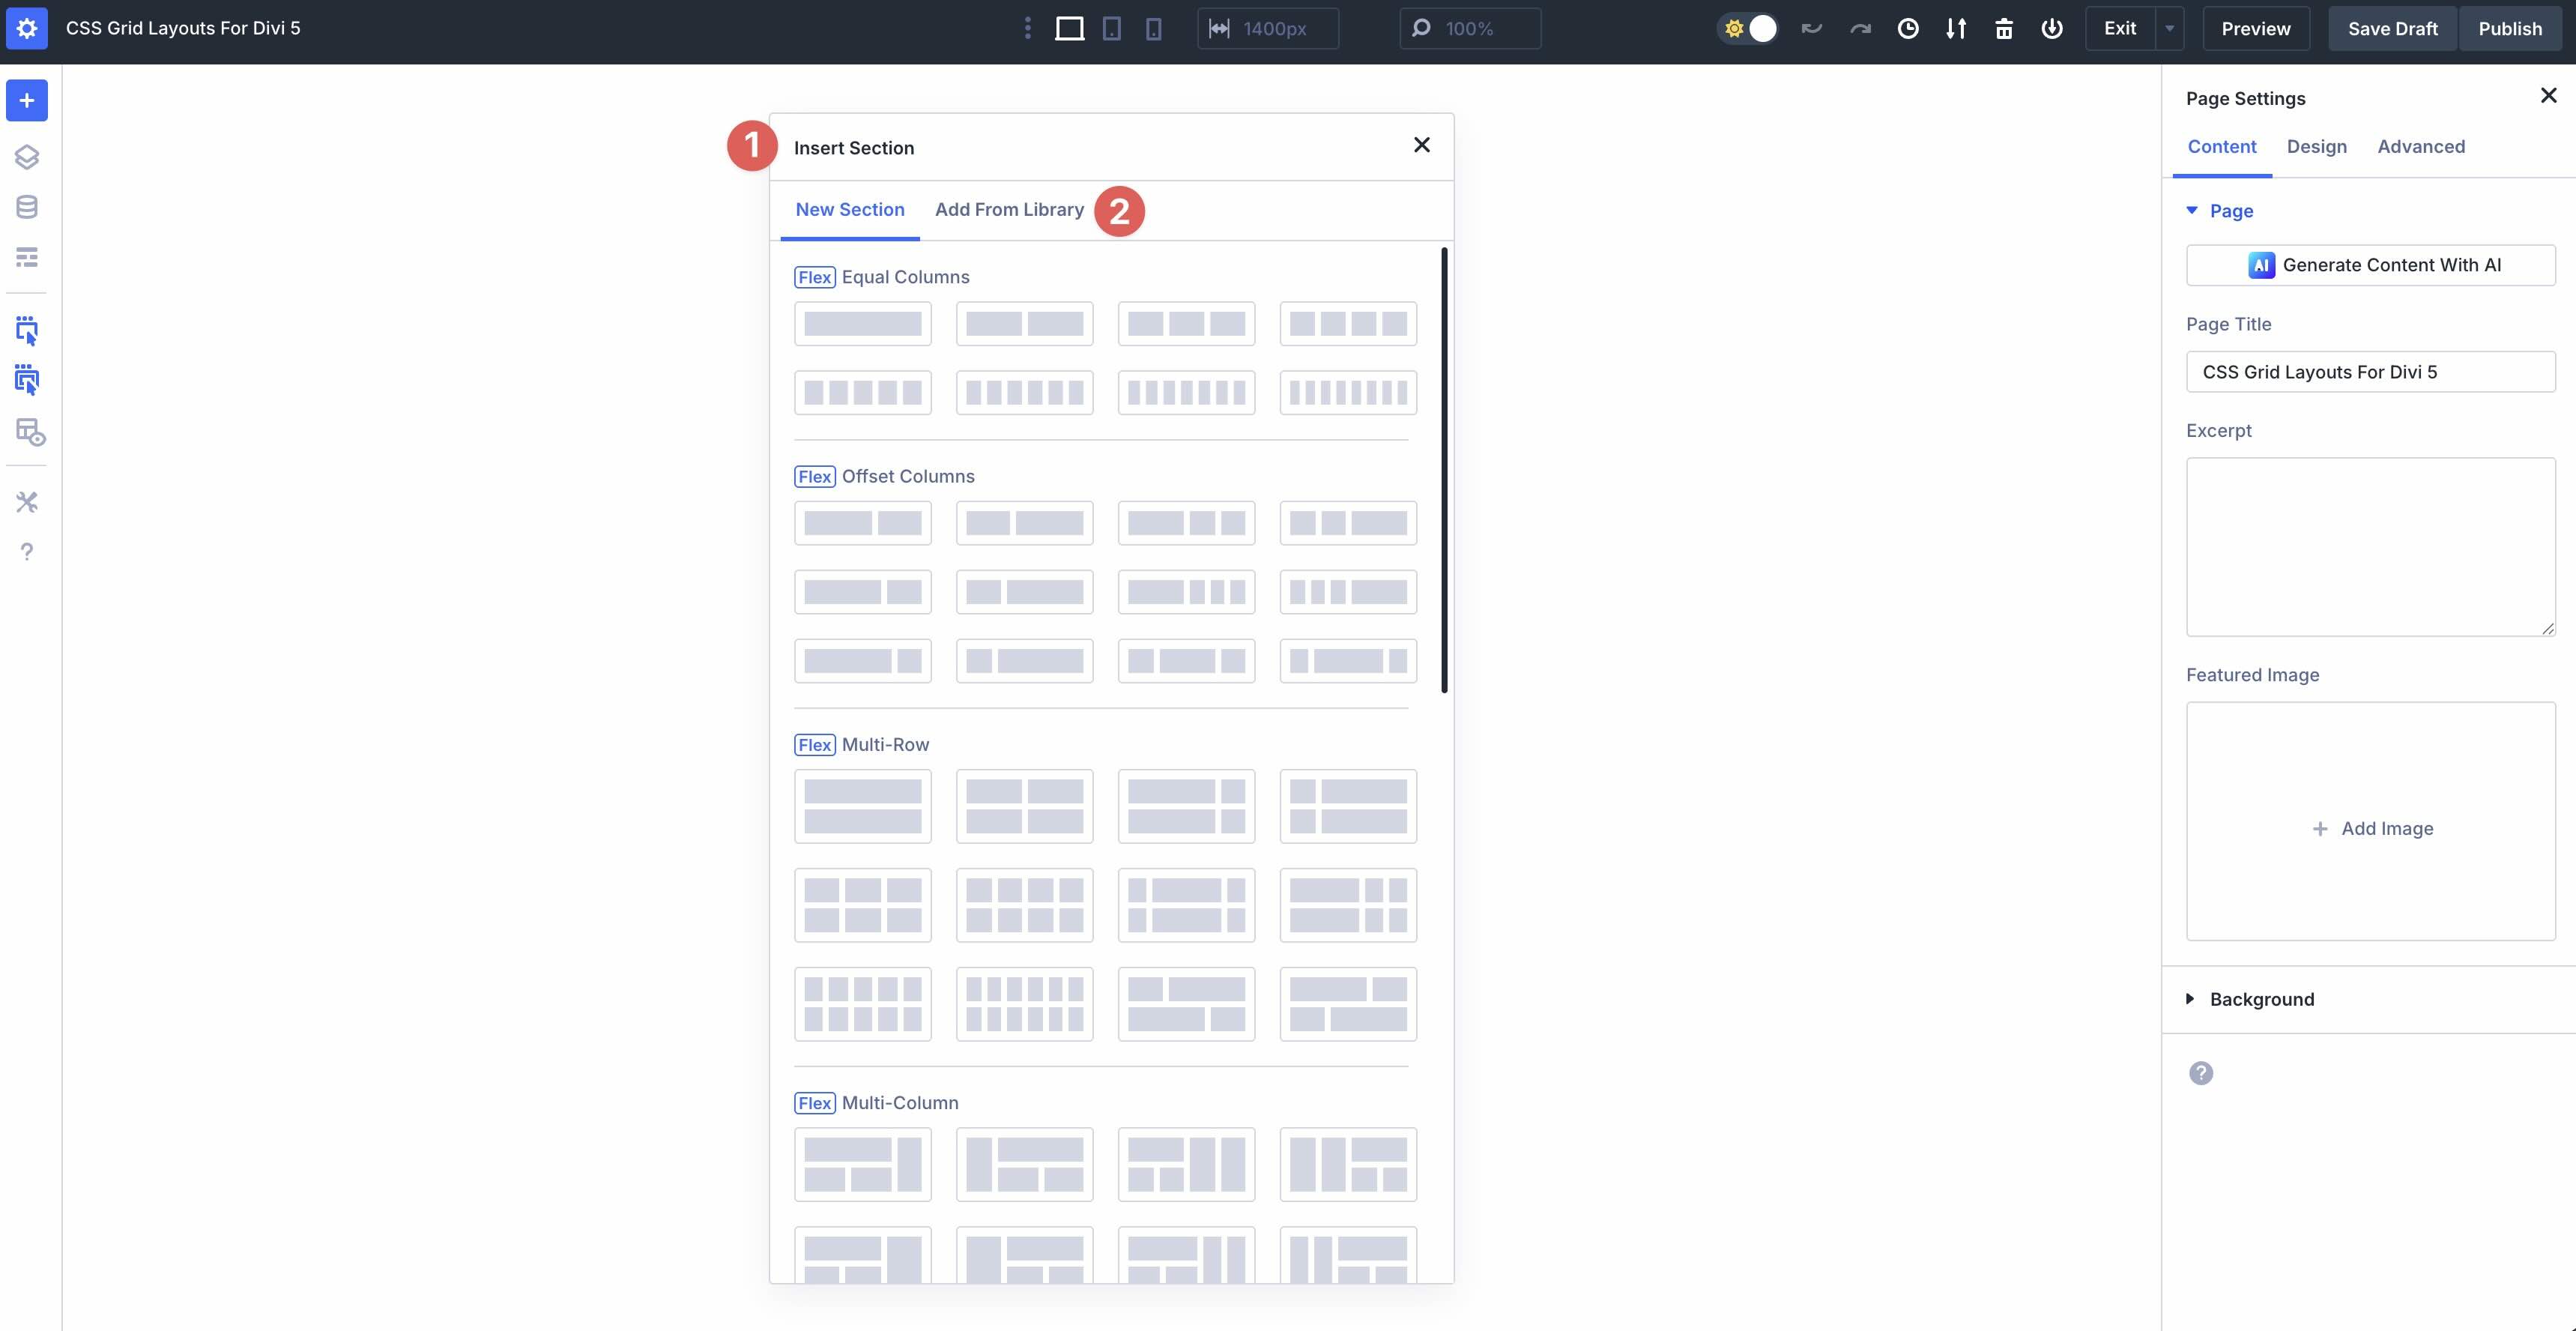
Pick the Cloud section you want to add.
Click Use This Section to load it.
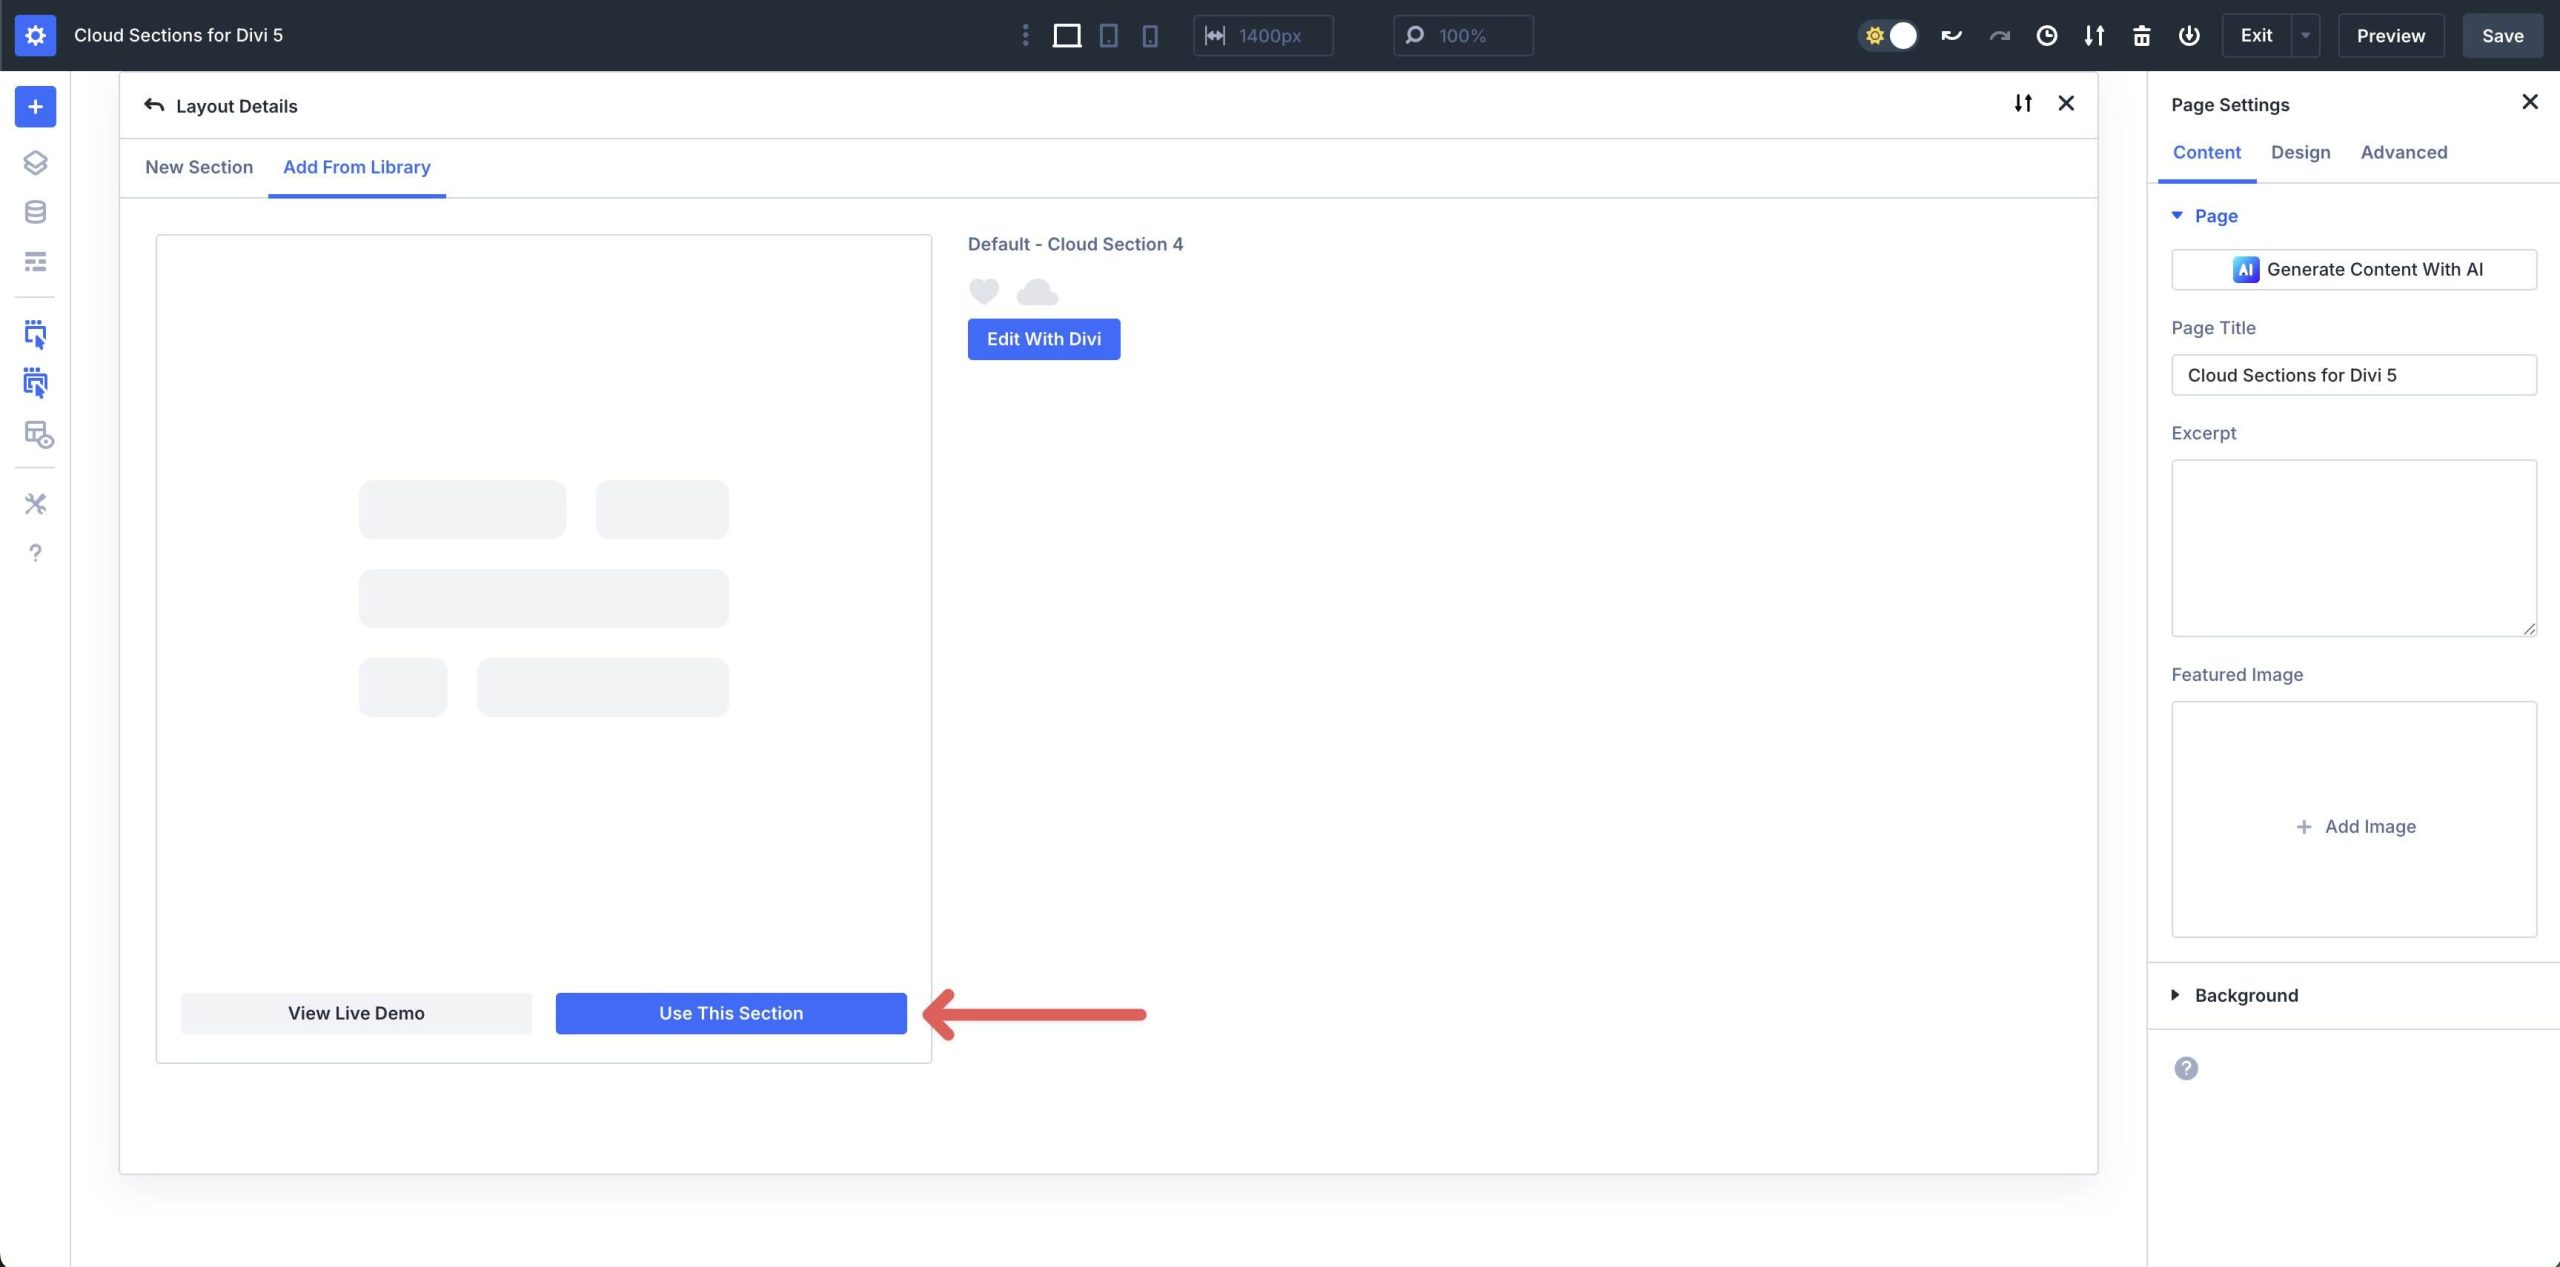
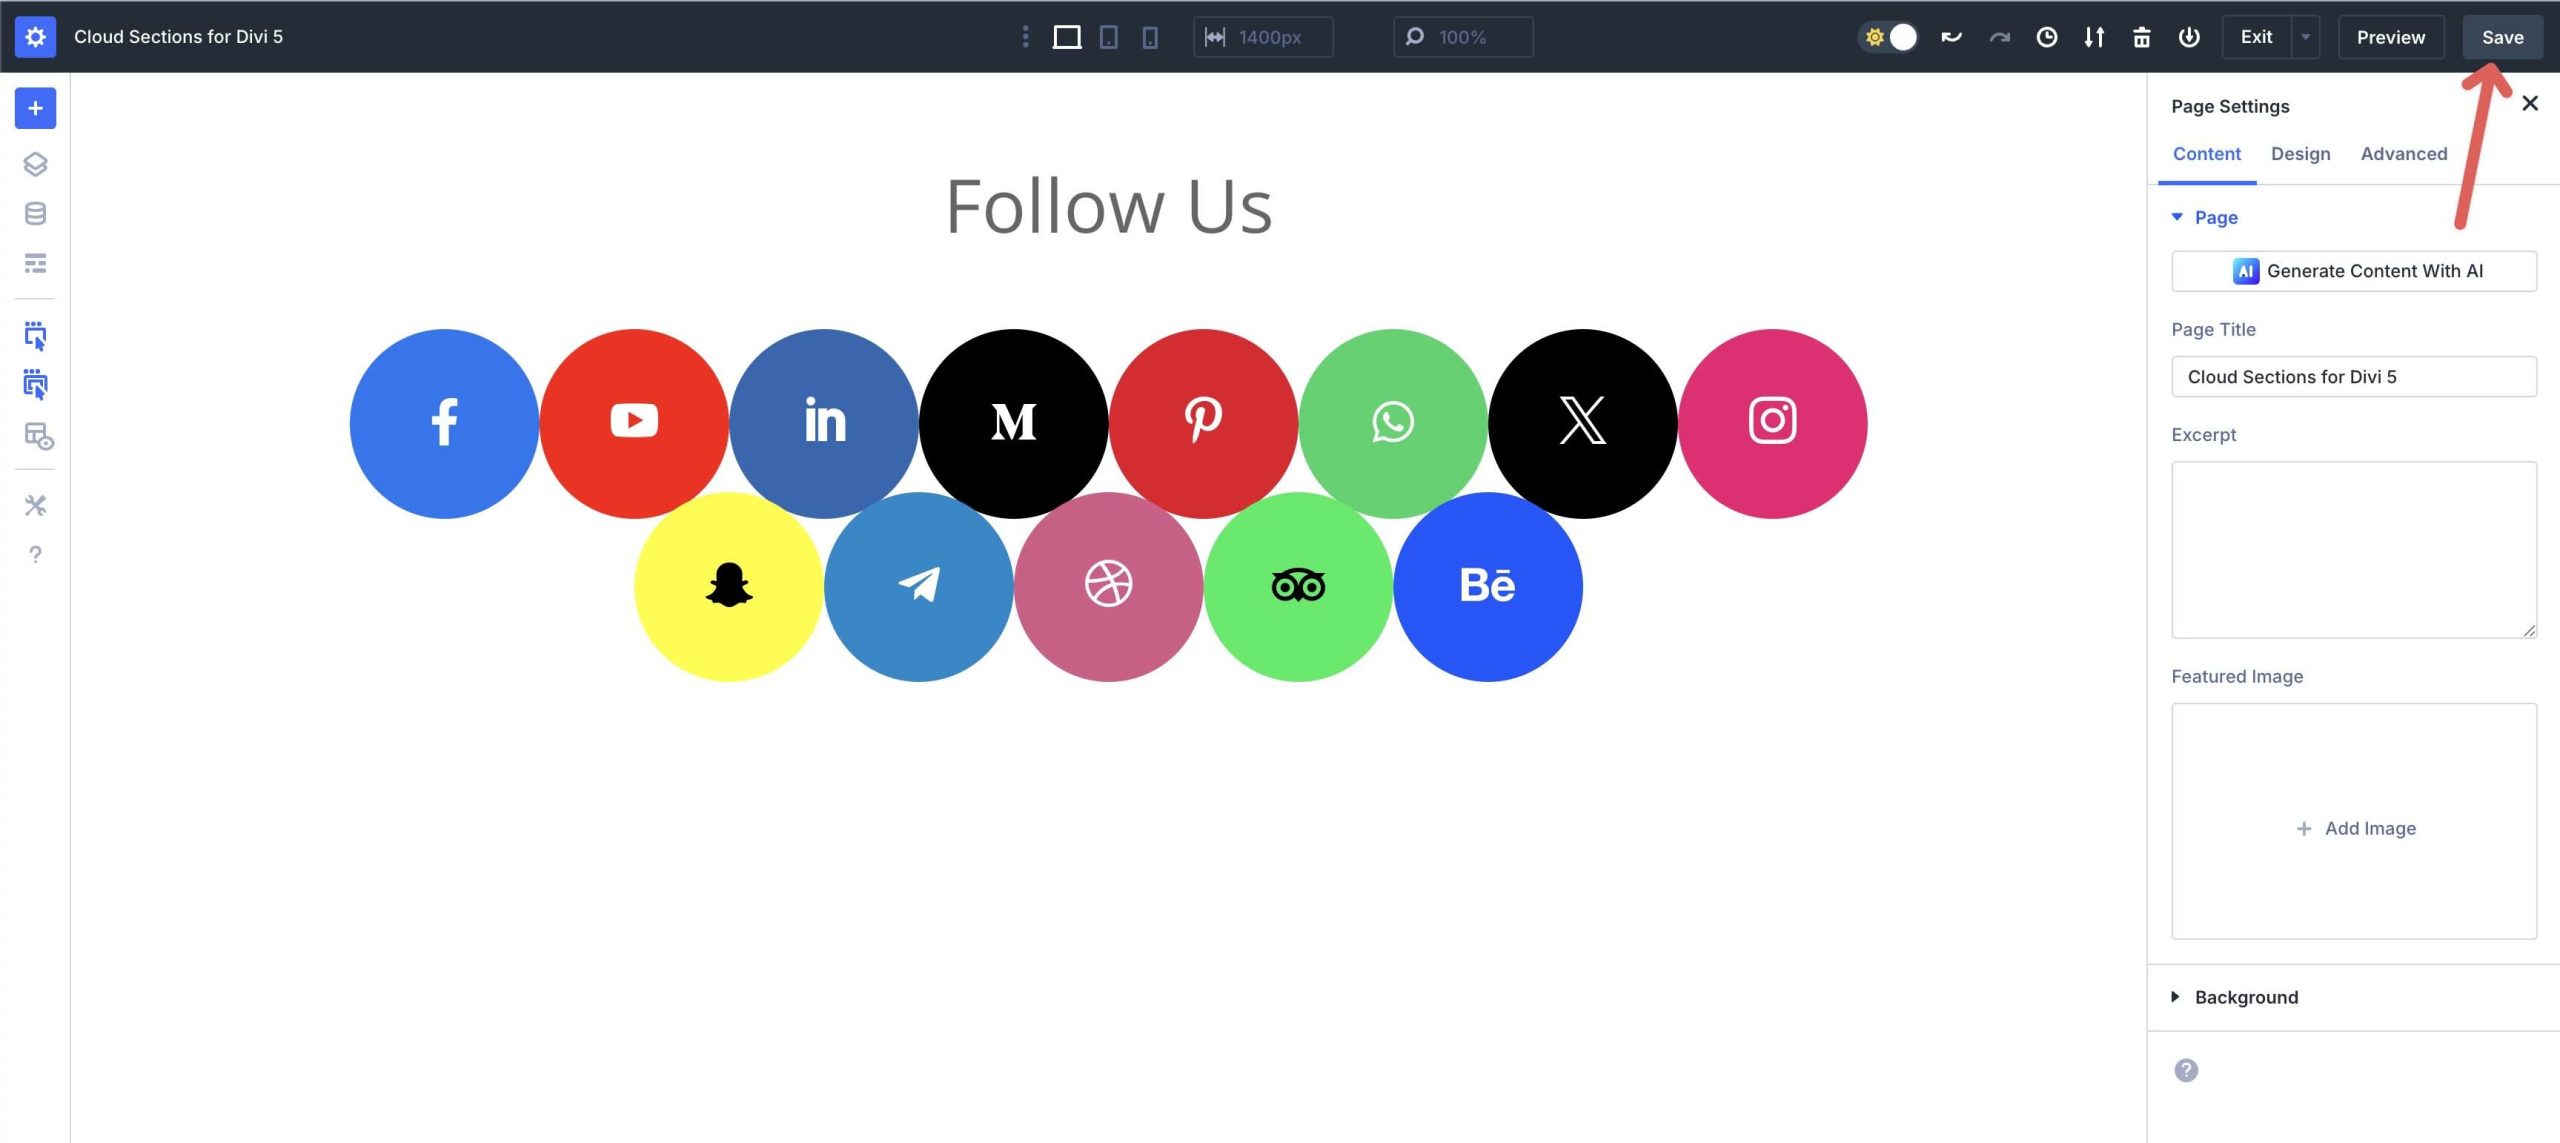
Finally, save the page by clicking the Save button at the top right of the Visual Builder.
Customizing The Cloud Sections
These sections ship with ready-made layout, spacing, and typography styles. You can tweak anything at the Section, Row, Column, or Module level to match your brand.
Divi 5’s layout controls enable fast arrangement of cloud items while maintaining responsiveness.
1. Control Layout With Flexbox
Divi 5’s Flexbox layout system ensures your Cloud Section items are responsive and beautifully arranged.
Open the Row settings, and click on the Column.
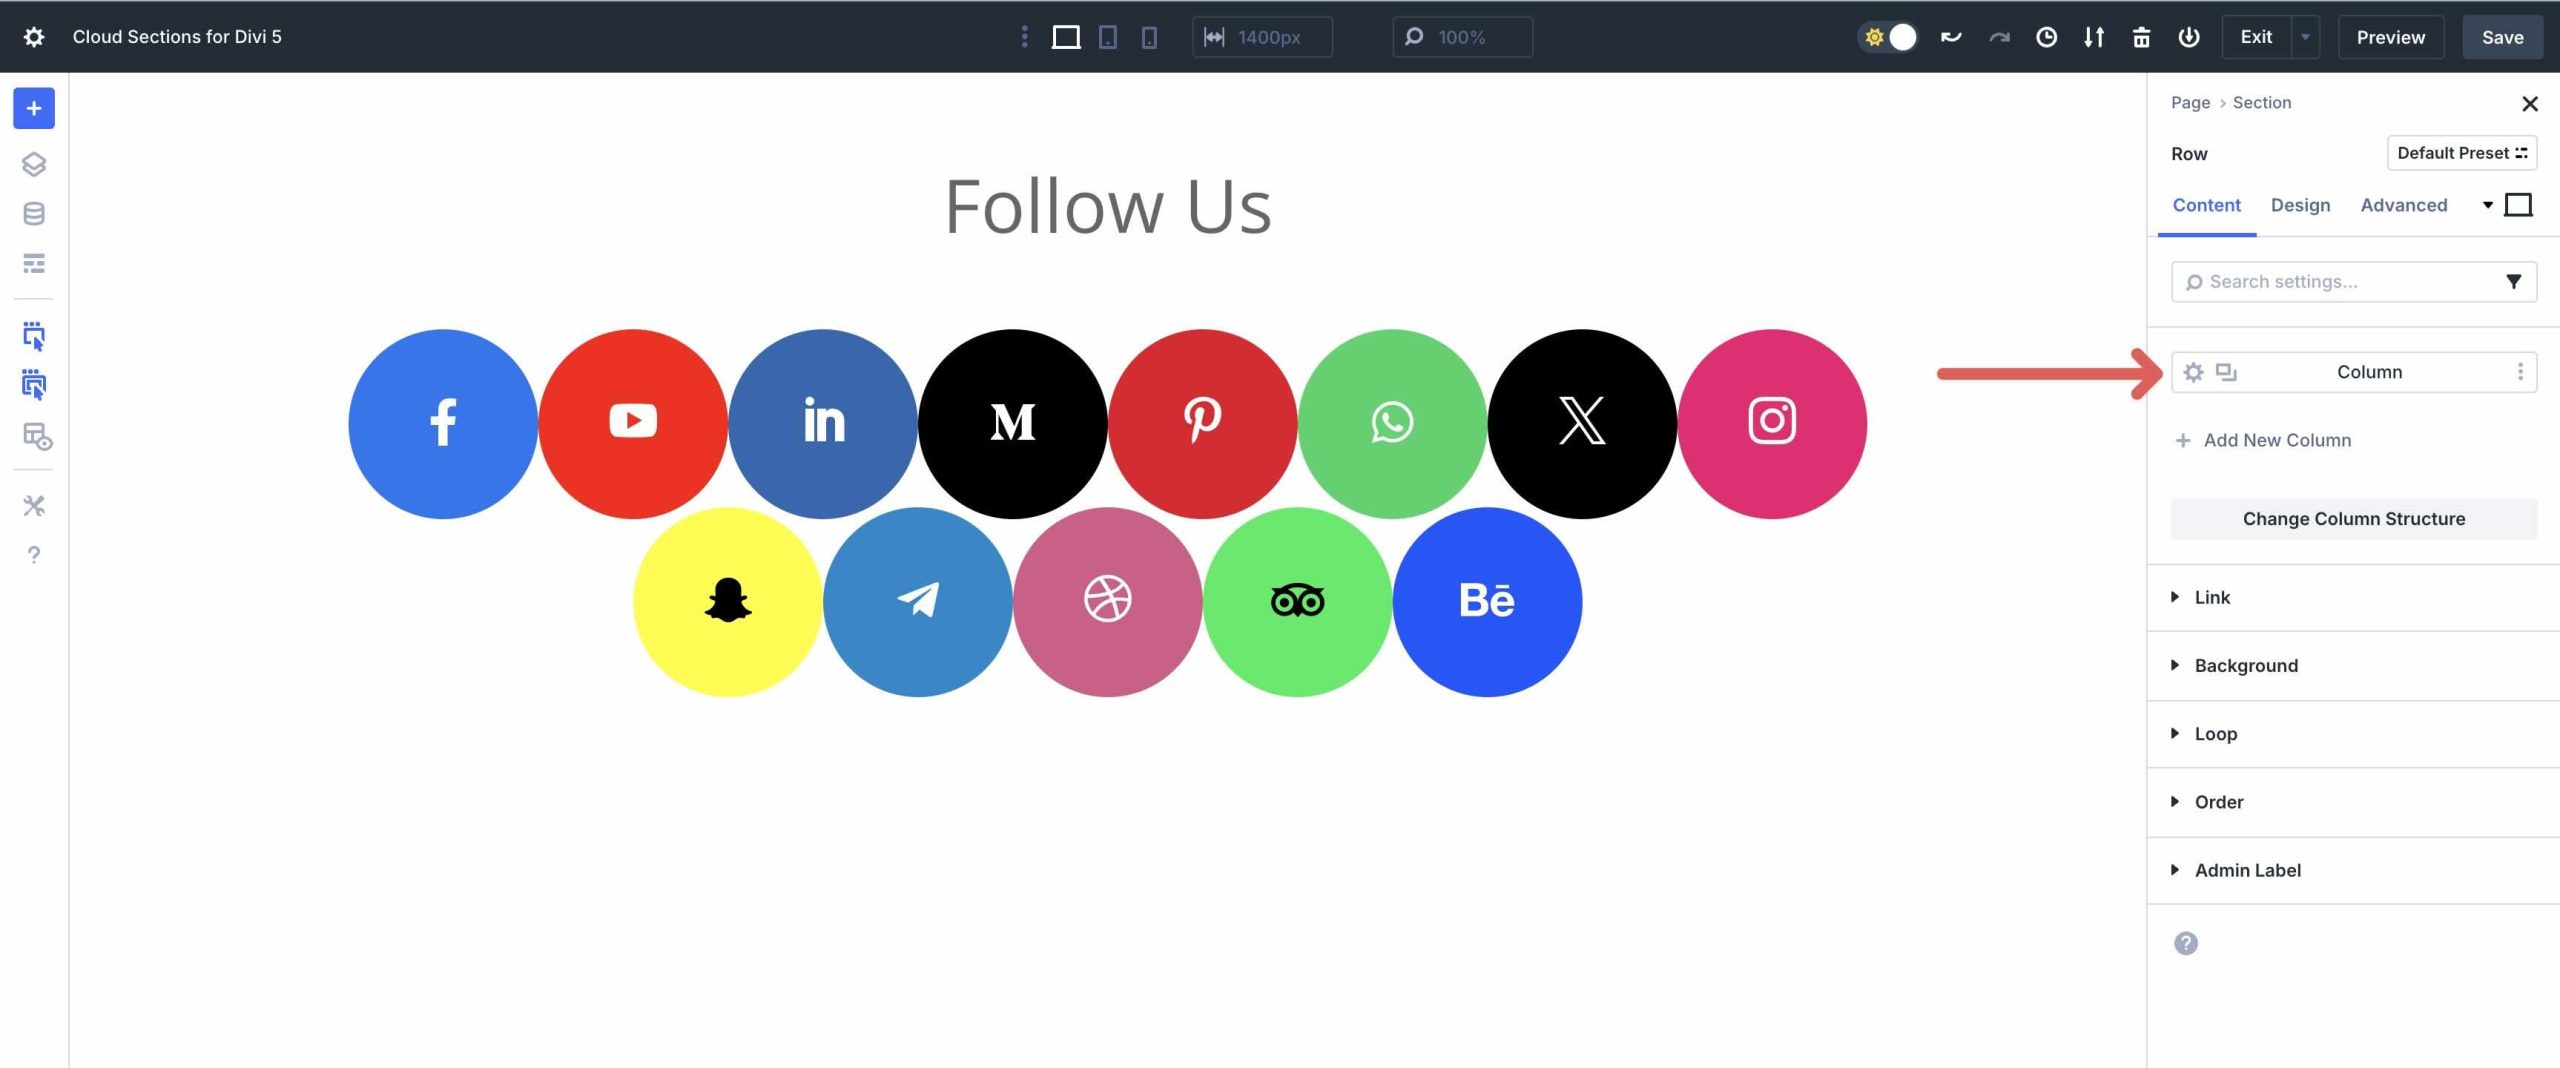
Go to the Design tab → Layout. Adjust the Direction (Row), enable Wrap, and tweak the Horizontal Gap and Vertical Gap to control how items flow and stack across devices.
This ensures your sections remain clean and organized, whether viewed on Desktop, Tablet, or Mobile.
2. Edit The Cloud Items
Each cloud item is a styled container with customizable elements.
Open the Column or Module using the Layers View. Adjust the Border → Radius to fine-tune the rounded “cloud” shape.
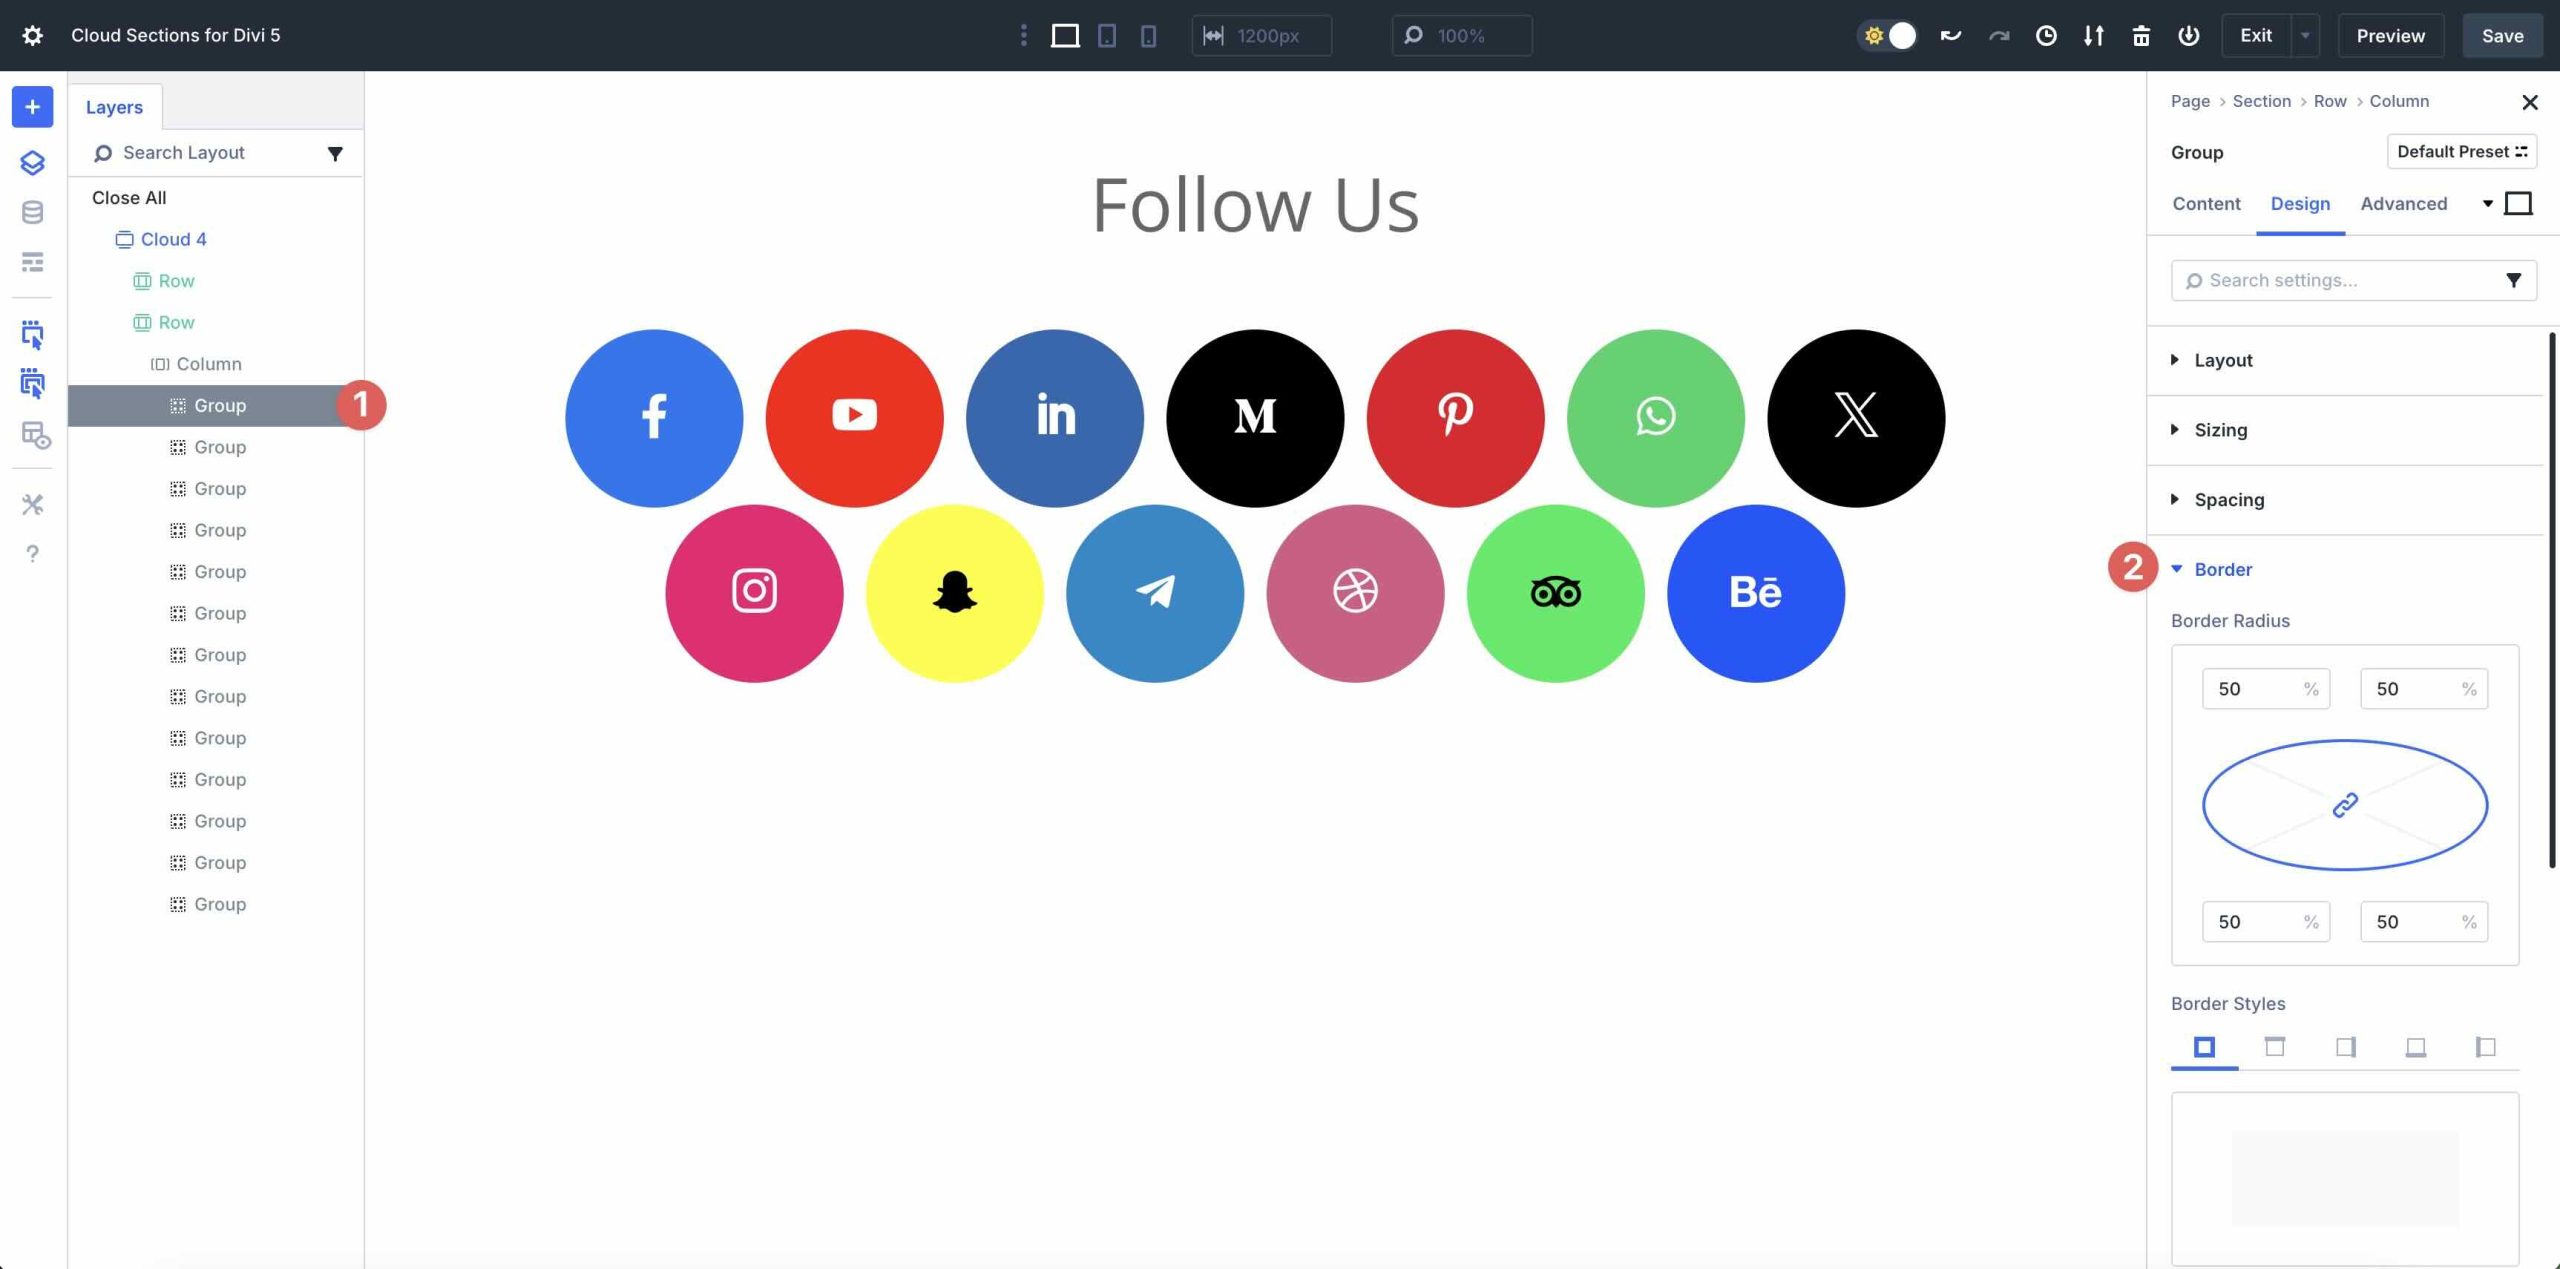
Modify Background settings for fills or gradients, Sizing for dimensions, Spacing for internal padding, and Box Shadow for subtle depth.
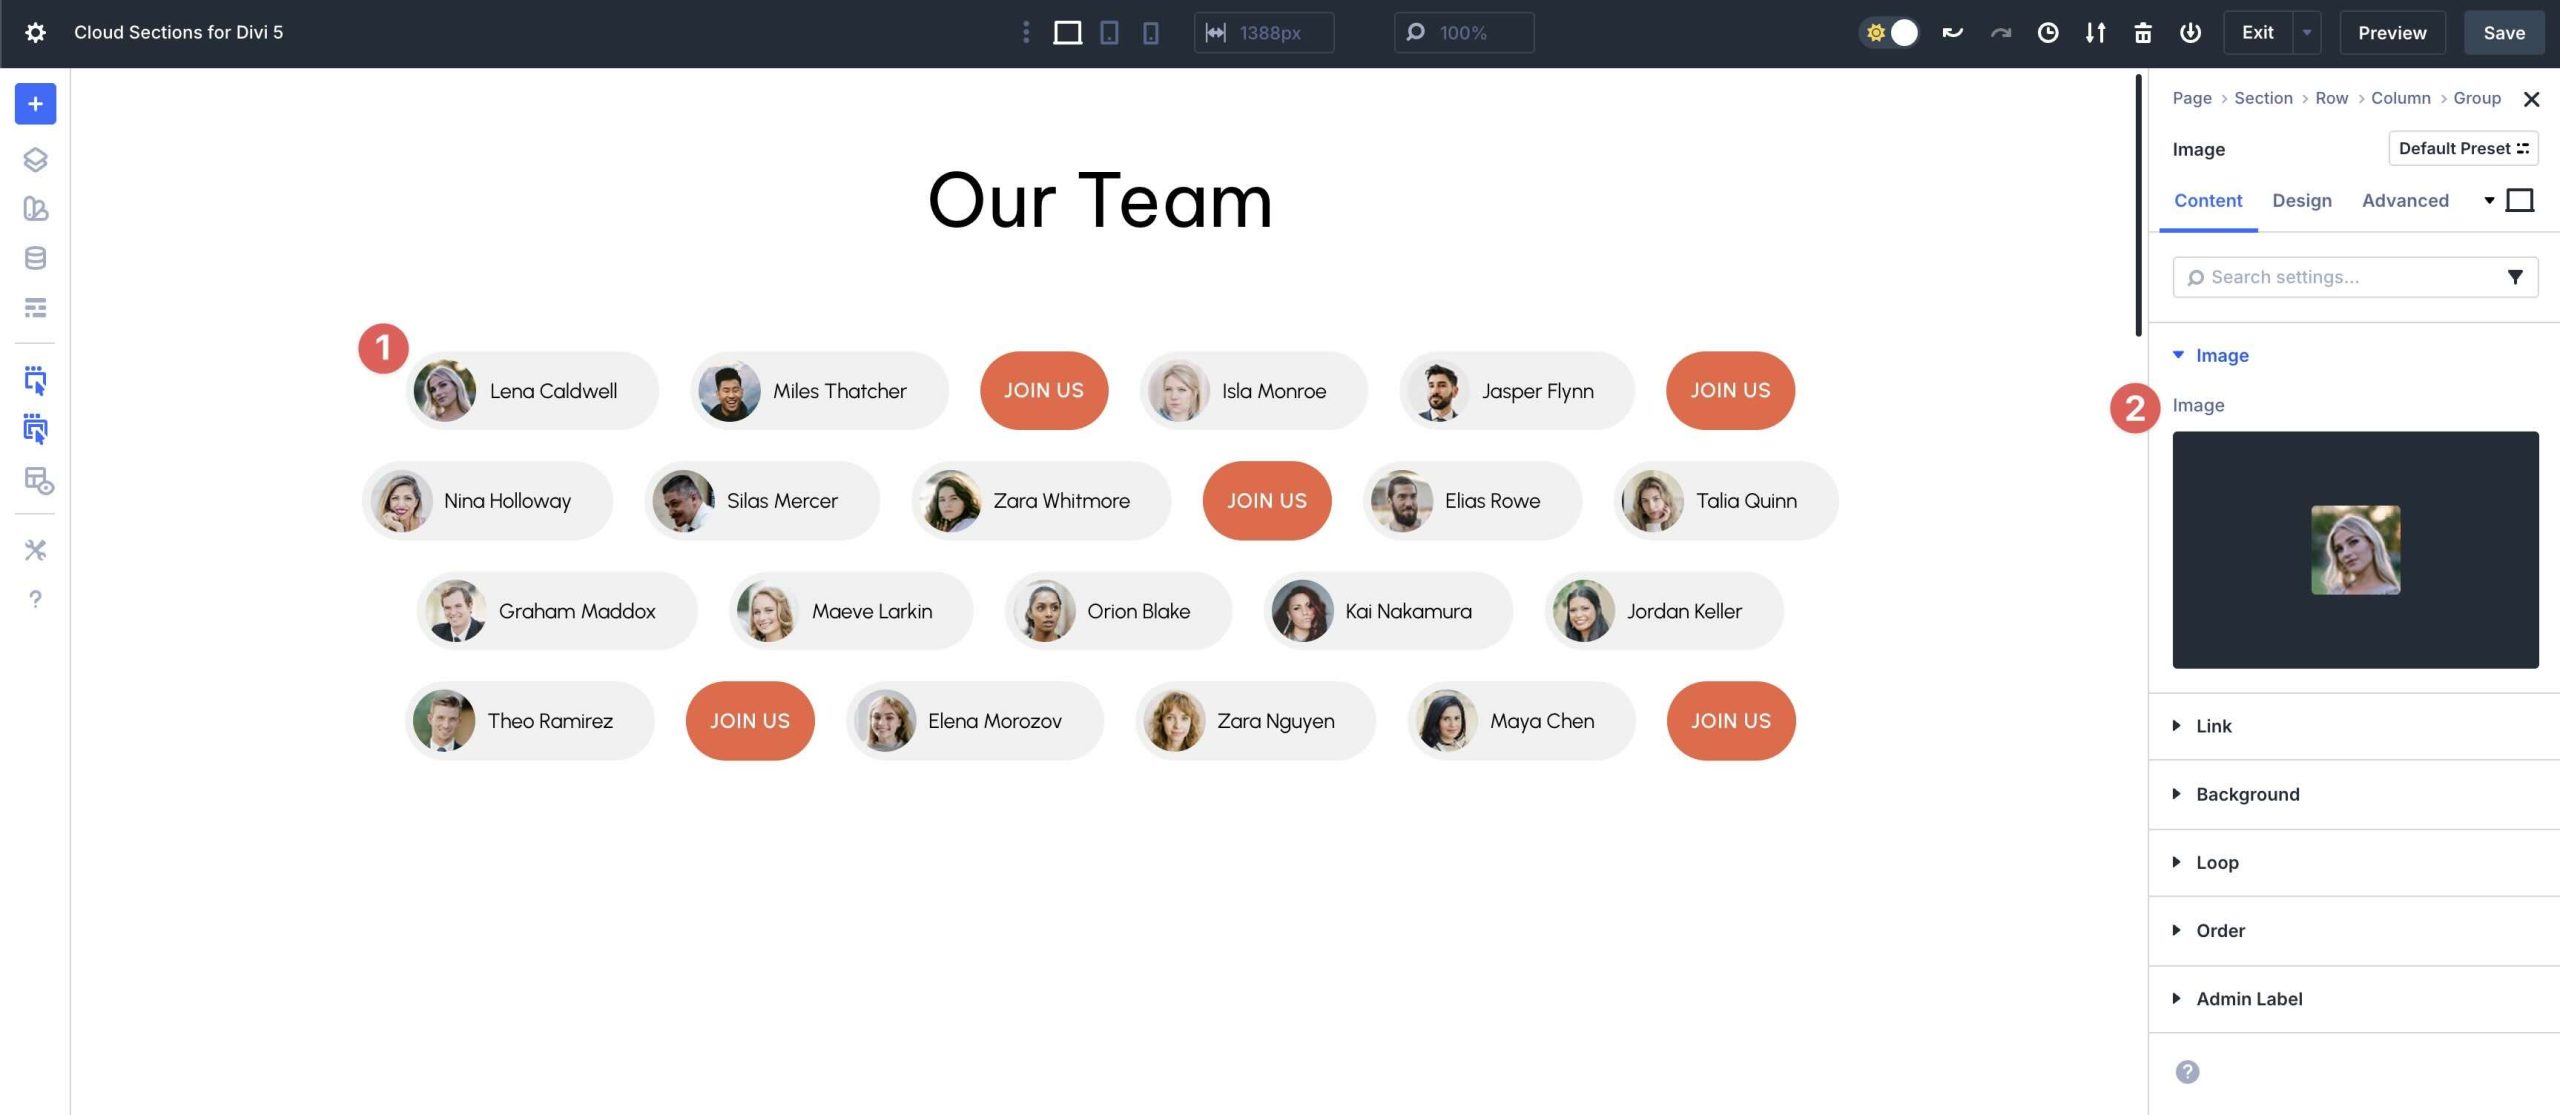
Swap avatar images in an Image Module.
Update Icons, and edit labels in a Text Module.
![]()
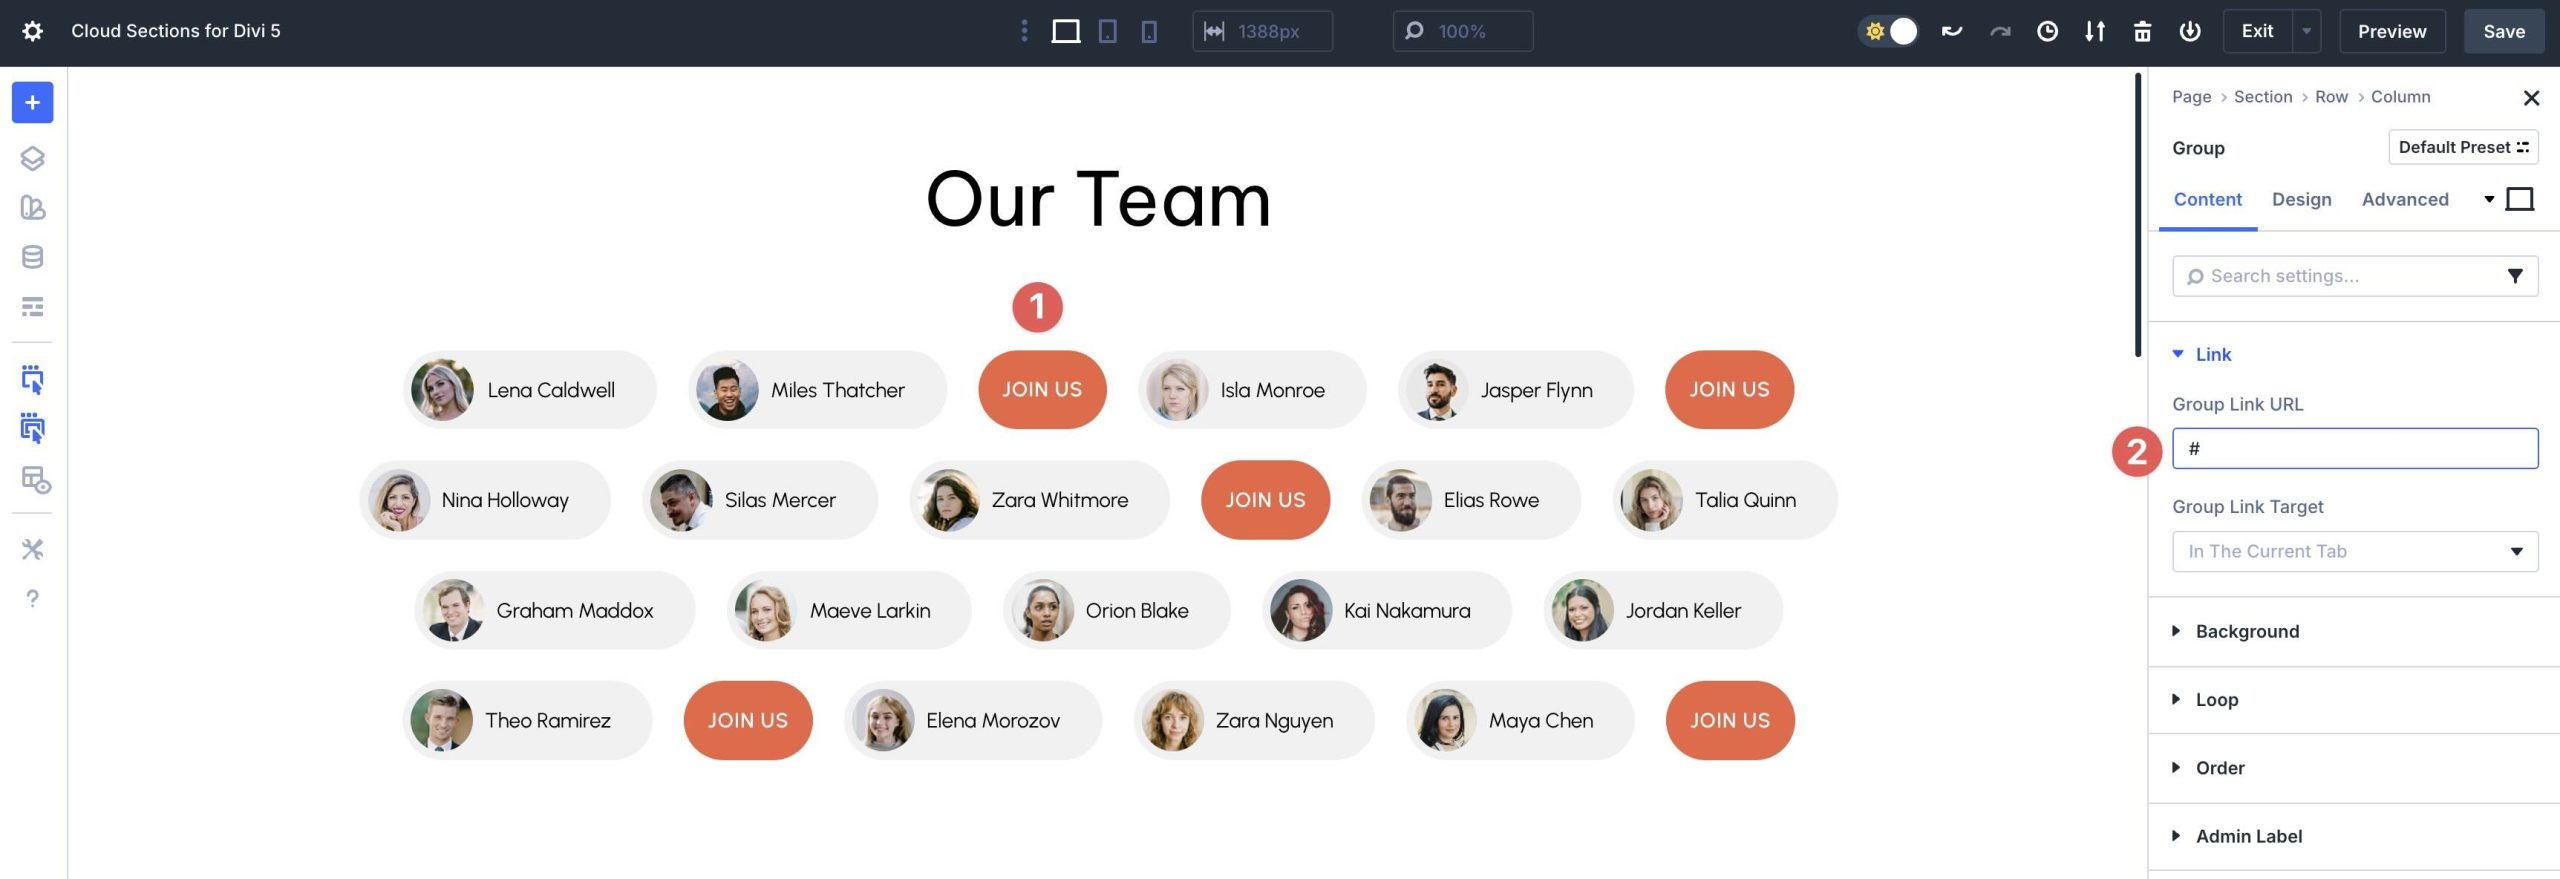
If the design includes a CTA, update the module text and link.
3. Customize The Designs
Divi 5’s Visual Builder makes customization intuitive. After loading a Cloud Section, you can edit module styles to match your brand colors, fonts, or aesthetic.
You can rearrange elements using drag-and-drop controls and Divi’s Global Design Variables to apply consistent styling across multiple sections at once.
Start Building In Divi 5 Today
These 8 Cloud Sections are a quick way to add personality to your Divi 5 builds. Download them, drop them into any page, and tailor the labels, avatars, and CTAs to your content. Flex-based wrapping and responsive controls handle the layout, allowing you to focus on design.


Leave A Reply