
WooCommerce is a powerful e-commerce platform that can accomplish a lot on its own. However, most businesses will benefit from separate accounting software (such as QuickBooks) to keep better track of all income channels and expenses. Unfortunately, manually updating QuickBooks can be a time-consuming process that’s prone to errors.
Fortunately, integrations exist that can automatically sync your WooCommerce data with this bookkeeping software, ensuring accuracy and saving you valuable time (and sanity). In this article, we’ll walk you through exactly how to use WooCommerce and QuickBooks together.
Let’s get started!
The Benefits of Syncing WooCommerce and QuickBooks
WooCommerce and QuickBooks are both powerful software solutions for your business. WooCommerce enables you to quickly and easily set up an online store to sell all kinds of products and services, while QuickBooks can help you keep track of your finances and stay on top of your growth.
However, maintaining your books manually can be a chore, even with robust invoicing software. This is particularly true when you’re dealing with a lot of incoming inventory and outgoing orders, as you do with a WooCommerce store.
Of course, since this is WordPress we’re talking about, plugins are available that can help ease this process by automatically syncing the two platforms. This can save a tremendous amount of time that’s better spent on more impactful tasks than bookkeeping. Plus, since your data will always be the same on both platforms, syncing can cut down on potential confusion and costly errors due to incorrectly-entered information.
Plugins for syncing WooCommerce and QuickBooks fall into two basic categories: one-way sync and two-way sync. One-way plugins only copy your data from WooCommerce to QuickBooks, essentially creating a receipt for each transaction in the latter program. This is handy, but not what you’re probably after.
Two-way sync, on the other hand, transfers any change on one of the platforms over to the other. This is ideally what you want to set up, because it enables you to keep inventory levels, product descriptions, tax details, customer information, and more identical across both your store and bookkeeping software. Two-way sync is where you’ll really see the power and convenience this plugin integration offers.
WordPress Plugins for Syncing WooCommerce and QuickBooks
As we mentioned above, there are a number of plugins and integrations available for syncing these two platforms. Three of the most popular options are WooCommerce Sync for QuickBooks, WooCommerce QuickBooks Connector, and Zapier. Let’s take a look at what each one has to offer.
WooCommerce Sync for QuickBooks
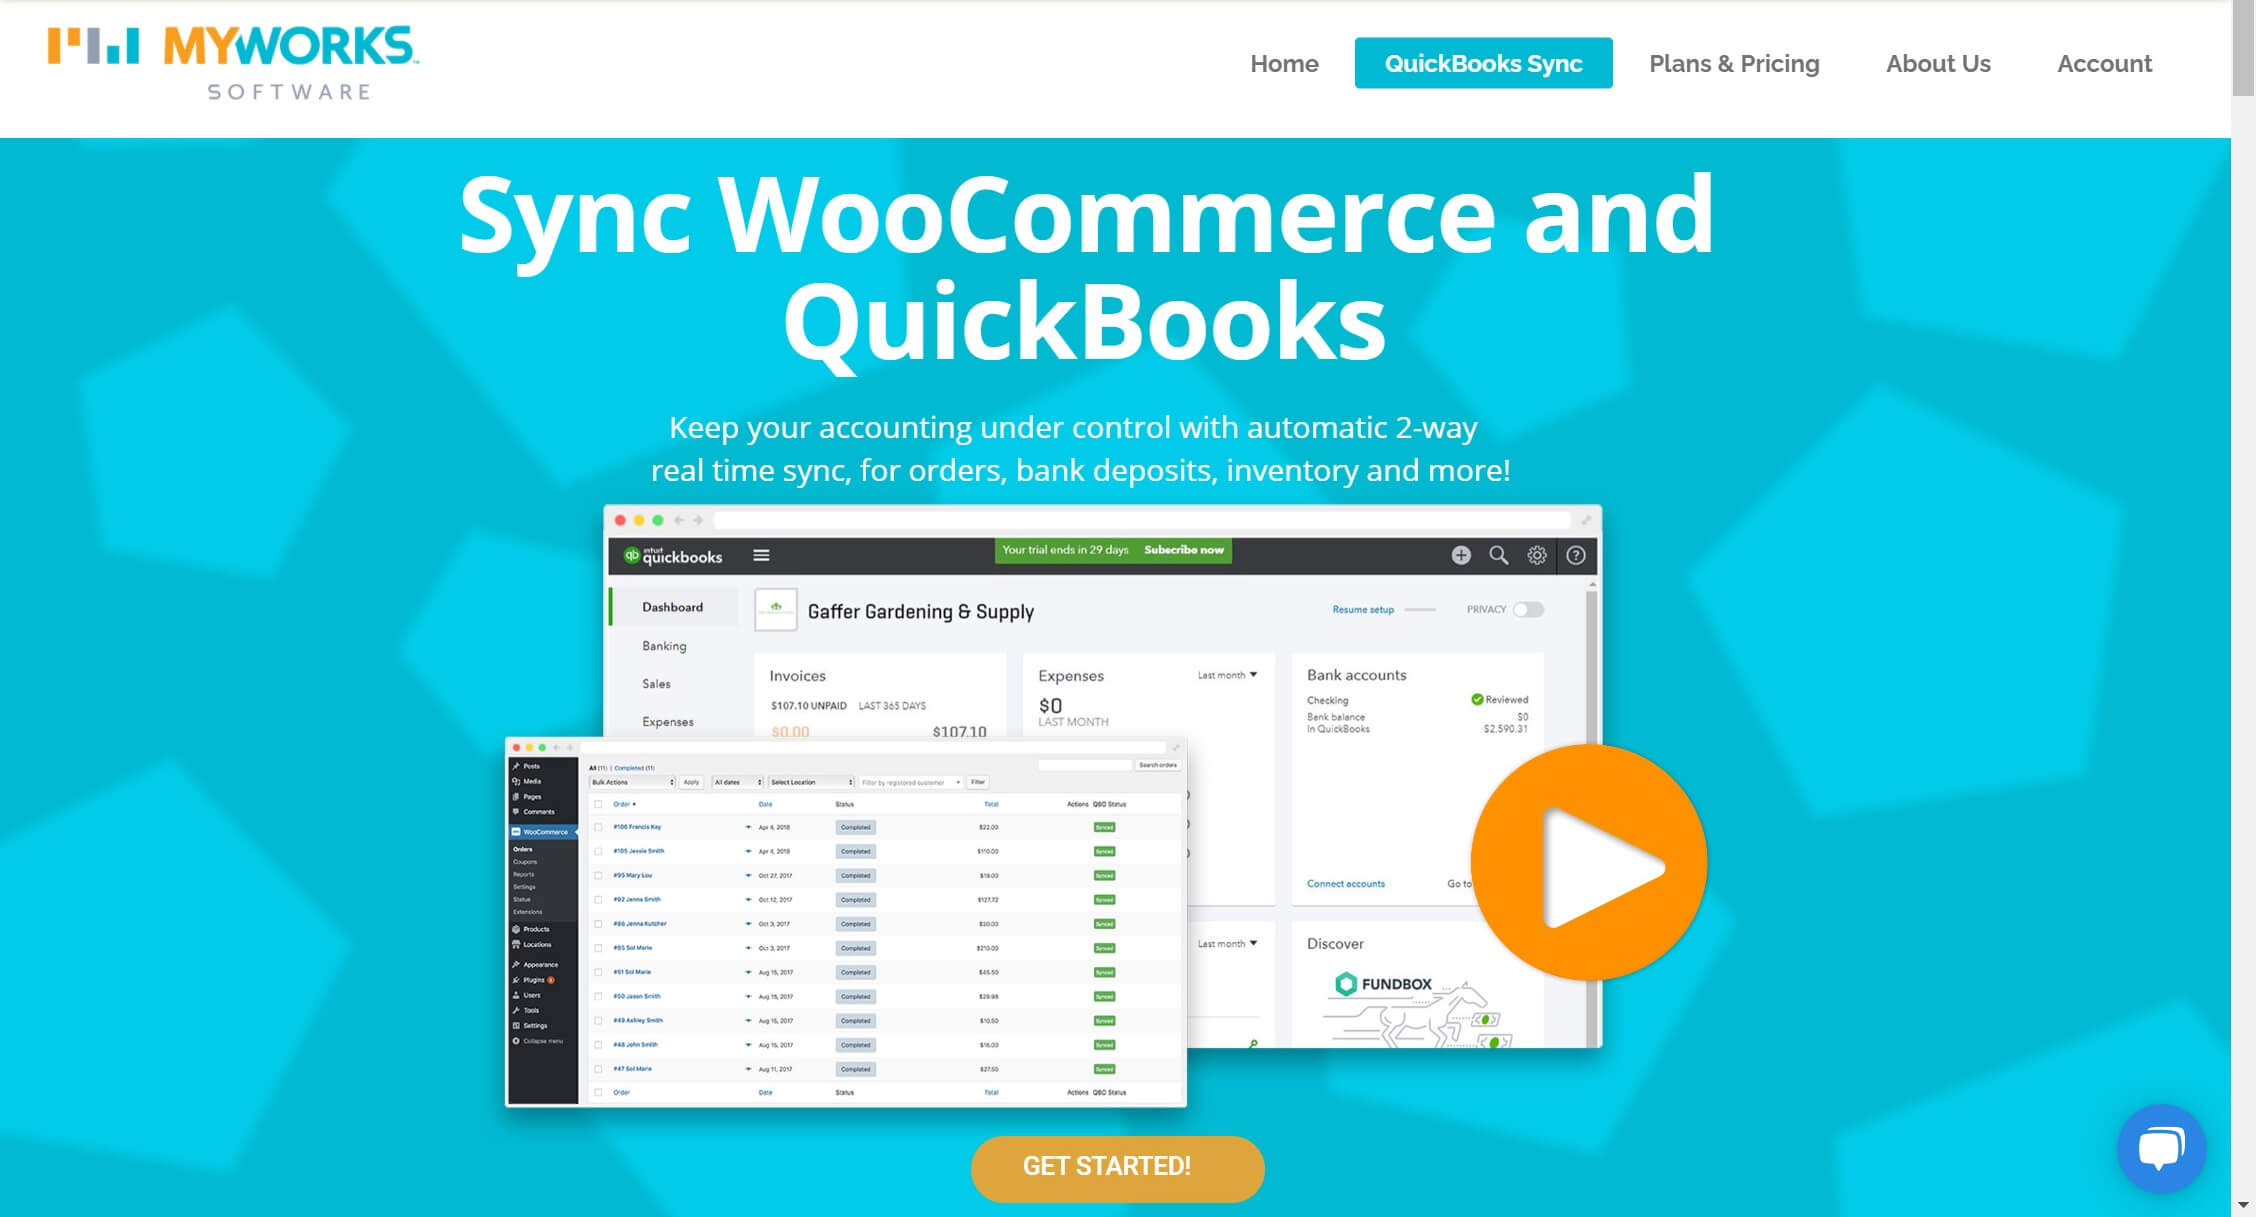
WooCommerce Sync for QuickBooks is a powerful plugin that does one thing and does it very well: it syncs your data automatically between the two platforms. This solution offers a great balance of features, ease of use, support, and price.
Key Features:
- Offers a powerful two-way sync between WooCommerce and QuickBooks
- Supports all versions of QuickBooks: Online, Desktop, and POS
- Provides 24/7 customer support
Price: Free, with paid plans starting at $39 per month
WooCommerce Sync for QuickBooks Is for You If…
…you want a focused tool that works smoothly and offers excellent support.
WooCommerce QuickBooks Connector
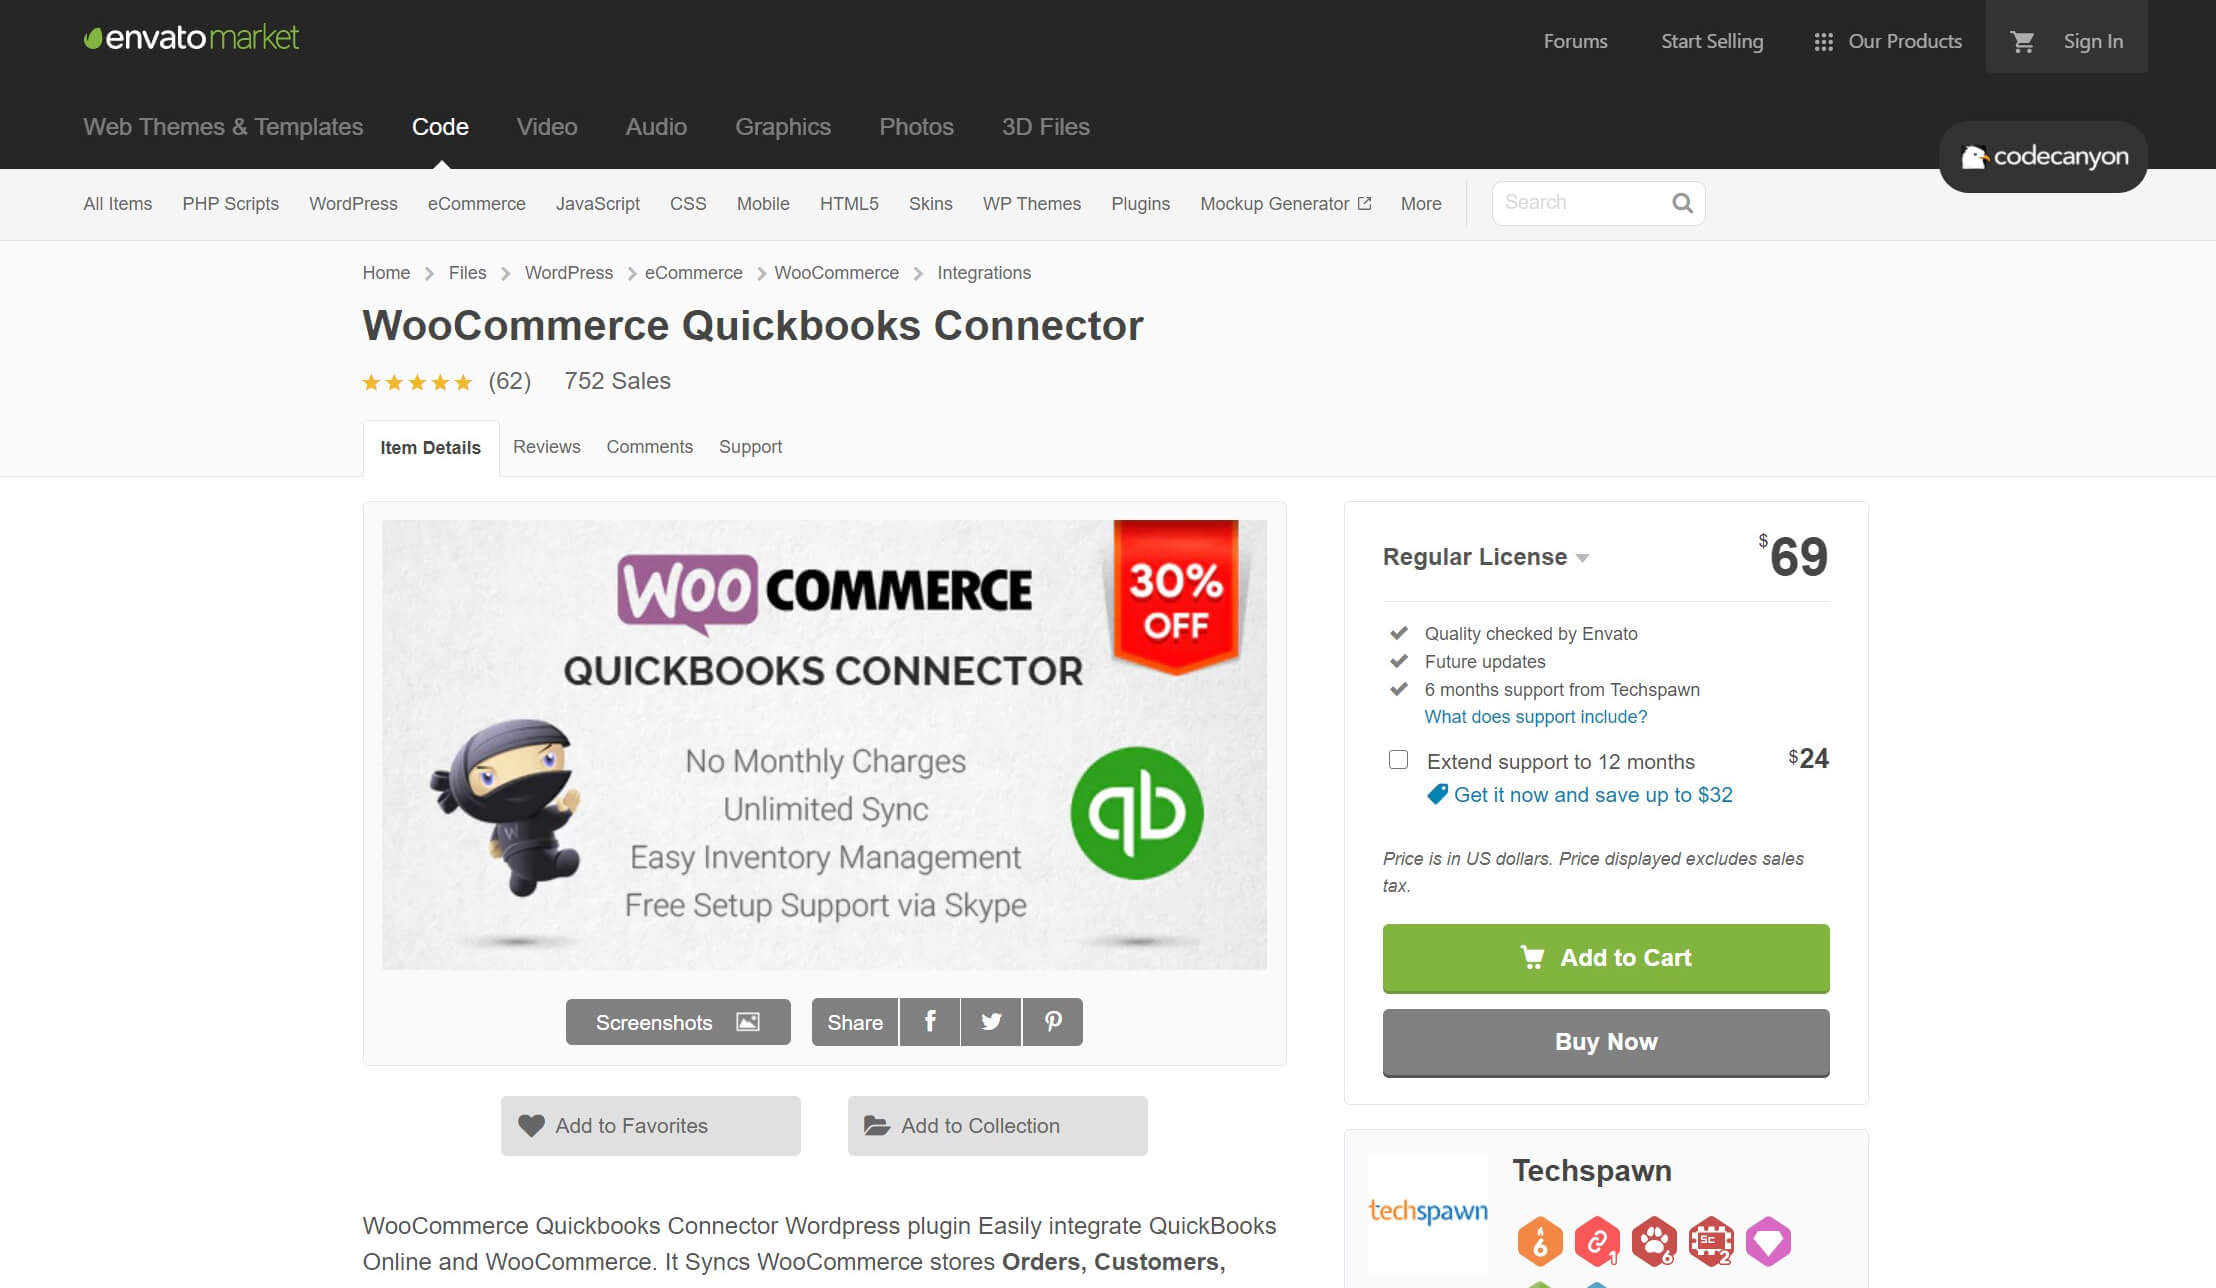
WooCommerce QuickBooks Connector is another option with real-time, two-way sync. This is a highly-rated plugin with a ton of features, available at an affordable price.
Key Features:
- Offers affordable pricing
- Includes flexible triggers for real-time syncing
- Provies support for multiple currencies
Price: $69
WooCommerce QuickBooks Connector Is for You If…
…you’re willing to sacrifice some polish and support for a more affordable, one-time payment.
Zapier
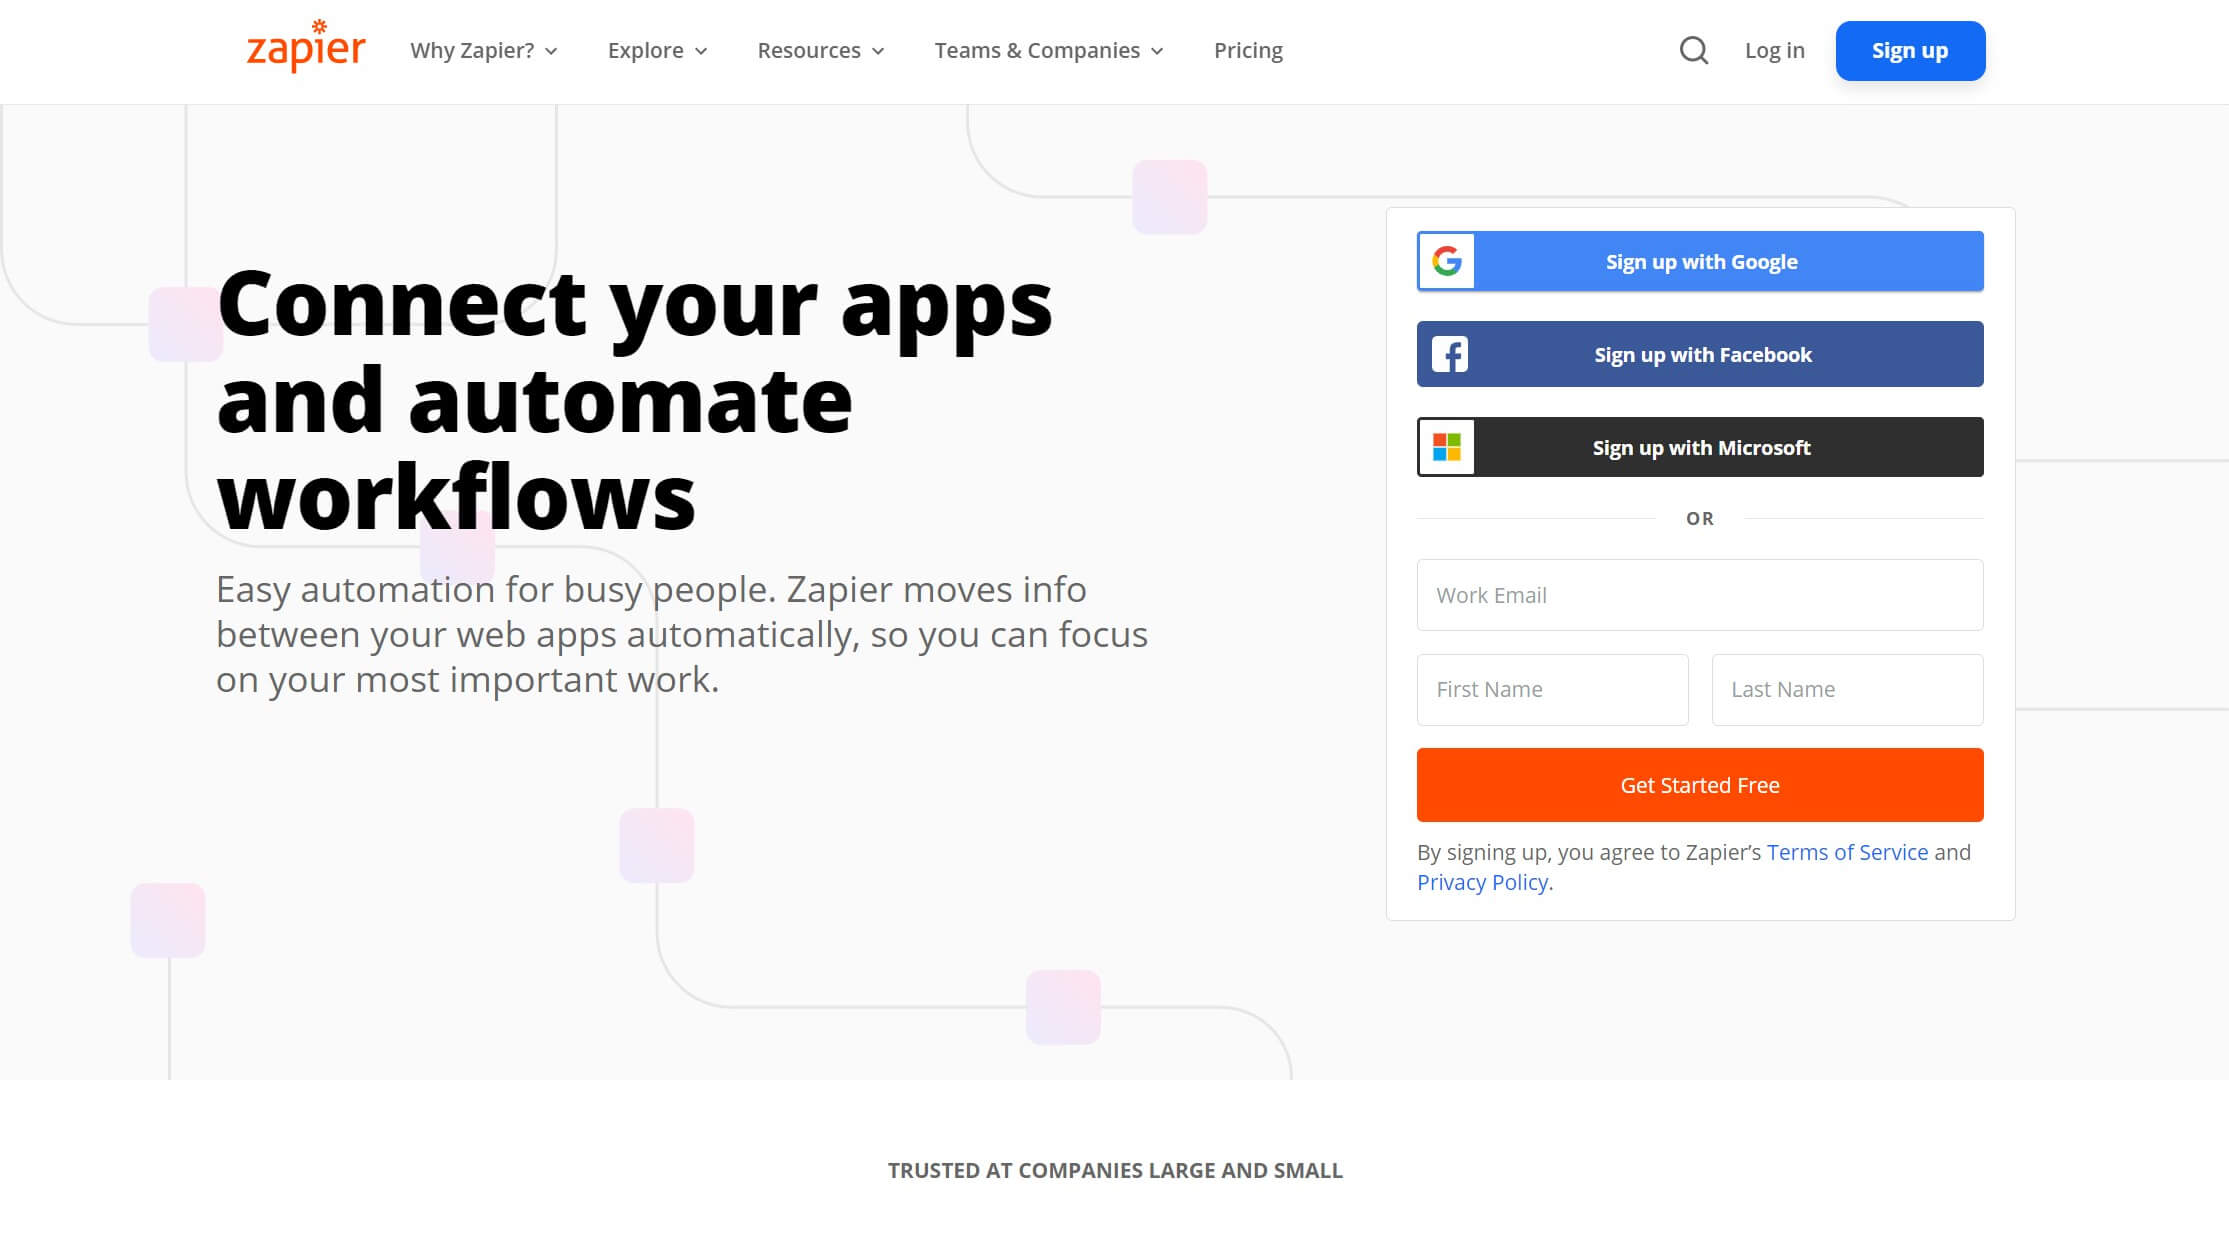
Zapier is an extremely popular solution for connecting all kinds of online platforms together, including WooCommerce and QuickBooks. The main downside to Zapier is that it only works with QuickBooks Online, so if you need Desktop or POS support, you’ll have to look elsewhere.
Key Features:
- Offers lots of integrations: you can sync your WooCommerce store with a variety of other services, not just QuickBooks
- Provides a relatively simple setup
- Is completely cloud-based
Price: Starts at $19.99 per month (QuickBooks integration isn’t available in the free tier)
Zapier Is for You If…
…you need to integrate WooCommerce or QuickBooks with other SaaS platforms (like Google Docs and Slack).
How to Use WooCommerce and QuickBooks Together (In 4 Steps)
Setting up integration between WooCommerce and QuickBooks is relatively simple, regardless of which syncing solution you choose. As an example, we’ll show you how to use WooCommerce Sync for QuickBooks, because we think its balance of features and price makes it the best solution for most users.
Step 1: Install the WooCommerce Sync for QuickBooks Plugin
The first thing you’ll want to do is grab the WooCommerce Sync for QuickBooks plugin. It’s available in the WordPress Plugin Directory, so head to your WordPress dashboard, navigate to Plugins > Add New, and search for “WooCommerce Sync for QuickBooks”:
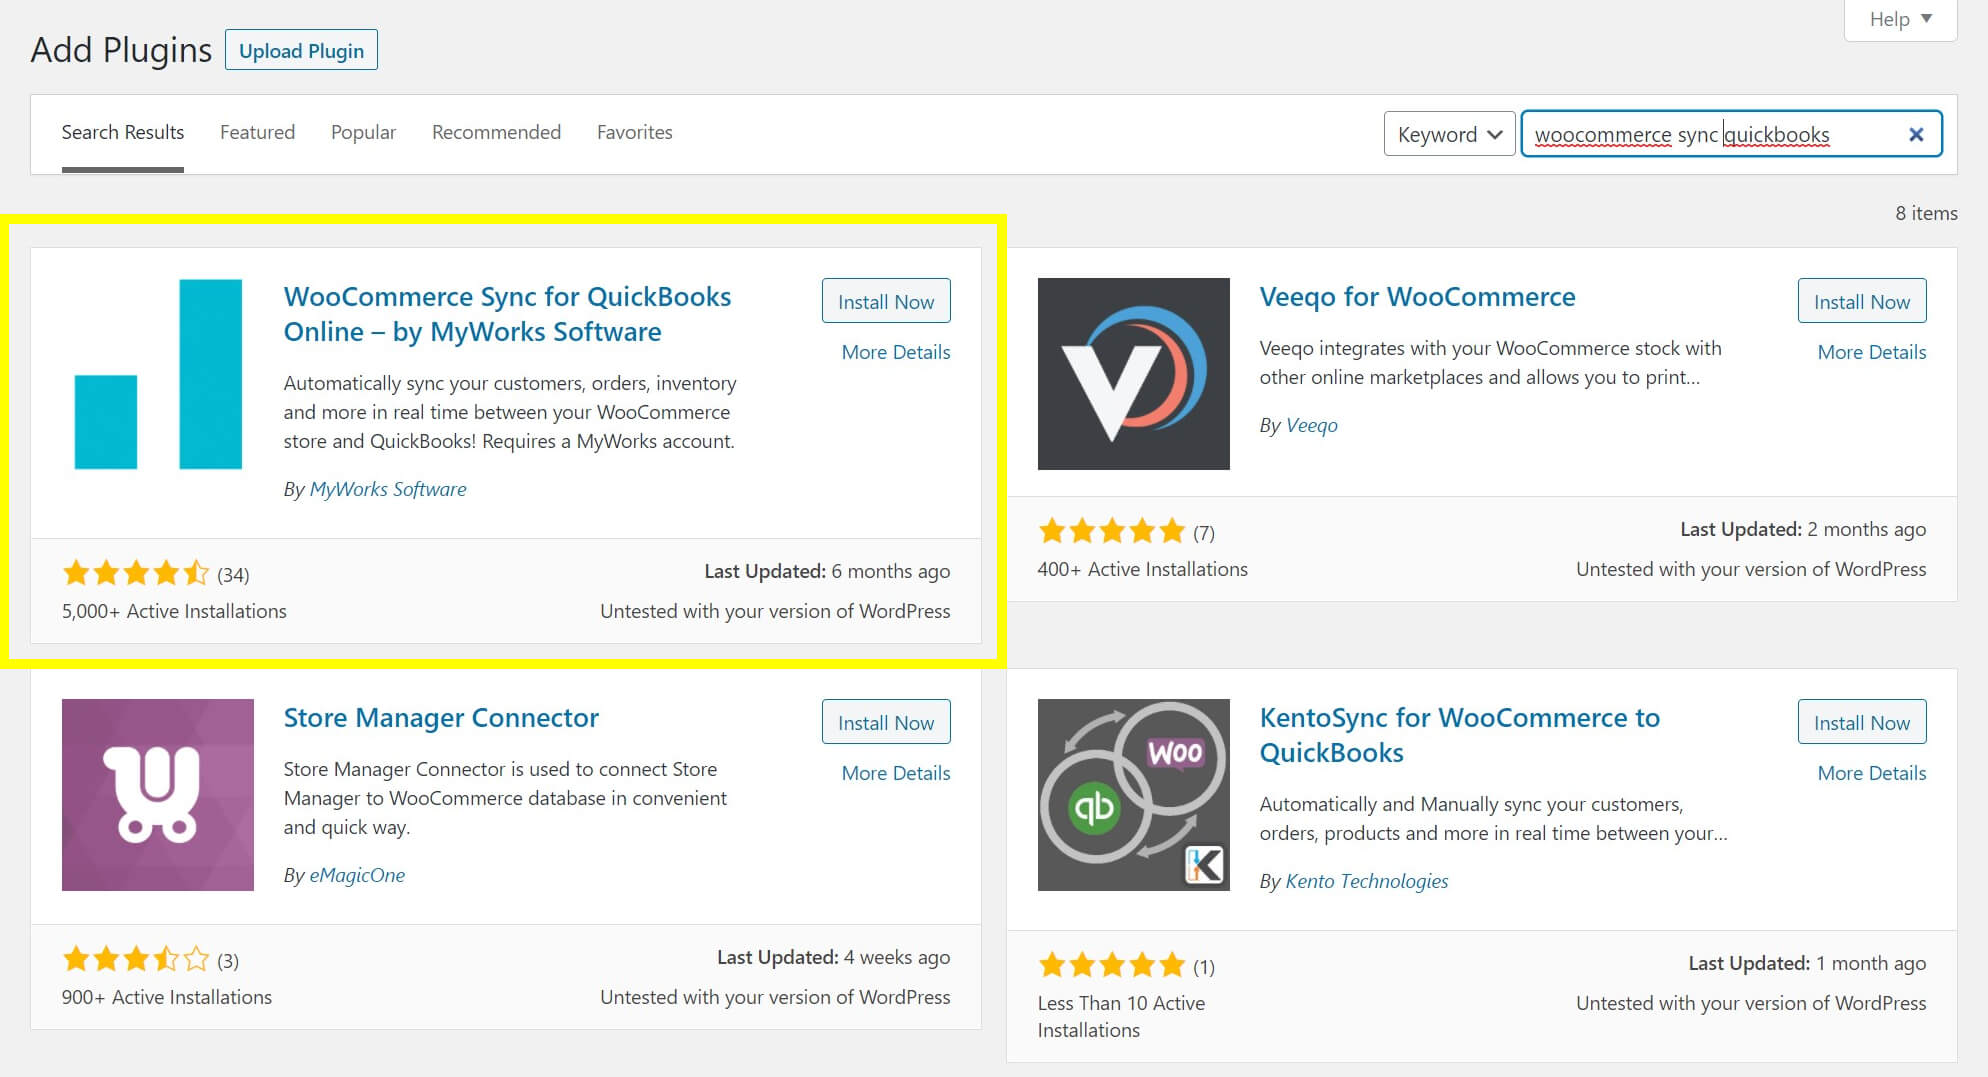
Install and activate the plugin, then head to the next step. Note that this version of the plugin is for QuickBooks Online. If you’re using the Desktop or POS version, you’ll need to grab a plugin specific to those platforms from the vendor’s website.
Step 2: Create a MyWorks Account
With the plugin activated, the next step is to create an account with MyWorks. Navigate to MyWorks Sync > Connection in the main WordPress menu:
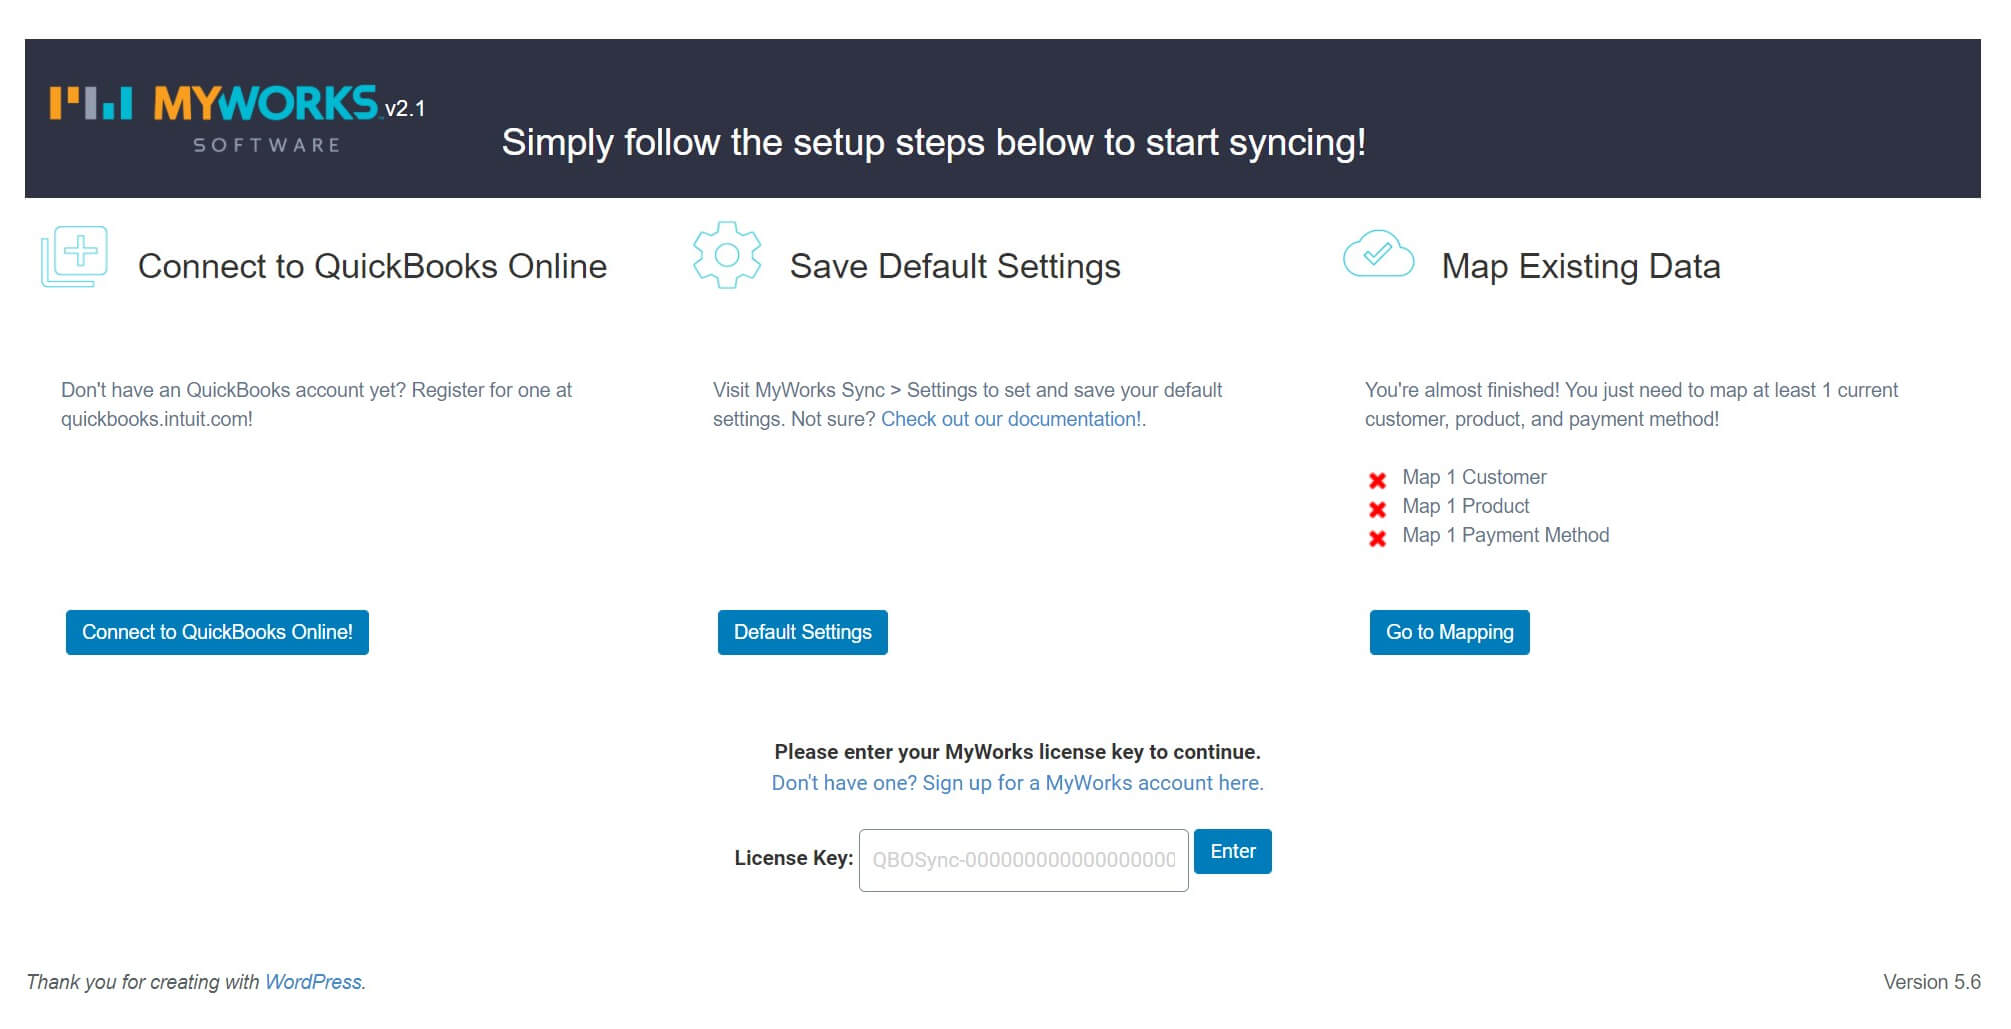
At the bottom of the page, click on the link above the License Key field:
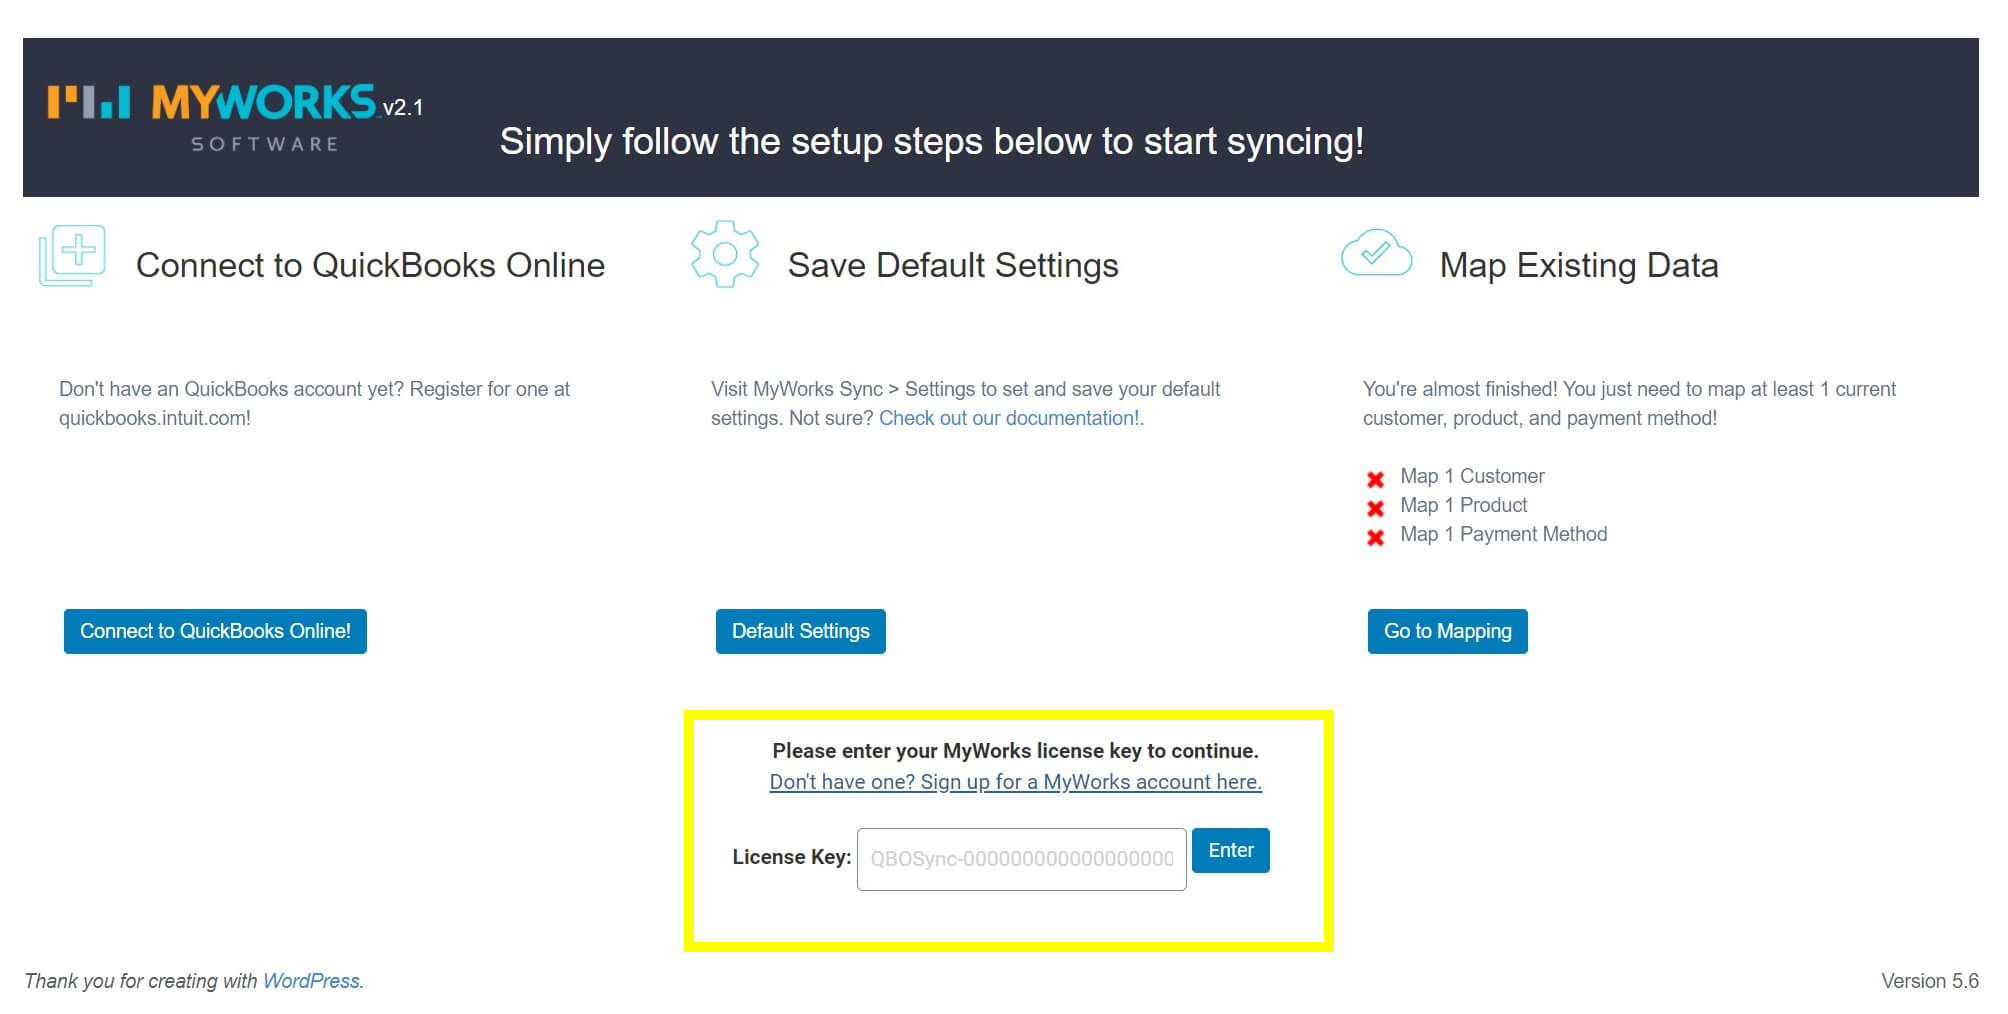
This will take you to the plan selection page on the MyWorks site. Choose the option that best suits your needs, click on Get Started, and follow the instructions presented. After entering a screen or two of information, you’ll be taken to the MyWorks dashboard and presented with your license key.
Click on Copy key, and head back to the plugin settings inside WordPress. Paste the key in the License Key field, and click on Enter to activate your account.
Step 3: Configure Your QuickBooks Settings
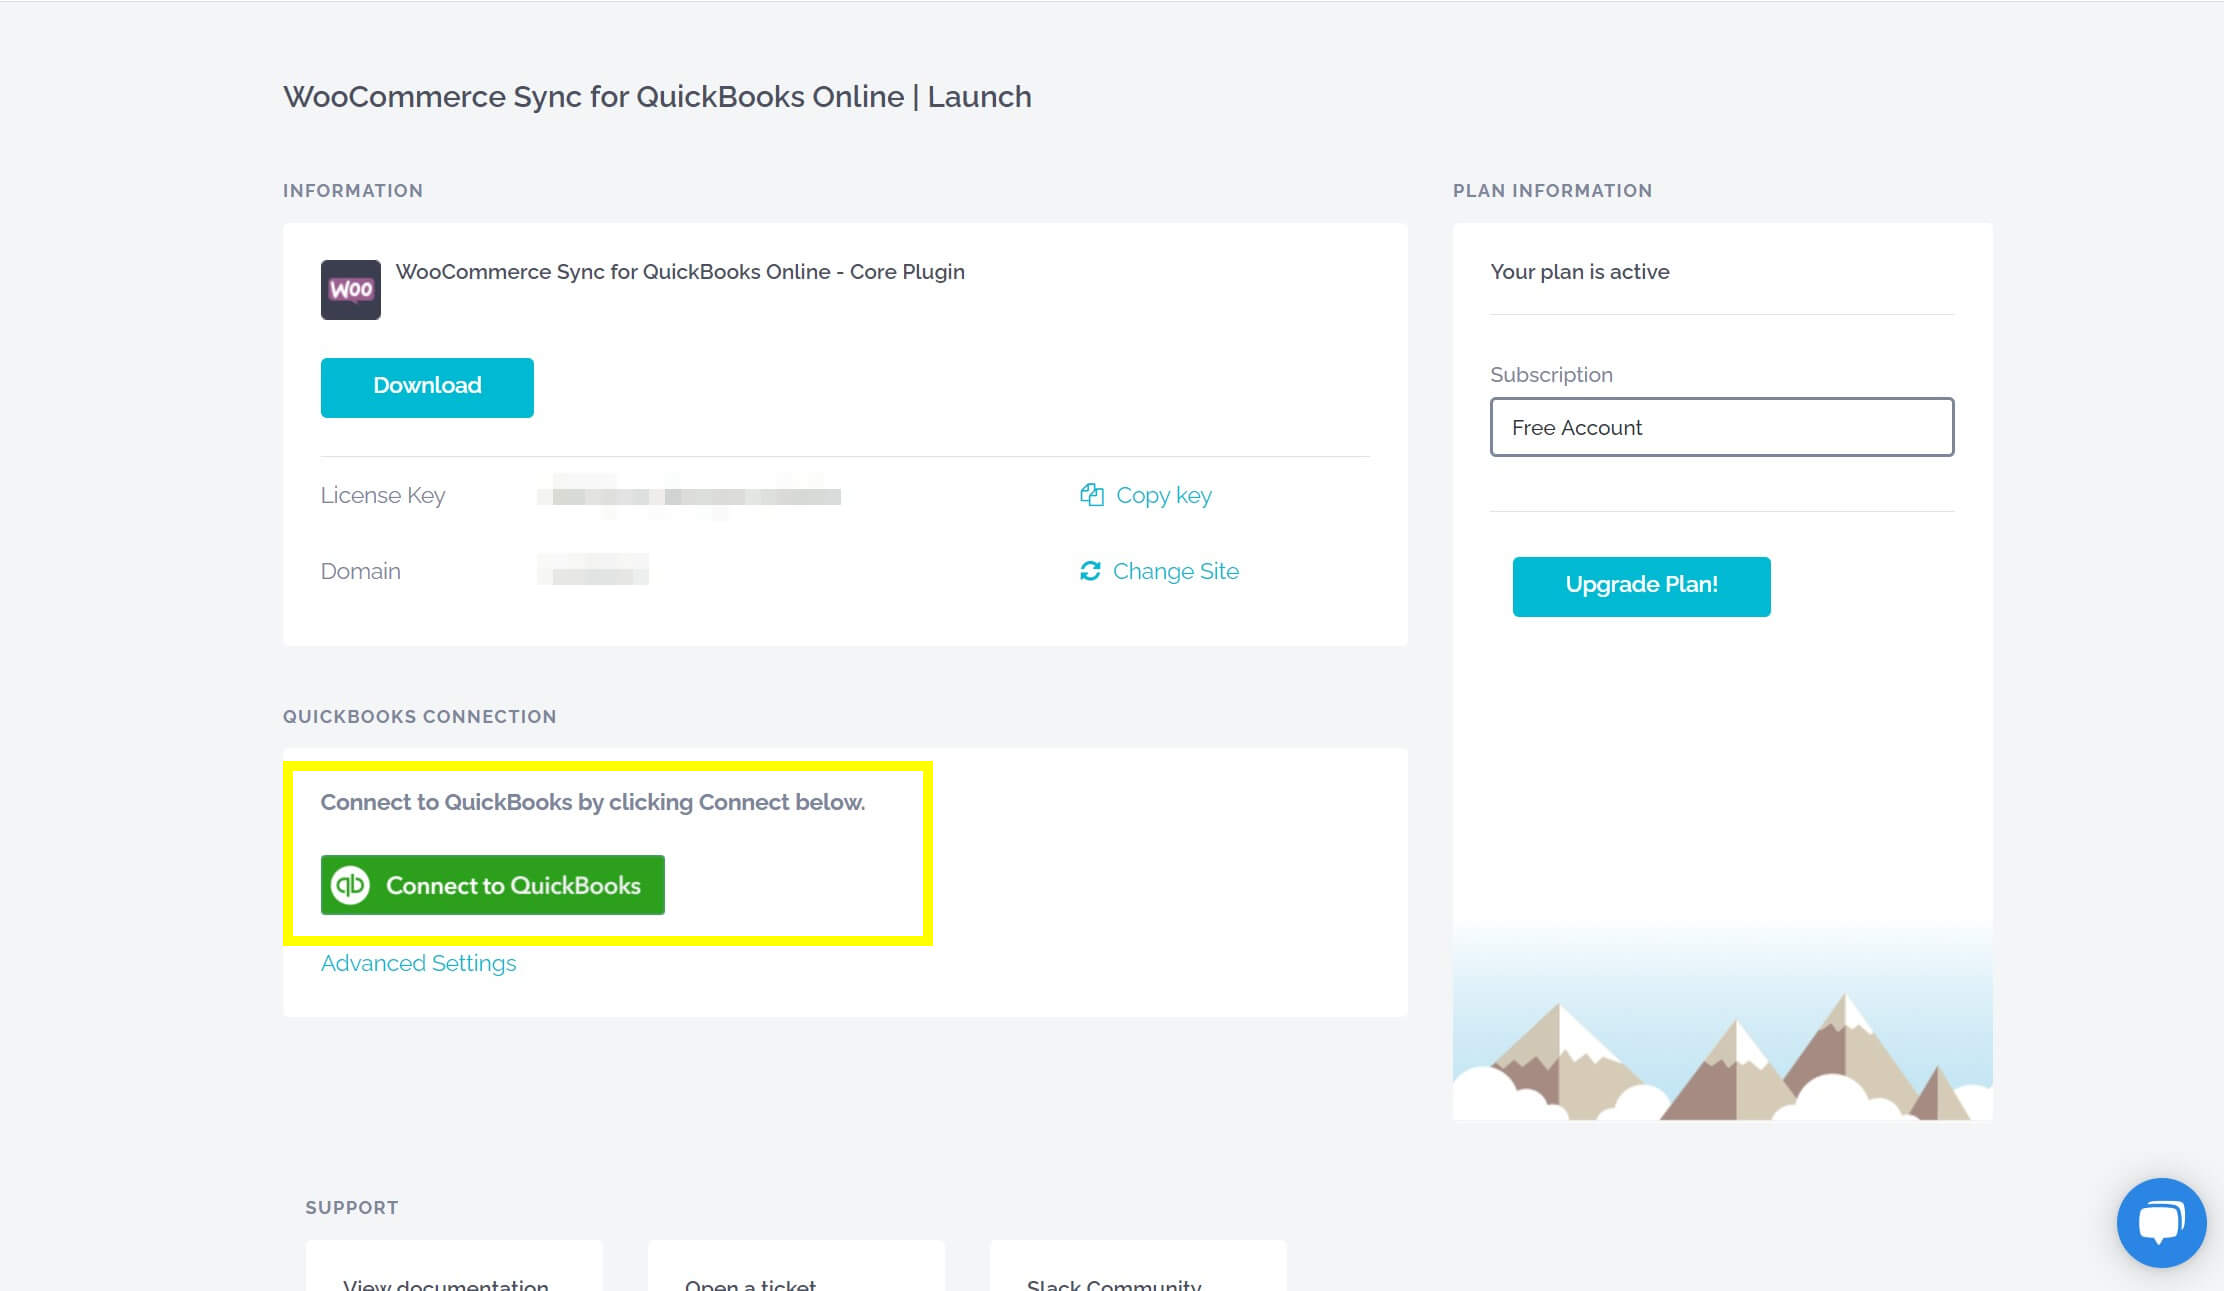
With your MyWorks license activated, you’ll next need to connect your QuickBooks account to the plugin. There’s a bit of hopping back and forth between your MyWorks and WordPress dashboards involved.
From the MyWorks dashboard, click on the Connect to QuickBooks button and follow the prompts:
Once that’s done, head back to the WordPress dashboard and select Connect to QuickBooks Online! there to complete the process:
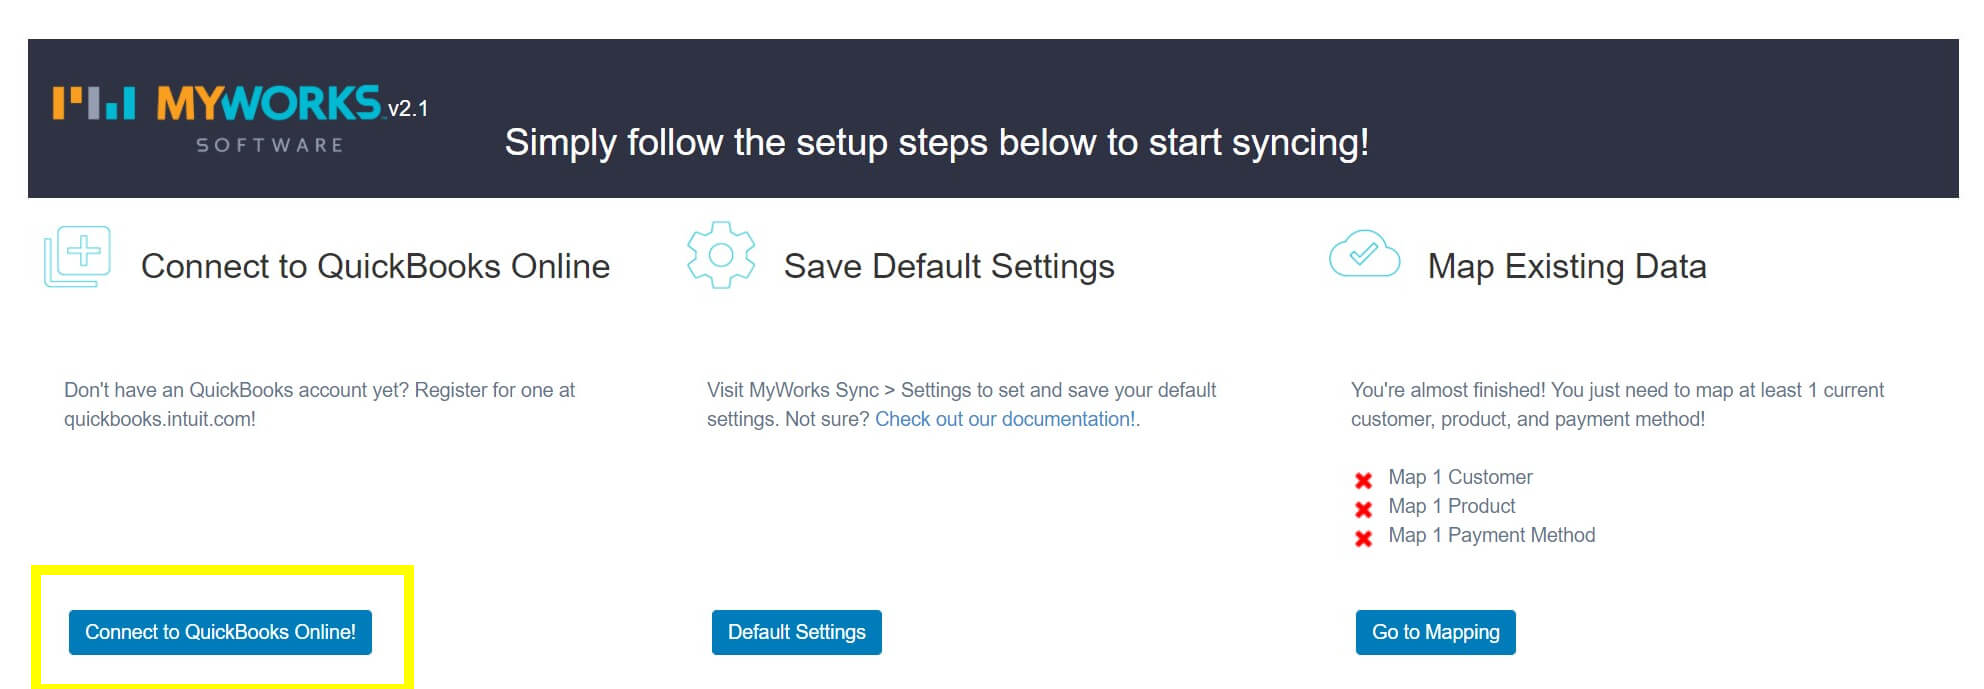
At this point, you’ve connected your accounts. Next, click on Default Settings to configure your basic sync options:

Choose your desired settings from each drop-down menu, and click on Save All. MyWorks provides helpful documentation if you need more information about any of these fields.
Finally, you’ll need to map your WooCommerce customers, products, and payment methods to their QuickBooks equivalents. Navigate to MyWorks Sync > Map in your WordPress dashboard. You’ll see a list of your WooCommerce data, with a drop-down menu to set the QuickBooks equivalent.
Set these how you’d like and click on Save. There’s also a handy ‘automap’ feature. Again, you can consult the MyWorks tutorials on mapping if you need additional help with these settings.
Step 4: Sync Your Old Data
At this point, WooCommerce and QuickBooks will start syncing any new data that comes in. To get your historical data synced as well, you’ll need to use the plugin’s Push feature. Just head to MyWorks Sync > Push, select the customers you want to sync from the list, and click on Push Selected Clients.
Repeat this process for Orders, Products, Payments, and other relevant data. Once you’re done pushing your historical data, you’re all set!
Conclusion
If you find it a chore to keep your books manually updated, you’re not alone. While this task is essential, it’s also a huge time sink that takes you away from more valuable work. Fortunately, WordPress and WooCommerce are highly extensible, and integrations exist to automate this key process.
To start syncing your WooCommerce and QuickBooks data, just follow these four simple steps:
- Install the WooCommerce Sync for QuickBooks plugin. This plugin offers an excellent balance of features and cost.
- Create an account and choose a plan – there’s even a free tier available.
- Configure your settings to ensure that everything you need is synced properly.
- Sync your historical data to QuickBooks. New data is automatically synced.
Do you have any questions about this WooCommerce and QuickBooks integration? Let us know in the comments section below!
Featured image by Pretty Vectors / shutterstock.com.


Great write-up here Will. Since the first day I came to your blog, its been freebies worth hundreds of dollars from you and I’ve learnt another great deal in this post again. Subs means alot
Thanks, Lisa! So glad to hear that the post was useful to you.
I really like the idea of syncing both, i will surely try this for once on my e-commerce website sooner. and really love the way your explain the points
Thanks, Jagmohan! Hope it goes well.
I’m a big fan of WooCommerce Sync for QuickBooks. Their support is pretty top notch and fairly responsive.
Thanks for your input, Robin! Glad to hear it works well for you.