")
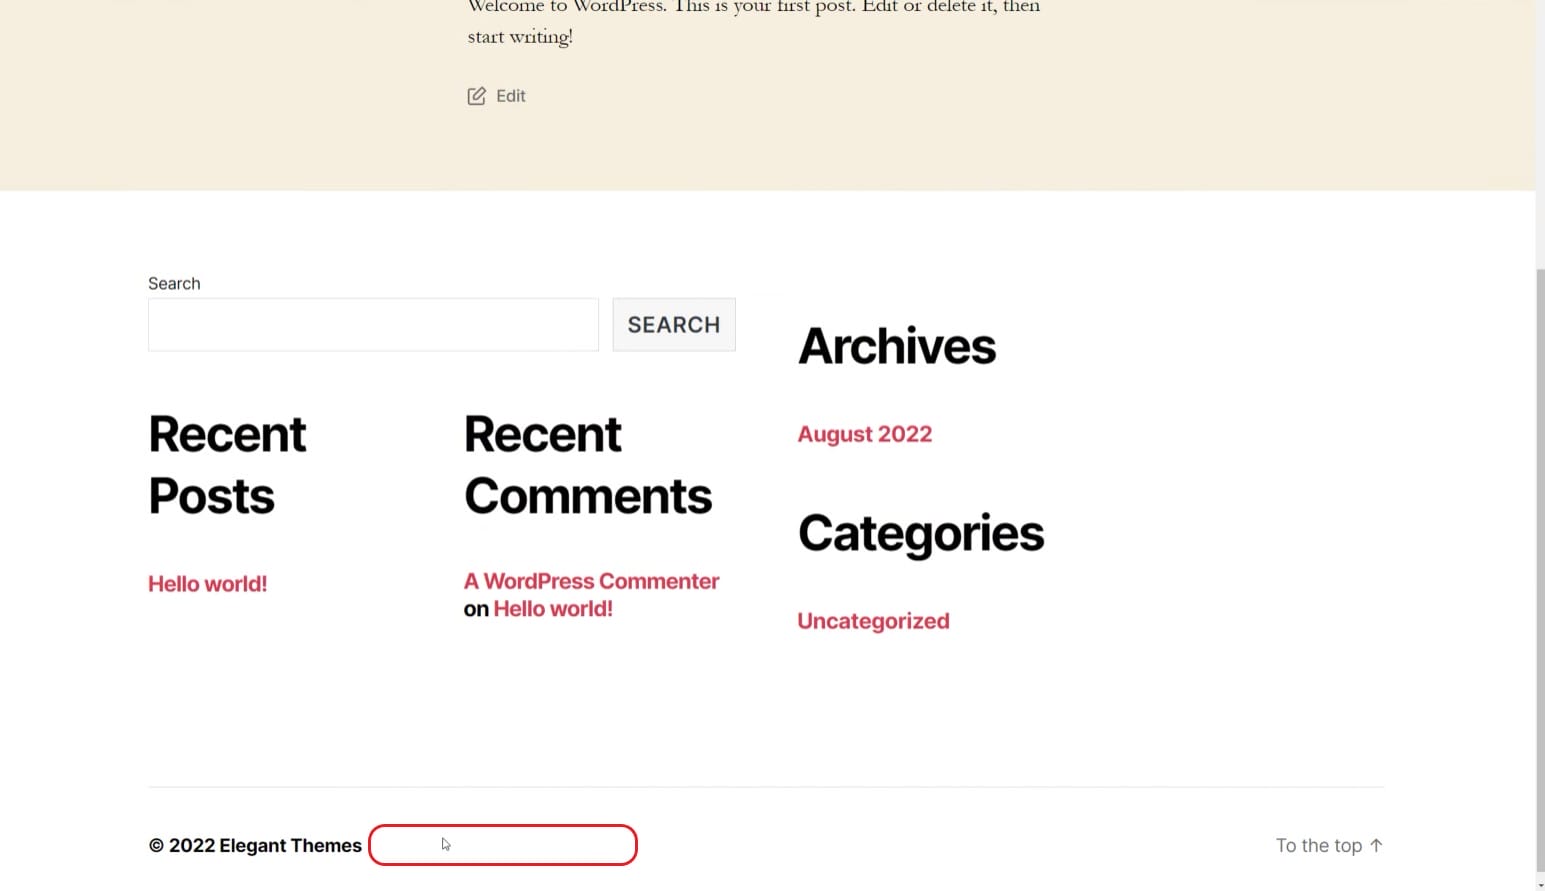
Website footers have always been one of the most difficult elements of web design to get right. And WordPress footers are no different. Whether you’re just hoping to figure out how to remove “Proudly Powered by WordPress” in the footer or trying to completely redesign your footer, knowing how to edit your footer in WordPress is essential.
In this post, we’ll go over the most helpful ways of editing the WordPress footer so you can choose the right one for you.
Footer customization comes built-in to WordPress so every website will have some way of editing and designing it. With the new WordPress Block Editor and Full Site Editing capabilities of WordPress, editing a footer is getting easier for WordPress users (especially for WooCommerce sites). But not all themes are the same, and some of the classic themes will rely on older methods.
With that in mind, here are 4 ways to edit your footer in WordPress.
The WordPress Customizer is a great tool that allows you to change the look and feel of your WordPress site. With the Customizer, you can change footer (and theme) colors, fonts, and other styling options. You can also add custom widgets and menus to your footer.
Just a note, the traditional customizer experience is being used less and less in themes as the Block Editor gains more and more features and adoption. If the “Customize” button takes you to a Block Editor, you’ll learn how to handle that in the next sections.
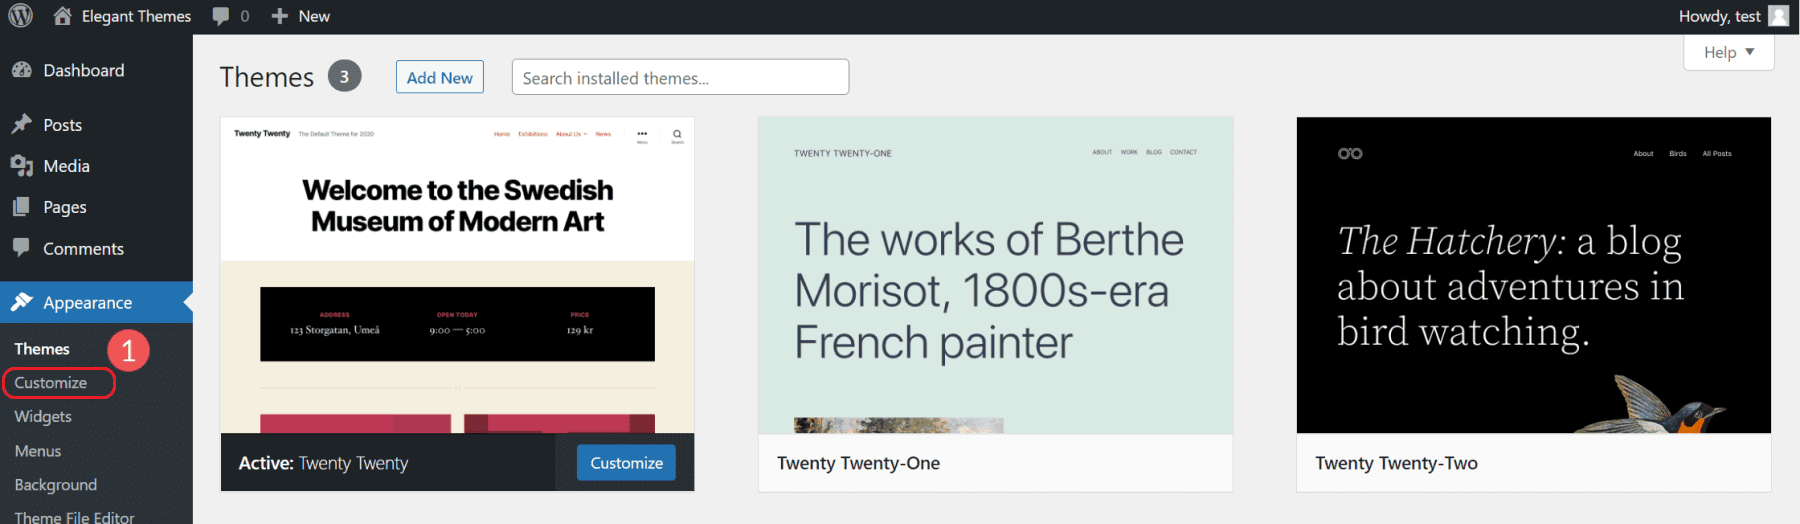
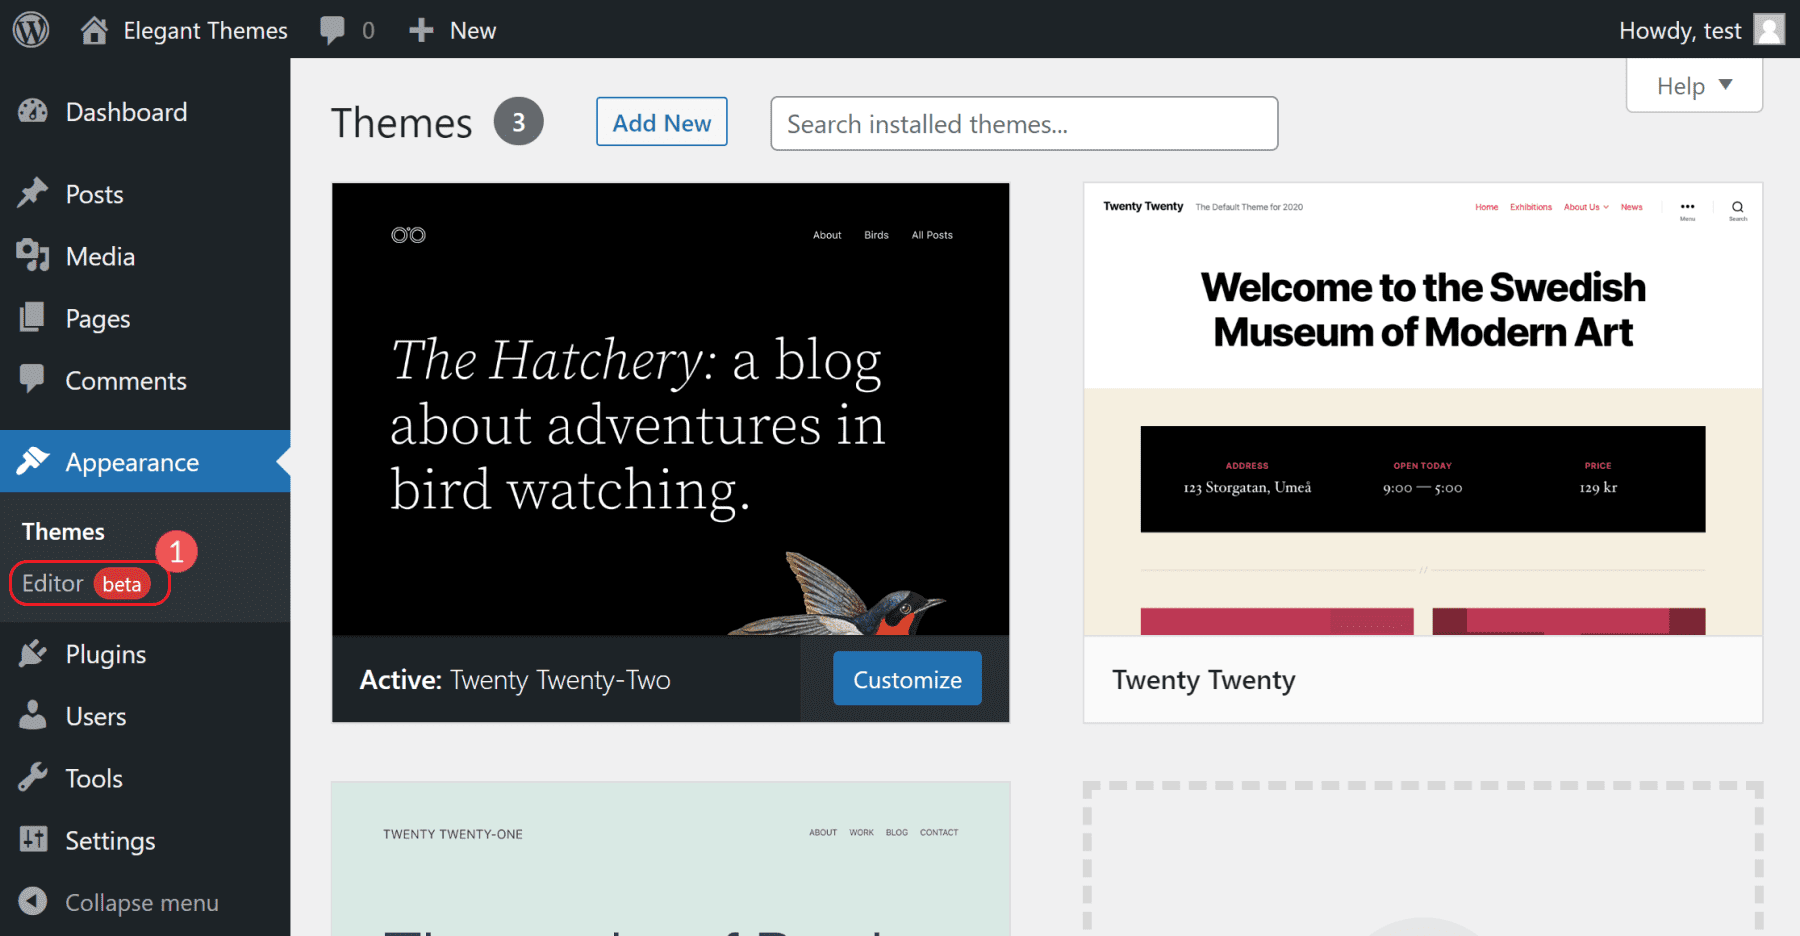
In your Admin Dashboard view, click on “Appearance” and then “Customize”.
This will open up one of WordPress’ visual site editing experiences. The options within this area will vary greatly depending on your theme. For this example, we are using the popular Twenty-Twenty Theme.
How to Add New Blocks to Footer Area
To edit the footer widgets in the customizer, click on Widgets and then scroll to the bottom of the page. Look for the Footer Widget areas to see the parts of the footer that are editable in the Customize View. To get there quicker, you can also click on the blue pencil icon to get there quicker.
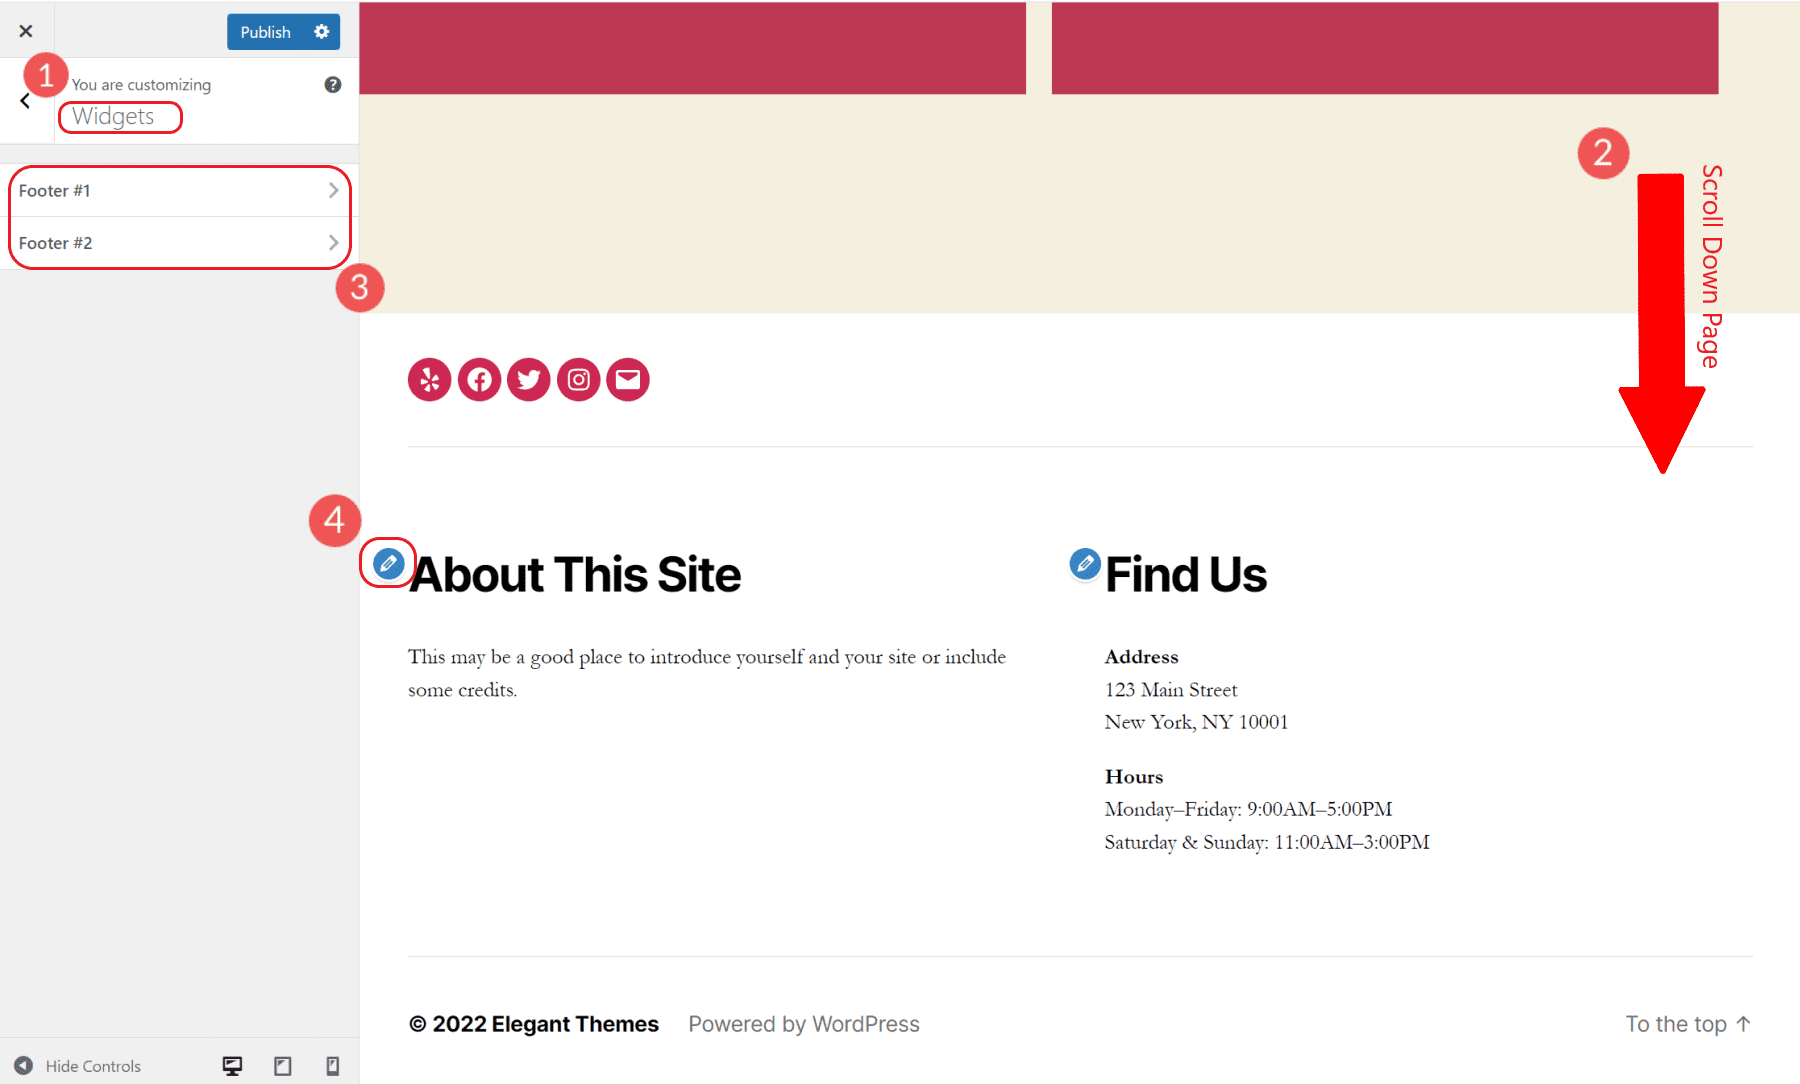
You can edit these widget areas with a paired-down Block Editor. You can add or remove blocks to that widget area. Keep in mind that the theme defines where the widget area ends up.
To add a footer navigation menu, add the Navigation block to one of your footer widget areas. If you have multiple menus built on your site you can choose the one you want and also give the block a displayed title.
Change Theme Colors in WordPress Customizer
The Twenty Twenty WordPress default theme comes with the ability to change major theme colors. You can pick your header/footer background color, body background color, and a primary accent color for the site. This dynamically changes these colors everywhere they are used on the website.
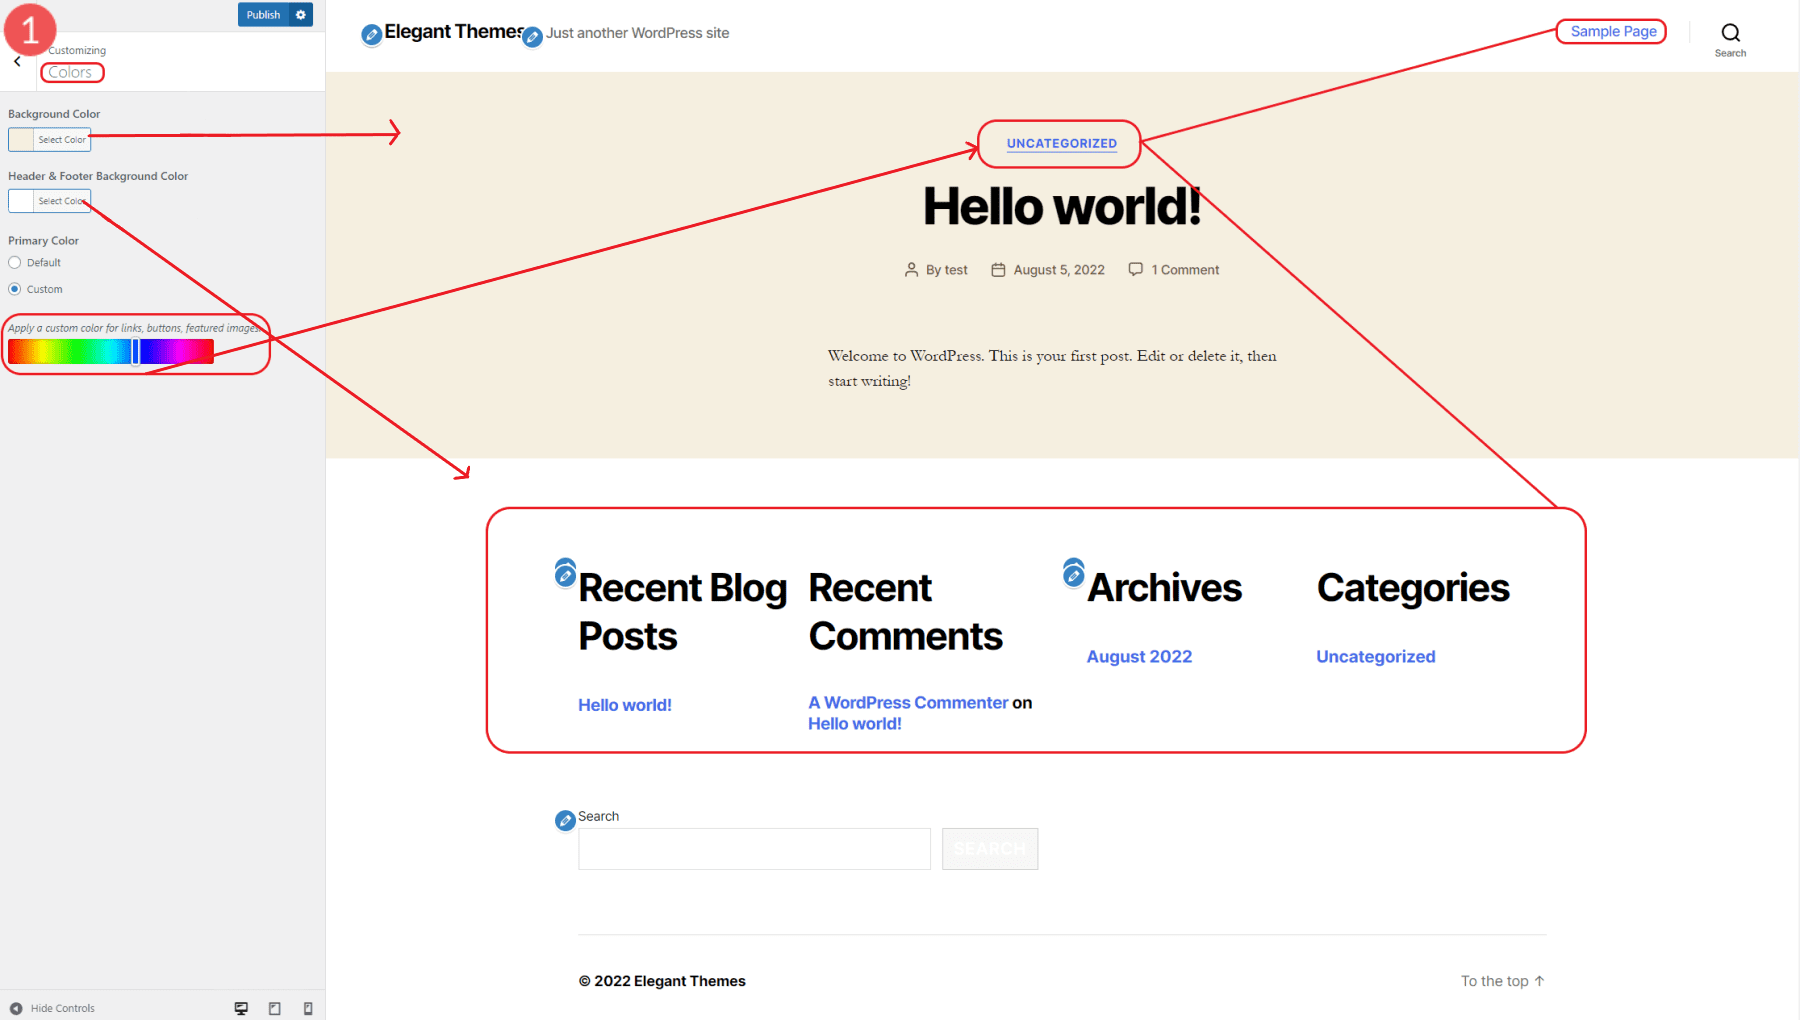
Setting the Primary color most notably changes the color of linked text.
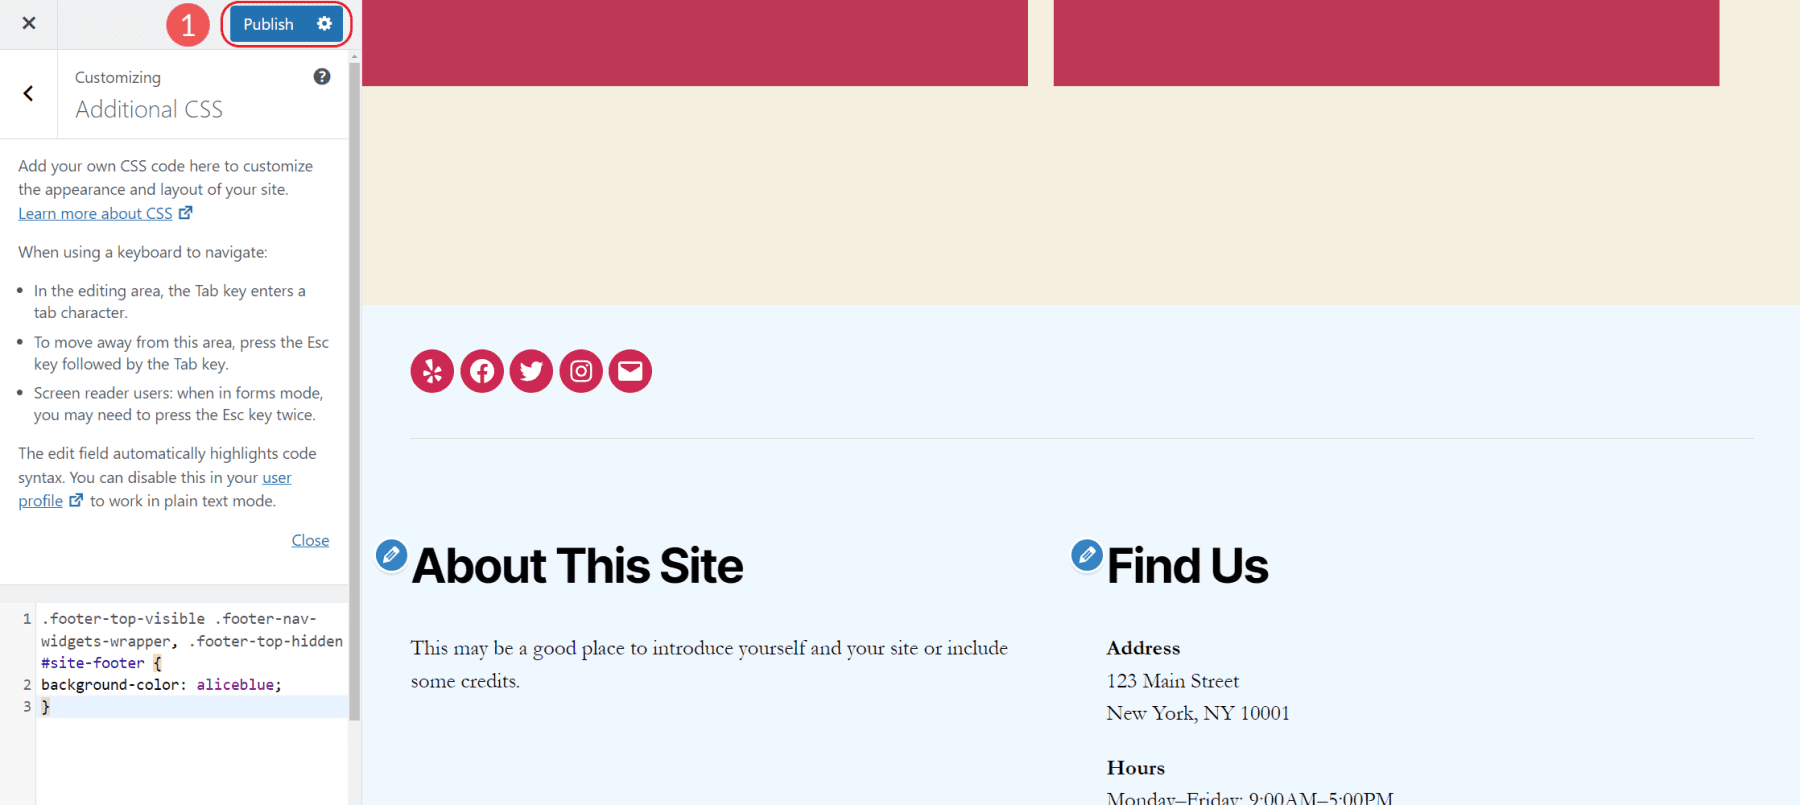
Add Custom CSS to Edit Footer Styles in the WordPress Customizer
The customizer has a way of adding custom CSS to your website and previewing how it looks.
In the root pane of the Customizer, navigate to Additional CSS (the last option). For this example, we are going to change the background color of the footer with a simple snippet of CSS as follows:
.footer-top-visible .footer-nav-widgets-wrapper, .footer-top-hidden #site-footer {
background-color: aliceblue;
}
Once we add the CSS we will see a preview of how it looks instantly.
You can choose any predefined CSS color name or hex code. Publish your changes once you dial in your CSS to apply it to your website.
Different Footer Customize Options by Theme
Some themes take a completely different approach to edit footers (and other site sections) in the Customizer. There are too many such themes to show but they supply extra options in the customizer for editing styles, layouts, and general functionality.
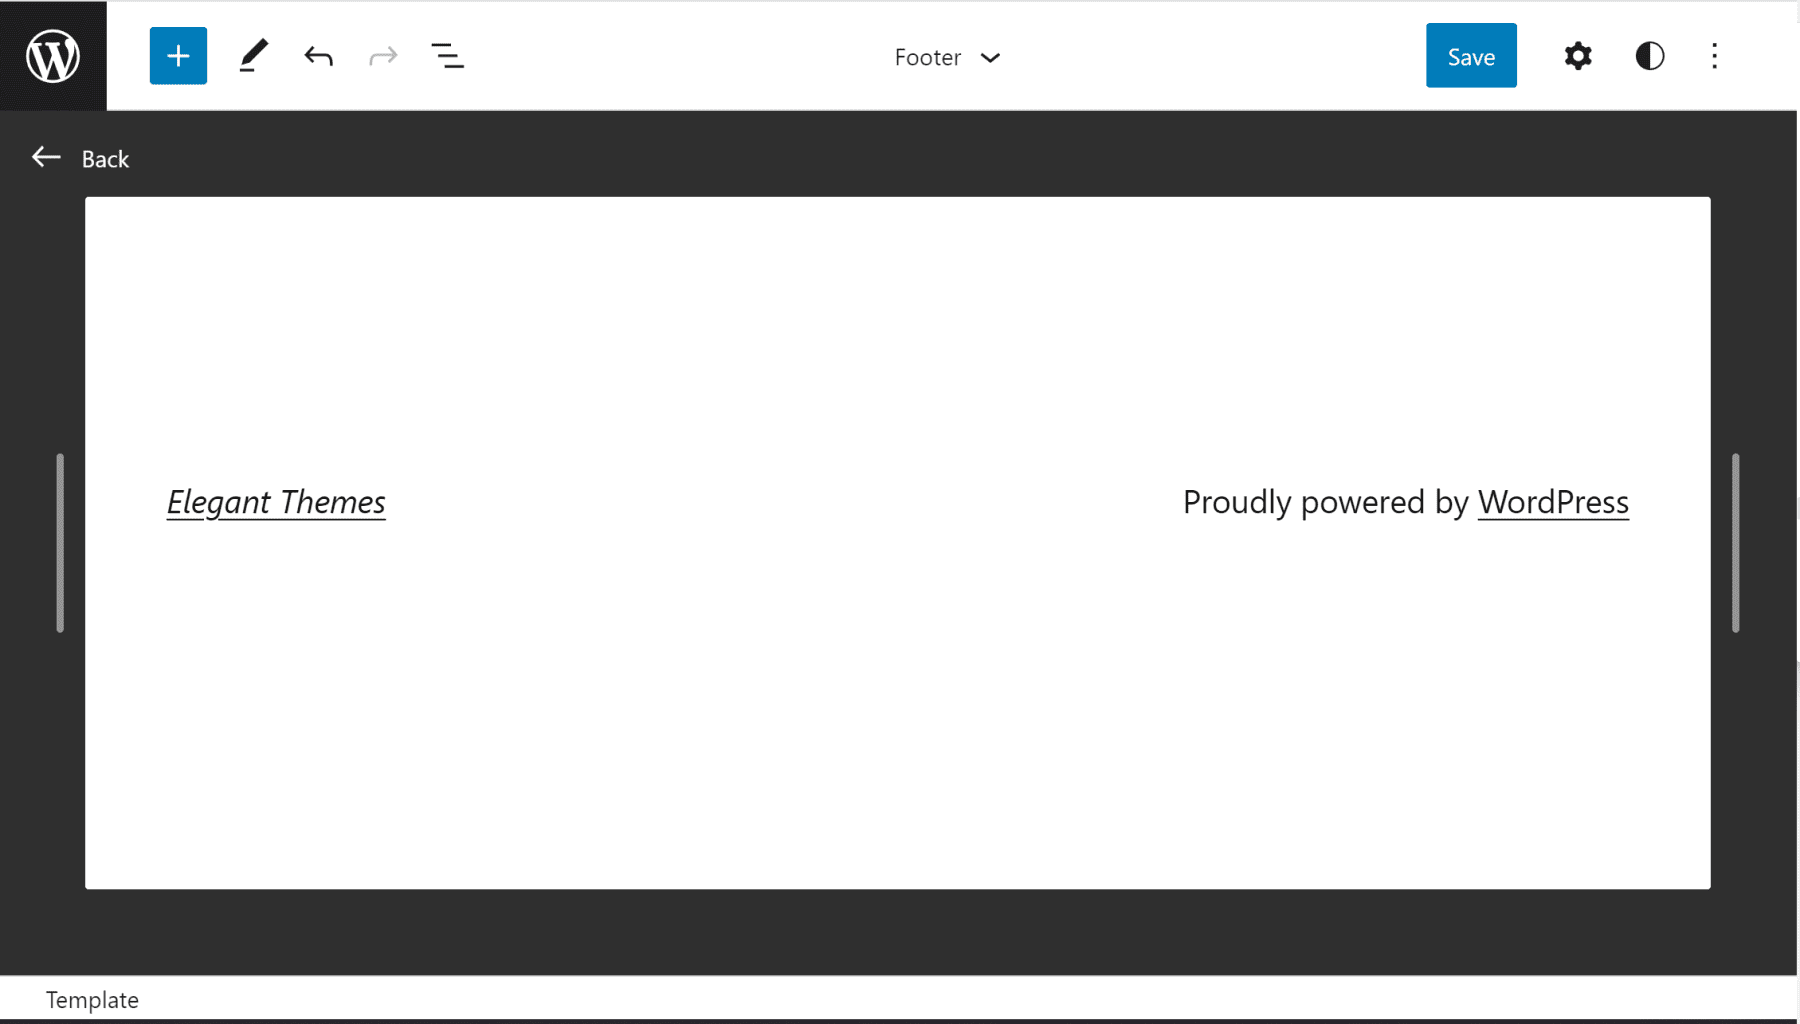
Editing the footer in the WordPress Block Editor is very easy if your theme is a Block Theme. To show you how easy this is, we’ll edit a footer using the Twenty Twenty-Two default theme.
Click “Appearance” and then “Editor”. This will load the home page of your website in the block editor.
Next, scroll down the page until you see your site’s footer. Then, click on the footer section to start editing. You’ll be able to edit the footer just like you would with a page or post in the block editor.
However, if you are not familiar with how this editor works, read this article explaining how to use the Block Editor.
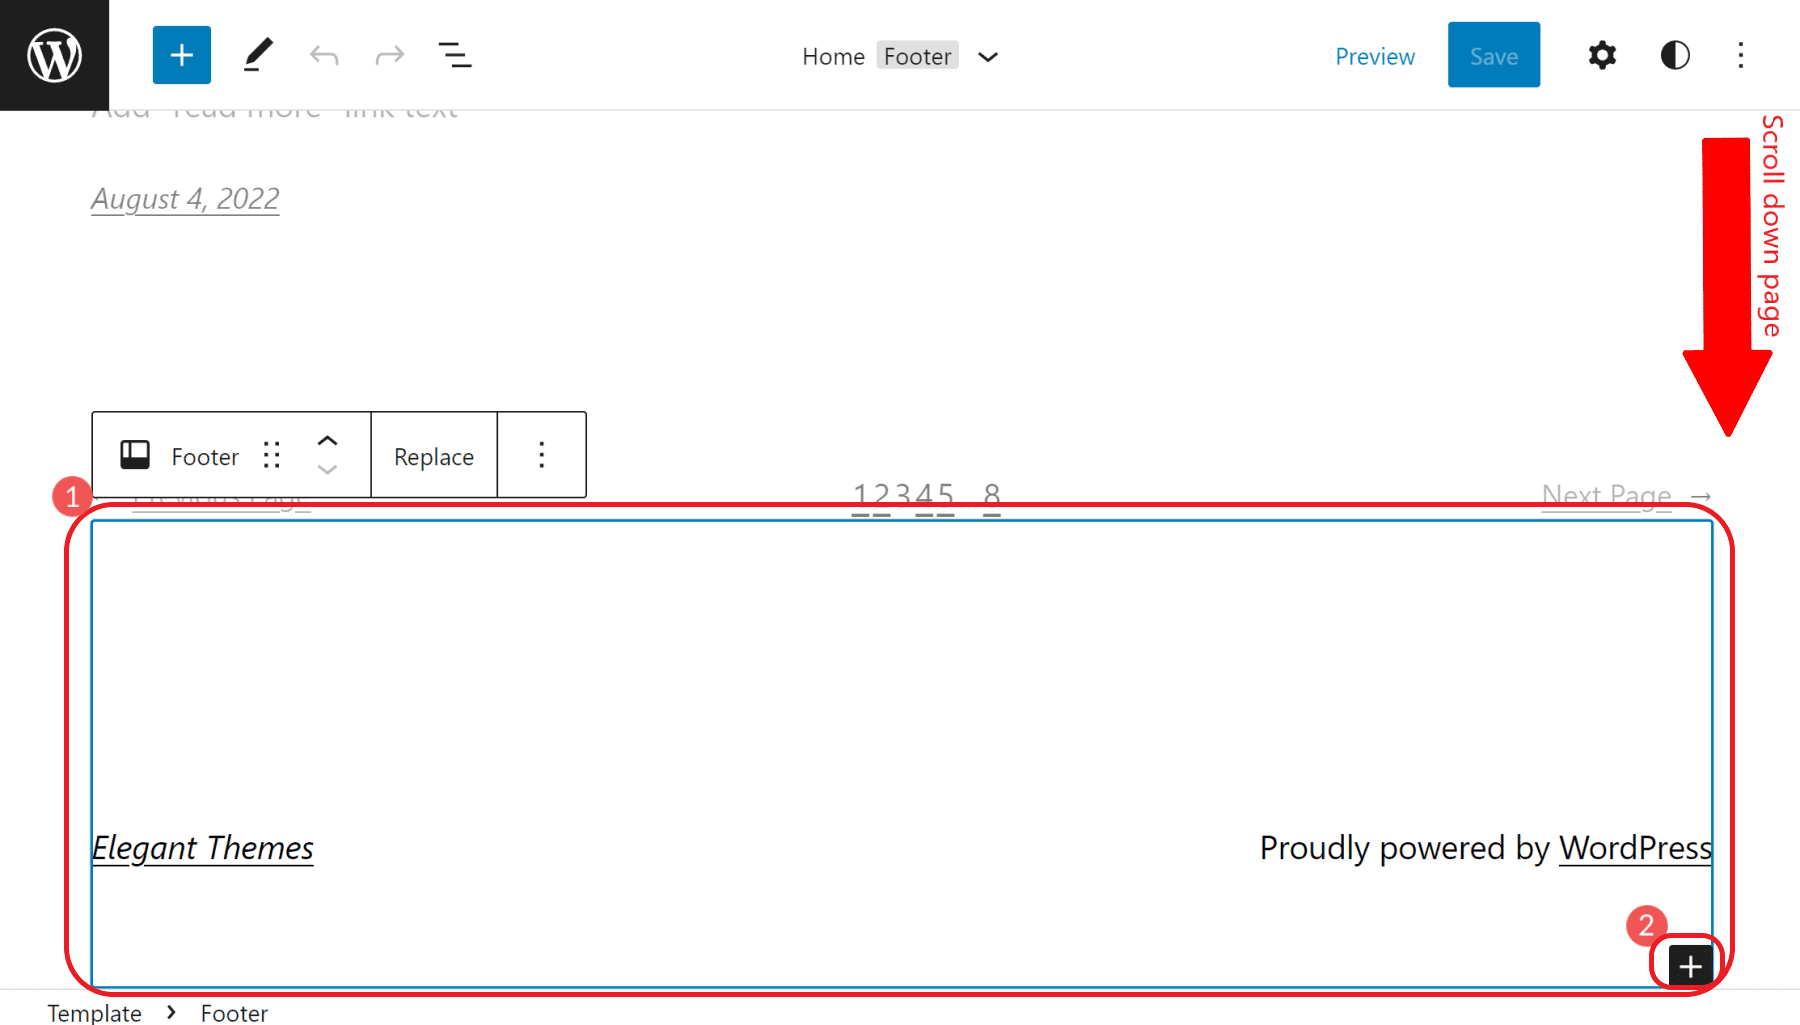
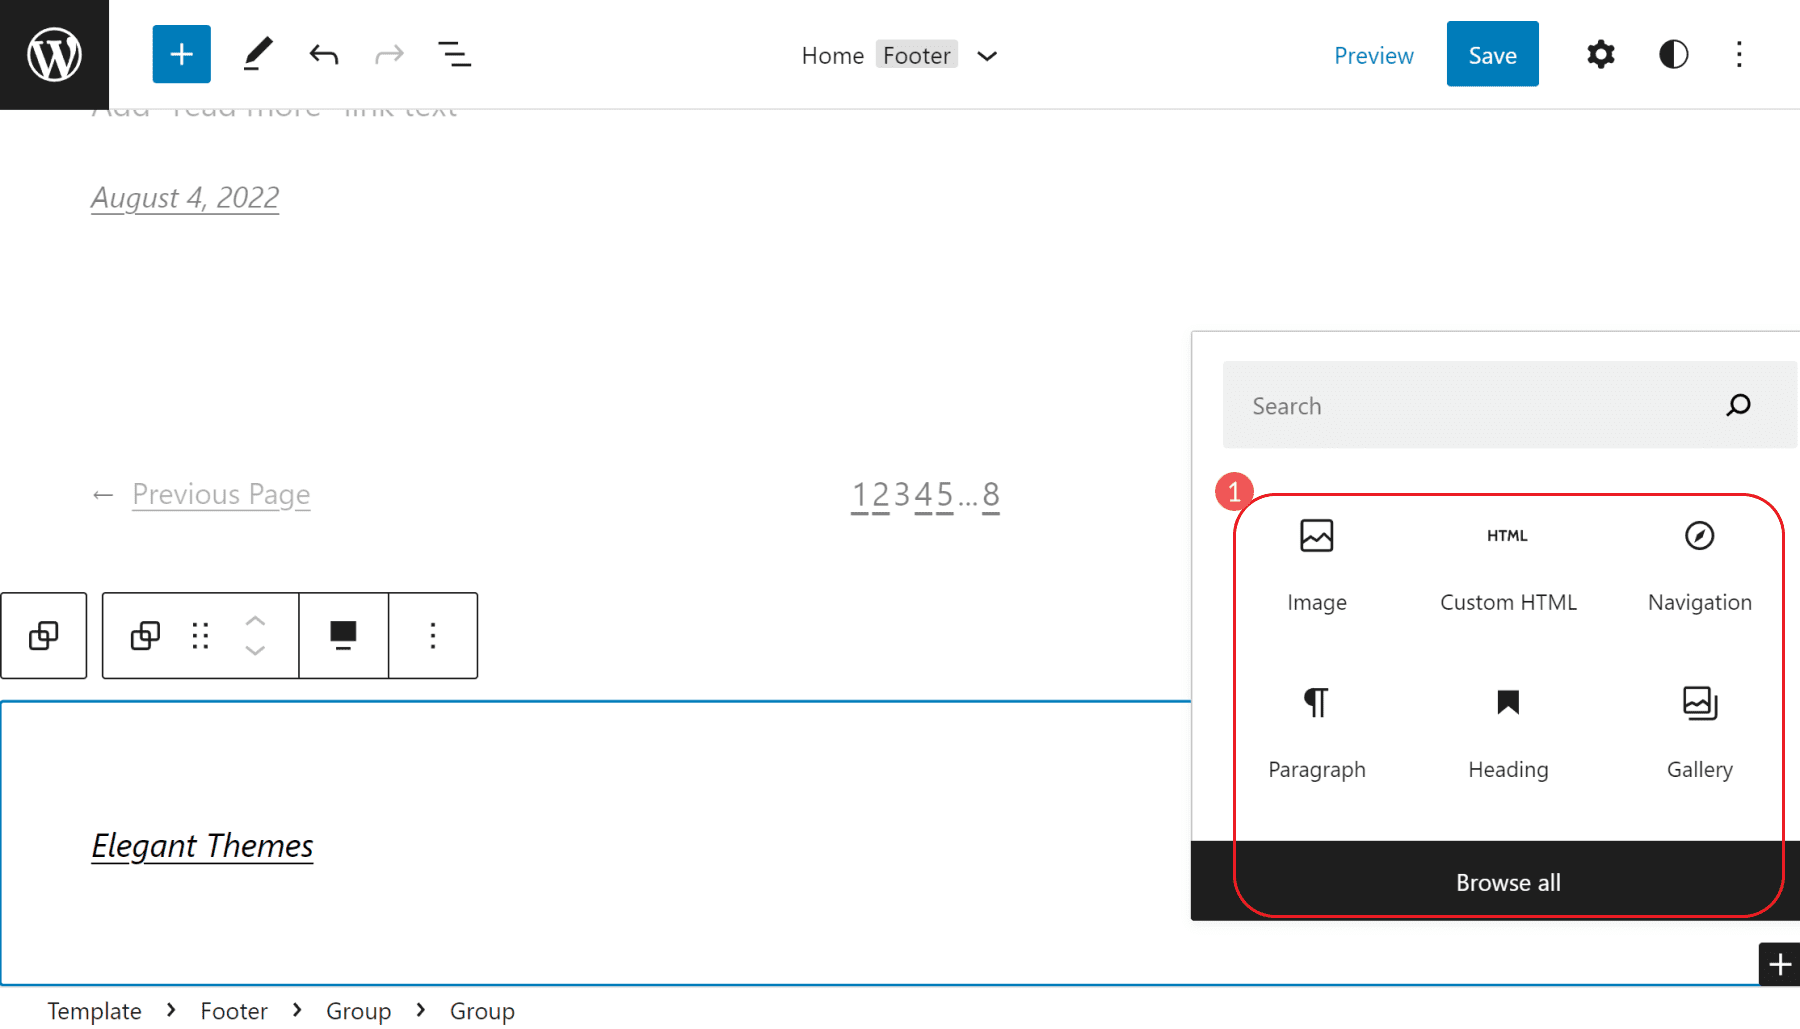
You can add block elements to your footer as well. Try adding a footer menu (called a Navigation block), an Image block for your logo, or even Custom HTML for an external email subscriber form.
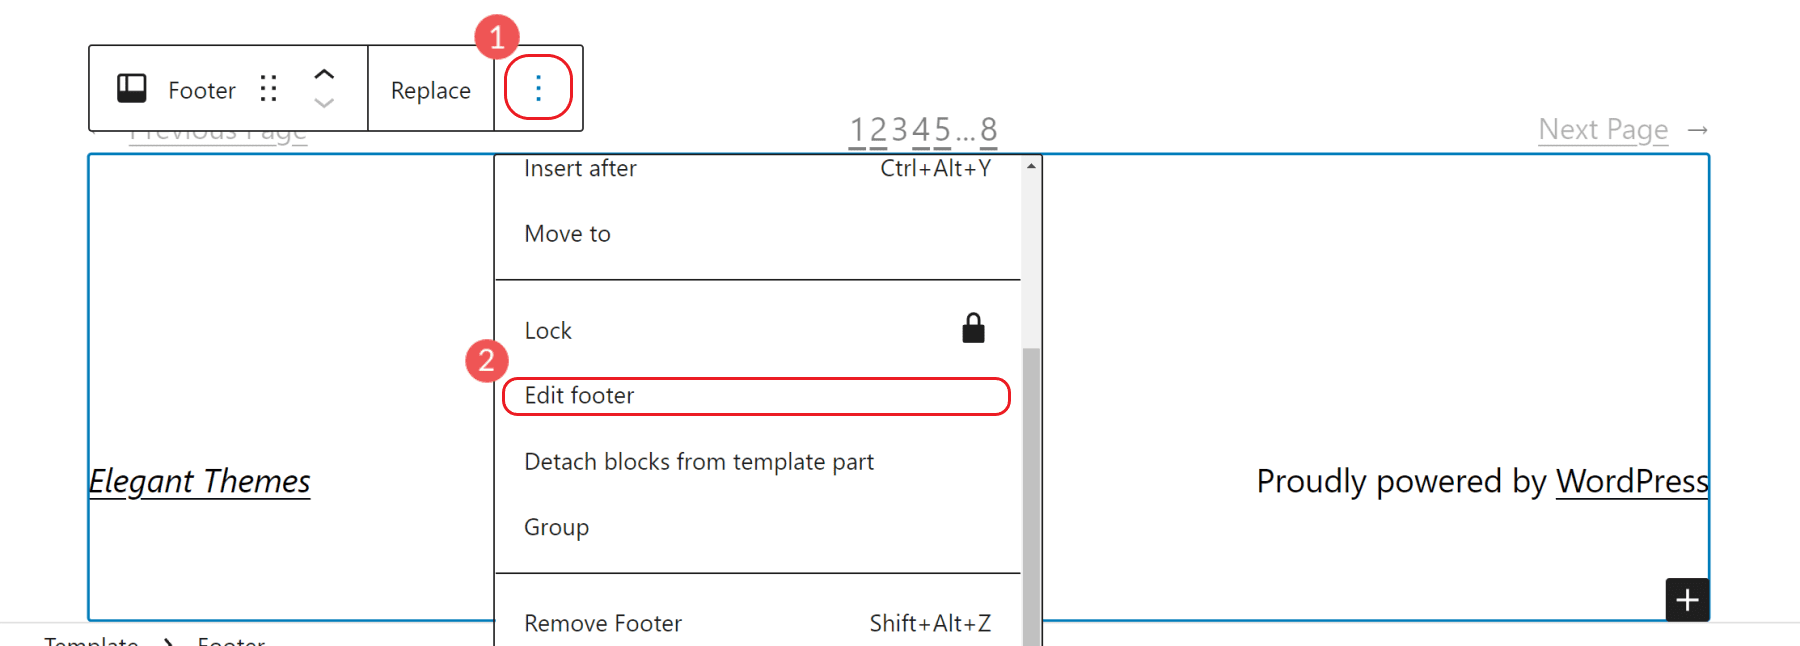
Additionally, if you want to edit the footer, distraction-free, you can do so with two clicks. Click the vertical Ellipsis (⋮) menu icon and select “Edit Footer”.
This opens a new editing view that takes away all other page elements except for the footer you are editing. The block editor in this view works the same—just with a little more focus.
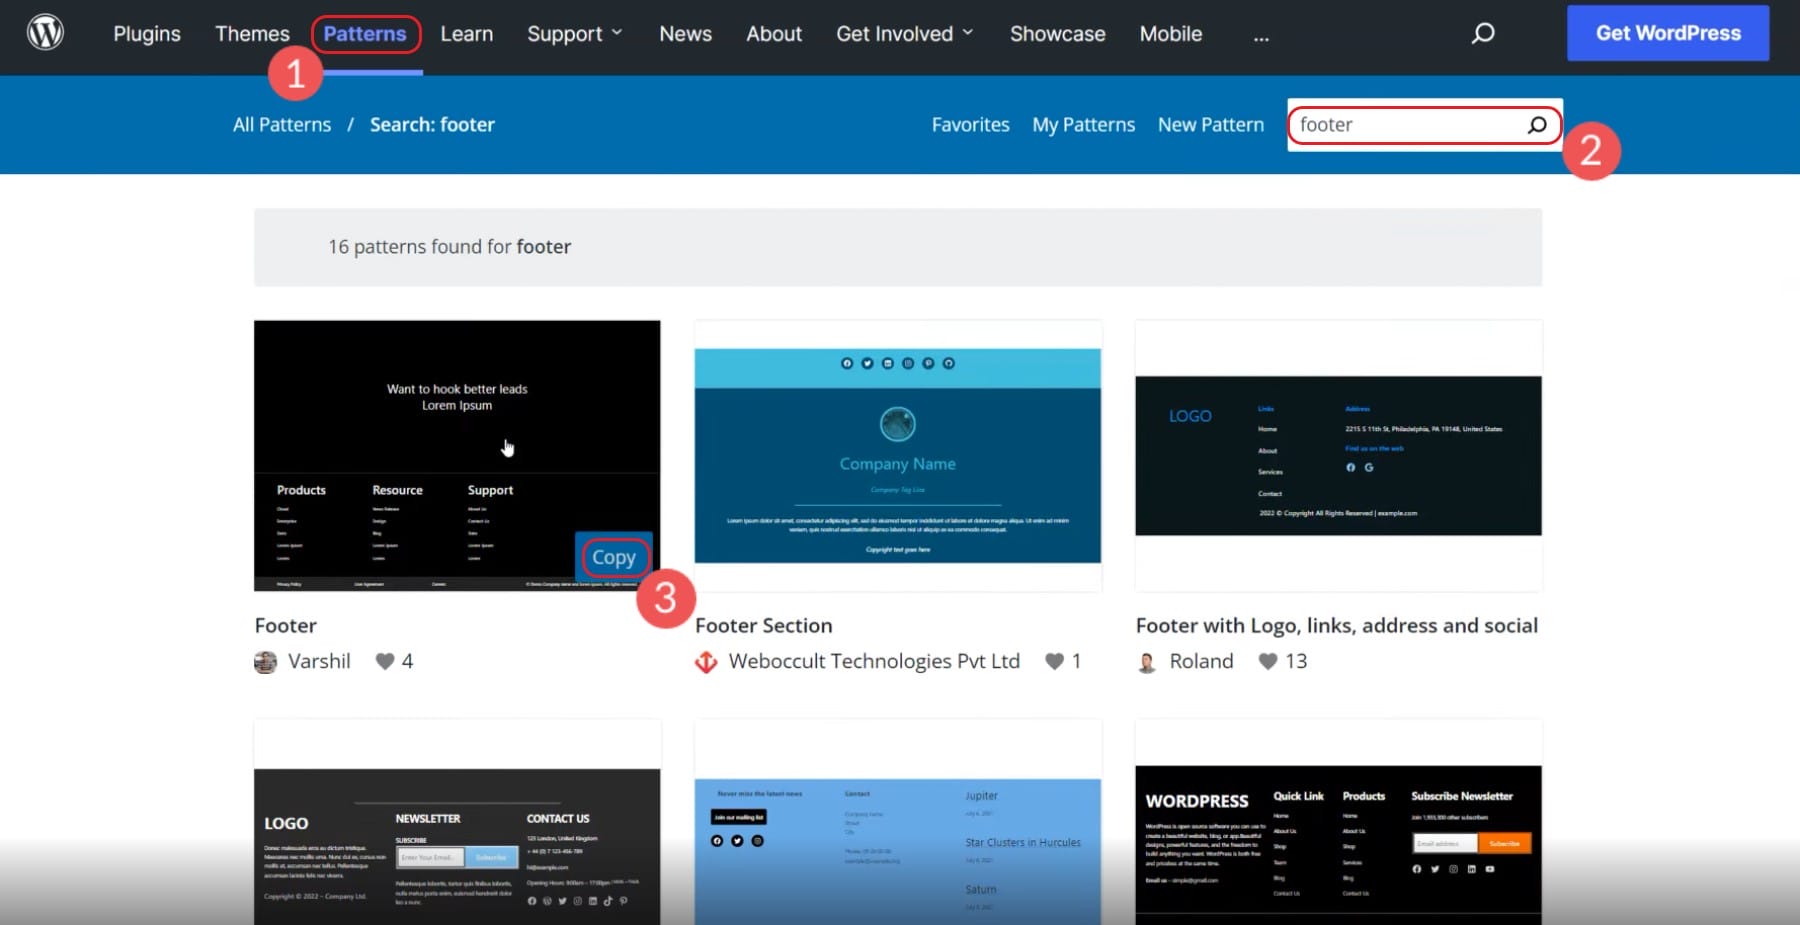
Copying Pre-made Footer Block Patterns
Patterns are a newer addition to the block editor. Patterns give designers the ability to create wonderful block configurations and share them with other people. Public patterns can be found in the Block Pattern Directory.
For our purposes, you can search for the patterns for “footers”. This will narrow down the list that you can choose from. Hover over any pattern that you like, click copy, and head back over to your website. The pattern code will be in your clipboard—ready to paste.
Add a new Custom HTML block.
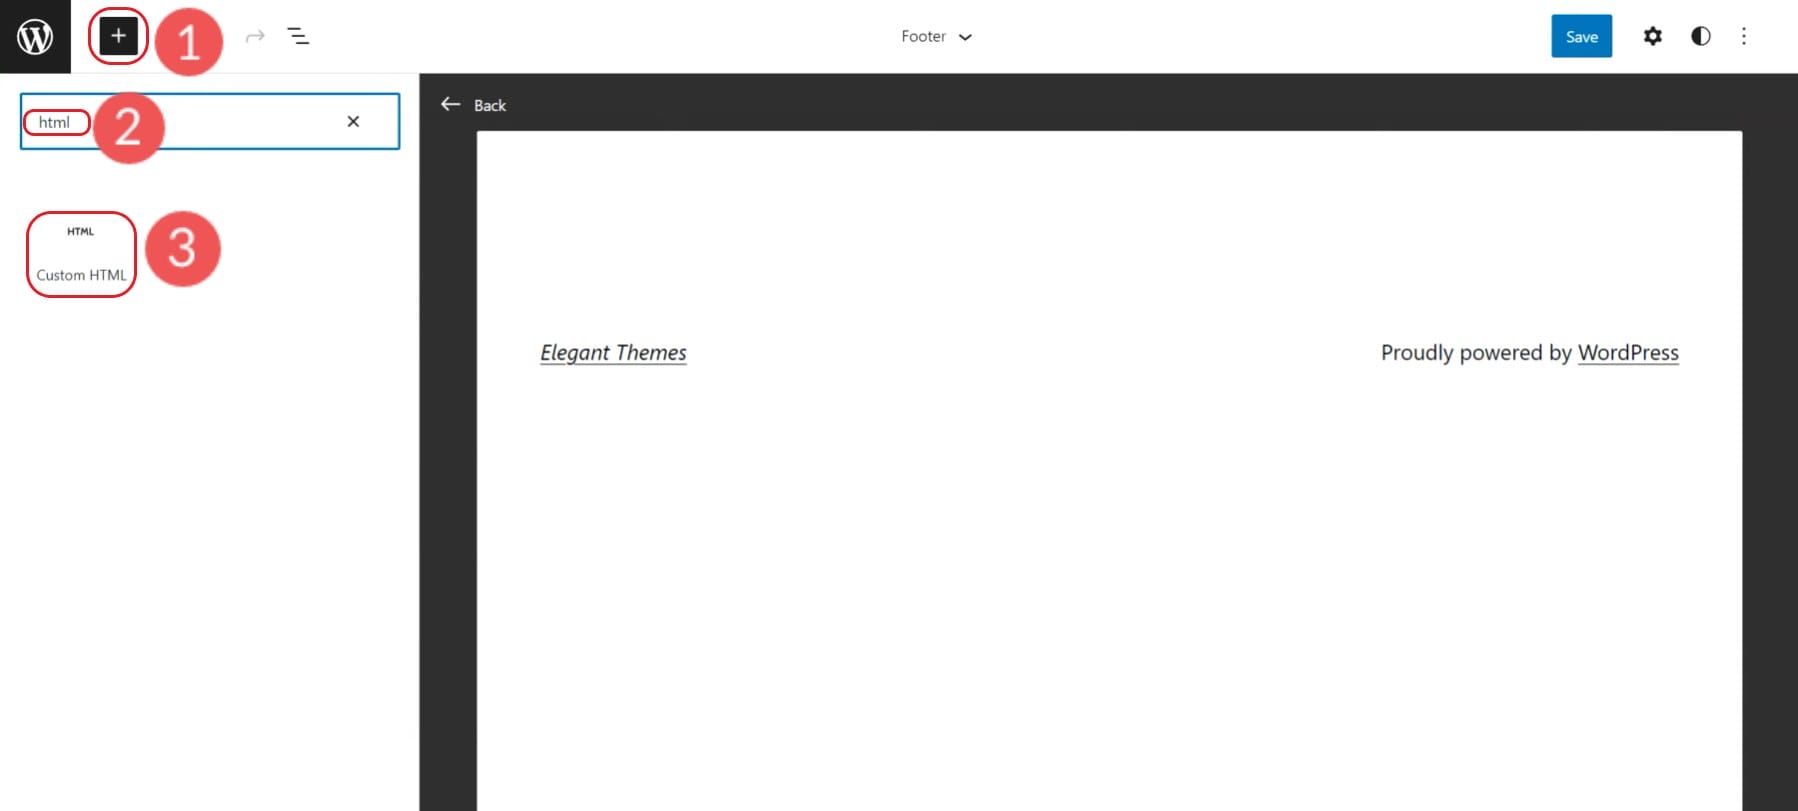
In the HTML Block, paste the copied footer pattern code into it.
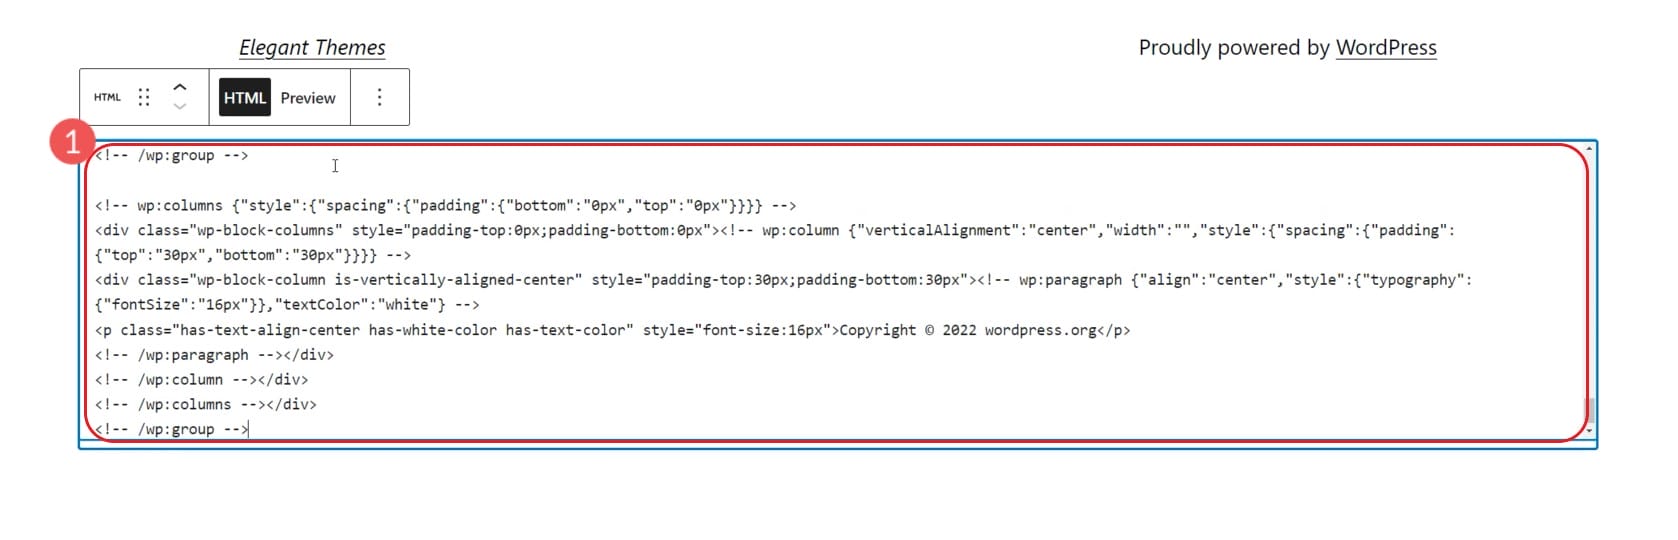
After that, select Preview and then convert the custom HTML into Blocks. This will make each item editable via the block editor.
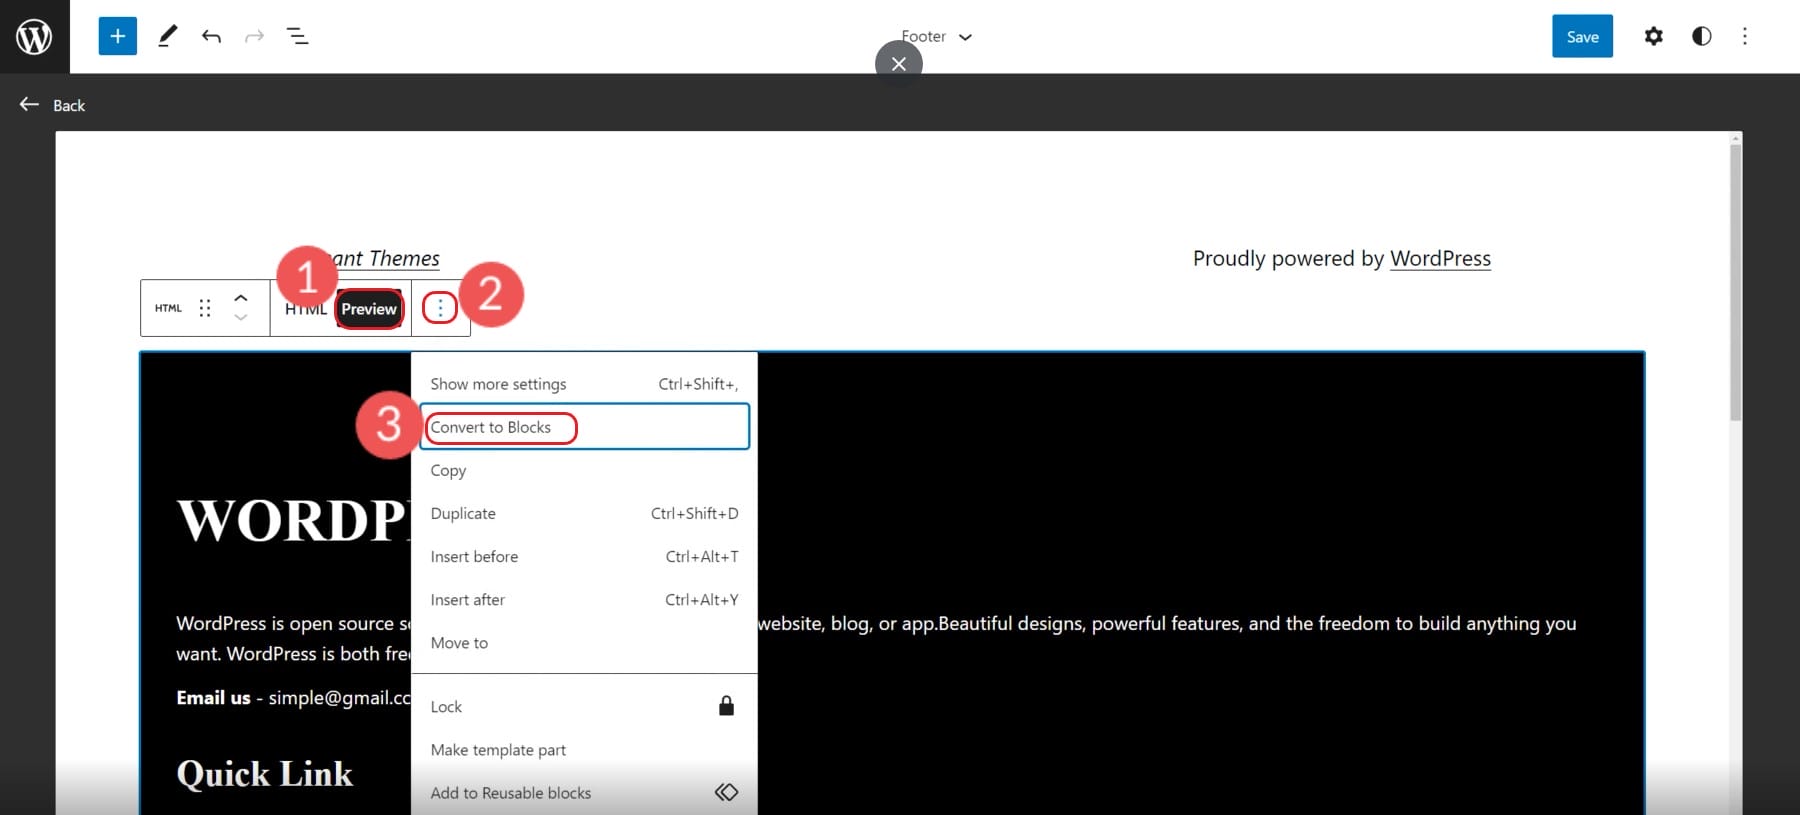
In your editor, you’ll see that the pattern was successfully converted to blocks and you can edit them to fit your needs.
These patterns are created by the general WordPress community expect them to vary in quality and design. Page builders like Divi take WordPress patterns to a whole new level, with hundreds of pre-made layouts and footer templates that are created by a professional design team and photographers.
3. How to Remove “Powered by WordPress” with Plugin
Sometimes all the editing in your footer that you need to do is remove some theme branding from your footer. Many theme developers make it very difficult to remove their company name and link from your footer (especially with free themes).
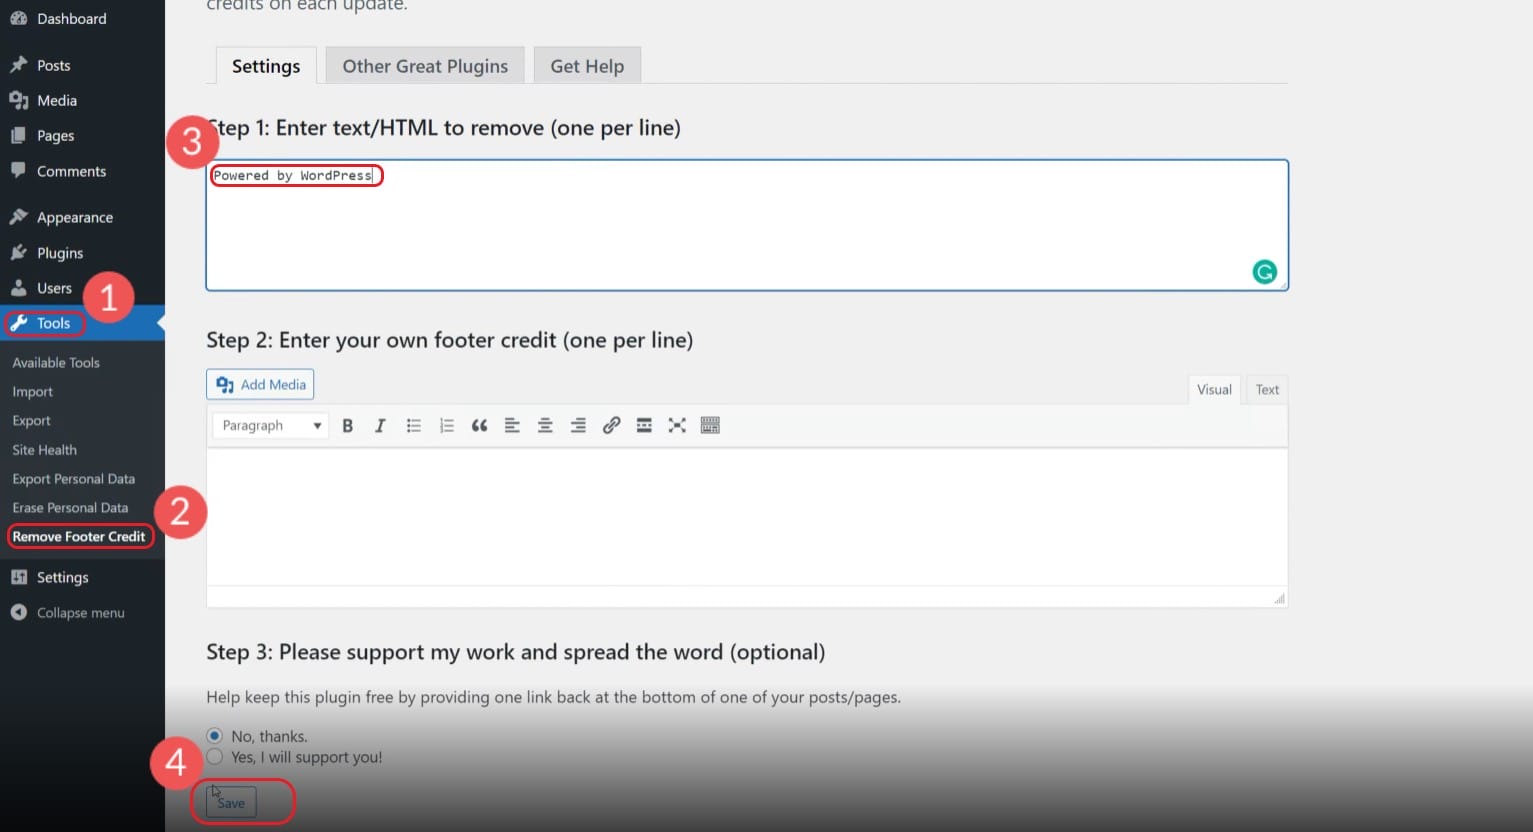
Removing theme branding or the classic “Proudly Powered by WordPress” is easy enough with a plugin. Download the Remove Footer Credit plugin.
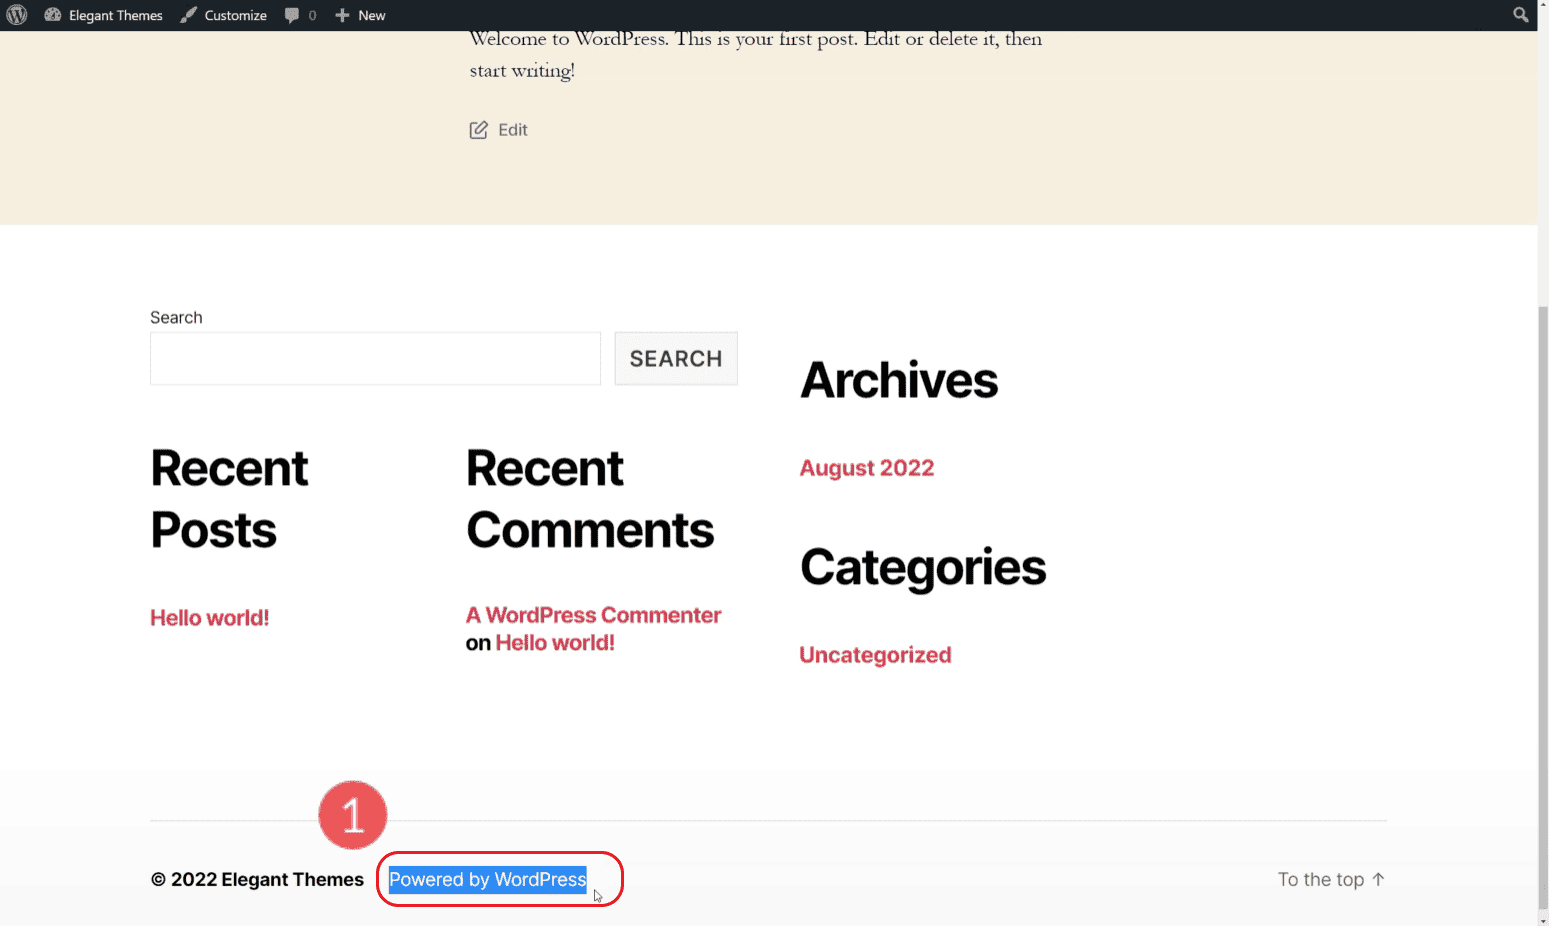
Select the footer text that you don’t want to be displayed and copy it to your clipboard. In our case, we are trying to remove “Powered by WordPress” in our example footer.
Go to “Tools” and “Remove Footer Credit”. Paste the text from your footer into the top field. You can choose a replacement text or keep the second field empty. Click save and enjoy your cleaner footer.
View the footer on your live site.
If the footer element is still there, try breaking up the text into separate lines. Just be careful about the text you add to this plugin. If you attempt to remove a very common word from your website, it may disappear elsewhere on your site, not just in the footer. Some themes don’t want you to be able to remove footer credits so you may meet enthusiastic opposition to this plugin working out for you.
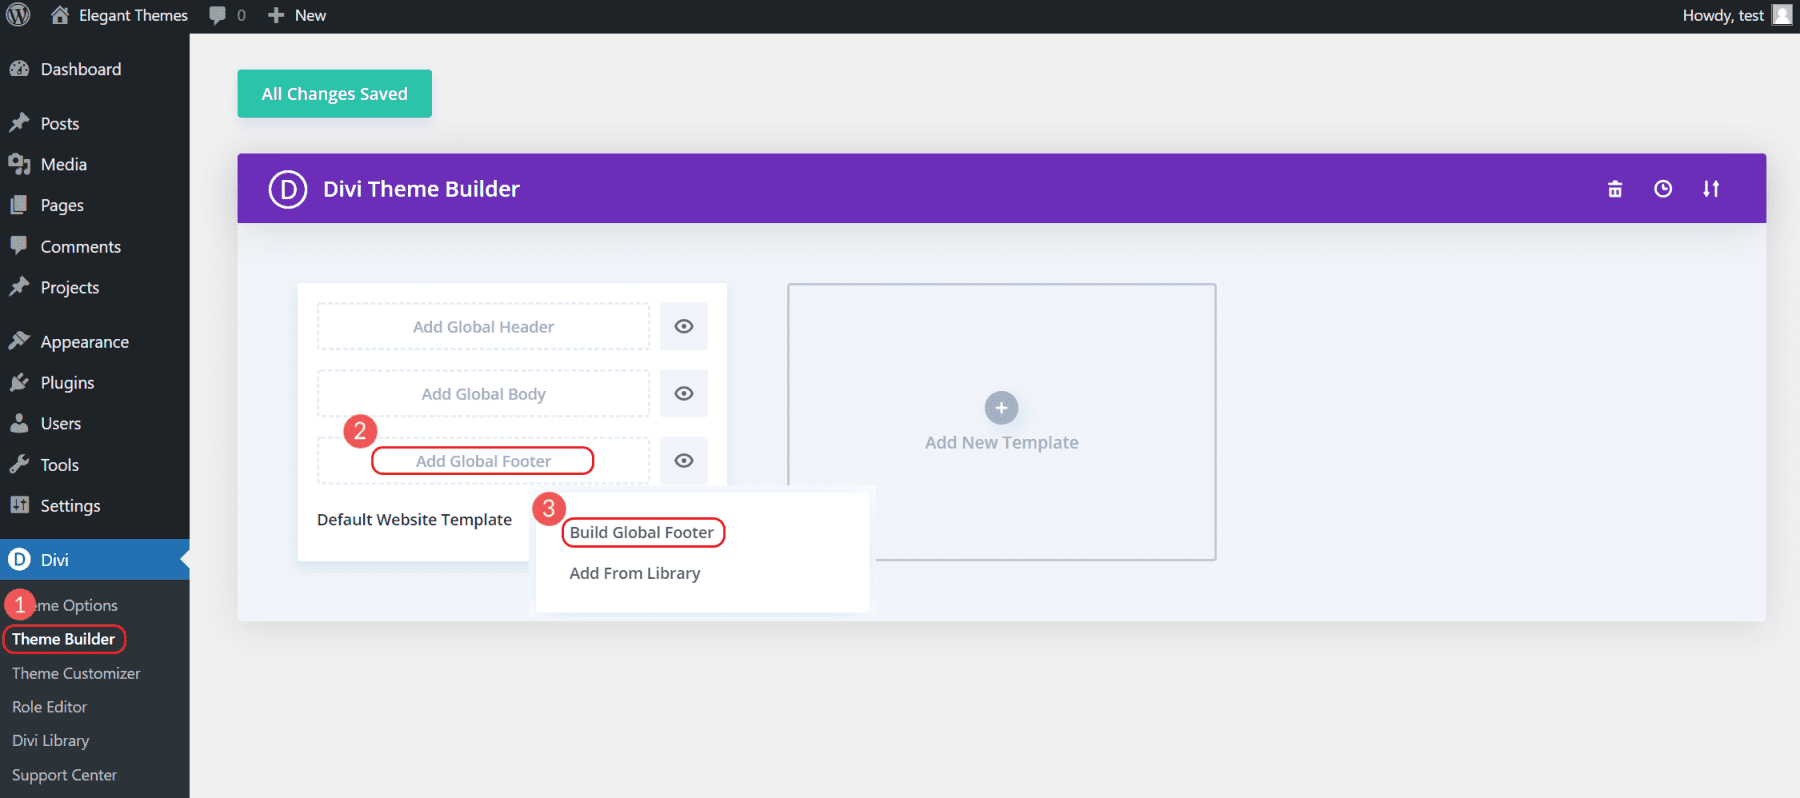
The Divi Theme Builder gives you everything you need to create an entire theme design. This includes a perfectly dialed-in footer. Most themes restrict your design options in areas like the footer or header of your WordPress website. Divi gives you full creative control of both headers and footers with the tools to make it work.
To get started creating your footer, open up the Divi Theme Builder and then select “Build Global Footer” on the default template.
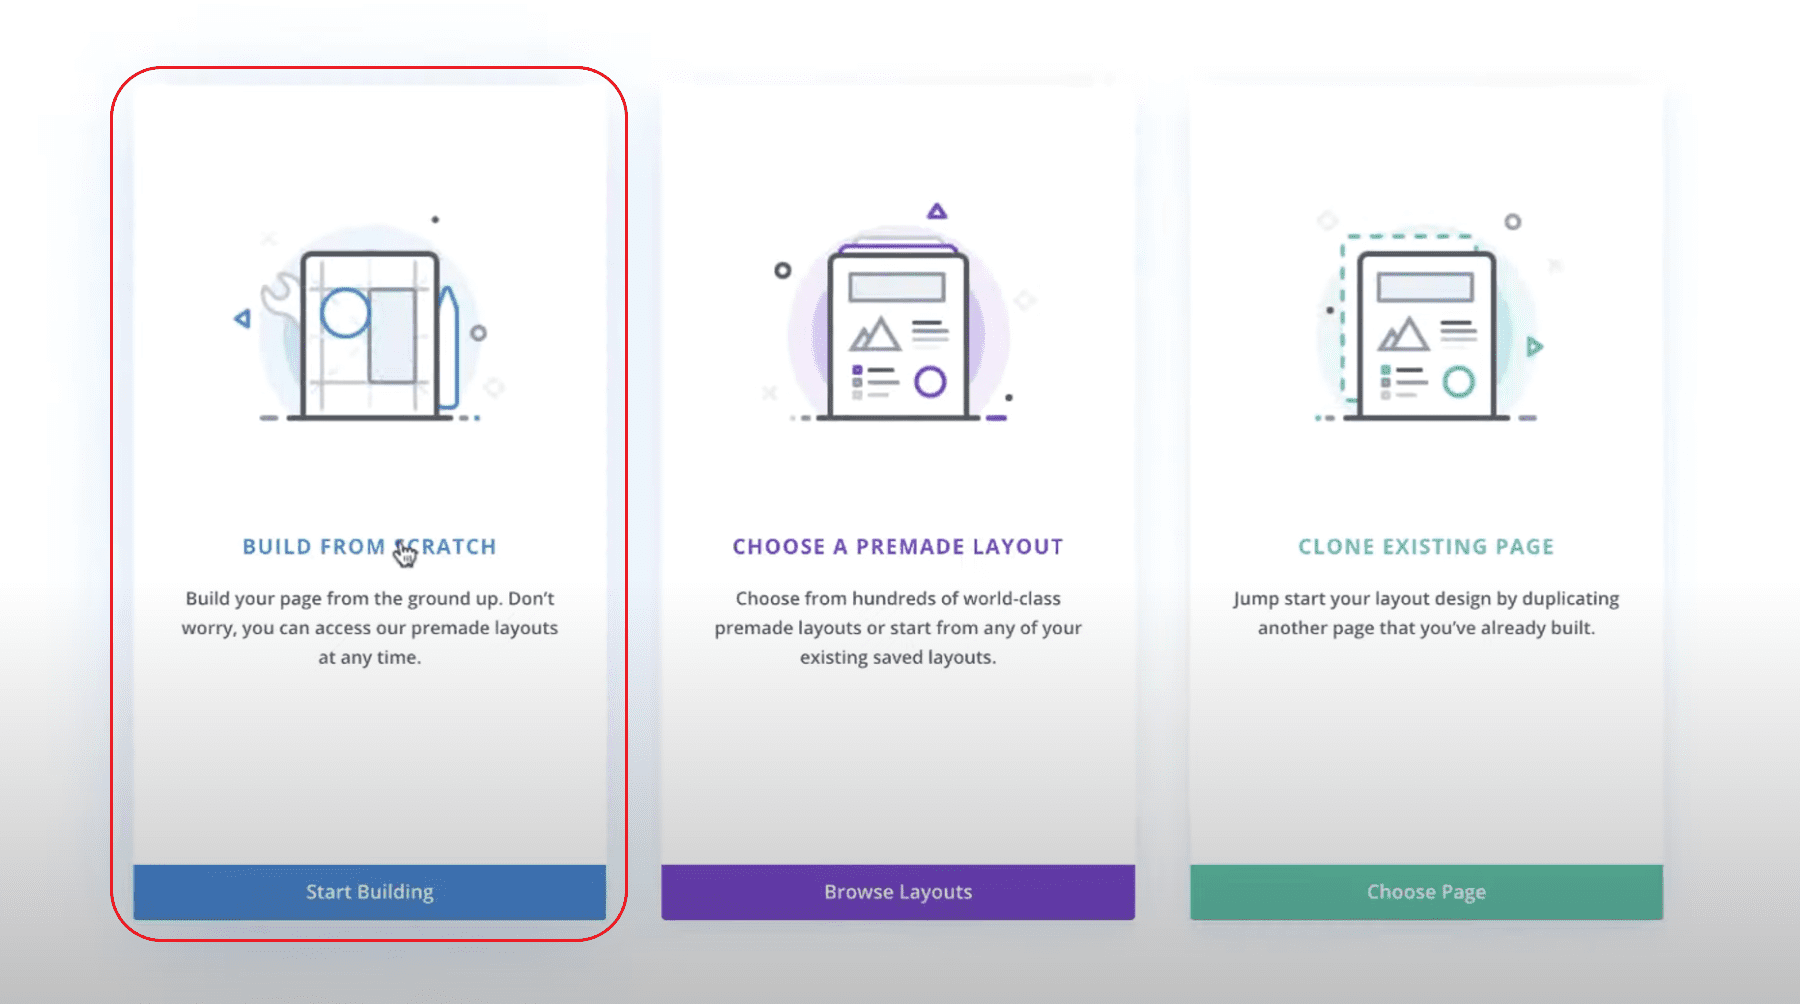
This will pull up a few options. Select “Build from Scratch” to build the exact footer you have in mind. This will open the Divi Visual Editing interface and allow you to start building the footer.
Since this is a “Global Footer” this will appear on all of your pages. Other content that belongs above the footer can be created on individual pages.
From there, you can design a footer that can be applied to all your website’s pages.
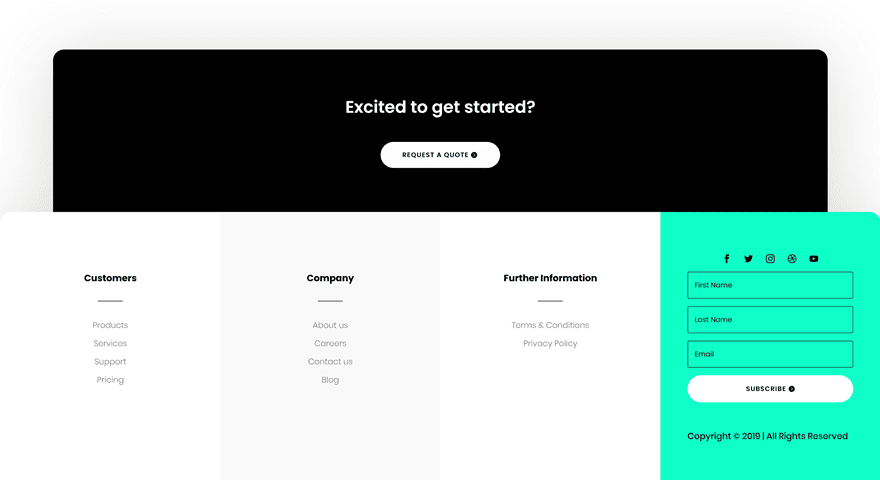
If you are wanting an excellent tutorial on how to create a custom footer—from start to finish—check out this full-length tutorial for creating a custom footer. This is the result that you’d make for yourself.
Of course, you are completely free to edit the footer to your needs and liking.
Visitors expect certain information to be located on your website’s footer. Though there is room for creativity in footer design, it is always best to keep your footer content in step with what users are expecting to find. Aside from the header, the footer is probably the most visible space on your website. So, it should contain the information and links most important to your visitors and your company including:
- Social Profiles and Communities
- Relevant Pages (Services, Blog, Help, etc.)
- Specific Company/Website Information (Terms of Service, Careers, About, Contact info, etc.)
- Copyright Notice and Registered Trademark

If you operate a local business with a physical location, we always recommend you add your NAP to your footer. NAP stands for:
- Name of Business
- Address of Business
- Phone Number of Business

It is important to keep these details formatted consistently across your website, Google My Business profile, and other local listings like Yelp and Facebook. Consistent NAP placement is vital because it benefits your business website’s SEO.
At the end of the day, footers should reflect the “Go To” information that your customers expect from your business. Don’t include things that don’t make sense and make sure your most important pages are linked. For more, check out these 5 other Footer Tips to help you create a more user-friendly footer.
Conclusion
For most, the easiest way to edit your footer is to take advantage of the new full-site editing features in WordPress. This allows you to edit your global footer right inside the WordPress editor using WordPress blocks. For those who want complete design control when creating or editing your footer, Divi’s theme builder is the way to go. Not only does this give you complete design and functional control over the footer but it also allows you to preload professionally designed templates onto your website.
For more, check out our post on how to use the WordPress block editor.
How have the global theme builder areas, such as global footers, improved the quality and speed of your website design process?
Featured Image via Superstar / shutterstock.com


Leave A Reply