
One of the most important elements for any online store is its product pages. Many aspects can affect how many sales you make, including which images you use, your page’s layout, and more. To build WooCommerce product pages that sell, you need to use all the tools at your disposal.
WooCommerce packs a lot of product customization features out of the box, but it can be improved upon. In this article, we’ll discuss the importance of excellent product pages and teach you how to introduce advanced customization options using the Fancy Product Designer plugin. Let’s get to work!
How Your Product Pages Influence Conversions
The better your product pages are, the more they’ll draw visitors in.
Most people judge online products not only by their features and prices but also by how professional their individual pages look. With this in mind, let’s break down some of the elements that can influence conversions in your product pages:
- Your product images. High-quality images from multiple angles can mean the difference between an extra sale and a visitor instantly closing your product’s tab.
- Your Call To Action (CTA). These are complex elements to master, but their influence on conversion rates is undeniable. If you’re ever in a sales slump and you’ve tried anything else, tweaking your CTA’s text, style, and layout may be the ticket to more sales.
- Product reviews. This one is fairly straightforward. Online shoppers tend to be very picky and often compare products based on reviews. The better your product reviews are, the more sales you might get.
- Product customization options. Many people like to customize the products they order, whether for gifts or personal use.
In addition to those elements, you’ll want to use a product page layout that looks great on mobile and desktop browsers. Every product page should also include the basic information, such as the item’s name, description, price, and more.
To be clear, WooCommerce enables you to add all those elements and more to your product pages. However, it doesn’t allow you to implement advanced product customization, which is where our next tool comes in.
Introducing the Fancy Product Designer
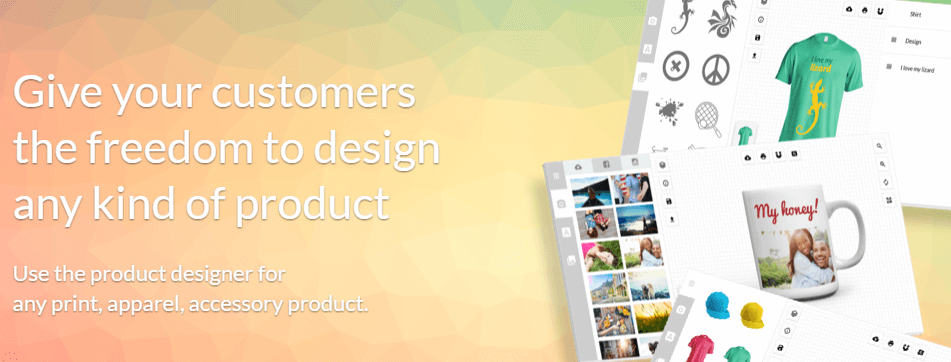
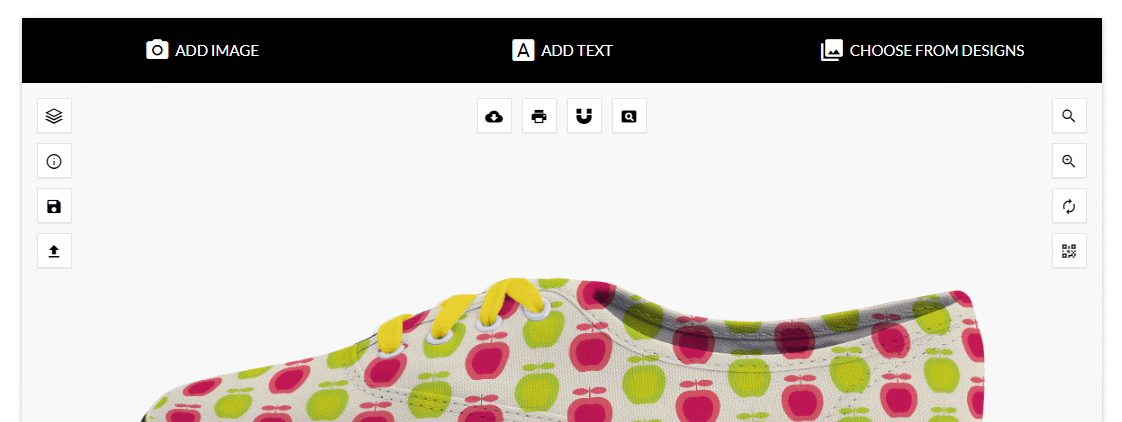
If you’ve ever used an online store that enables you to customize the product before purchasing, you’ll know it can be fun. The Fancy Product Designer extension takes this concept and kicks it up a notch. It provides the tools you need to give users a visual customizer, so they can tweak the aspects you allow. Check out this example of the product designer in action:
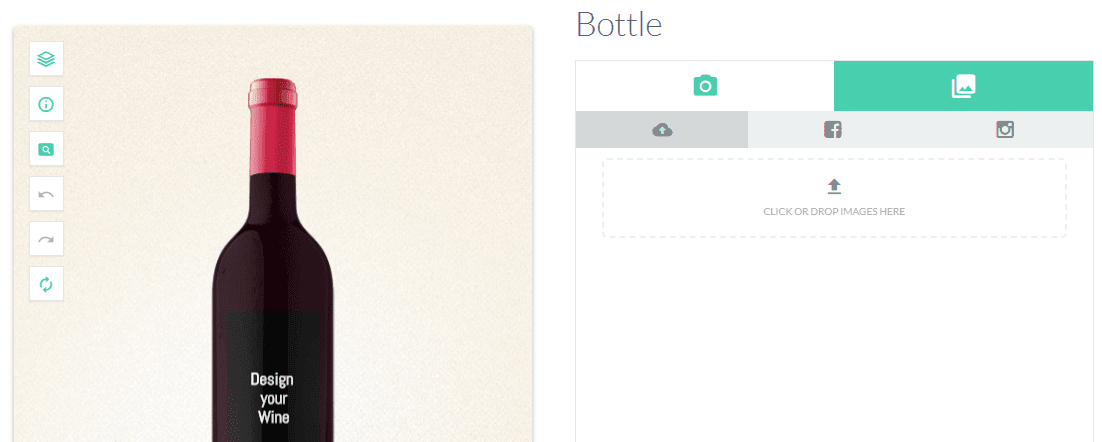
That’s a full-blown visual editor that customers can use to create a custom wine bottle. It supports multiple layers, color changes, text editing, and more. To be clear, you still have to add new products to your store using WooCommerce, which handles the sales end of the entire process.
However, once you enable the Fancy Product Designer plugin, you can add advanced customization options for any of those items. While this is not going to be viable for many of them, it’s still a fantastic way to add some interactivity to select products and increase sales.
Plus, you can change the way the Fancy Product Designer visual editor looks from the front end and create basic templates users can choose from for each item. That way, they won’t have to spend time playing with the editor if they don’t want to.
Key Features:
- Enable your visitors to customize your WooCommerce items before making a purchase.
- Add customization options to select products.
- Use a front-end visual editor with advanced capabilities to customize each item.
- Change the way your visual editor looks by choosing from multiple templates.
Price: $49 per license | More Information
How to Use the Fancy Product Designer to Customize Your WooCommerce Products (In 3 Steps)
Despite its breadth of features, the Fancy Product Designer is very simple to set up. Better yet, it doesn’t require any additional configuration out of the box since its default settings are perfect for everyday use. With that in mind, let’s jump right into the thick of things and get to know the plugin’s Product Designer tool.
Step #1: Learn to Use the Fancy Product Designer
The Fancy Product Designer extension includes a few dummy products out of the box so you can immediately see it in action. To access them, go to the Fancy Product Designer > Products tab on your dashboard:
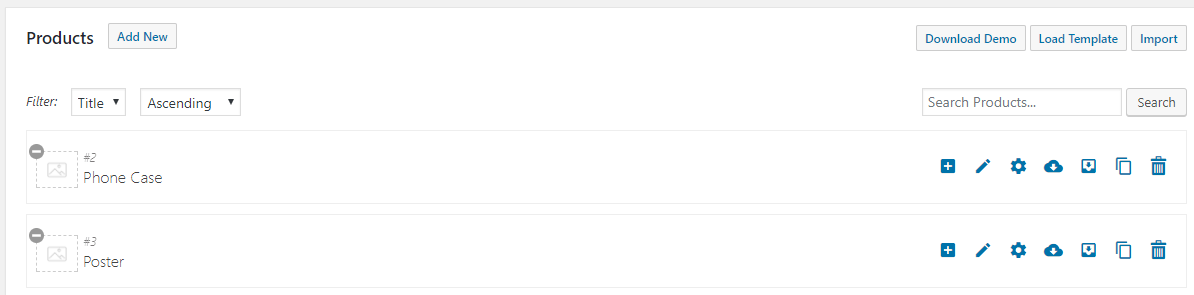
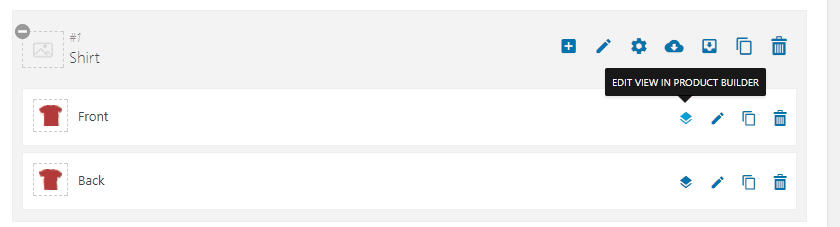
Inside, you’ll find a handful of example products. As soon as you become familiar with the Product Designer, you can delete it. For now, click on the Shirt item, and you’ll see a menu with two items appear below it:
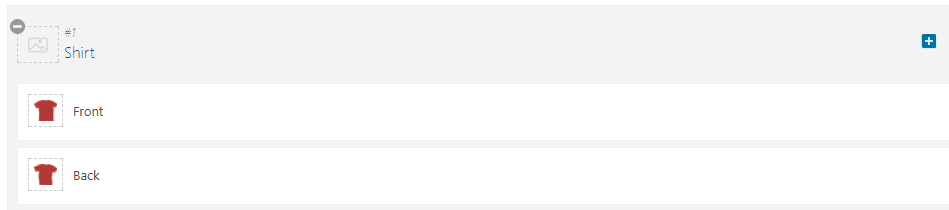
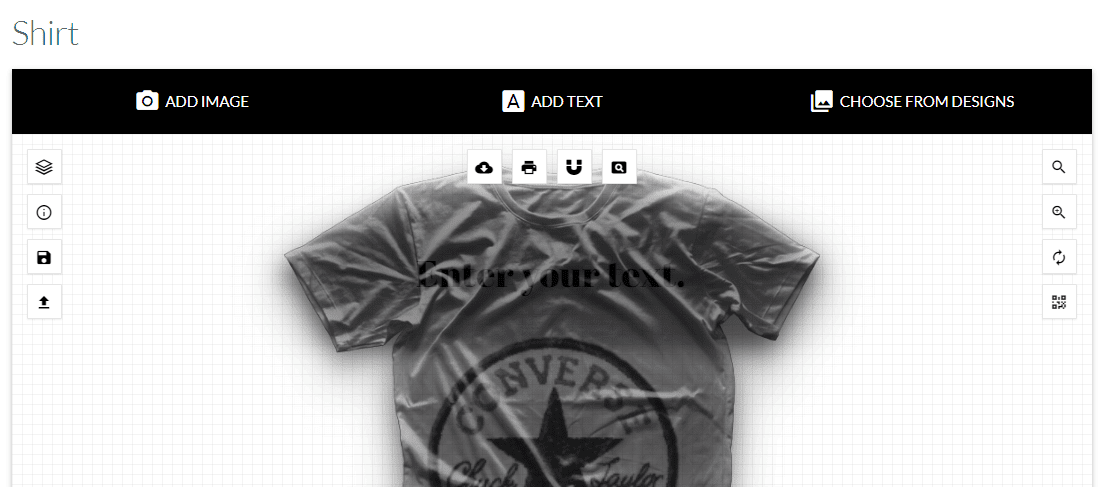
This particular item enables you to make customizations to its front and back. If you click on the Edit View in Product Builder button, you’ll be able to edit the item’s starting state using a visual builder:
First off, we’ve got the Layers section. Here, you can add new images and text for users to apply to their designs, in case they don’t want to use their own. You can have as many elements as you want here, so go nuts – remember to add them in order, as you would with regular layers. To see your elements in action, you need to scroll down until you reach the visual editor:
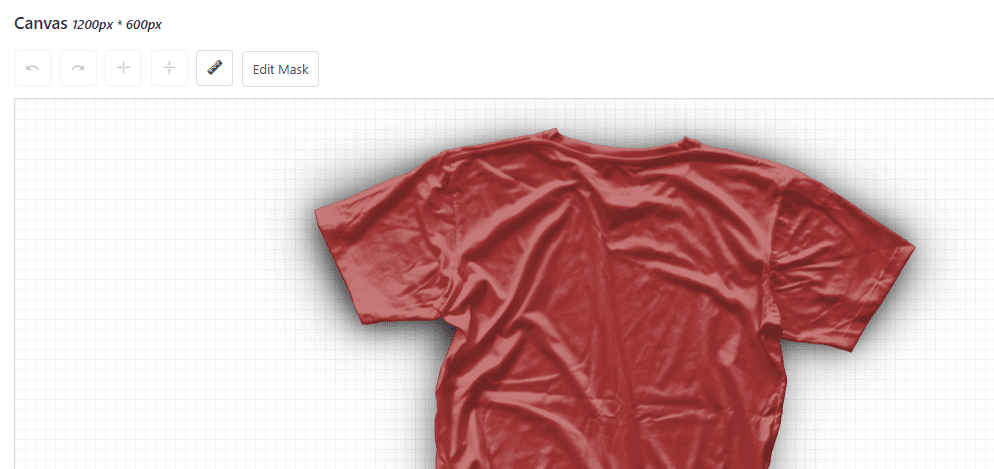
Here, you can see your elements in the order you added them. You can drag and drop elements within the Layers section to tweak what your shirt looks like. For example, here we deleted the entire Shirt element:
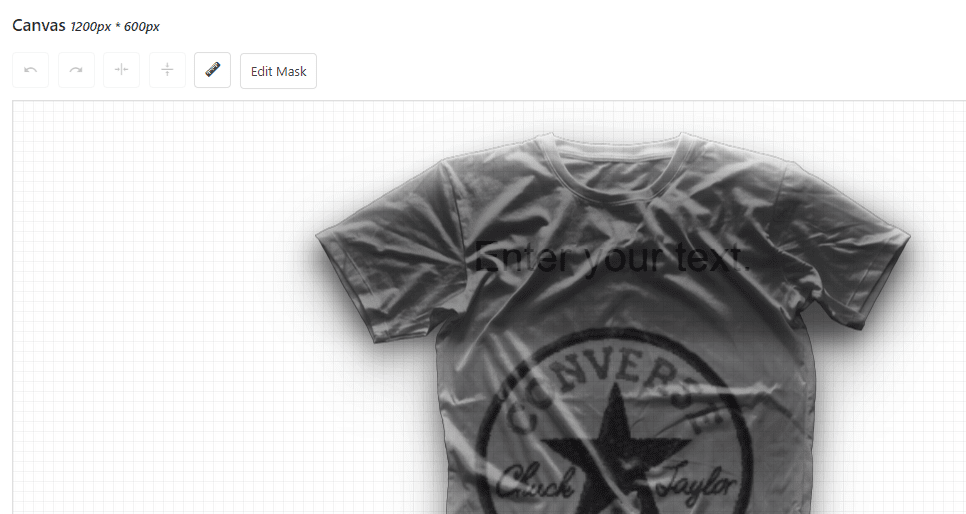
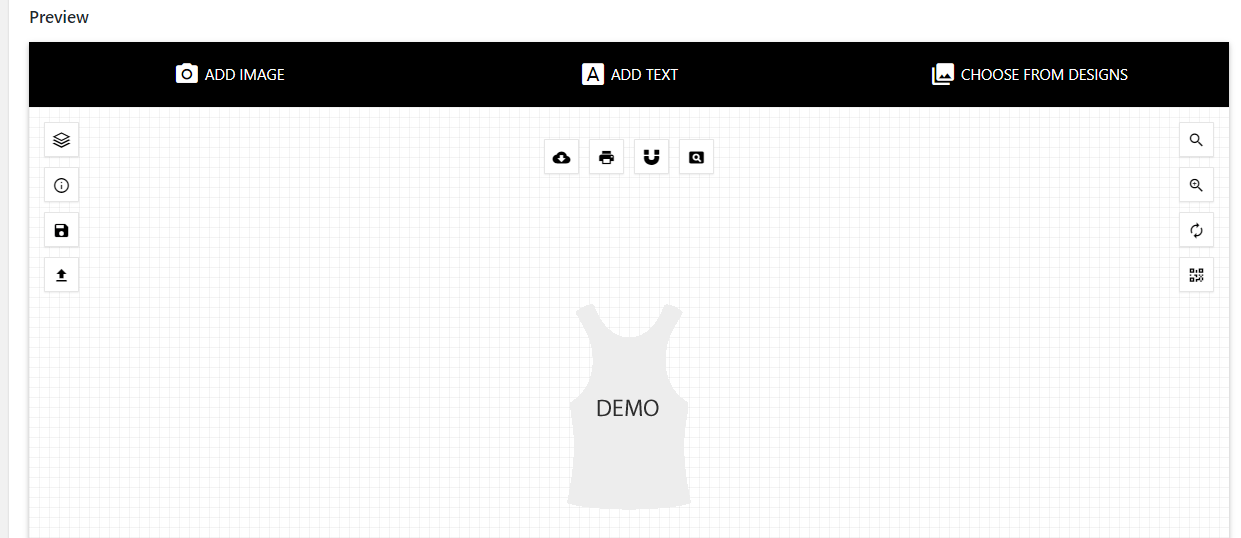
When you’re happy with what your product looks like, scroll back up and click on the Save button. Now, when a potential client loads that item through your store, your design will show up as their starting point:
Of course, users can customize the design as much as they want. However, you should always strive to offer a decent starting point for users who don’t want to tweak things too much.
Step #2: Configure Your User Interface (UI) and Product Layout
You’ve already seen the Fancy Product Designer’s front-end customizer in action. Its default style works great in most cases, but you can change it if you don’t think it fits with your website. Go to the Fancy Product Designer > UI & Layout Customizer to do so. Inside, you’ll see a Preview section showcasing what your layout currently looks like:
Below, there are several options to choose from to modify your designer’s top bar location:
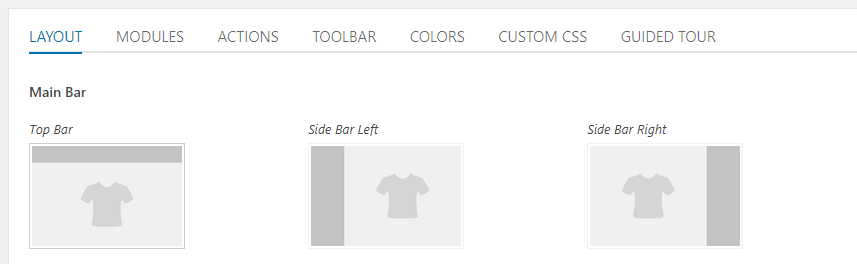
Changing this setting won’t affect your customizer’s functionality, so feel free to pick whichever one you prefer. In any case, you can also change the size of the designer’s canvas:

Ideally, it should be large enough that users don’t feel cramped. In addition, you can choose any resolution you want since the plugin ensures the canvas remains responsive either way. Finally, if you jump over to the Actions tab, you’ll see a small preview of all the buttons included in your designer:
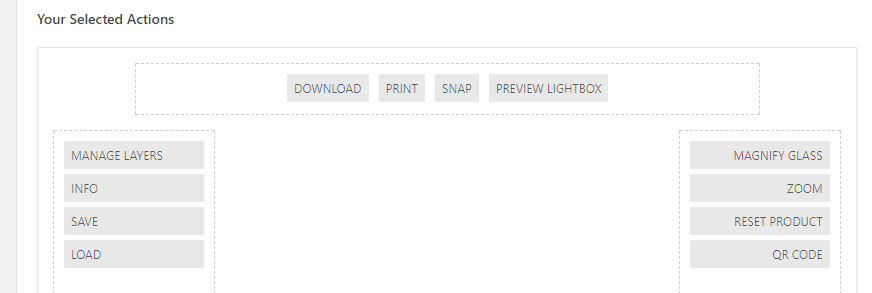
You can add or remove buttons from a list to the right, though the default layout design already includes the more useful options, making your life a lot easier. In any case, when you’re done making changes to your layout, scroll back up. At the top of the screen, you’ll see the option to either save your design under a new template or overwrite your default one:

There’s also an option to return everything to its initial state, so you can go either way.
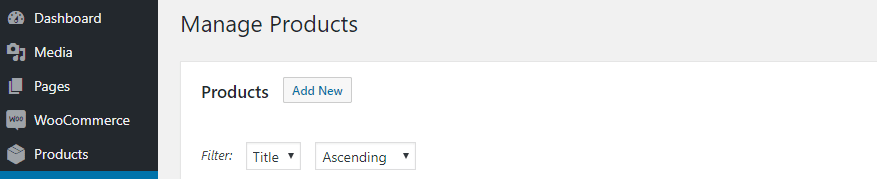
Step #3: Manage Your Products
Adding new customizable products to your store is simple. The first thing you need to do is go to the Fancy Product Store > Products tab and click on the Add New button:
Now choose a name for your item, then create a default view using the New View button to the right of its name:

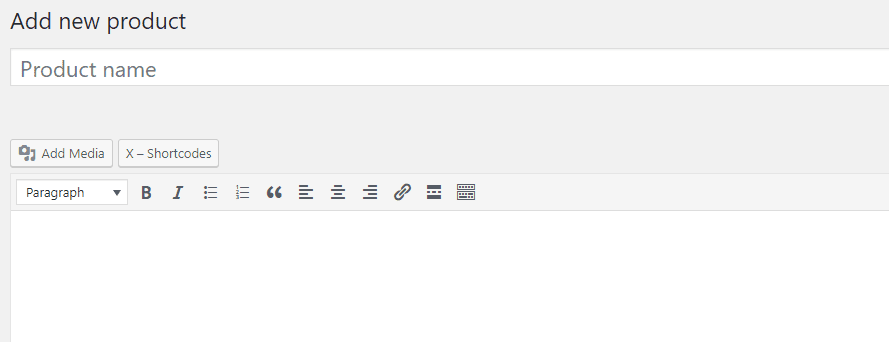
When you have a default design ready to go, it’s time to move over to the Products > Add New tab. Once you’re in, add the details for your customizable item as if it were any other WooCommerce product:
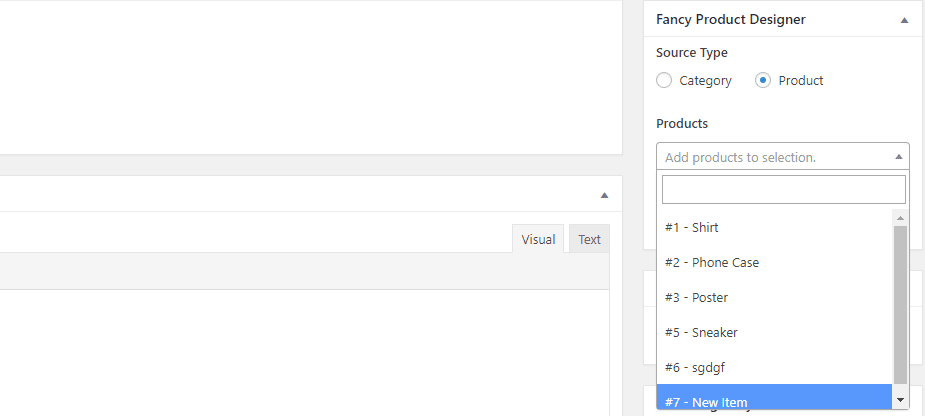
After you take care of the basics, look for the Fancy Product Designer widget to the right of the WordPress editor. Choose the Product setting under Source Type and pick the product you created a moment ago from the list below:
You can now save your product as a draft or publish it immediately. All that’s left now is waiting for new orders to come in and working on handling them.
An Alternative: PH WooCommerce Product Addon
While Fancy Product Designer is a great tool for customizing WooCommerce products, another excellent alternative is WooCommerce Product Addon by Plugin Hive.
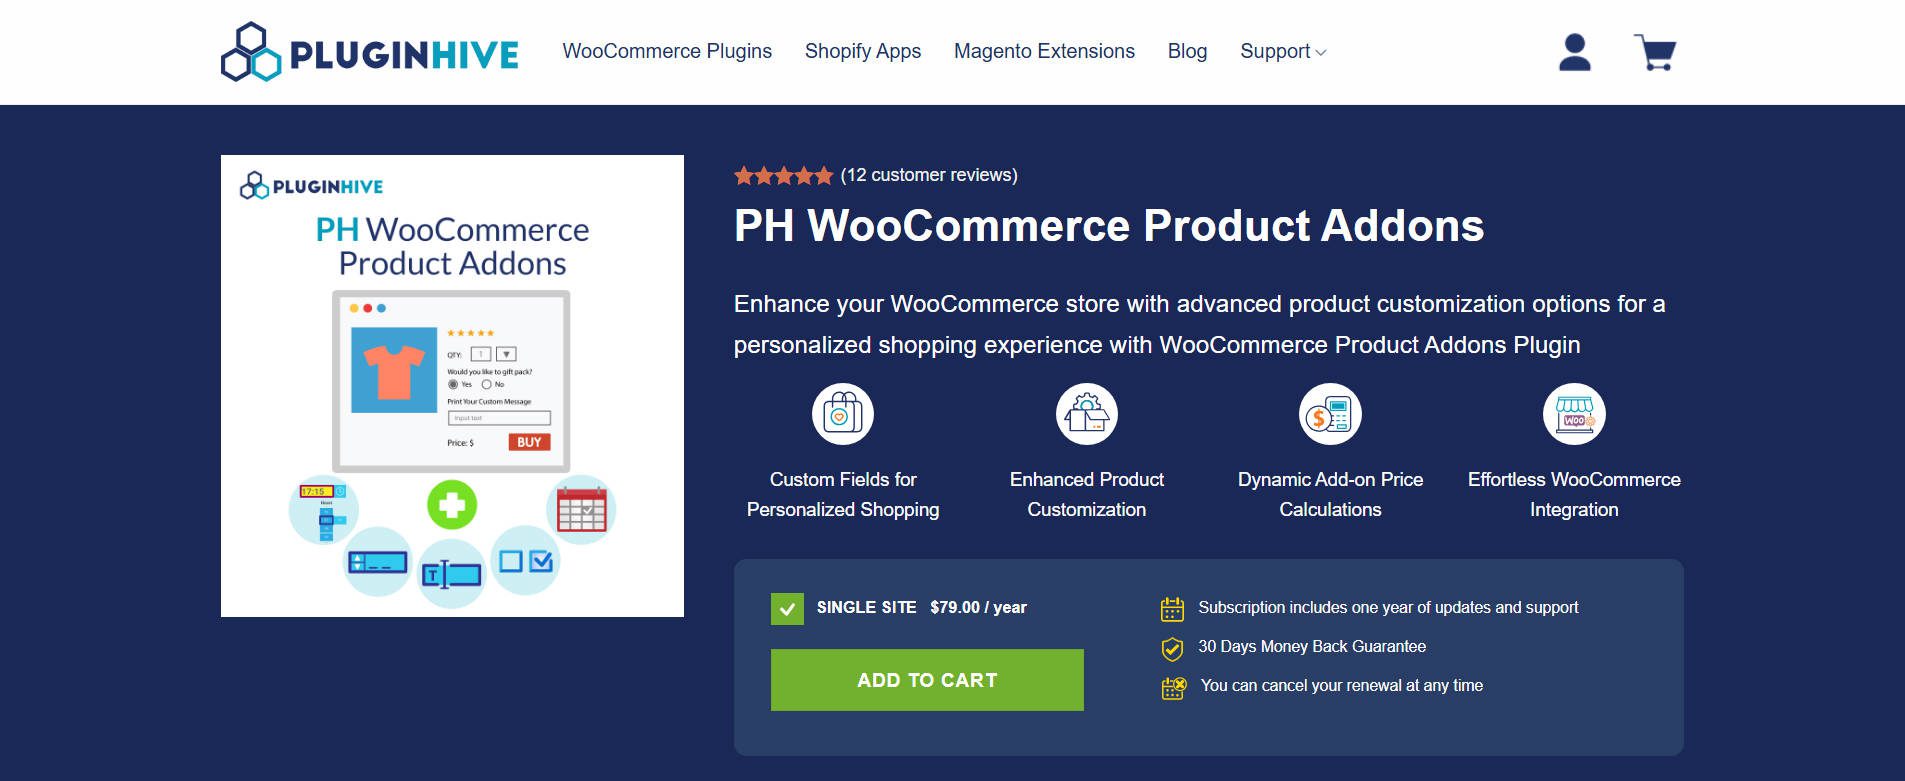
This plugin gives you various additional customization options for your product pages without requiring a full-fledged visual editor.
Key Features of PH WooCommerce Product Addon
- Flexible Customization Options: Your product pages can now include checkboxes, dropdowns, radio buttons, text fields, and file uploads.
- Conditional Logic: Show or hide fields based on user selections to enhance the customization experience.
- Price Adjustments: Charge extra fees based on the selected customization options.
- Seamless WooCommerce Integration: Works perfectly with WooCommerce product variations and simple products.
- User-friendly interface: The setup process is straightforward, making it accessible for store owners with minimal technical knowledge.
Unlike Fancy Product Designer, which provides a visual editor, the PH WooCommerce Product Addon focuses on adding structured customization fields. This makes it ideal for businesses that want to offer personalized products without requiring complex design tools.
If your goal is to provide simple yet powerful customization options, such as engraving, gift wrapping, or text-based personalization, this plugin is a solid choice.
Get PH WooCommerce Product Addon
Conclusion
A few small changes to your product pages can make a big difference in your conversion rates. WooCommerce offers a lot of default customization, but that doesn’t mean you can’t improve upon it. With the right tools, you can turn your WooCommerce product pages into works of art.
Regarding WooCommerce extensions, we’re partial to the Fancy Product Designer due to all the improvements it enables you to make. Here’s how to get started with it:
- Learn to use the Fancy Product Builder tool.
- Configure your UI and product layout.
- Manage your products.
Do you have any questions about improving your WooCommerce product pages using the Fancy Product Builder? Ask away in the comments section below!
Article thumbnail image by Iconic Bestiary / shutterstock.com.


Hi! I am running into some issues using Fancy Product Designer with Divi. The customized products don’t show up in the WooCommerce order – so I’m only able to see which product the costumer ordered, but not the customizations made with Fancy Product Designer. Possibly due to some missing webhooks, because my WooCommerce product page is built with Divi? I’m in contact with Fancy Product Designer but their advice is to revert to the standard WooCommerce product page, which I am not really interested in since I am happy with the product page template I’ve built using Divi. They (FPD) told me that “one possible approach is to use Divi builder for the overall design, but keep the WooCommerce default product form section”. How would I go about doing that? Advice is much appreciated, thank you!
/Camilla
Did you find any solution or alternative? Now with Divi 5, I wonder what options we have …
Hey, Camilla! While a great product in and of itself, Fancy Product Designer is not Divi compatible. As their developers advised, you can use the Divi Builder for all pages of the website, other than those augmented by the Fancy Product Designer, which essentially boils down to product pages and the checkout page. Hope this helps!
Good Day. I am struggling as a beginner to load new products for Fancy Product Designer plugin for WordPress Divi. Any suggestions on the best themes for Divi. I have a life long license for Divi & Elegant Themes. I am also struggling getting tutorials on how to load new products for a website I am building for a company selling customizable cellphone cover. Do you know besides the best theme to use, where I can get more tutorials builing new cellphone template for a variety of models? Any advice or tips would be highly appreciated. Ben
There are 2 premade layouts I can suggest for the site you’re building.
Check these demo links:
https://www.elegantthemes.com/layouts/technology/mobile-app-landing-page/live-demo
https://www.elegantthemes.com/layouts/online-store/camera-product-landing-page/live-demo
Good post bro, i will try, thanks for information.
No problem Gilby. Glad you found it helpful 🙂
And why can’t Divi do this? I’ll pay extra to not have another plugin.
Hello Mulyadi. If you have any ideas for implementing a Divi e-commerce feature, we’d like to hear about it. Post your idea on the Theme Suggestions section on our Support Forum.
https://www.elegantthemes.com/members-area/
Looks fancy John! Just trying out woo injector layout for making product pages look good.So important to make your product visually appealing.
Very Useful information for us. I always visit your site and read articles on your site. Thanks
You’re very welcome 🙂
I strongly agree, product visualization is very big influence on sales. That is why we should pay attention to this section.