
Building layouts in Divi continues to become more advanced and intuitive. You can now place modules inside other modules with Nested Modules. You can also put rows inside rows; these are called Nested Rows.
Both give you more design freedom, and both sound pretty similar when you first hear about them. However, they operate at different levels and fulfill different needs. In this post, we’ll show you the difference and help you pick the right feature when building your websites with Divi 5.
Understanding Divi 5’s Nested Features
Nested Modules and Nested Rows both expand our design options in Divi 5, but they work in different spots within our layout structure. Before we compare these two features, let’s look at what each one does and which controls help you choose the right tool while building.
Subscribe To Our Youtube Channel
What Are Nested Modules?
Nested Modules launched in Divi 5 on October 24, 2025. The feature breaks down the old barrier that kept modules isolated. You can now put modules inside other modules as many levels deep as you need.
Before this update, a Blurb Module could only hold its preset elements: an icon or image, a title, and body text. Now you can add buttons, forms, or entire row structures inside that same blurb. The Tabs Module used to only accept tab content. Now, you can build multi-column layouts within each tab using nested rows and modules.
Every module in Divi 5 gets treated as a flex or grid container. This means each module comes with layout controls. Position child elements however you want. Stack them vertically, arrange them horizontally, create grids, or mix approaches.
The Pricing Tables Module shows this well. Apply structure templates to control how price items display. The Blurb Module can adjust its image position by changing the flex-direction setting. These layout powers used to belong only to rows and sections. Now modules have them too.
How To Use Nested Modules
Open any module’s settings panel in the Visual Builder. Look for the Elements option group. This section now appears in every module, not just structural elements like rows and sections.
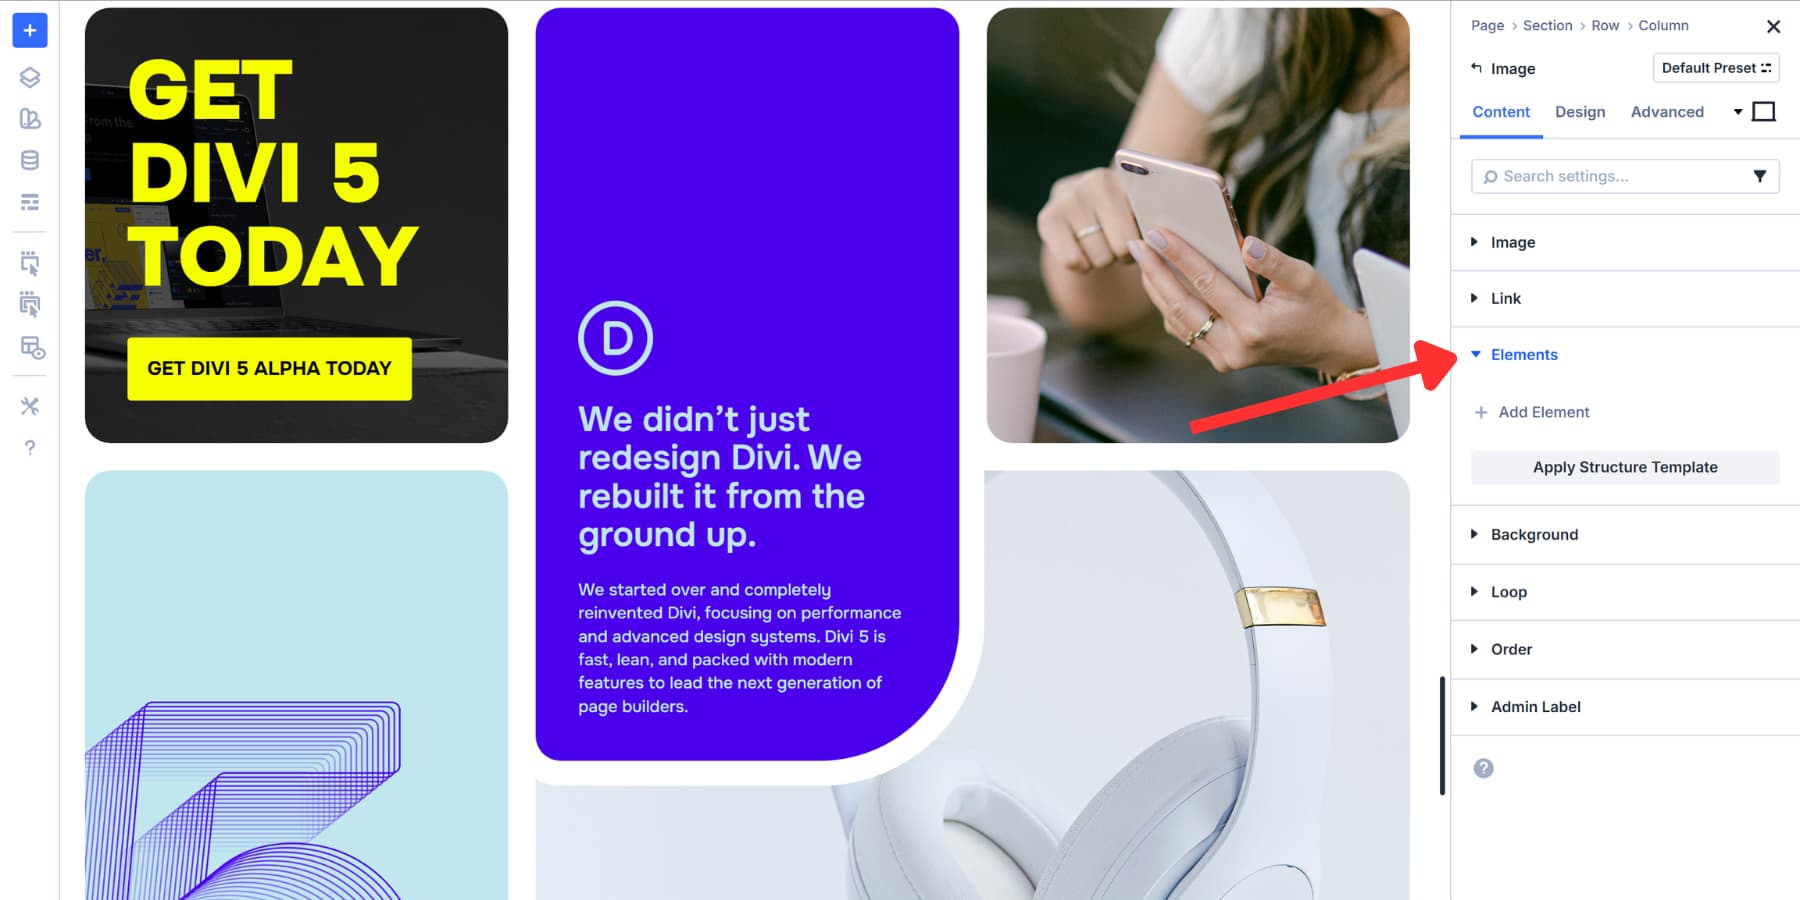
Click Add Element inside that group. You’ll see options to insert either a new row or another module. Pick whichever fits your design.
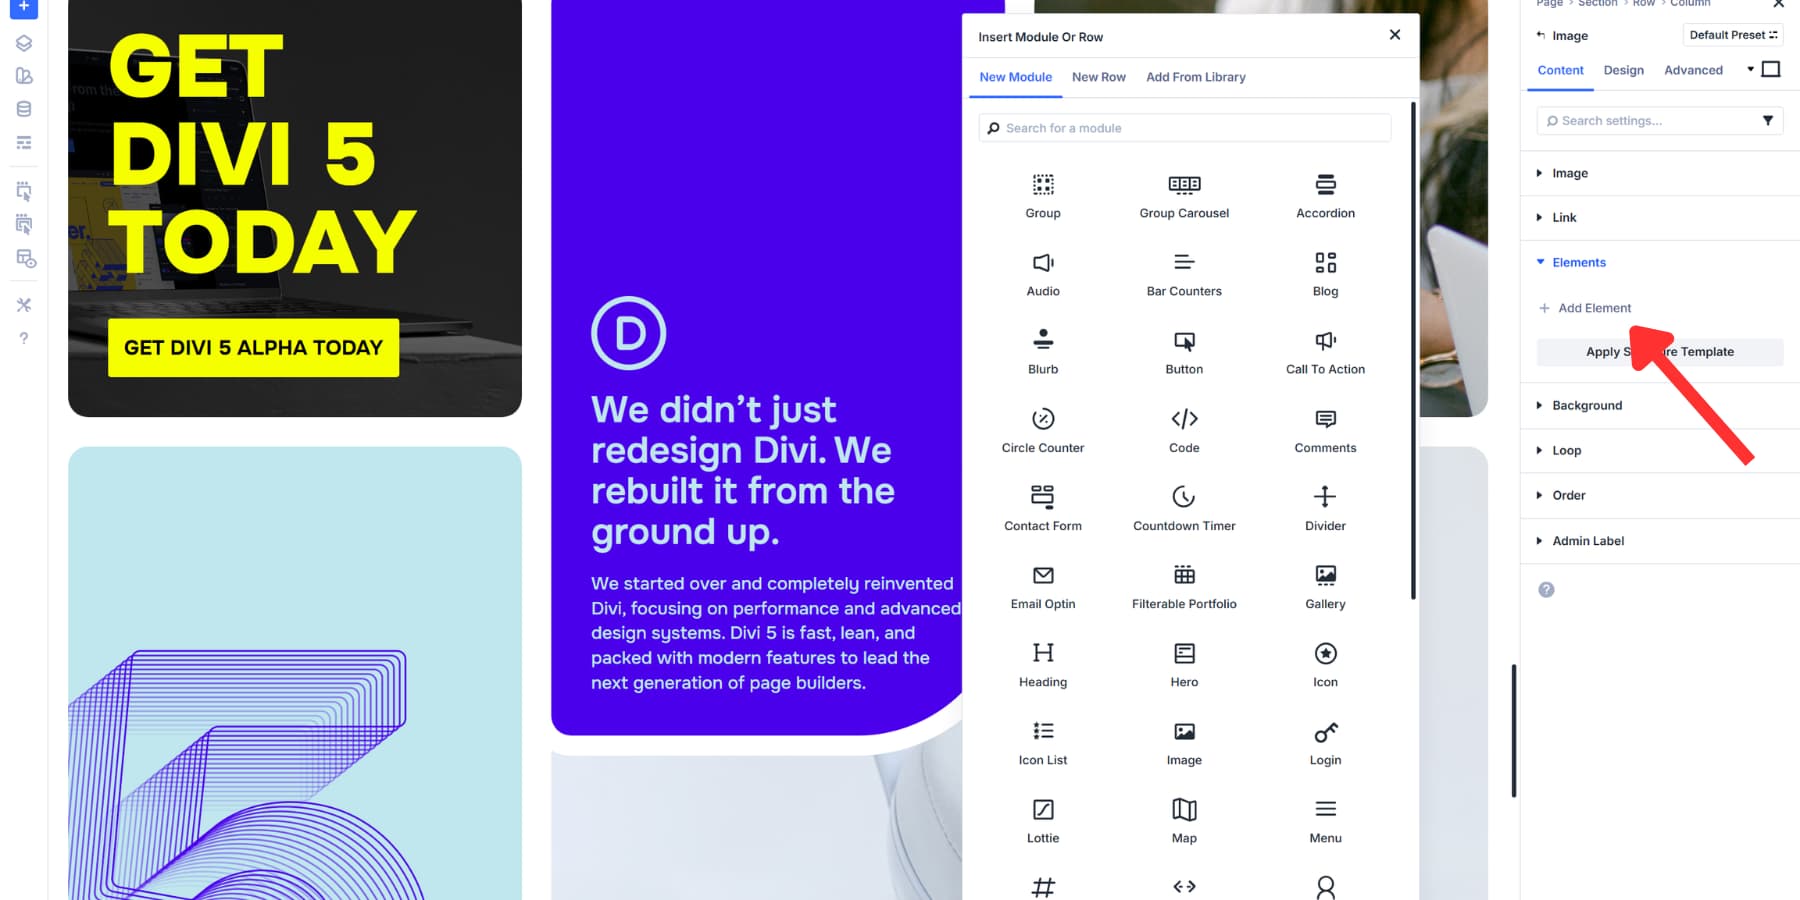
The interface helps you place elements precisely. Right-click on any module to see options for adding content above, below, or inside it. Drag and drop works too. The indicators show exactly where your element will land, even inside grid and flex containers.
Once you add nested elements, they behave like any other Divi element. Style them individually. Apply presets. Adjust spacing. Each nested piece gets its own settings panel with full access to design controls.
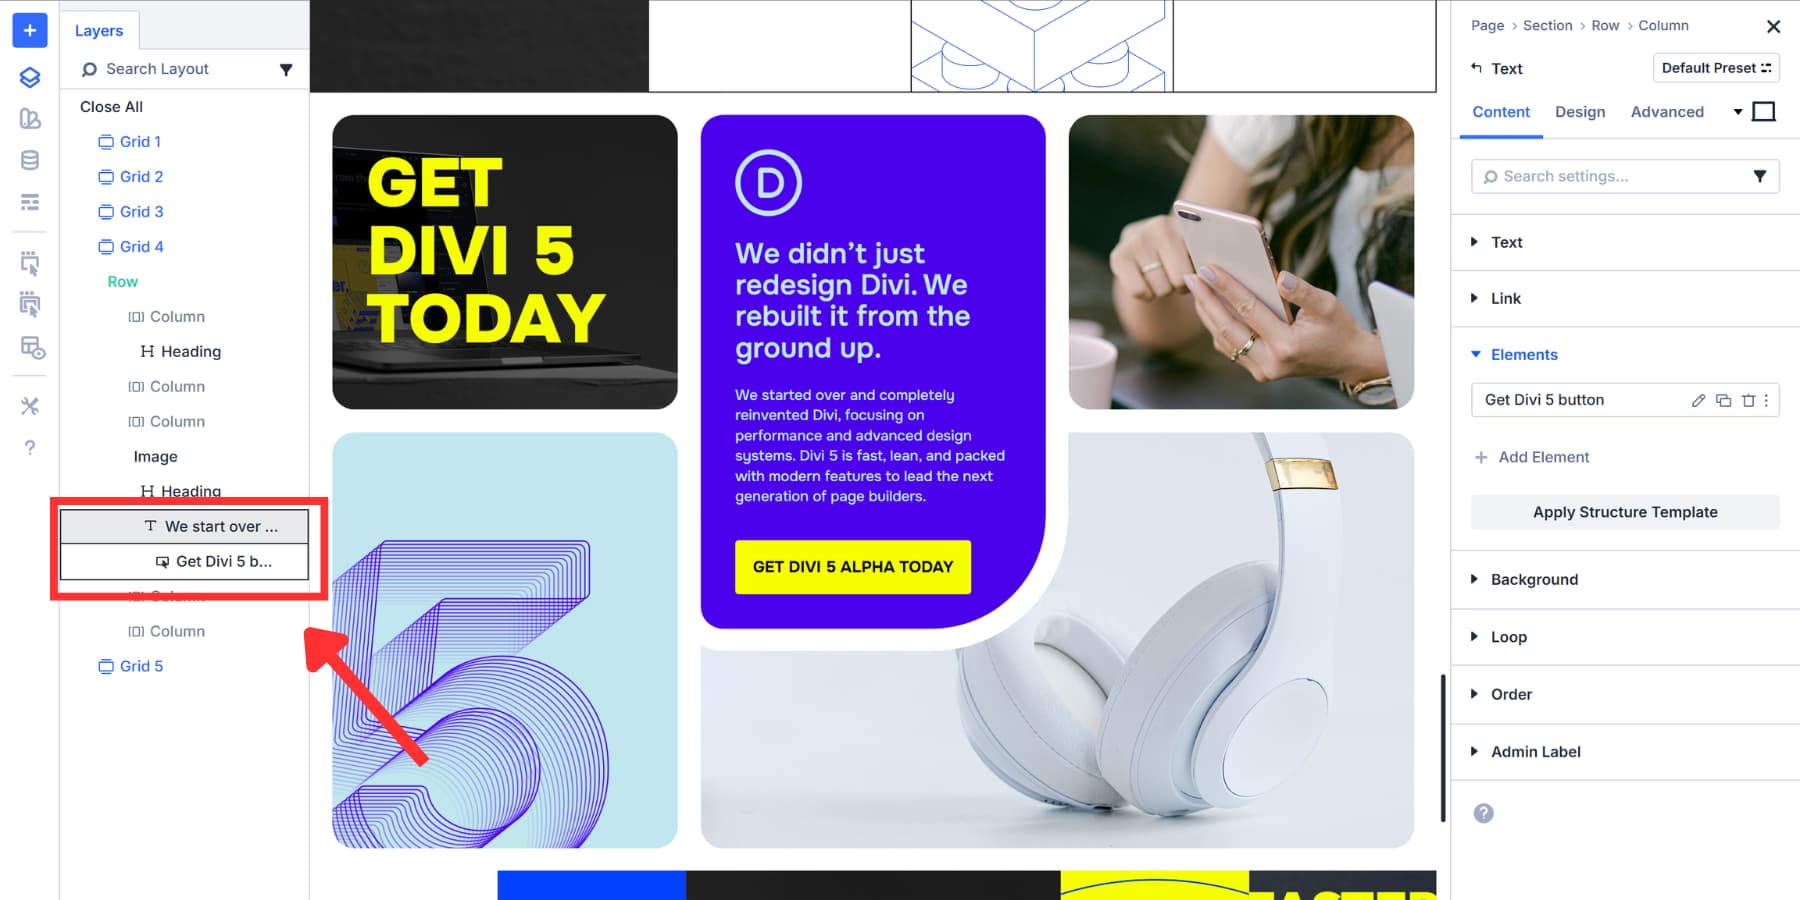
The Layers panel clearly displays your nested structure. Expand and collapse sections to keep your workspace tidy. Name elements to stay organized, especially when you nest multiple levels deep. This becomes critical on complex builds where you might have modules inside modules inside modules.
What Are Nested Rows?
We launched Nested Rows in Divi 5 on April 17, 2025. The feature allows you to place rows within other rows with infinite nesting capabilities. Stack them as deep as your design needs.
The structure can extend to as many levels as you want. We also added new column sizing controls with this update. You get exact width adjustments for both parent and nested rows. Fine-tune measurements to create balanced, precise layouts.
Every row in Divi 5 works as either a flex or grid container. This gives you the same layout powers in rows that you already have in sections: control alignment, direction, wrapping, and spacing at each level of your structure. Switch between flex and grid display modes according to your layout’s needs.
These controls, combined with Nested Rows, give you complete freedom over content arrangement. Build multi-column layouts inside other columns. Create asymmetrical grids. Design complex card layouts. Handle structures that previously required workarounds or specialty sections.
Nested Rows work alongside the Flexbox and Grid Layout Systems and Module Groups we built into Divi 5. All features combine to let you construct any layout structure you can imagine directly in the Visual Builder.
How Do They Work?
Open the Visual Builder and add a standard row to your page. Click inside any column. The option to add new content appears.
Select the New Row tab. Column layout options display, just like adding a regular row. Pick your structure. The nested row appears inside your column.
Each row can use Flex or Grid display mode. Toggle between them based on what your layout needs. Flex works well for flowing content. Grid gives you precise control over alignment and positioning.
Add modules to the nested row. Text, images, buttons, forms. Everything works the same.
Go deeper by clicking inside a nested row column and adding another row. Stack as many levels as your design needs. Each nested row gets full control over spacing, backgrounds, borders, and layout settings.

The Layers panel shows your complete structure. Navigate between nested levels easily. Name your rows to track complex layouts.
Nested Modules vs Nested Rows: How Are They Different?
Nested Modules live inside other modules. The latter works inside columns. That placement tells you everything about what each one does.
When you nest modules, you’re adding content to an existing element. A blurb gets a button. A tab gets a whole row structure with multiple columns. You’re packing more capability into a single design piece. This is particularly helpful for modules like tabs and FAQs, where click functionality is involved.
When you nest rows, you’re subdividing space. A column becomes home to a new row with its own columns. Those columns can hold more nested rows. You’re creating layouts within layouts, building complex structures without specialty sections.
Here’s a quick table to help you compare the differences:
| Feature | Nested Modules | Nested Rows |
|---|---|---|
| Where It Is Used | Inside any module | Inside any column |
| Main Purpose | Add items inside modules | Create column layouts inside columns |
| Where To Find | It’s in the elements option group in module settings | Use the New Row option when adding content to a column |
| What It Changes | What a module can do and what it has | How space is arranged and how deep the layout goes |
| What It Replaces | Workarounds for module limits | Special section layouts |
| Use For | Adding modules inside interactive modules (such as tabs and FAQs) | Creating multi-column setups, uneven grids, complex card designs |
Both work together naturally. Build a nested row inside a column. Fill those nested columns with modules. Nest more content inside those modules. The system stacks infinitely because we built each feature to handle different jobs at different structural levels in Divi 5.
When To Use Nested Modules & Rows
Both features expand what you can build in Divi 5, but the structure you need determines which one solves your layout problem. Sometimes you’ll reach for one, sometimes the other, and often you’ll combine them in the same design. Let’s walk through specific scenarios to get a better idea:
Use Nested Modules When…
You want to pack more into an existing module. This works when a single design element needs extra functionality but you don’t want to rebuild your whole layout.
Potential use cases:
- Testimonial sliders with video reviews: Put a video module inside each testimonial slide. Customers see the written quote first, then can watch the full video review. The slider controls everything together.
- Toggle sections with contact forms: Build a FAQ with toggles. One toggle controls your contact form, while another displays your location map. People can access information and reach out without leaving the section.
- Call to action boxes with countdown timers: Drop a countdown module inside your CTA. Limited-time offers get the urgency element built right in. The timer, headline, description, and button all move as one unit.
- Gallery items with caption overlays and buttons: Each gallery image features a text module for the caption, along with a button to learn more. Your portfolio pieces become interactive without custom coding.
Use Nested Rows When…
You need to divide space and create structure within structure. This comes into play when your design requires columns within columns or when you want to use different column arrangements at various points on your page.
Potential use cases:
- Hero sections with offset content blocks: Split your hero into two columns. The left column holds your headline and button. The right column contains a nested three-column row showing quick stats or key features. The asymmetry makes the layout pop.
- Product pages with tiered information: Your main row has two columns. The larger column gets a nested row with product images arranged in a custom grid. The smaller column shows pricing and specs in a single stack. Each area gets its own internal structure.
- Blog layouts with embedded sidebars: Create a two-column row. The content column contains nested rows for different article sections. Each nested row can have its own column arrangement for quotes, images, or callout boxes positioned exactly where you want them.
- Footer sections with grouped links: Build a four-column footer. Inside one column, add a nested two-column row to split your social links and contact info side by side, while other columns stay single stack.
Try Nested Rows & Modules In Divi 5 Today
Both features give you the freedom to build layouts that previously required workarounds or custom code. We designed them to handle various tasks at different levels within your design. Now you can add more capability to single elements or divide space into new arrangements. Select the feature that best suits your project.
Grab Divi 5 and see how these features change the way you approach layout problems on your next project.


Leave A Reply